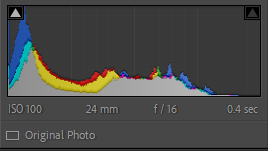
I first went into all my photos and selected 3 similar photos with different exposures.

I then imported these 3 photos into adobe Lightroom.
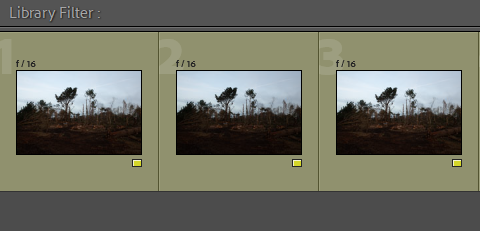
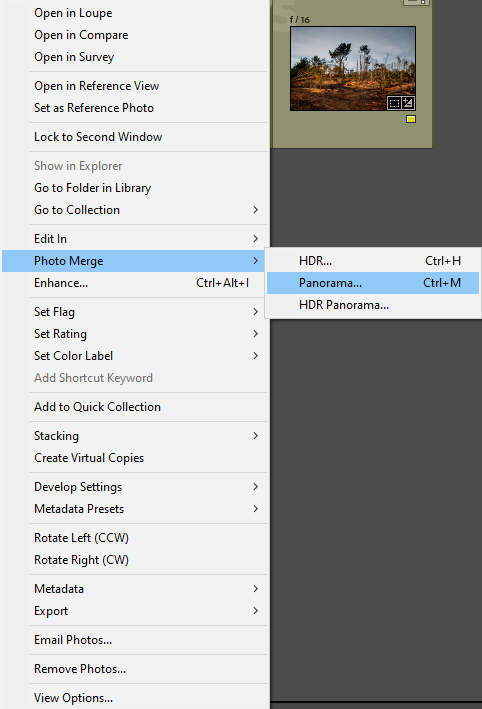
I then selected all 3 using my shift button and clicking all 3. I then right clicked and pressed Photo Merge and then clicked HDR.
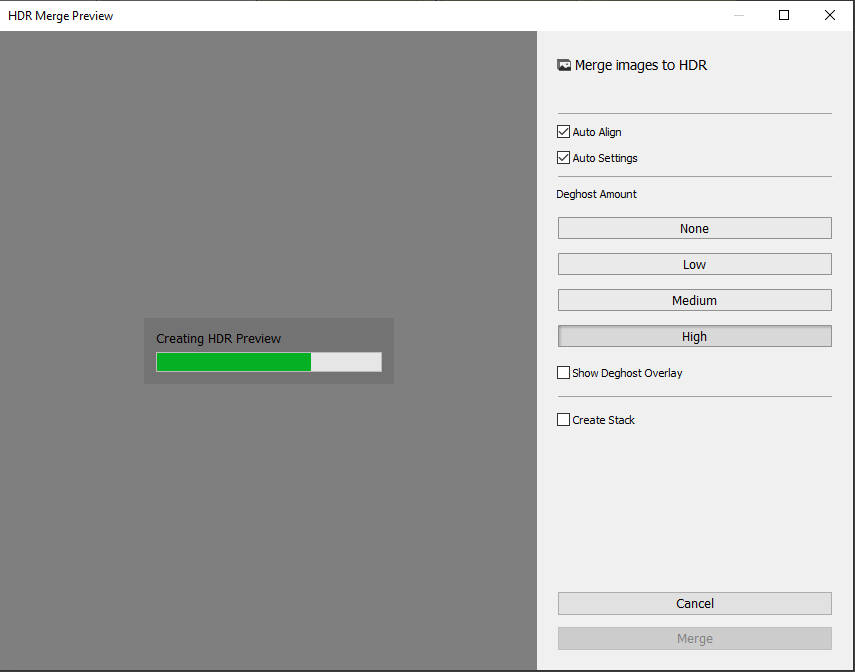
I then tested all the 4 deghost amounts –
- None
- Low
- Medium
- High
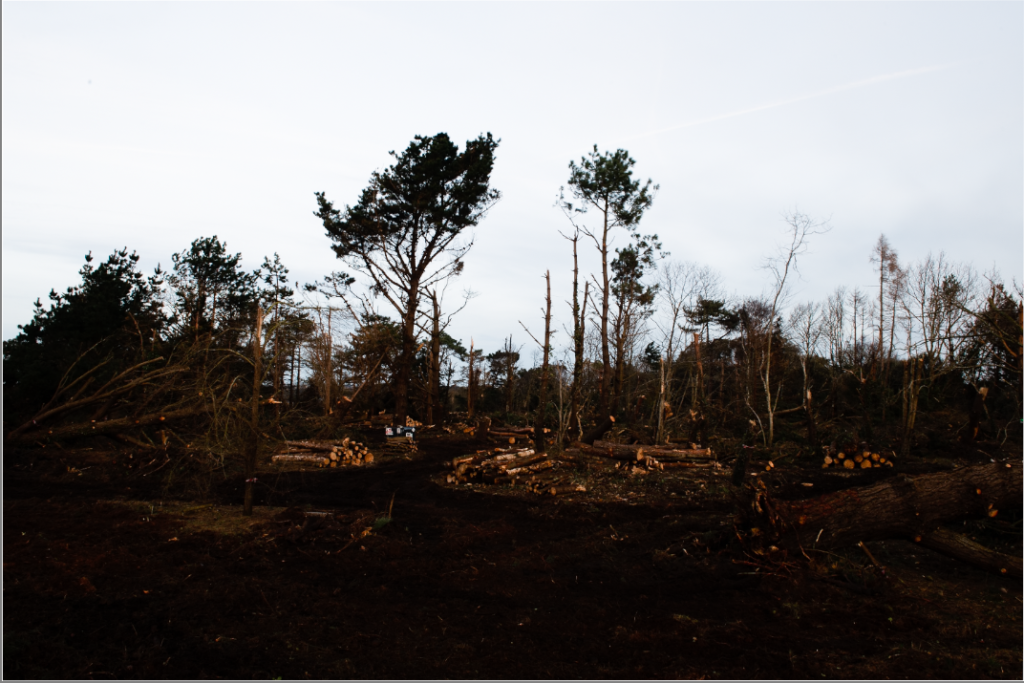
I decided to go with ‘high’, this is how the image was on the ‘none’ setting.
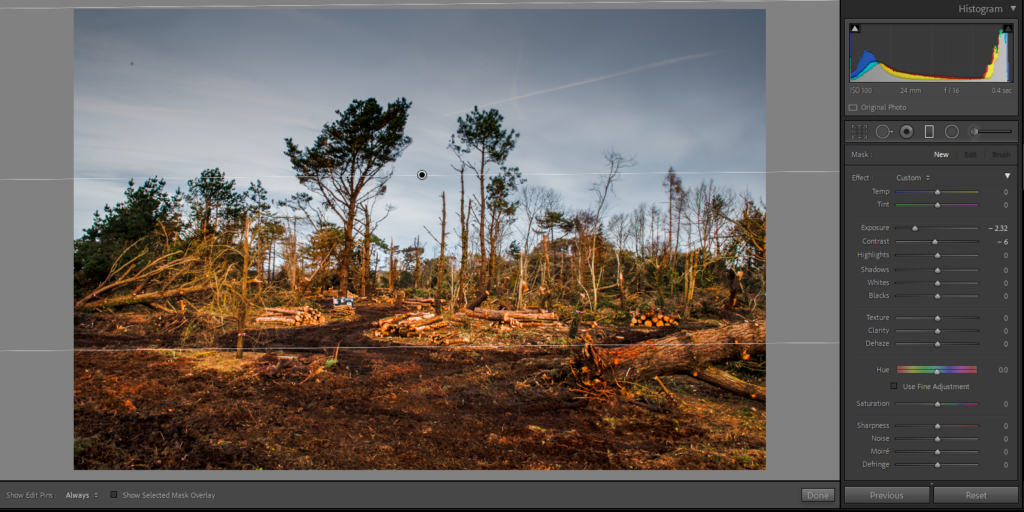
I then set it back to high and selected the ‘Graduated Filter’ button and decided to click and drag it down to darken the sky whilst maintaining the nice bright details of the trees.
I then selected the spot removal tool and clicked an imperfection of the picture in the top left of the sky, this helped to remove and improve the quality of the picture.
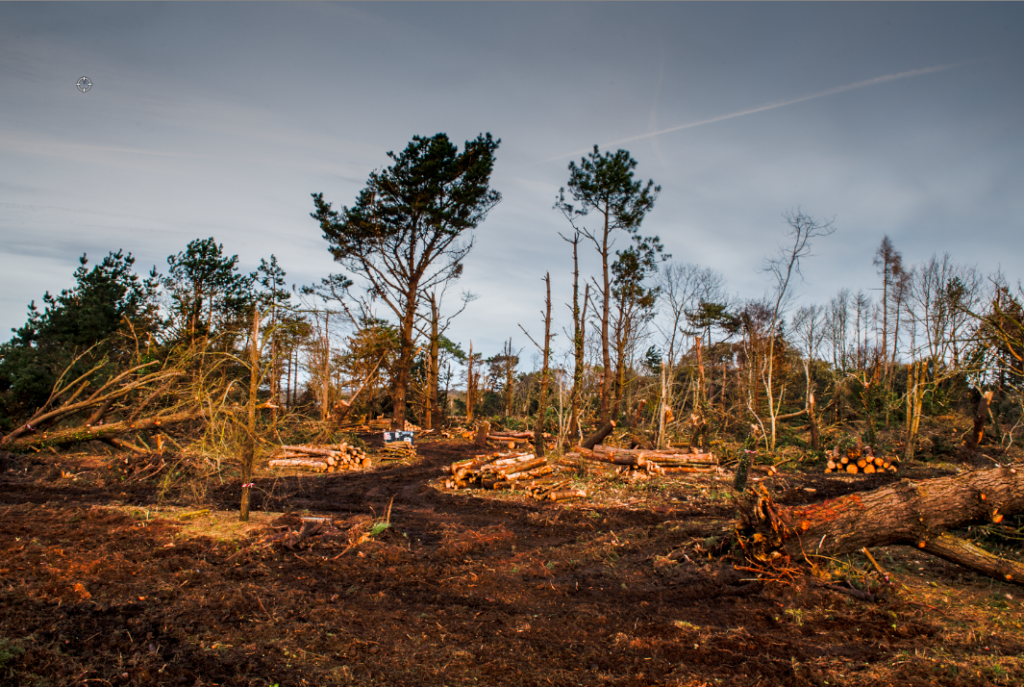
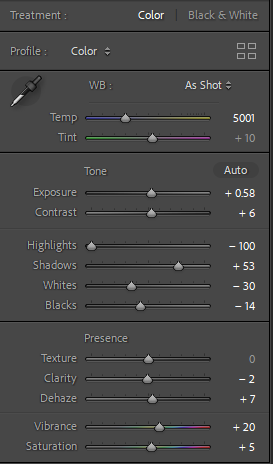
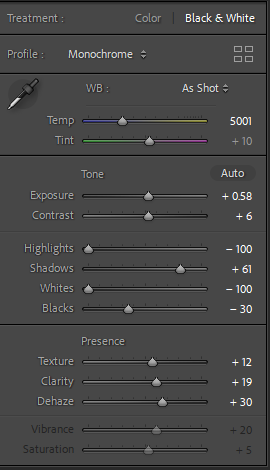
These were my final outcomes and edits of my picture. I decided to make a coloured and black and white version.
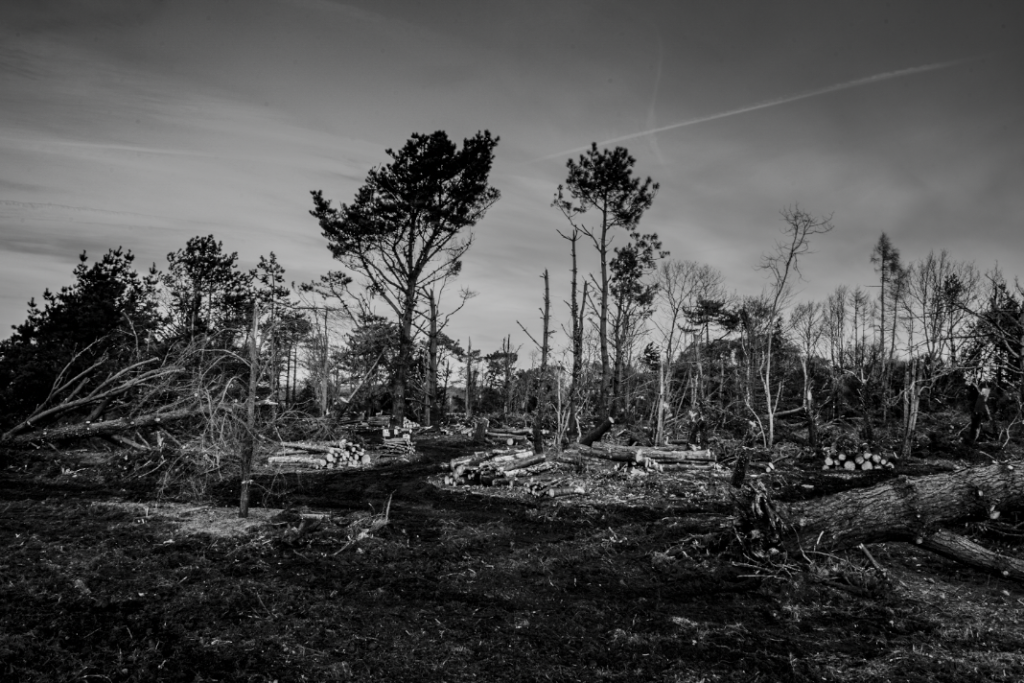
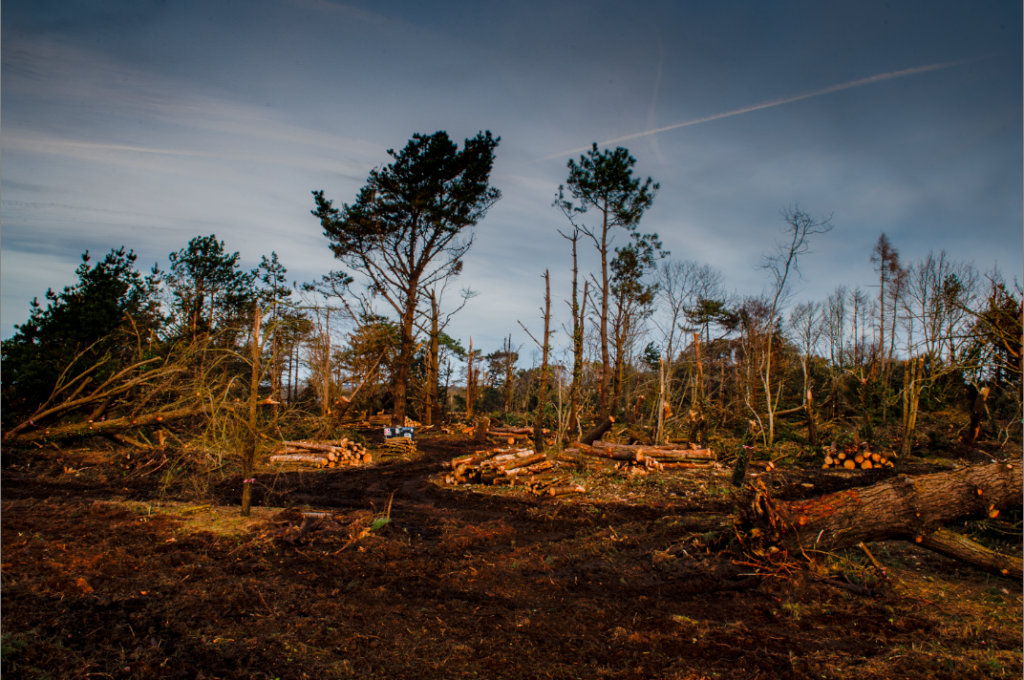
Here are my editing settings for the coloured and black and white version.
