Plan
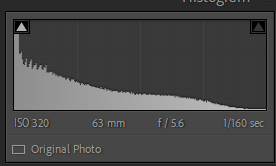
These are the settings I used for most of the photos. With a low iso and high f stop with a shutter speed that will capture the photos quickly enough to be in complete focus without having to compensate with the iso.

The contact sheet above contains all the photos from this particular location. I have used green to mark the best photos and yellow to mark ones with possible potential, and then red for any shots that I don’t like. Along side this I have used a start rating system to give me an idea of the best photos and the ones that have possible potential.
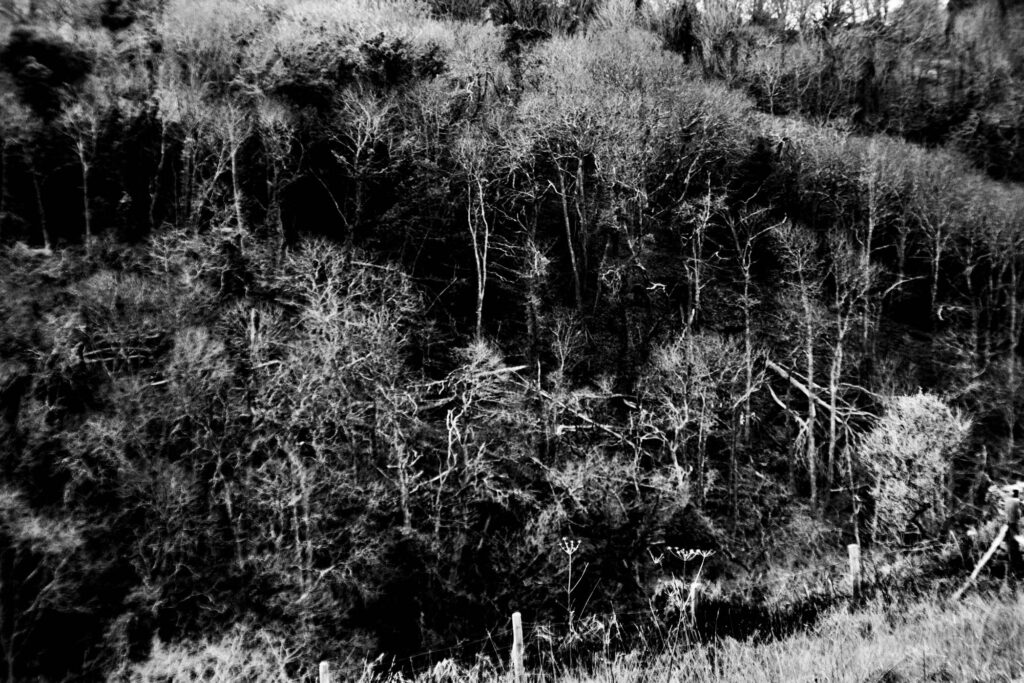
Edit One
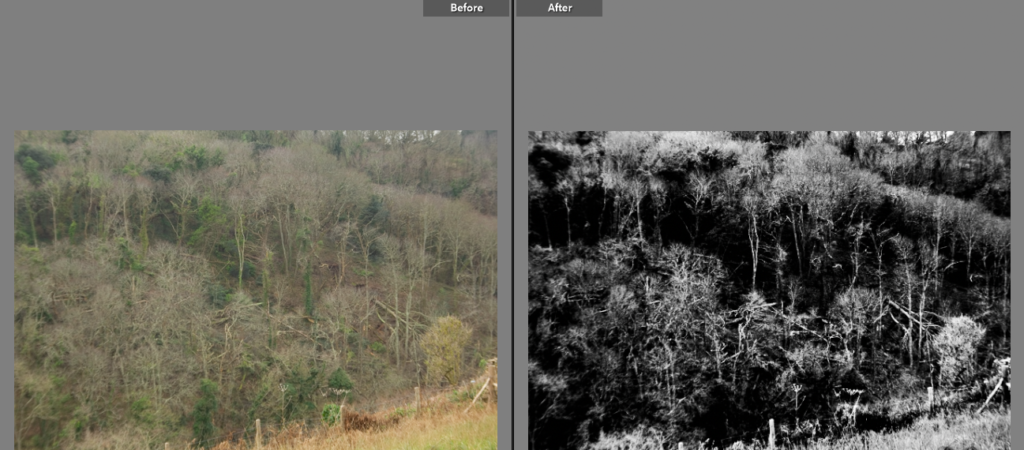
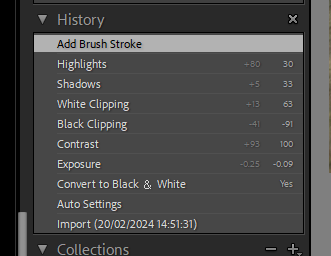
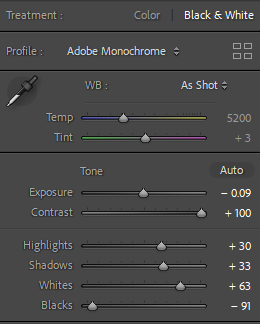
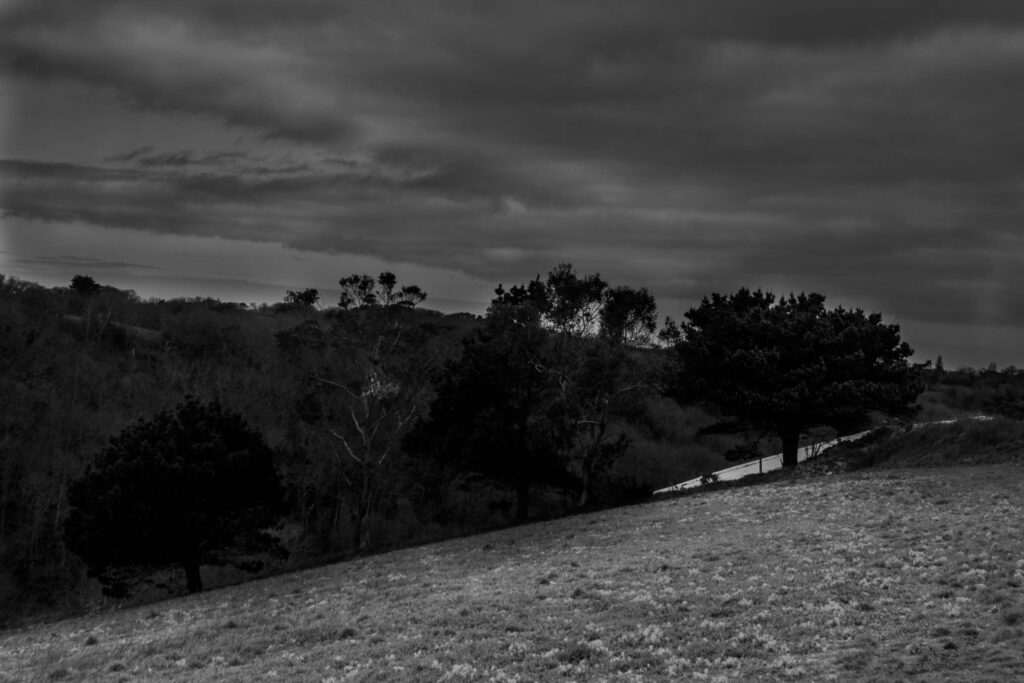
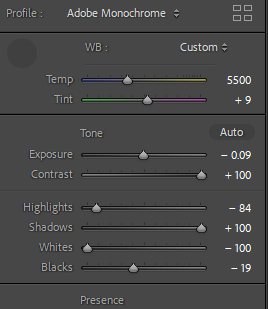
I have used the adobe monochrome setting to help produce this high contrast black and white image. Inspired by Ansel Adam’s work I have increased the contrast by using a variety of adjustment settings. I wanted to create a visible difference between the tree tops and the trunks/ground with the tops of the trees being a lot lighter it has highlighted the interesting patterns and vastness of the landscape. I kept Adam’s zone theory in mind looking for the pure white and pure black and the other 9 grey colours in between.
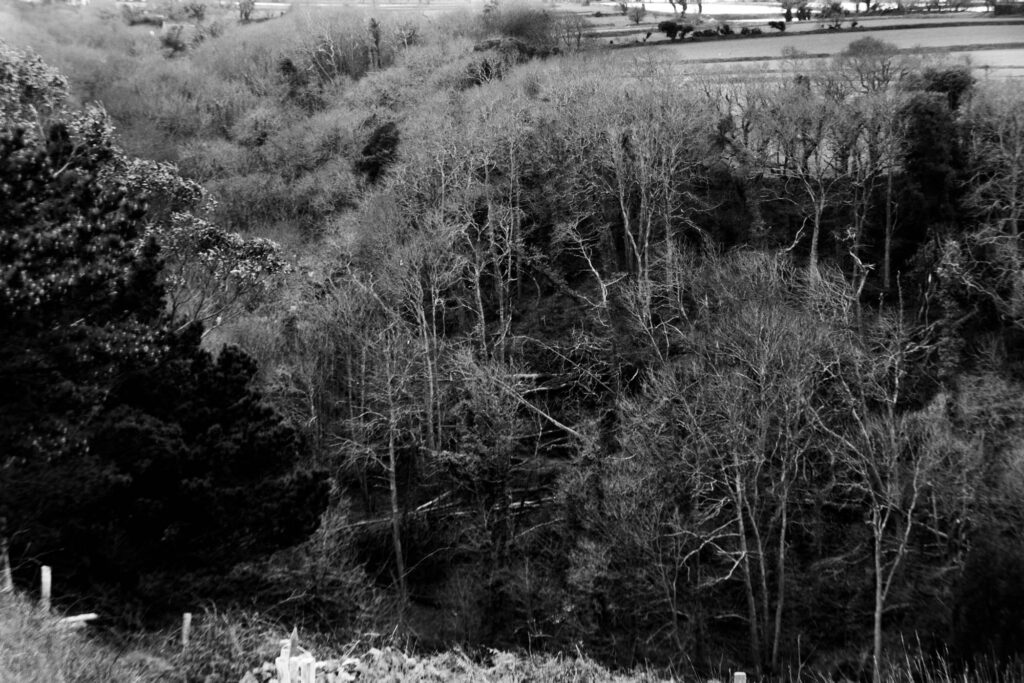
Edit Two
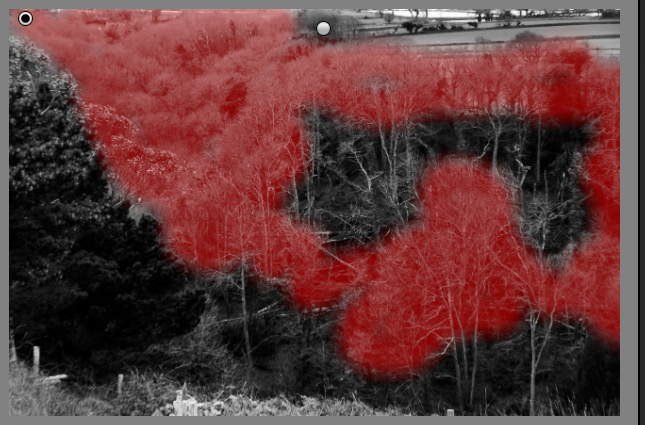
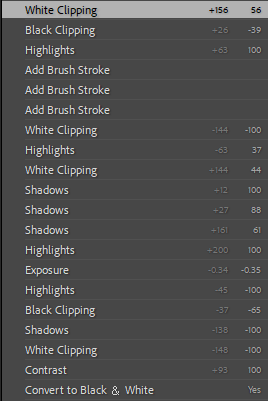
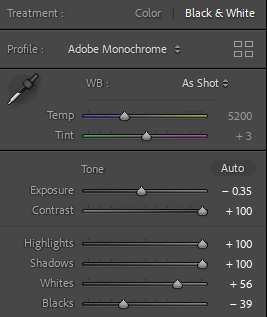
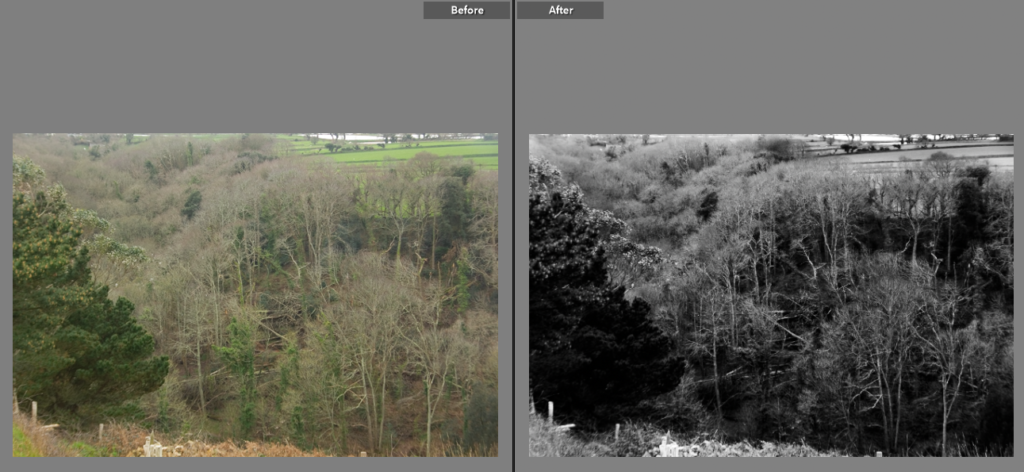
Moving onto my next edit I started by changing the adjustments under the adobe monochrome settings and then moved on to using the brush tools. It took a couple of attempts to achieve the results I wanted. I started with a small brush size and and way too low exposure on the brush settings, after trying a couple of different adjustments I settled on a minimally low exposure adding depth and shadow to the highlighted areas. This stopped any harsh or visible editing lines while adding further shadow that the normal adjustments could not.
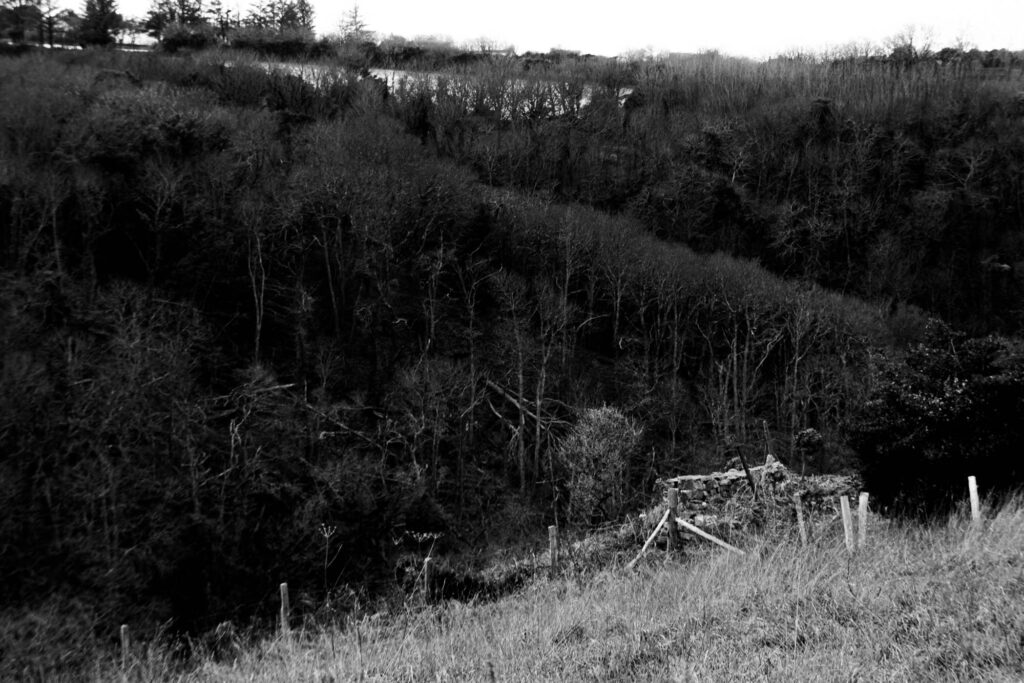
Edit Three
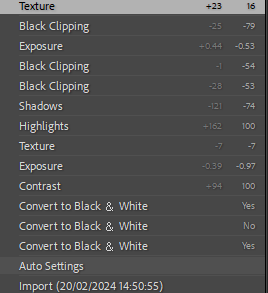
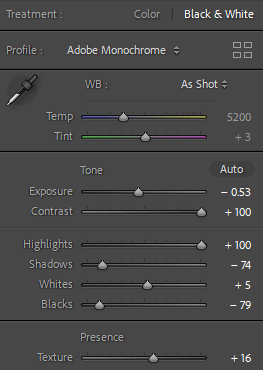
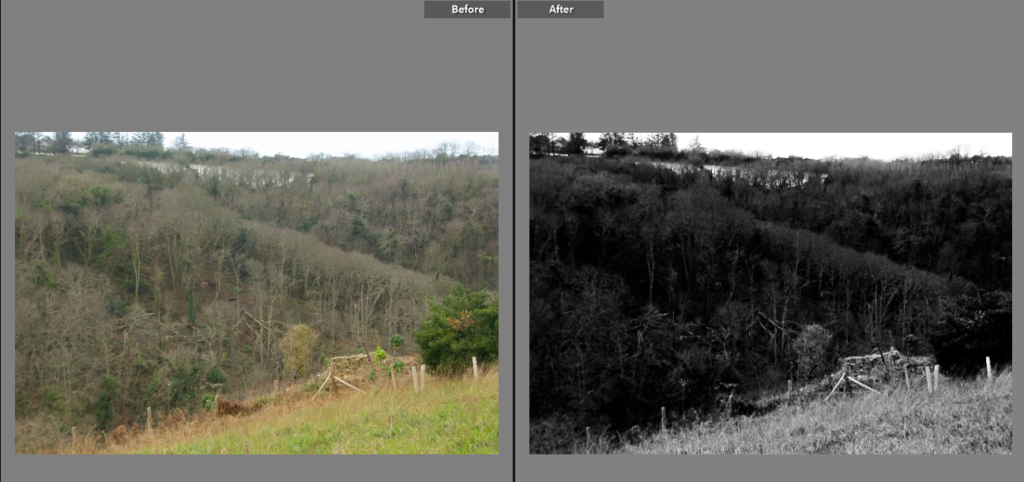
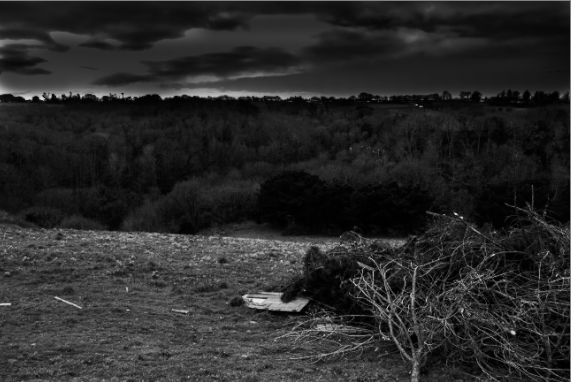
This I think is one of my best raw photos from this shoot. So to edit this I made sure I highlighted the best parts that were naturally lighter like the light green grass. I started by again changing the image to Adobe Monochrome and then looking to use the adjustment sliders to increase the contrast before looking at increasing things like the texture. I increased the texture to add more detail back into the image as it was a bit flat when I turned it black and white.
Edit Four
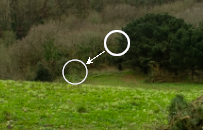
Removing the electrical box
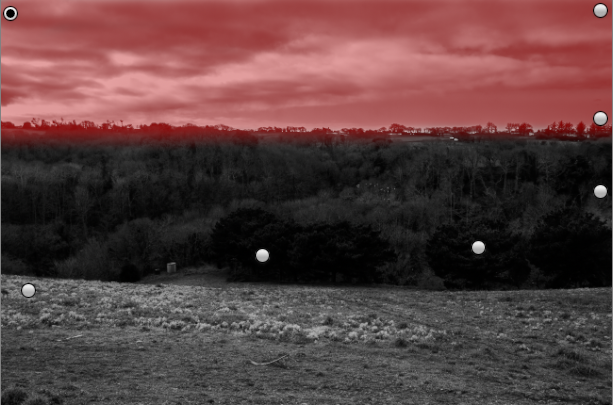
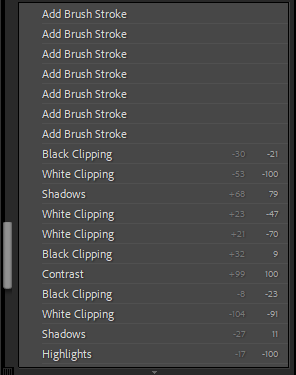
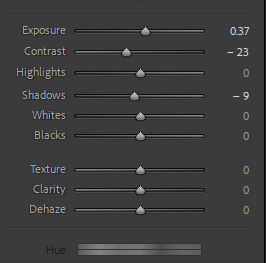
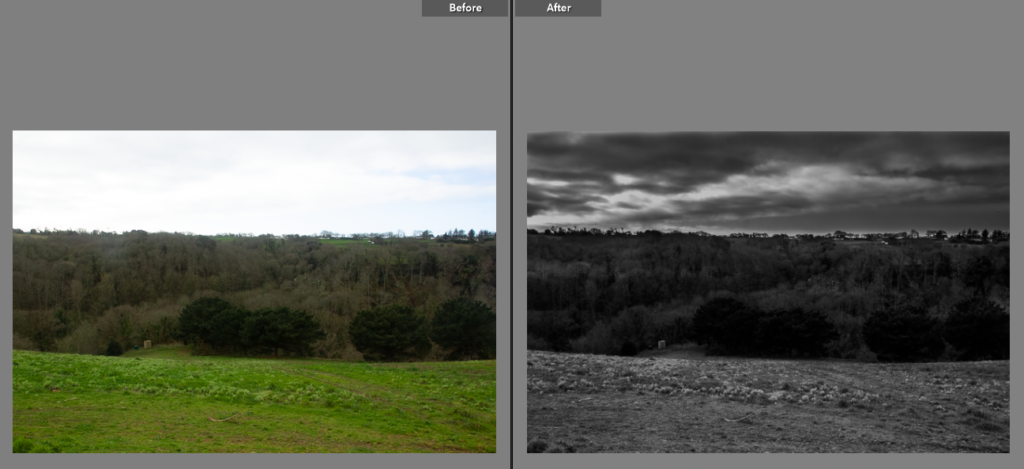
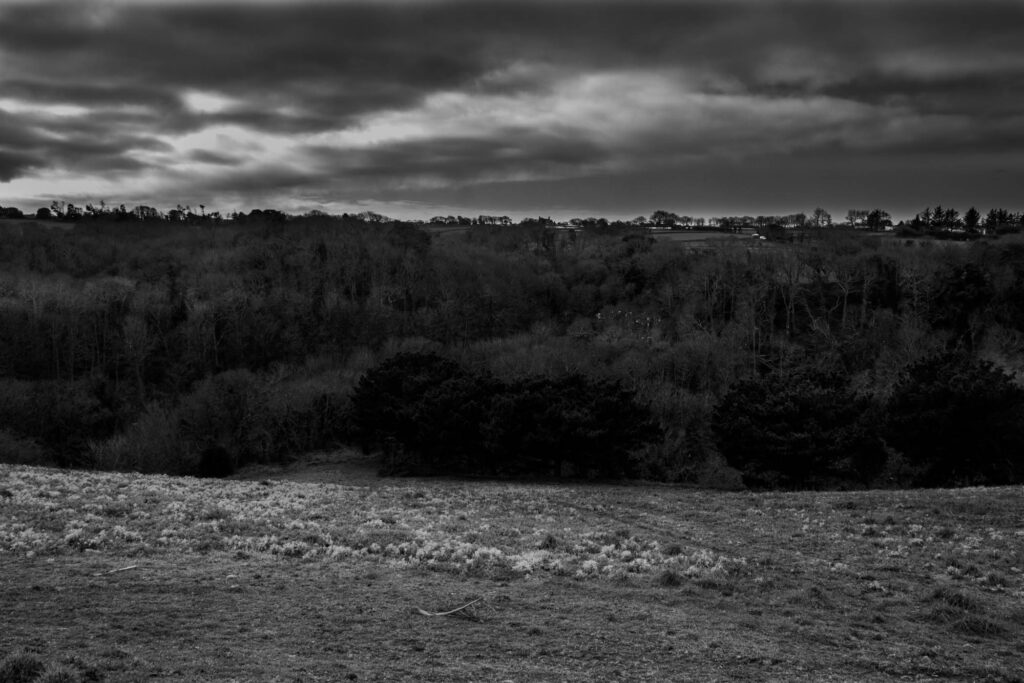
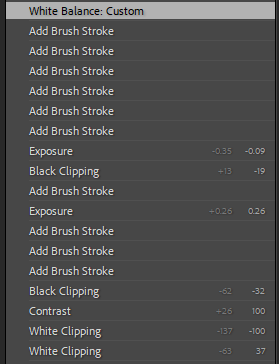
This photo was flat and boring before as while the green and brown colours were accurate the sky was over exposed. I started by doing the same with changing it to Adobe Monochrome, and then adjusting the sliders to increase contrast. This did improve the image but it didn’t do enough so I then went onto using the brush tool again to add depth into the sky, bringing the texture and shape of the clouds back into the image.
Edit Five
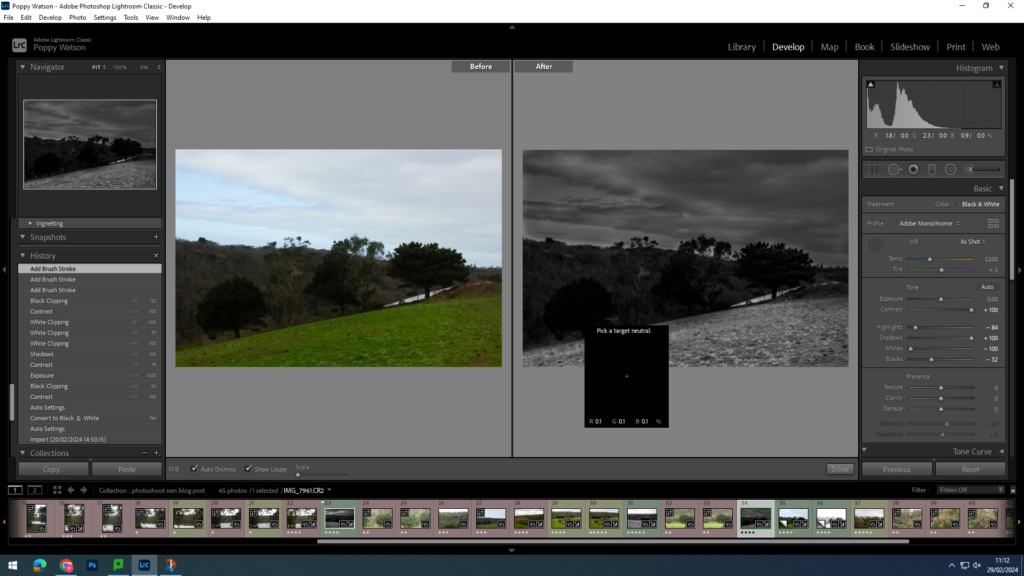
Pure Black
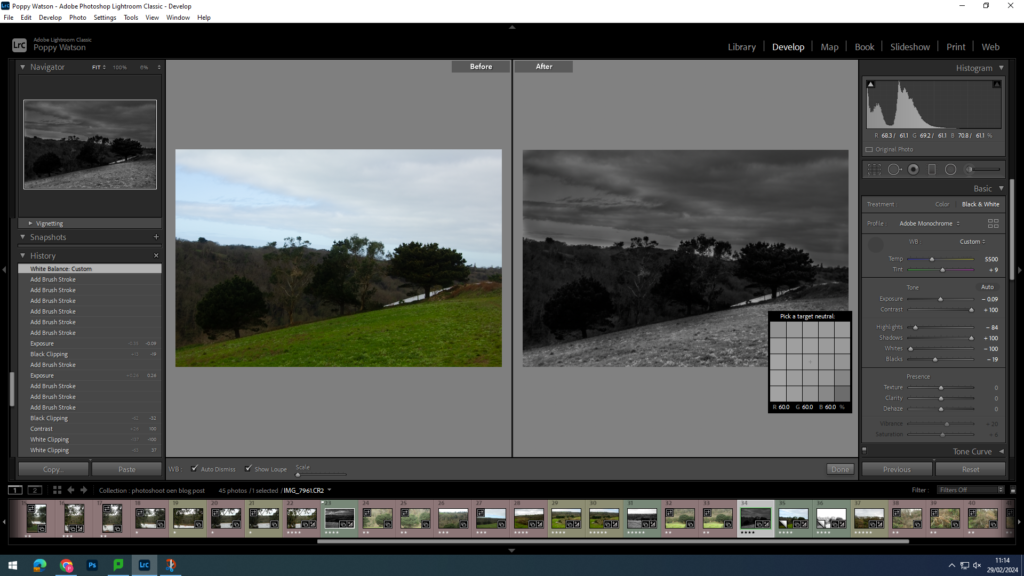
Example of range of colours in Adam’s ‘zone theory’ I have in my photo pure black and then around colour 9 on the chart of light grey.
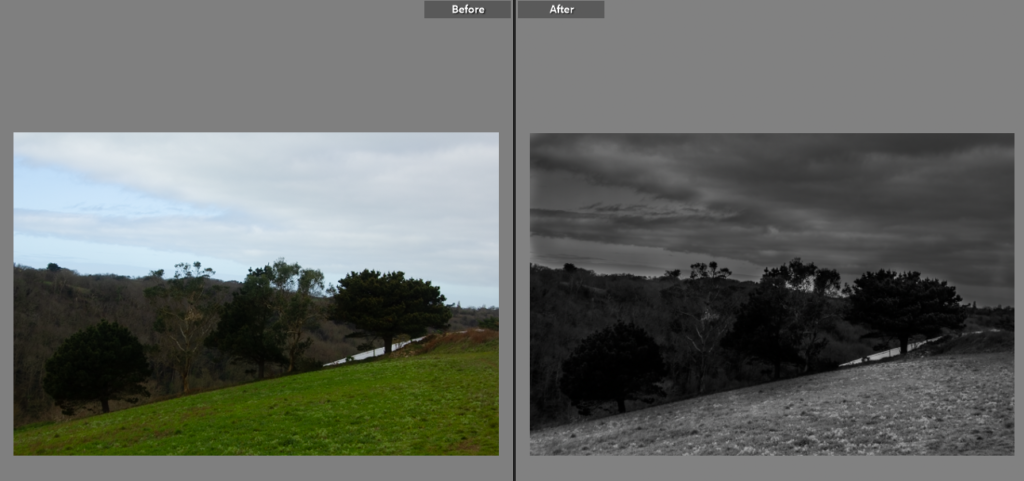
This is the final photo I edited for this shoot. I liked how the trees went up the hill and wanted to again repair the clouds so they were truer to real life. Repeating the same process I did with the other photos and then using the brush tool to create a deeper black in places and a softer grey. I then used the eyedropper tool to see how different I to the contrast and I manged to get pure black and close to pure white including a range of the scale of colours, in the zone system, in between.
Final Photos
