What is Photo-Montage Photography?
Photo-montage photography is multiple images are cut up and combined to create a new image. It can also be snipping an aspect from one image and adding it onto the same image in a different place. This can be done in two ways: The first way is by hand and the second is by using Adobe Photoshop. To do it by hand you just have to cut out one part of a photo and glue it, overlapping the other photo and arranging it so that it’s visually pleasing. There are many ways you could do this on Photoshop, depending on your wanted result. For example, you could simply create image layers then use the quick selection tool to cut out the image to or the lasso tool to cut out part of an image and then position the photos in their desired positions.
Mood board
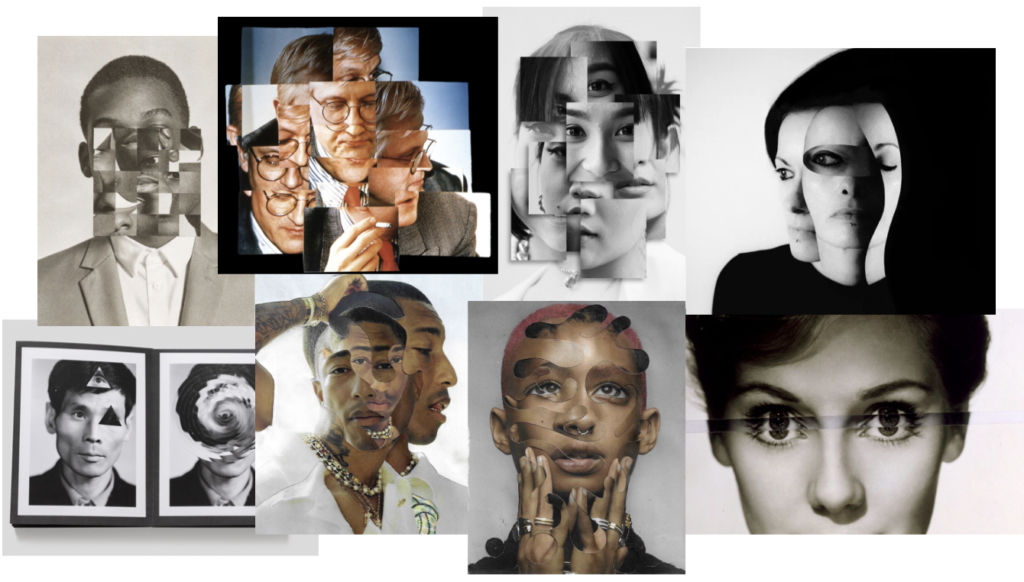
Artist Reference
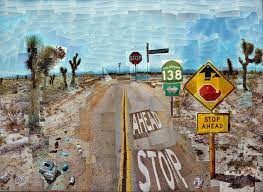
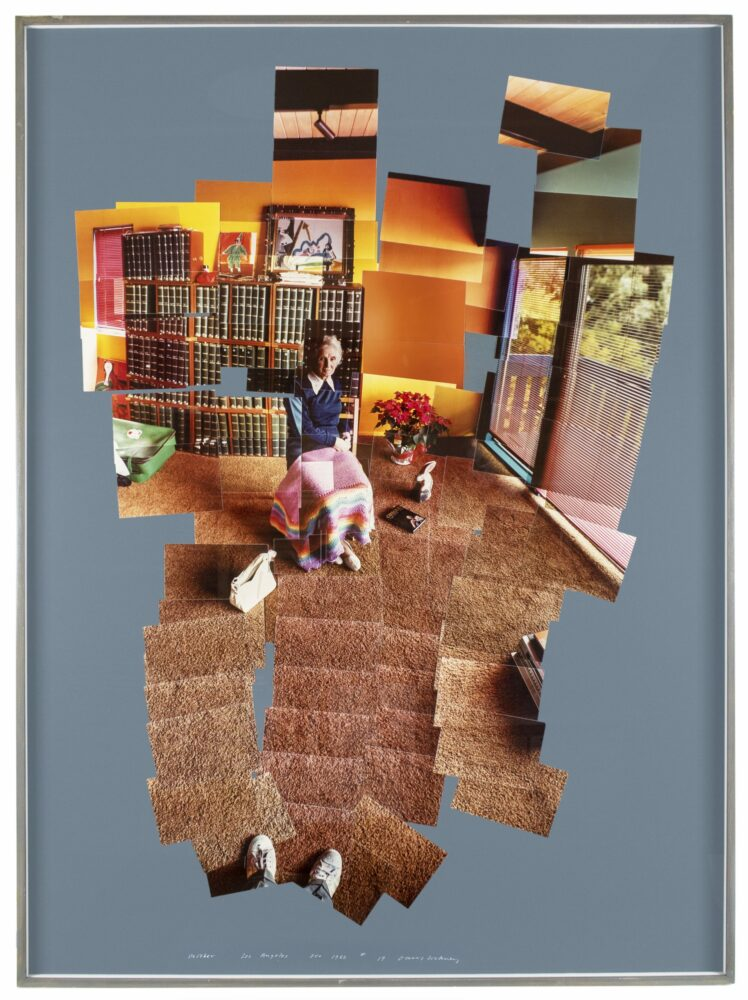
David Hockney, born in 1937, is an English painter, draftsman, printmaker, stage designer and photographer. Hockney is considered as one of the most influential British artists of the 20th century and was also a huge contributor to the pop art movement in the 1960s. He studied at the Bradford School of Art and later attended the Royal College of Art in London. Hockney was elected as a member of the Royal Academy of Arts in London in 1991 and, additionally, has his work displayed in the Tate Gallery in London and the Metropolitan Museum of Art in New York City. In 2018, David Hockney sold an art piece for $90.3 million at an auction. It wasn’t until the 1980s that David Hockney began his photography career, where he experimented with Polaroid photographs and joined them to create visually striking collages.
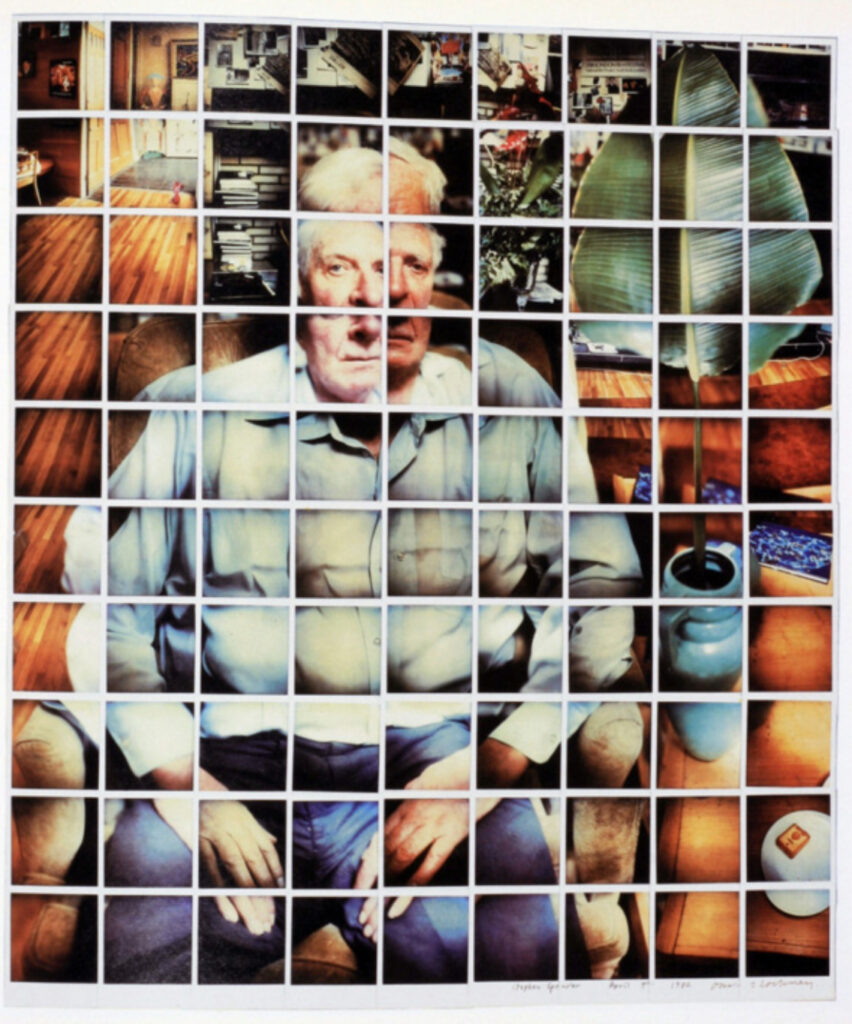
This is one of David Hockney’s photo joiners created with the use of Polaroid photos.
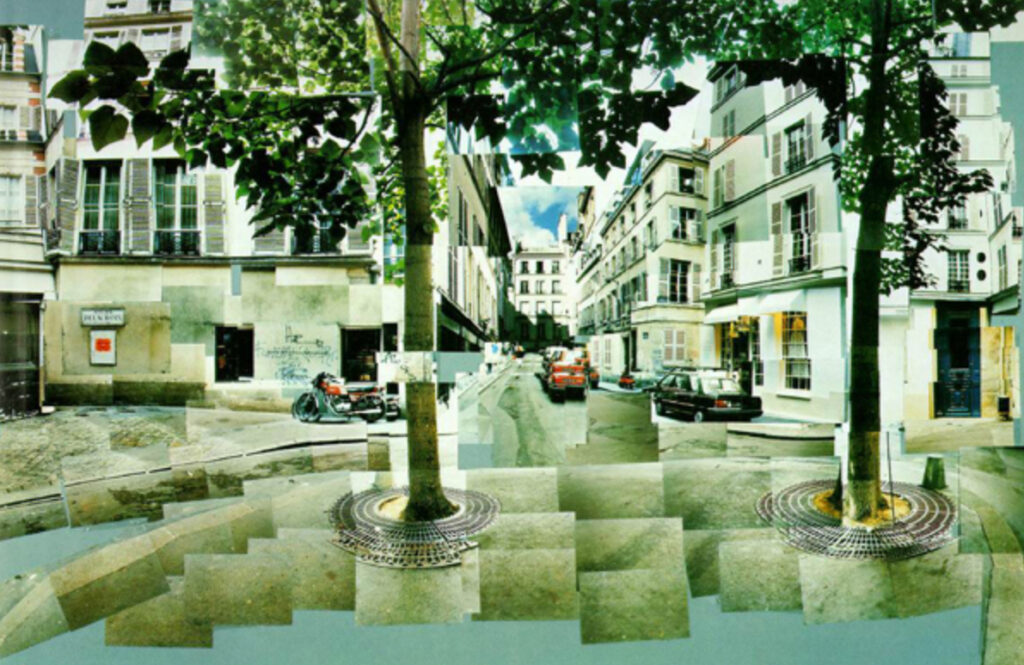
This is one of David Hockney’s photo joiners which was created using photo lab processed 35mm photographs.
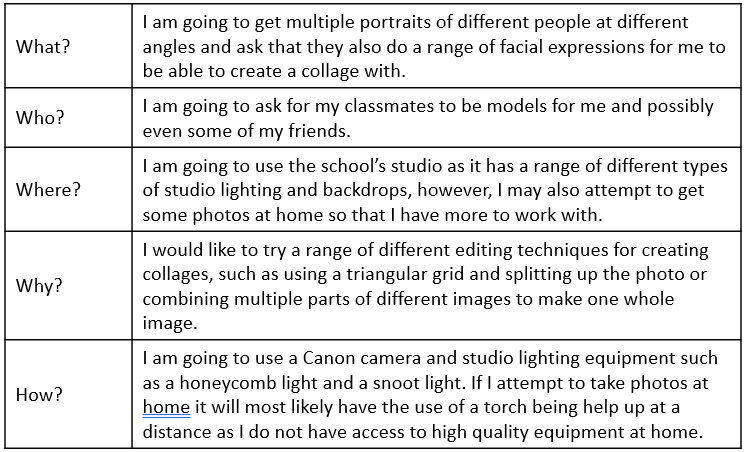
Photoshoot Plan
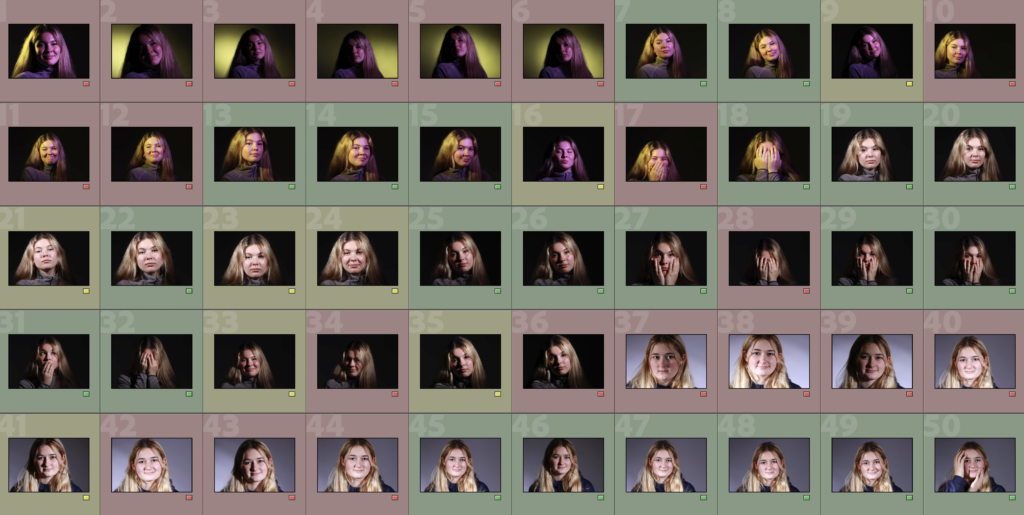
Photoshoot
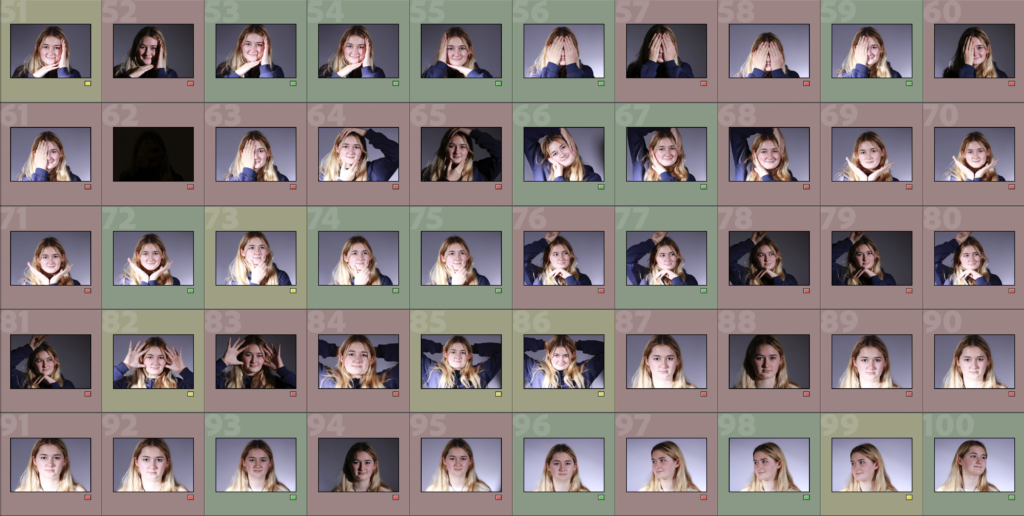
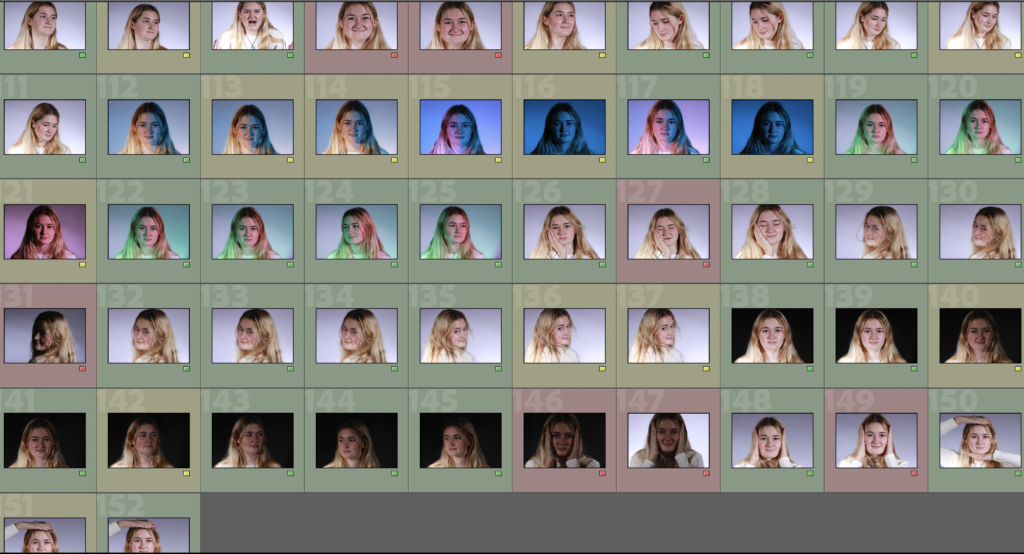
I am going to be using this same set of photos for all Headshots editing.
Edits
Edit 1
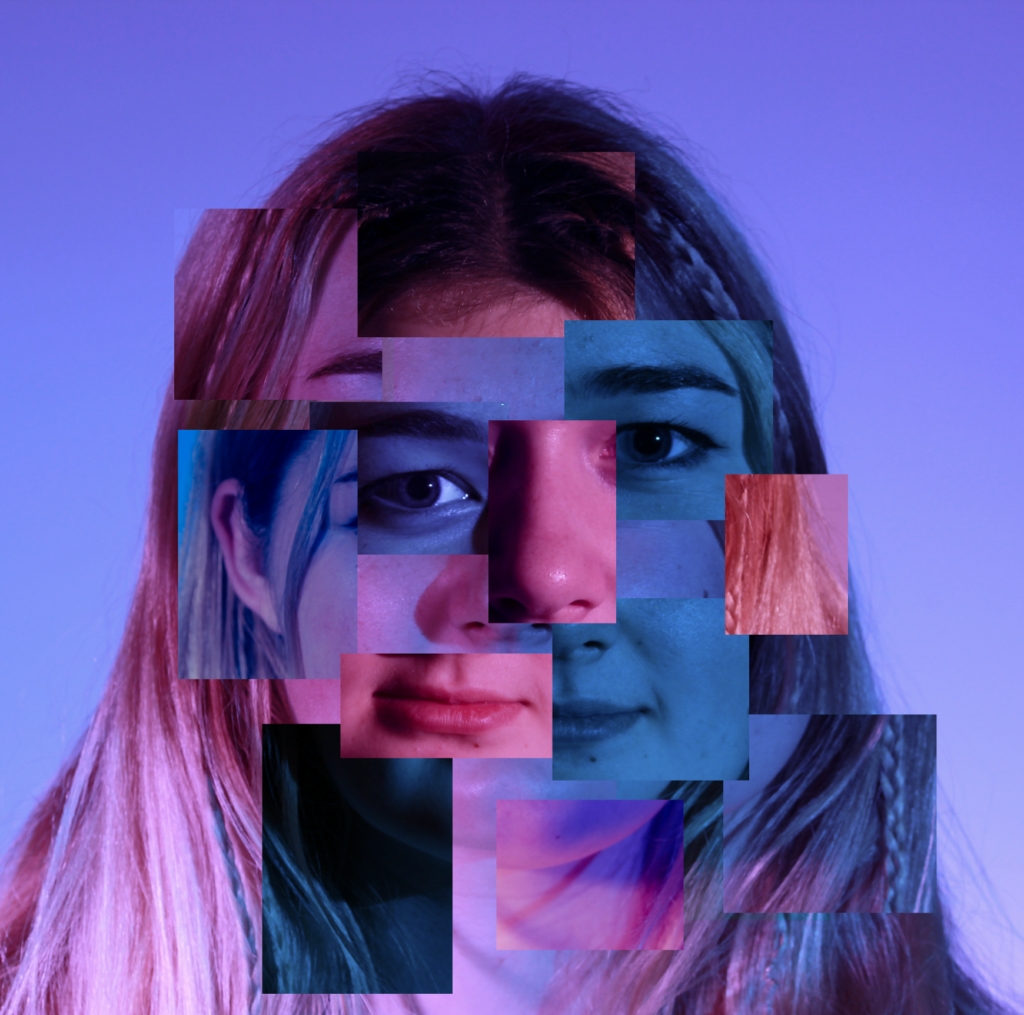
I made this photo collage using the following images:

I opened each image in photoshop and used the 3rd image along as the background. I then used the Rectangular Marquee Tool to cut out segments from each image and made them into a collage.

For some segments, I changed the colour slightly by going to Image > Adjustments > Colour Balance.
Edit 2
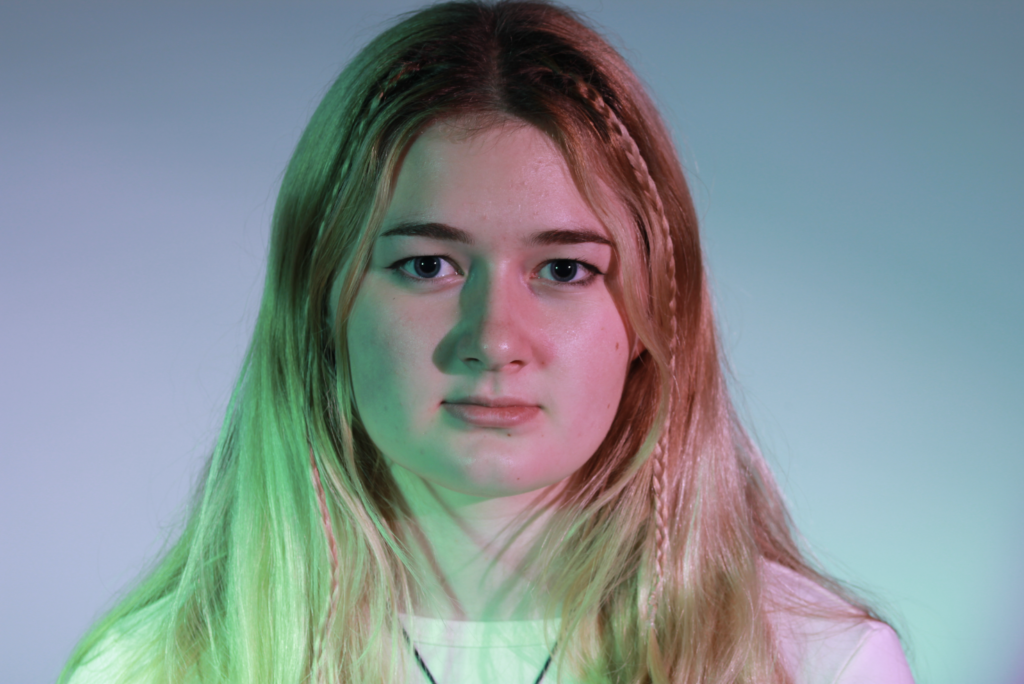
This is the image I used for this edit as I think it would be interesting to have the 2 different colours:
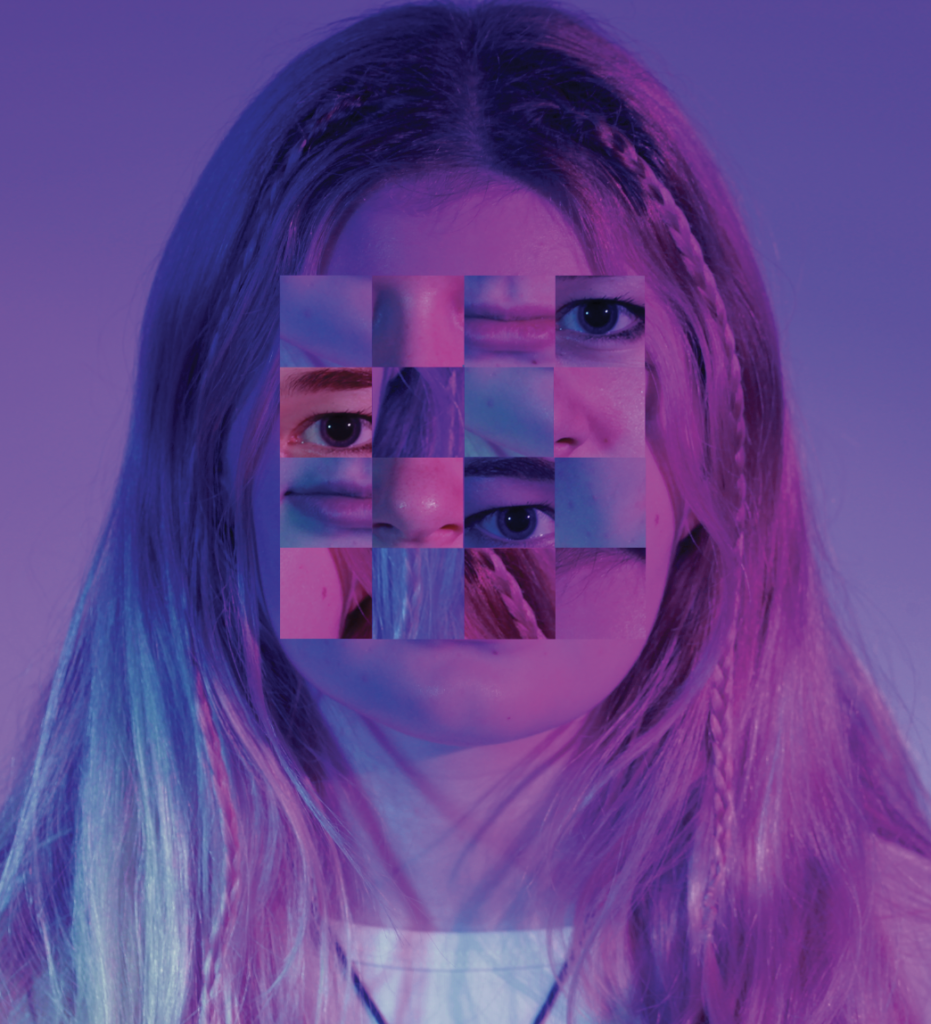
I used this grid template for the squares so that they are the same size:
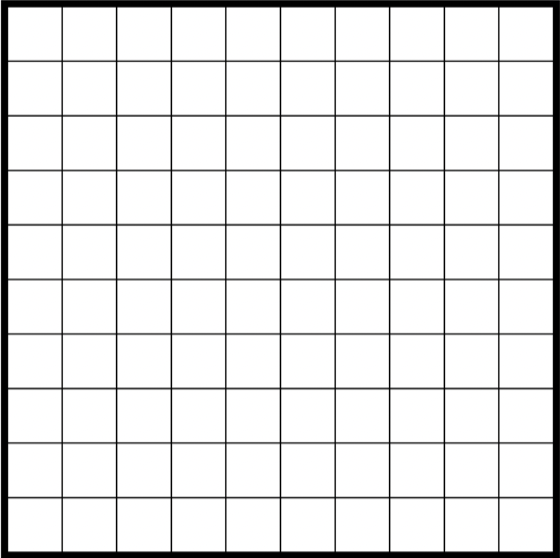
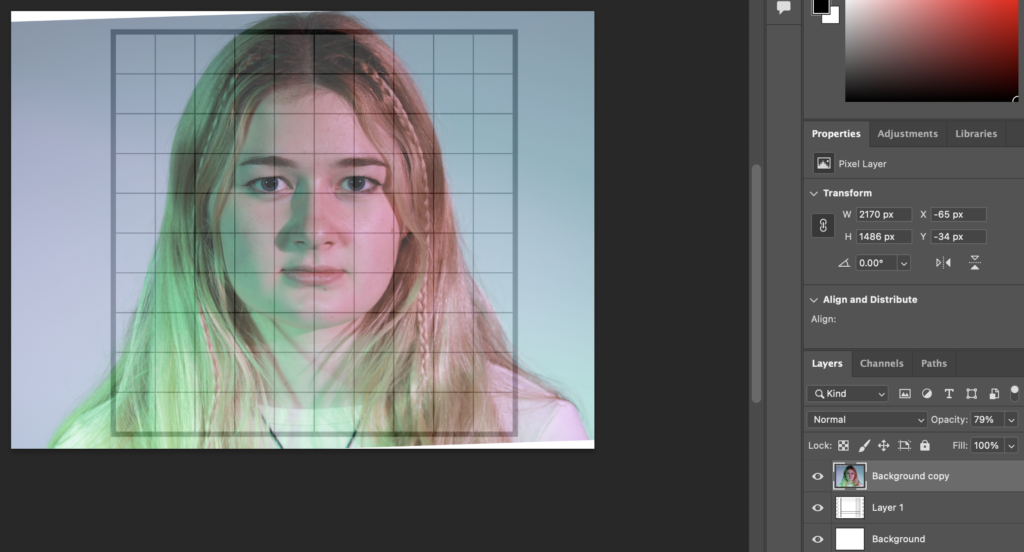
I placed the image as a layer on top of the template and lowered the opacity.
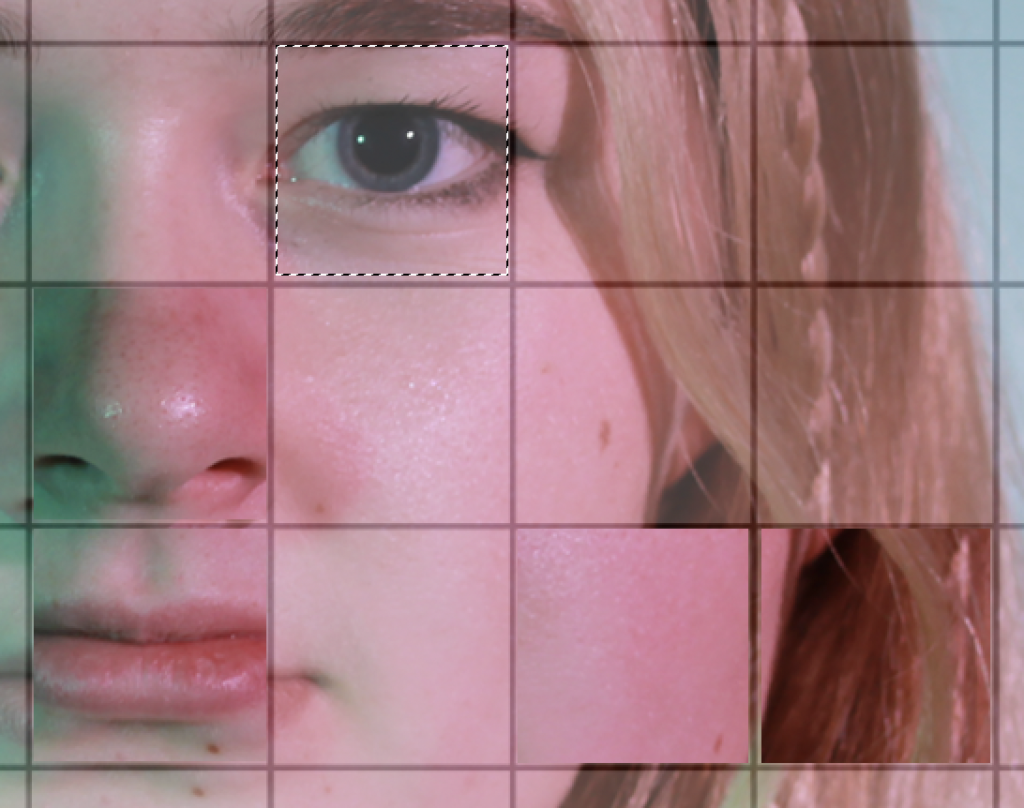
I used the rectangular marquee tool to select part of the image and copy and paste them to create the little squares. I moved around the photo to get the specific sections I wanted, whilst keeping both the photo and grid a constant size.
These are my completed squares:
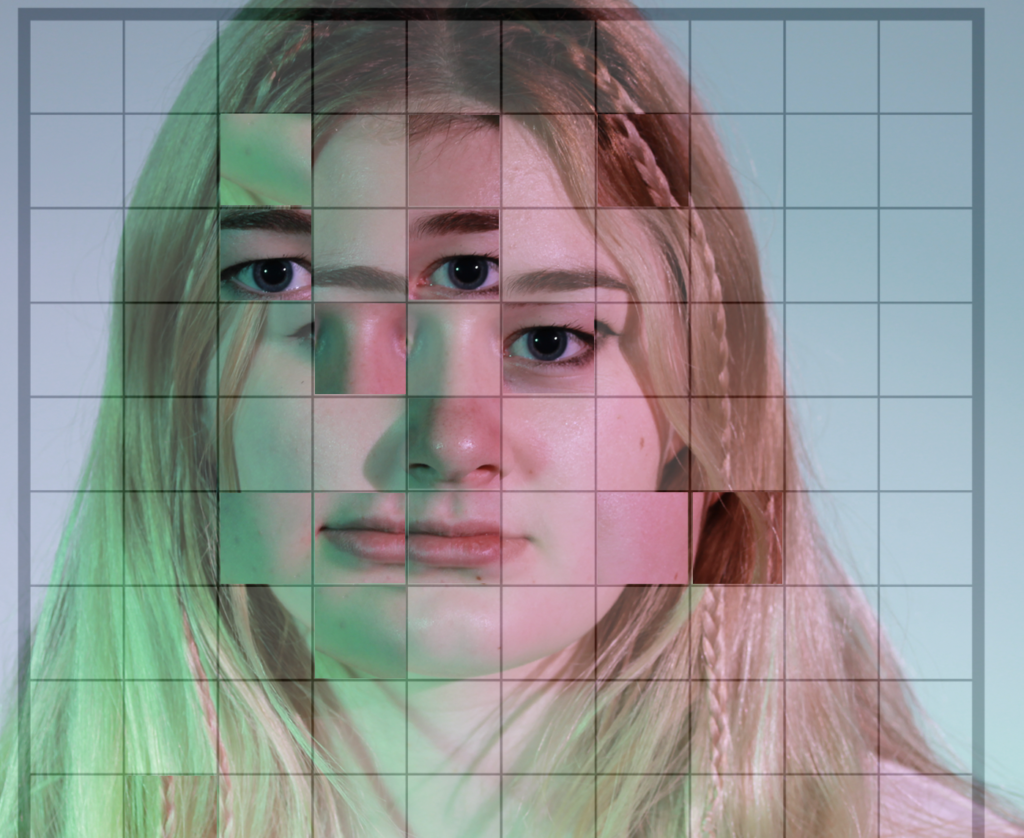
I then reopen the image on its own in photoshop then copy and pasted the squares onto it and arranged them how I would like.
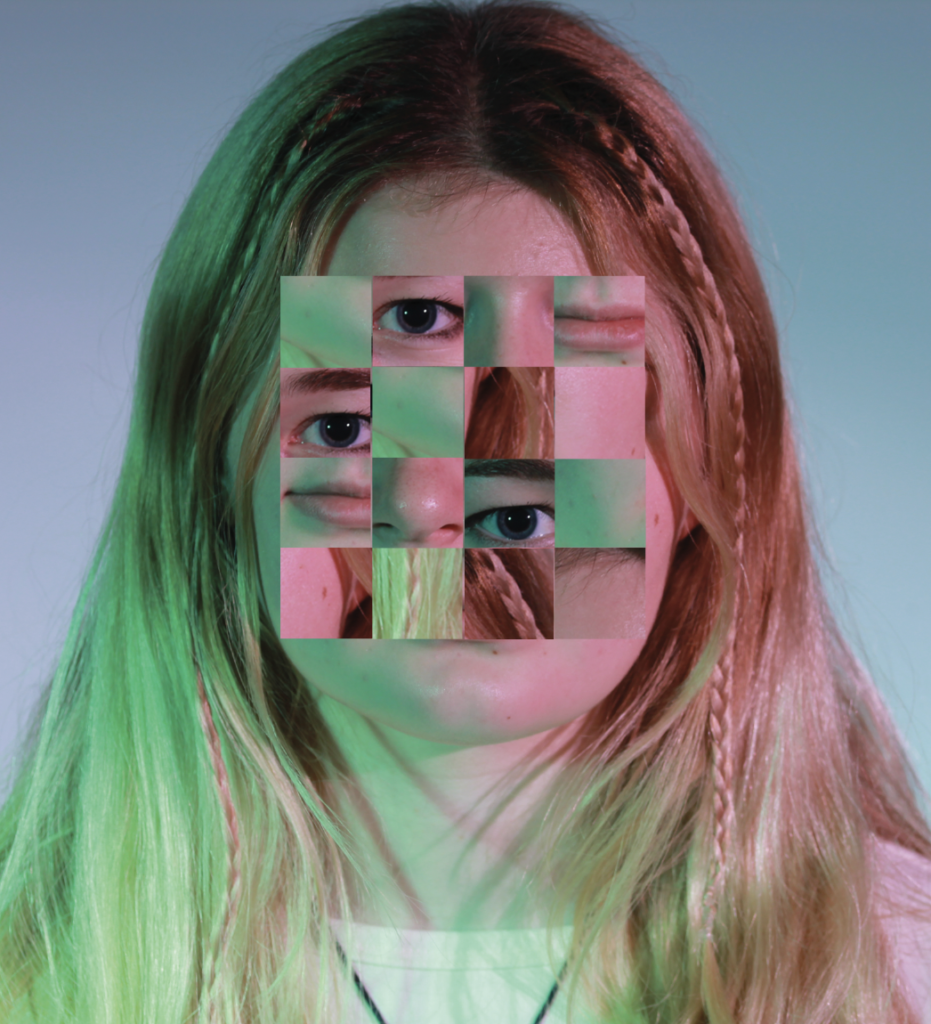
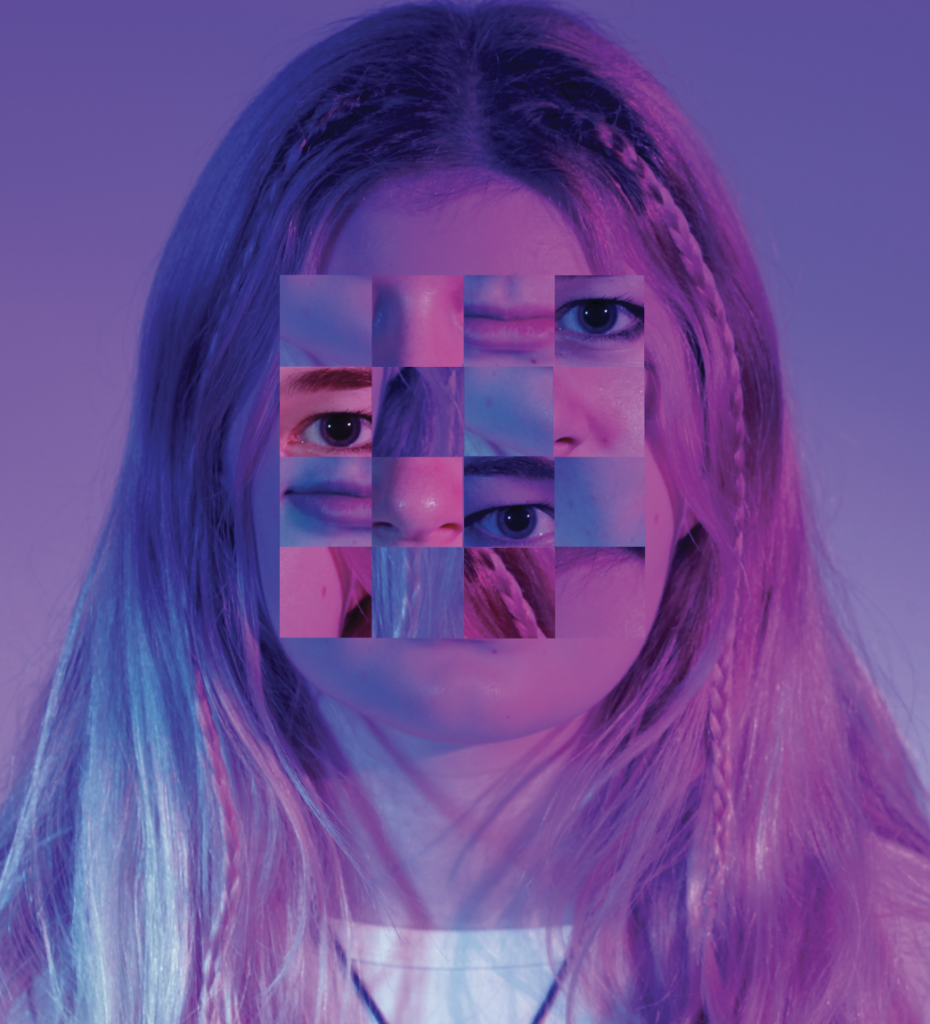
Finally, I edited the photos and squares to make them my preferred colour. I also added a Gaussian Blur to some of these squares. Additionally, I also rearranged some of my squares. This is my final result:
Edit 3
I started off editing this photo by getting a triangle template off of safari and making it a layer on Photoshop with the image I will be using as a layer above and lowering the opacity of the layer so that the template can be seen below. I am going to use this template
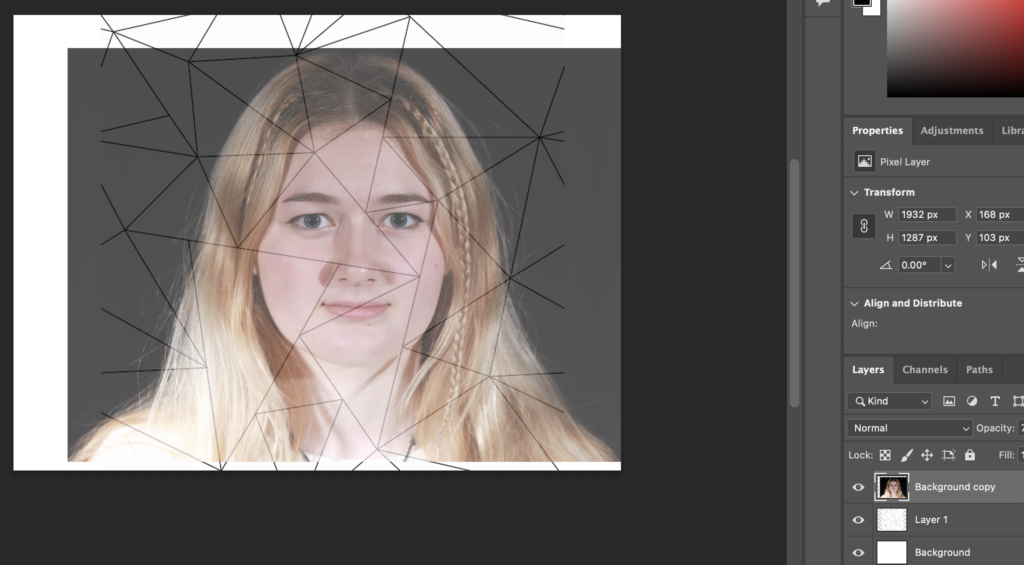
I used the polygonal lasso tool to create triangles, guided by the template, which I then copy and pasted to create a new layer that I could edit separately to the entire image.
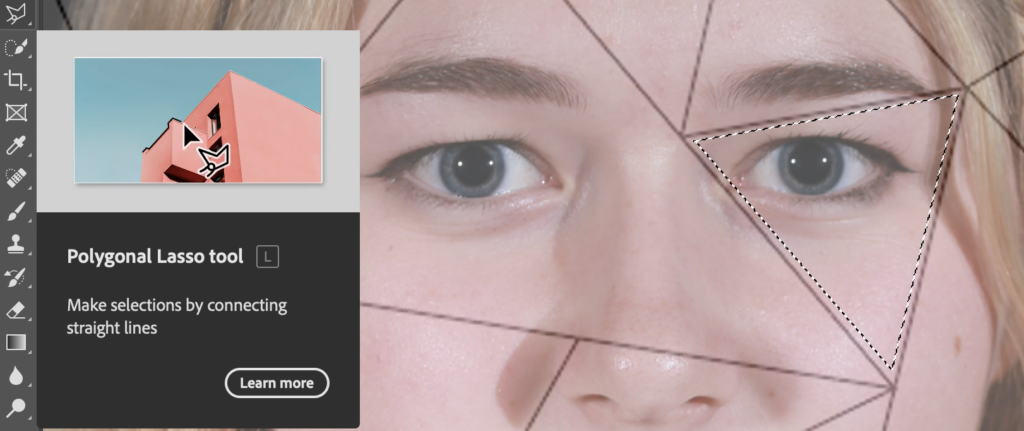
These are my triangles:
As you can see, I went a bit off the template, however, it was a good guide in the beginning.
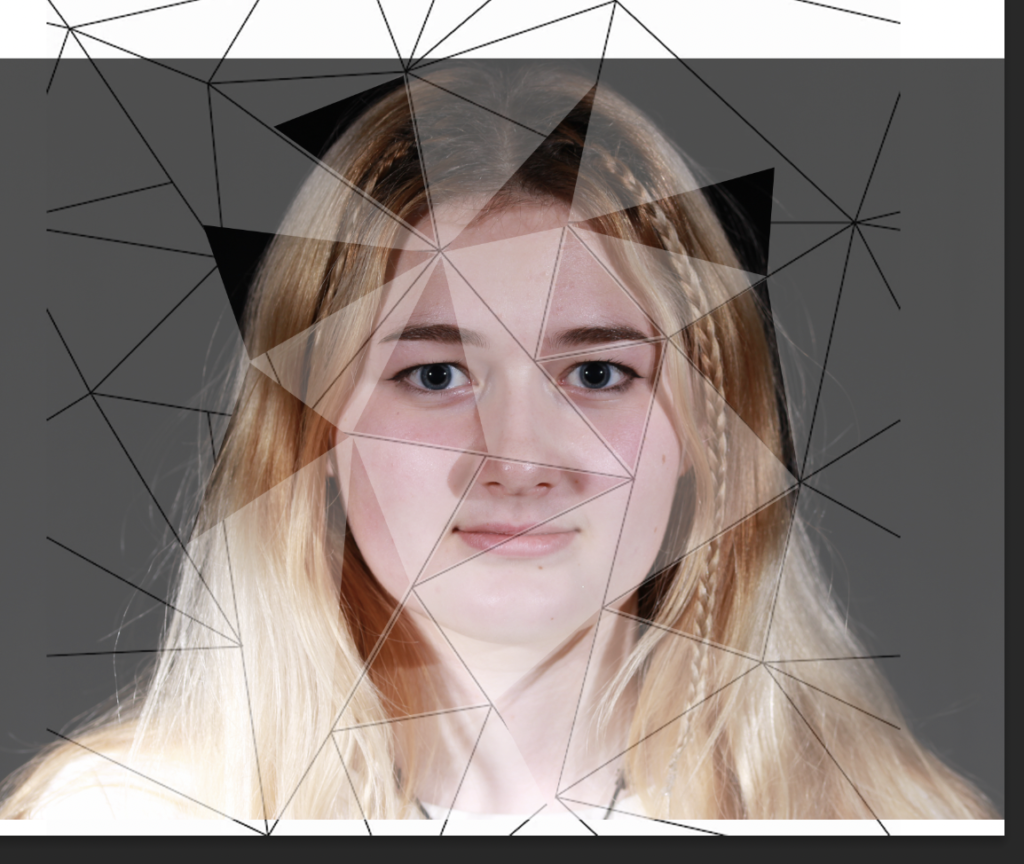
I then added a Gaussian Blur to some triangles and colour to others or both.
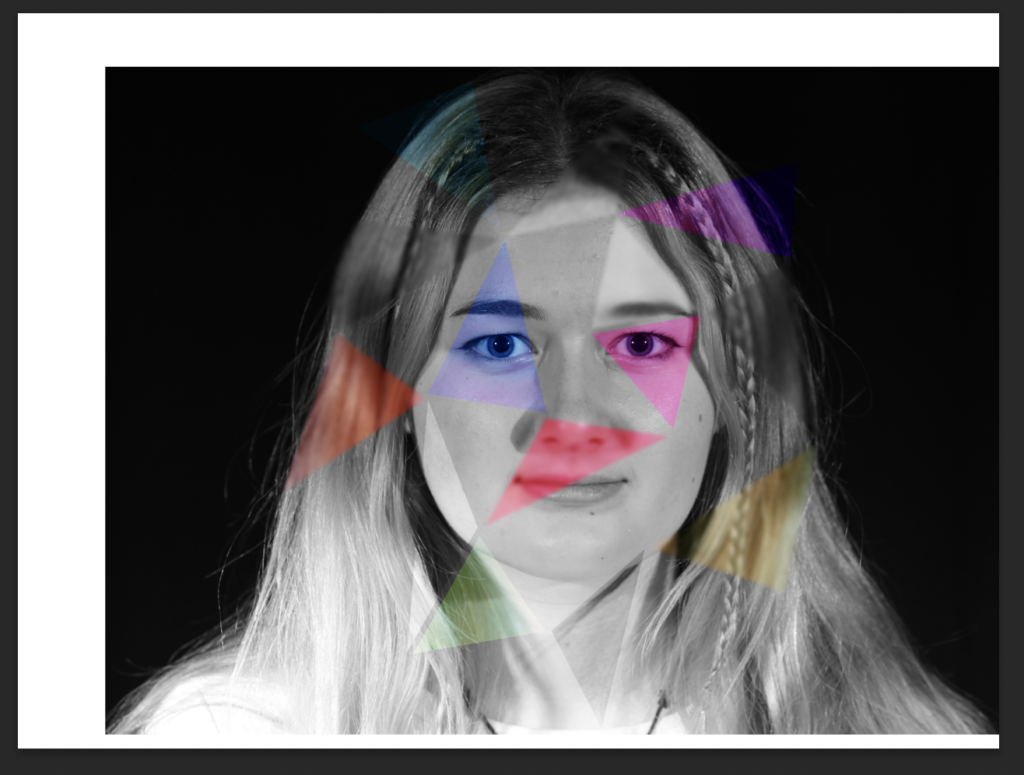
Finally, I flattened the image and cropped it.
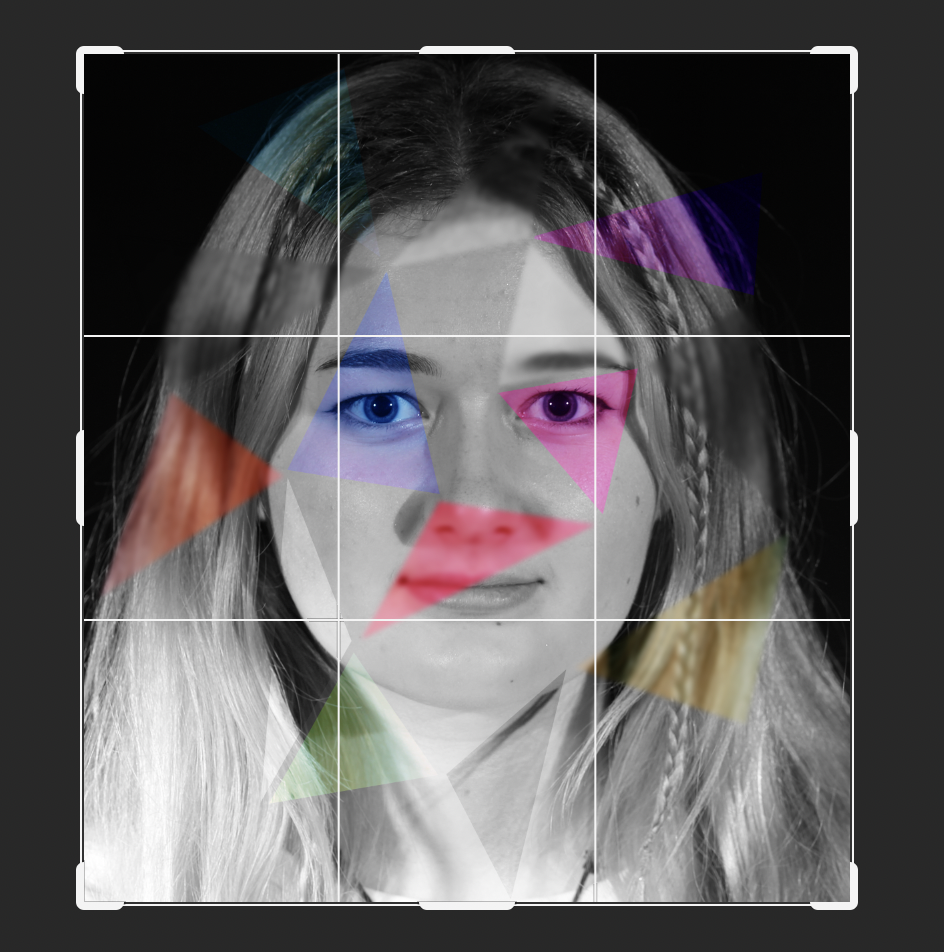
This is my final result:
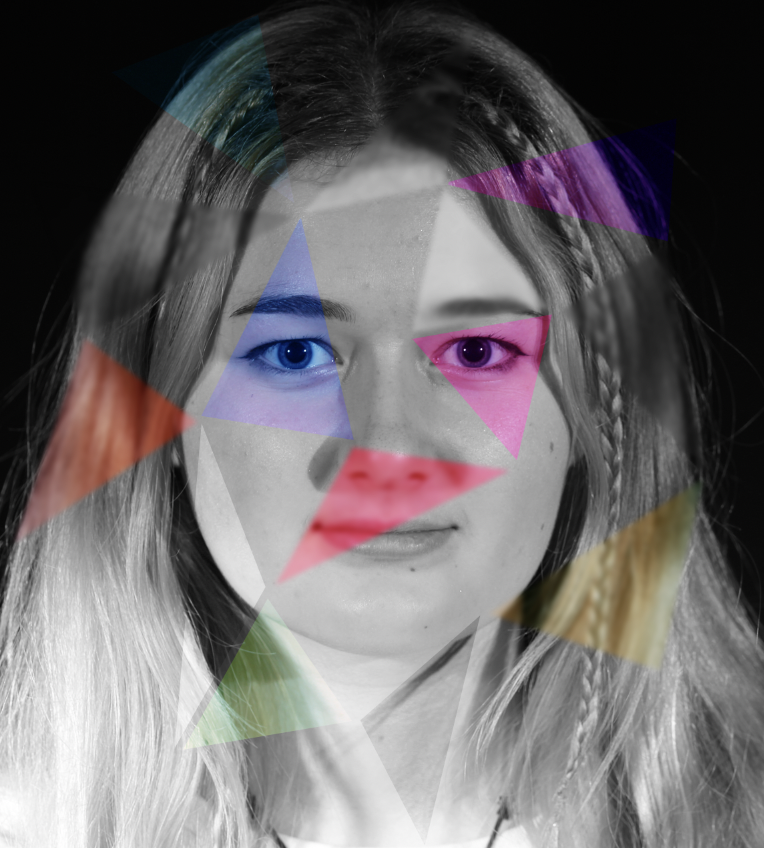
Edit 4
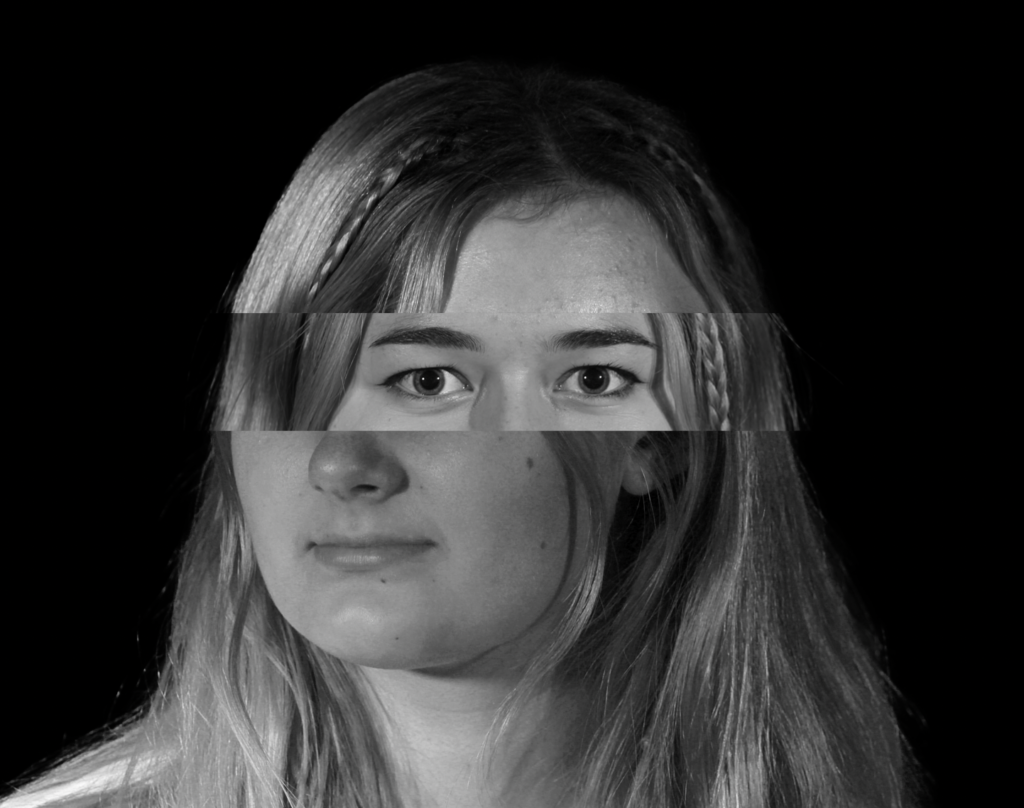
My plan for this edit it to use the following 3 photos as different sections of the face, with the middle one being just a small section containing her eyes.
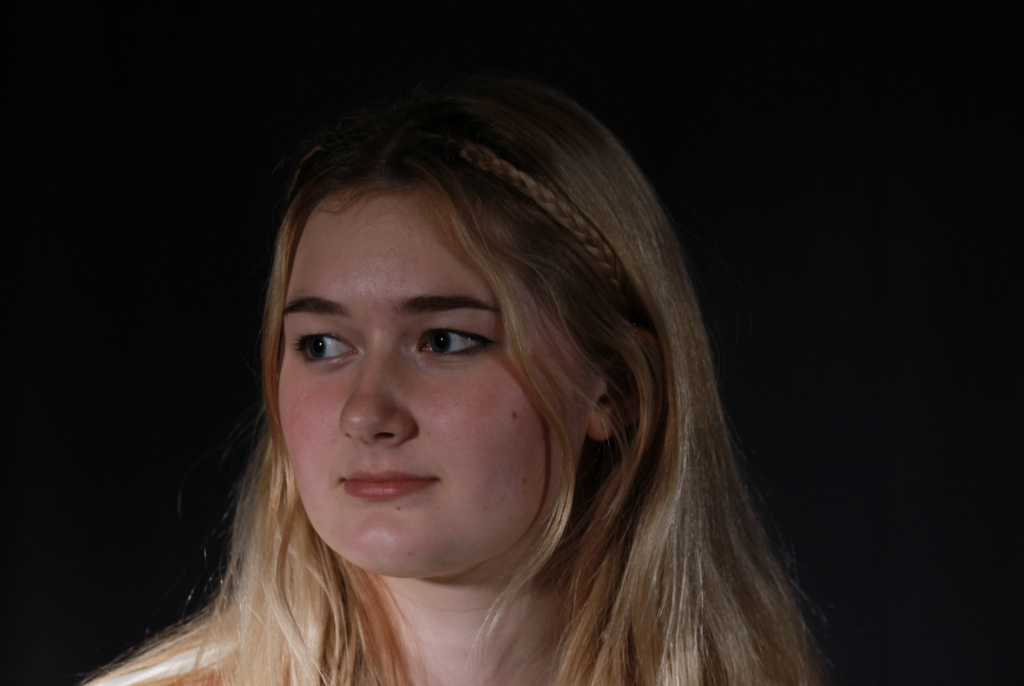
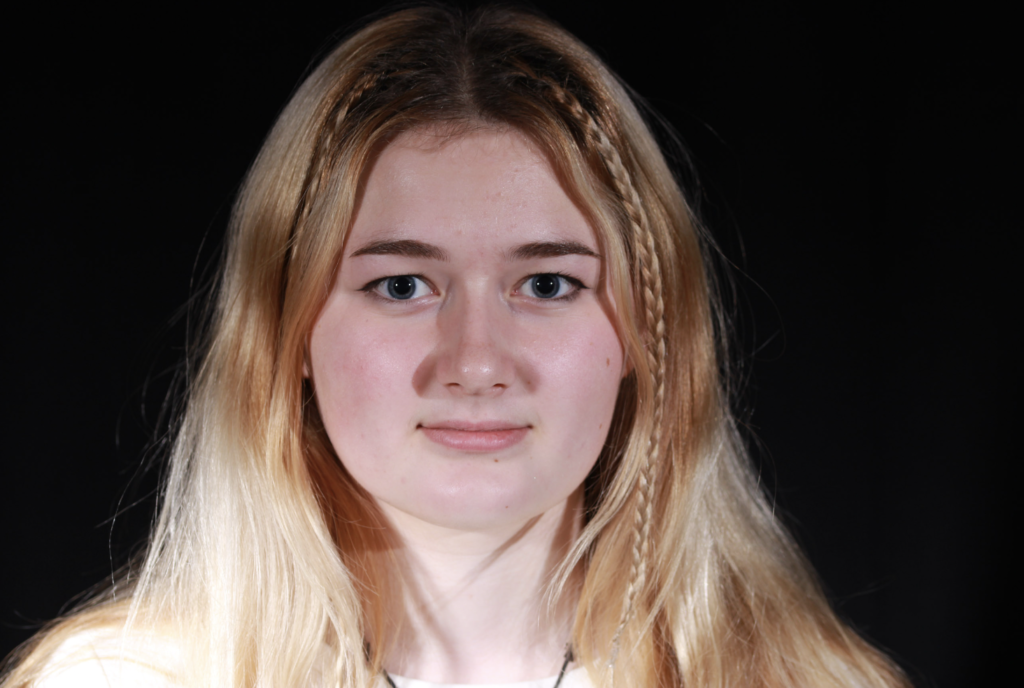
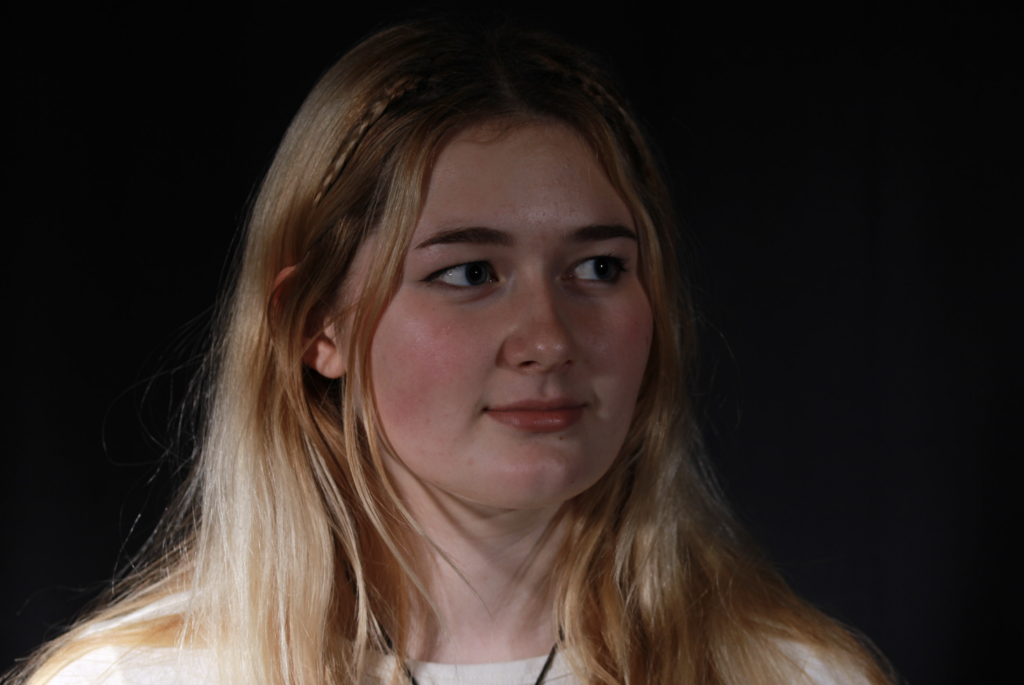
I started this off by opening each image in Adobe Photoshop and creating background copies so that I could copy and paste them onto a blank document, however, before that I cropped them as to how I would like them. I used this image as the background:

Then, I cropped the following images and aligned them so that the sides of her head match up for each layer
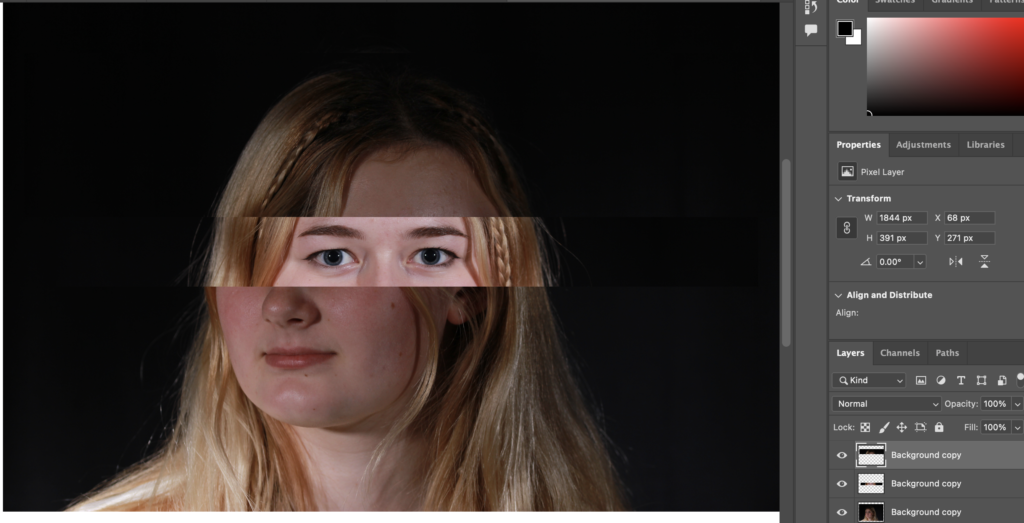
Finally, I edited each layer so that they are B&W and match up well together.
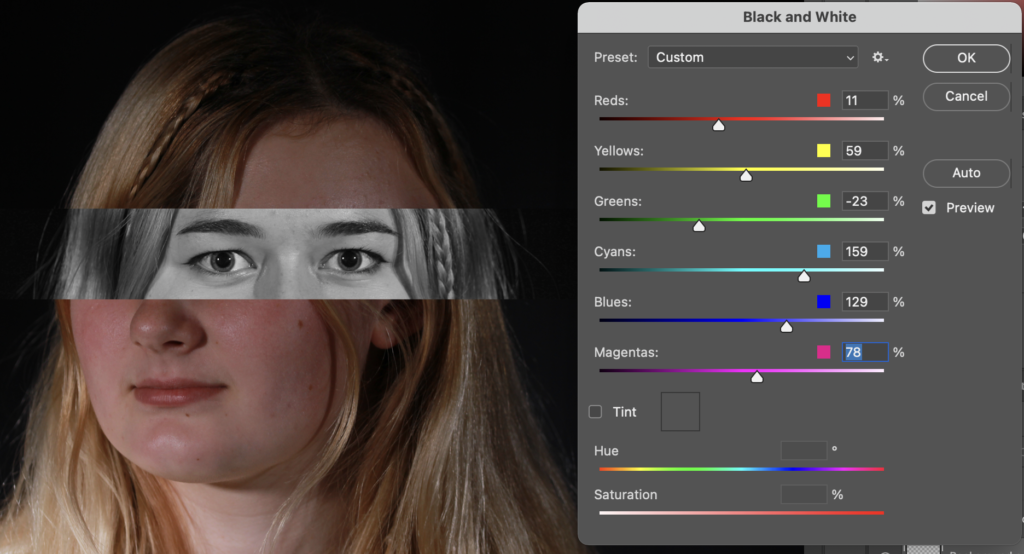
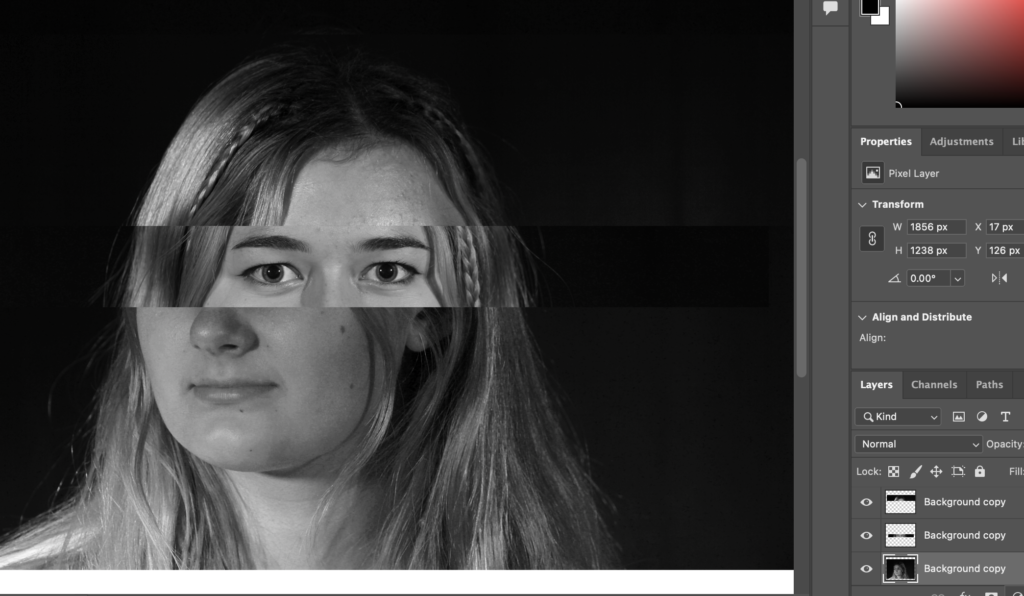
This is my final result after cropping it and regulating the background by selecting it and using the brush tool:
Edit 5
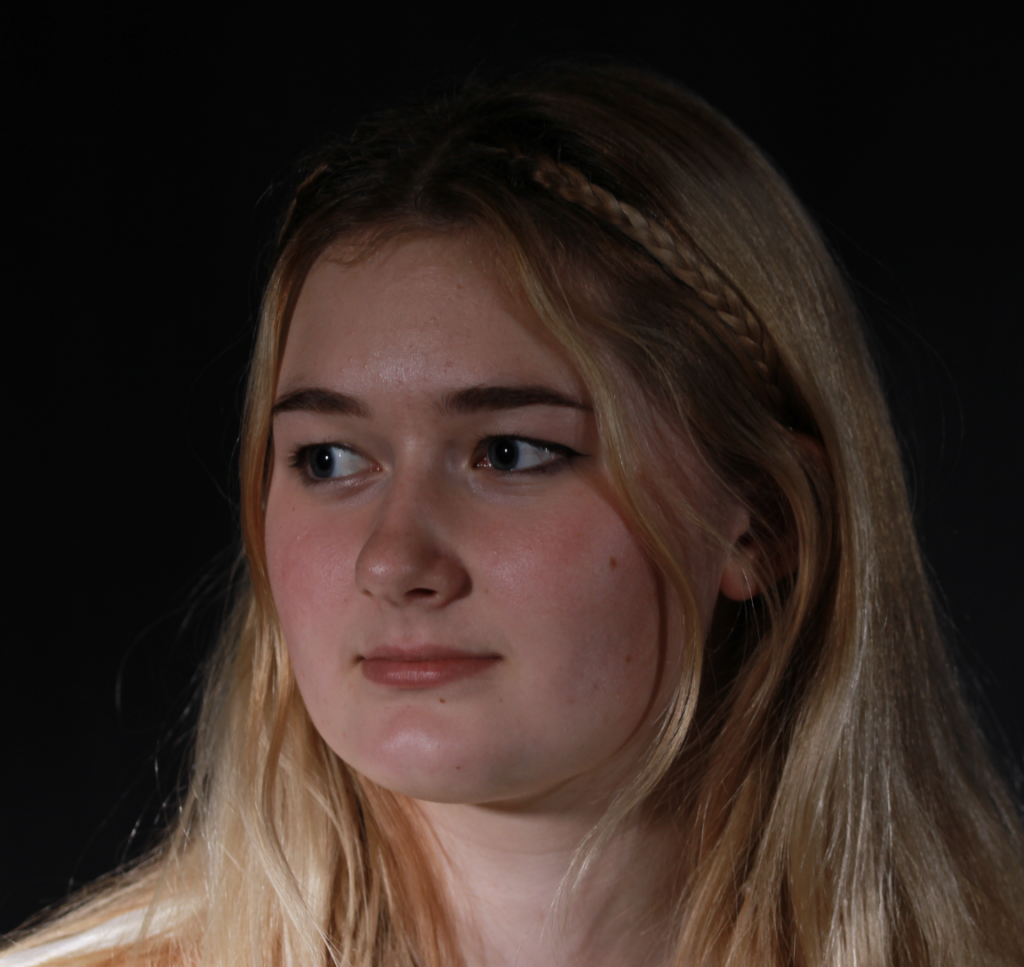
I used this image for the background of this montage:
I then opened another image and used the lasso tool to make swirl cut out and copy and paste it onto the other image.
This is the image I used:
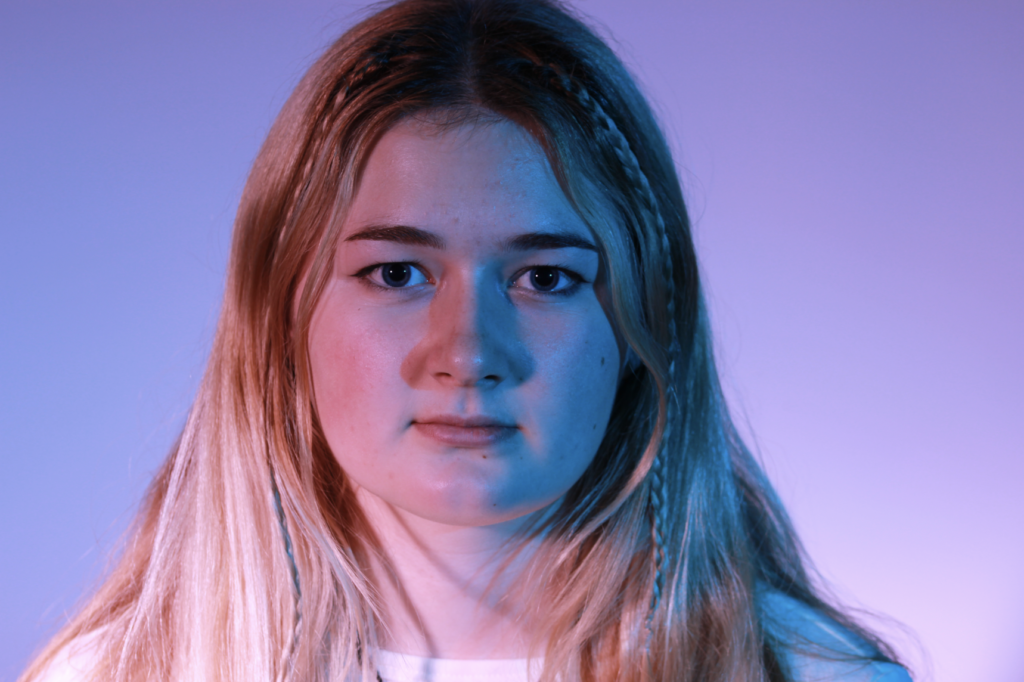
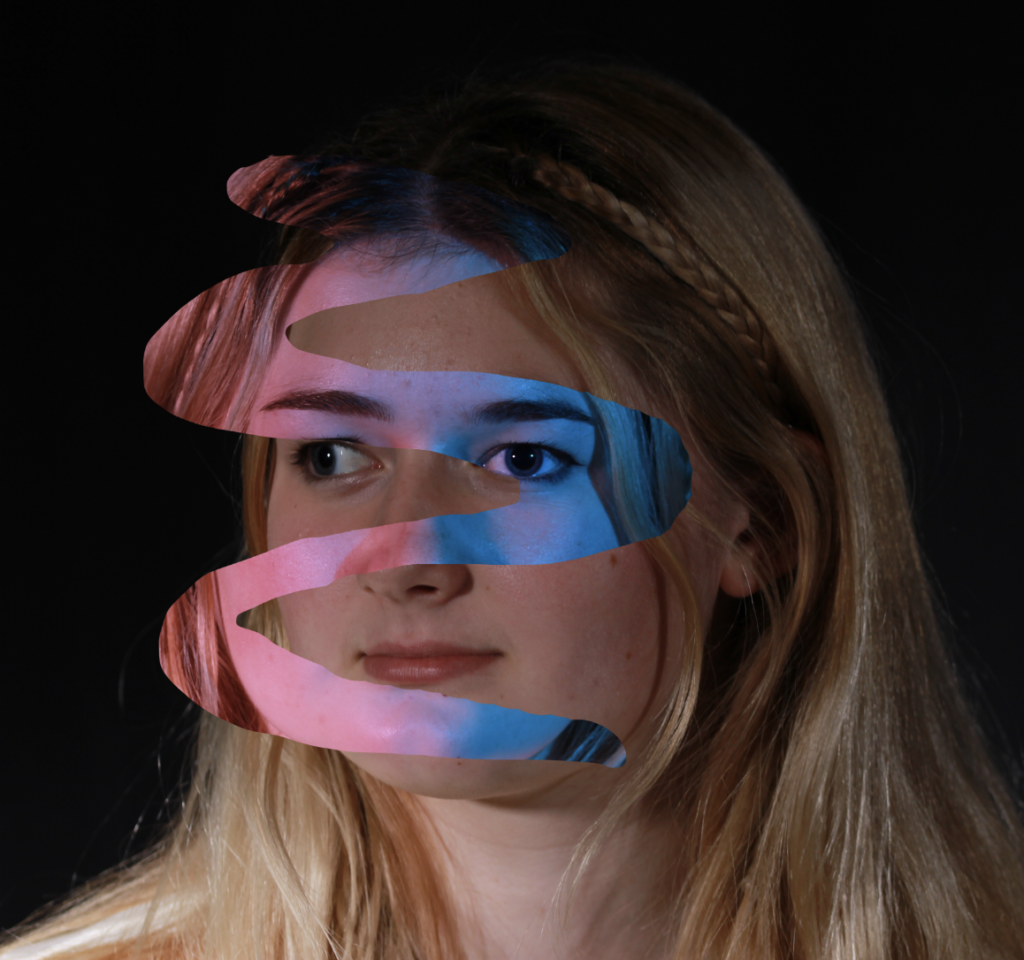
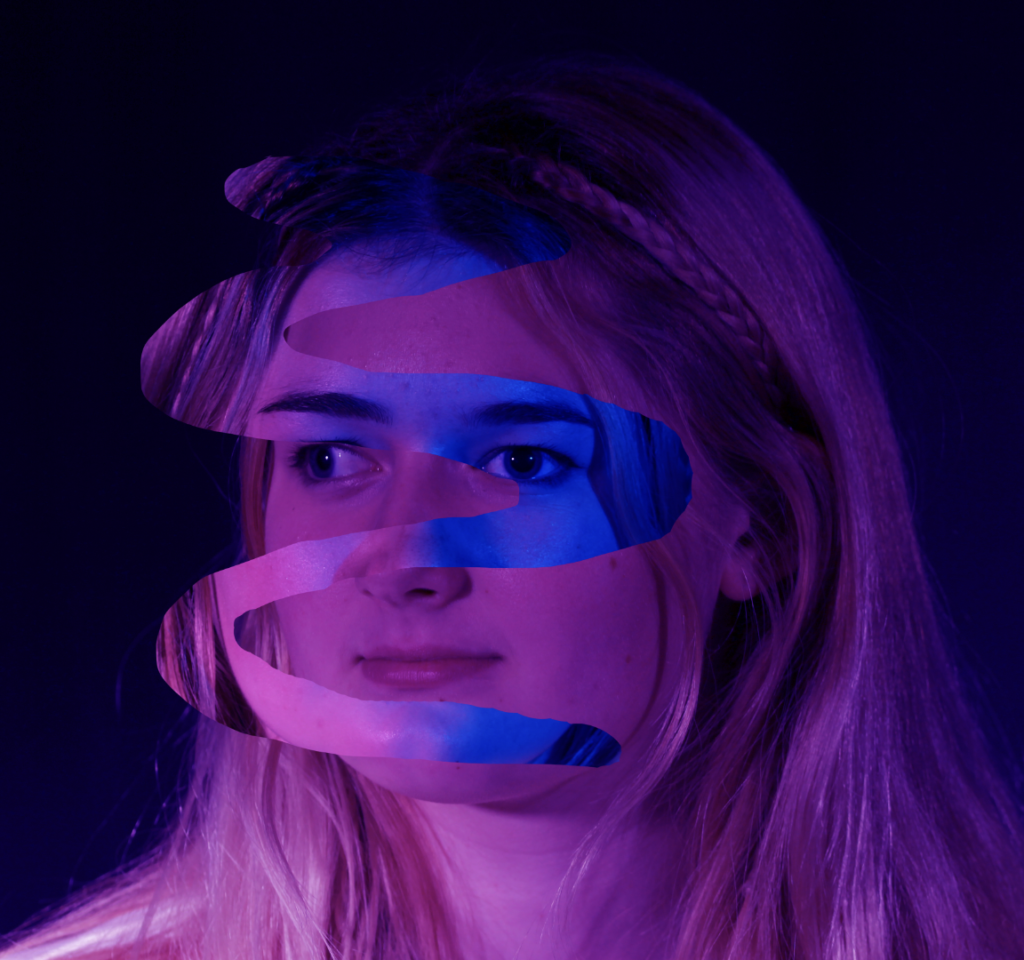
I then added some colour to each layer to make the edit more interesting and this is my final outcome:
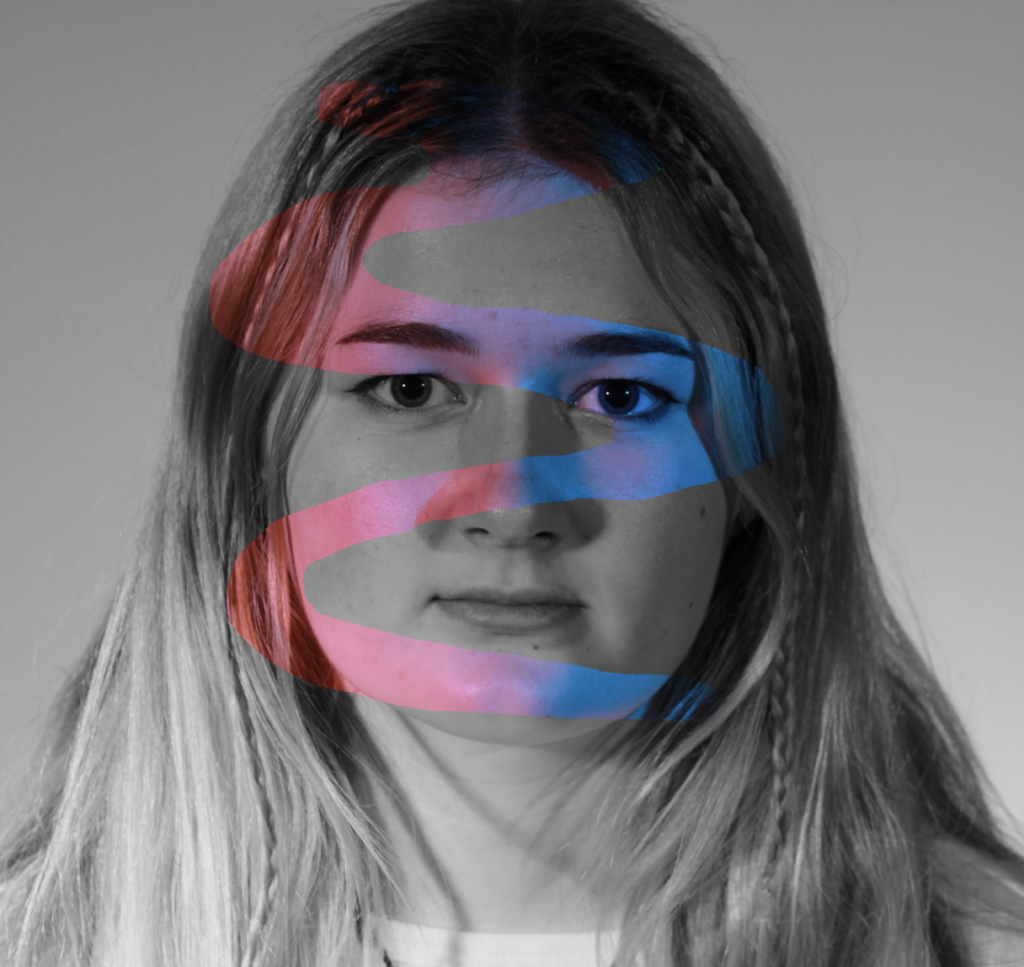
I also made this using the image that I cut the part out of and just changed the colour of it to B&W.
Evaluation
My Final Outcomes



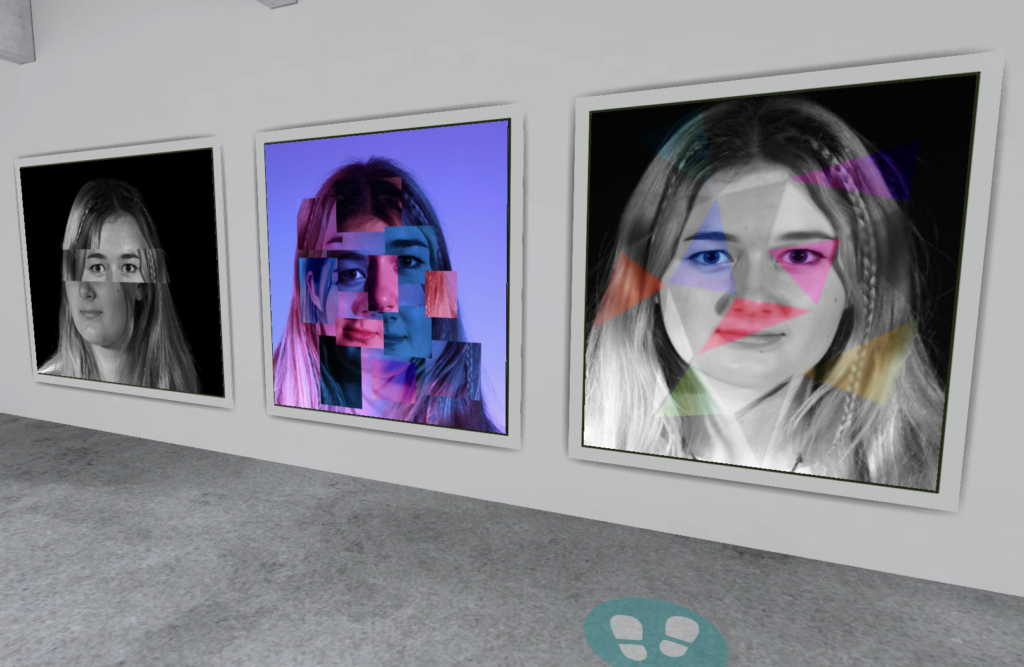
Virtual Gallery
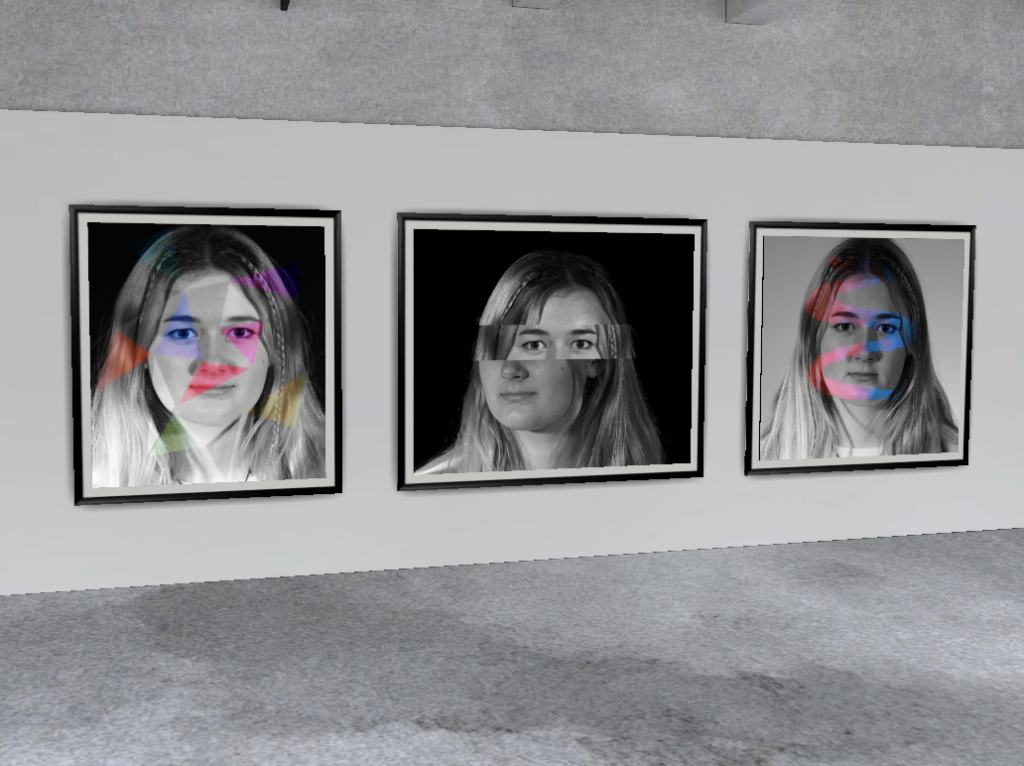
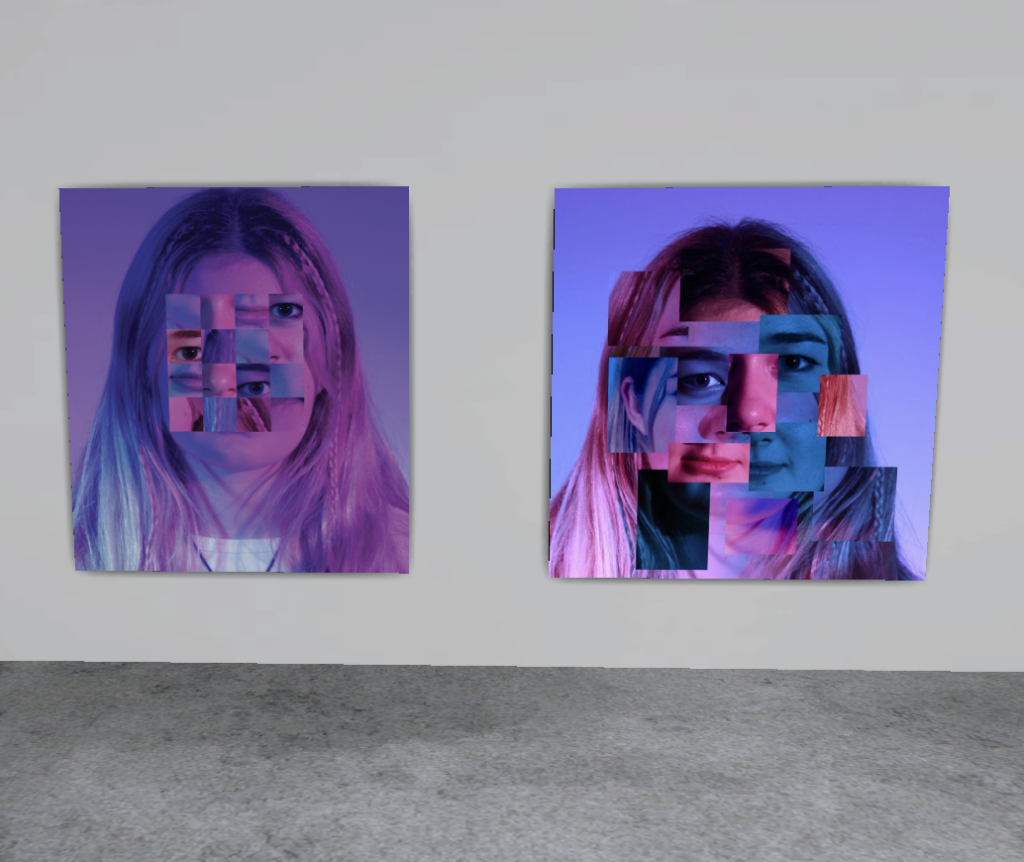
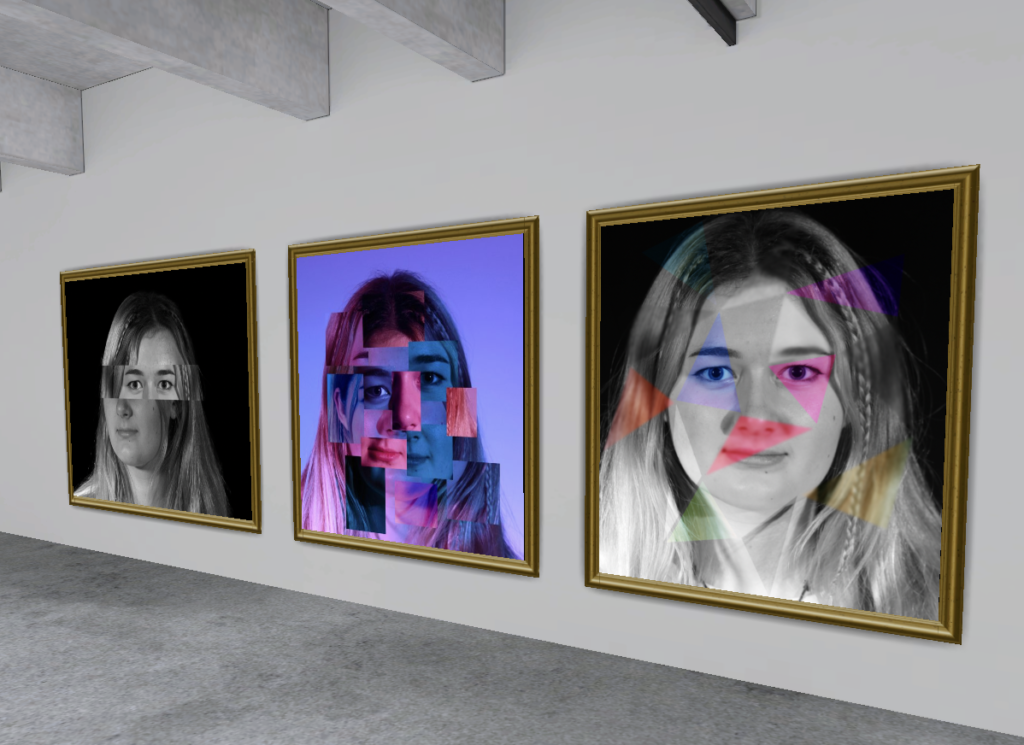
Evaluation
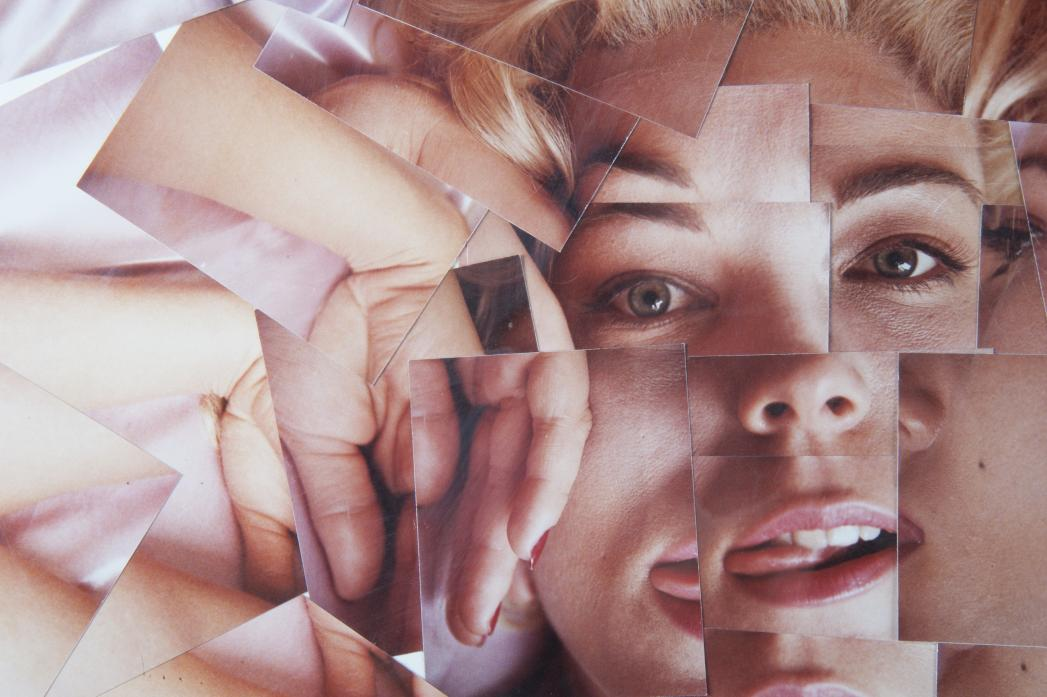
Overall, I think I have created some interesting photo montages, however, none of them are noticeably similar to Hockney’s. I think that my image which is most similar to the work of Hockney’s is this image:

This is due to the small squares which create a photo, however, the squares in mine are jumbled up.

This image is also quite similar to Hockney’s as it does consist of smaller images joined together to create a larger one, although a distorted larger image.

This is my personal favourite outcome because I like the use of different colours and the blur and I just think it all works out together very nicely.

I think this is my least successful photo as it looks a bit silly, however, it was good for experimentation and learning.
