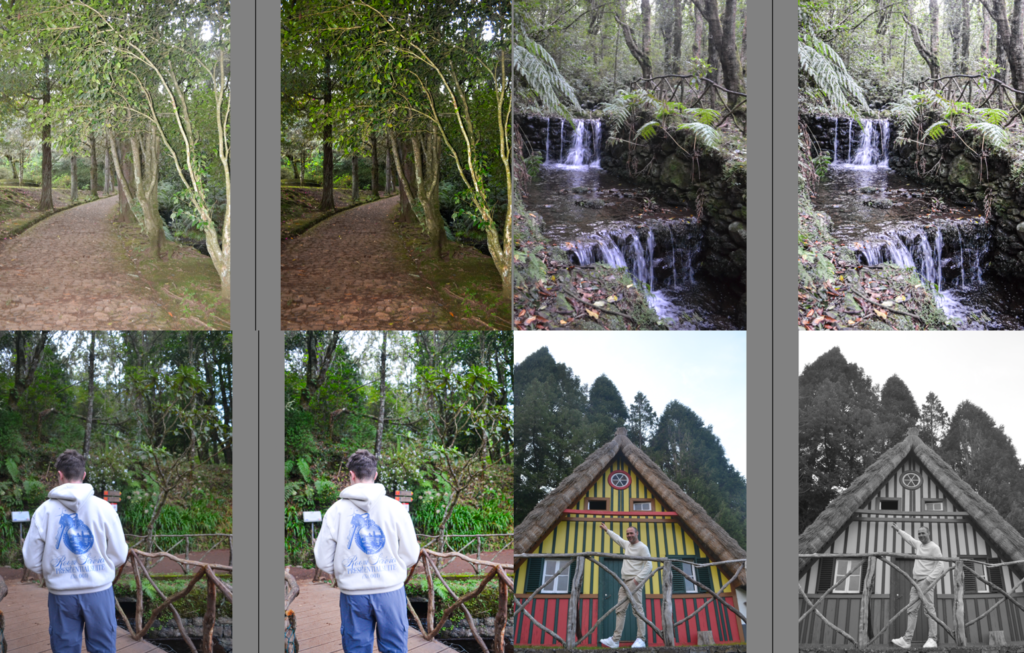
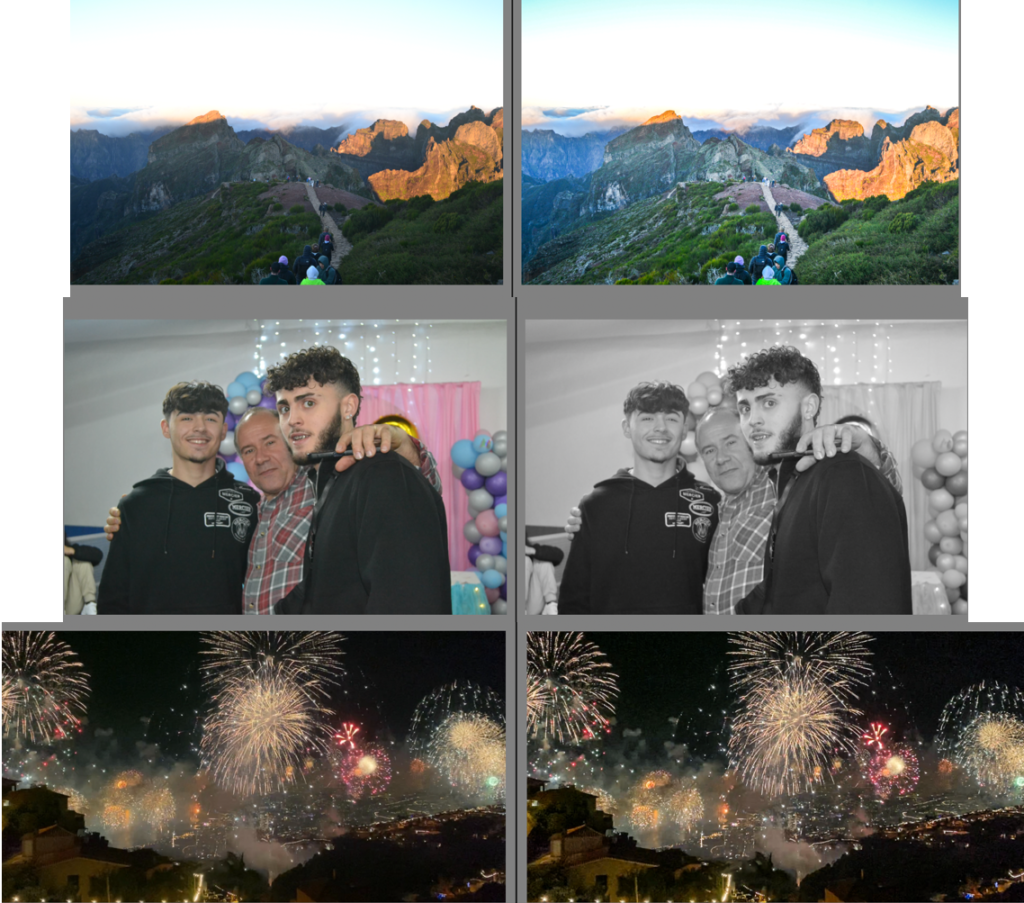
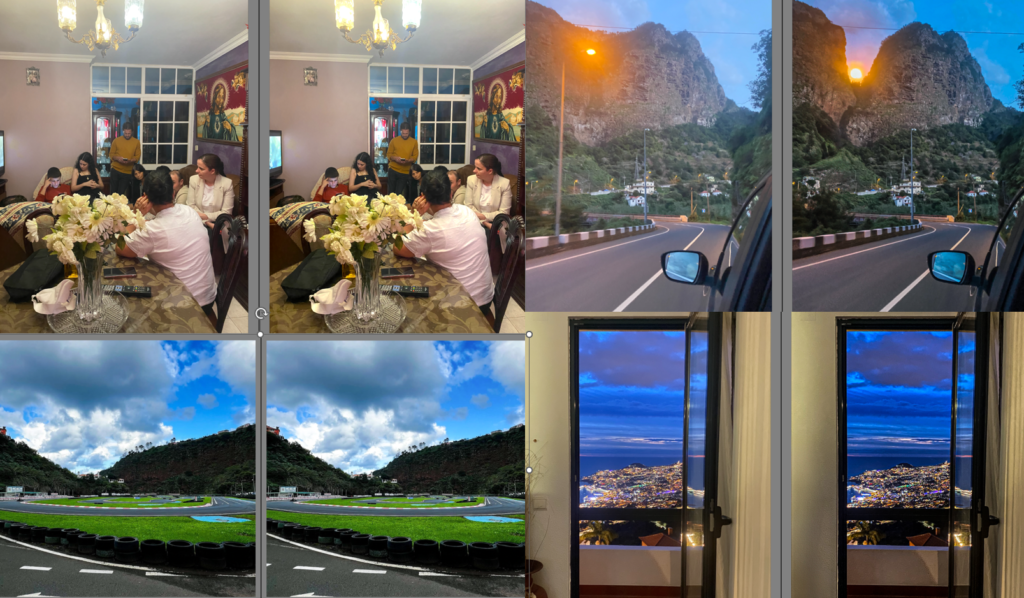
For my third photoshoot I took a photoshoot of different places in madeira and photos of my family there too. I decided to do this because it will show a bit of my family background and what culture I come from.
Below are some of the edited images I am going to use in my photobook. This photoshoot was very fun to do because it made me close to my family since we spent a lot of time together and we explored different parts of the island we have never been with amazing views.
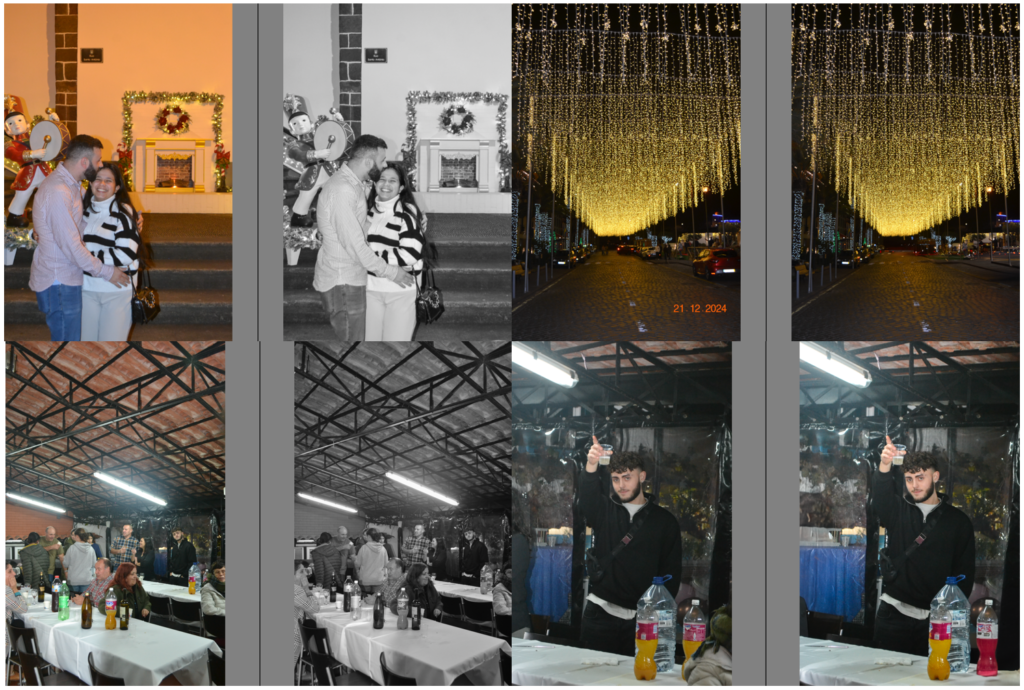
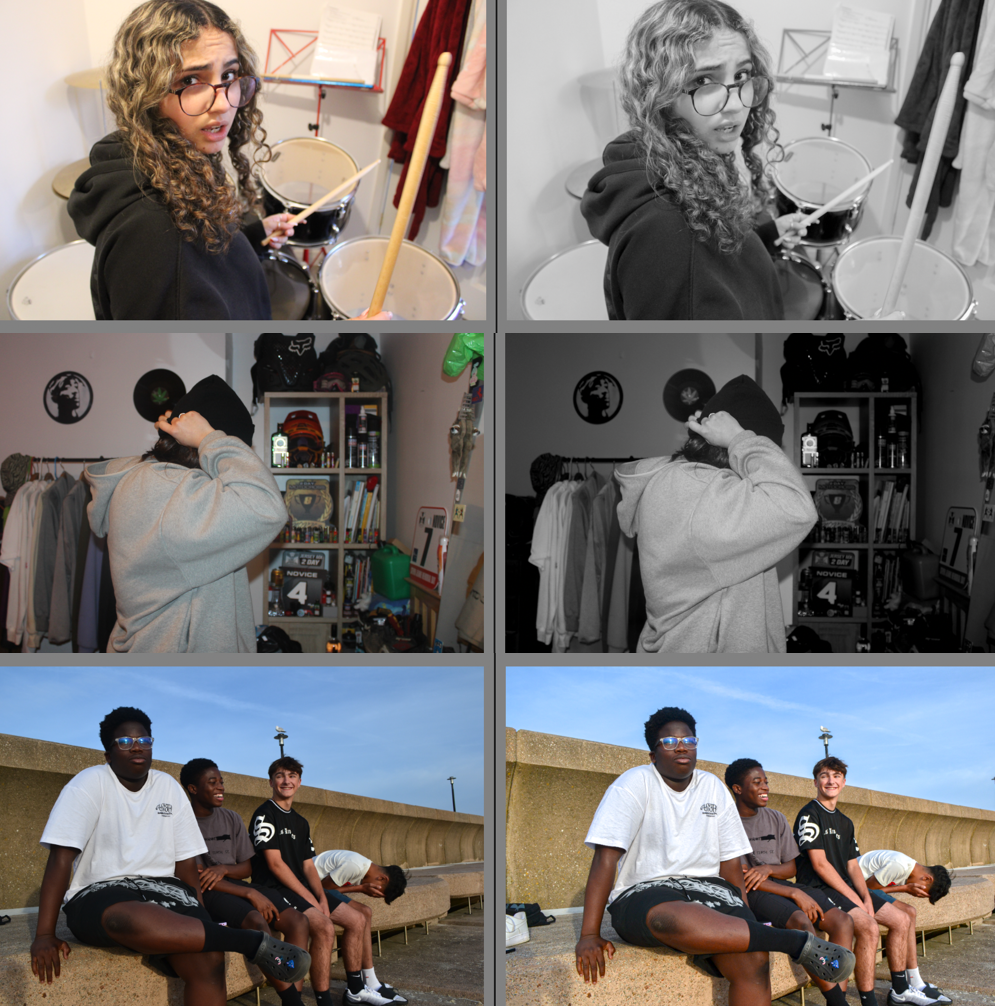
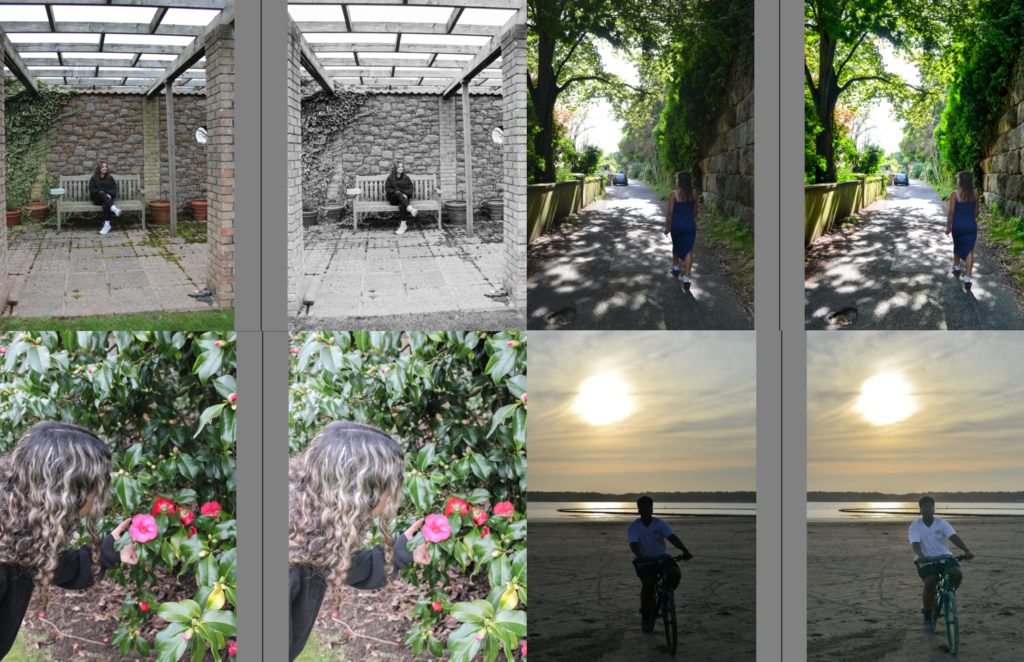
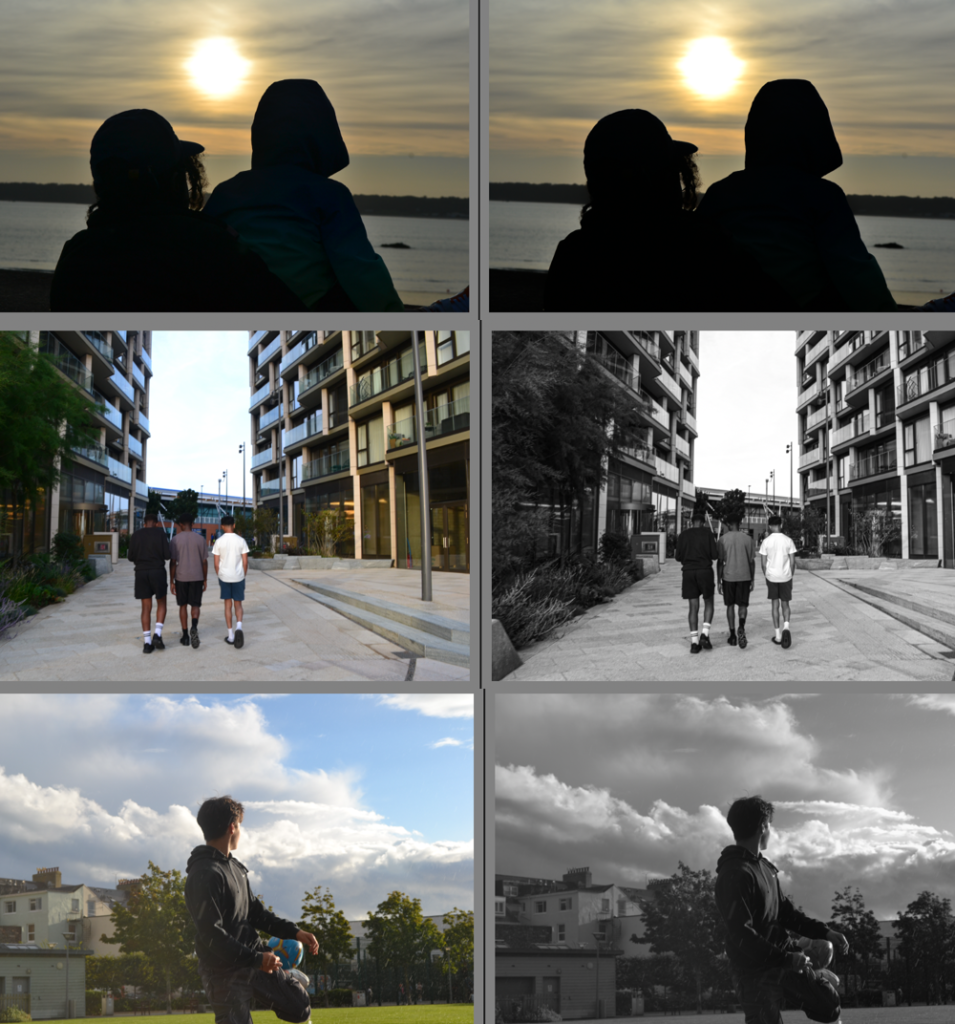
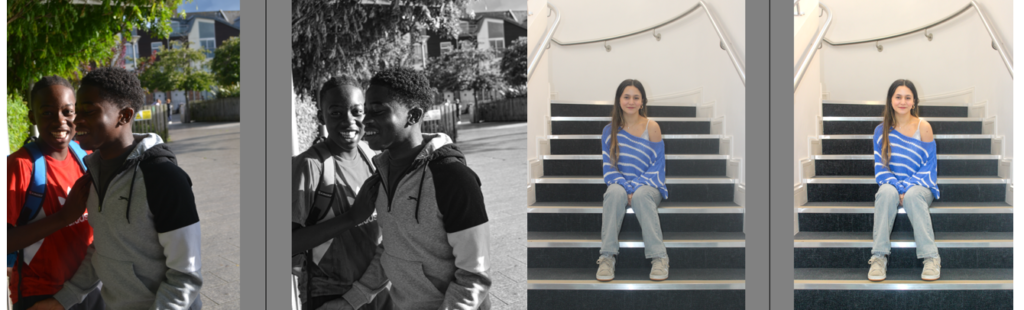
For my second photoshoot I took portraits of my friends of them doing what they love doing, being at their favourite place, having fun and posing. This photoshoot represents teenage life with friends and some people who I grow up with.
Below are some of the edited images I am going to use in my photobook.
Most of the photographs are black and white because in my opinion it creates a sense of drama and mystery nut also shows the different tones of black and white which make it stand out.
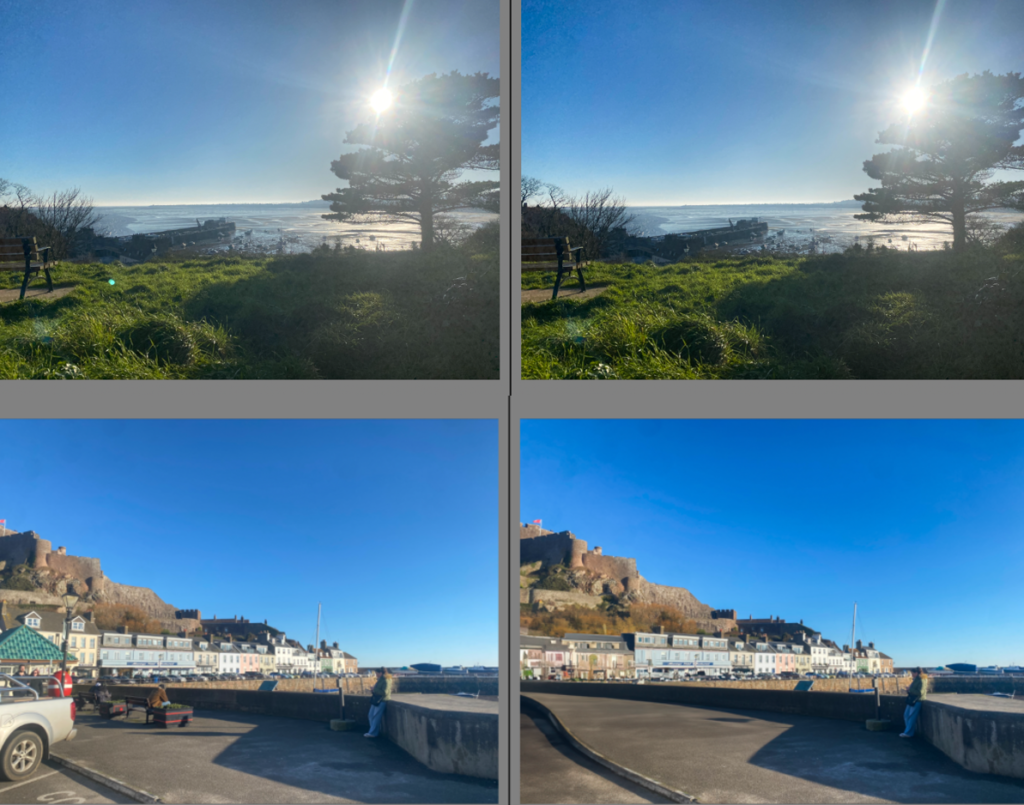
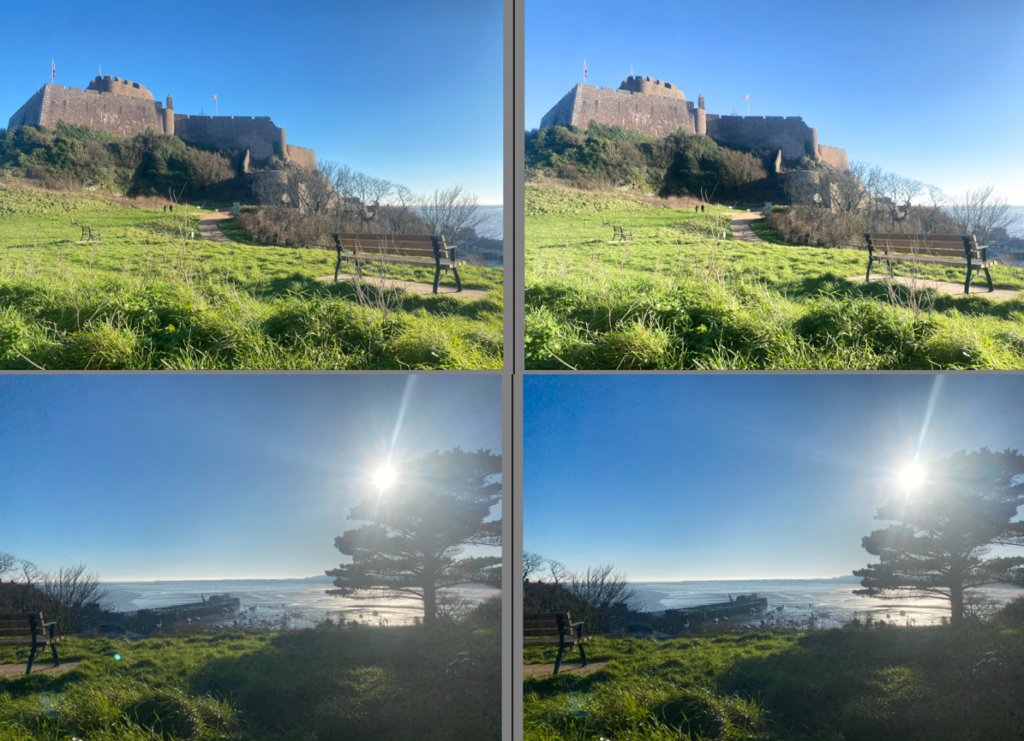
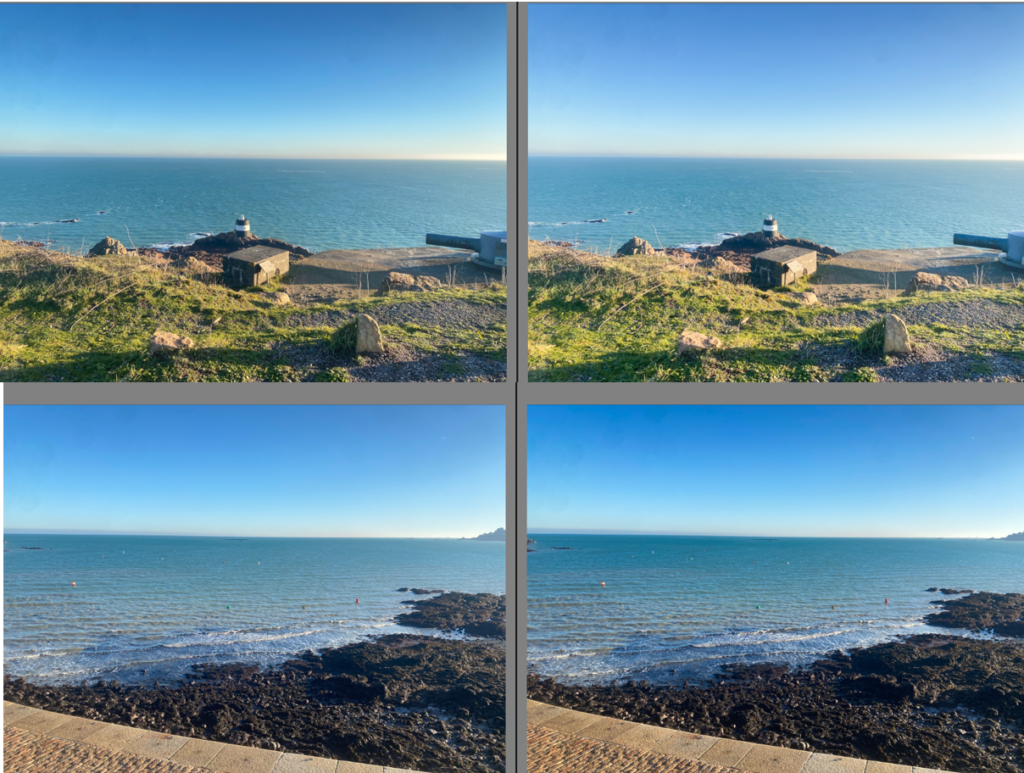
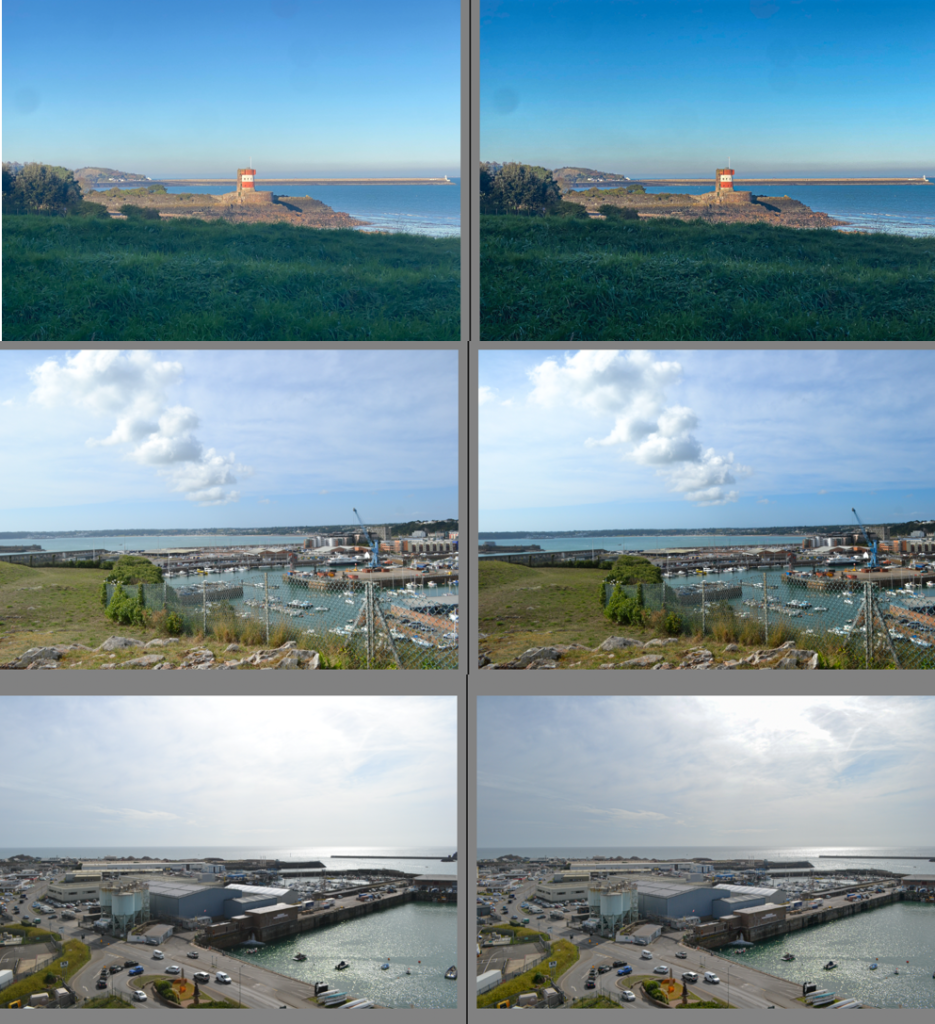
For my first photoshoot I took some pictures of different places that represent jersey such as the harbour, Gorey Castle, le fregate, fort regent, St Catherine’s representing the environment I had when I was born compared to my other culture. And showing the places I have been to the most growing up.
Below are some of the edited images I am going to use in my photobook.
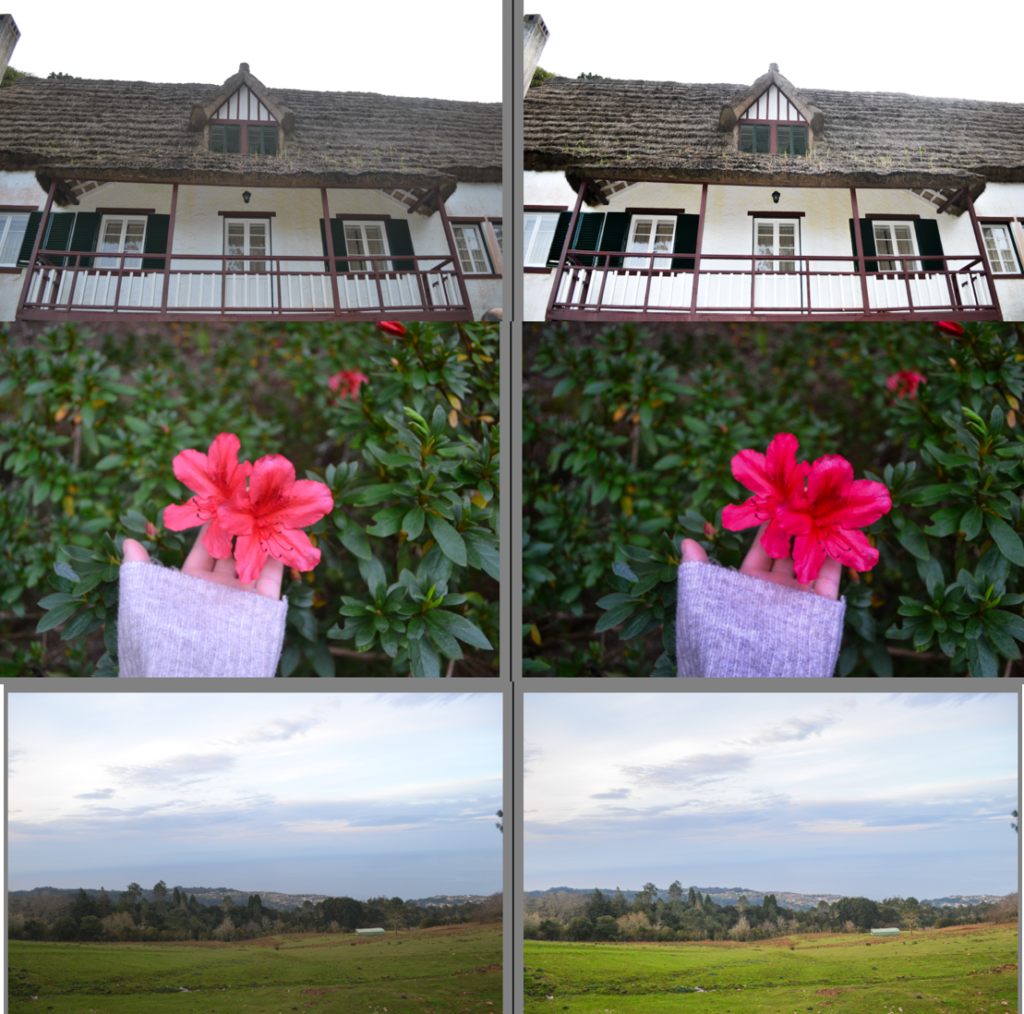
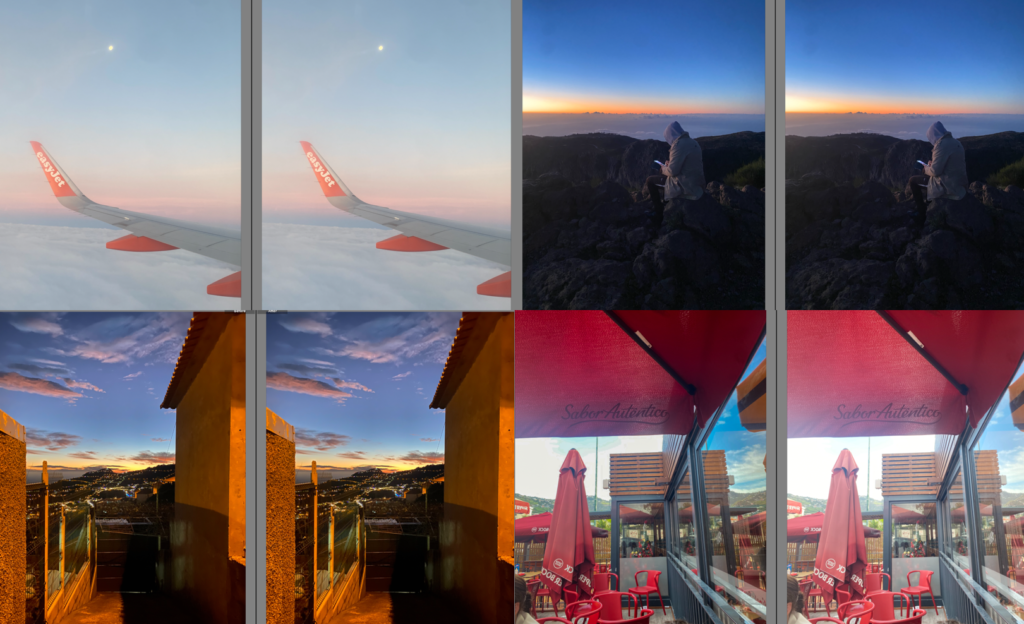
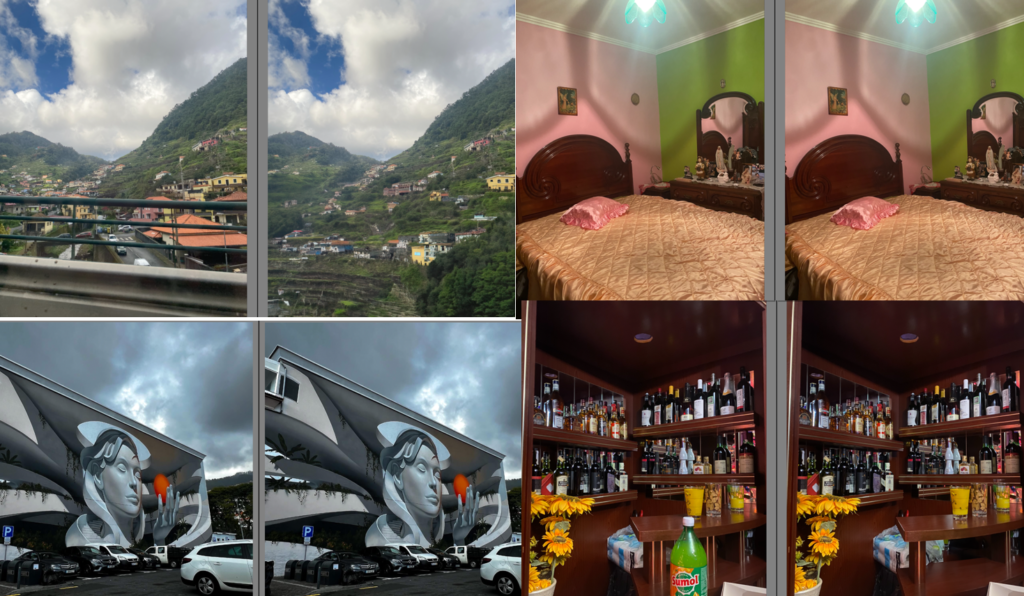
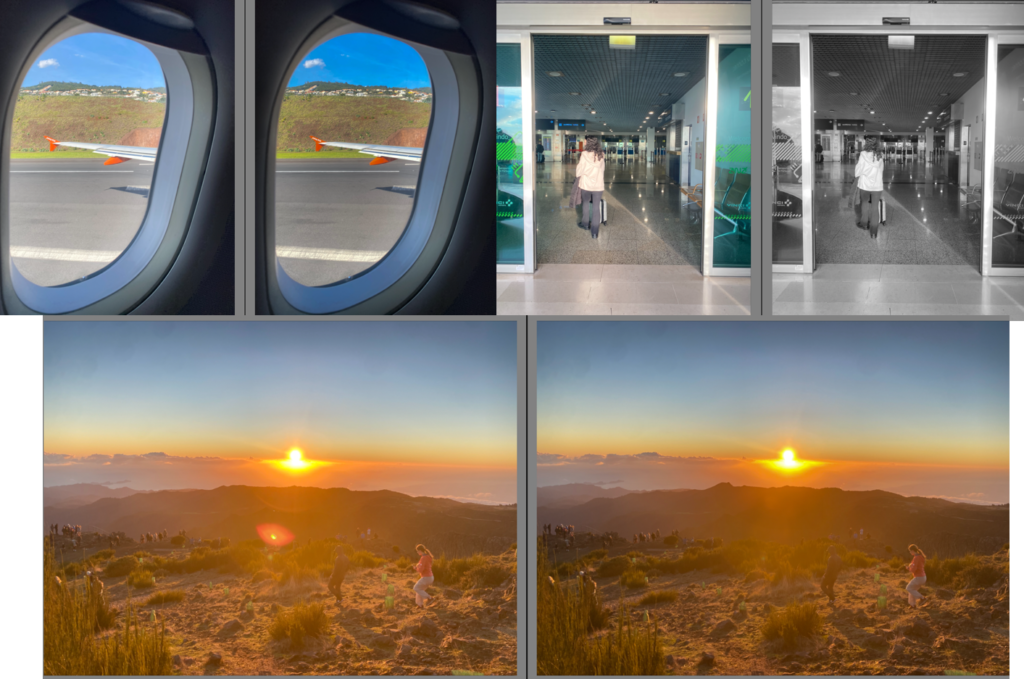
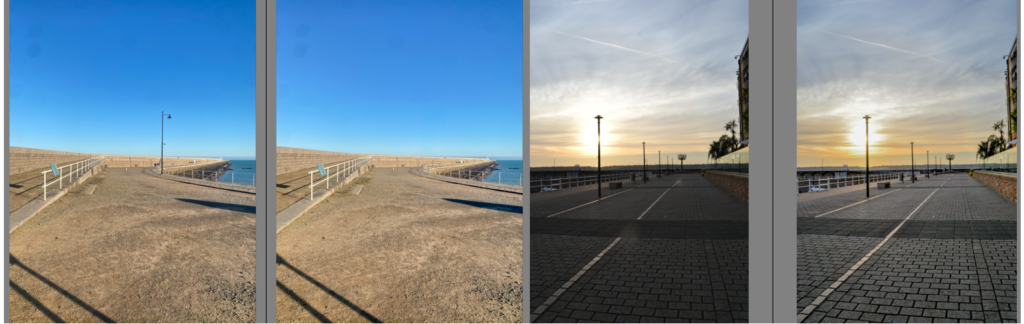
I decided to edit out the car in this image because it looked pretty boring and too busy with a car and chairs in the way. Without it looks more of a calming place to just go for a walk and admire.
For the right image, I thought it was too dark so I made it lighter since it would be more eye catching.
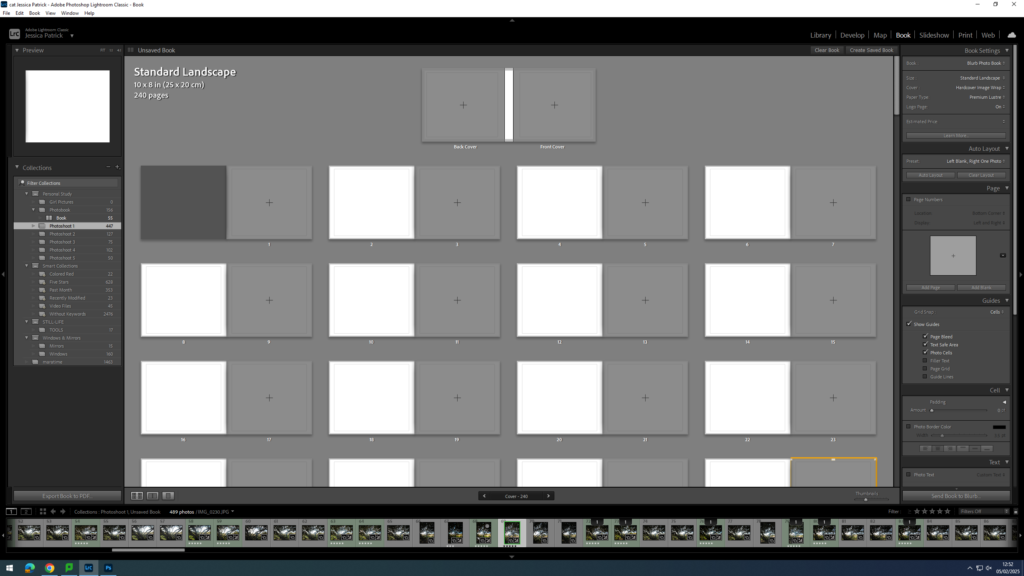
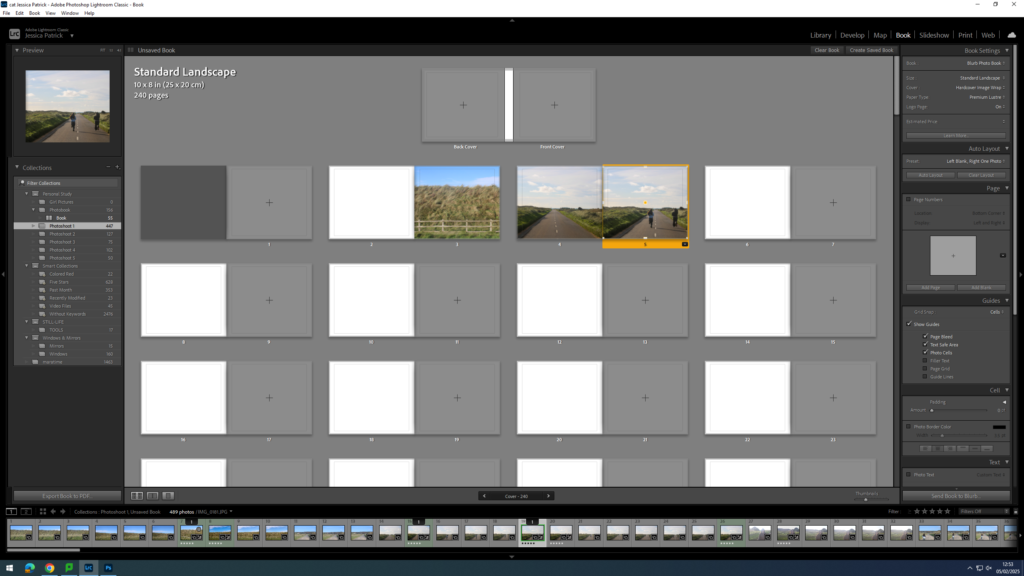
To create my photobook, I used the book mode in Lightroom Classic.
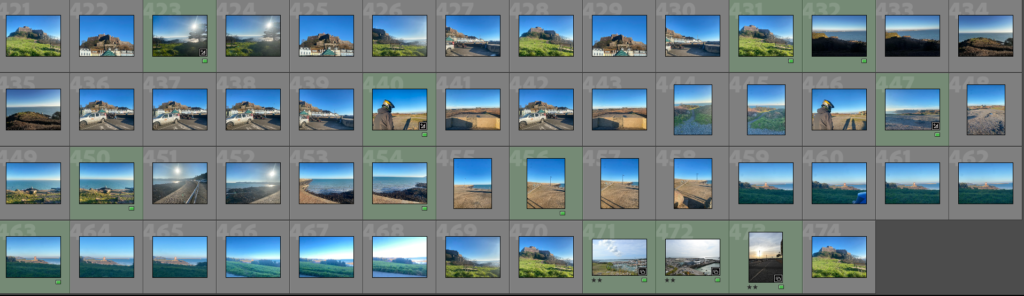
Image Selection
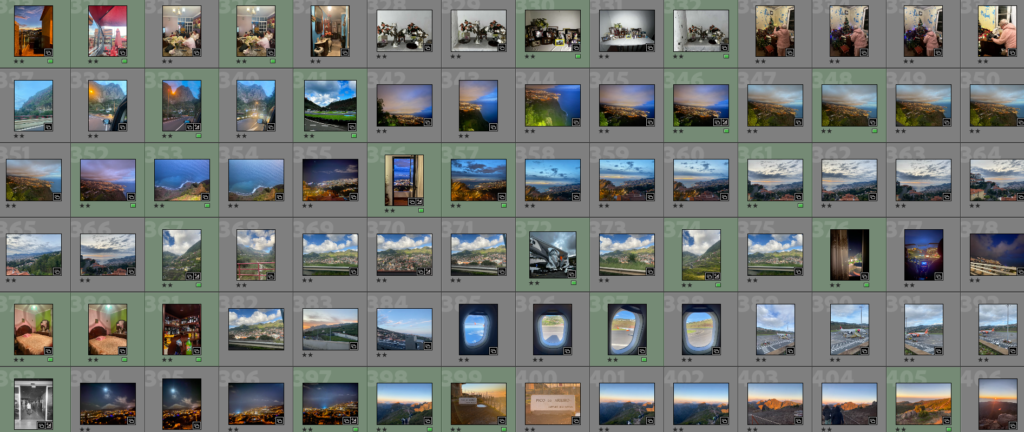
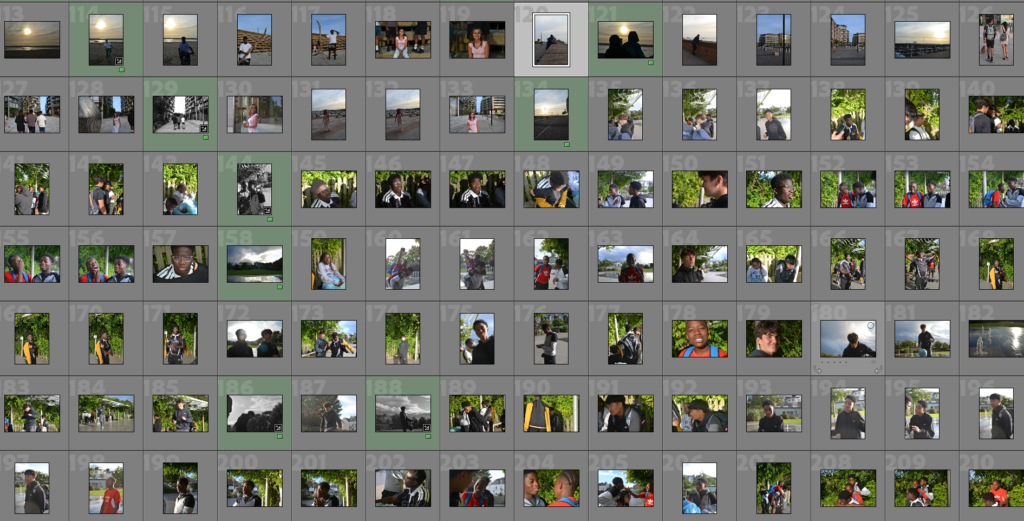
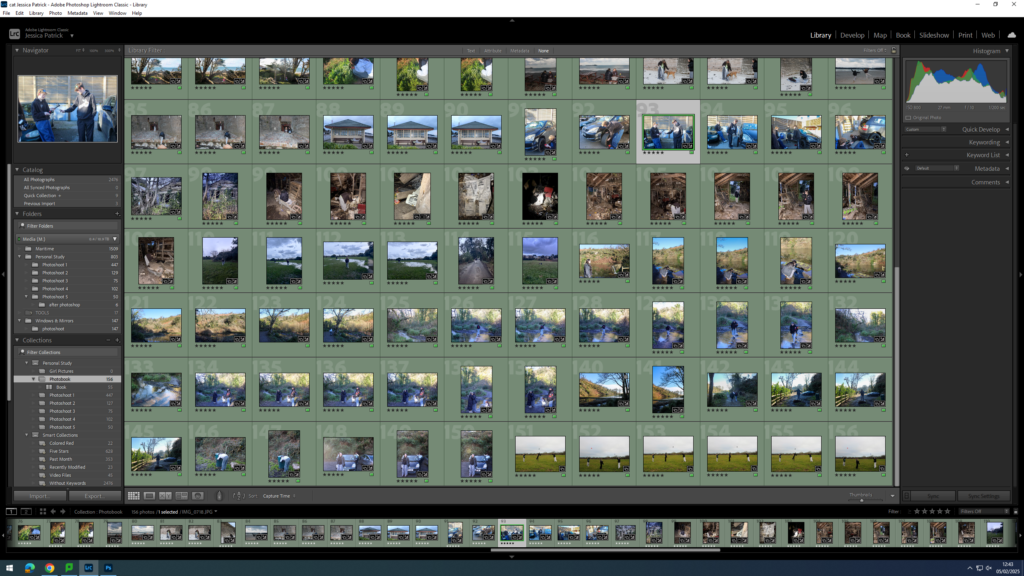
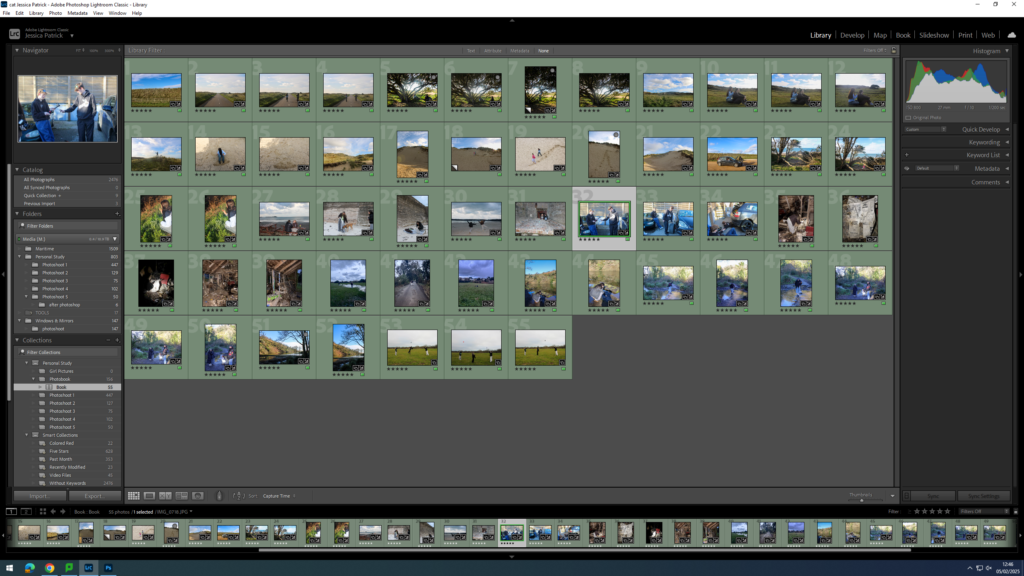
First, I selected all the images, which I have highlighted green and edited in all my photoshoots under this personal study and put them in a new folder called photobook, as they are my best images and the ones I have chosen to use for my book.
Next, I went through my images a removed the images which weren’t in my top 50, as I had selected over 150 images, and this would be way too many pages for my photobook, so instead I aimed for 50 pages.
Setting up my Book
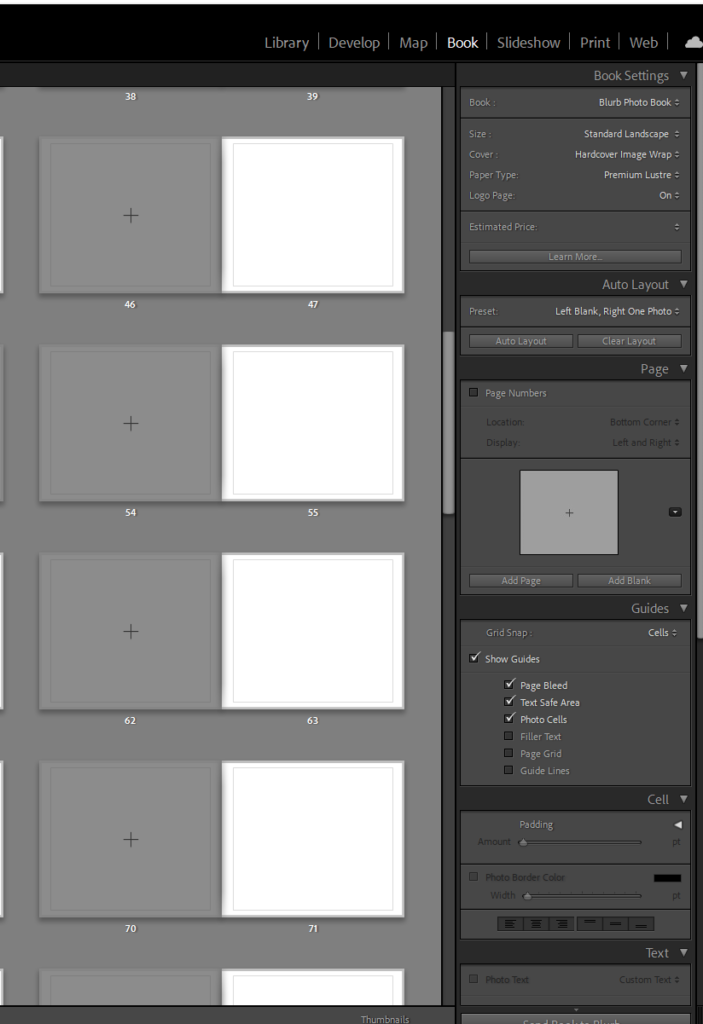
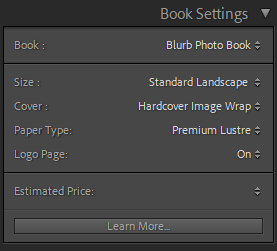
Once I had my finished selection of images, I went into the book setting in Lightroom.
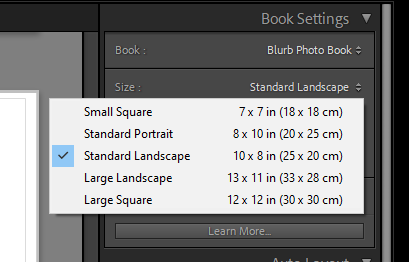
Next, I selected the size and orientation that I wanted my book to be.
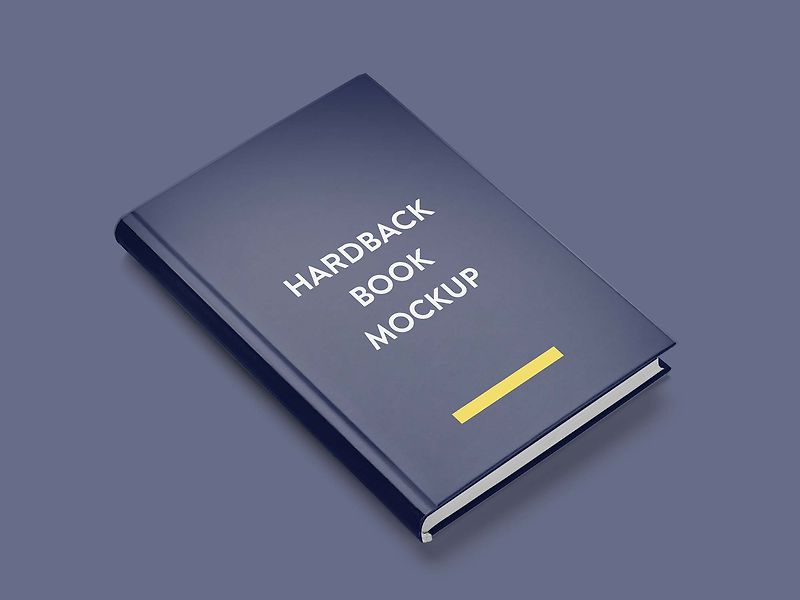
Then, I chose whether I wanted a hard cover or soft cover book, as well as choosing what paper I wanted to use for my book.
I chose a hardcover book, as I feel this would be more aesthetically pleasing for my book. I also chose glossy premium lustre for my paper, which is a glossy paper made for photographs, as I also felt this would be more aesthetically pleasing.
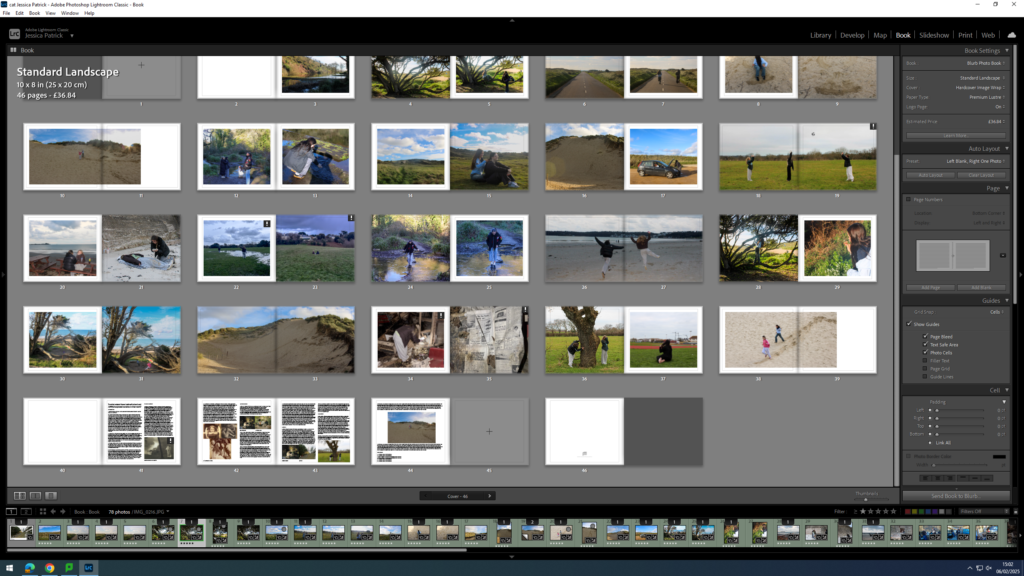
Experimentation
The first thing I did for my photobook, was that I deleted each photo, so that I could start with a blank slate.
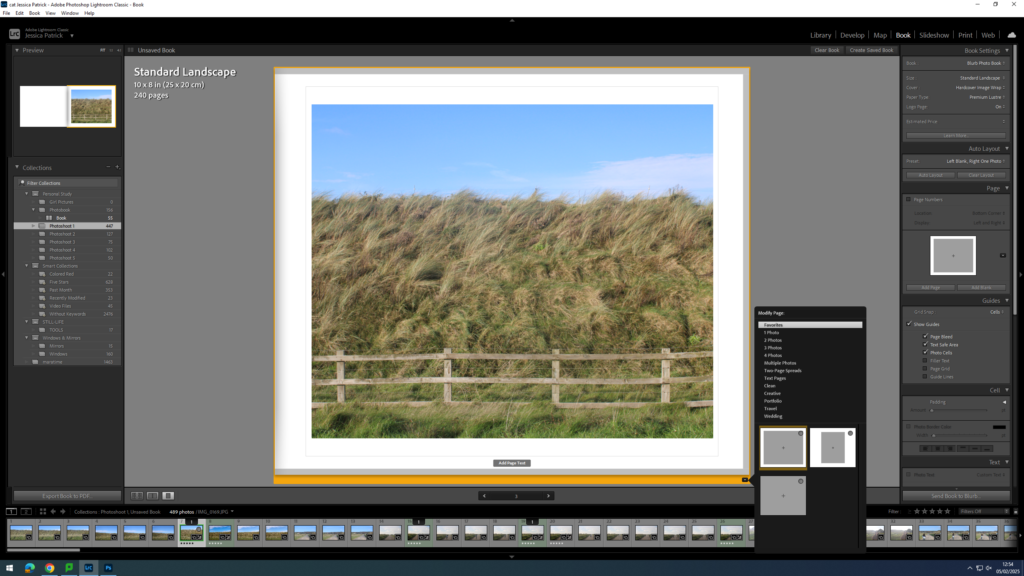
Then, I started experimenting with the layout of my images.
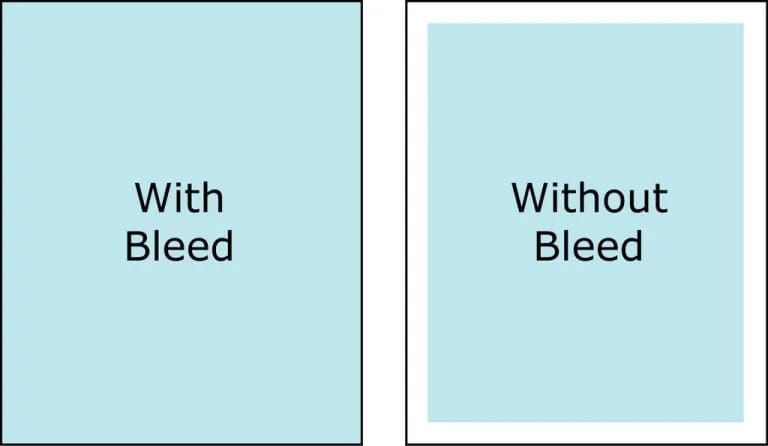
Next, I started experimenting with whether I would like my images to be full bleed, or not.
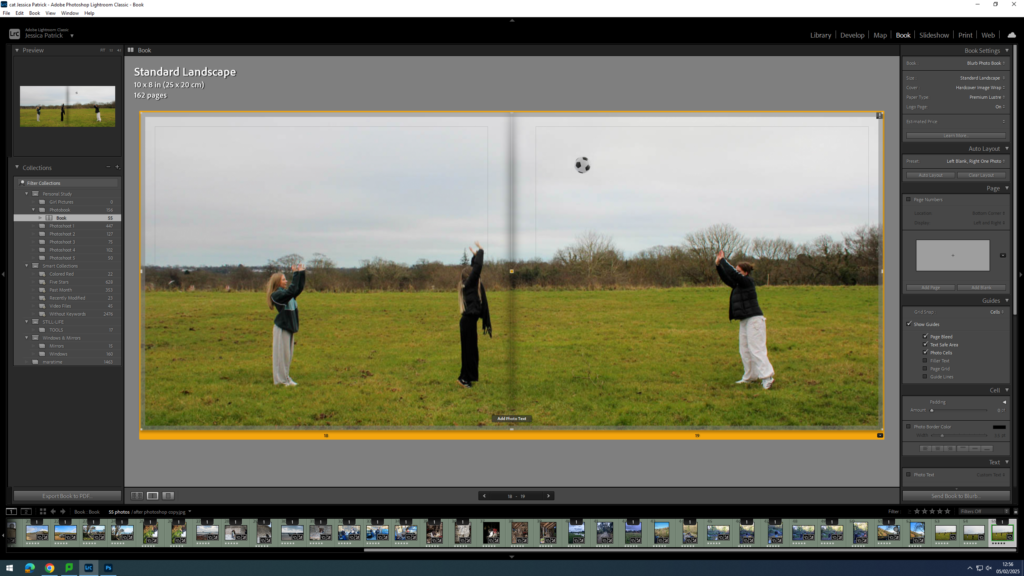
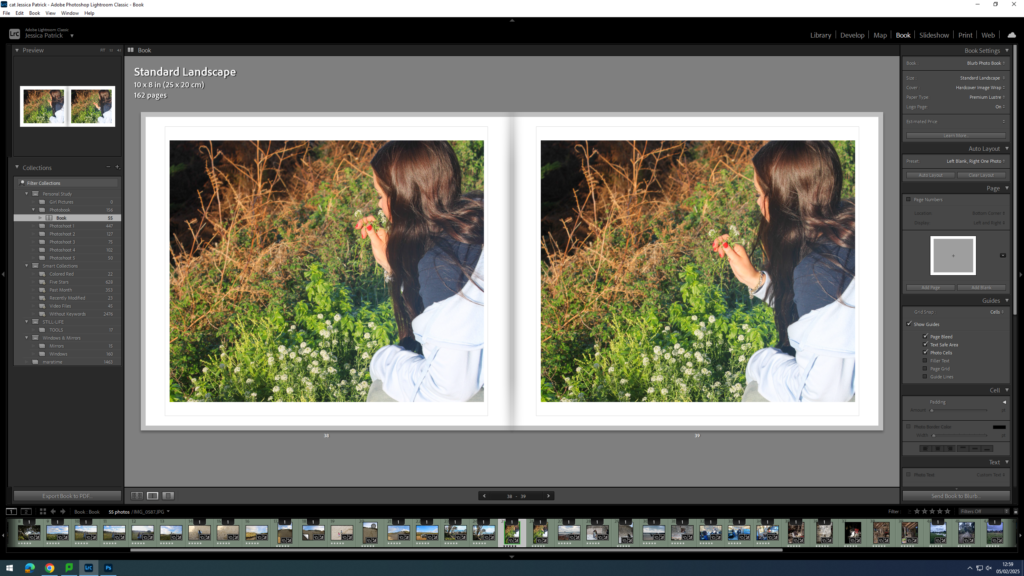
I also experimented with double page spreads.
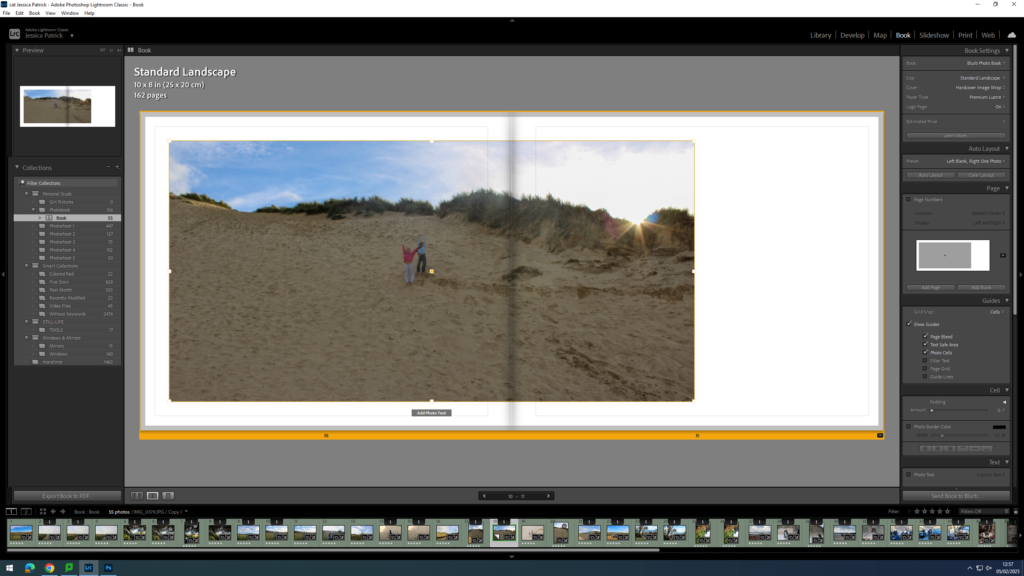
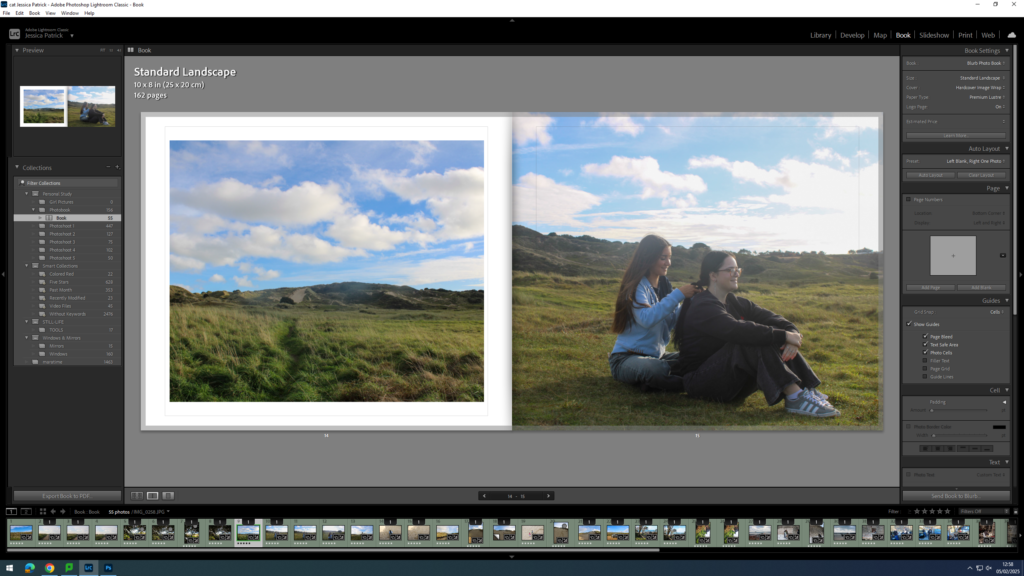
I also experimented with having a three quarter page spread for a specific photo, because the main viewpoint in the image, which was the subjects, were sat in the gutter, which is not aesthetically pleasing, or what I wanted.
I also experimented with the differing the layout of some of my images and having some of my images with a similar layout.
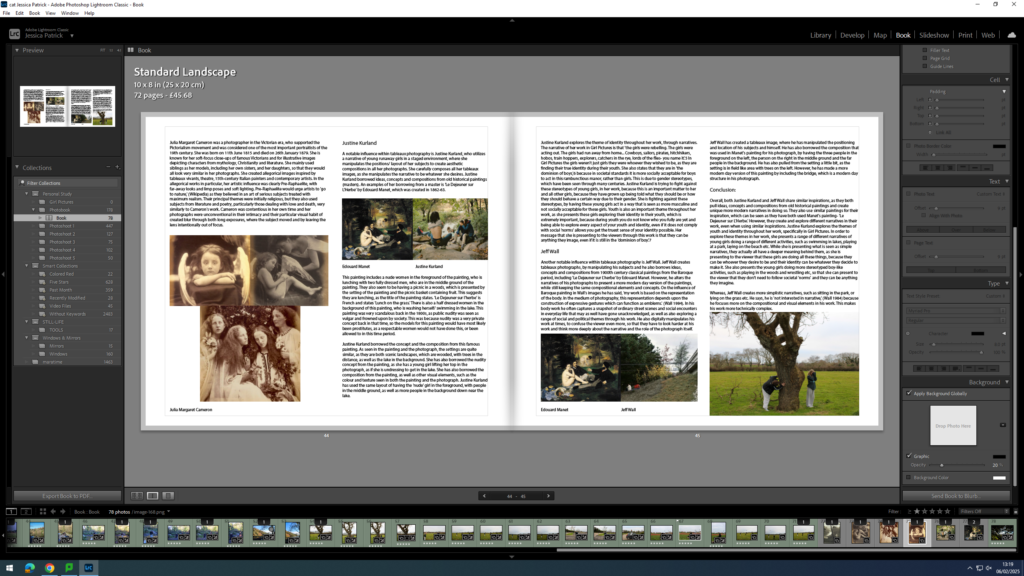
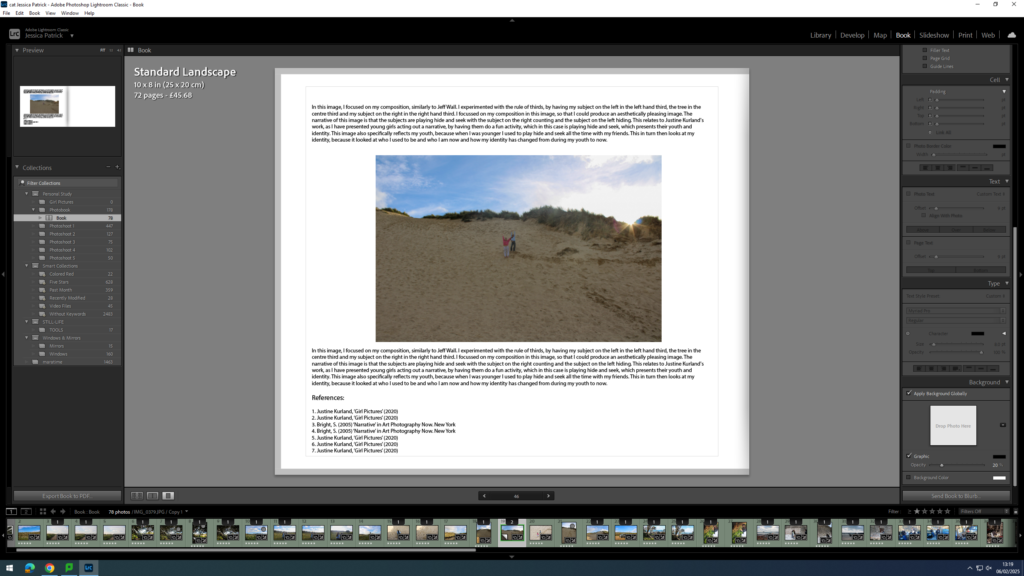
At the back of my photobook I am also going to include my essay, which I have written based on this study.
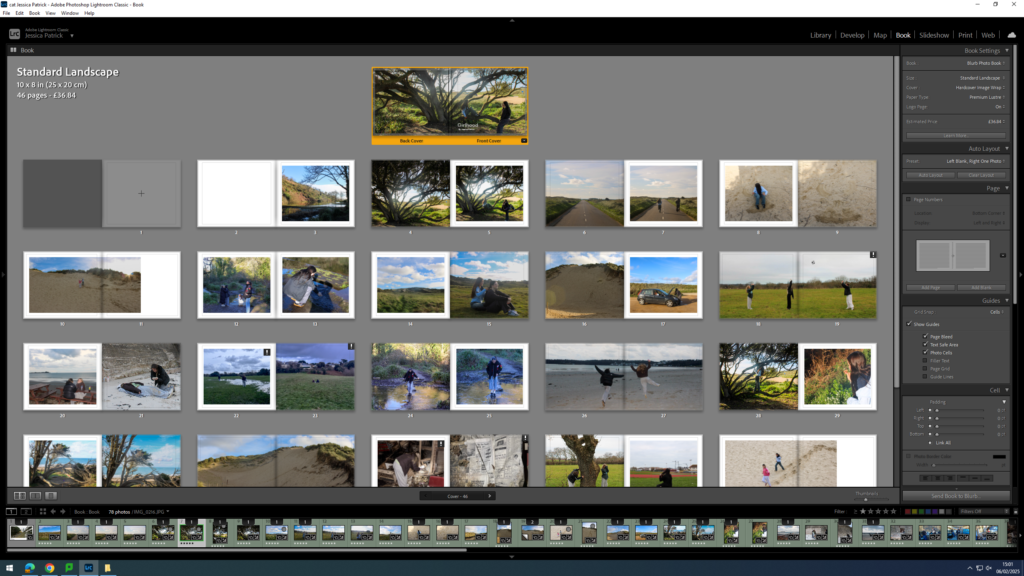
Experimenting with Front Cover, Back Cover and Title
First, I experimented with having a single front cover and a different single back cover.
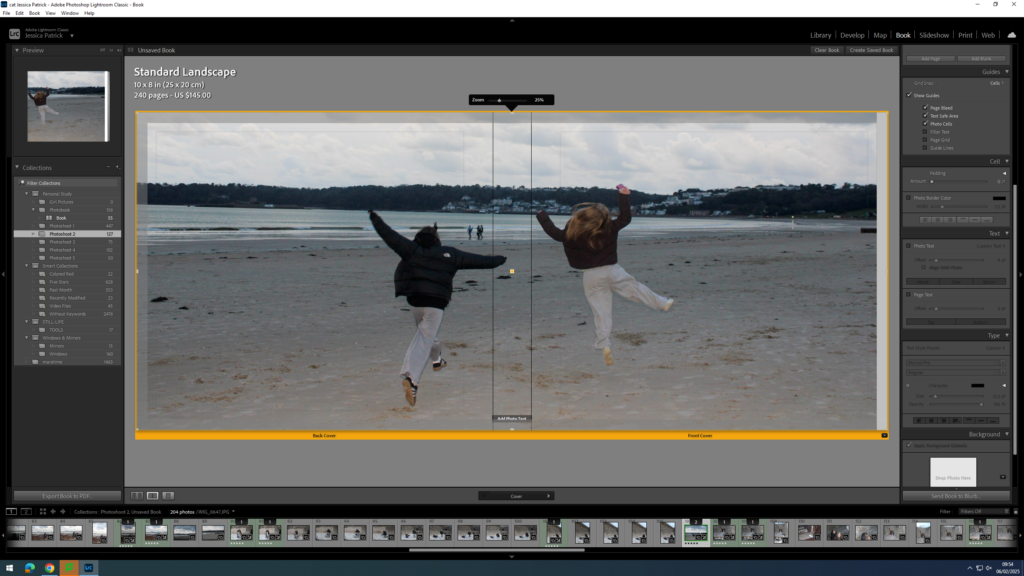
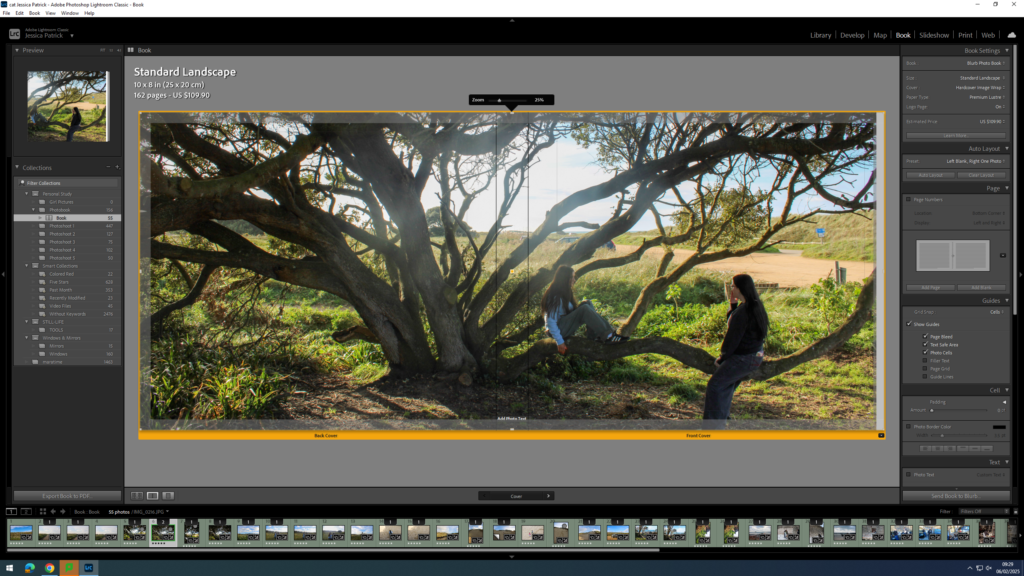
However, I didn’t really like this and I thought a double page spread for my front and back cover would work a lot better, so I started experimenting with the different images I could use.
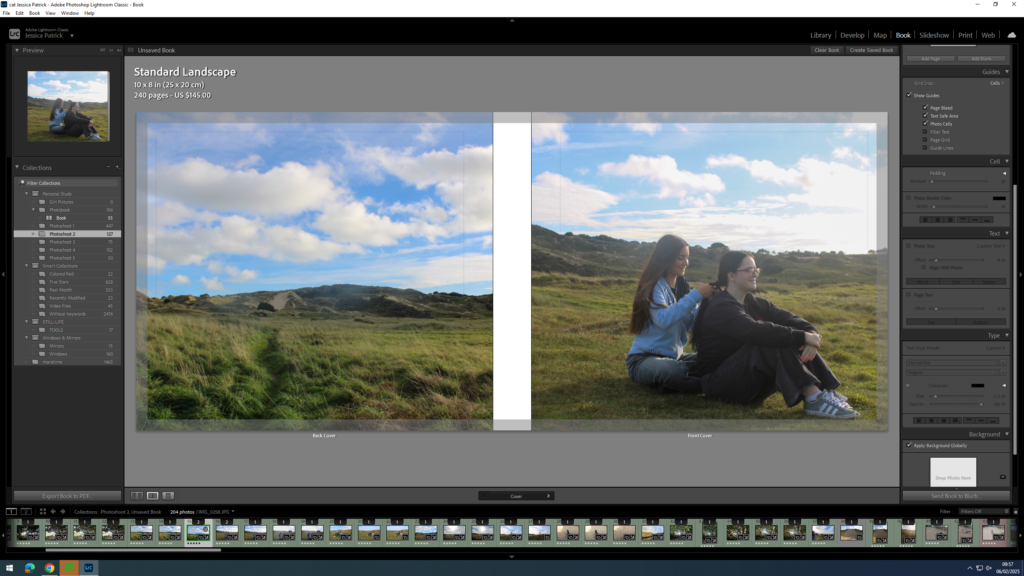
I liked this image, but it didn’t work well as a double page spread, because the main viewpoint of the image is on the spine of the book.
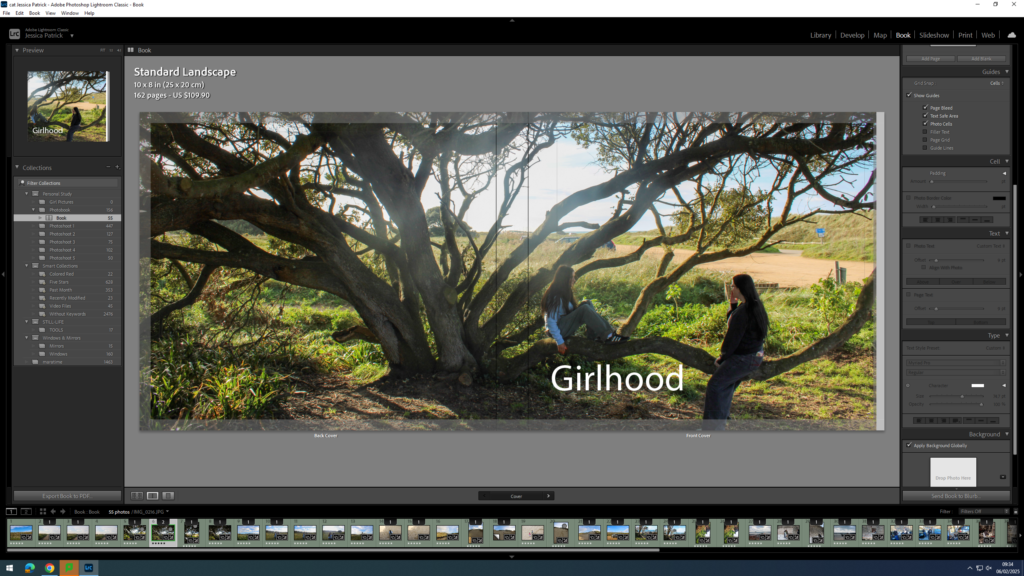
I liked this photo as a double page spread, but thought the front cover may be too boring on it’s own.
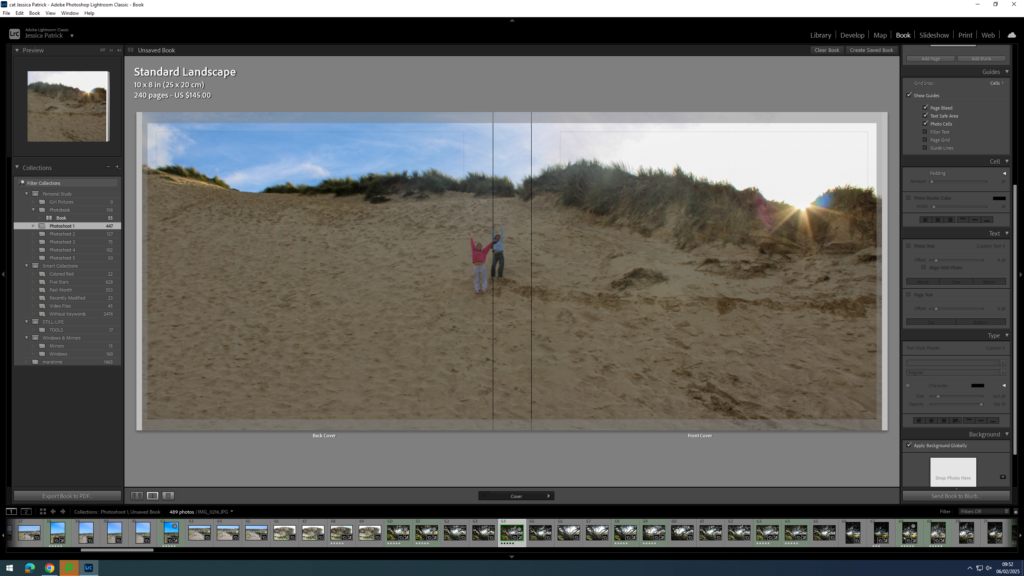
The final image above is the one I have chosen to use, because it works well as a double page spread, and the front cover of the book has the main viewpoint on it, so it isn’t so boring.
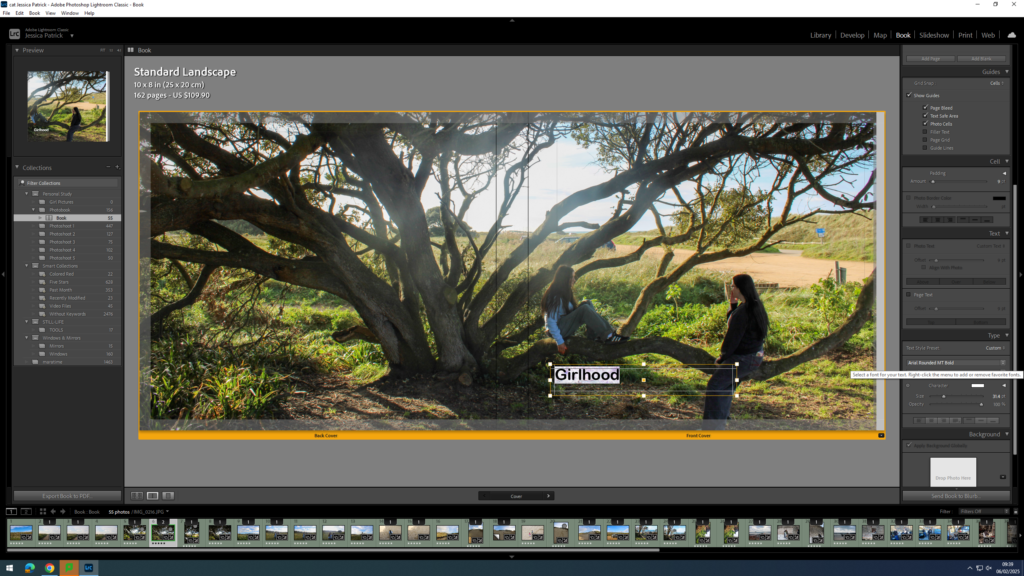
Once I was happy with the front and back cover image I could start experimenting with my title.
Some title options:
Girlhood
My Girlhood
Girl
The Girlhood
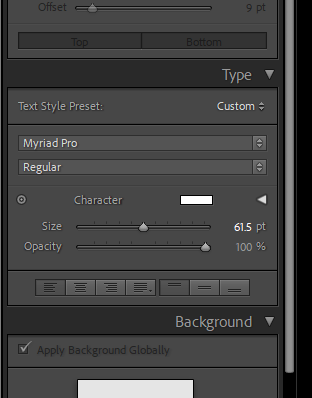
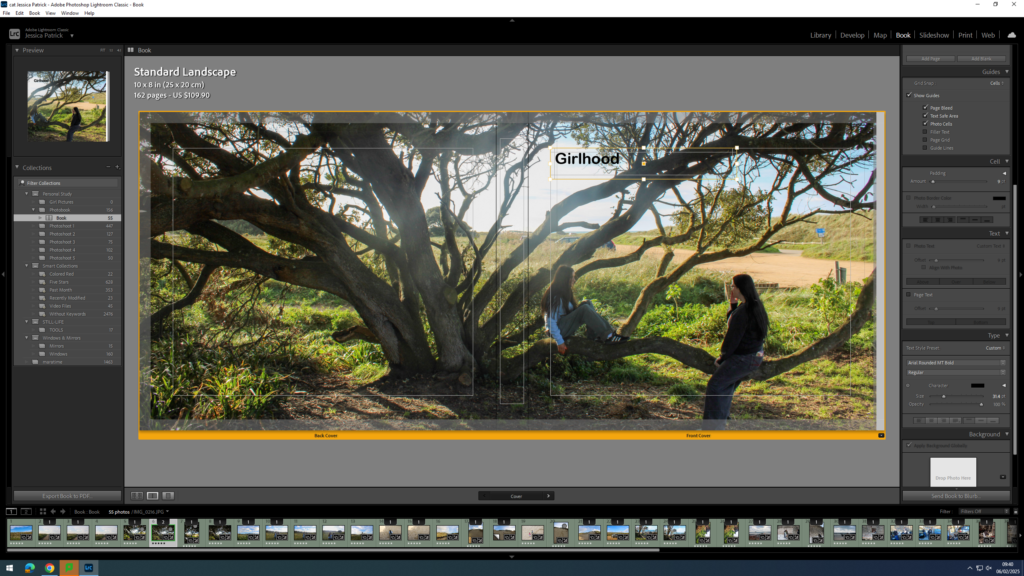
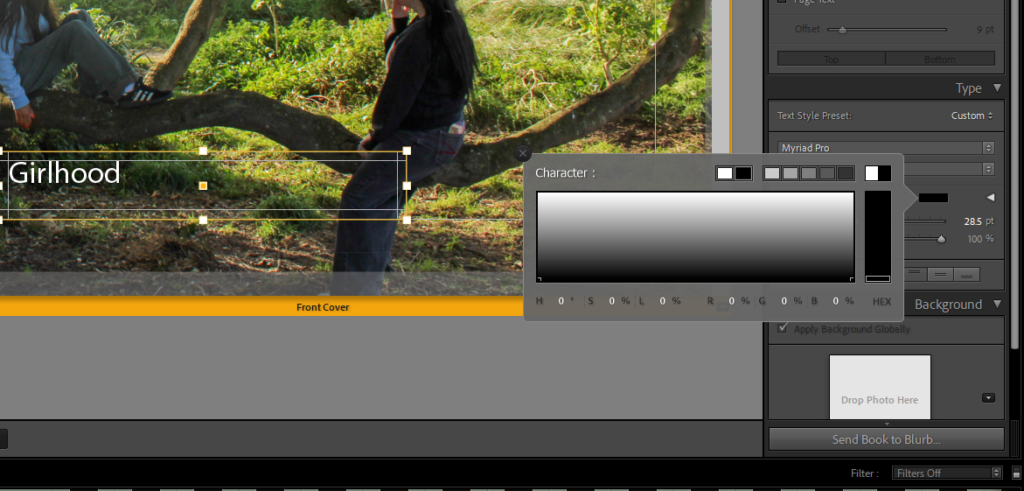
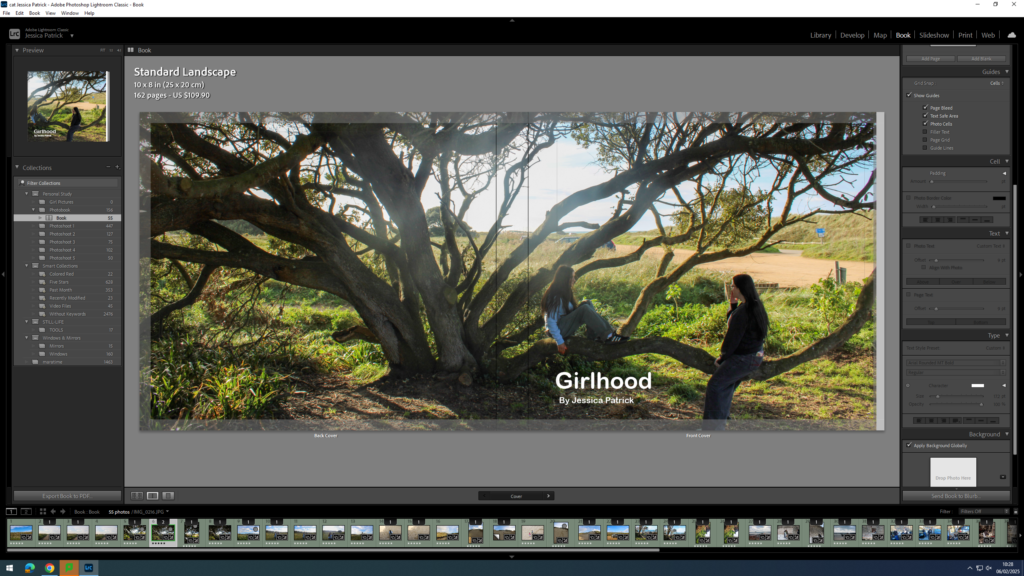
Once I had decided on Girlhood as my title I could start experimenting with the font, size and colour.
The tools were on the right hand side of the screen and the options were to change the size, opacity, colour and font.
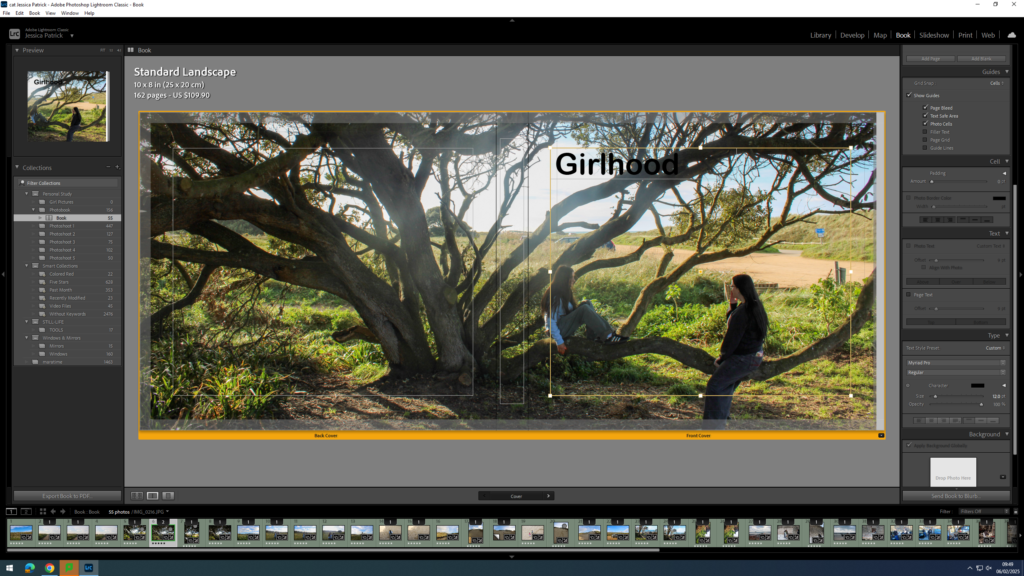
First, I experimented with the placement of my title.
Then, I experimented with the colour of my writing, because depending on my placement the writing couldn’t be seen that well. If my writing was placed at the top of the page black text was better, but if the text was at the bottom of the page the white writing was better.
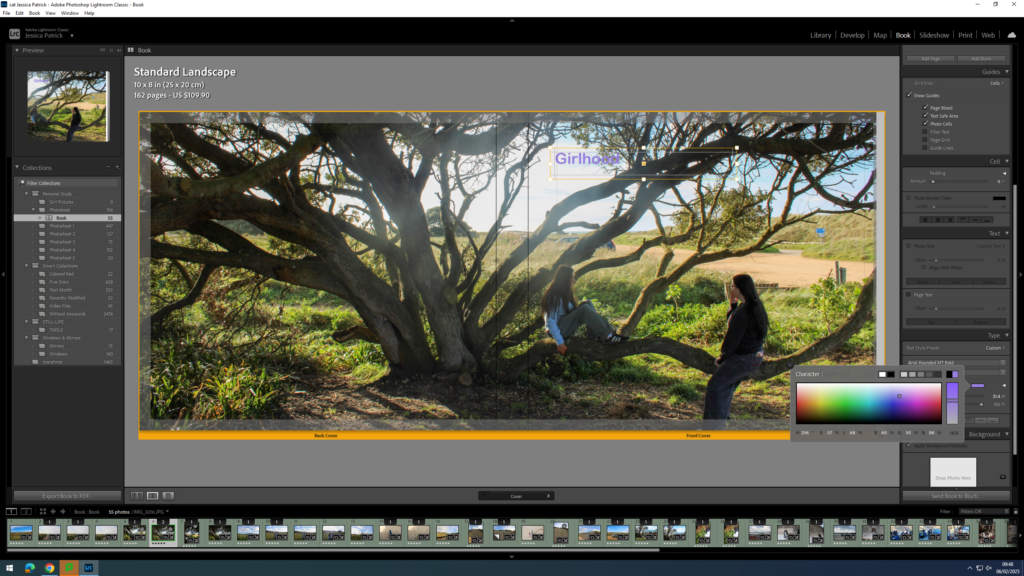
Next, I started experimenting with coloured writing, but ultimately decided on white text.
Next, I experimented with the size of the text.
Finally, I experimented with the font and decided on Ariel Rounded MT bold.
Now, I think the title and my name is too bright with the white ink, so I decided to experiment with the opacity. I set all my writing opacity to 70%.
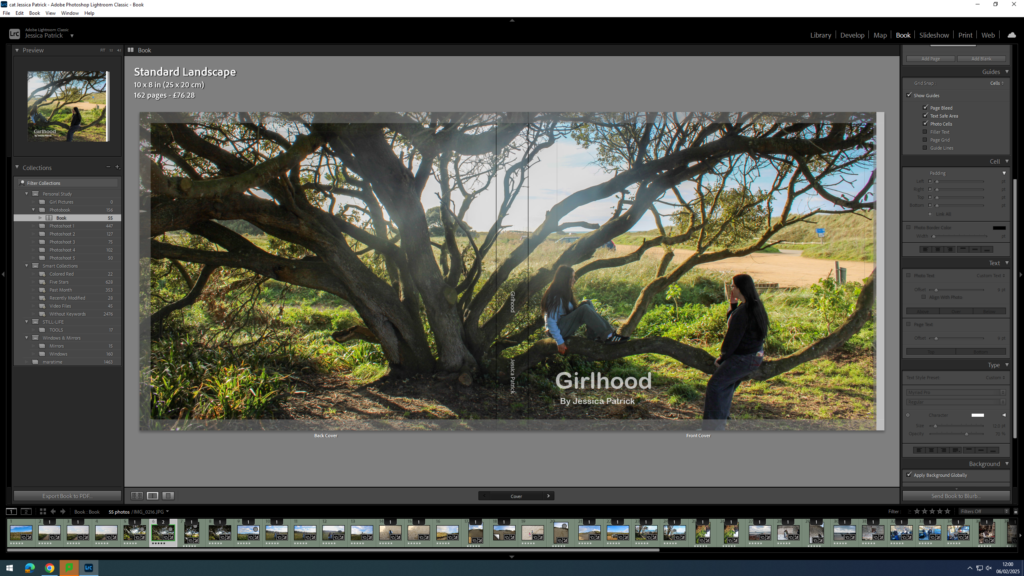
Next, I needed to add my title and name to the spine of my book.
I had to position my title and name where I did on the spine, so that the writing could be seen.
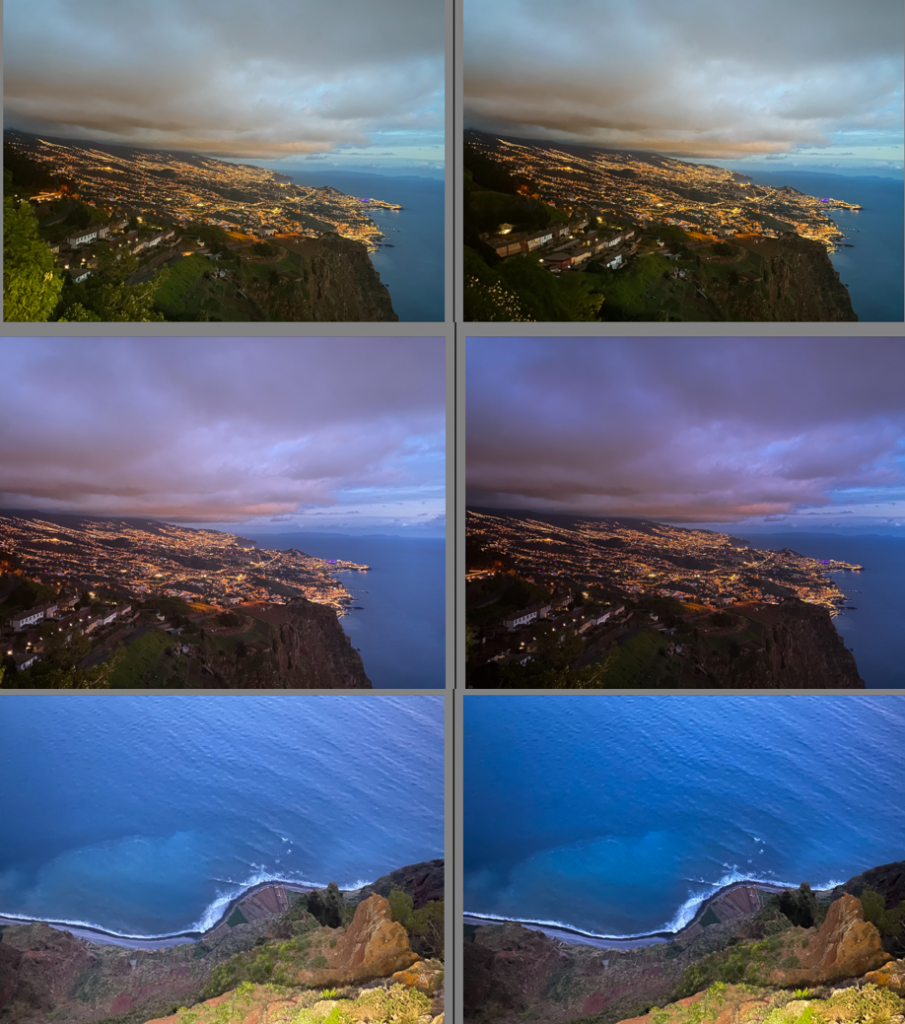
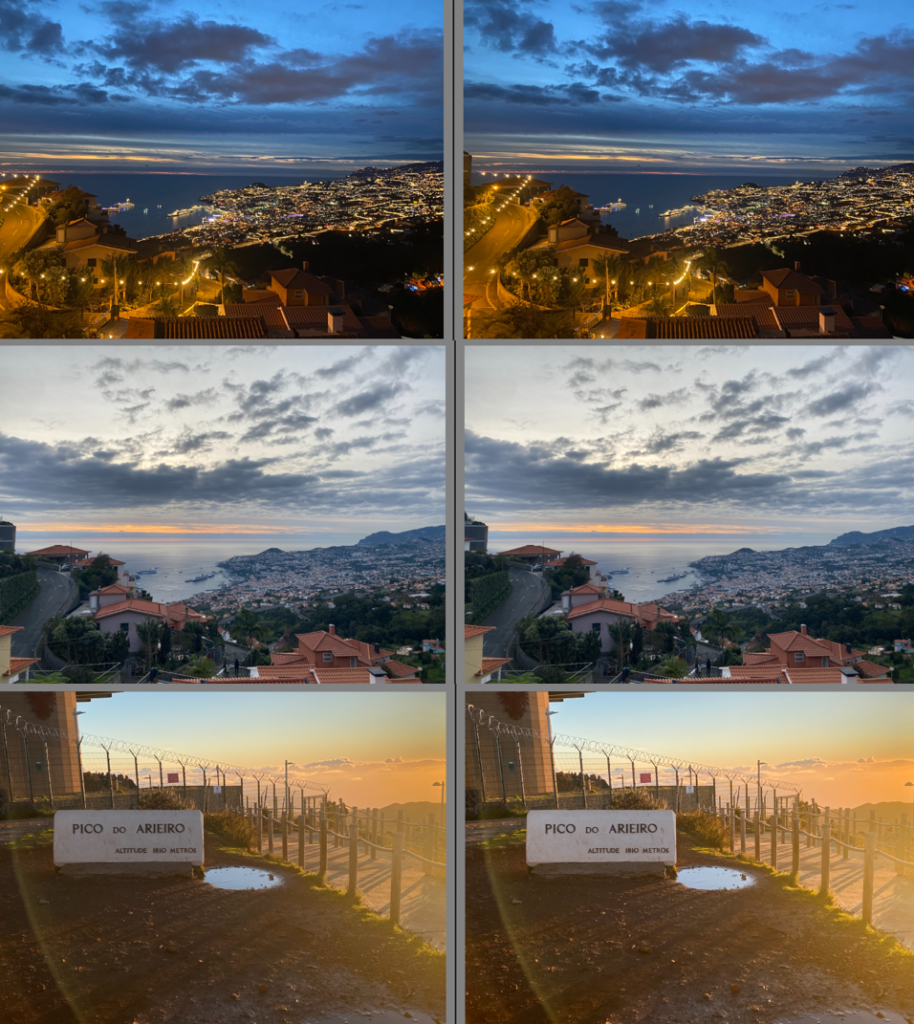
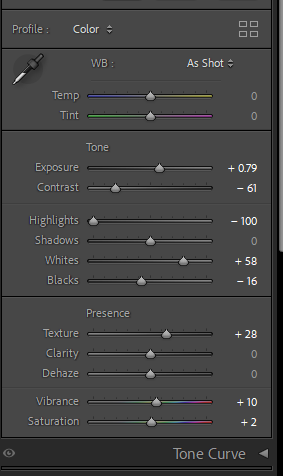
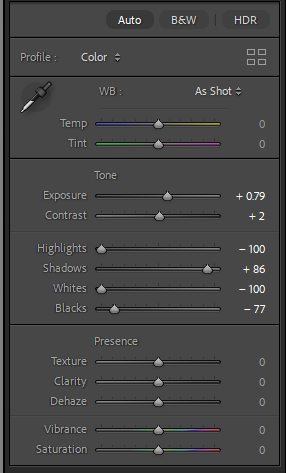
The sky in the centre of my image was too bright, due to shooting facing the sun, so I had to go back into develop mode and select the tool on the very right at the top.
Then, I had to select the sky and lower the highlights and exposure, so the sky was less bright and had some more blue in it.
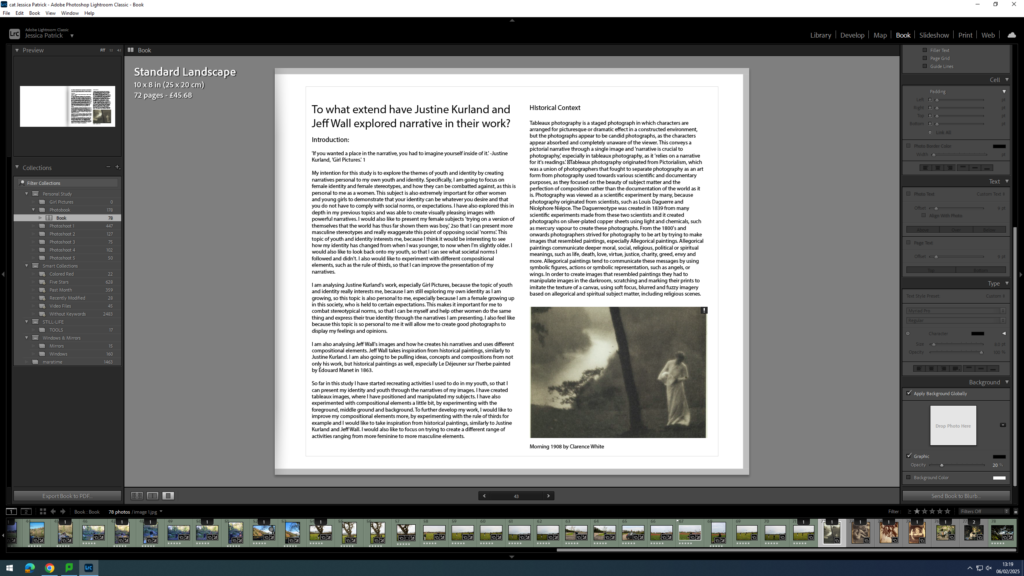
Adding my Essay
Next, I had to copy and paste my essay in. I used the same font as I used for my title and I had the size on 8pt. My subtitles however are on 10pt and my title is on 17pt.
Then, I had to import the photographs I have used in my essay onto my book in the correct place.
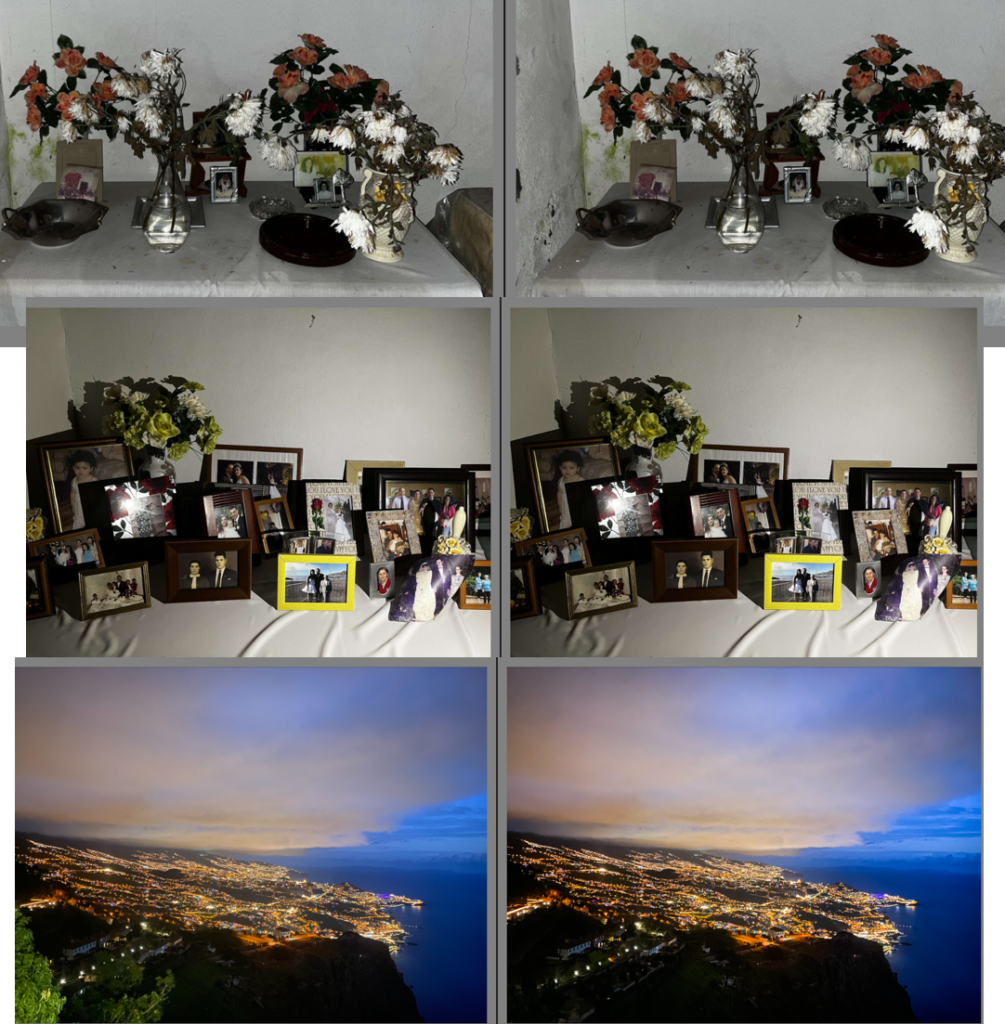
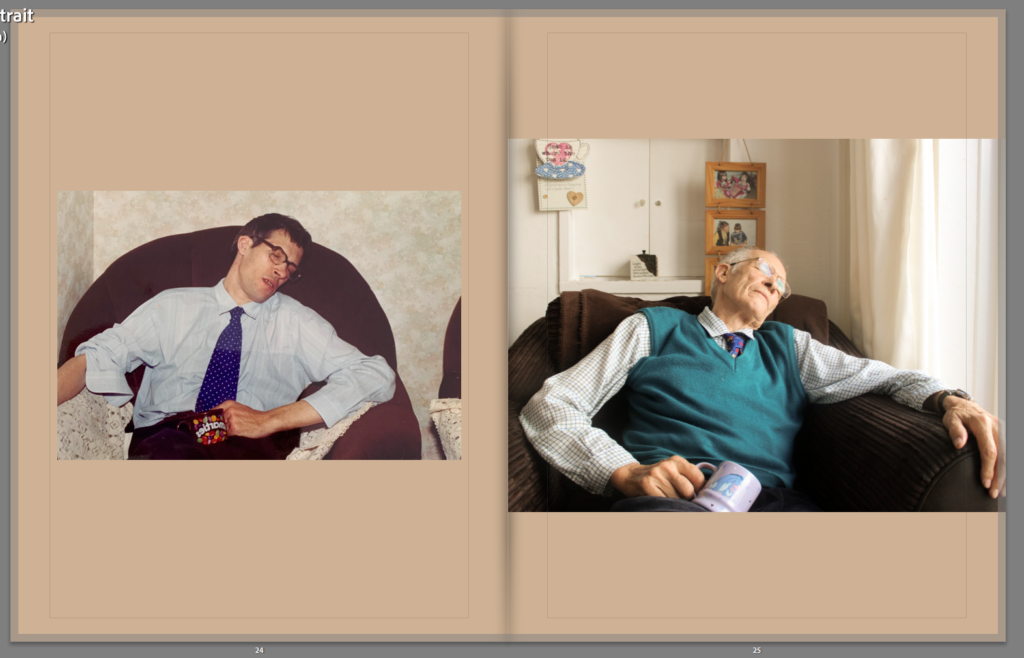
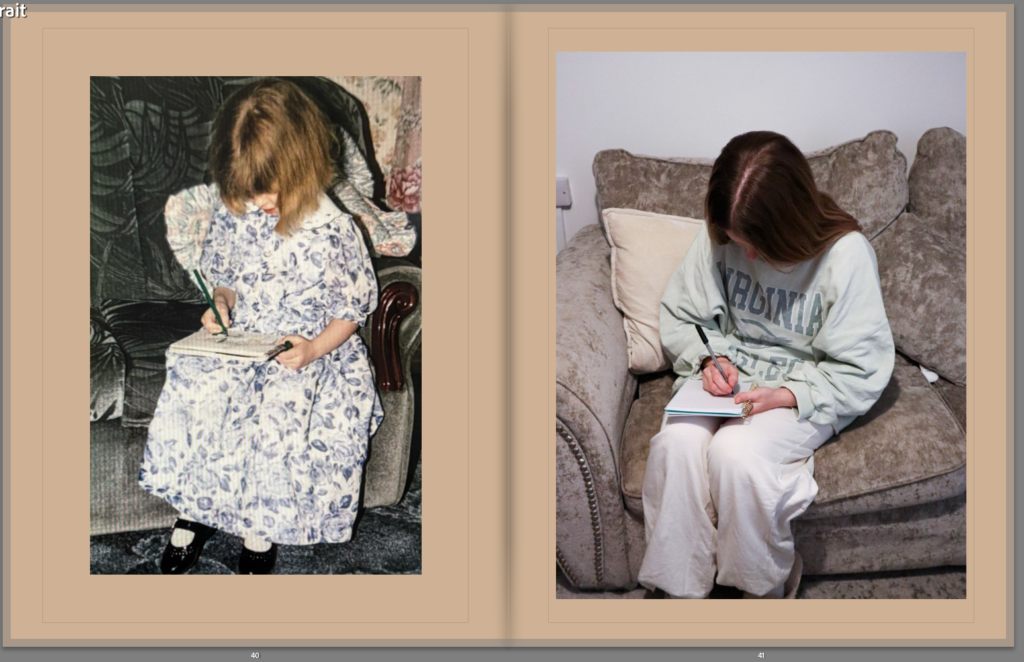
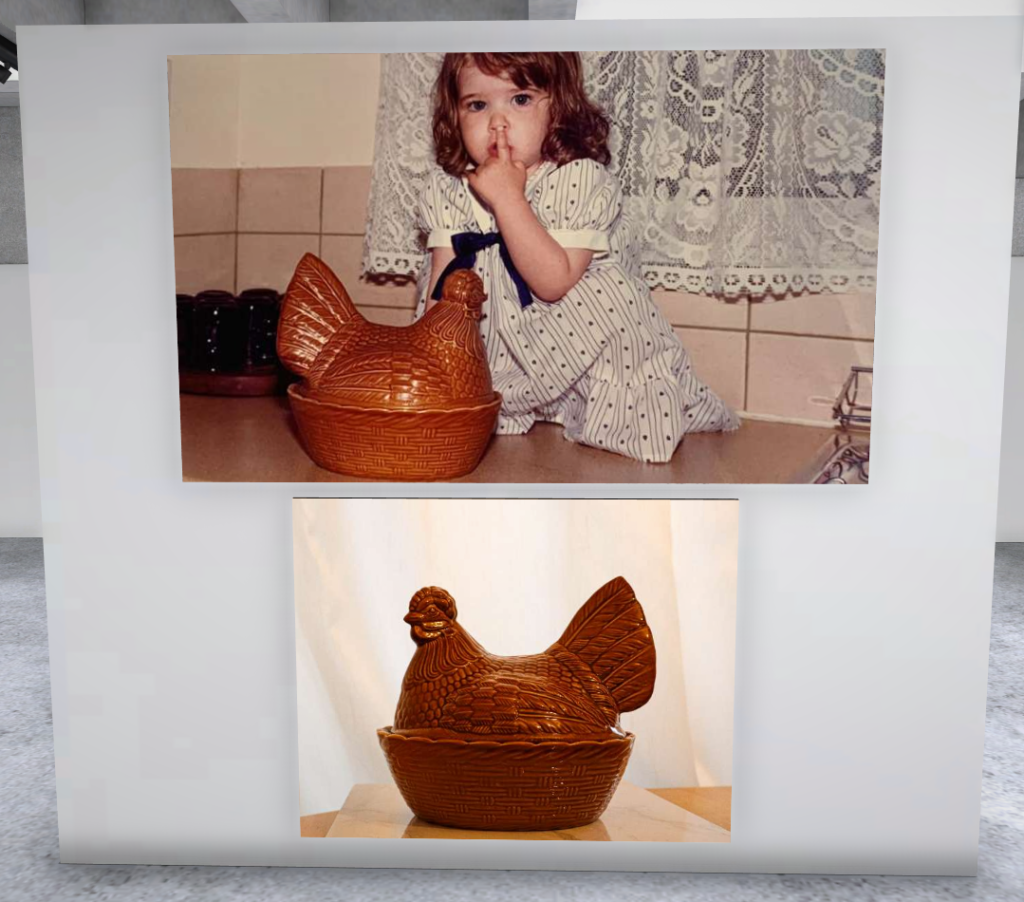
Overall my images have been successful as I was able to restage multiple older images and make them look similar. I also like how I have edited many of the images to suit the certain tones of the older photos. If I were to redo this project I would try use similar backgrounds while restaging some of the images.
1. Write a book specification and describe in detail what your book will be about in terms of narrative, concept and design with reference to the same elements of bookmaking as above.
Narrative:What is your story? Describe in:
3 words Past, memories, family
A sentence My photo book is going to be about where my grandads favourite places where to visit when he came to the island.
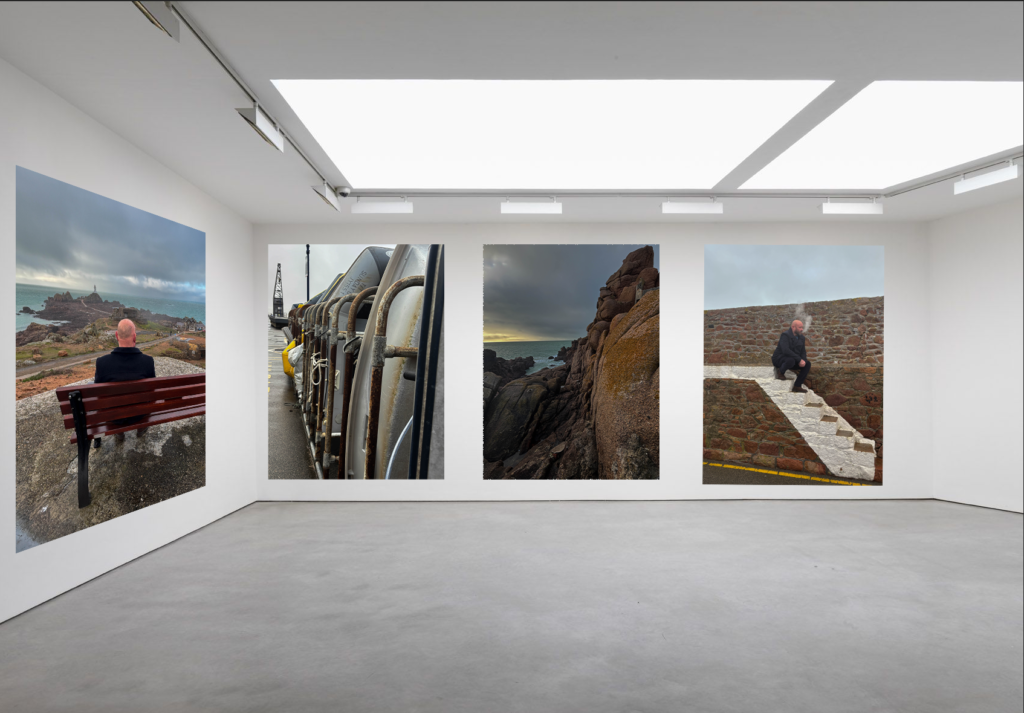
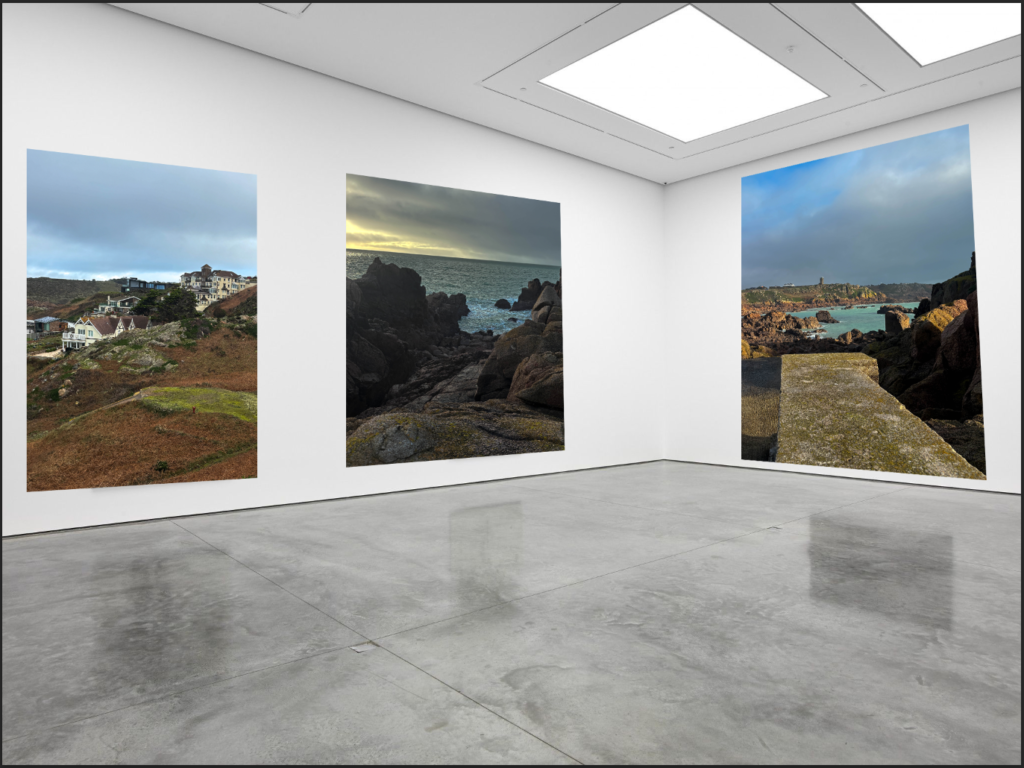
A paragraph My photo book is about my grandads favourite places that he loved to go when he came over to visit. The images include pictures of the surrounding landscape and then restaged images of my dad that had my grandad in them to replicate the special memories that he had here.
Design: Consider the following
How you want your book to look and feel
I want the book to have a hard cover and by debossed with the title of the book and then I want to have the debossed writing covered with gold leaf to make it stand out on the dark background of one of the images. I want to have a big picture of St Ouen’s Bay going across the front and back cover as this was my grandads favourite place to go when he came.’I want the book to have a hard cover and by debossed with the title of the book and then I want to have the debossed writing covered with gold leaf to make it stand out on the dark background of one of the images. I want to have a big picture of St Ouen’s Bay going across the front and back cover as this was my grandads favourite place to go when he came.
Paper and ink
I want the paper to be shiny and not matte so that the images look more professional and are better quality.
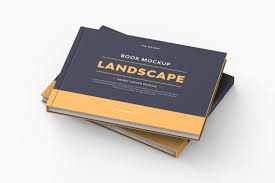
Format, size and orientation
Some of the images I have taken are portrait but most of them are landscape images so I want to do a Landscape book so I can have the bigger images of the surrounding over a double page spread to separate out the images.
Binding and cover
I want the binding to be a saddle stitch and the cover to be a hard cover with my image printed on.
Title
A Map of Moments or souvenirs of the soul.
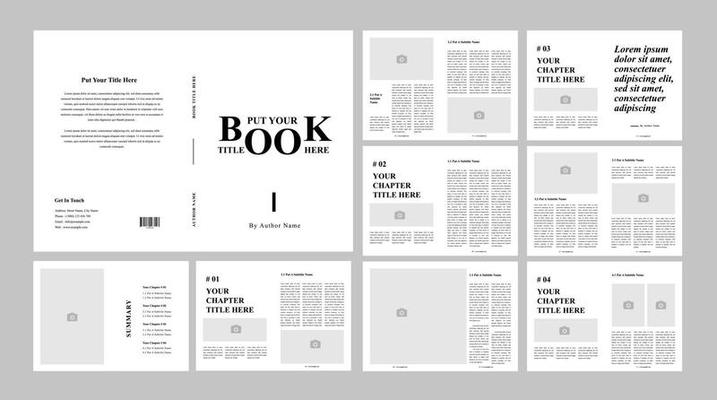
Structure and architecture
Design and layout
The layout of my photobook has been designed so that the images link together and tell the story.
Editing and sequencing
I have tried to sequence the images so they look like they were meant to be put together. For example where my dad is sat on a bench that overlooks corbiere and the image next to that is a landscape photo of the lighthouse making it look like he’s overlooking the rest of the world.
Images and text
I have added my essay into the back of my photobook which explains the question that I was exploring.
A sentence – The past of my family and memories created over the years.
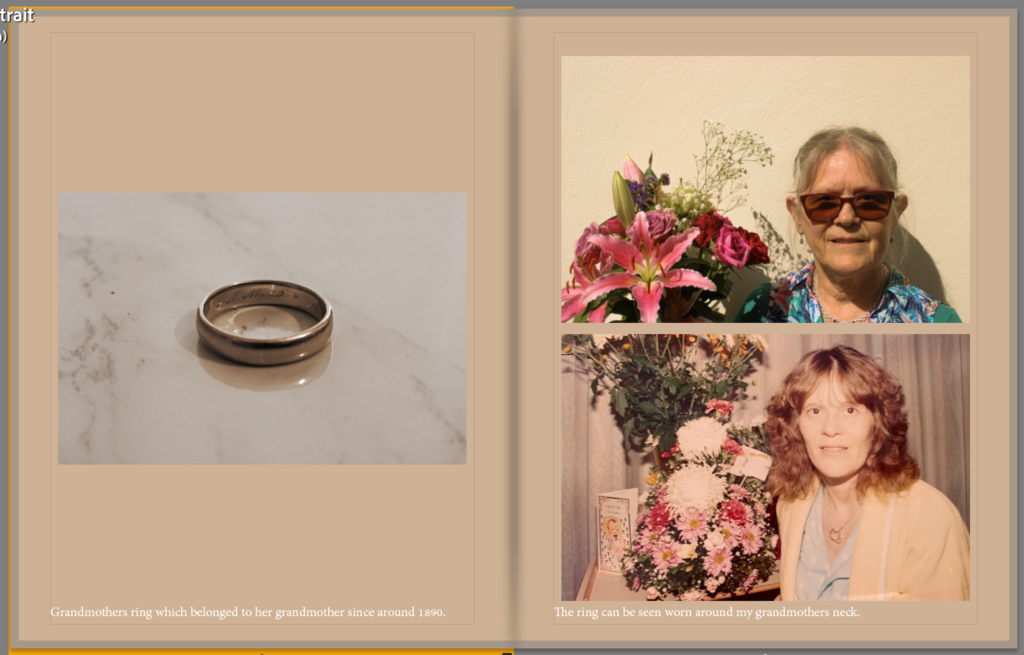
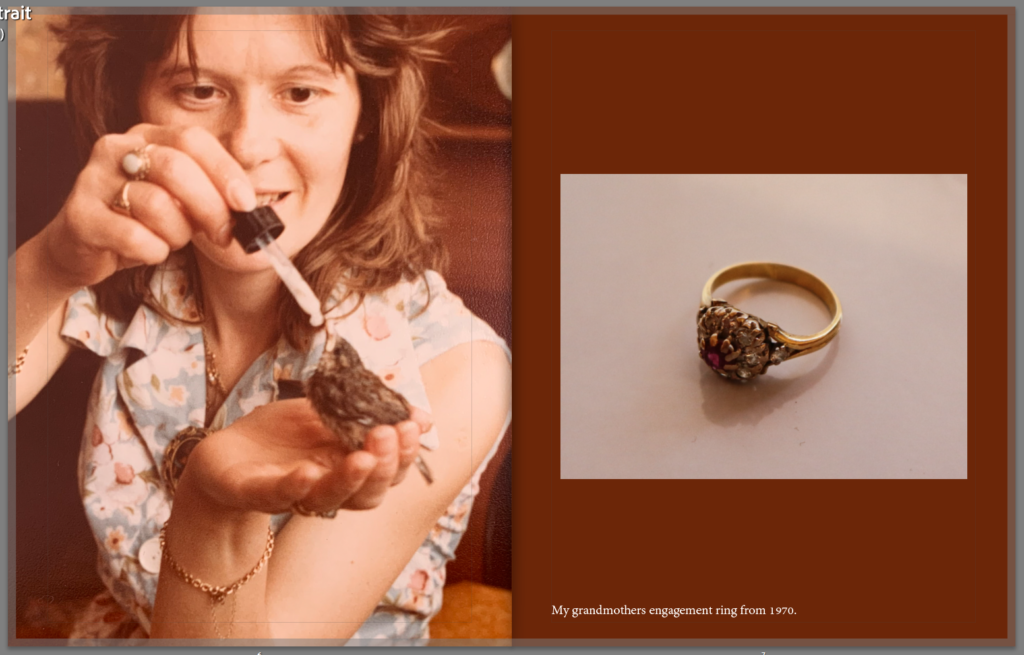
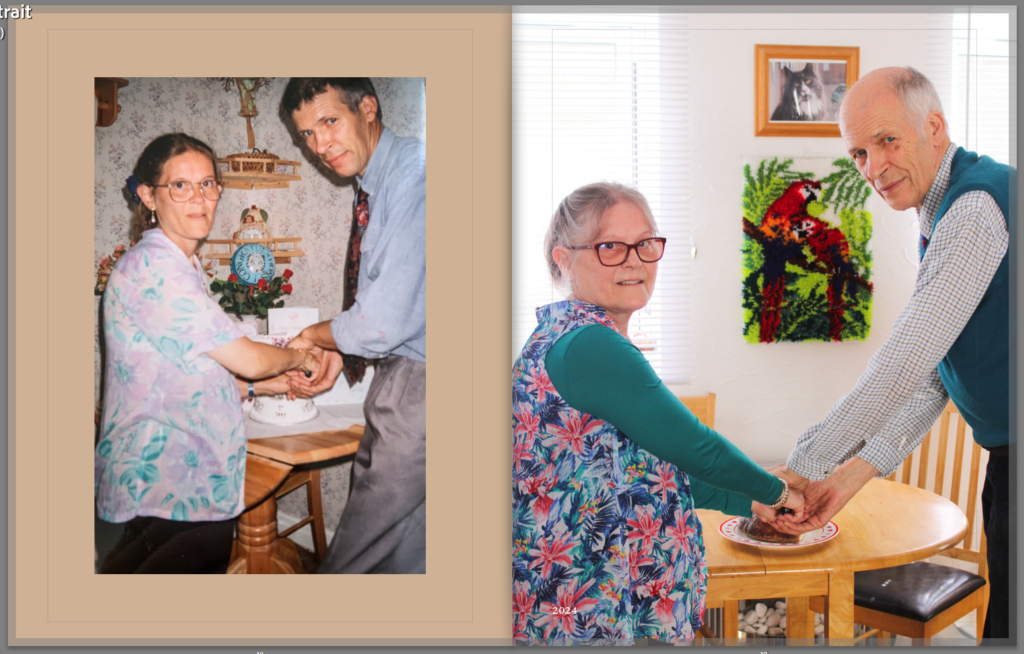
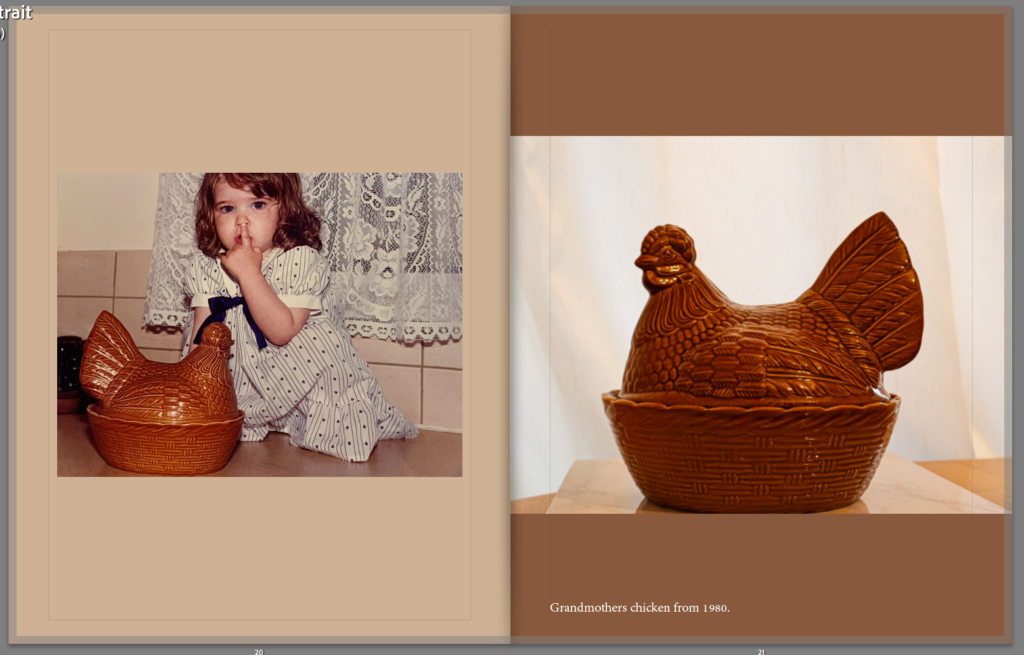
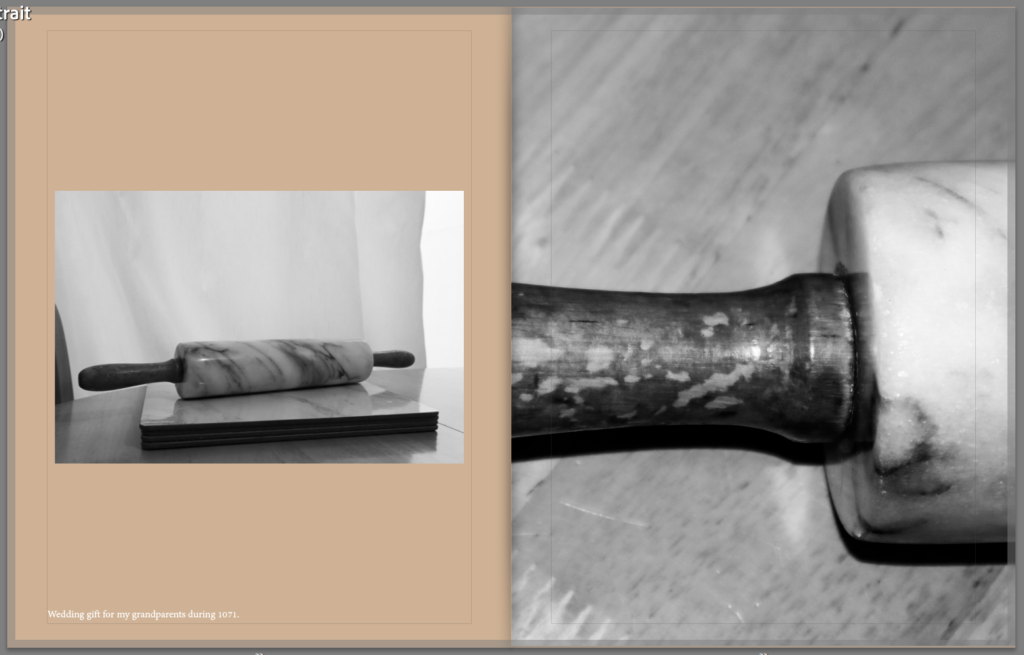
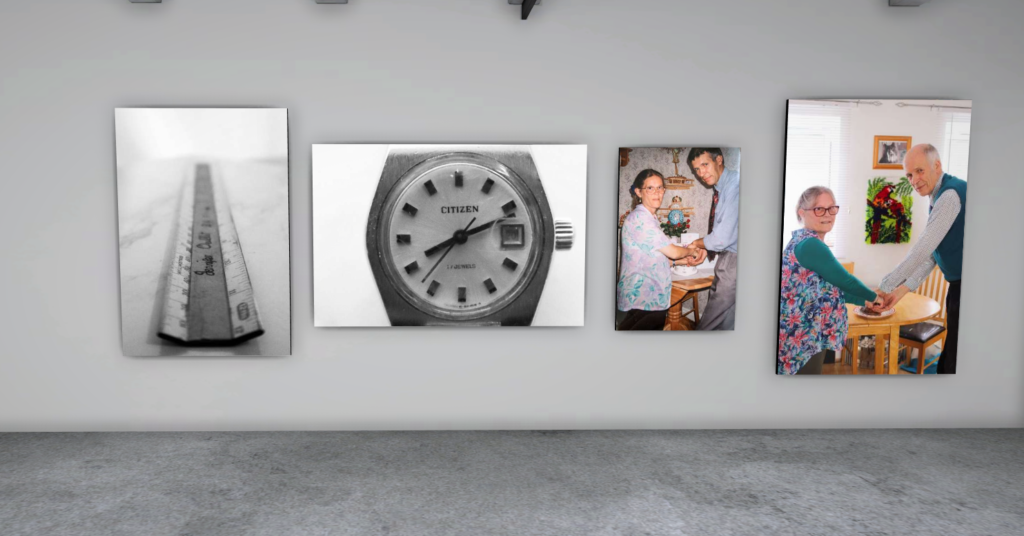
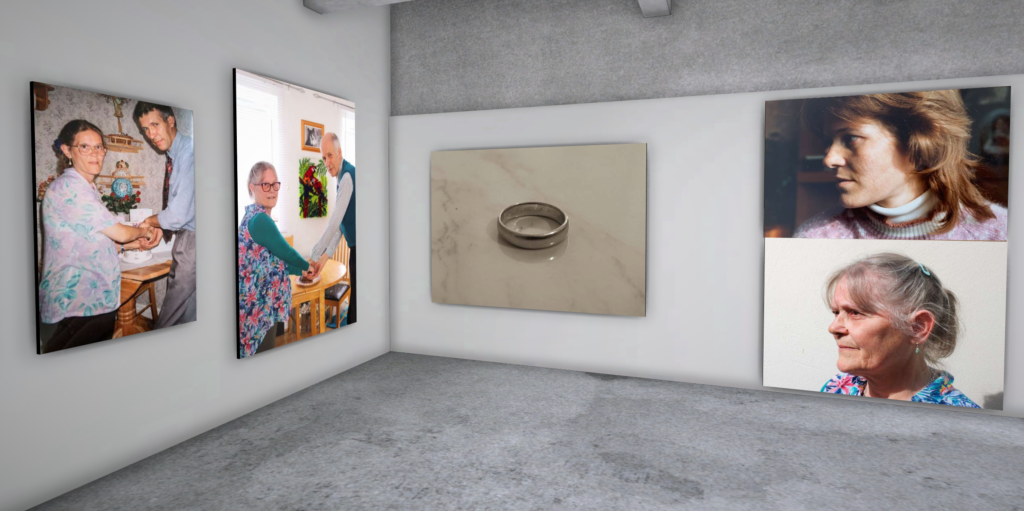
A paragraph – My book will focus on my families memories created over the years, I will do this through photographing them in similar ways to older photographs. I will also photograph old objects which hold meaning to them.
Design: Consider the following
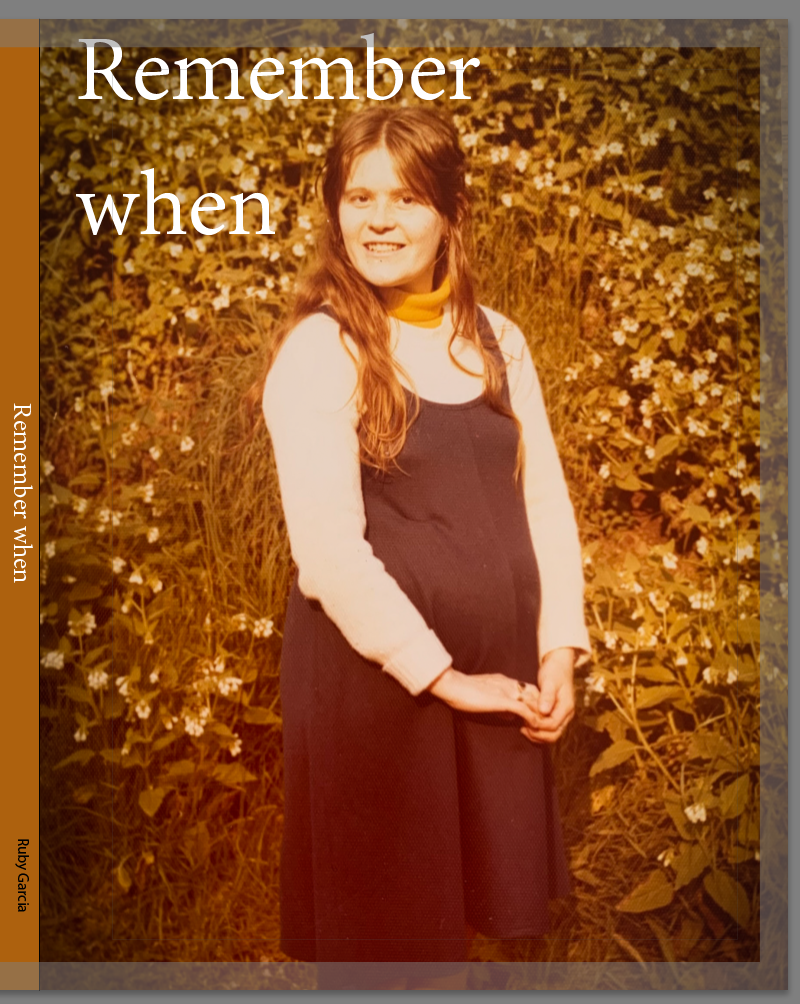
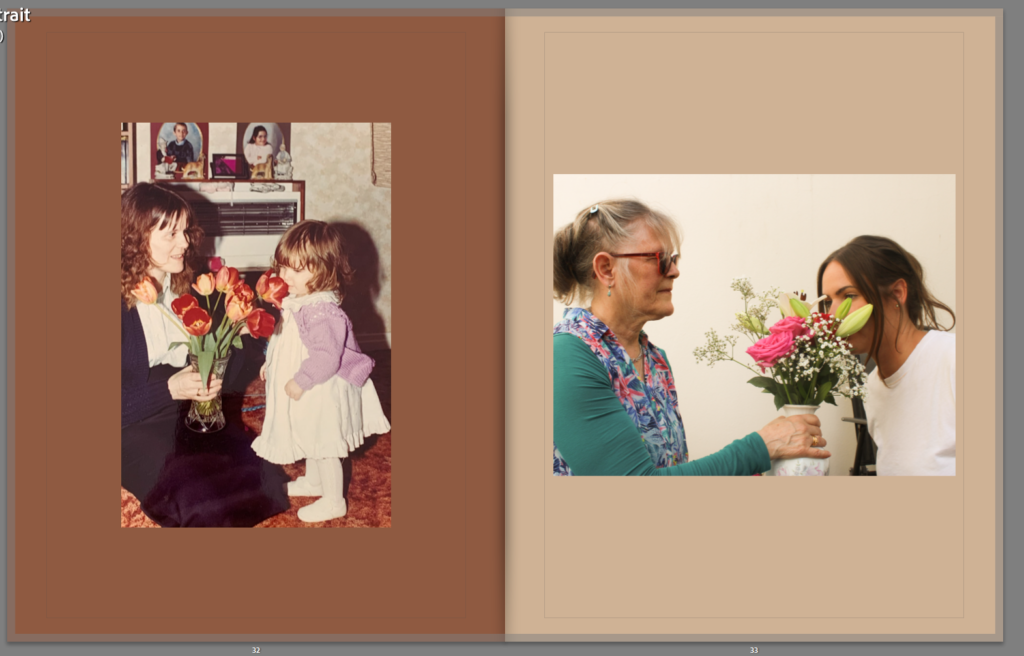
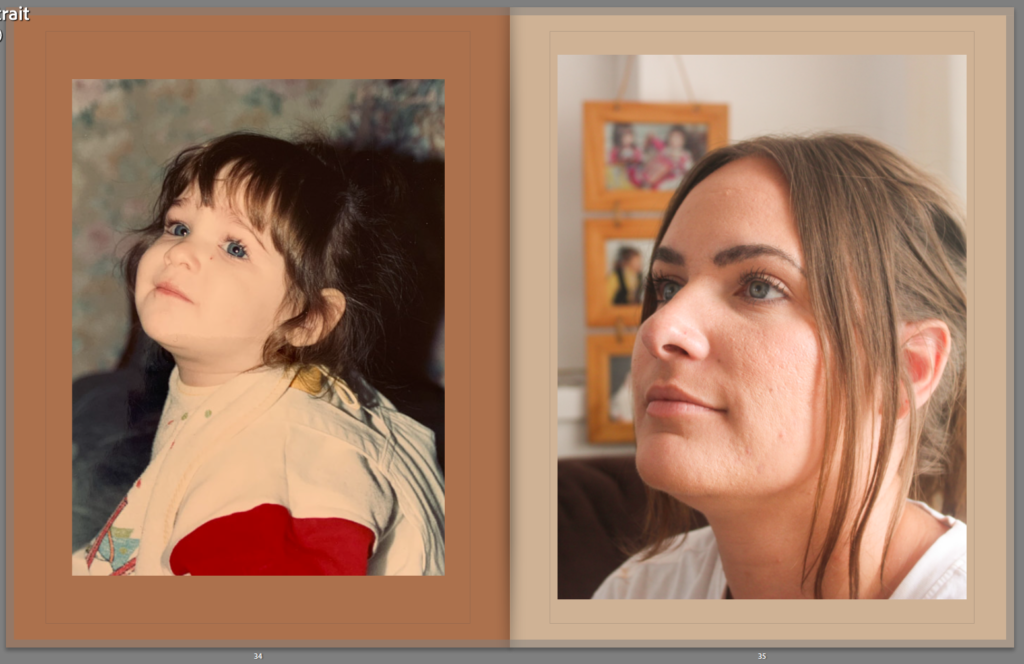
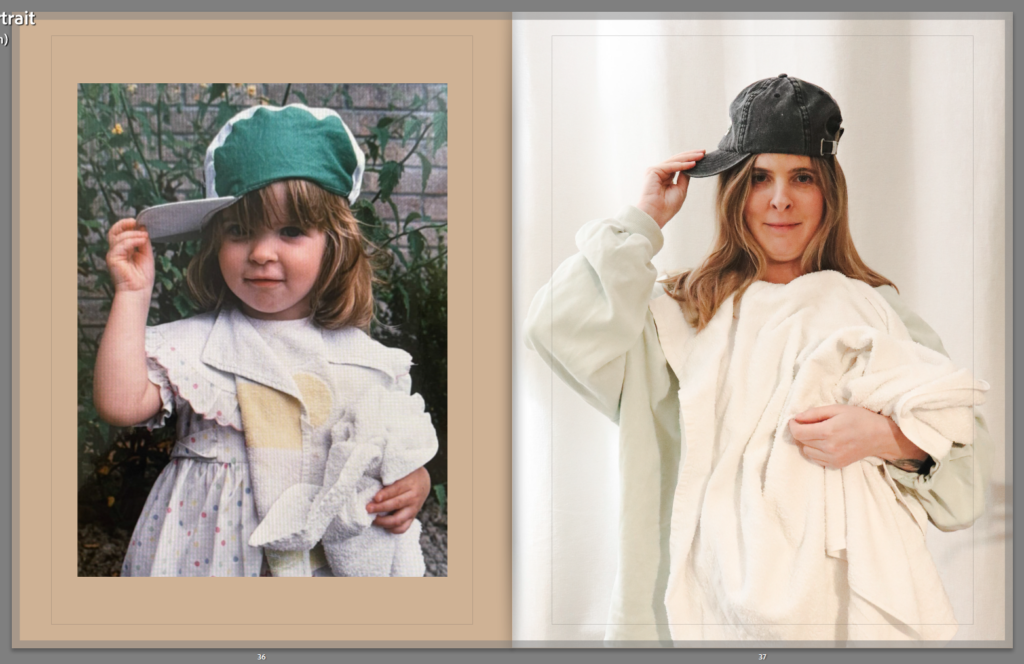
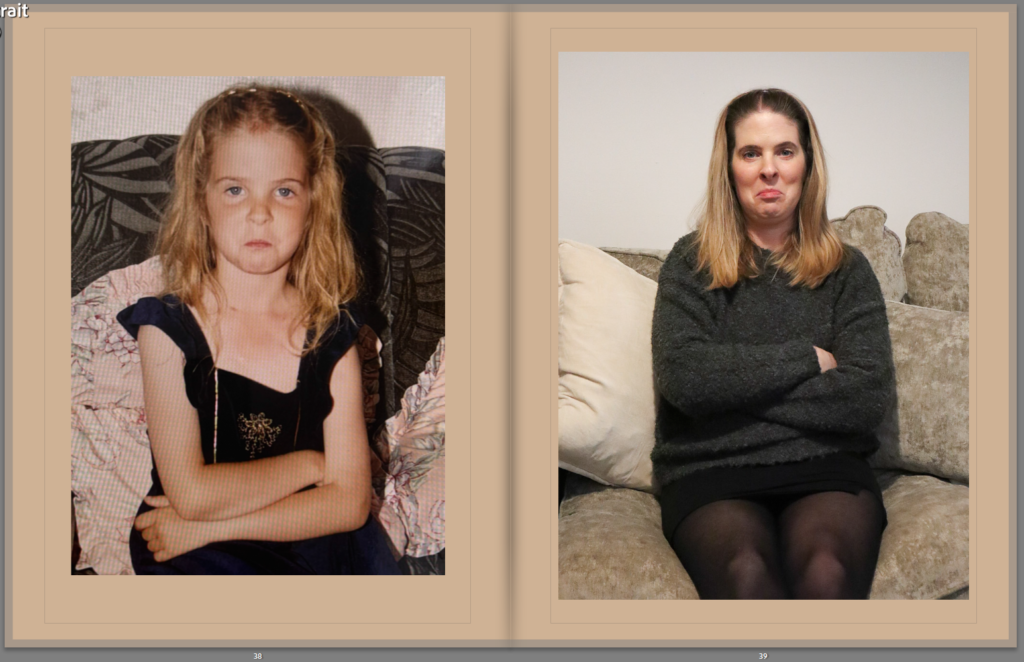
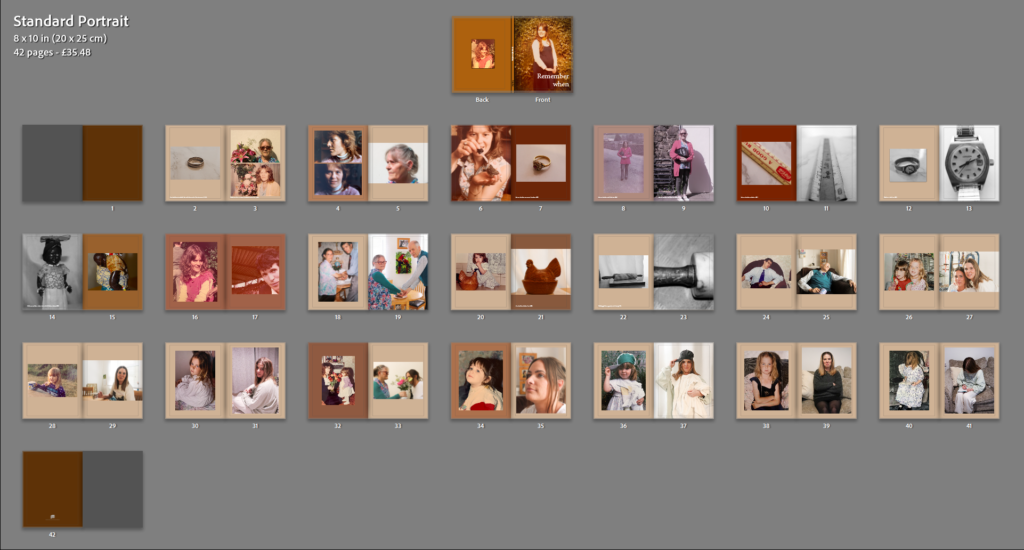
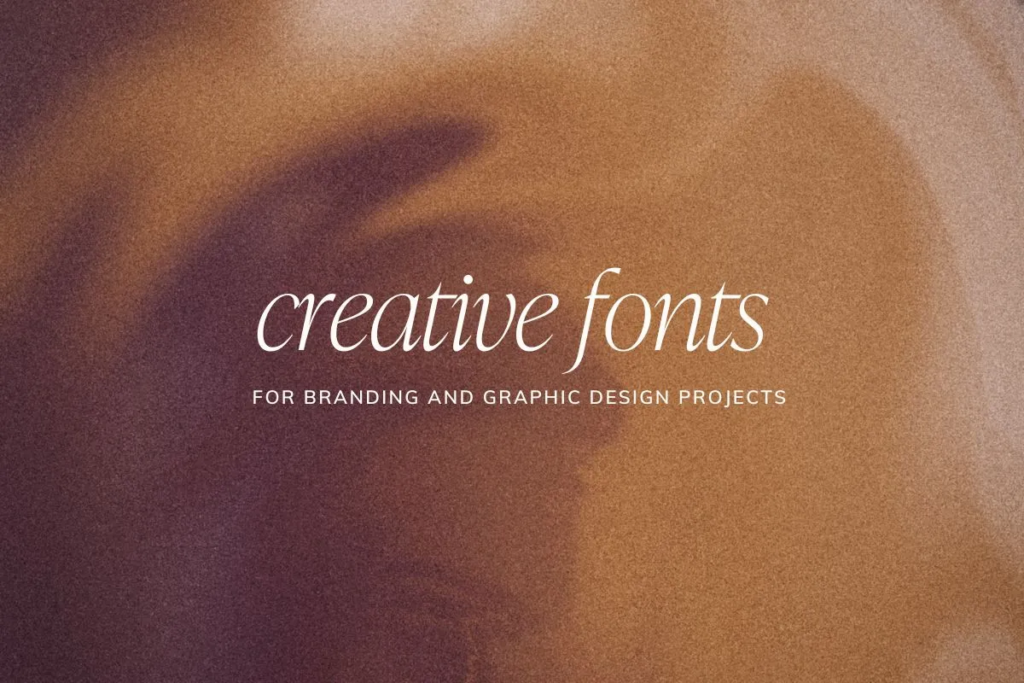
How you want your book to look and feel – I want my photobook to have an older look as my project is linked to memories and the past. Therefore for the cover I will use a warm toned brown to create a sepia look.
Paper and ink – Some of my pages will be darker brown colours and some will be a lighter beige, all will be sepia tones.
Format, size and orientation – For the size of my book I will use a standard portrait as many of my images are portrait images.
Binding and cover – The cover of my photobook will be an older image which I have found. I will make the back cover a certain colour to suit the front cover.
Title – For my title I will name my book ‘Remember when’, as it is all about restaging old images and reliving old memories.
Design and layout – I will have a different layout on each page, some images taking up the whole page, others only taking up a section.
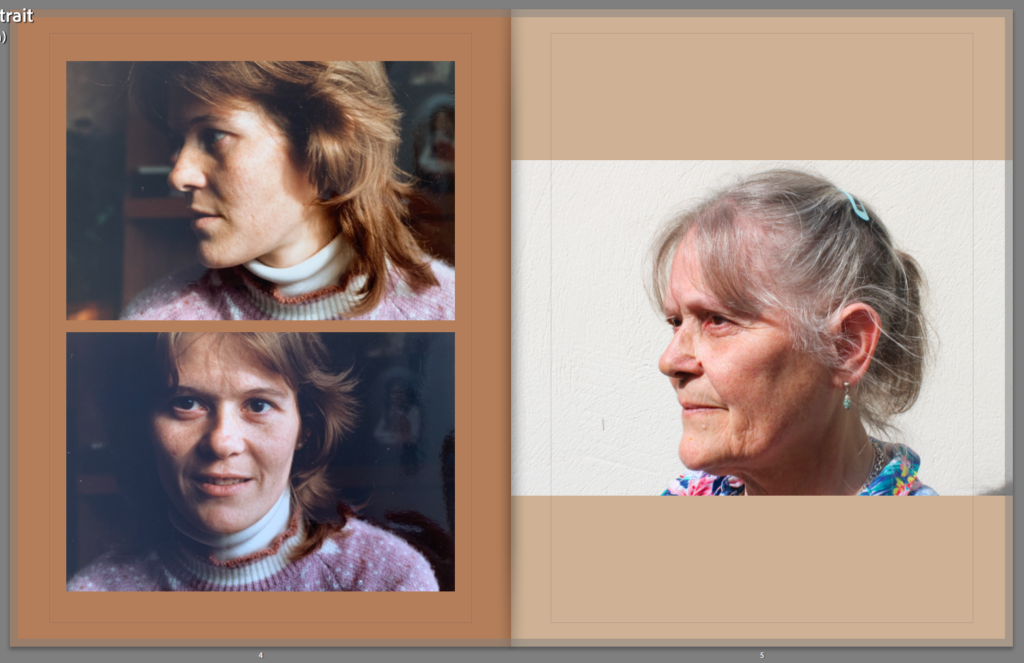
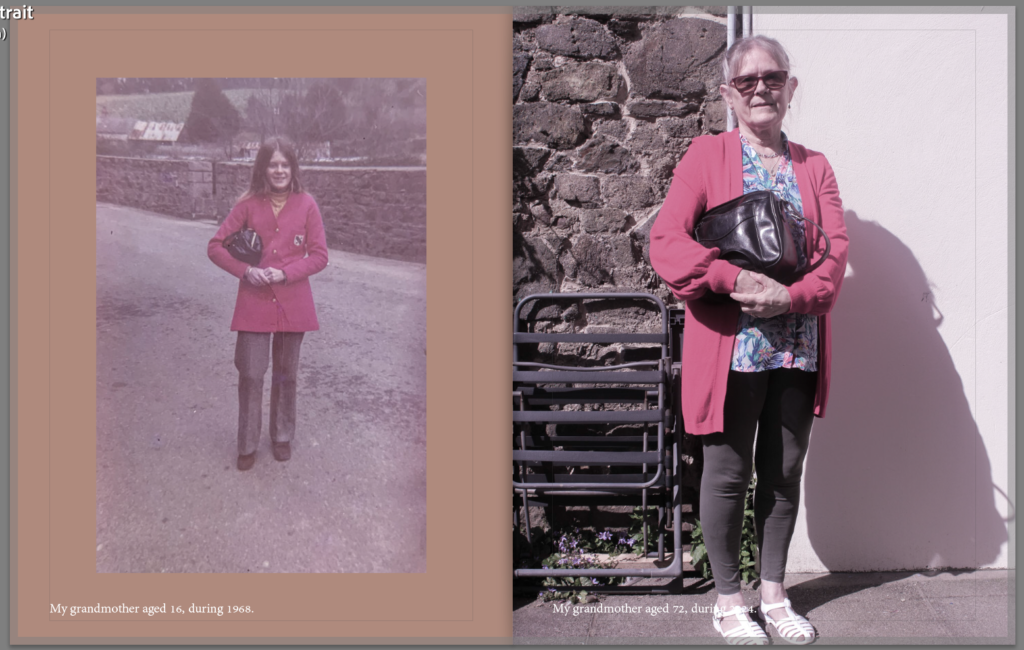
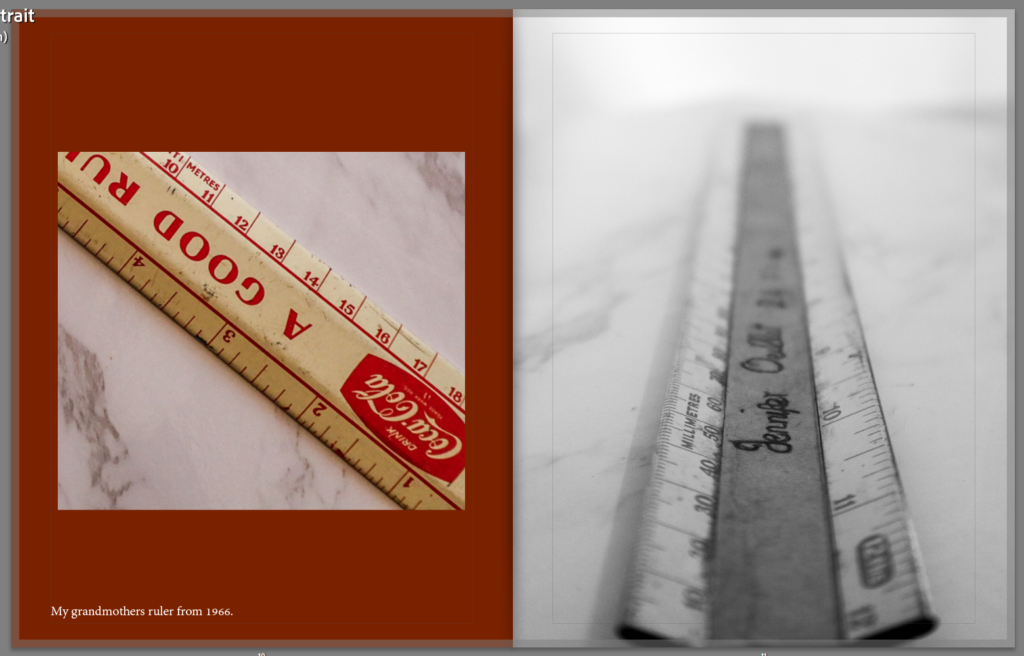
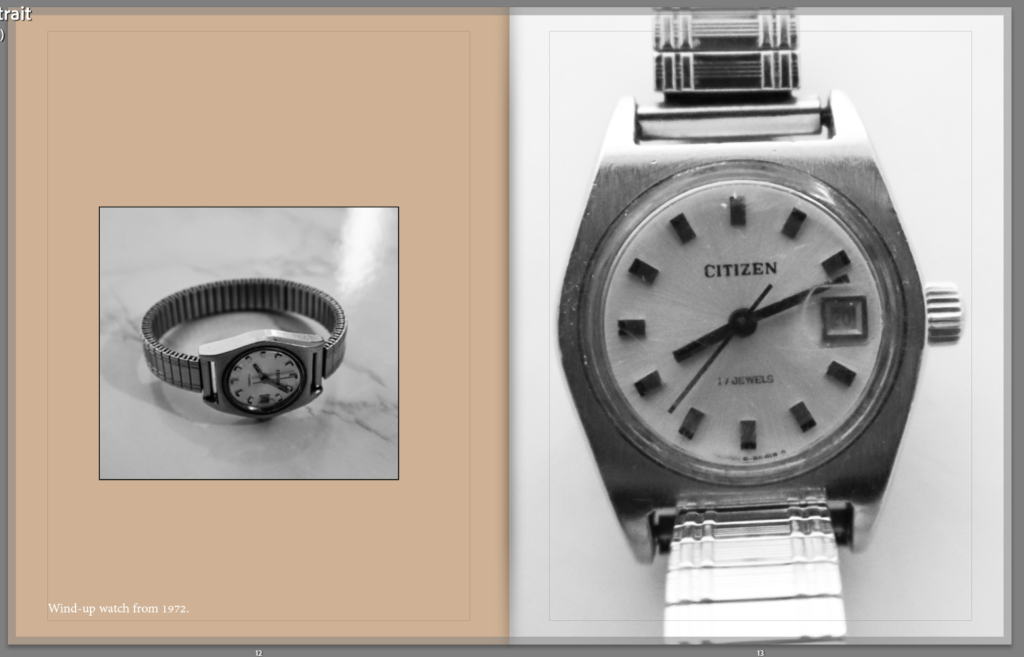
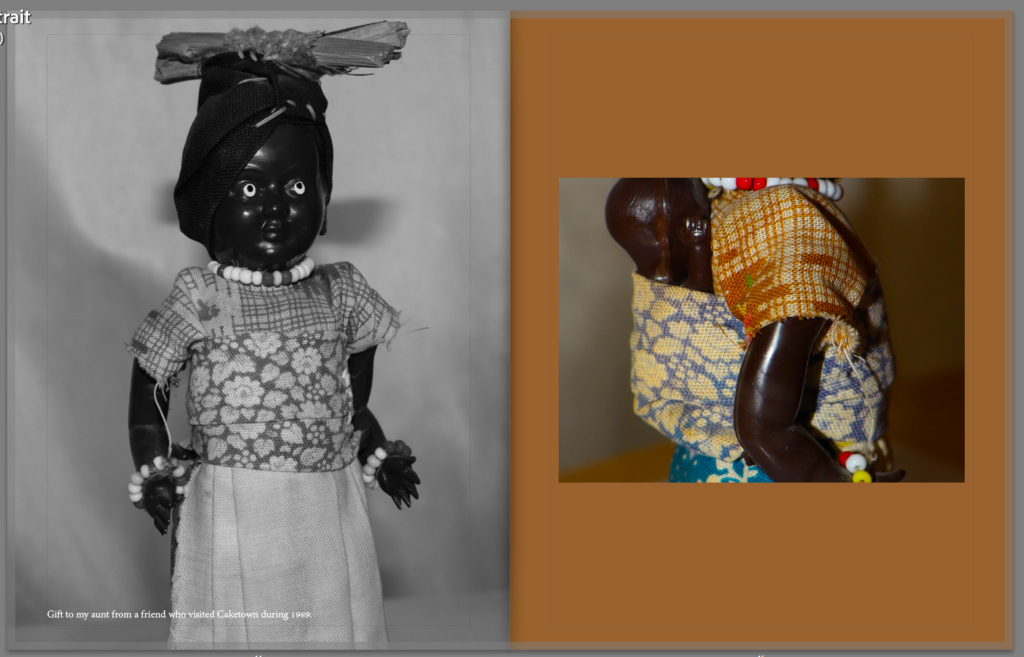
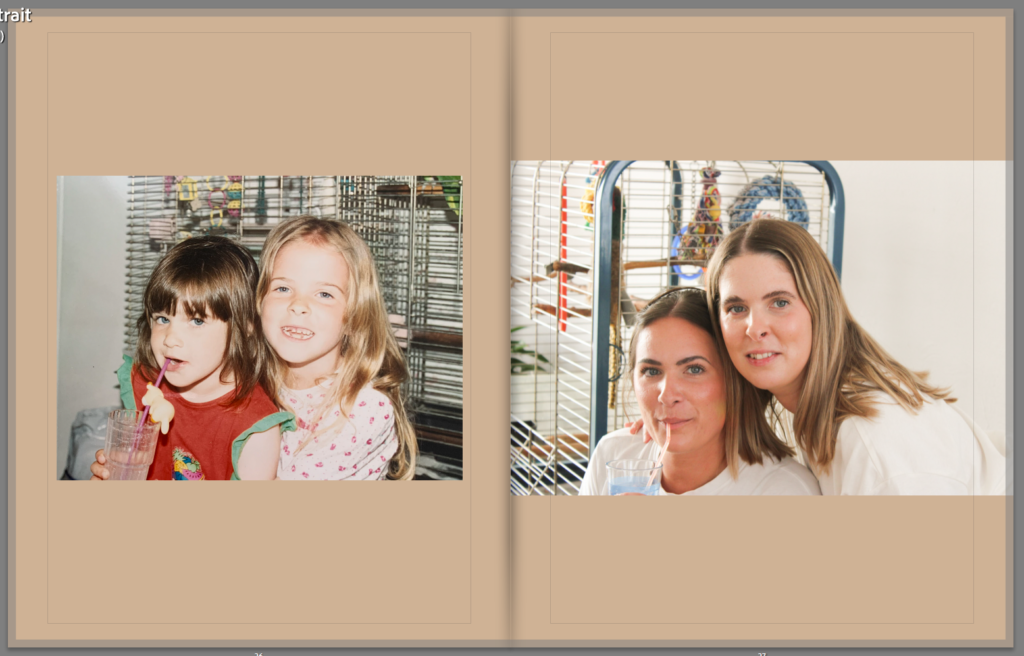
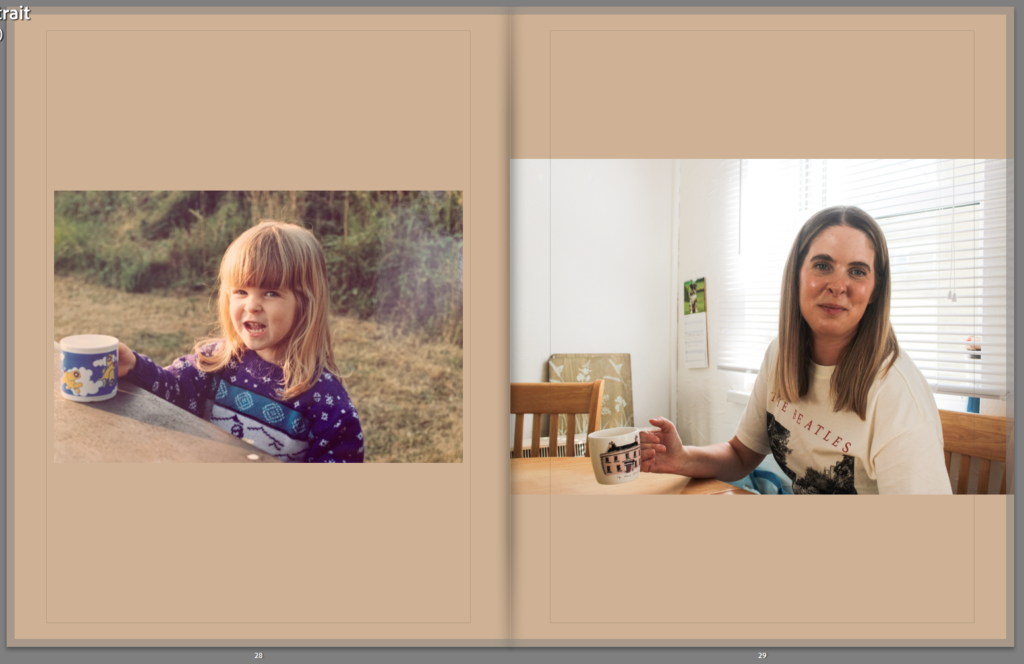
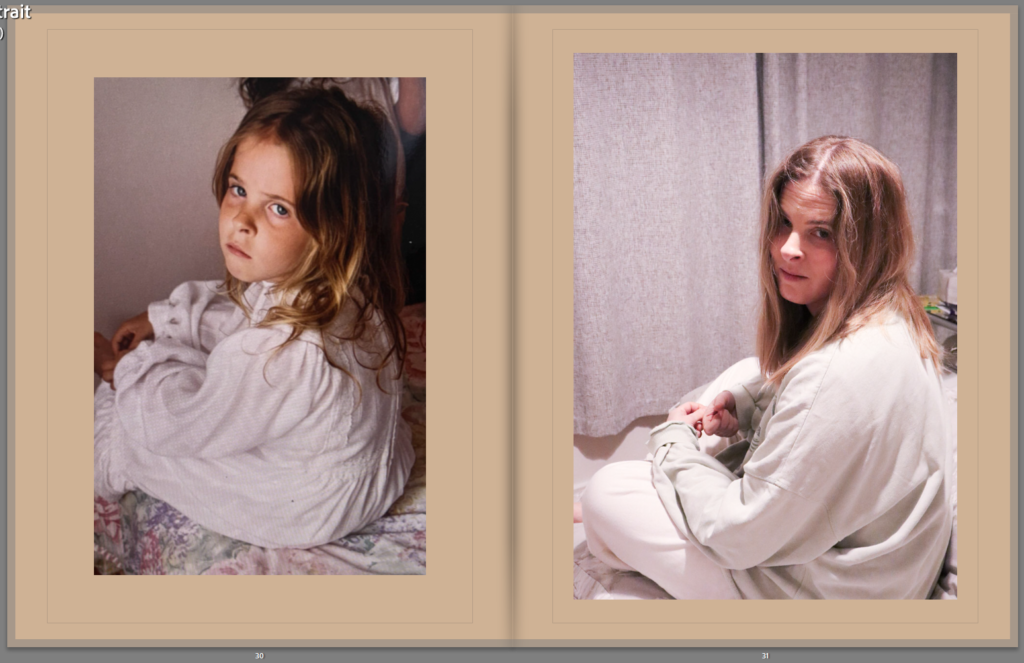
Editing and sequencing – For my sequencing the original image will be on the left, and the new restaged image will be on the right.
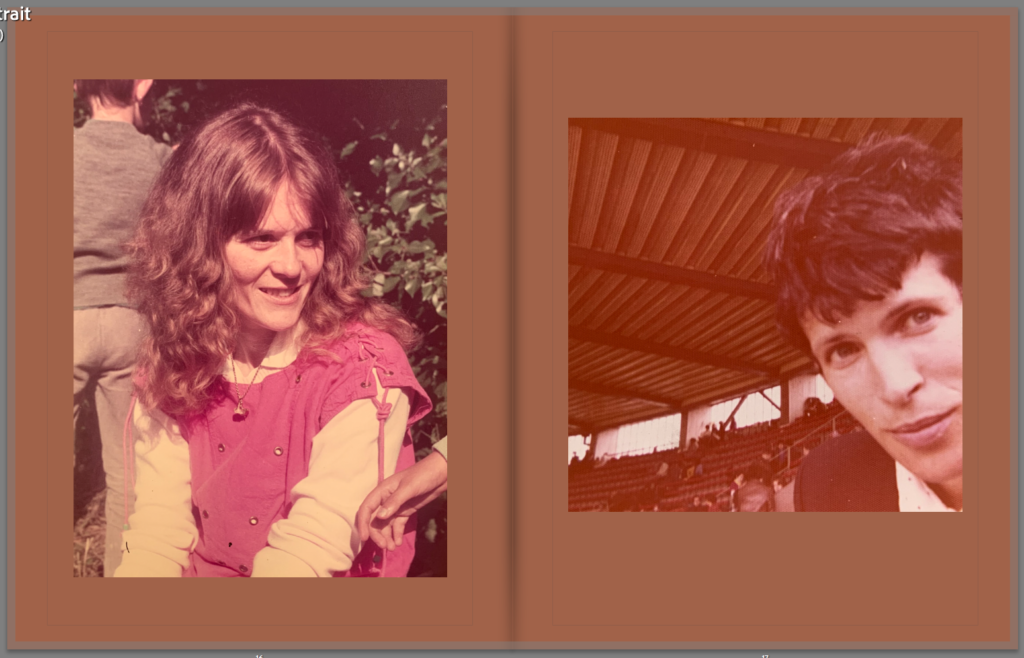
Images and text – Some of my images will be black and white, mainly the ones of objects, the portraits will mainly be coloured. It will be a mix of images I have taken as well as images from the past. The text in my book will be small and only on pages where it is relevant.
You want to aim for a draft layout before the Mock Exam begins, then use the two days allocated to fine tune final layout and design.
1. Write a book specification and describe in detail what your book will be about in terms of narrative, concept and design with reference to the same elements of bookmaking as above.
Narrative:What is your story? Describe in:
3 words– Youth and identity.
A sentence– Exploring my identity by reminiscing my youth.
A paragraph– Exploring my identity by reminiscing on different activities I used to do during my youth, or still do now.
Design: Consider the following
How you want your book to look and feel
Paper and ink
Format, size and orientation
Binding and cover
Title
Structure and architecture
Design and layout
Editing and sequencing
Images and text
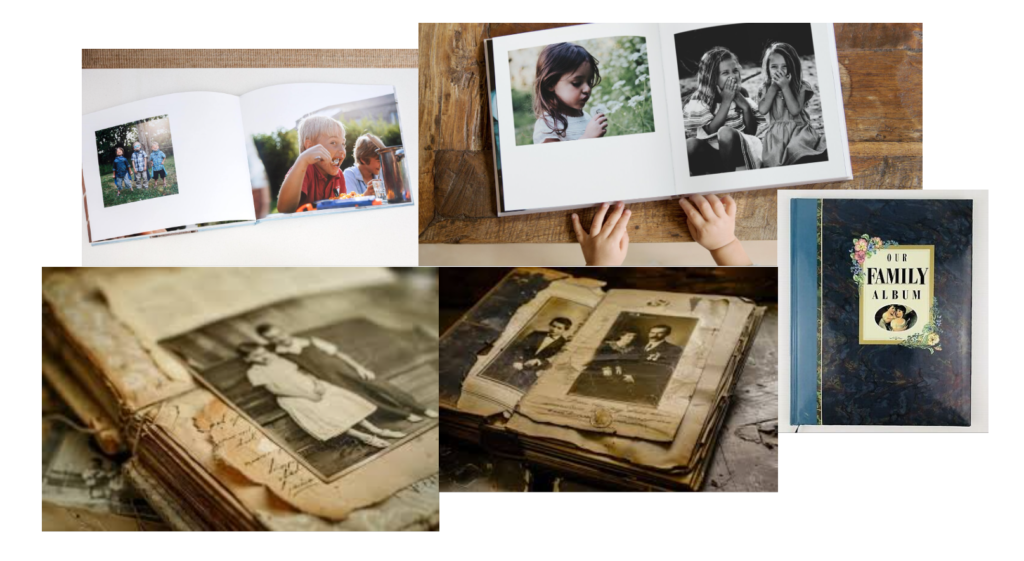
2. Produce a mood-board of design ideas for inspiration. Look atBLURB online book making website, photo books from photographers or see previous books produced by Hautlieu students on the table in class.