
Creating a Virtual Gallery.
My Chosen Gallery Image:
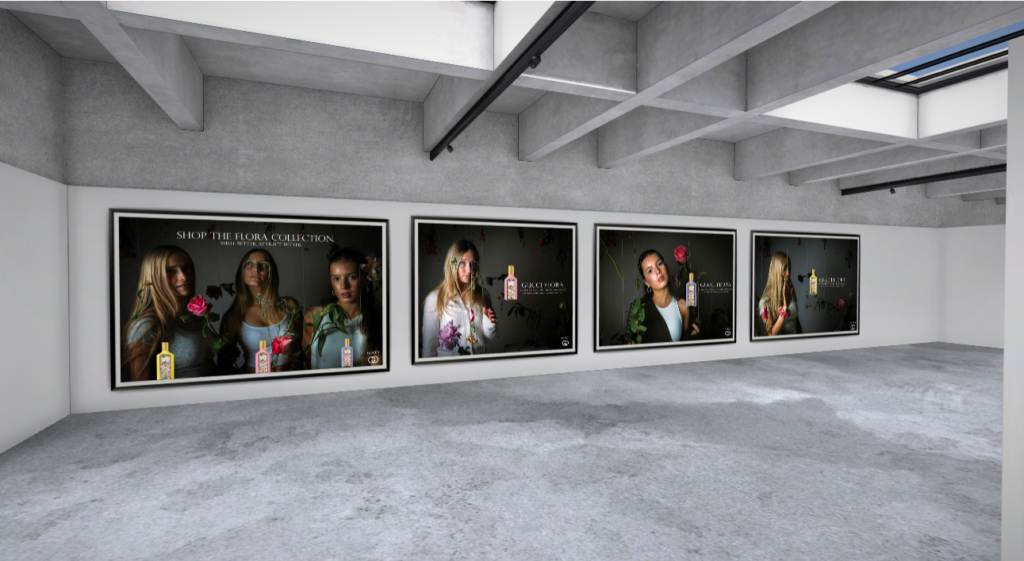
When creating my virtual gallery I like to first begin with choosing a good, strong empty gallery image which will display my images to their best quality and will look good whilst being displayed, I like to have a white wall image which shows light onto the pictures as if they are in a real gallery, whilst being displayed on black canvases.
My Chosen Images:
I then chose my best images from my first photoshoot that I wanted to be displayed in order to show off my work in the best way possible and show the best images from this shoot to be put into a virtual gallery. I chose these 4 images specifically as I feel this amount of pictures fitted the layout of my chosen virtual gallery the most.
Creating Virtual Gallery:
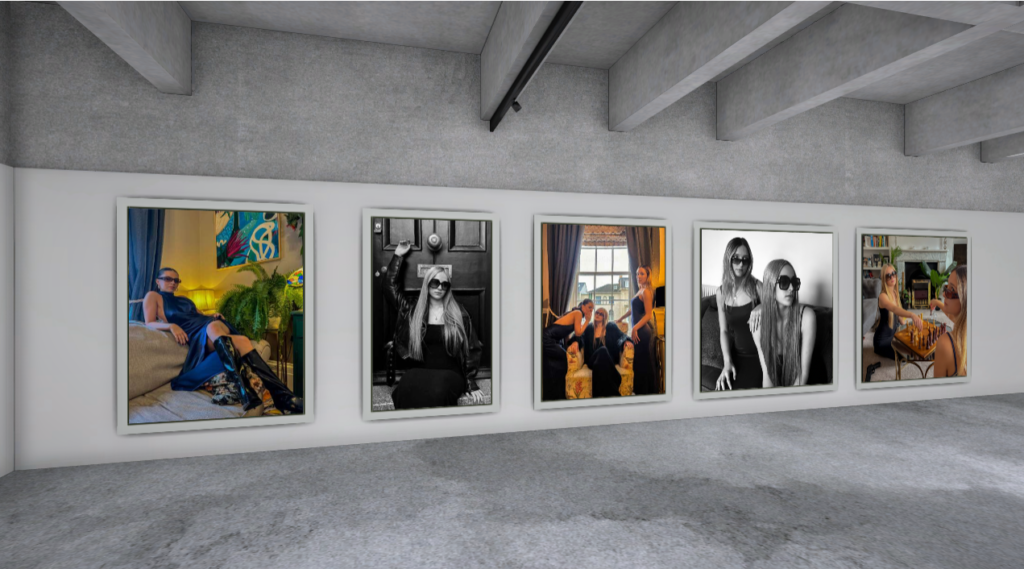
I first started by importing a virtual gallery into Adobe Photoshop and positioned it to fit the shape well. I then imported my 5 images and fitted them to the best scale on these evenly sized picture frames. I quite like how the images do not completely fi the frames as it shows each image is different and displays them all in a way that is not too boring on the eye and stays interesting and different when viewing each different picture.

Shadows and Perspectives:
For this specific chosen empty gallery image, I did not have to work on my chosen perspectives such as tilting them as if they are on e.g. a side-on wall facing inwards, as all 5 images are facing forwards. This means that instead I had to focus on the shadows that would occur if these images were to be on a wall. For this i used the drop shadow icon. To achieve this..
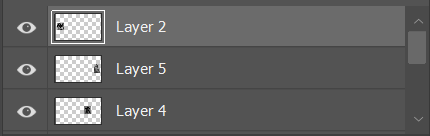
I first double clicked my chosen layer which contained the image I wanted to create a shadow for first…
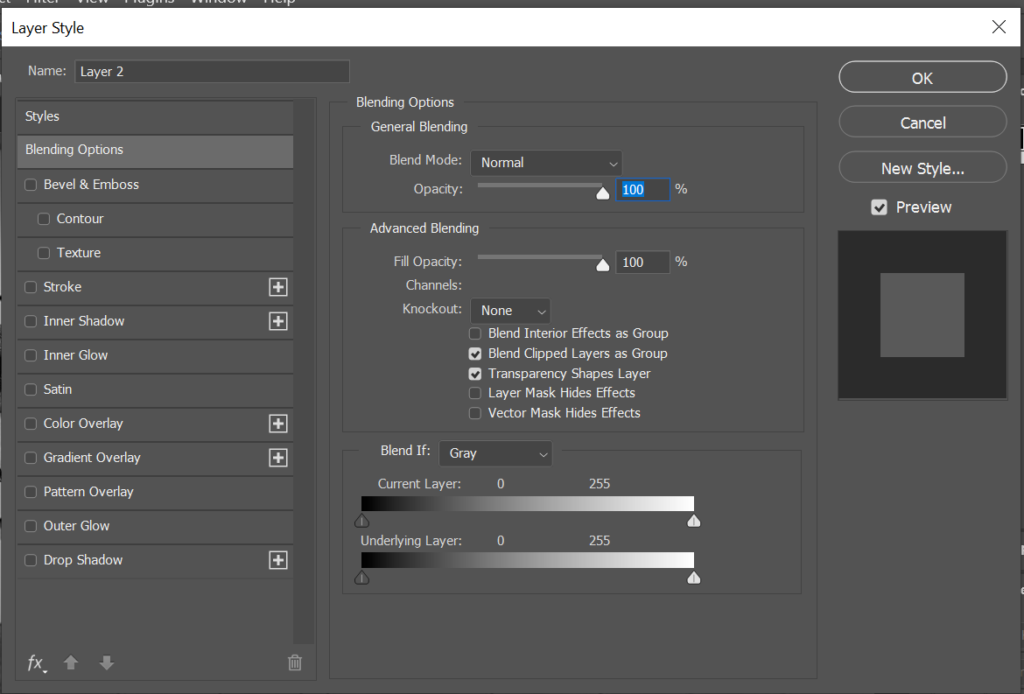
Then appears the layer style tool bar which allows me to add my drop shadow my clicking the ‘drop shadow’ icon at the bottom.
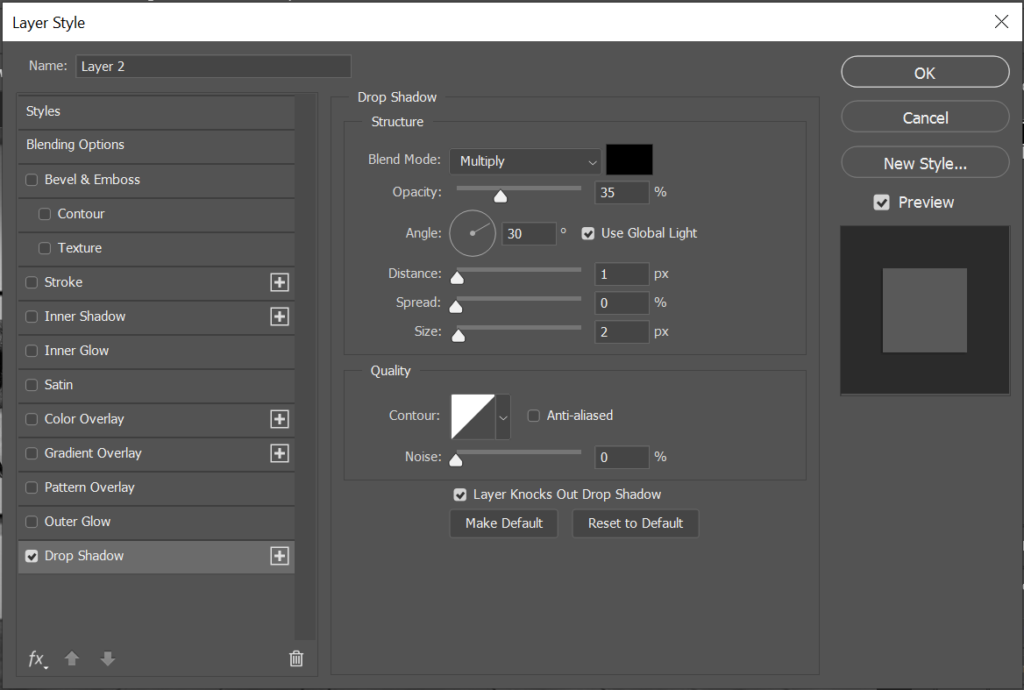
I am then able to choose the opacity, distance, spread, size and angle in which I want my shadow to be. I need my shadow to be below the images as this is the perspective that is created when an image is presented on a wall facing forwards.
Here is my final first outcome of a virtual gallery of my images, feel this is a good first virtual gallery displaying 5 images from the first section of my book. This is the photoshoot is used to represent a 1960’s/1970’s women’s fashion and lifestyle magazine which is used to influence the styles and choices day-to-day, of women that were living during this period.

My Next Virtual Gallery.
My Chosen Images.
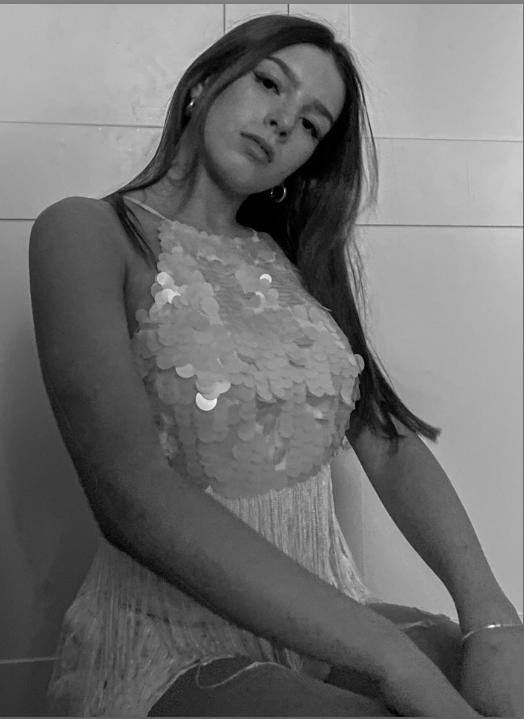
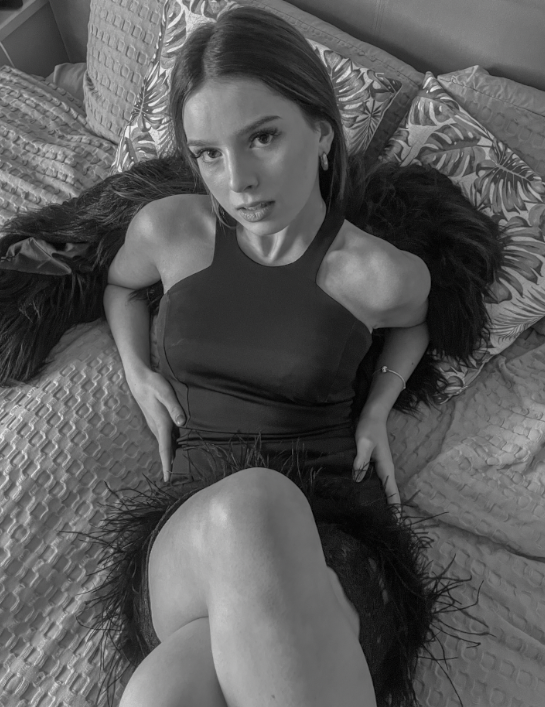
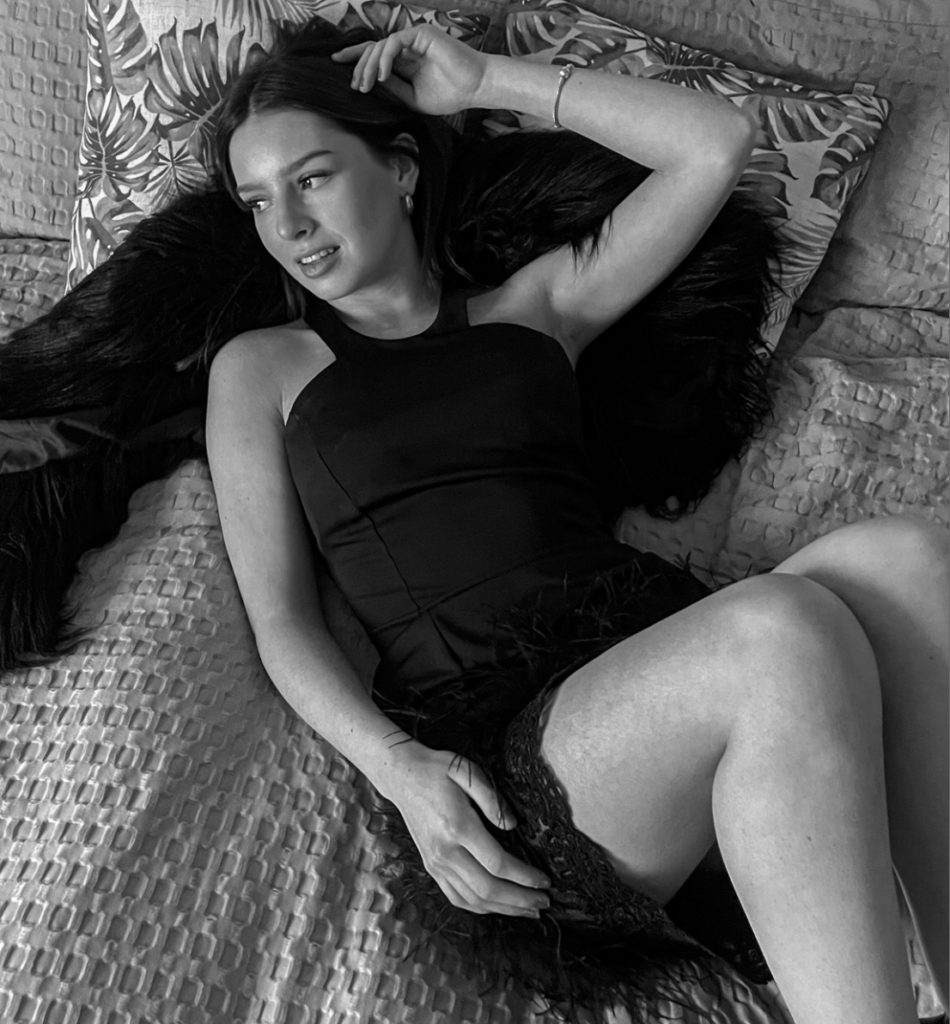
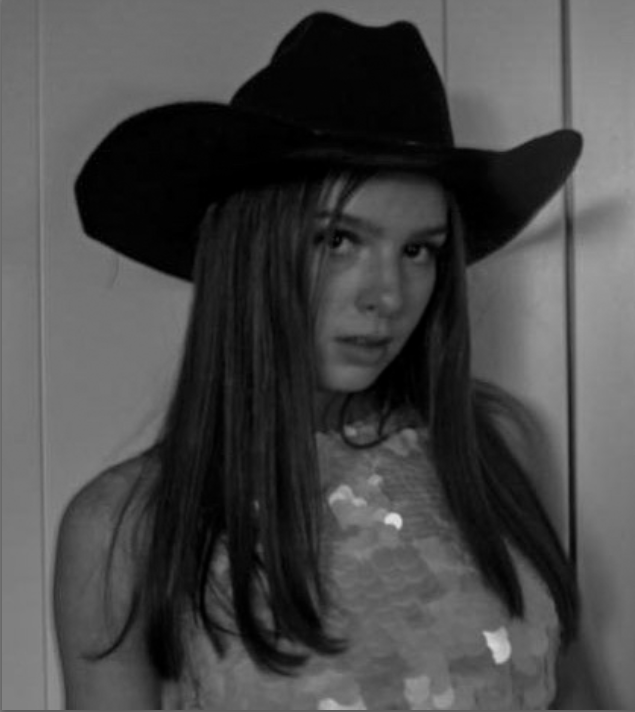
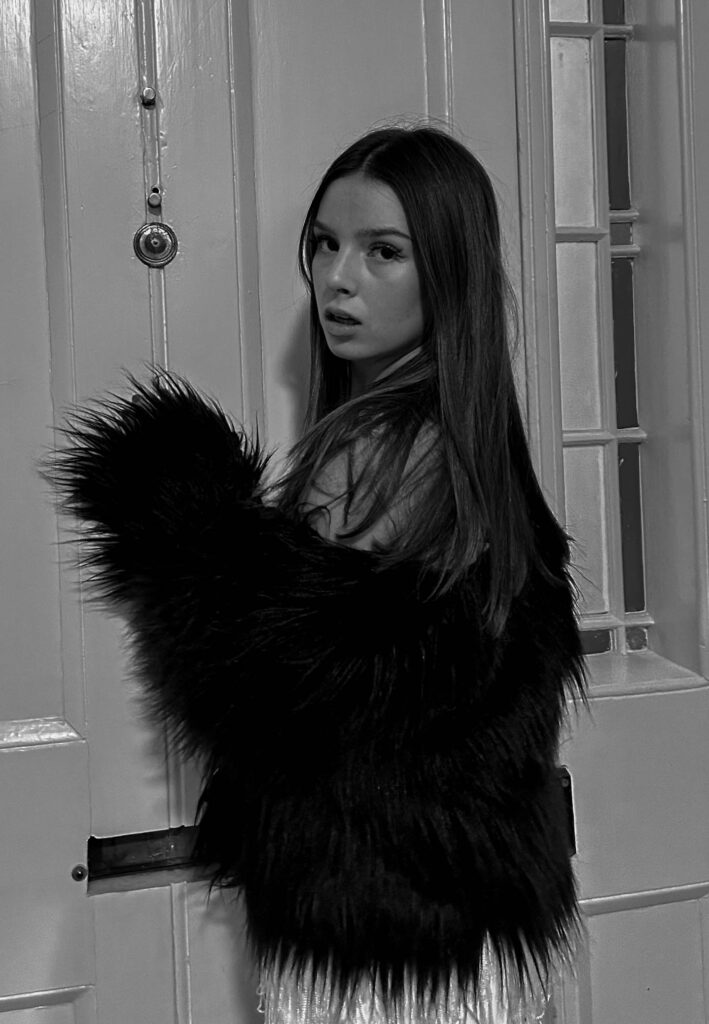
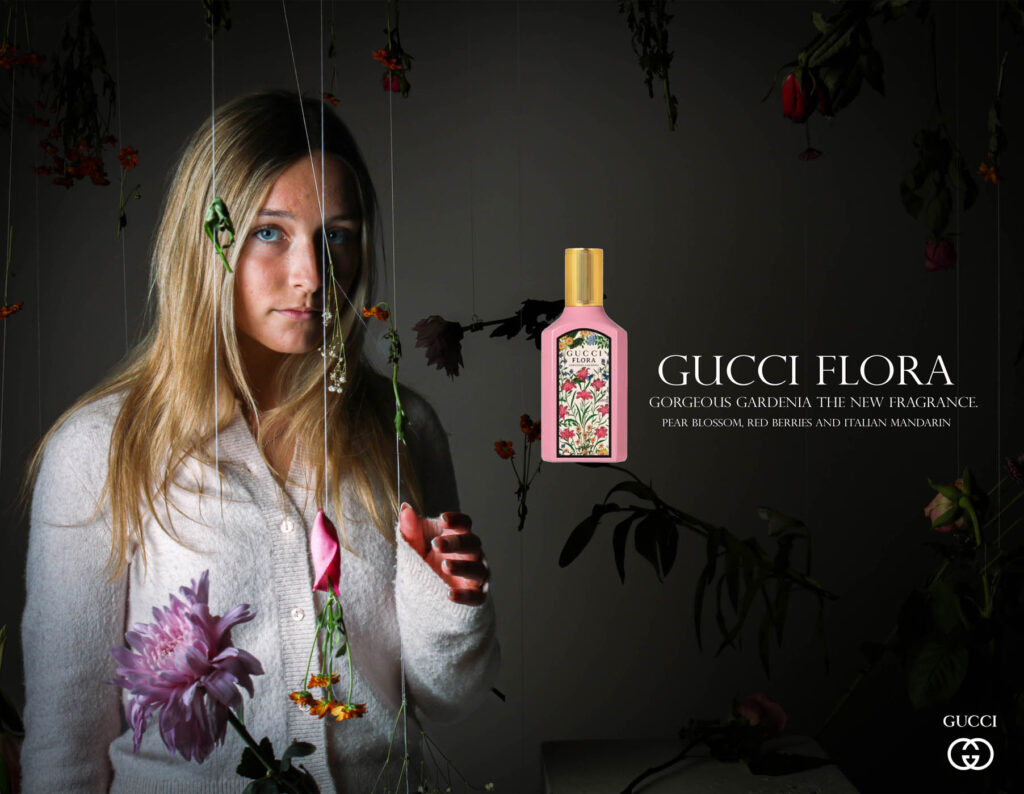
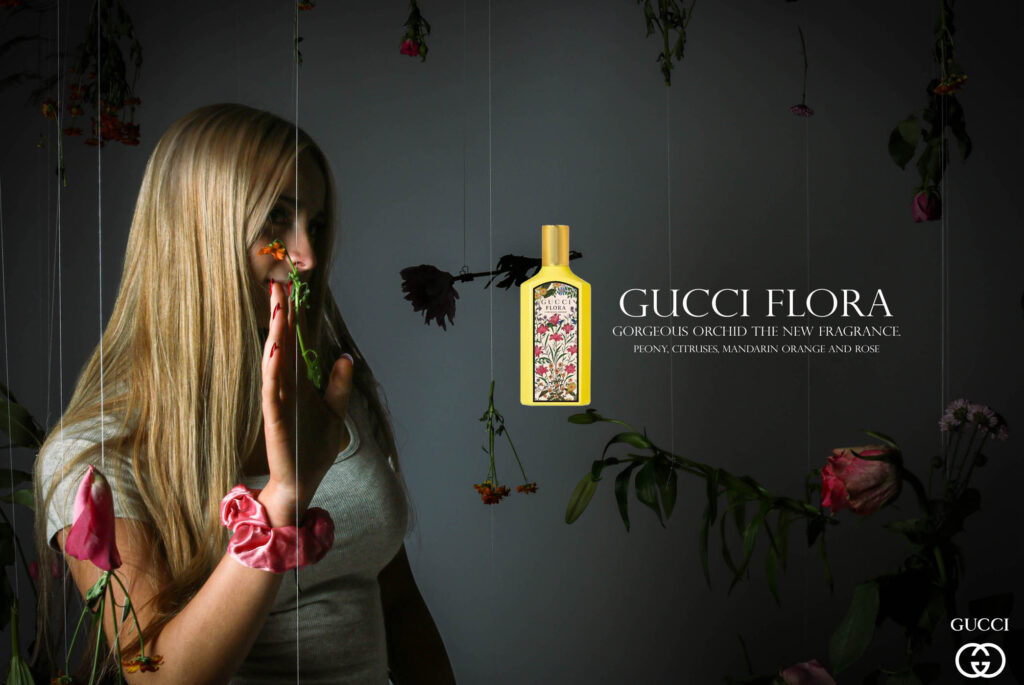
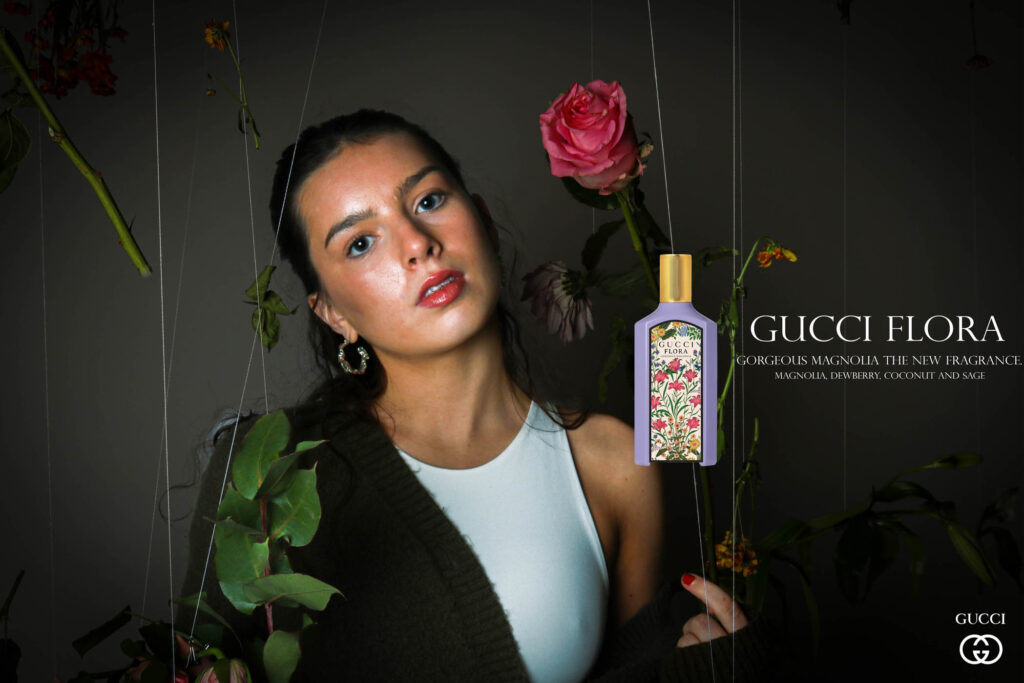
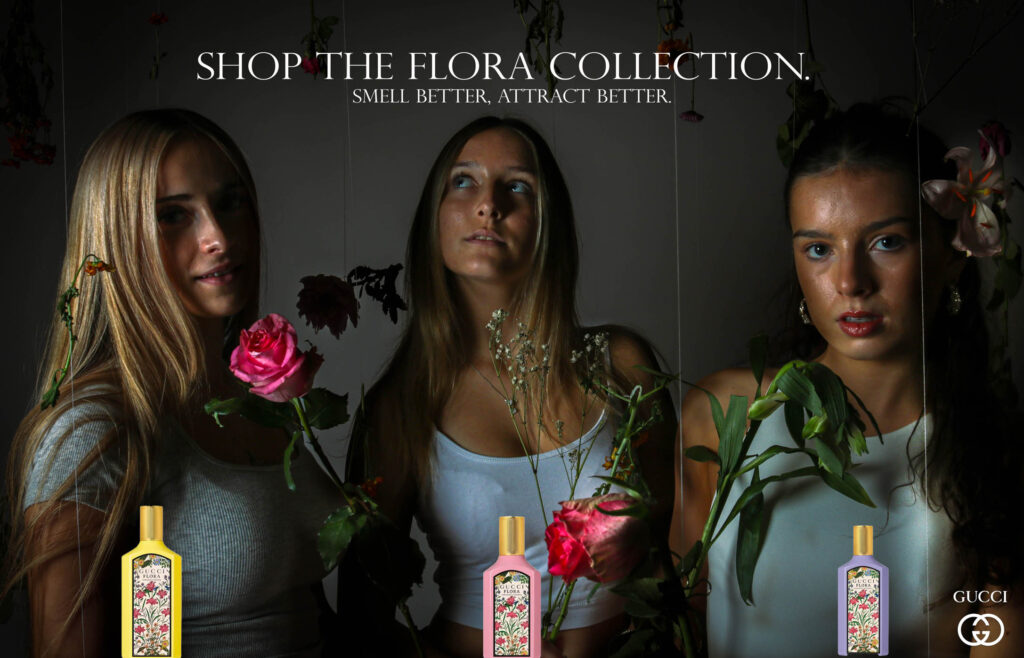
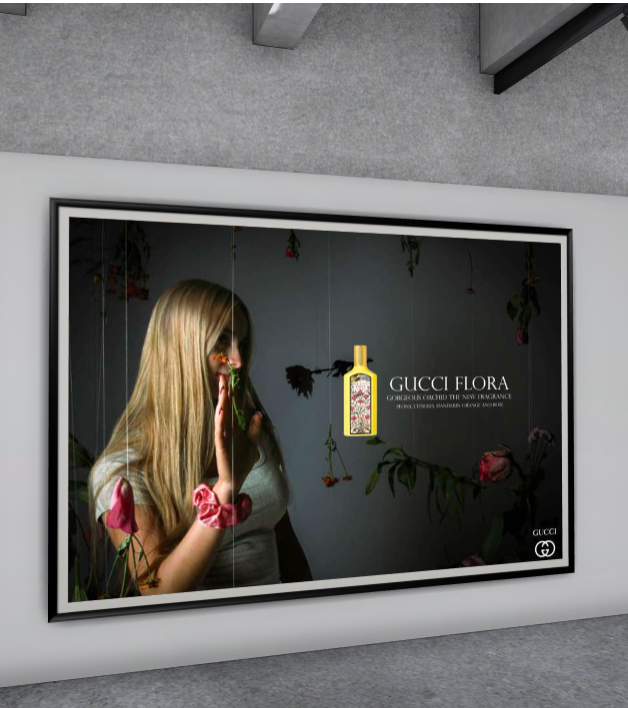
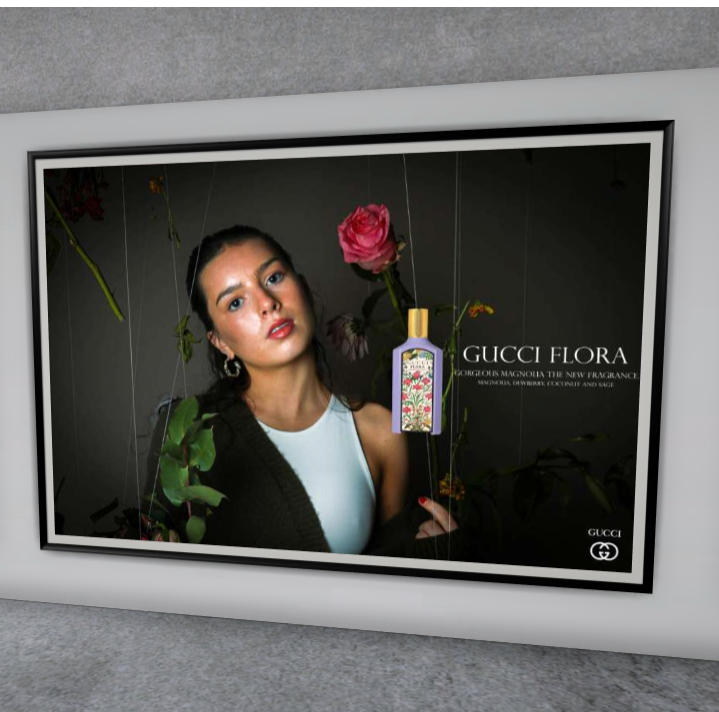
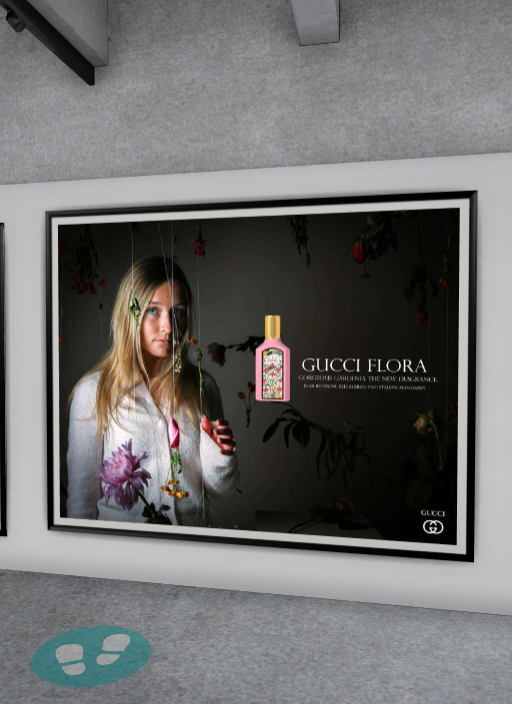
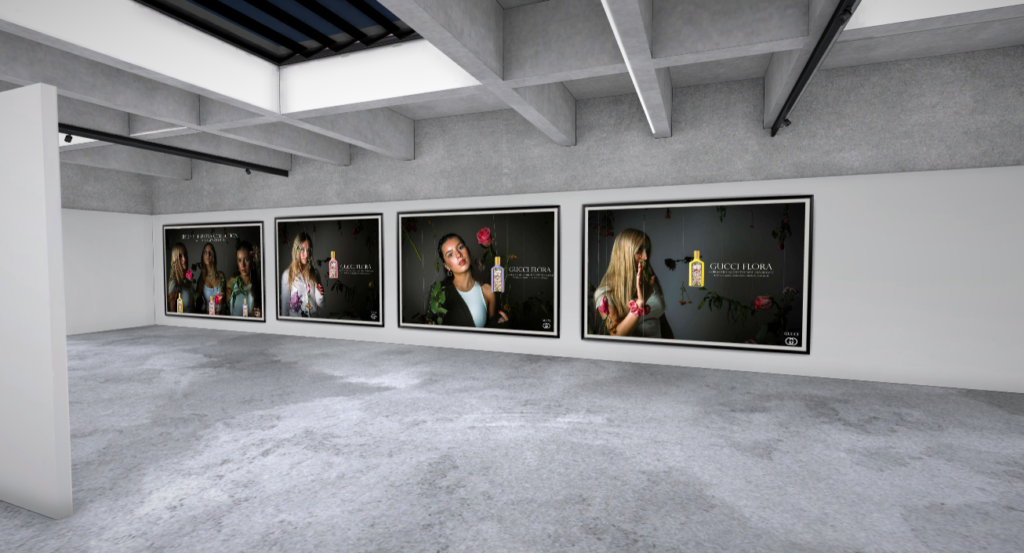
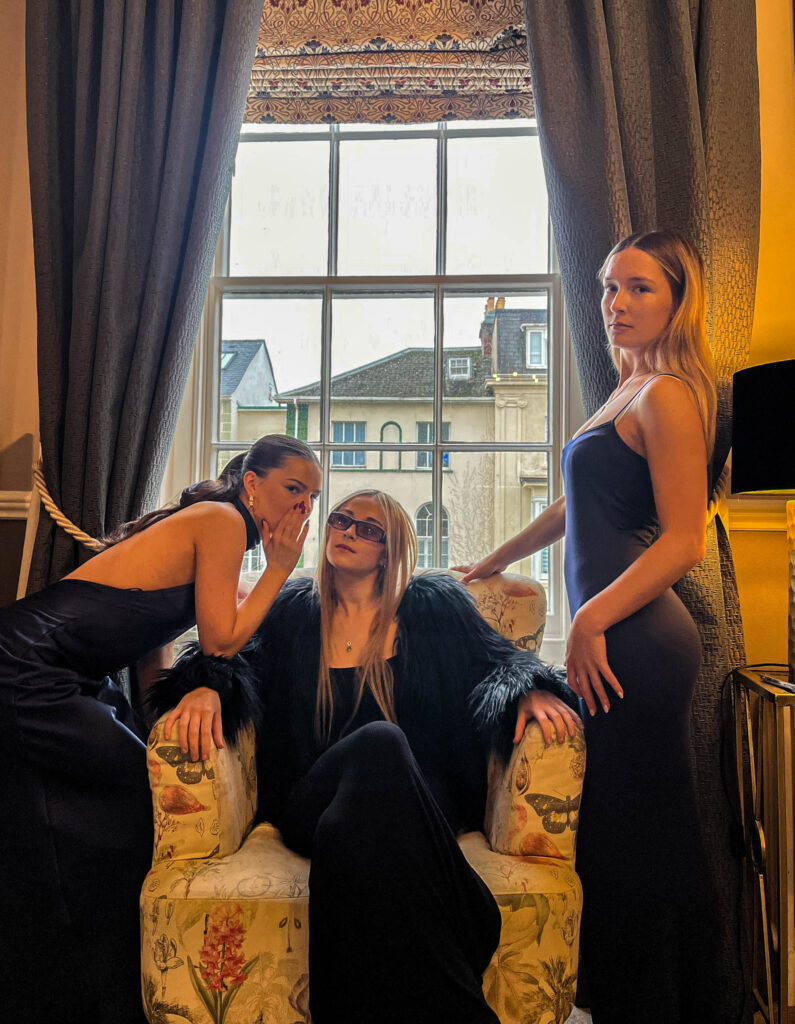
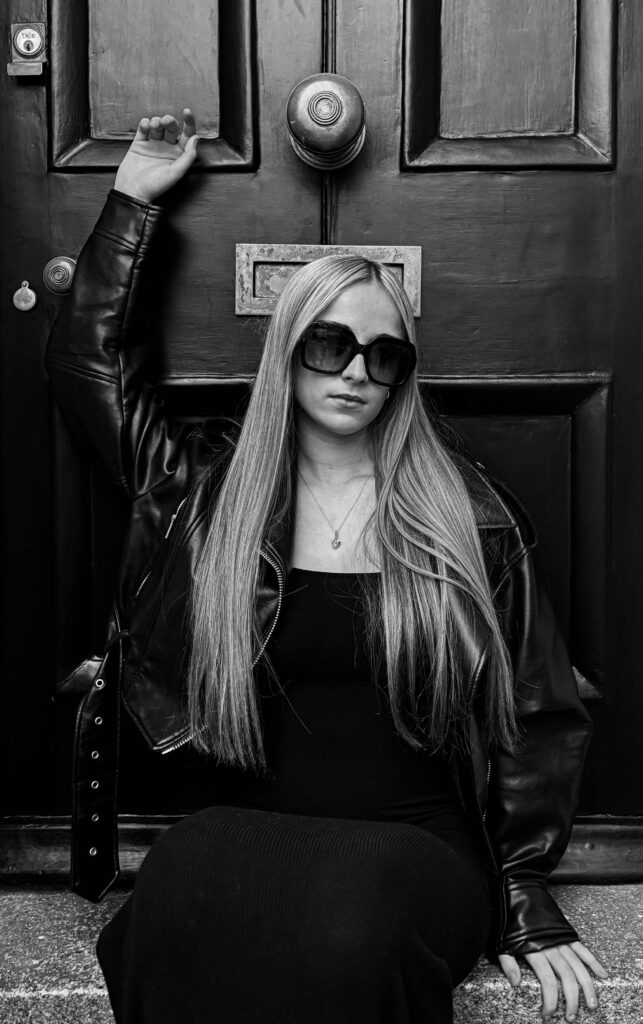
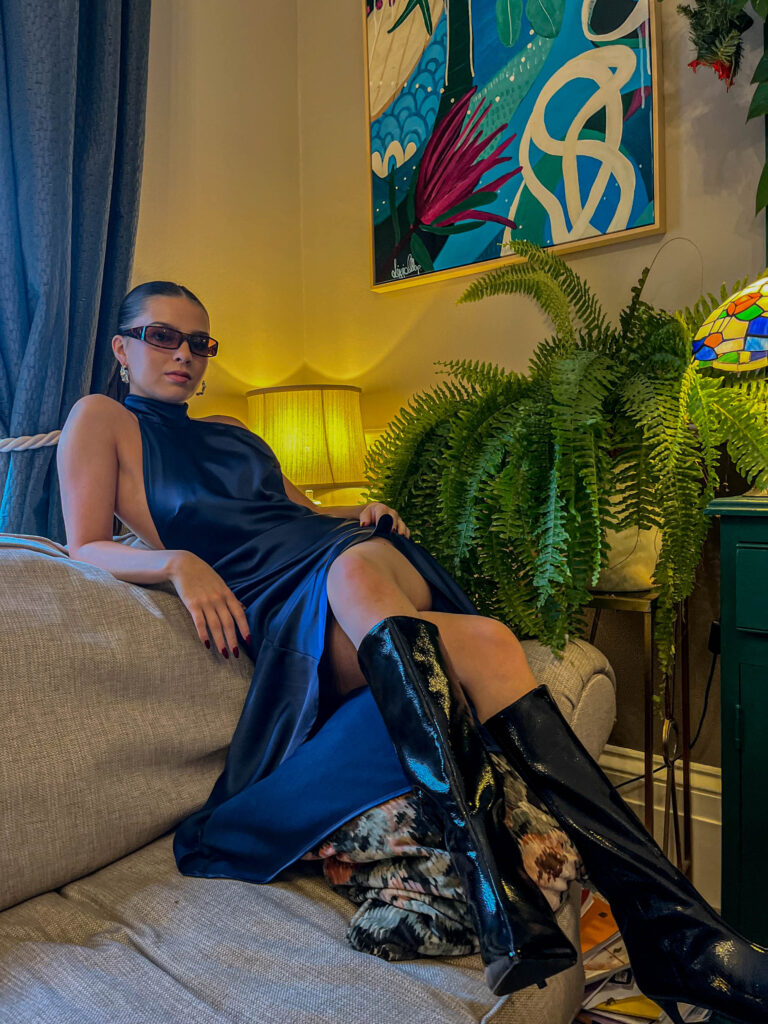
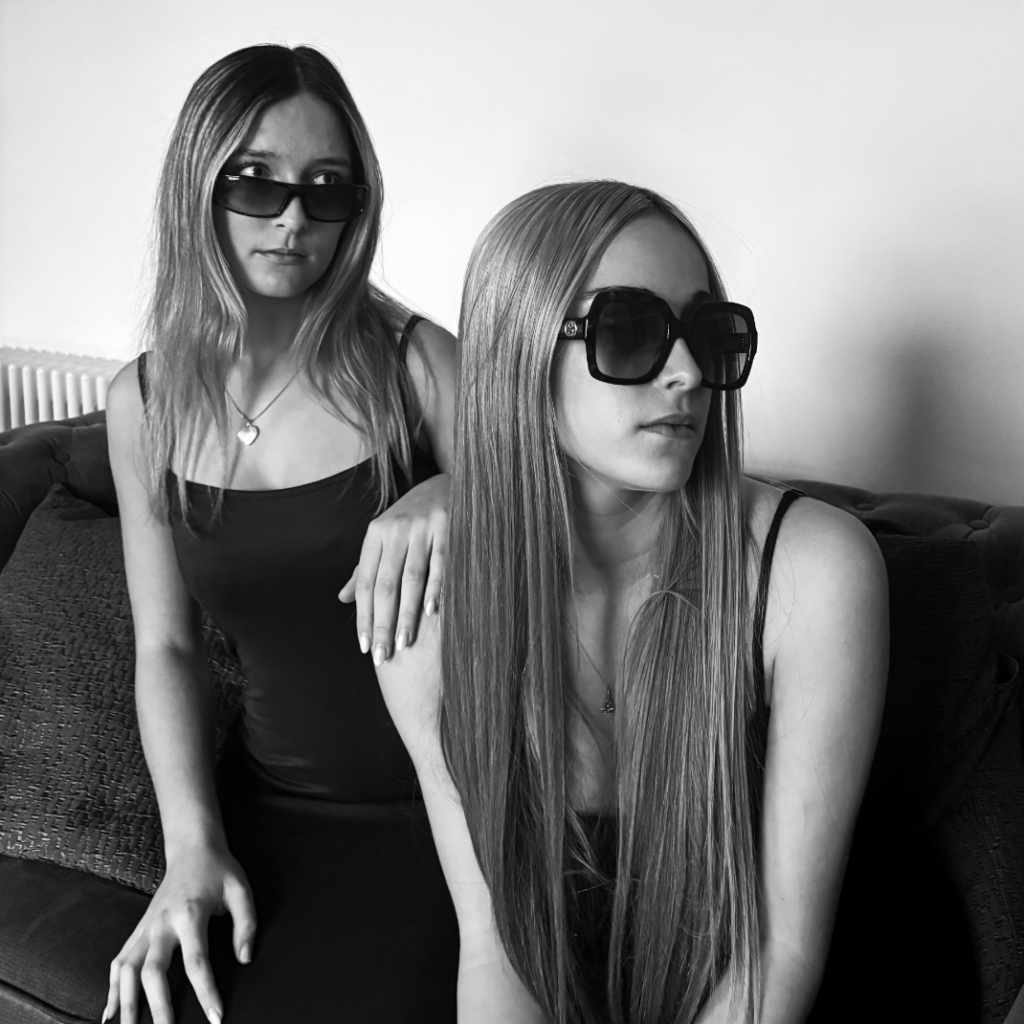
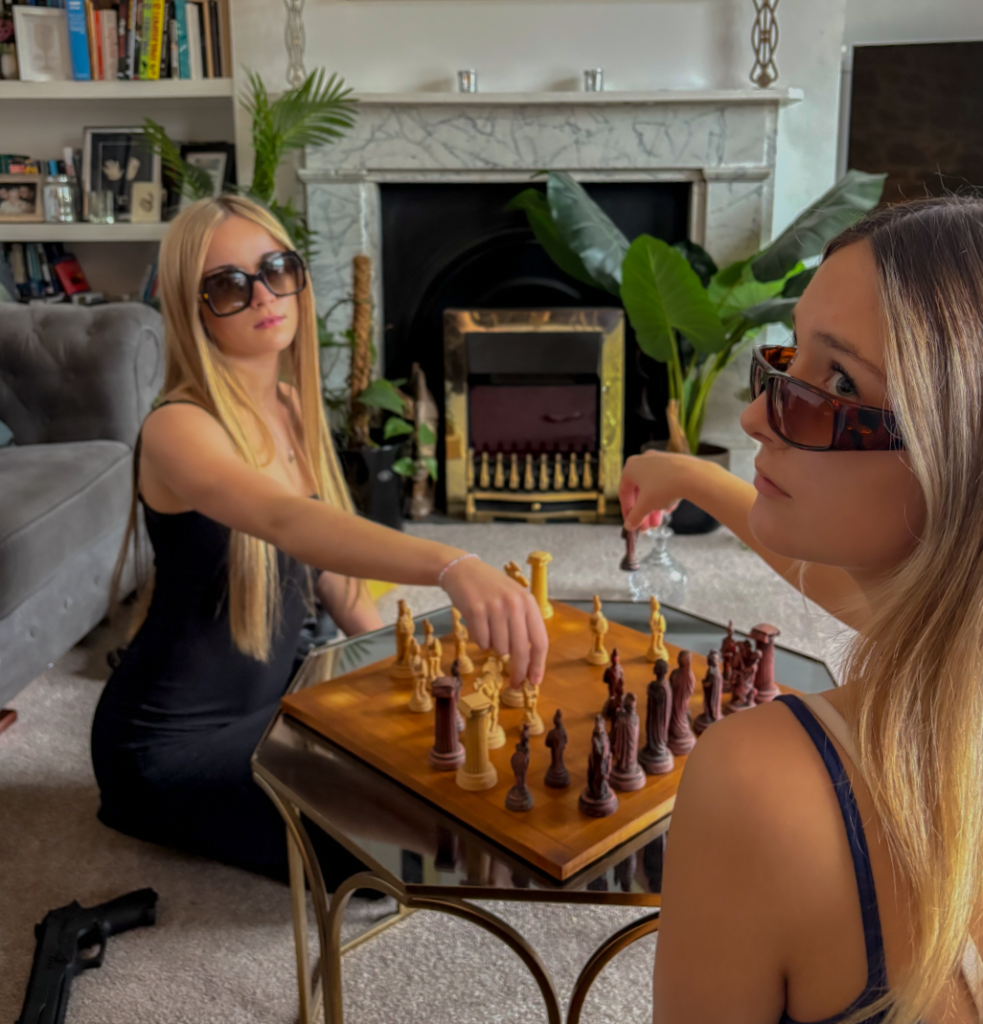
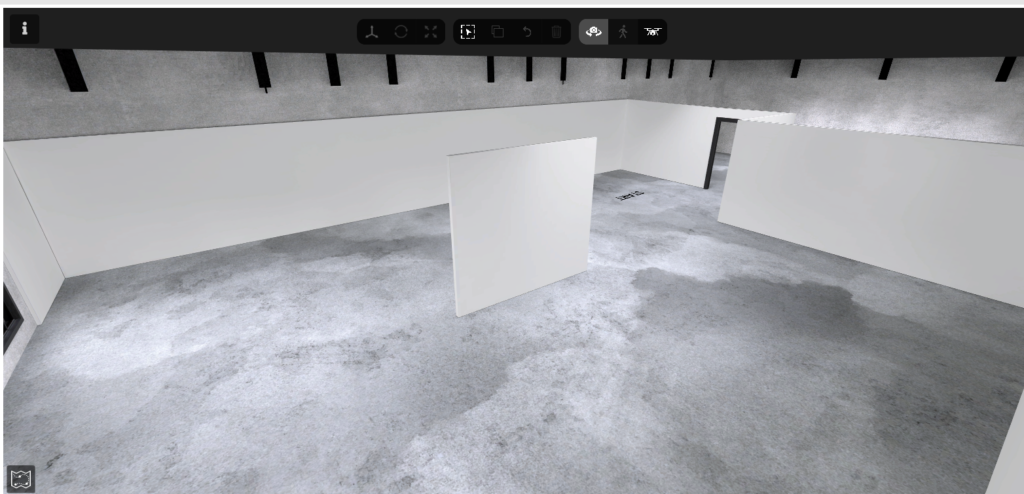
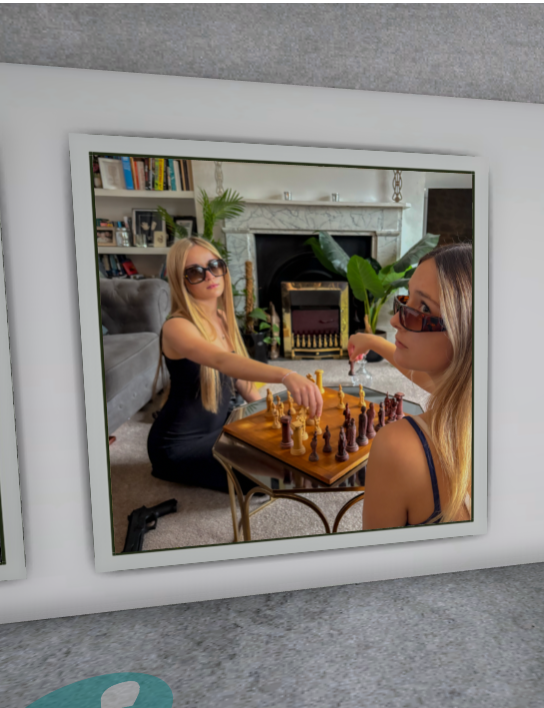
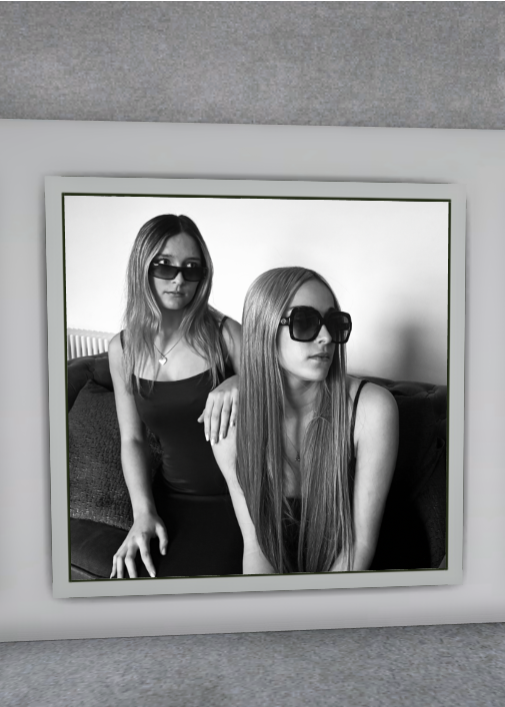
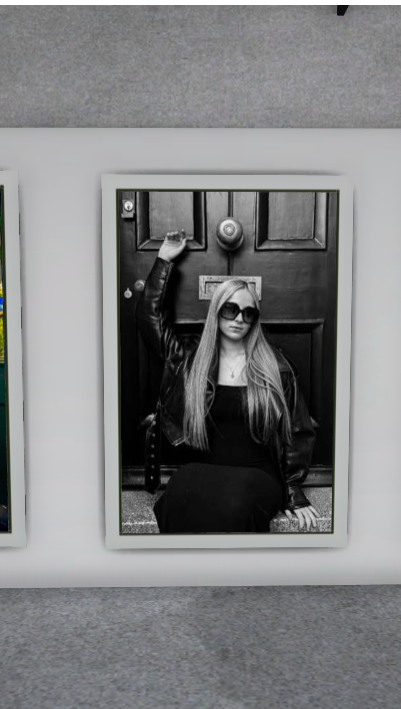
These are my 4 chosen images for my virtual gallery, I feel these images are the strongest from the second section of my magazine which is a photoshoot dedicated to my modern day girls magazine section of my magazine. This section is demonstrating a magazine targeted at teenage girls and younger adults and the unrealistic beauty standards that are forced upon them. I decided to create my virtual gallery on Artsteps this time, in order to create more variety in my virtual galleries and show different methods of presenting my work. I found using Artsteps particularly confusing, but after getting an understanding of how it works, I was able to figure out the instructions and way to create this gallery.

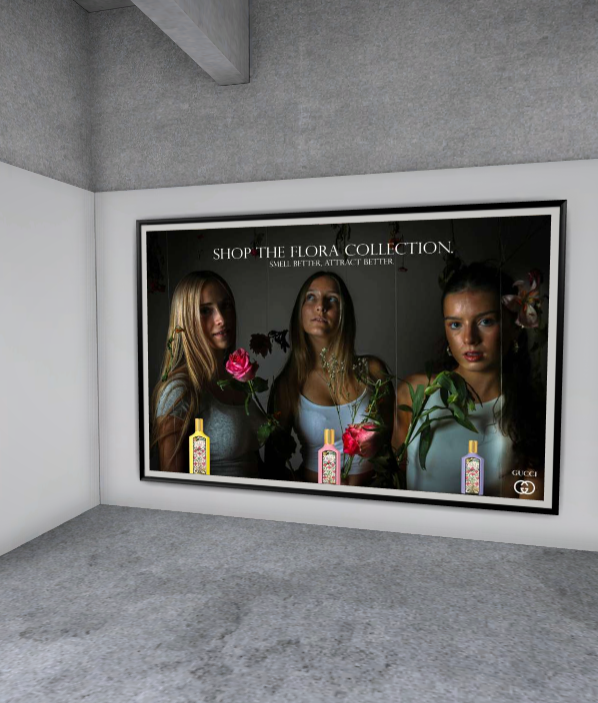
My Final Outcome:
My Next Virtual Gallery.
My Chosen Images.
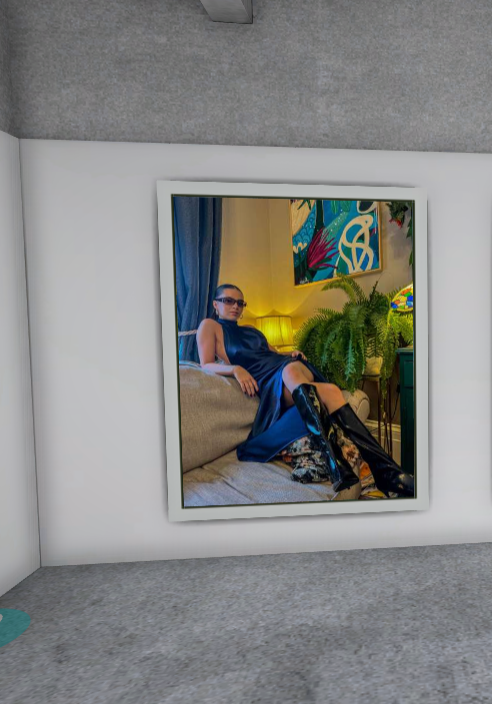
These are my 5 chosen images for my virtual gallery, I feel these images are the strongest from the third and final section of my magazine which is a photoshoot dedicated to my modern day women’s magazine section of my magazine. This section is demonstrating a magazine targeted at women who may be transitioning into older age, or who may just be struggling with body image. It is a magazine which is highlighting the unrealistic beauty standards that are forced upon them in today’s age and how they are toxic and must be overcome. I also used Artsteps again for this virtual gallery in order to gain more confidence with using the software, for future purposes, such as my exam.

My Final Outcome:

Overall, I feel this process of creating virtual galleries has been successful for trying out new software and attempting to display my images in the best way possible. However, overall I feel I prefer to edit, input and display my images in Adobe Photoshop, and I feel for my exam work, this will be the best way possible to create my virtual galleries, although I think these three galleries have been mostly successful.