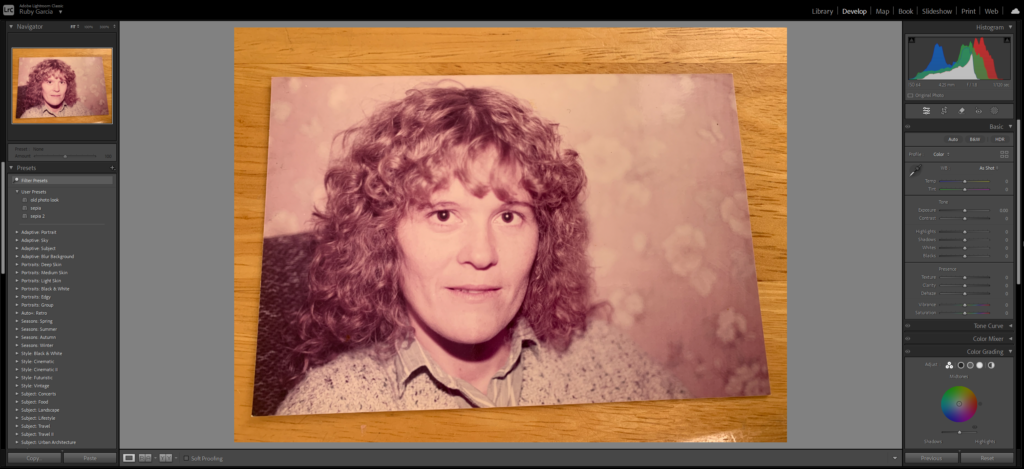
In my photobook I am going to include both old images as well as new ones which I have taken. For these old photos I am going to crop and transform them so that there is nothing in the background.
Adjusting my images:
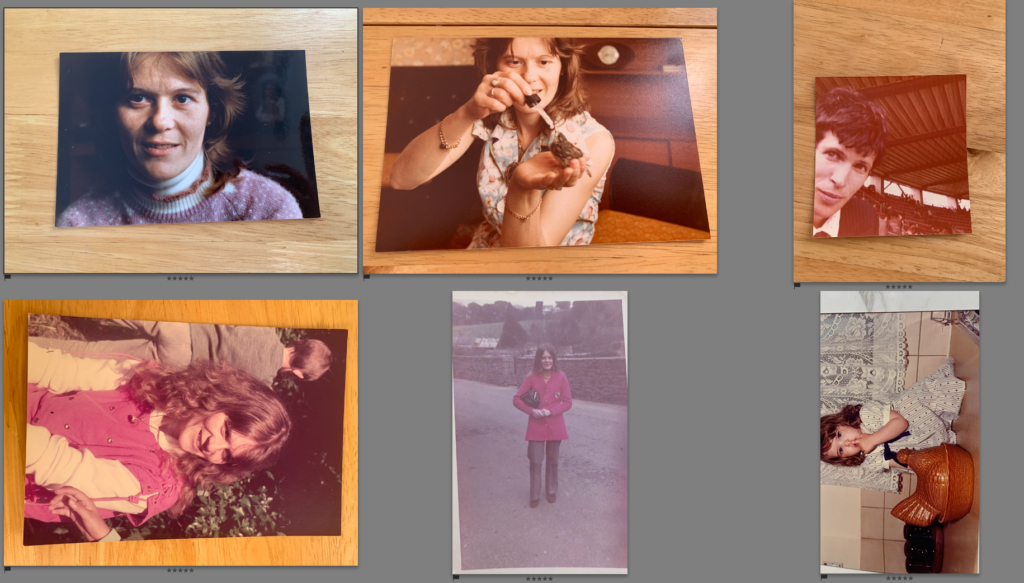
For majority of my old images the table is visible in the background. To fix this I am going to use lightroom tools to adjust it so that the photo is the only thing visible.
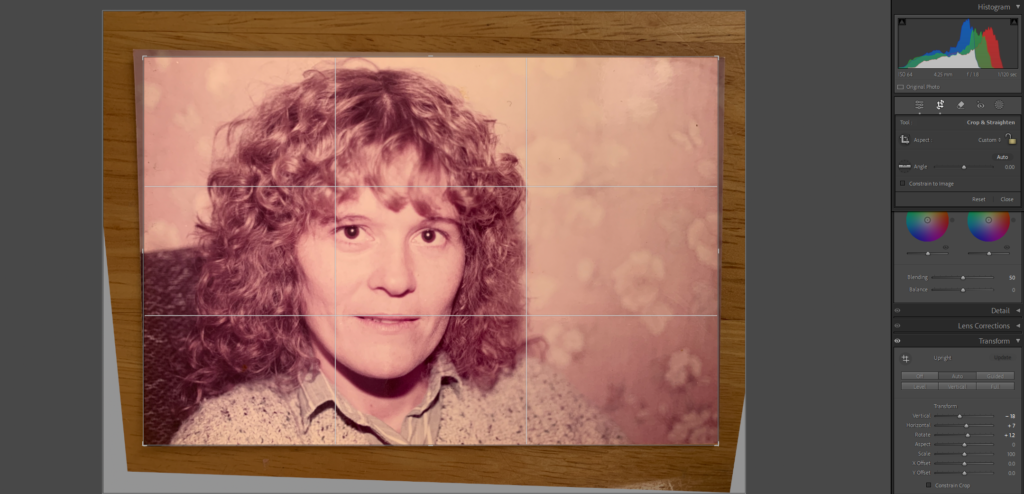
To do this I used the ‘transform’ option and adjusted the image slightly horizontal and vertical. I also rotated the image.
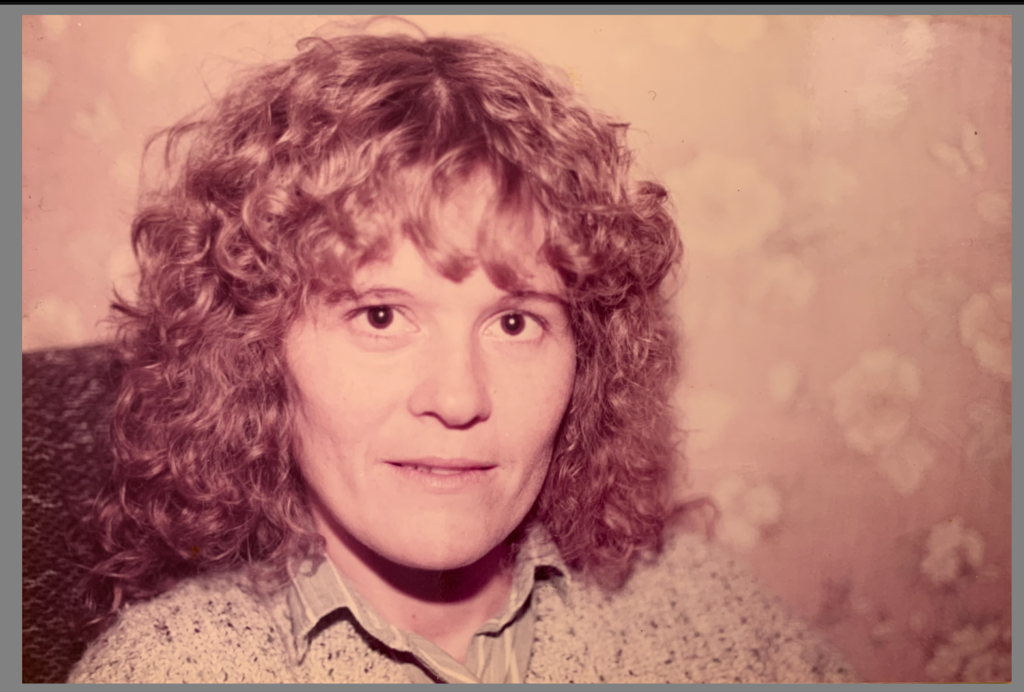
Finally I cropped the image after adjusting it. I will not make any other edits to the old images as I want them to have the same look as they already do.
Before:
After:

Making adjustments:
1: I have adjusted the image on the right so that it is a similar tone to the original image. I will put these onto the same page therefore I want them to be the same sort of tone.

I also chose to adjust the hue and saturation of certain colours such as red as i found the red jacket to be too vibrant in the original image.
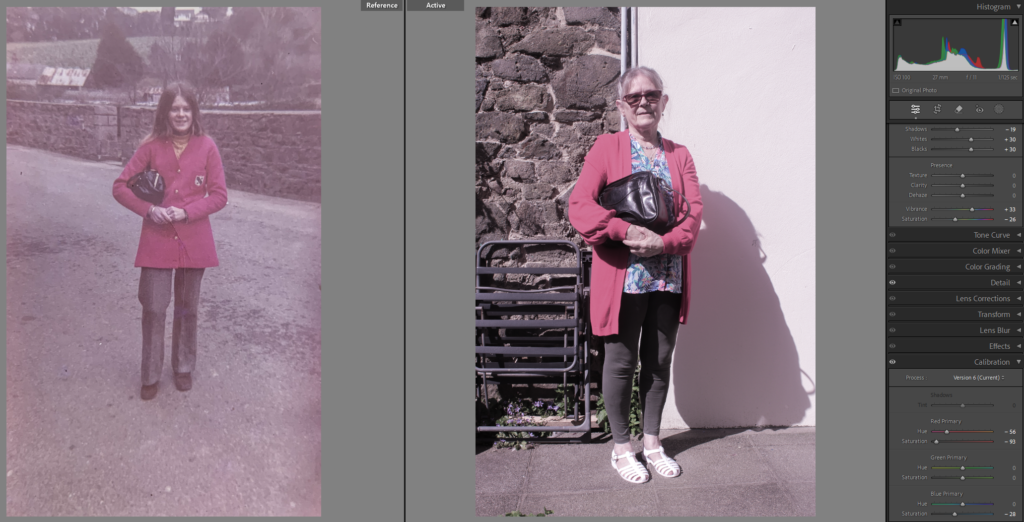
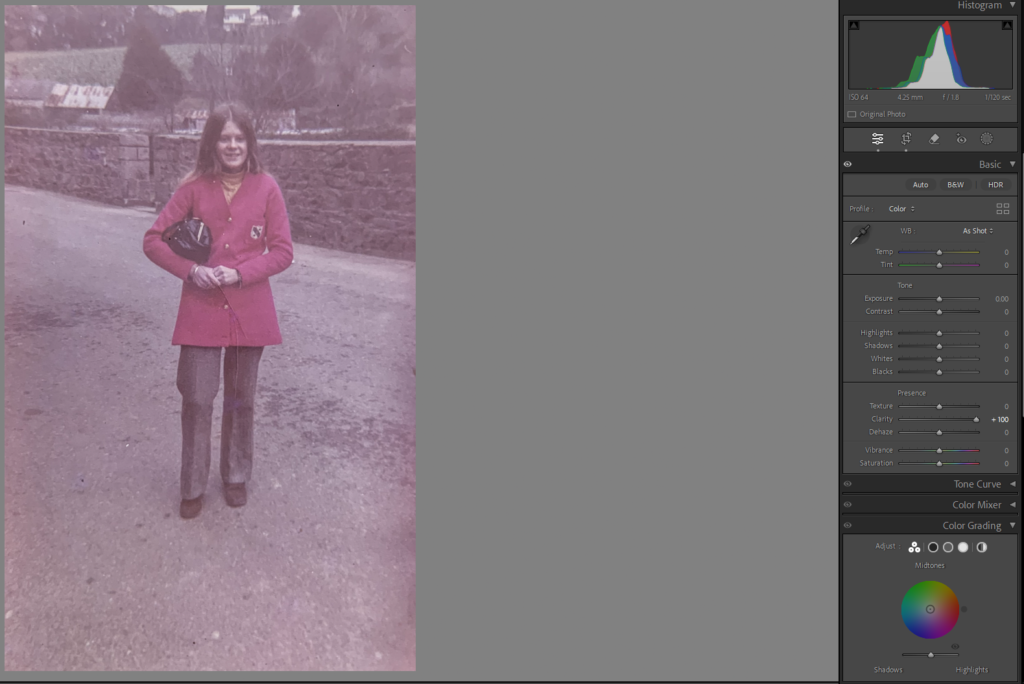
I also chose to increase the clarity on the original image as it is sort of grainy as it is a very old image.
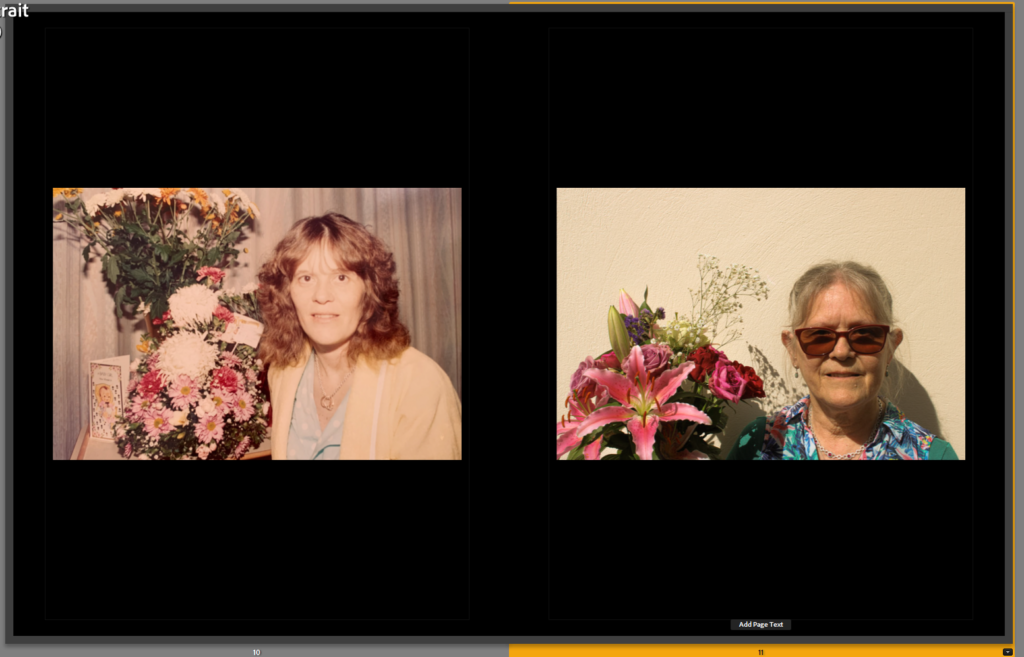
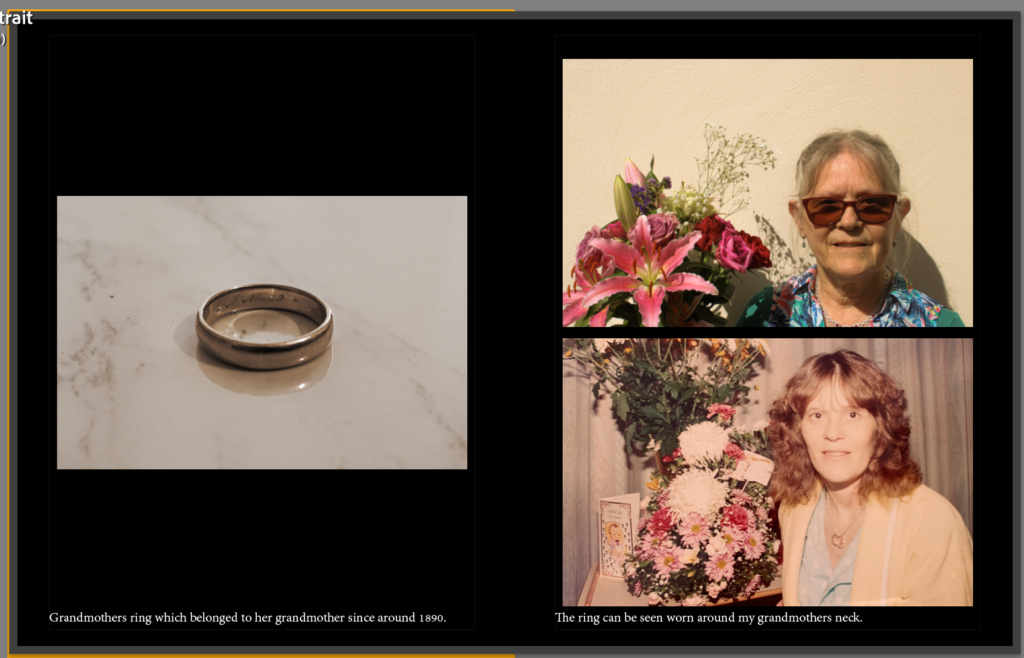
These two pages are two ideas, I perfer the second one which includes the wedding ring and the two photos on the second page.
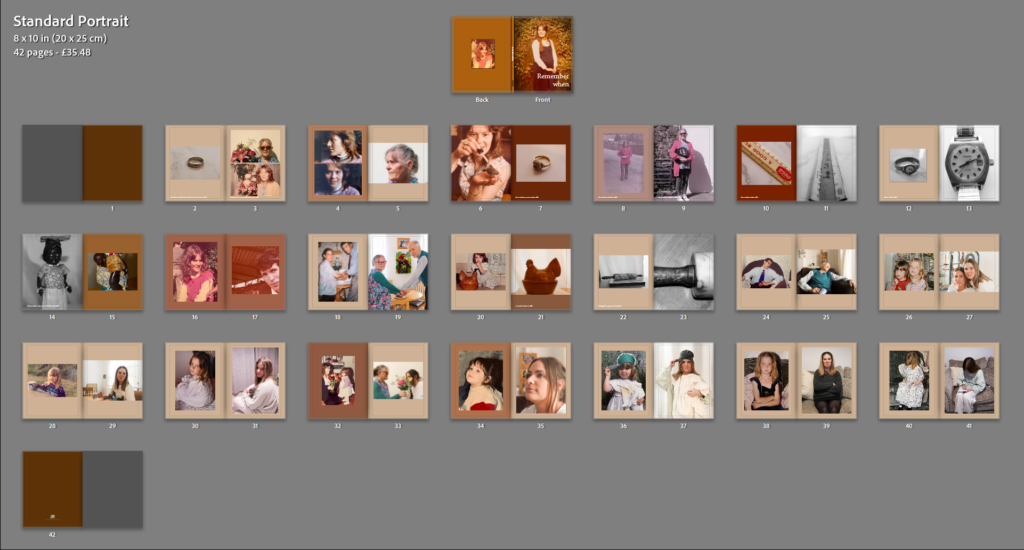
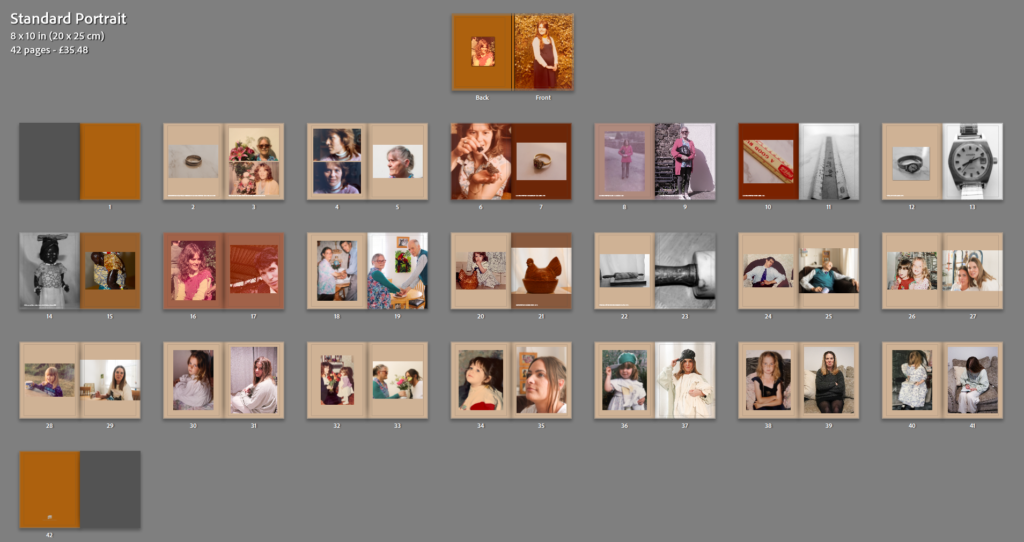
My layout
Front + Back cover ideas:
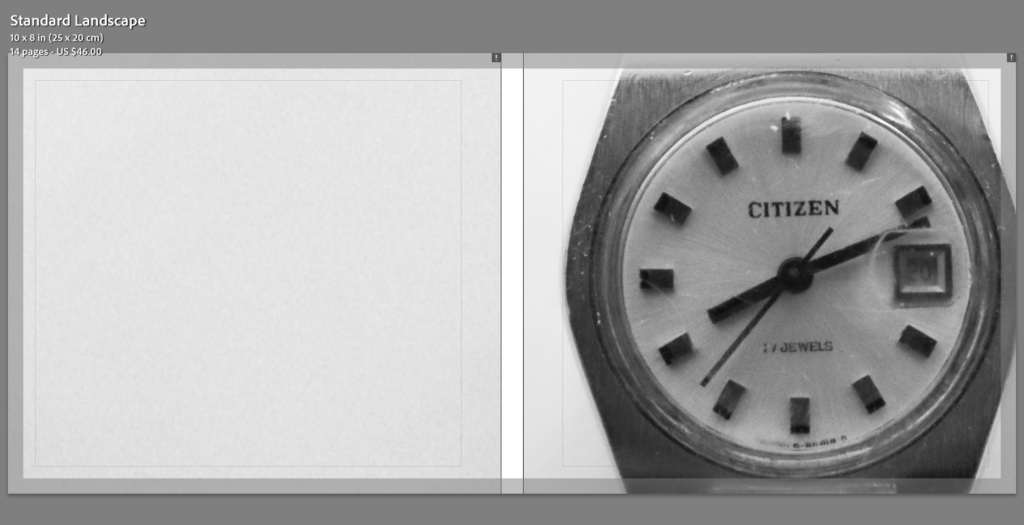
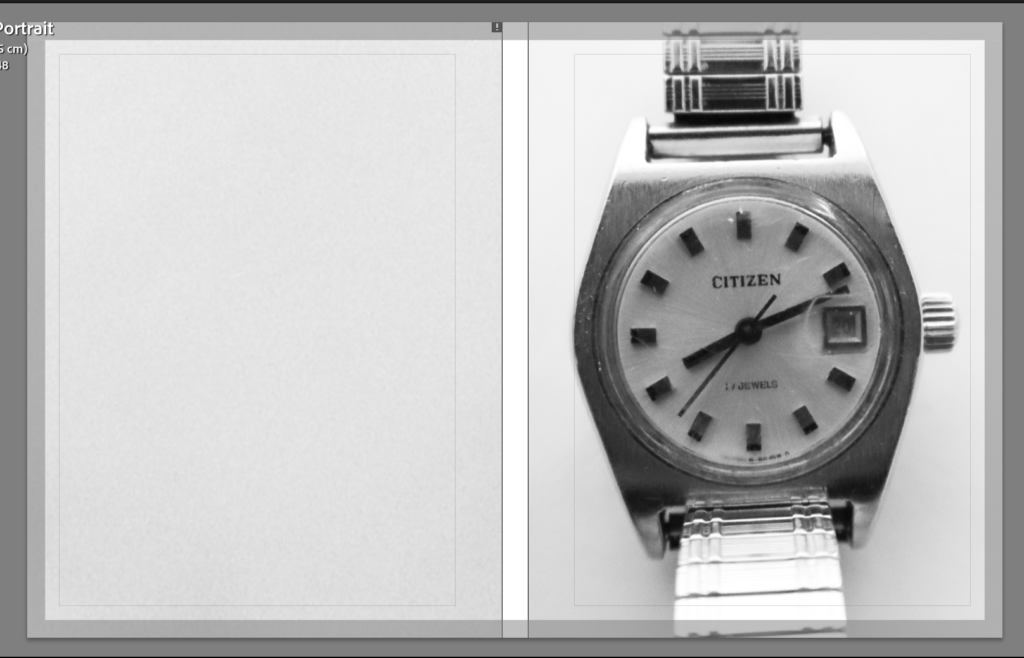
I am planning on using a watch for my front cover as my project is based on the past and how we change over time as well as memories. Therefore a clock will emphasise this meaning.
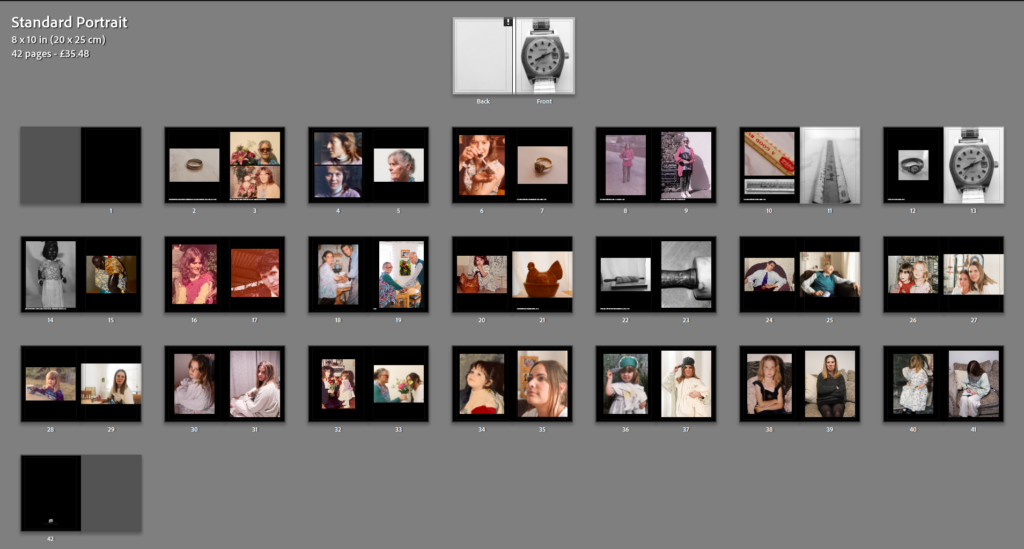
I decided to try a different colour for the background of the book, I then noticed that the front cover didn’t really suit the colour of the pages. Therefore I decided to change the front cover to a more warm toned image of my Grandmother.

I then experimented with adjusting the colours of individual pages to suit the images on them.
Final Layout: