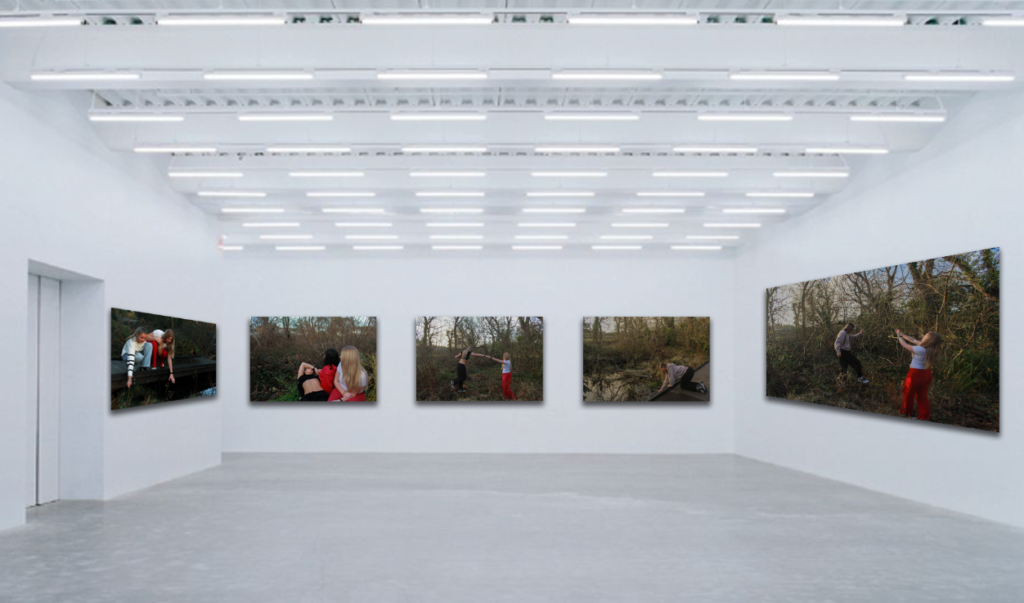
I chose to make virtual gallery’s to end this personal study because I think it is an effective way of displaying all of my best final outcomes, and the way each of them are placed next to each other makes it easier for the viewer to interpret them individually, yet also make comparisons between them and be able to make connections.
First, I chose my most successful shoots out of the 5 I exhibited, and picked out my final outcomes. I then opened up an empty gallery from the mock ups folder, and placed it into Photoshop as a document. I individually opened up each image that had been exported from Lightroom as a jpeg, and placed them into each space on the gallery. The two images on the left and the right are on a slight angle, which makes my images look more fitting into the gallery. To do this, I clicked ‘edit’ in the top left corner of my screen and scrolled down to the ‘transform’ option, where I could then press ‘perspective’. I dragged the bottom corners of the image so it could move to the correct place, making it look more realistic. Finally, I selected each image one at a time and added a drop shadow to them all so it looks sincere and adds a sense of professionalism.
Experimentation virtual gallery’s:
Final virtual gallery – mock ups:
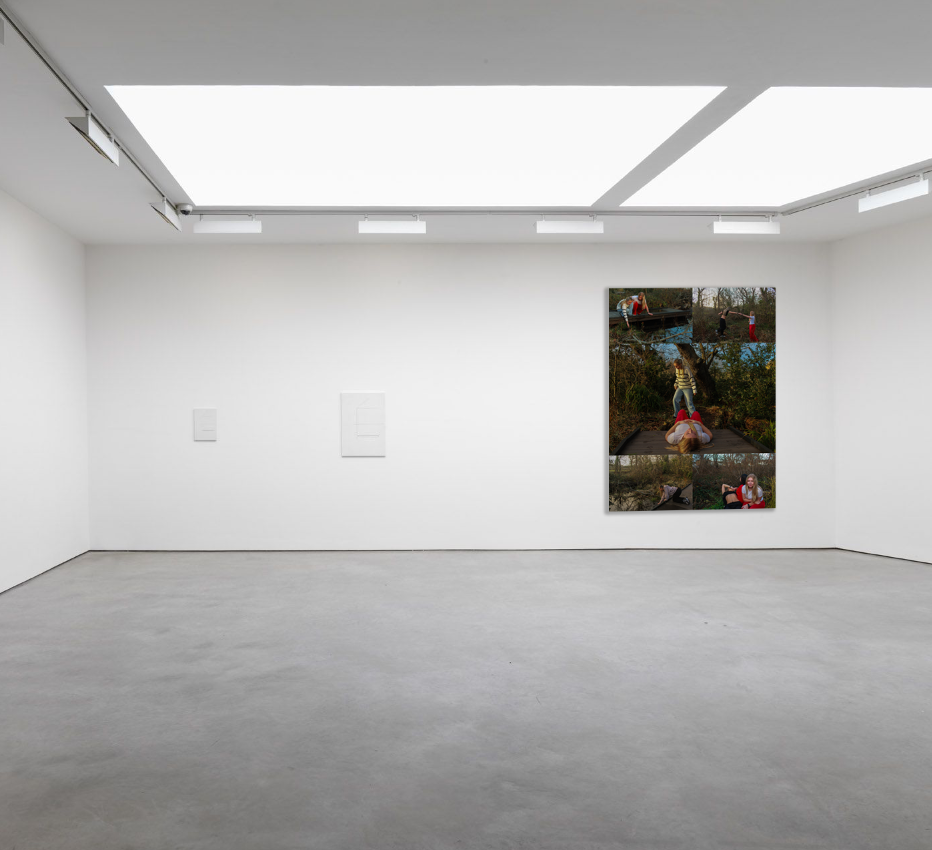
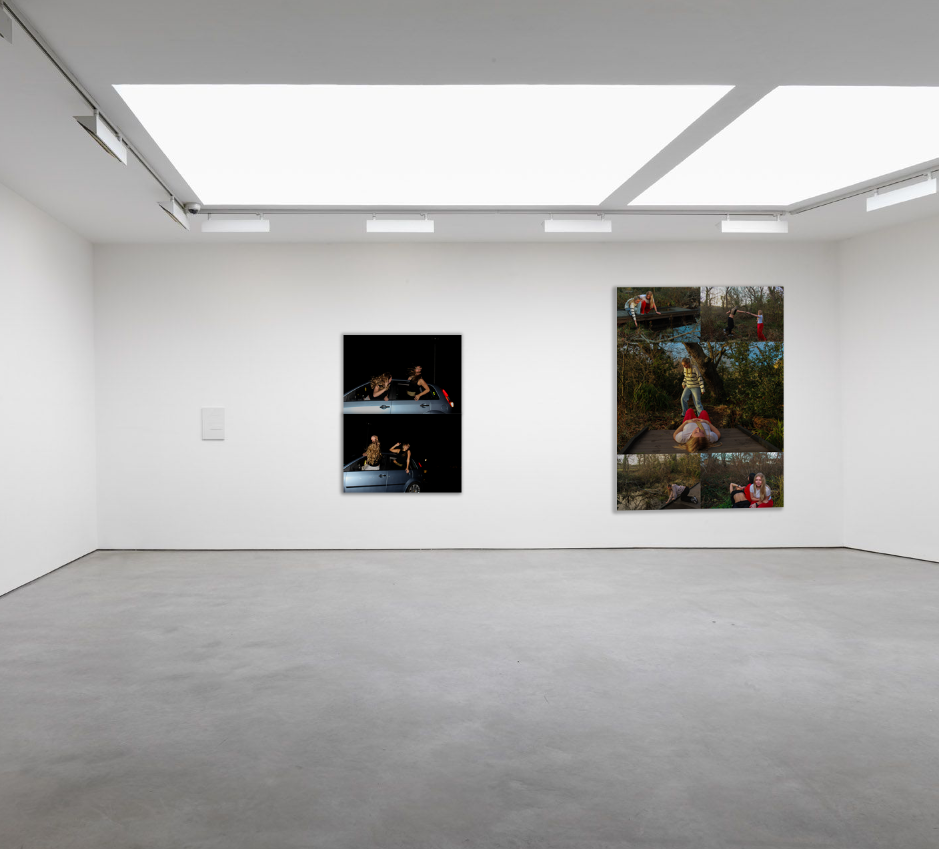
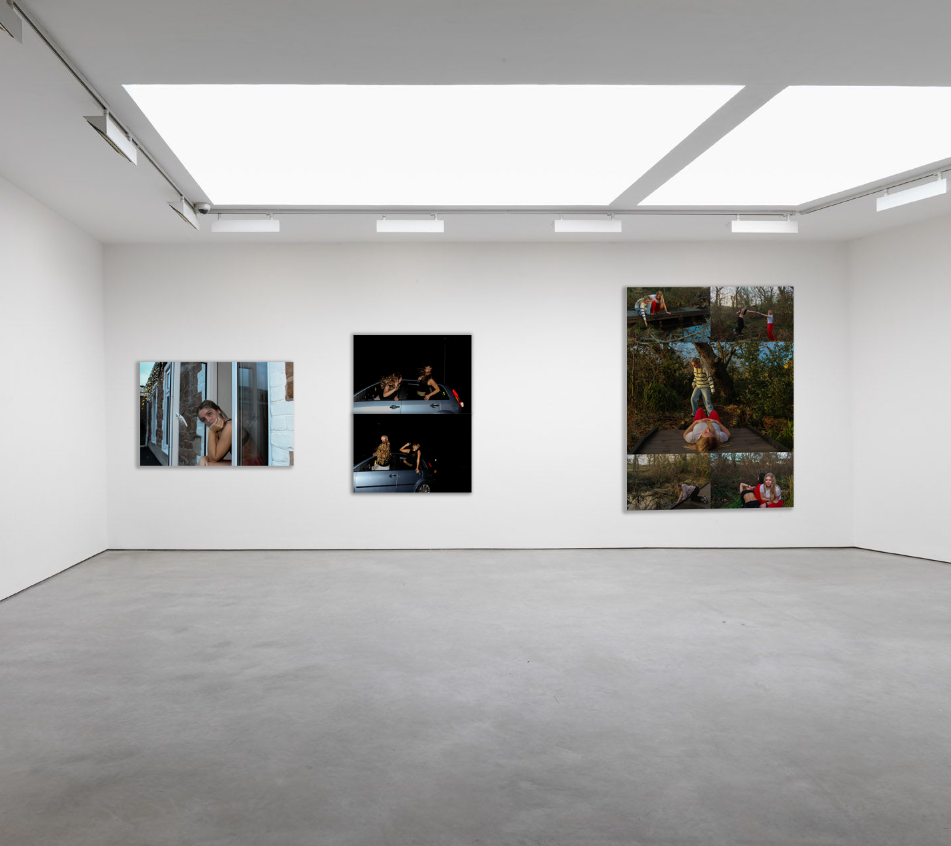
The image above is my final virtual gallery for my personal study, successfully displaying a minimal variety of outcomes from different shoots I carried out.
I chose to display them this way as it meets exactly how I presented them in my mock exam, using mountboard and card. However, to make this virtual gallery specifically, I had to use different methods and layouts in Photoshop to create outcomes that resemble my real ones.
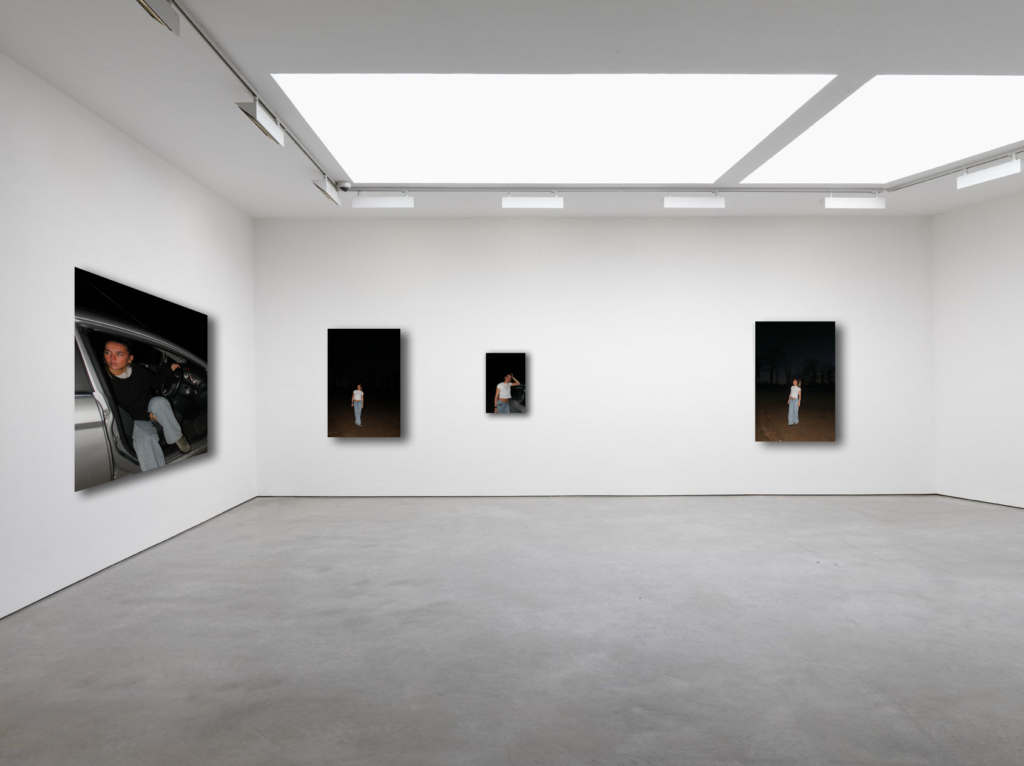
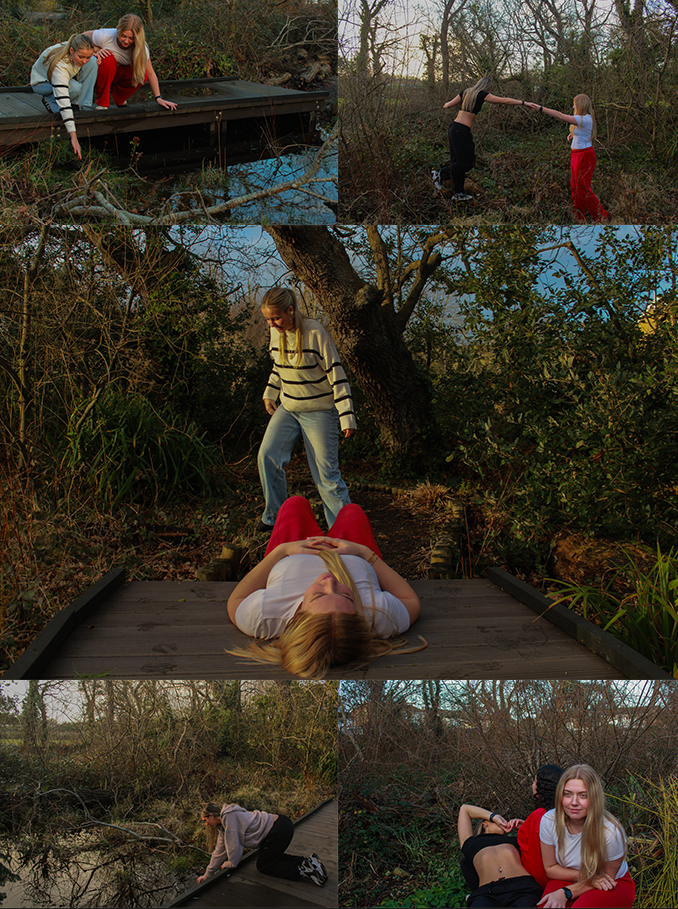
The first outcome on the left was placed using the same steps I described briefly above, there were no changes to the way I presented this one, as it is an individual image and has no layout. The image in the middle and the one on the right were presented using multiple layers and creating a grid to present them in. I added in each image accordingly to my physical outcomes, then cropped the excess space around it to create a singular compact image. I then flattened my layer so all the images become one layer rather than separate.
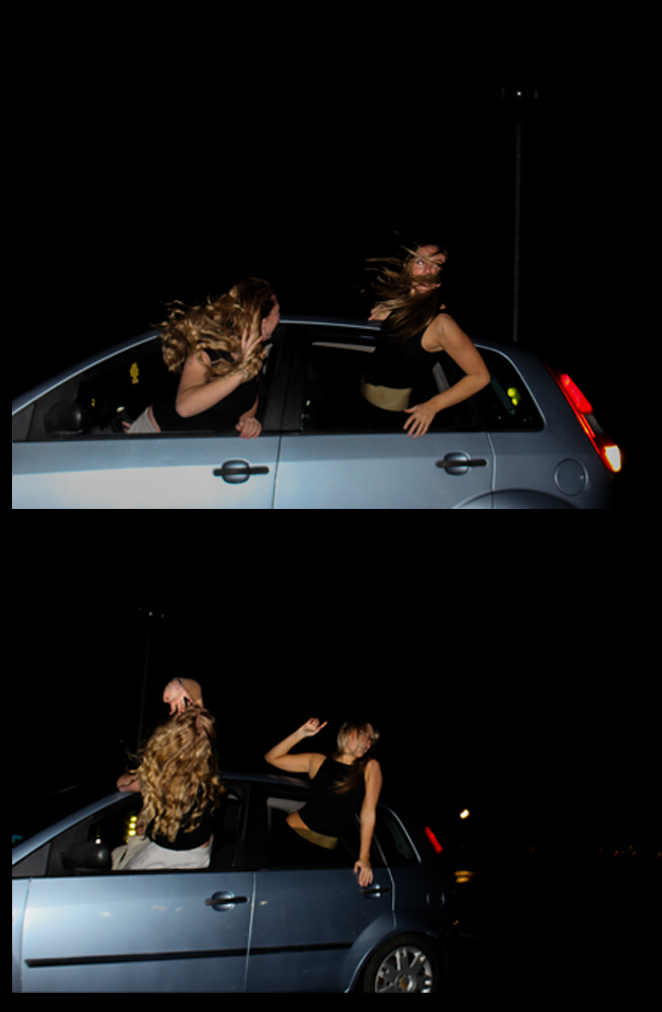
Similar to the previous, I individually placed my two outcomes onto a plain black backdrop, as in my mock exam I placed them onto a piece of black card to give the effect of a border. I also cropped the excess space to allow my images to take up the entire area.