These are the edits of my third and fourth photoshoot:
Snapseed edits –
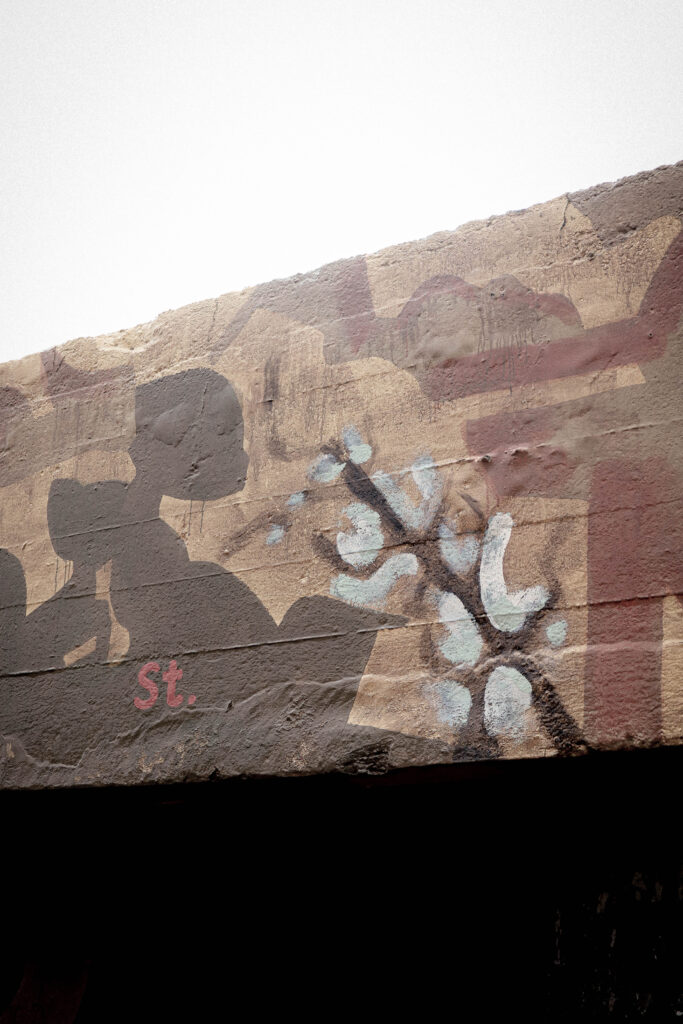
Using the app Snapseed on my phone, I was able to use their filters to create both a realistic depiction and more time-period based aesthetic of some of my images of the bunkers and some more duplicated soldier photographs.
3rd shoot –


4th shoot:


Lightroom & photoshop edits:
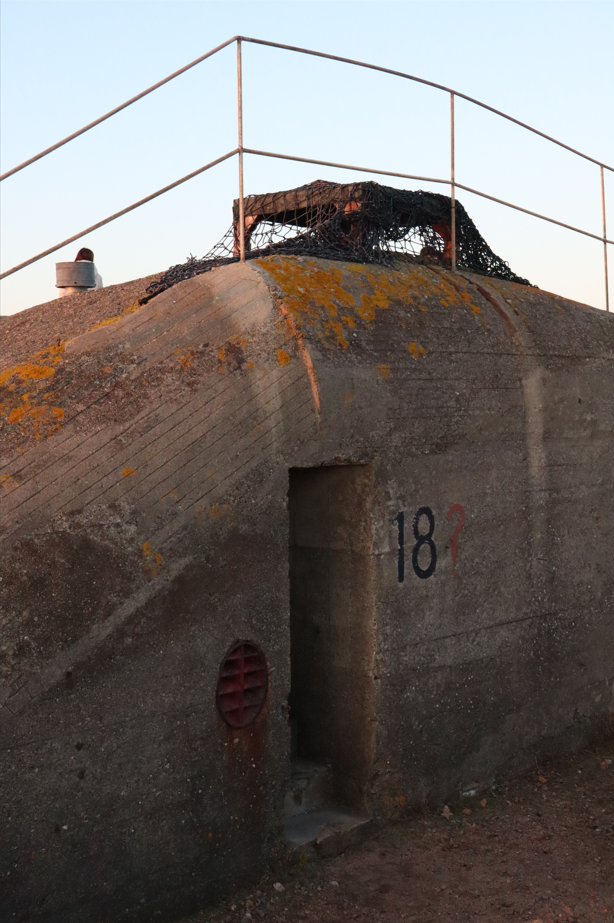
Applying the same edit methods as before I created some more images for my shoot. These include photographs from my 3rd, 4th and an additional 5th shoot. These consist of both subject based photographs as well as landscapes.
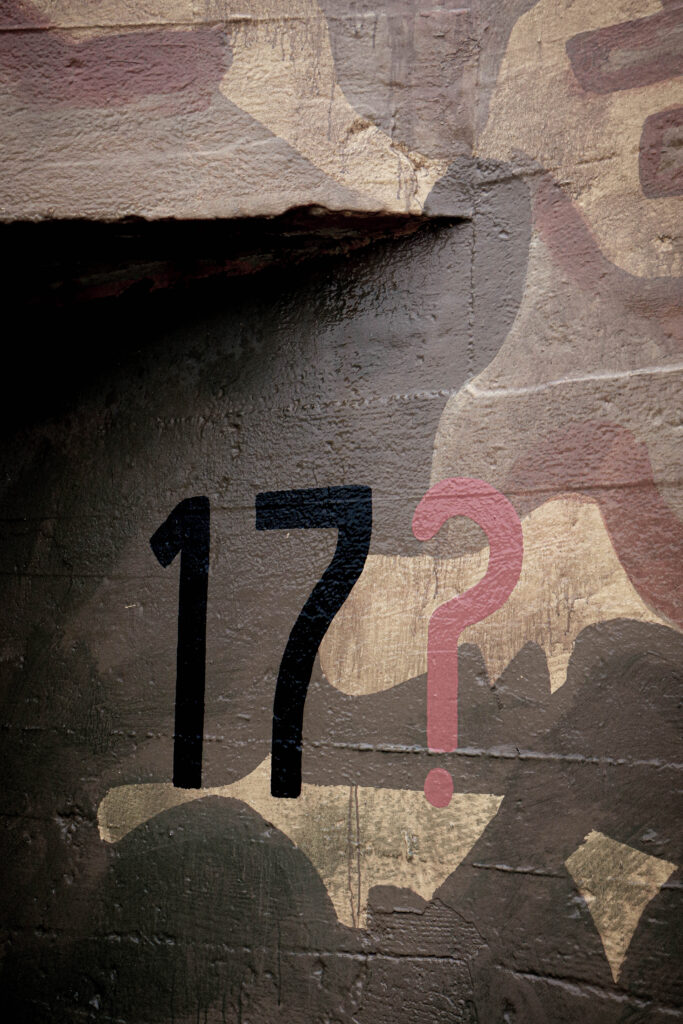
3rd shoot:
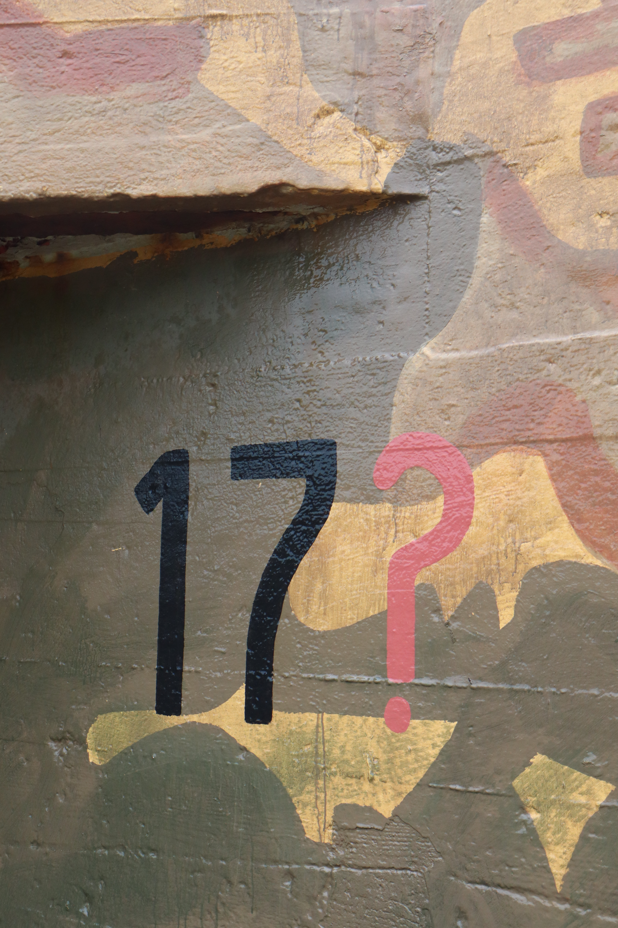
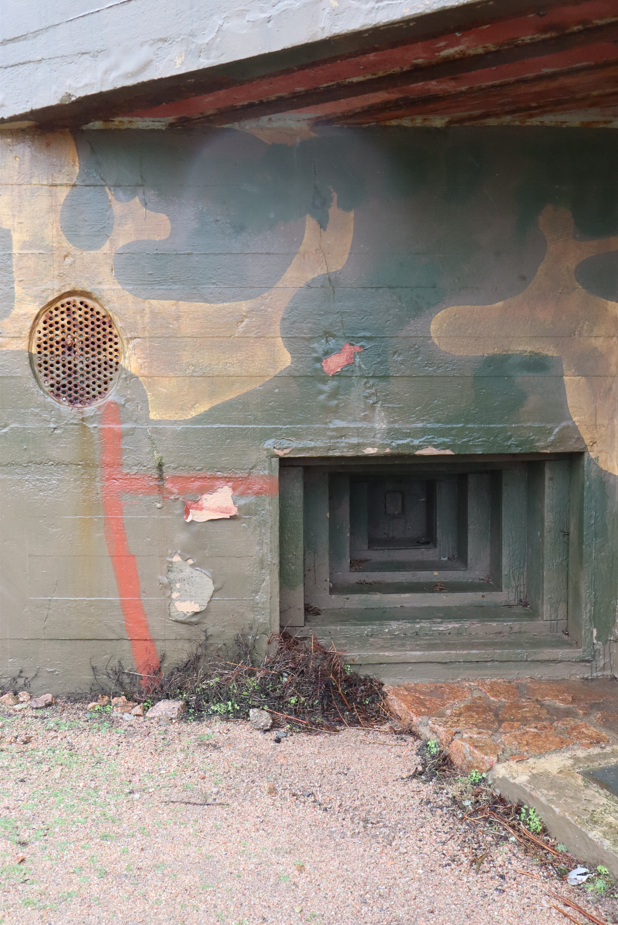
Before and After:
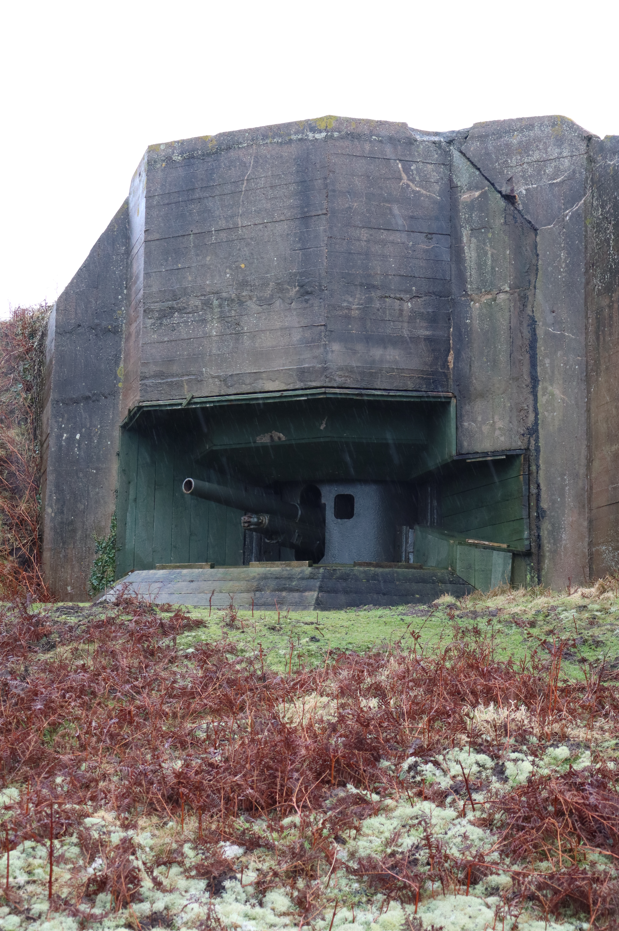
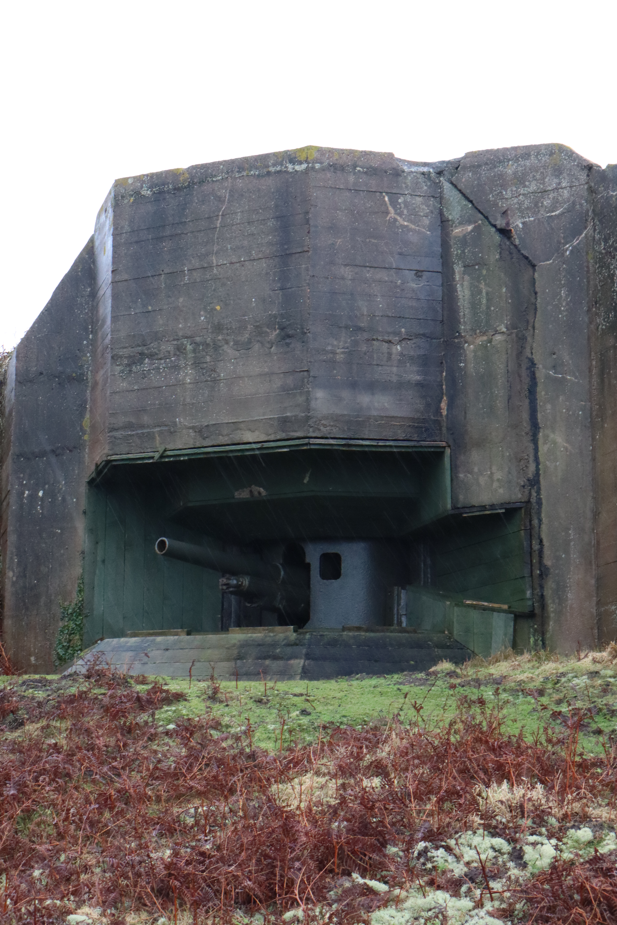
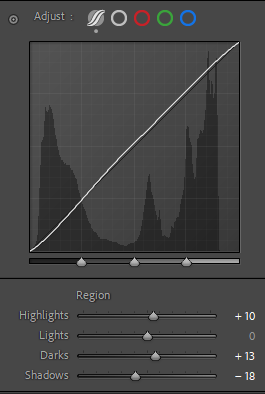
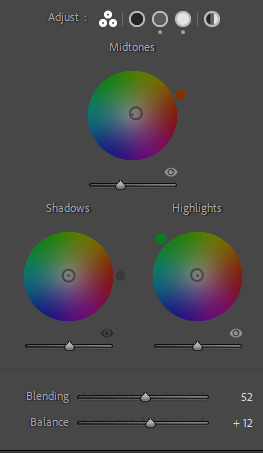
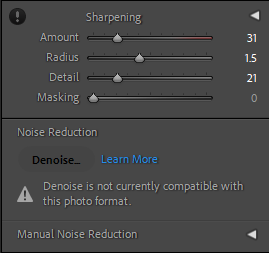
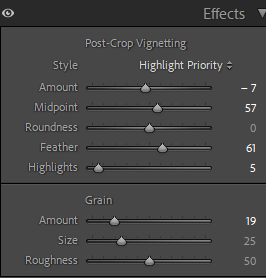
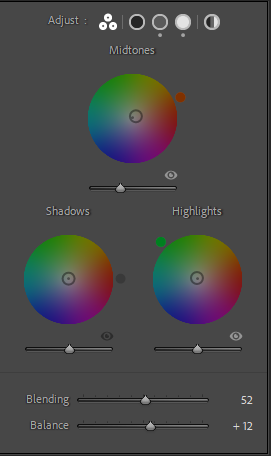
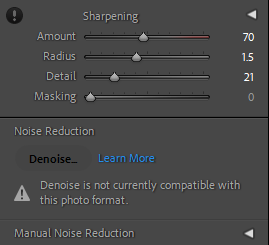
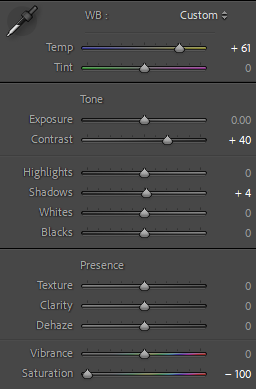
Editing:
applying the same settings across all these images, this was to create a similar aesthetic across all my images. this would help keep a repetitive theme of images within my work.


Outcome:


Before and After:
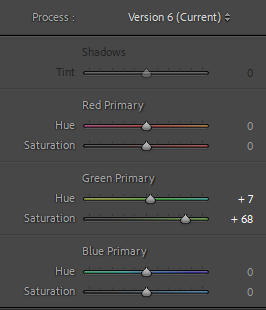
Editing:
Using these settings this was to create that low-saturation, and dark type of aesthetic that Michiel Peeters creates in his work. With shadows being prevalent within the images, I darkened them through the shadows.


Outcome:
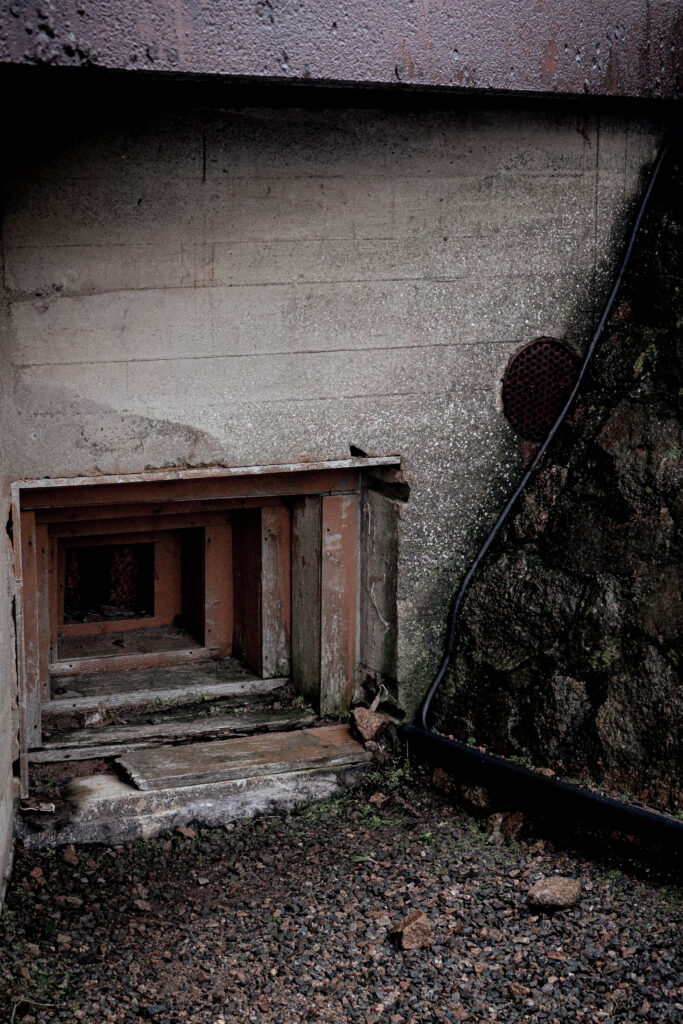
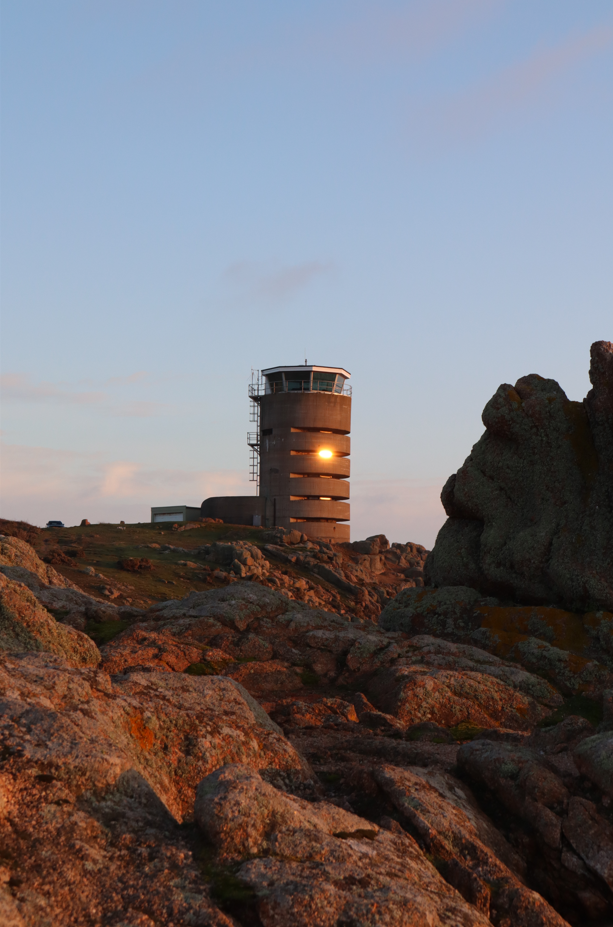
4th shoot:
Before and After:


Editing:
Editing these in Lightroom, I aimed to mirror the shadowy and low saturated aesthetic of Michiel Peeters. Syncing all the images to have the same appearance I then made the cloning process using photoshop. Here I was then able to merge my images into one.


Outcome:

Before and After:


Editing:
Doing the same as before I lowered the brightness and colour to make the image appear more dramatic and darker in Lightroom, due to me standing in too close of a similar spot I used shadows of another image to move myself other to the other side which I find looks better.


Outcome:

Before and After:


Editing:
Using Lightroom I was able to use the settings to add more darker parts to the image by adding some contrast, shadows and black. Then by using photoshop I was the able to merge them together.
Outcome:

Before and After:


Editing:
Editing all these pieces together with the same settings, I used the highlight region to darken aspects of the work, lowering the saturation, texture and clarity I followed in the theme of making the image darker. cropping the image, I made it smaller as there was to much open space.


Outcome:

Before and After:

Editing:
Using the following settings this was to create a merged effect of a vintage image but also using modern image clarity to act as a divide between some of my images.


Outcome:

Before and After:

Editing:
Like the image before, I aimed to create a gritty vintage image but also make it appear modern in its appearance. By using the lighting regions to adjust the images depth I added to this with other settings such as with highlights, saturation and clarity.


Outcome:

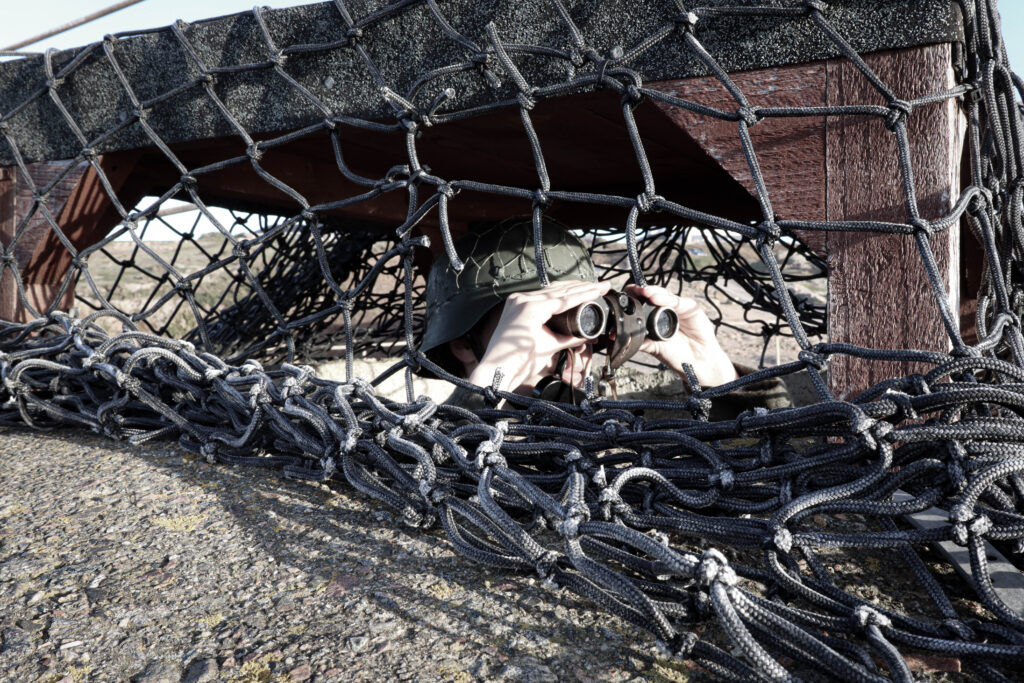
Before and After:
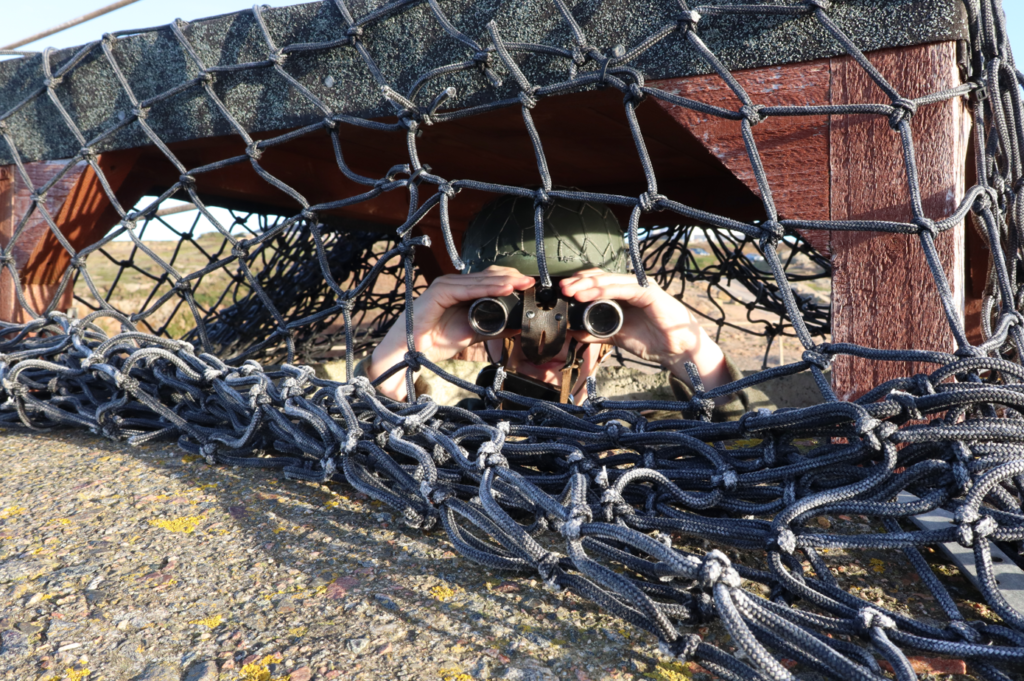
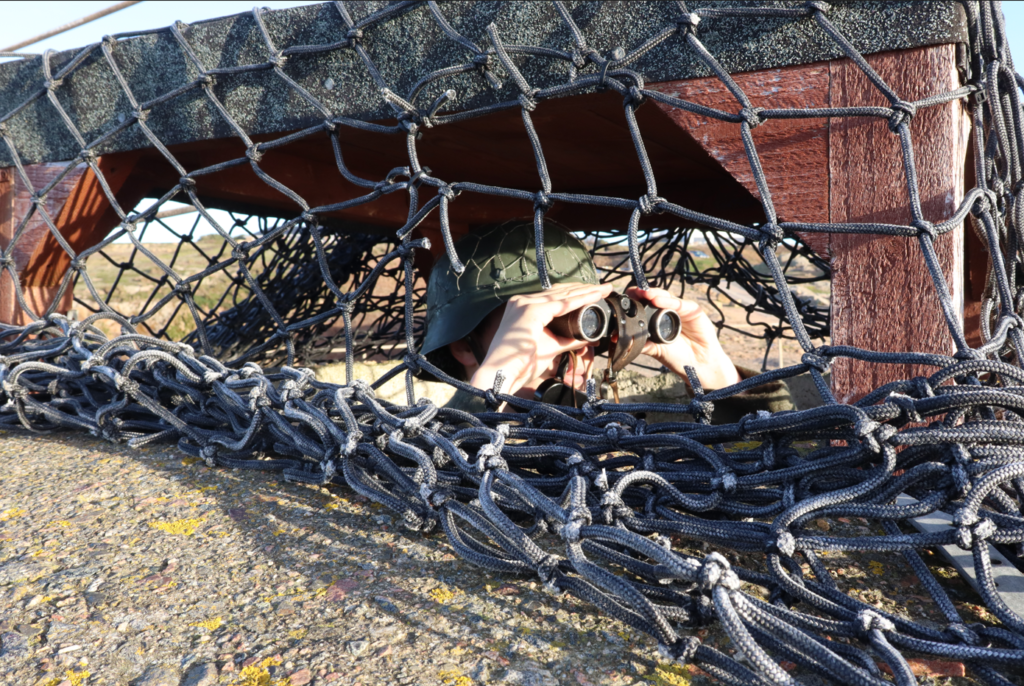
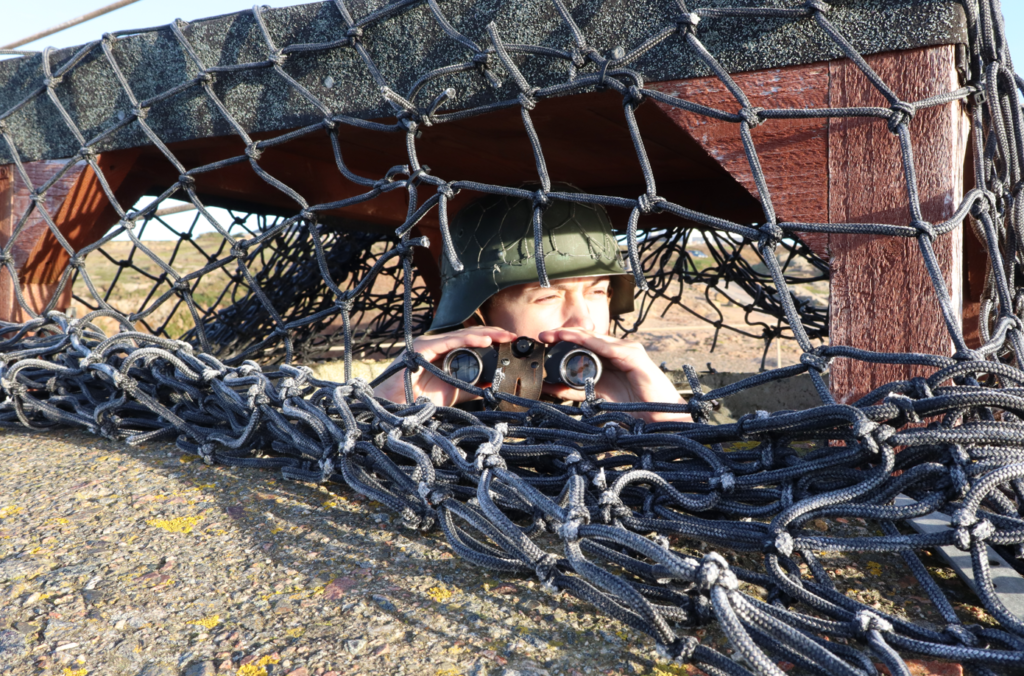
Editing:
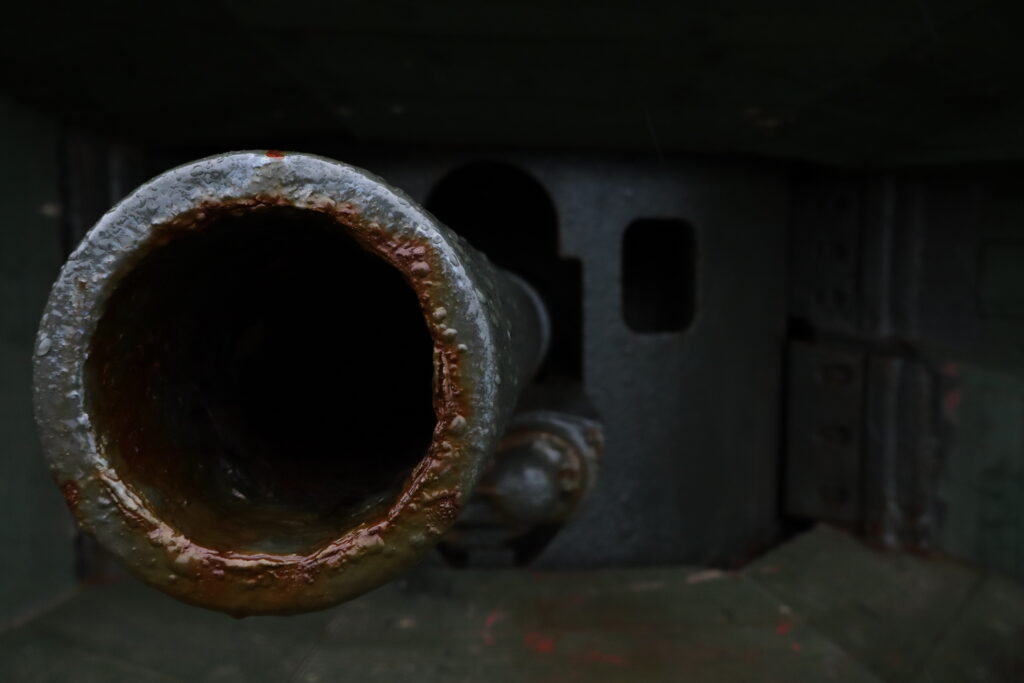
Using Photoshop, I applied the settings of my binocular image to match the aesthetic so these images could work together when applied.
Outcome:


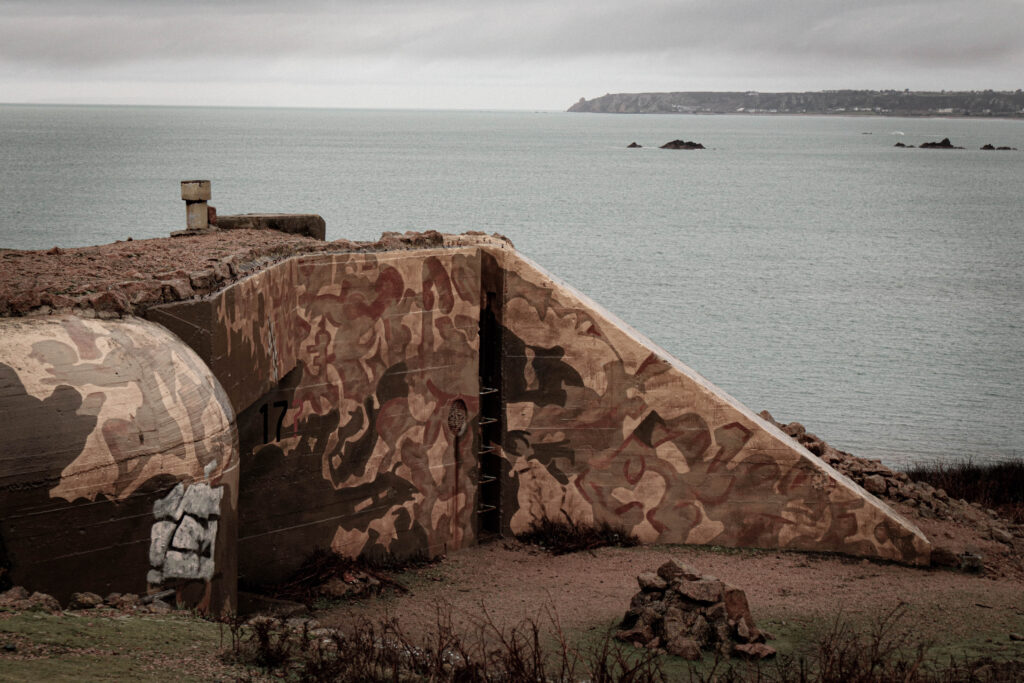
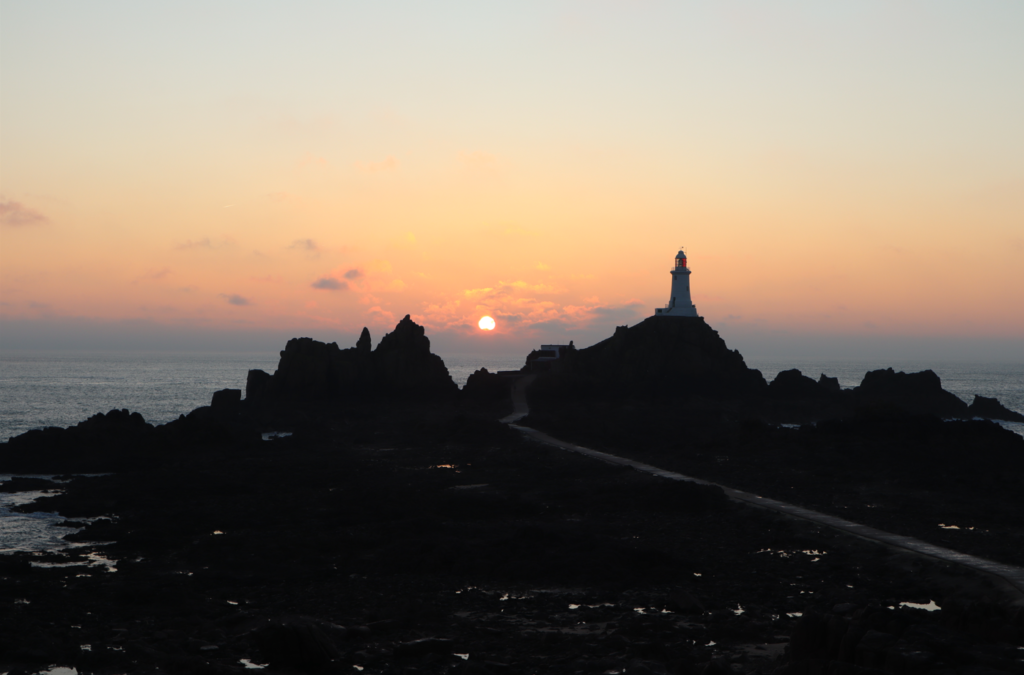
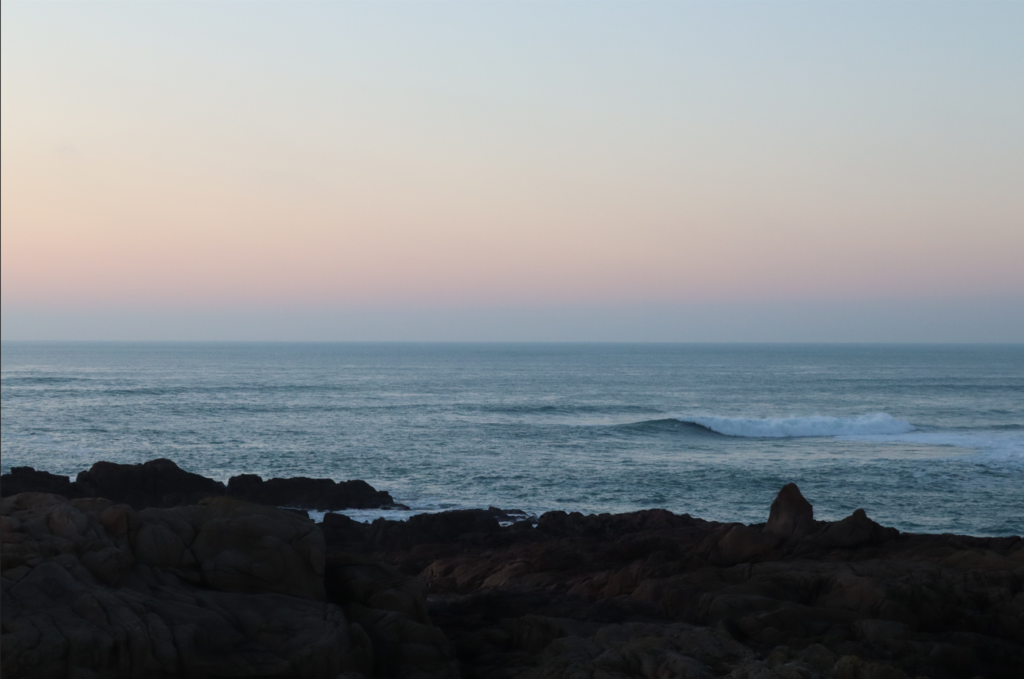
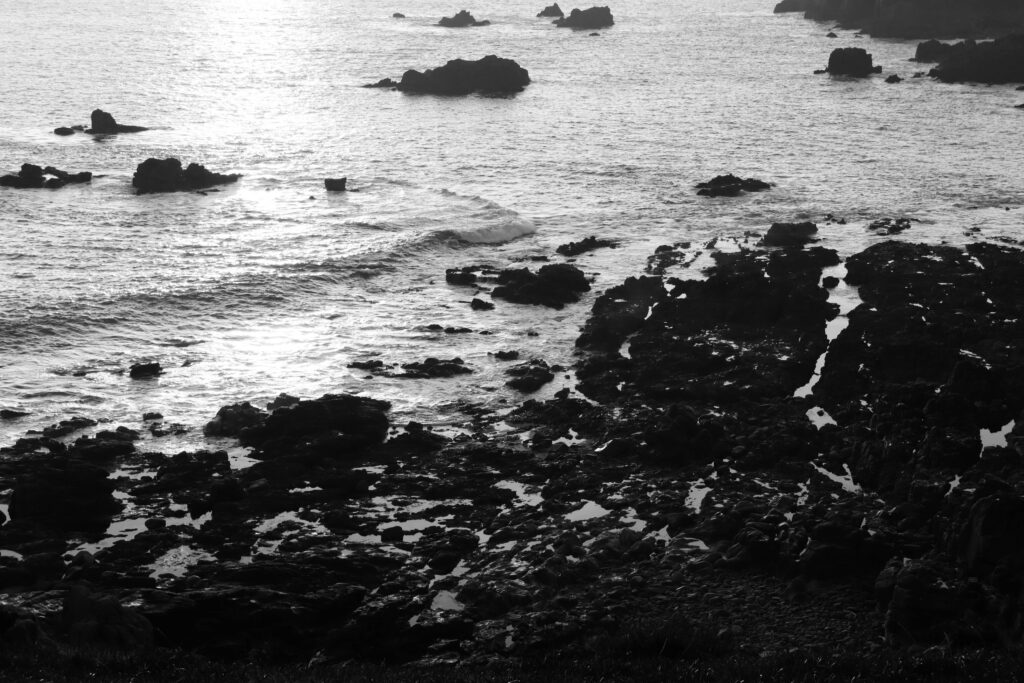
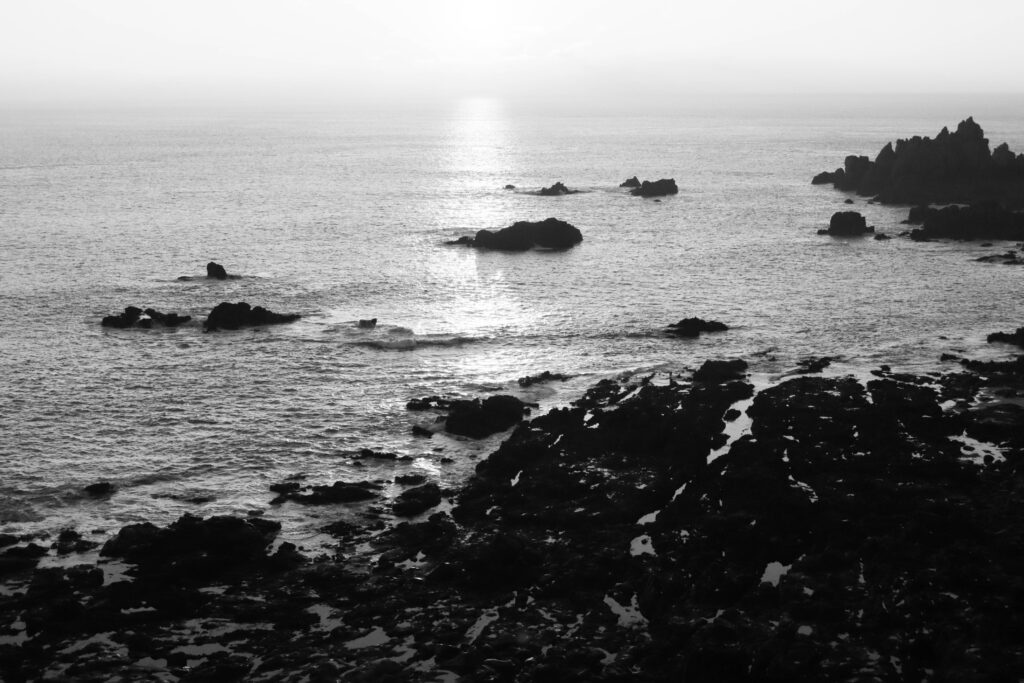
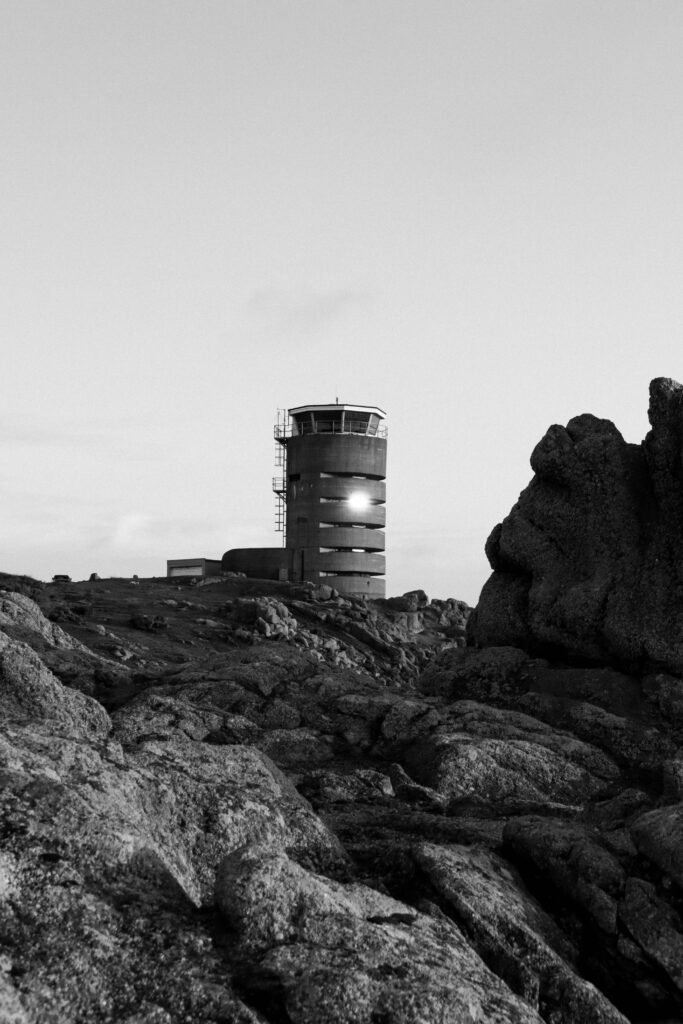
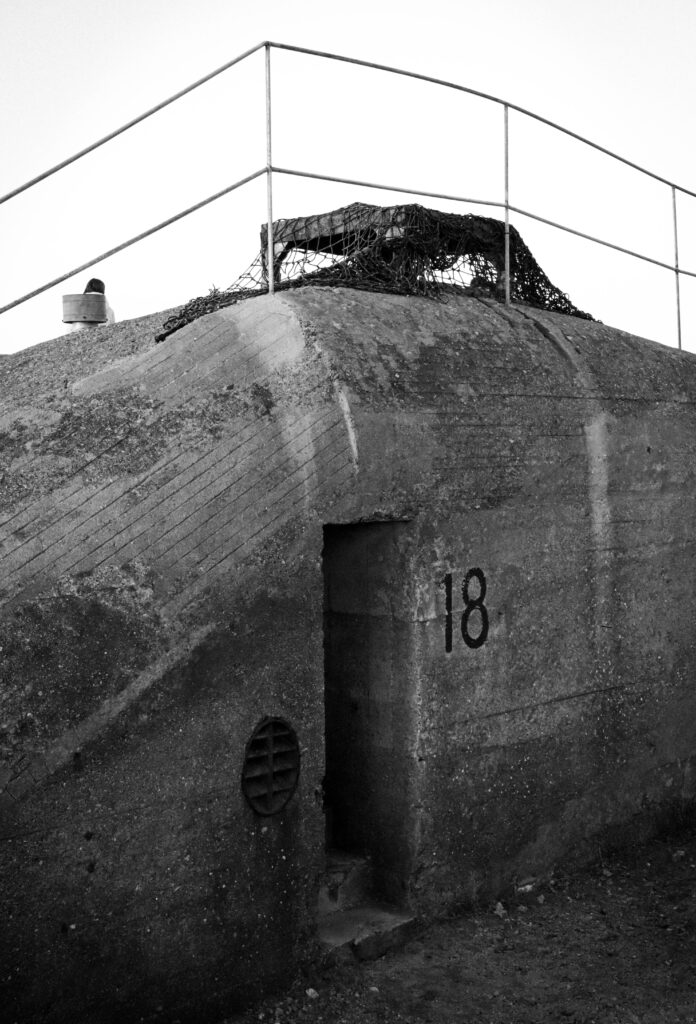
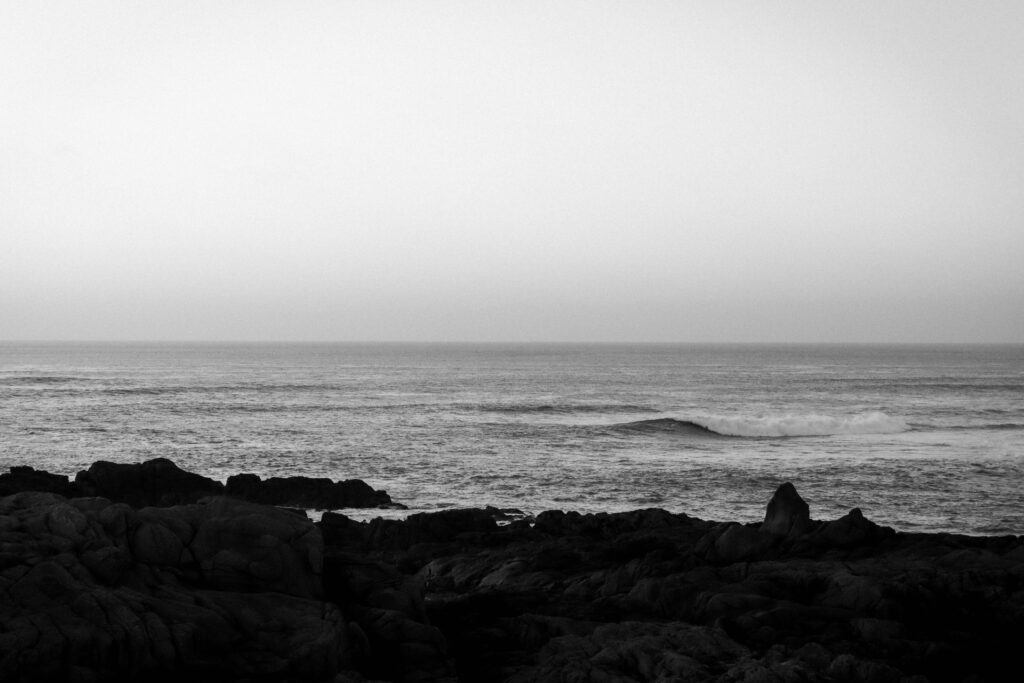
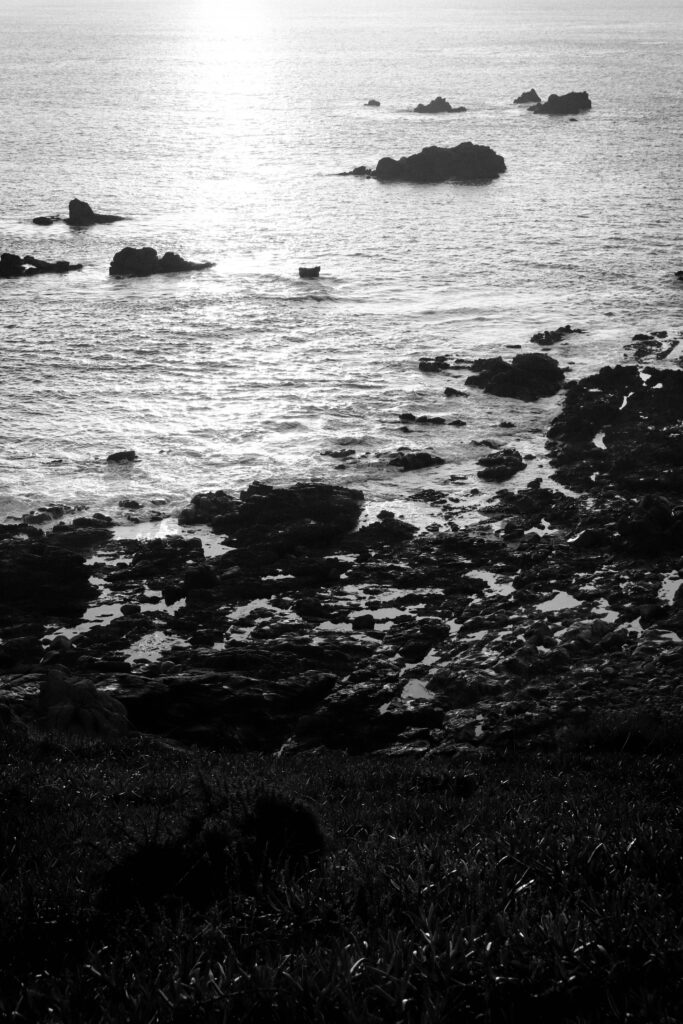
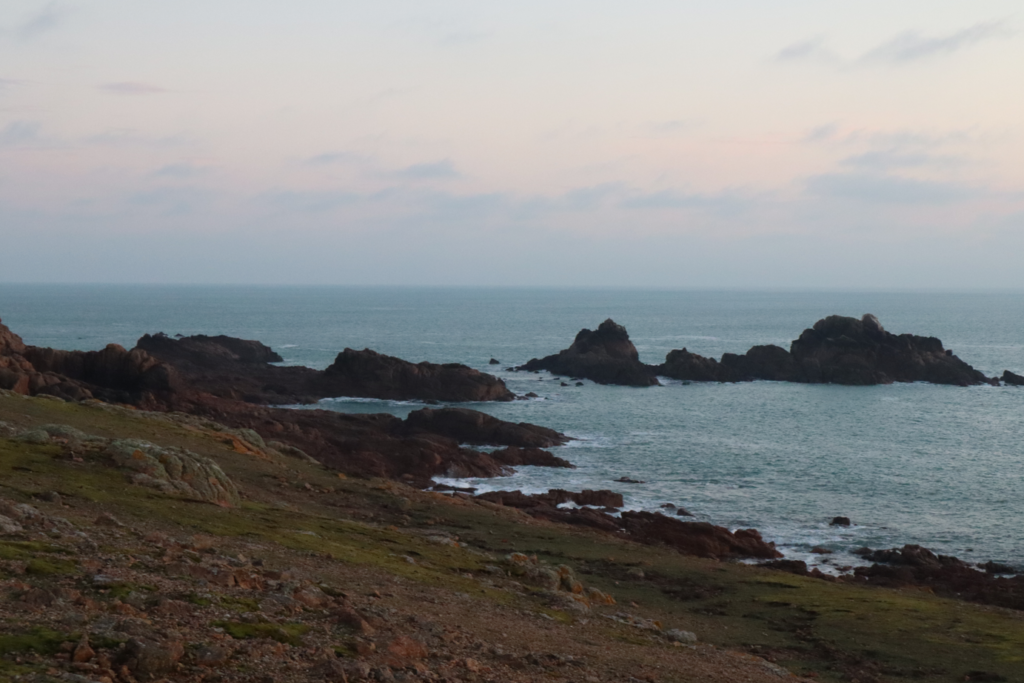
5th shoot:
Before and After:
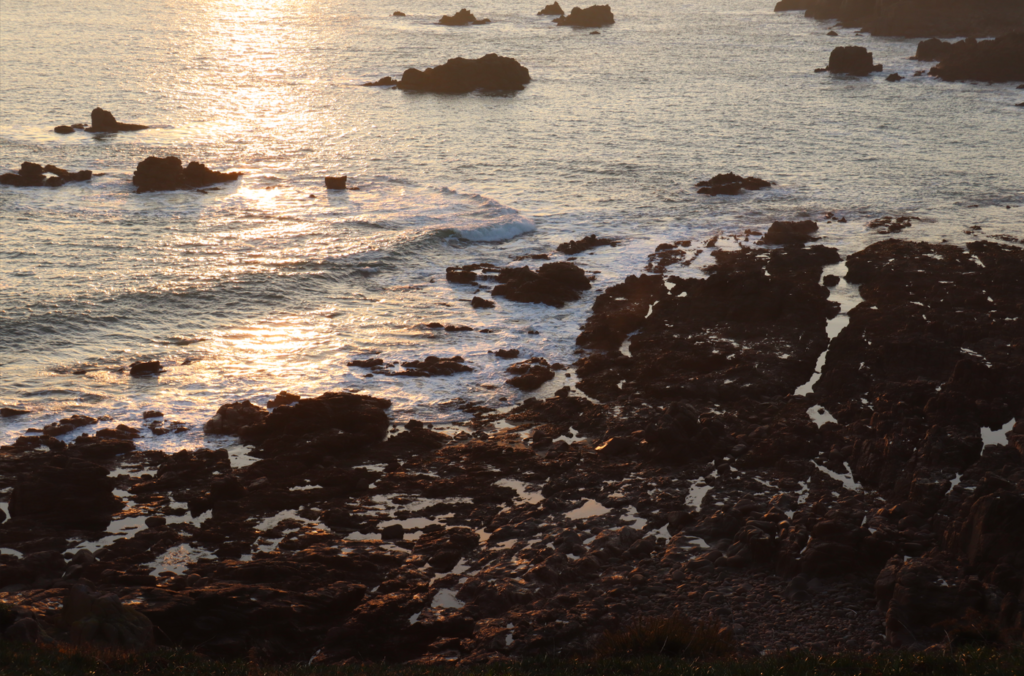
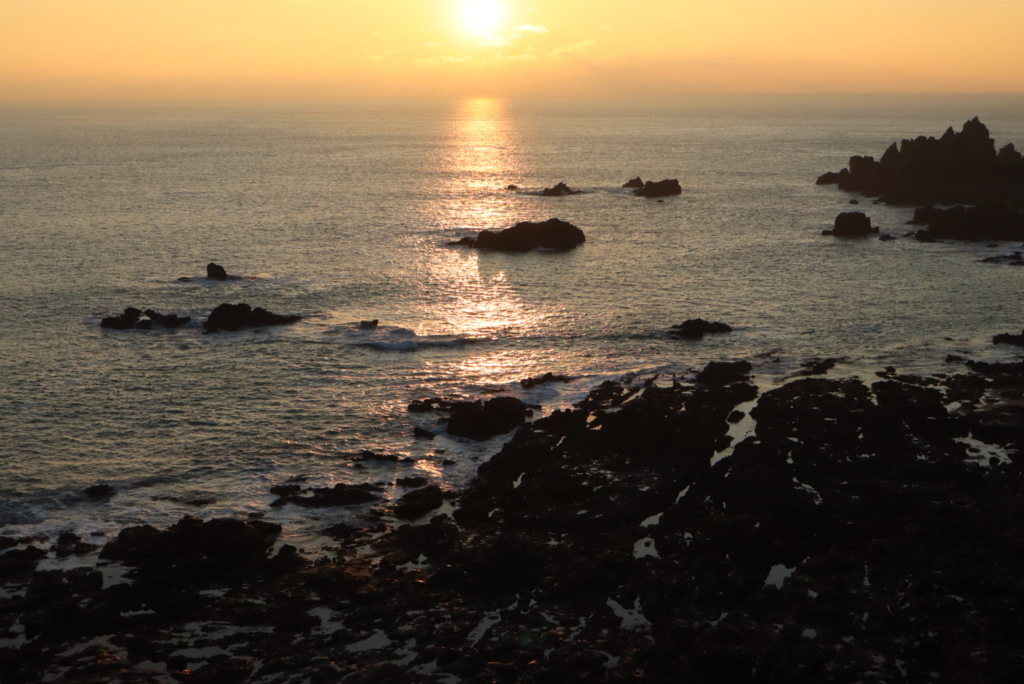
Editing:
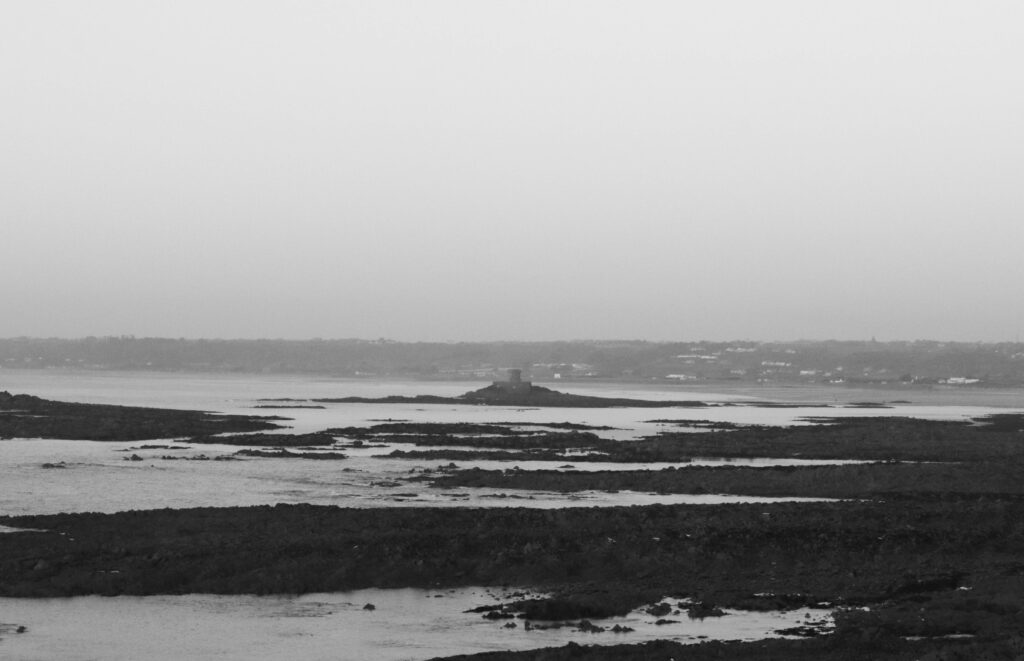
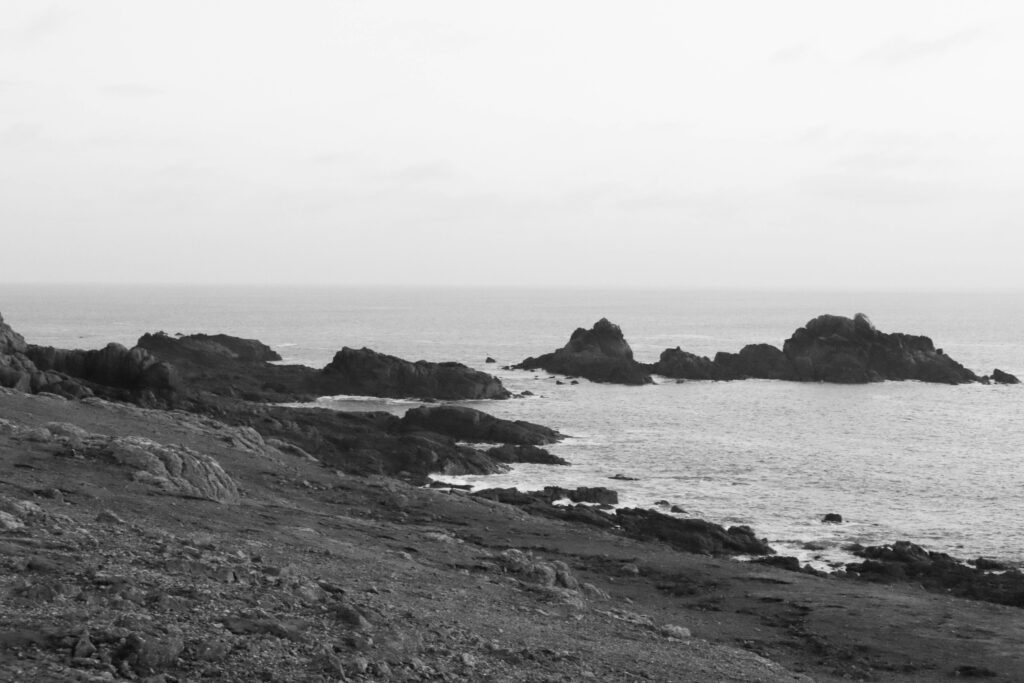
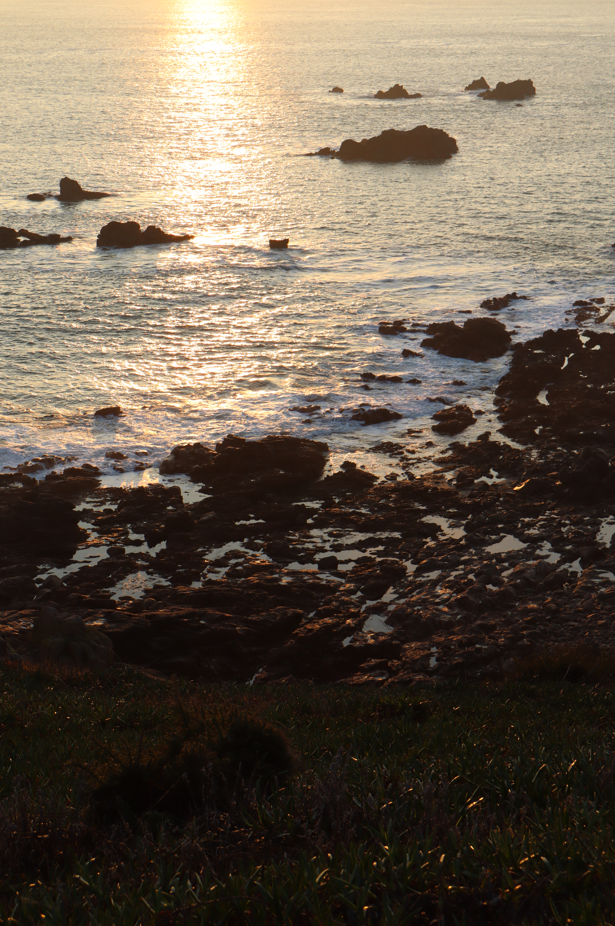
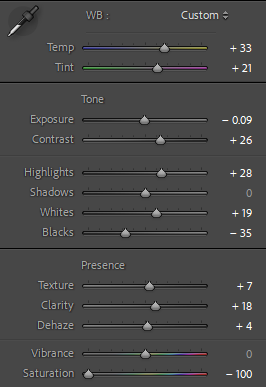
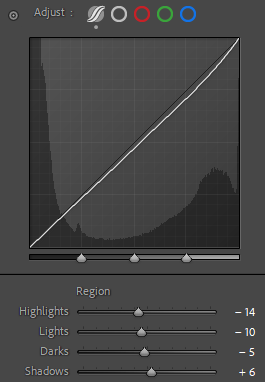
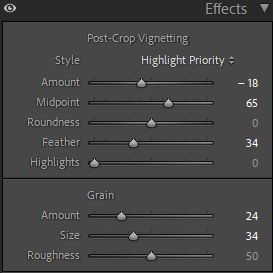
Applying these settings across these images, the aim was to include some observational documentation of the La Corbiere coast for my images, converting them into black and white this was to create an aesthetic of the old photography visual style.
Outcome:
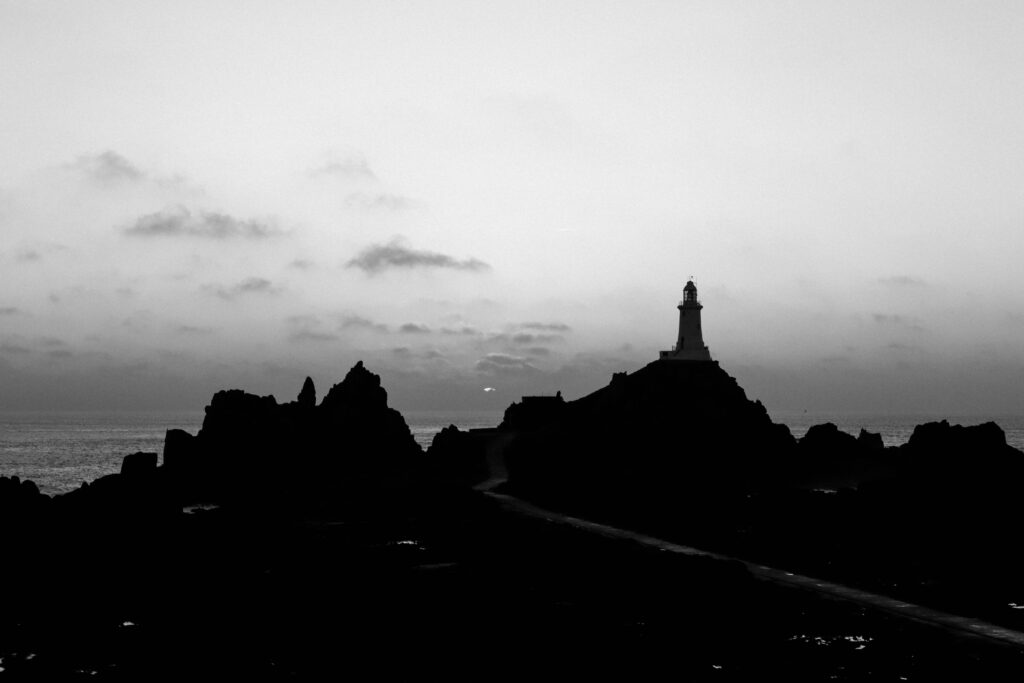
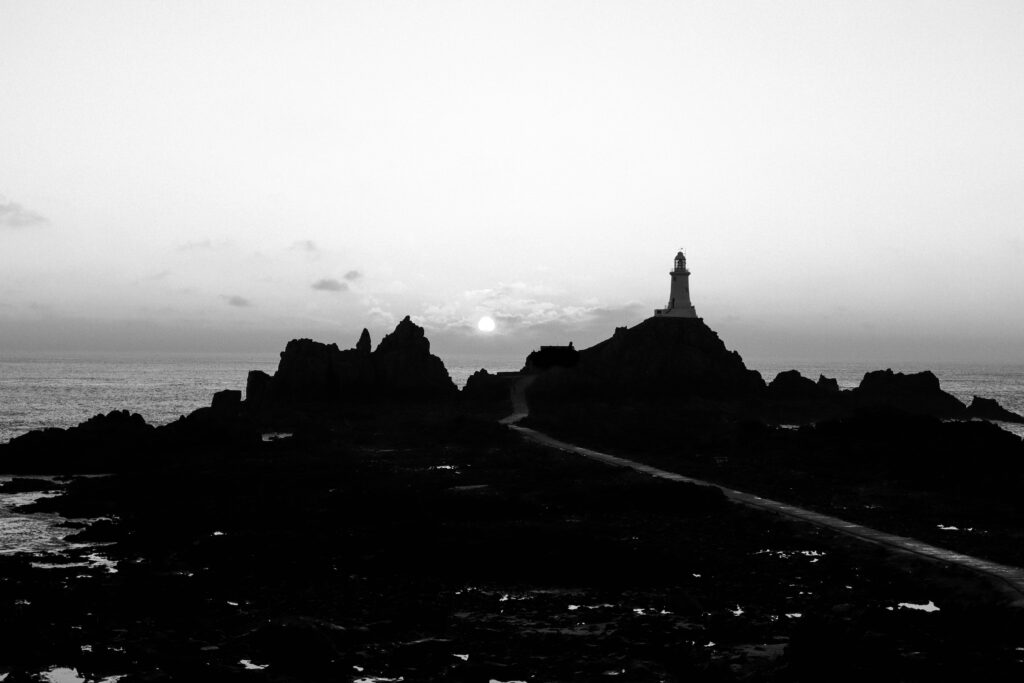
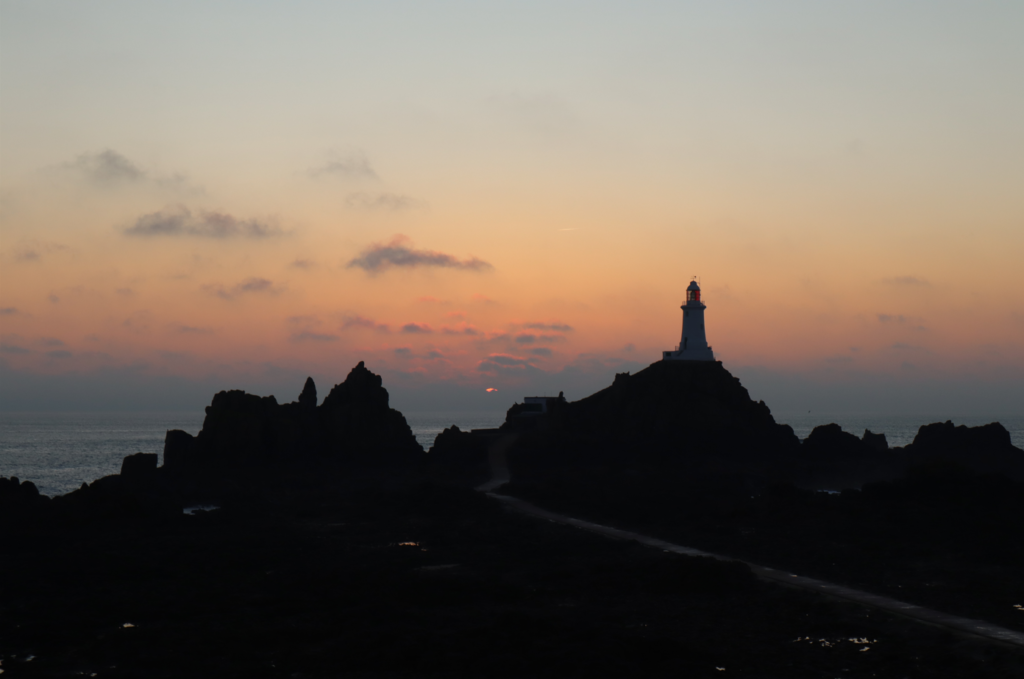
Before and after:

Editing:
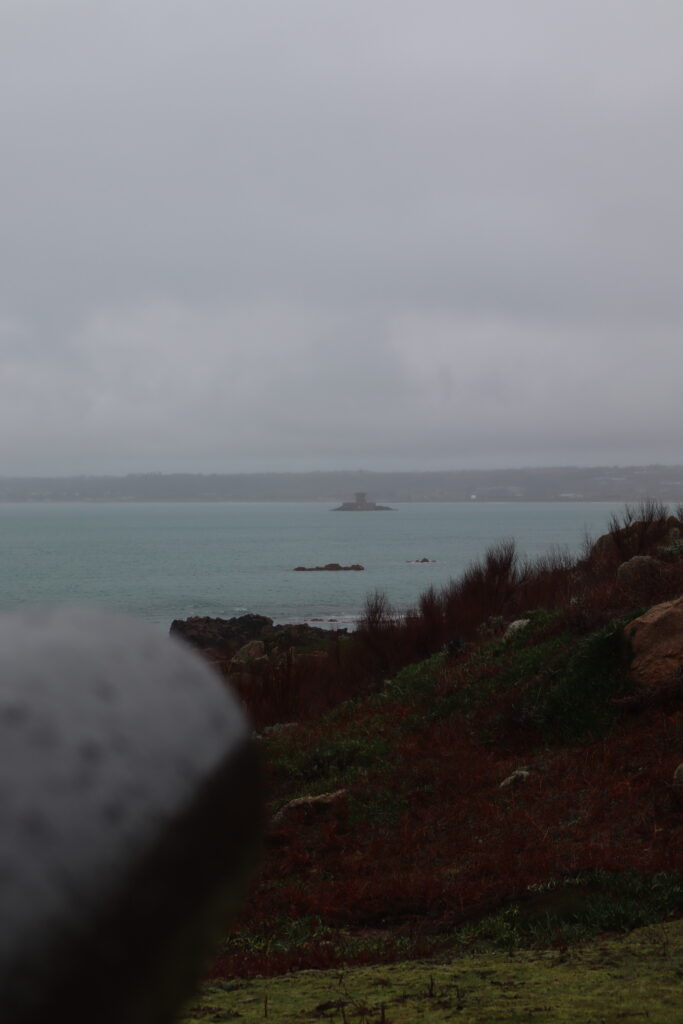
Using some minor adjustments to these images, the aim was to replicate the grainy film aesthetic of photographic images from the 1940s.
Outcome: