
Initial Contact Sheet
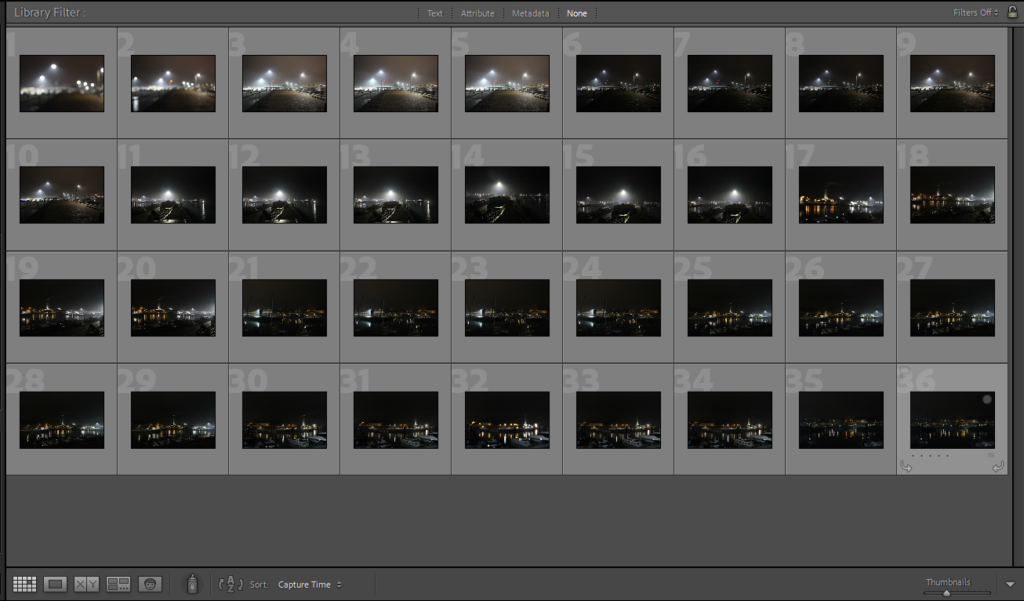
Above is a image showcasing the initial photographs that I took for this photoshoot, this photoshoot was pretty short, only capturing 36 images in total. I chose this particular location for this photoshoot because of the artificial lighting and the overall mood, the lights at Elizabeth Marina are flood lights meaning that the light scatters across a certain distance, this worked well with the slight amount of mist that was present during this photoshoot. This photoshoot almost replicates my third photoshoot, emphasizing the interplay of the fog and artificial lighting, creating a surreal and dreamlike scenery. For this photoshoot I used my DSLR camera along side a tripod and shutter release to ensure the frame is as stable as possible, similarly to my third photoshoot I used a relatively high ISO of 6400, this was a mistake of mine and the ISO should have been set to a smaller number like ISO 100 to capture as much detail as possible. Even though I used a high ISO, I still like the overall photoshoot and I think the outcomes are great, grain is seen in all of the images in this photoshoot due to the use of the high ISO but I believe that the grain improves and highlights the overall mood I am aiming for. The main target with this photoshoot, just like the rest of the photoshoots taken at night and at low light was to capture the sense of solitude, mystery and isolation.
Final Selection Of Images
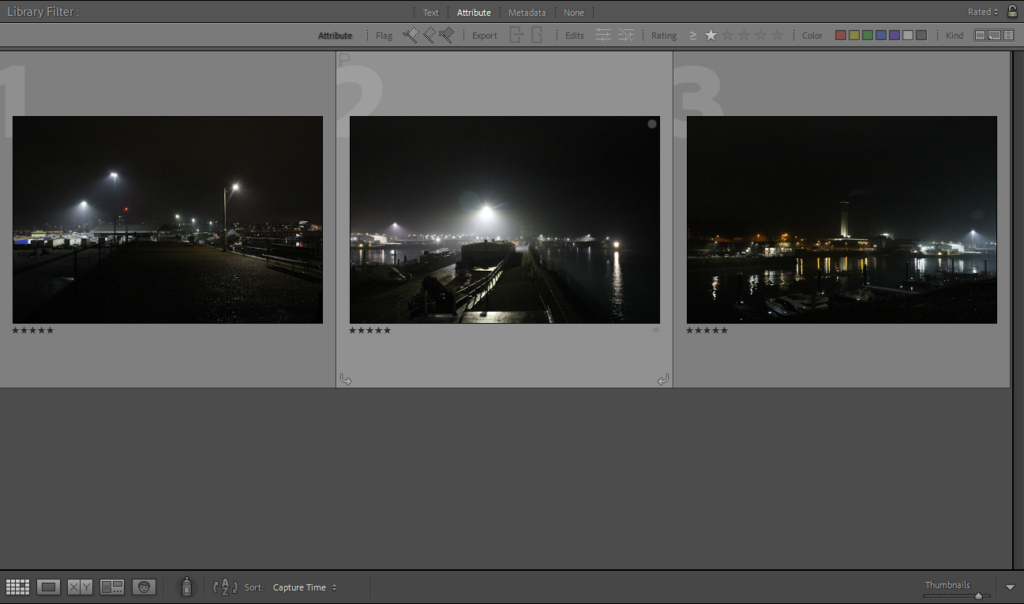
Once I had put my 36 photographs, the next step was to look over each photo cautiously, to then choose the final best images. From the 36 photos I selected 3 final images which I believe best fits the mood I was aiming for with the project as a whole. The reason as to why there is a little final selection of 3 photos, is because the majority of the 36 photographs are almost identical angles and placement, I took various photos from one point as every photo from that point would capture some differences. These final images blend in beautifully with the rest of my photobook, contrasting with images taken throughout the day and tying in with other photos taken at night.
Before And After Editing

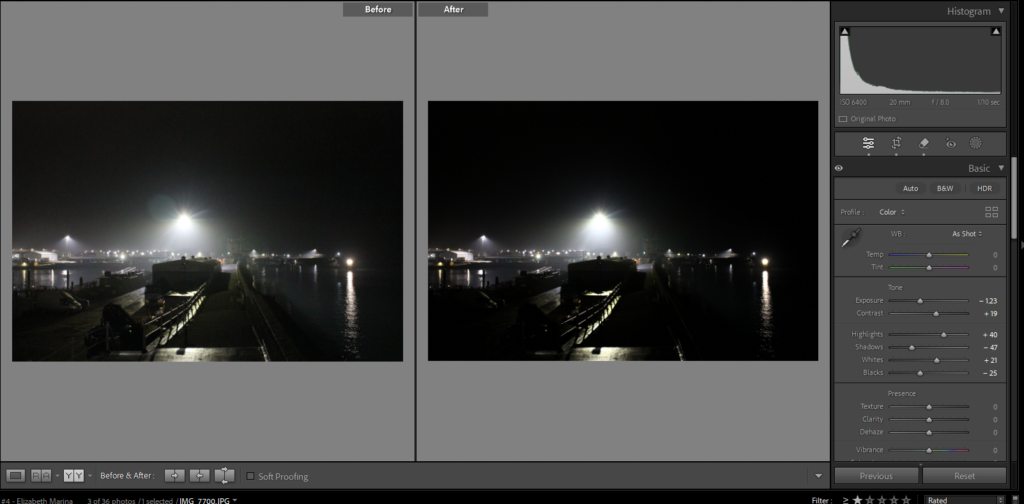
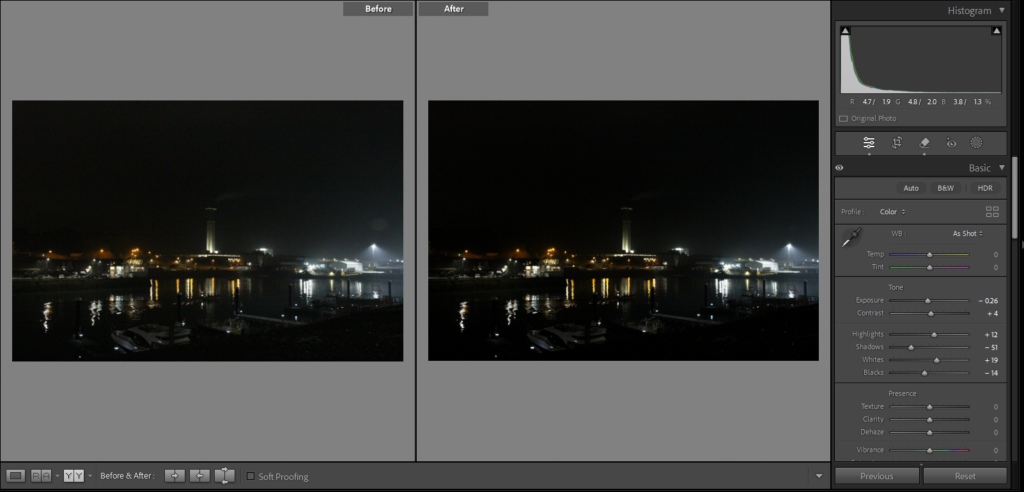
Similarly to other photoshoots, when editing these images I only made slight, subtle changes to them. I did not want to completely alter the unedited images as they are great images as a whole, capturing the isolation and the interplay between the artificial light and the low light. As you can see in the screenshots above for each image I reduced the shadows, increased the whites and decreased the blacks, this was done to reduce as much grain from the image as possible and to also emphasize the time of day. Reducing the shadows and decreasing the blacks meant that my image became darker overall this was done to really show the difference between the day and the night, where the daytime photographs are lit up, detailed and filled with life and the low light photographs are dark, mysterious and lack detail. Another process which I went through was using the Spot Removal tool to get rid of any glare from the lights which hit the lens away from the image, removing this glare.
Final Images
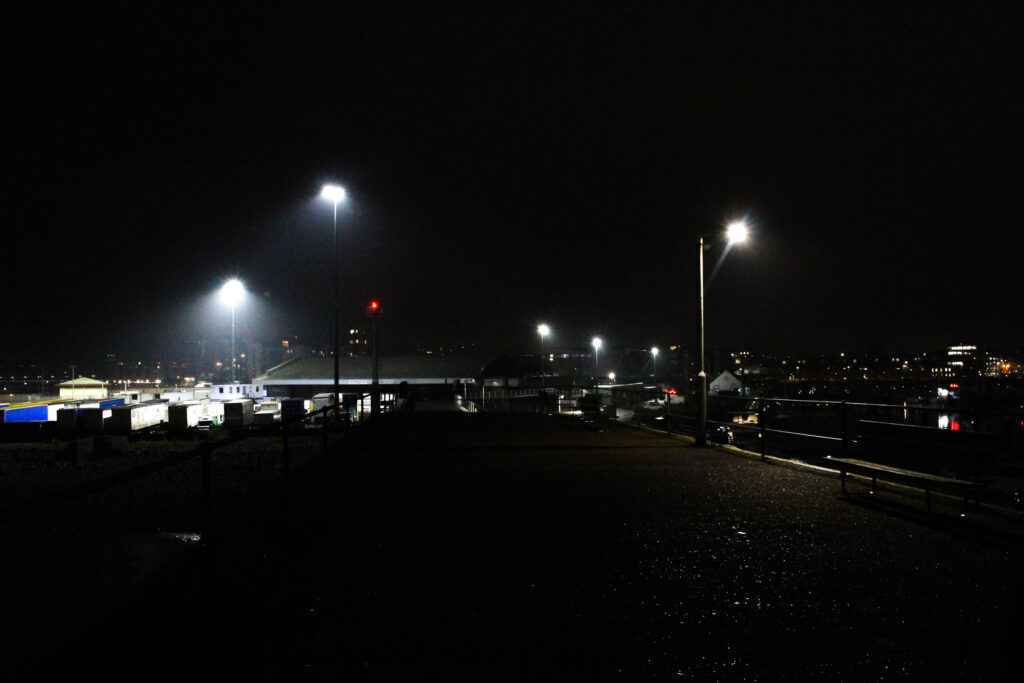
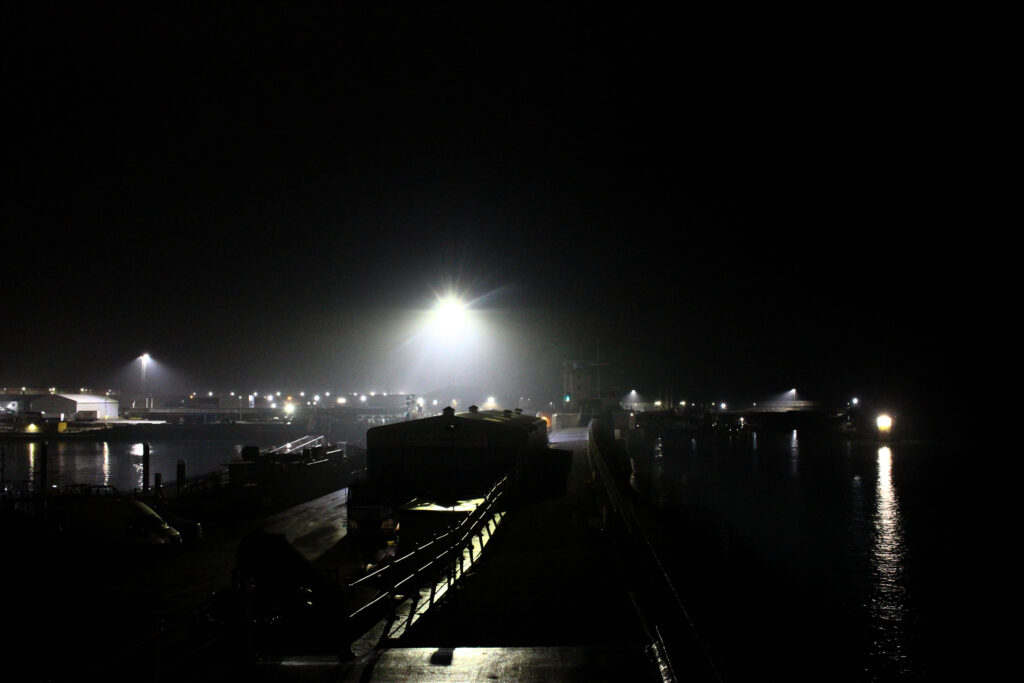
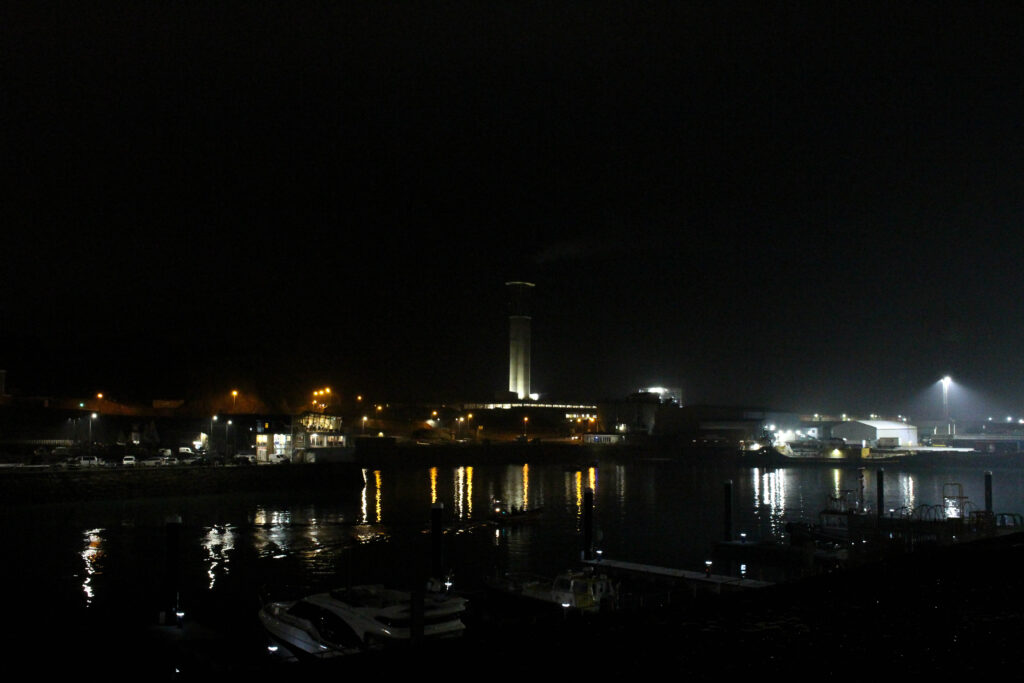
Overall after editing these final images, I believe that this photoshoot was a great success. These 3 final photos will play a part in my final photobook to efficiently show the contrast between the atmosphere during the day and the night. These 3 images clearly resemble what the night, low light does to a setting, these photos I think convey a strong feeling of abandonment.