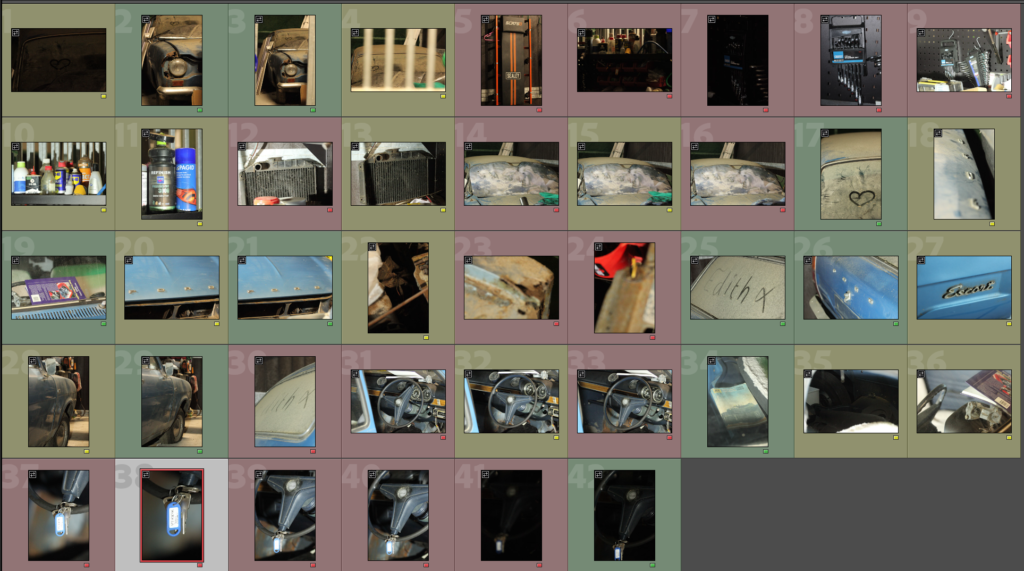
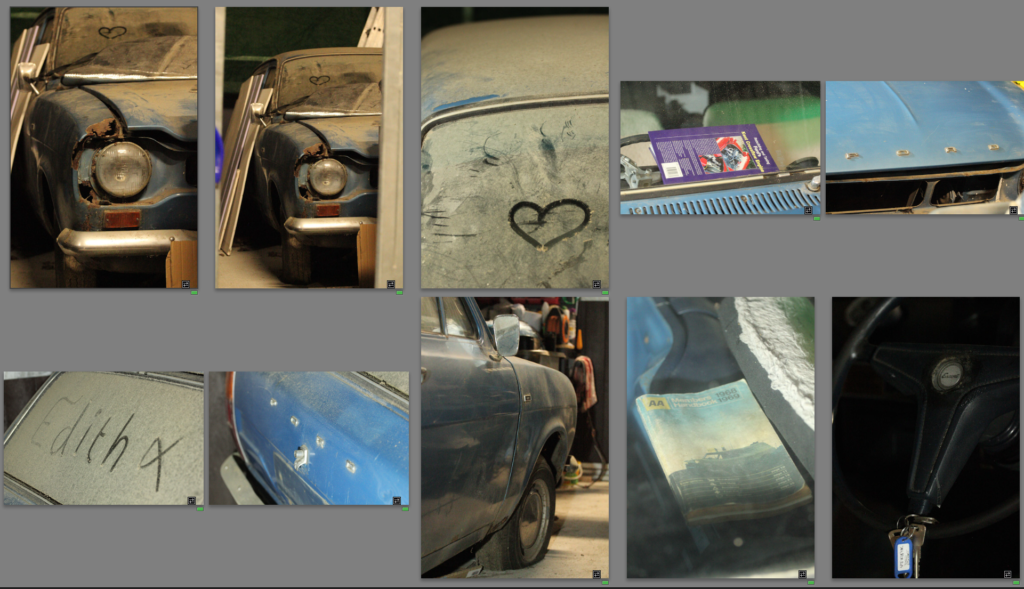
This shoot was challenging in terms of lighting and angles. After spending well over an hour shooting I only got 42 photos, I did get some good shots though. As shown above there were a few good shots but they do need some work as the lighting was yellow at times.
Edit One

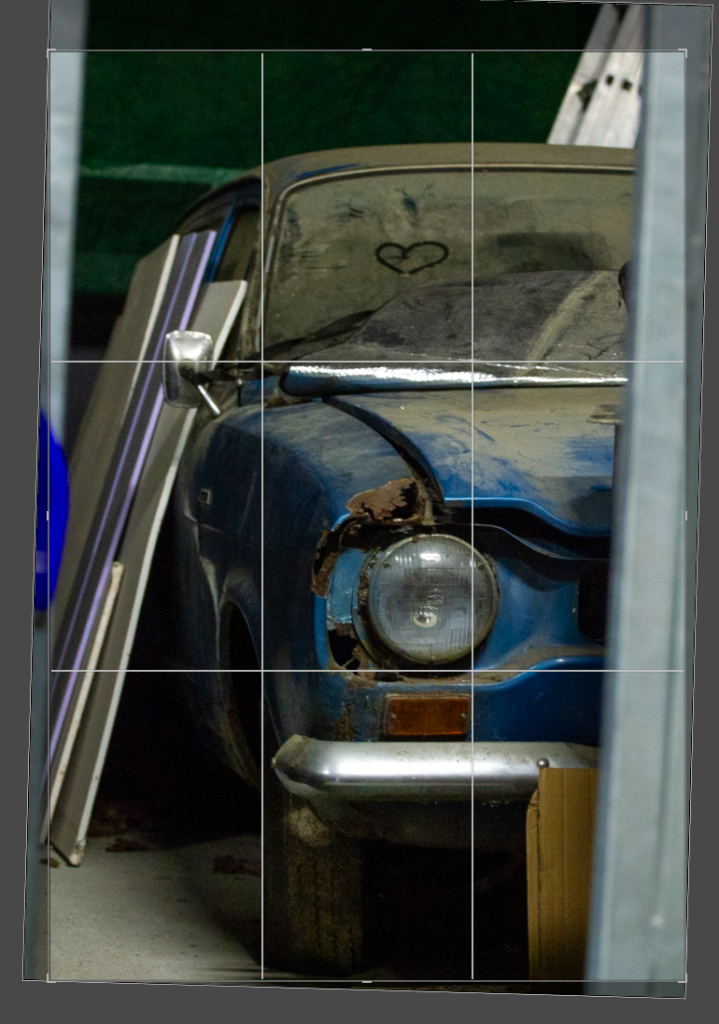


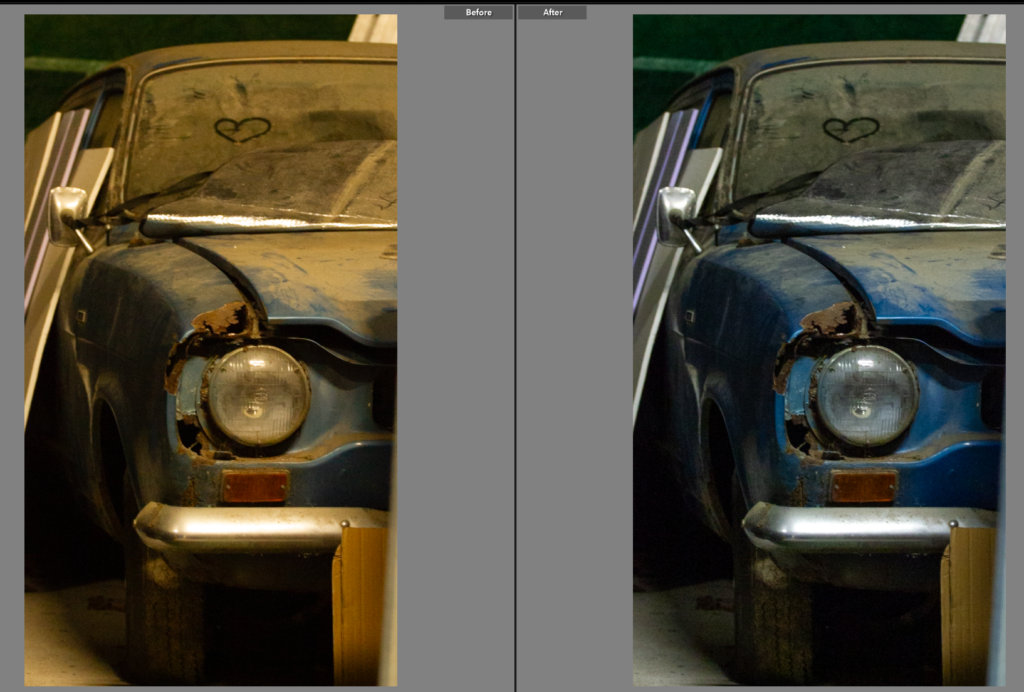
I like the composition of this photo as it has a good angle and shows a good portion of the car. However before editing the colouring is very yellow which while it does give the photo a nostalgic look to it, it would be hard to link all the photos together in terms of lighting as daylight photos. It also means the true colour of the car is shown. To change the lighting I adjusted the temperature to remove some of the blue hue, I then went into colour mixer and selected mixer and went into the yellow and chose to turn down saturation so the yellow lighting was lessoned.
Edit Two


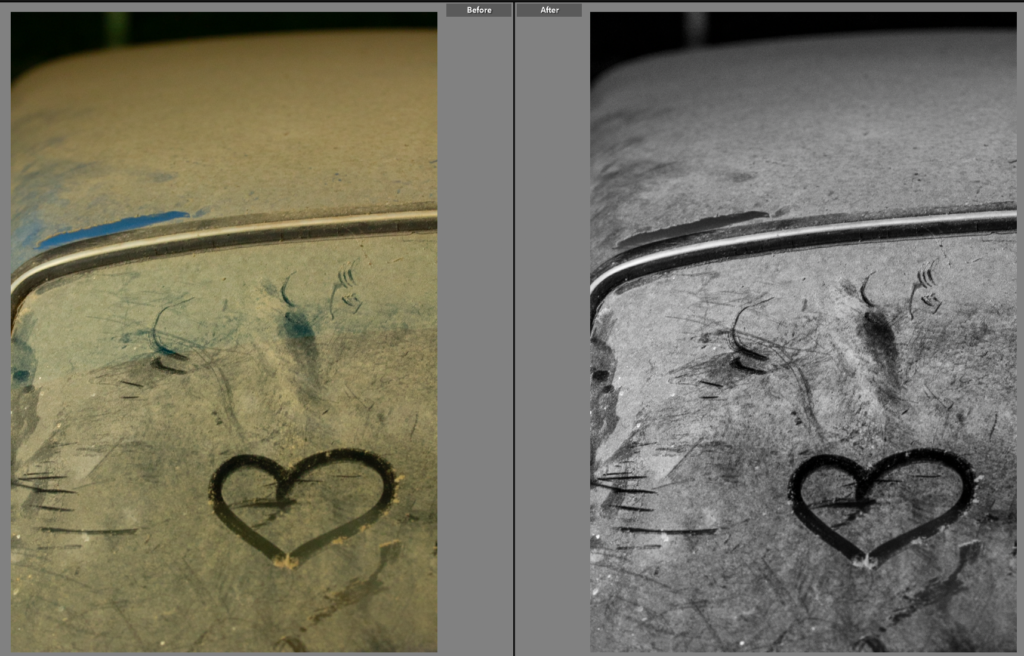
I spotted this heart drawn onto the car, it made for an interesting photo so I composed it outside of the rule of thirds as I didn’t want it to be the main focus so much as a part of the photo. I wanted a photo as I have a habit of drawing hearts onto my bike when it’s muddy so it will be a connecting shot to my own bike which probably also has a heart drawn onto it. I chose to make the shot black and white as I think it adds to the atmospheric feel to the photo. Within this edit I adjusted the tone to make it a high contrast image. This shot in itself is abstract, with minimal parts of the car shown but it will connect well with the next shoot as well as providing some family connection with the car having a heart drawn onto my mothers car and then a heart drawn onto my bike.
Edit Three


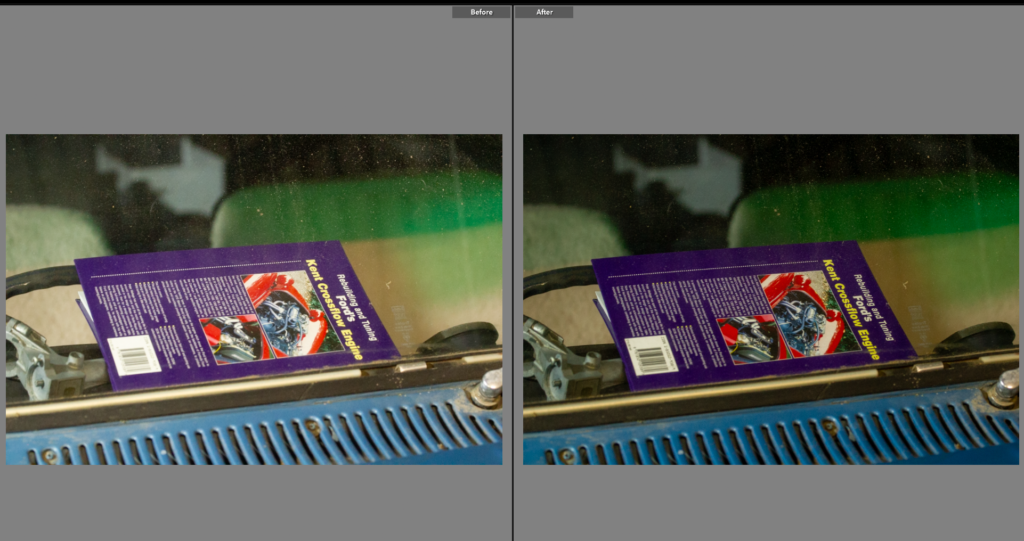
This photo is a great contextual image, I think it shows the love for the car and the age of the car being present in that all the books about it are still books not videos or online manuals. The composition of the shot is good so I didn’t need to crop it. However the colours are dulled down, so to fix this I reduced the exposure and then adjusted other contributing sliders. This helped bring out the true colours and made for a better photo.
Edit Four


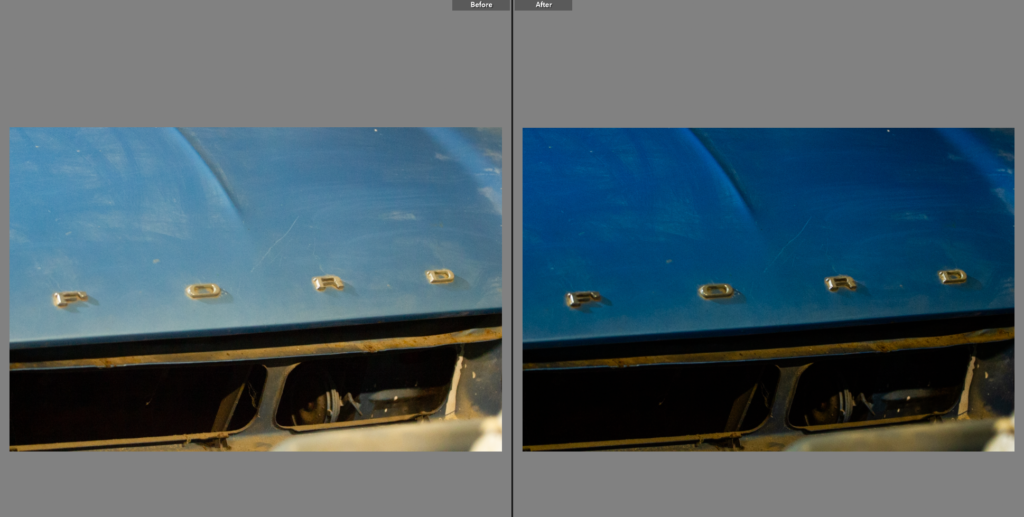
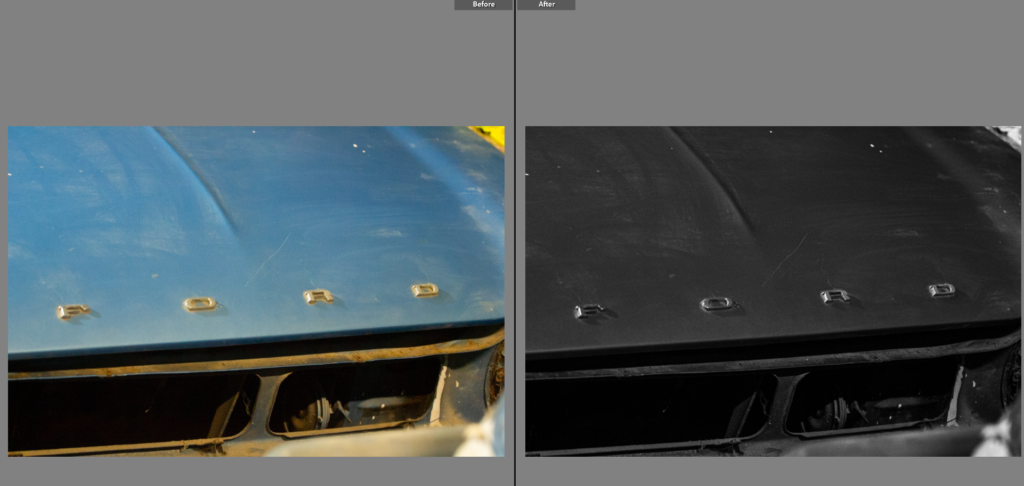
This shot was a confusing one to edit, I liked the original shot but the colour of the metal was wrong as the yellow lighting effected it. To counteract this I changed the exposure and then the highlights and shadows. I still did not love this image as now the car was not true to it’s real colour. Black and white was the next step as then the yellowness wouldn’t effect it. I chose a high contrast, stark editing style, this highlights the details and shadows of the photo. I liked this as the ‘ford’ stands out really well against the darker background.
Edit Five


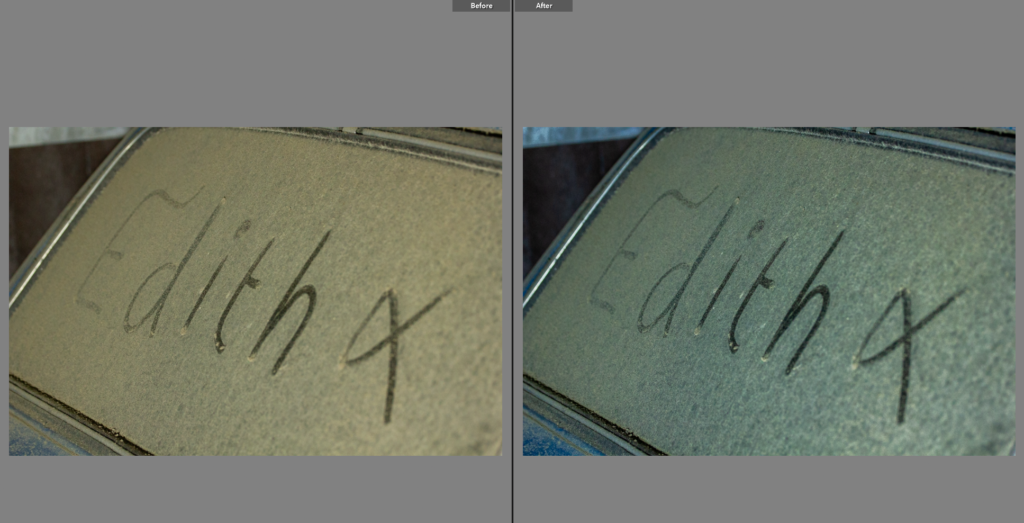
This shot on the other hand didn’t need much editing as the yellow lighting suited the brown of the dust.
Edit Six


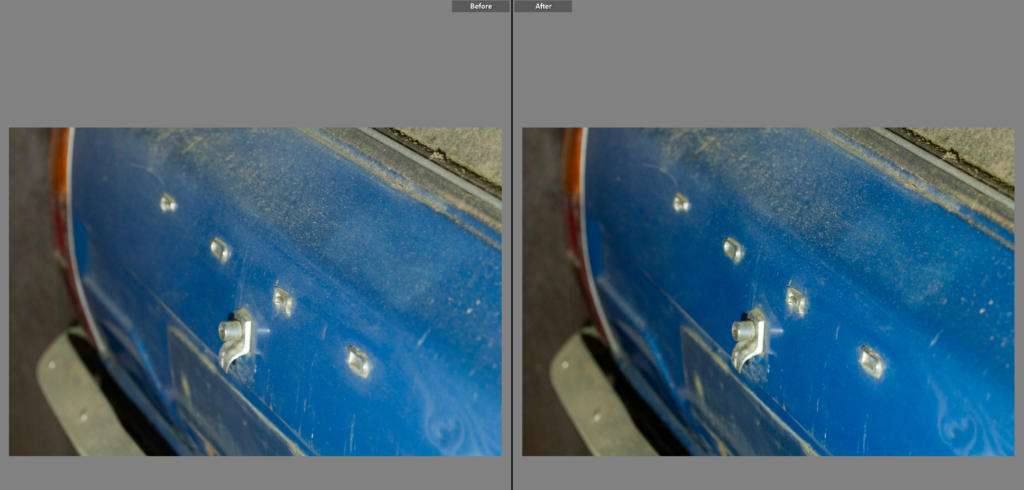
This is again another shot that doesn’t need much editing as the colours already went well. Having used the 70-20mm lens the frame is already a tightly framed shot so the composition was important, having framed the car on an angle to the lens it added dynamic to the photo as well as providing a well composed shot, with interesting angles.
Edit Seven


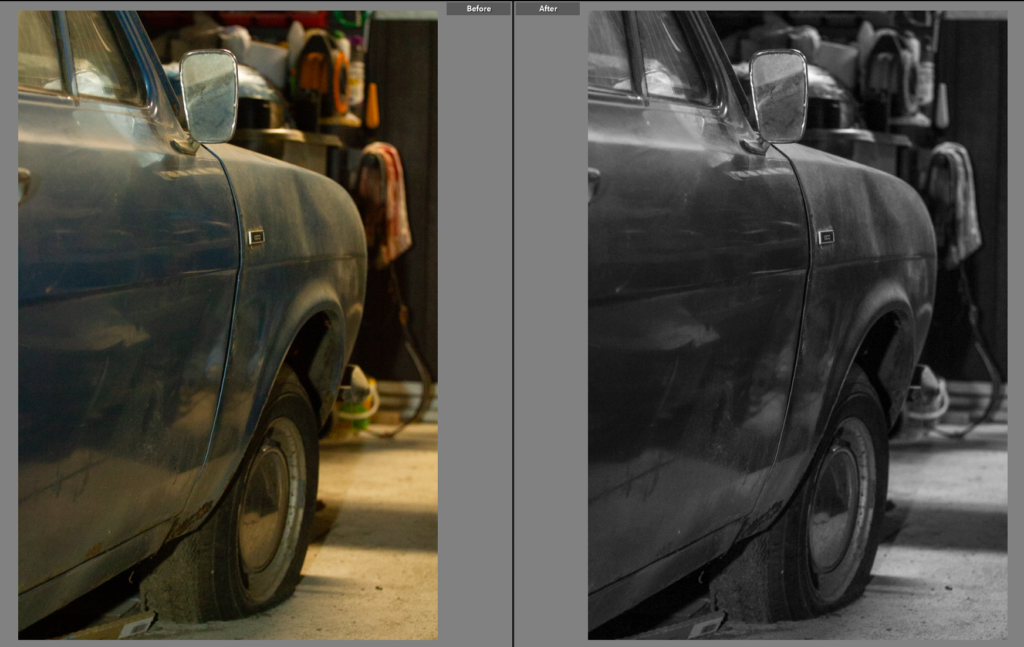
This shot is interesting within itself with the age and condition of the car showing. However I found the background distracting so decided to change the photo to black and white to add not only deeper tone to the car but remove some of the complexities in the background. This also worked really well to neutralise the yellow tone from the lighting.
Edit Eight


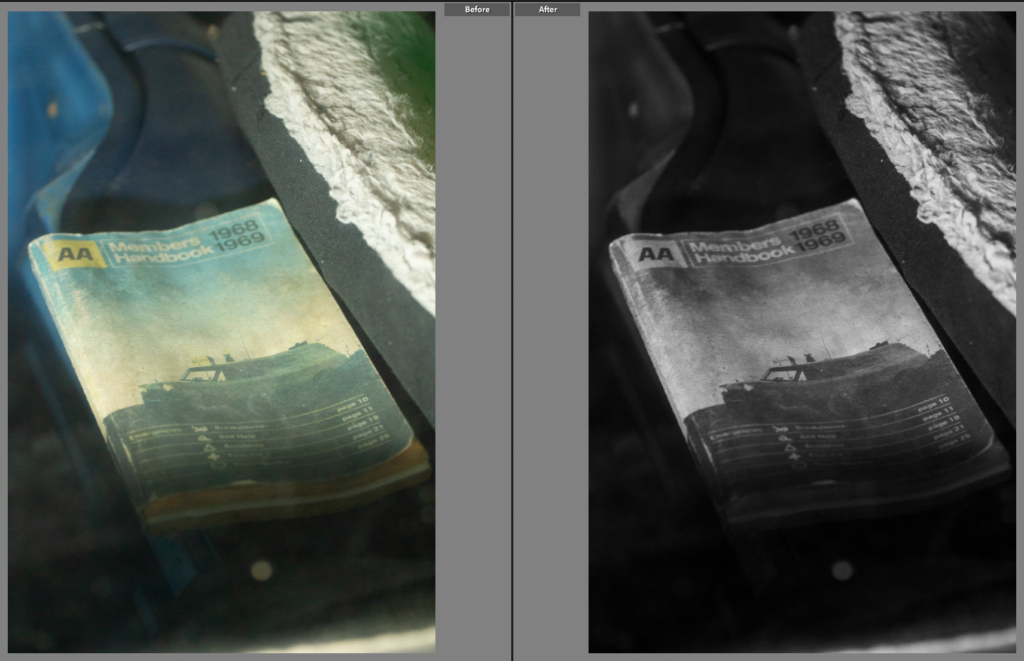
This shot while a creative, interesting image, having been shot through a windshield with multiple leading lines and context on the car. Overall I like this shot but it is a much more impactful image in black and white as while the book still appears worn from its age it doesn’t have the same washed out colours. The tone of the image is completely transformed once the image was edited to black and white as the high contrast shot, similarly to the previous shot it removes all the background busyness that doesn’t benefit the shot. This also provides a base for any future black and white shots as I have a style to base it off of.
Edit Nine


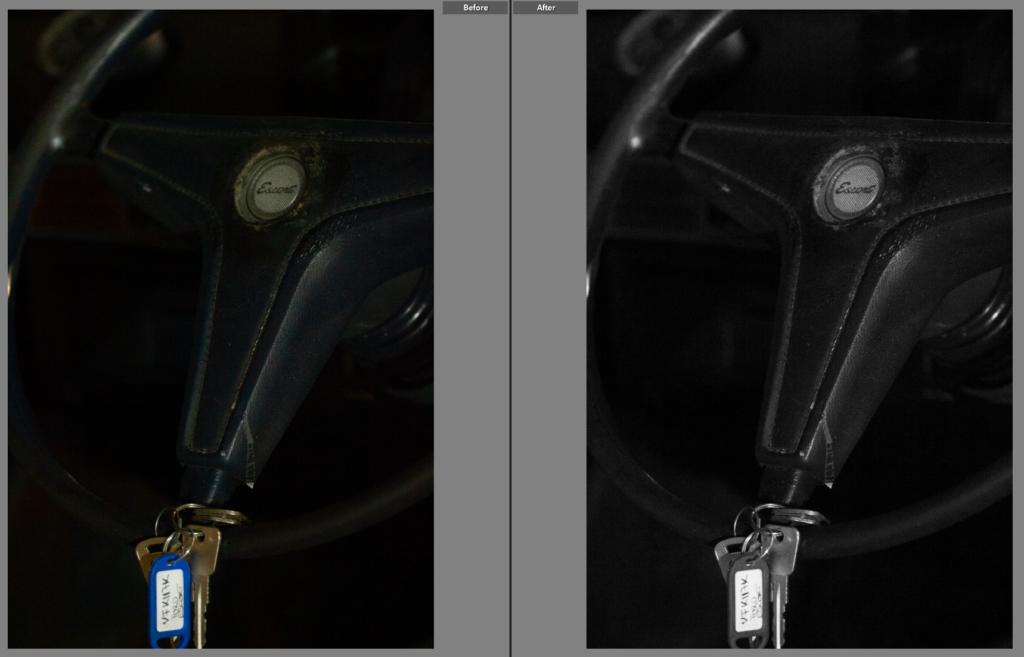
This image again is much stronger in black and white, it has removed the washed out colours and new key colour but kept the apparent wear to the car. It has also brought out the highlights in the shot, showing the badge in the steering wheel and outlining the wheel itself.
Final Images
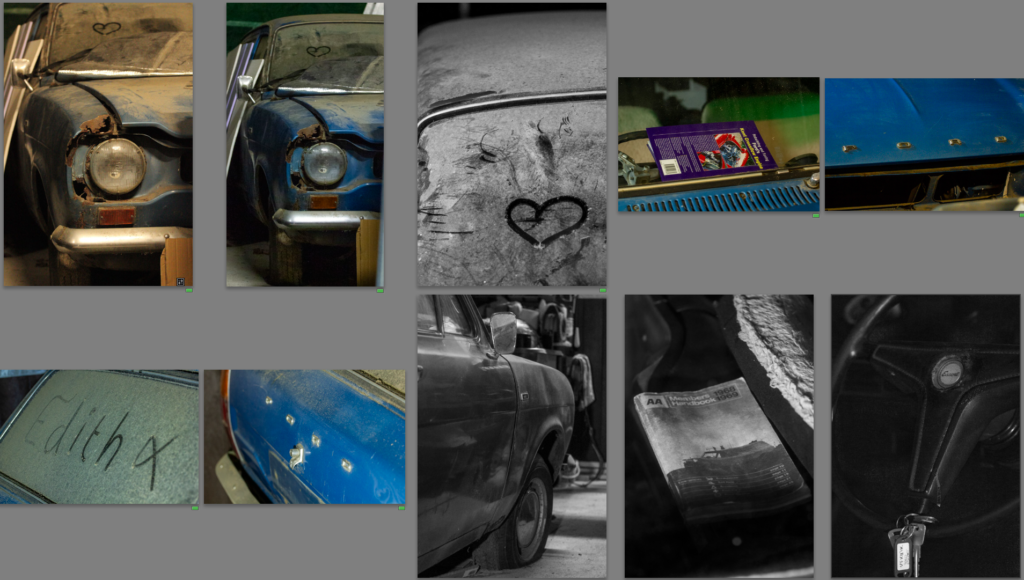
After editing these photos I noticed, while I didn’t dislike the results I felt I could get more similar shots with a different lens. I would like to redo this shoot with a 18-105mm lens as I would have a lot more range in the shots I could get. I did however end up with a strong set of images with a mixture of colour and black and white shots. I think the detail shots were particularly successful and created a strong starting point for this project. Having researched Keith Dotson’s work on old cars in a forest, left to rot I wanted to take a similar approach using highly tonal images with a range of wider angled shots and closely framed shots, although shown in both mine and Dotson’s work neither of us feature much of the background as for wat we are trying to show in the images it is not too important and can be distracting.
