Zine: Final Layout and Evaluation

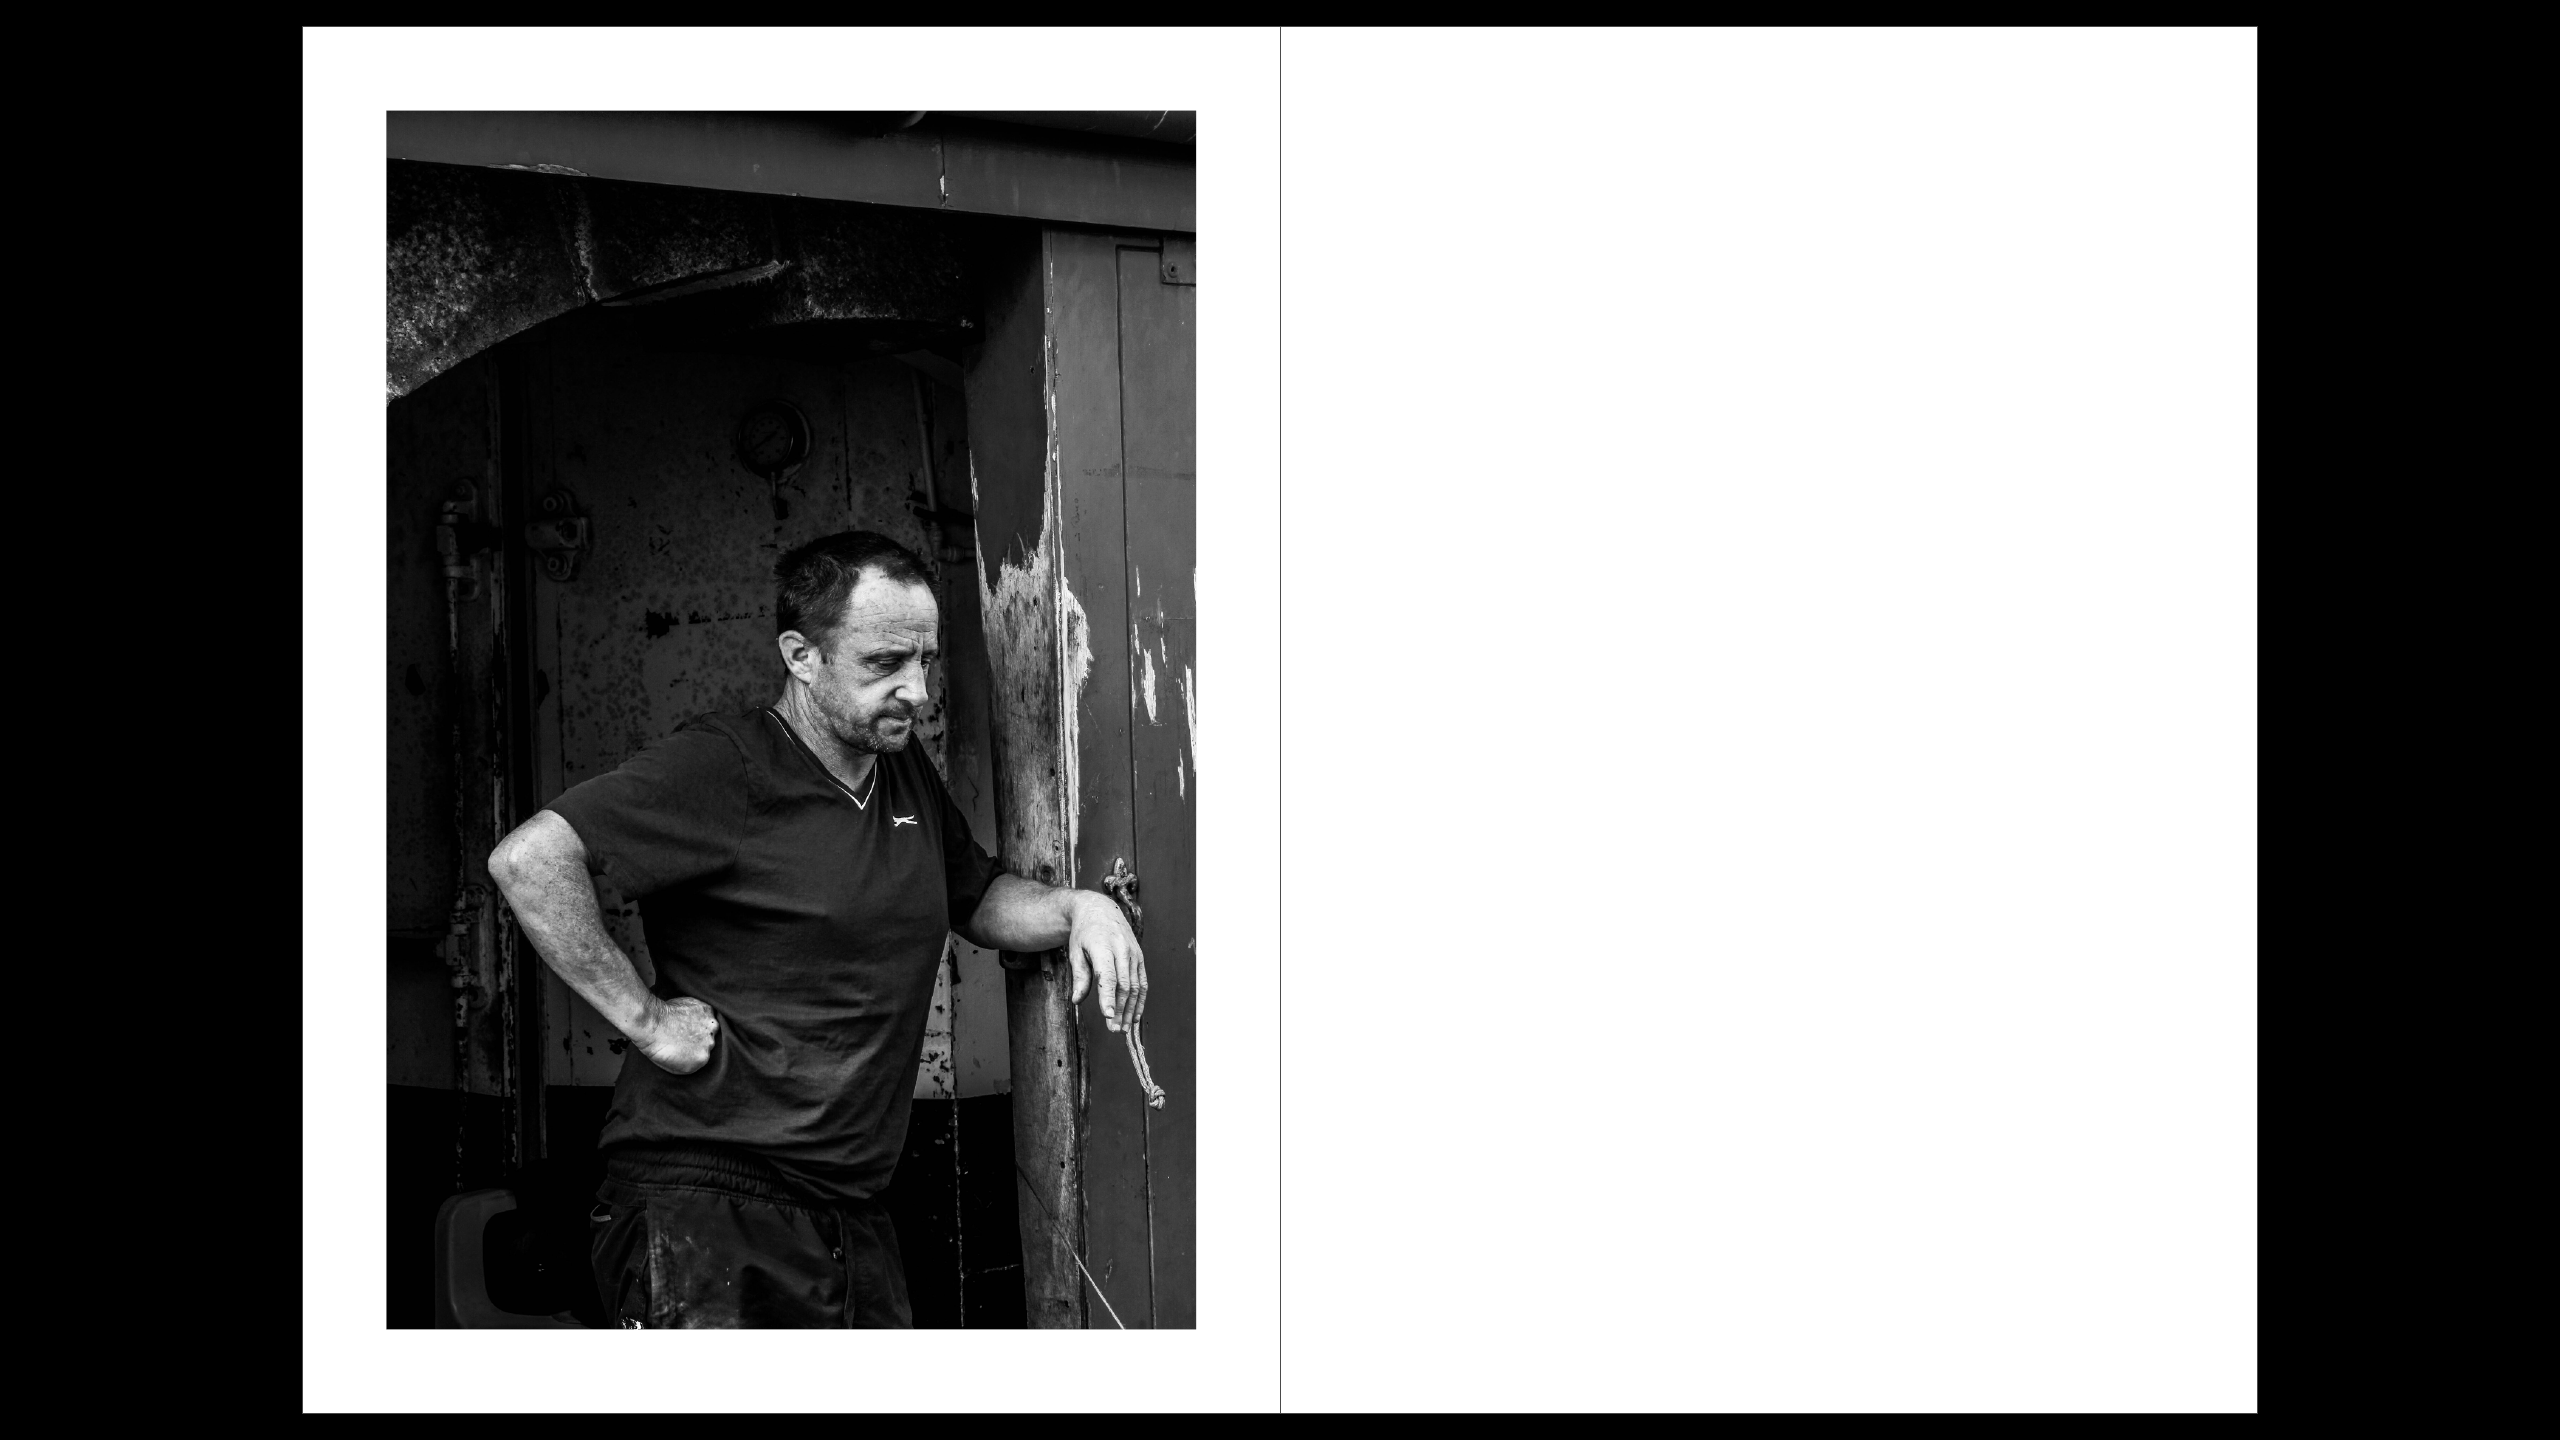
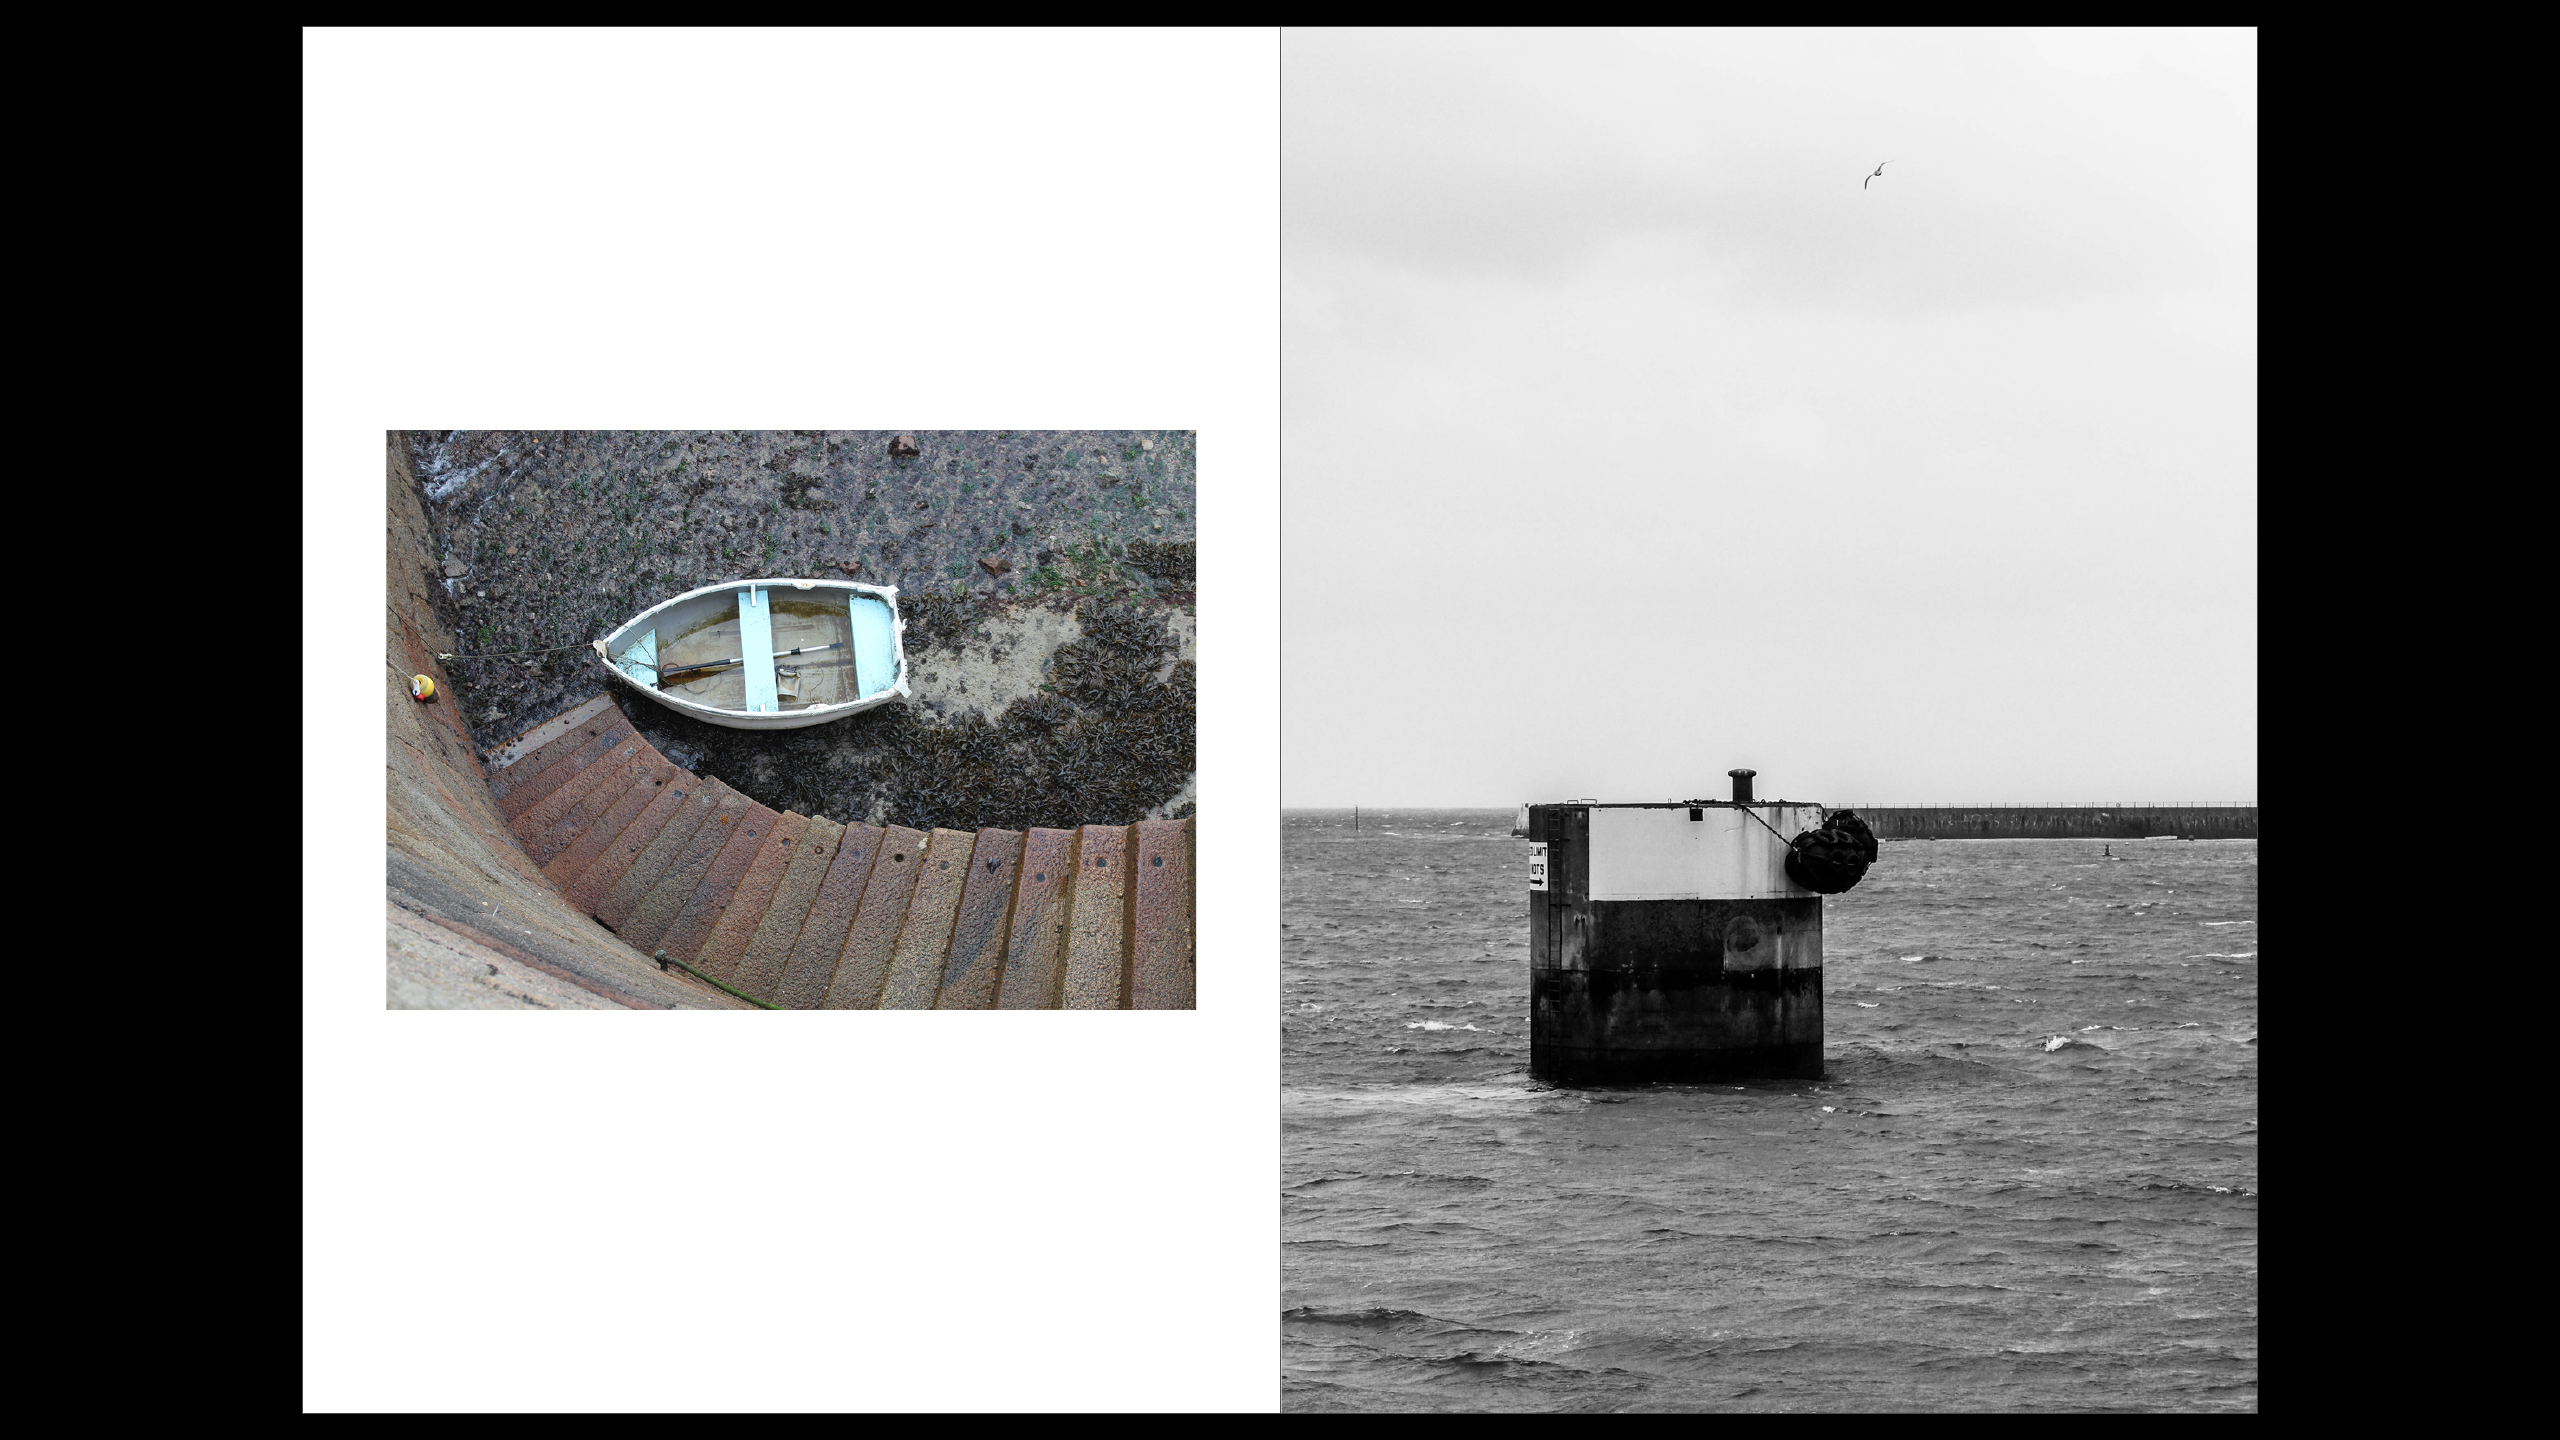
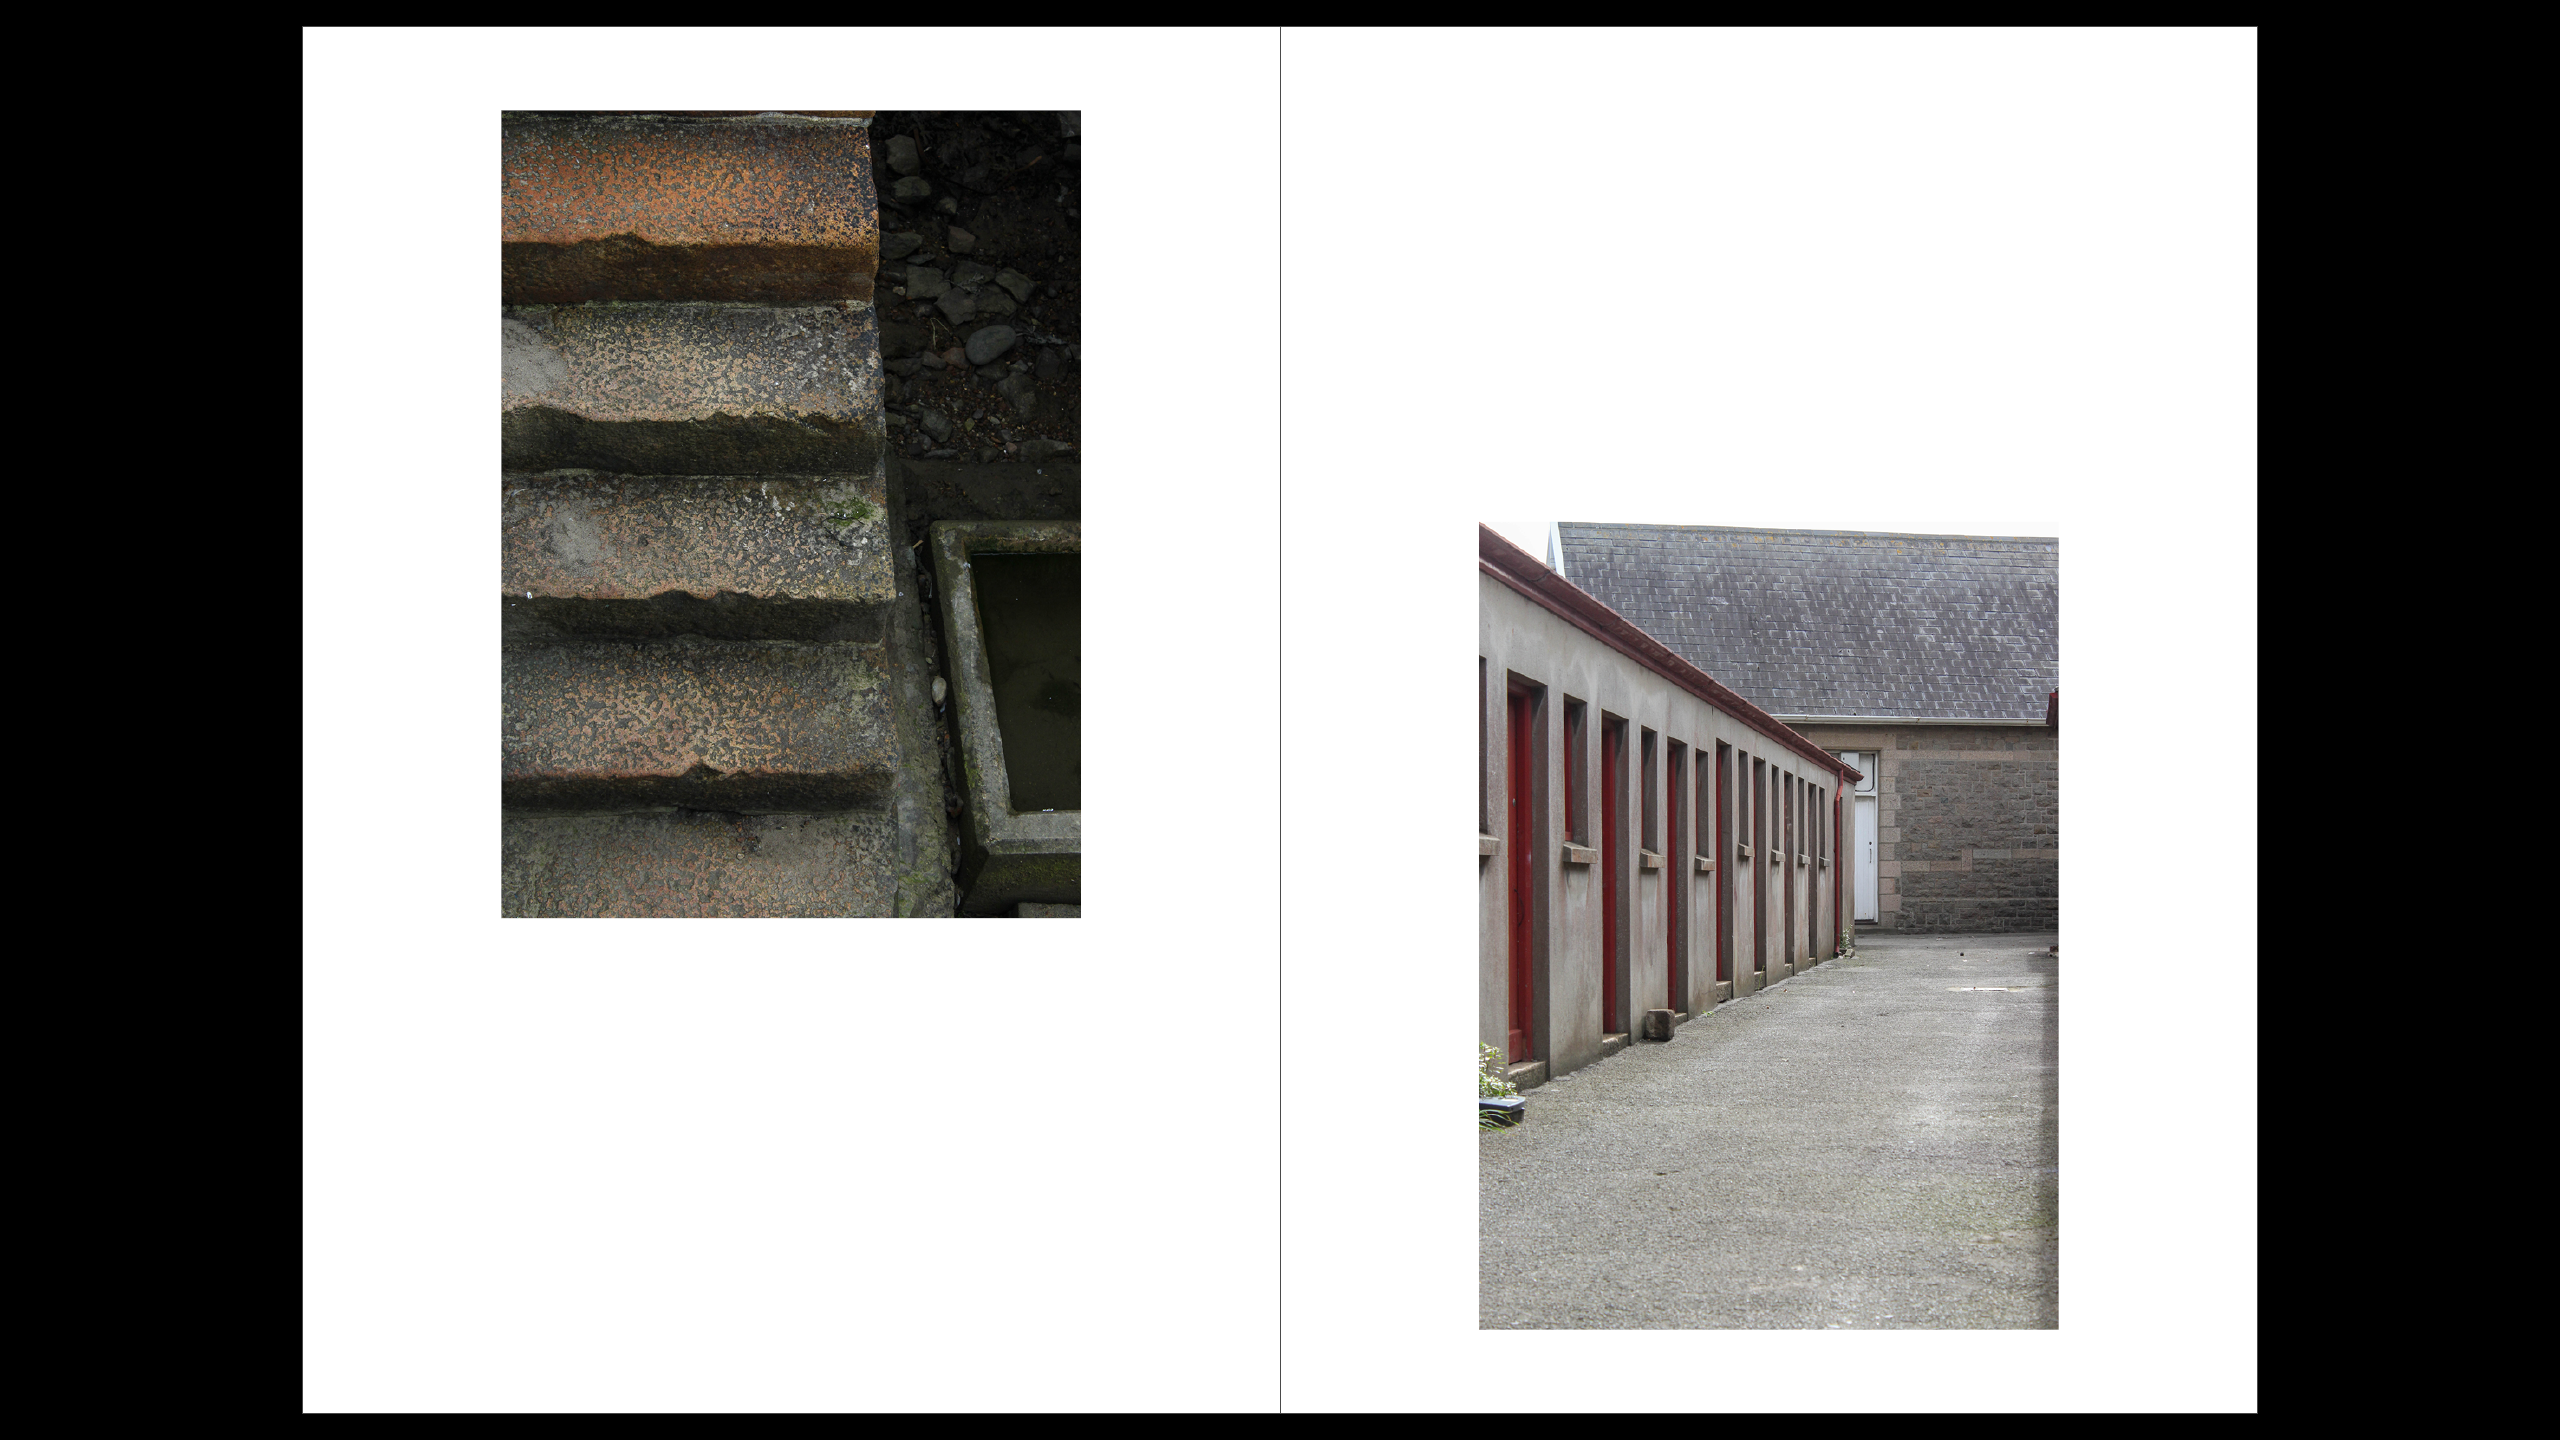
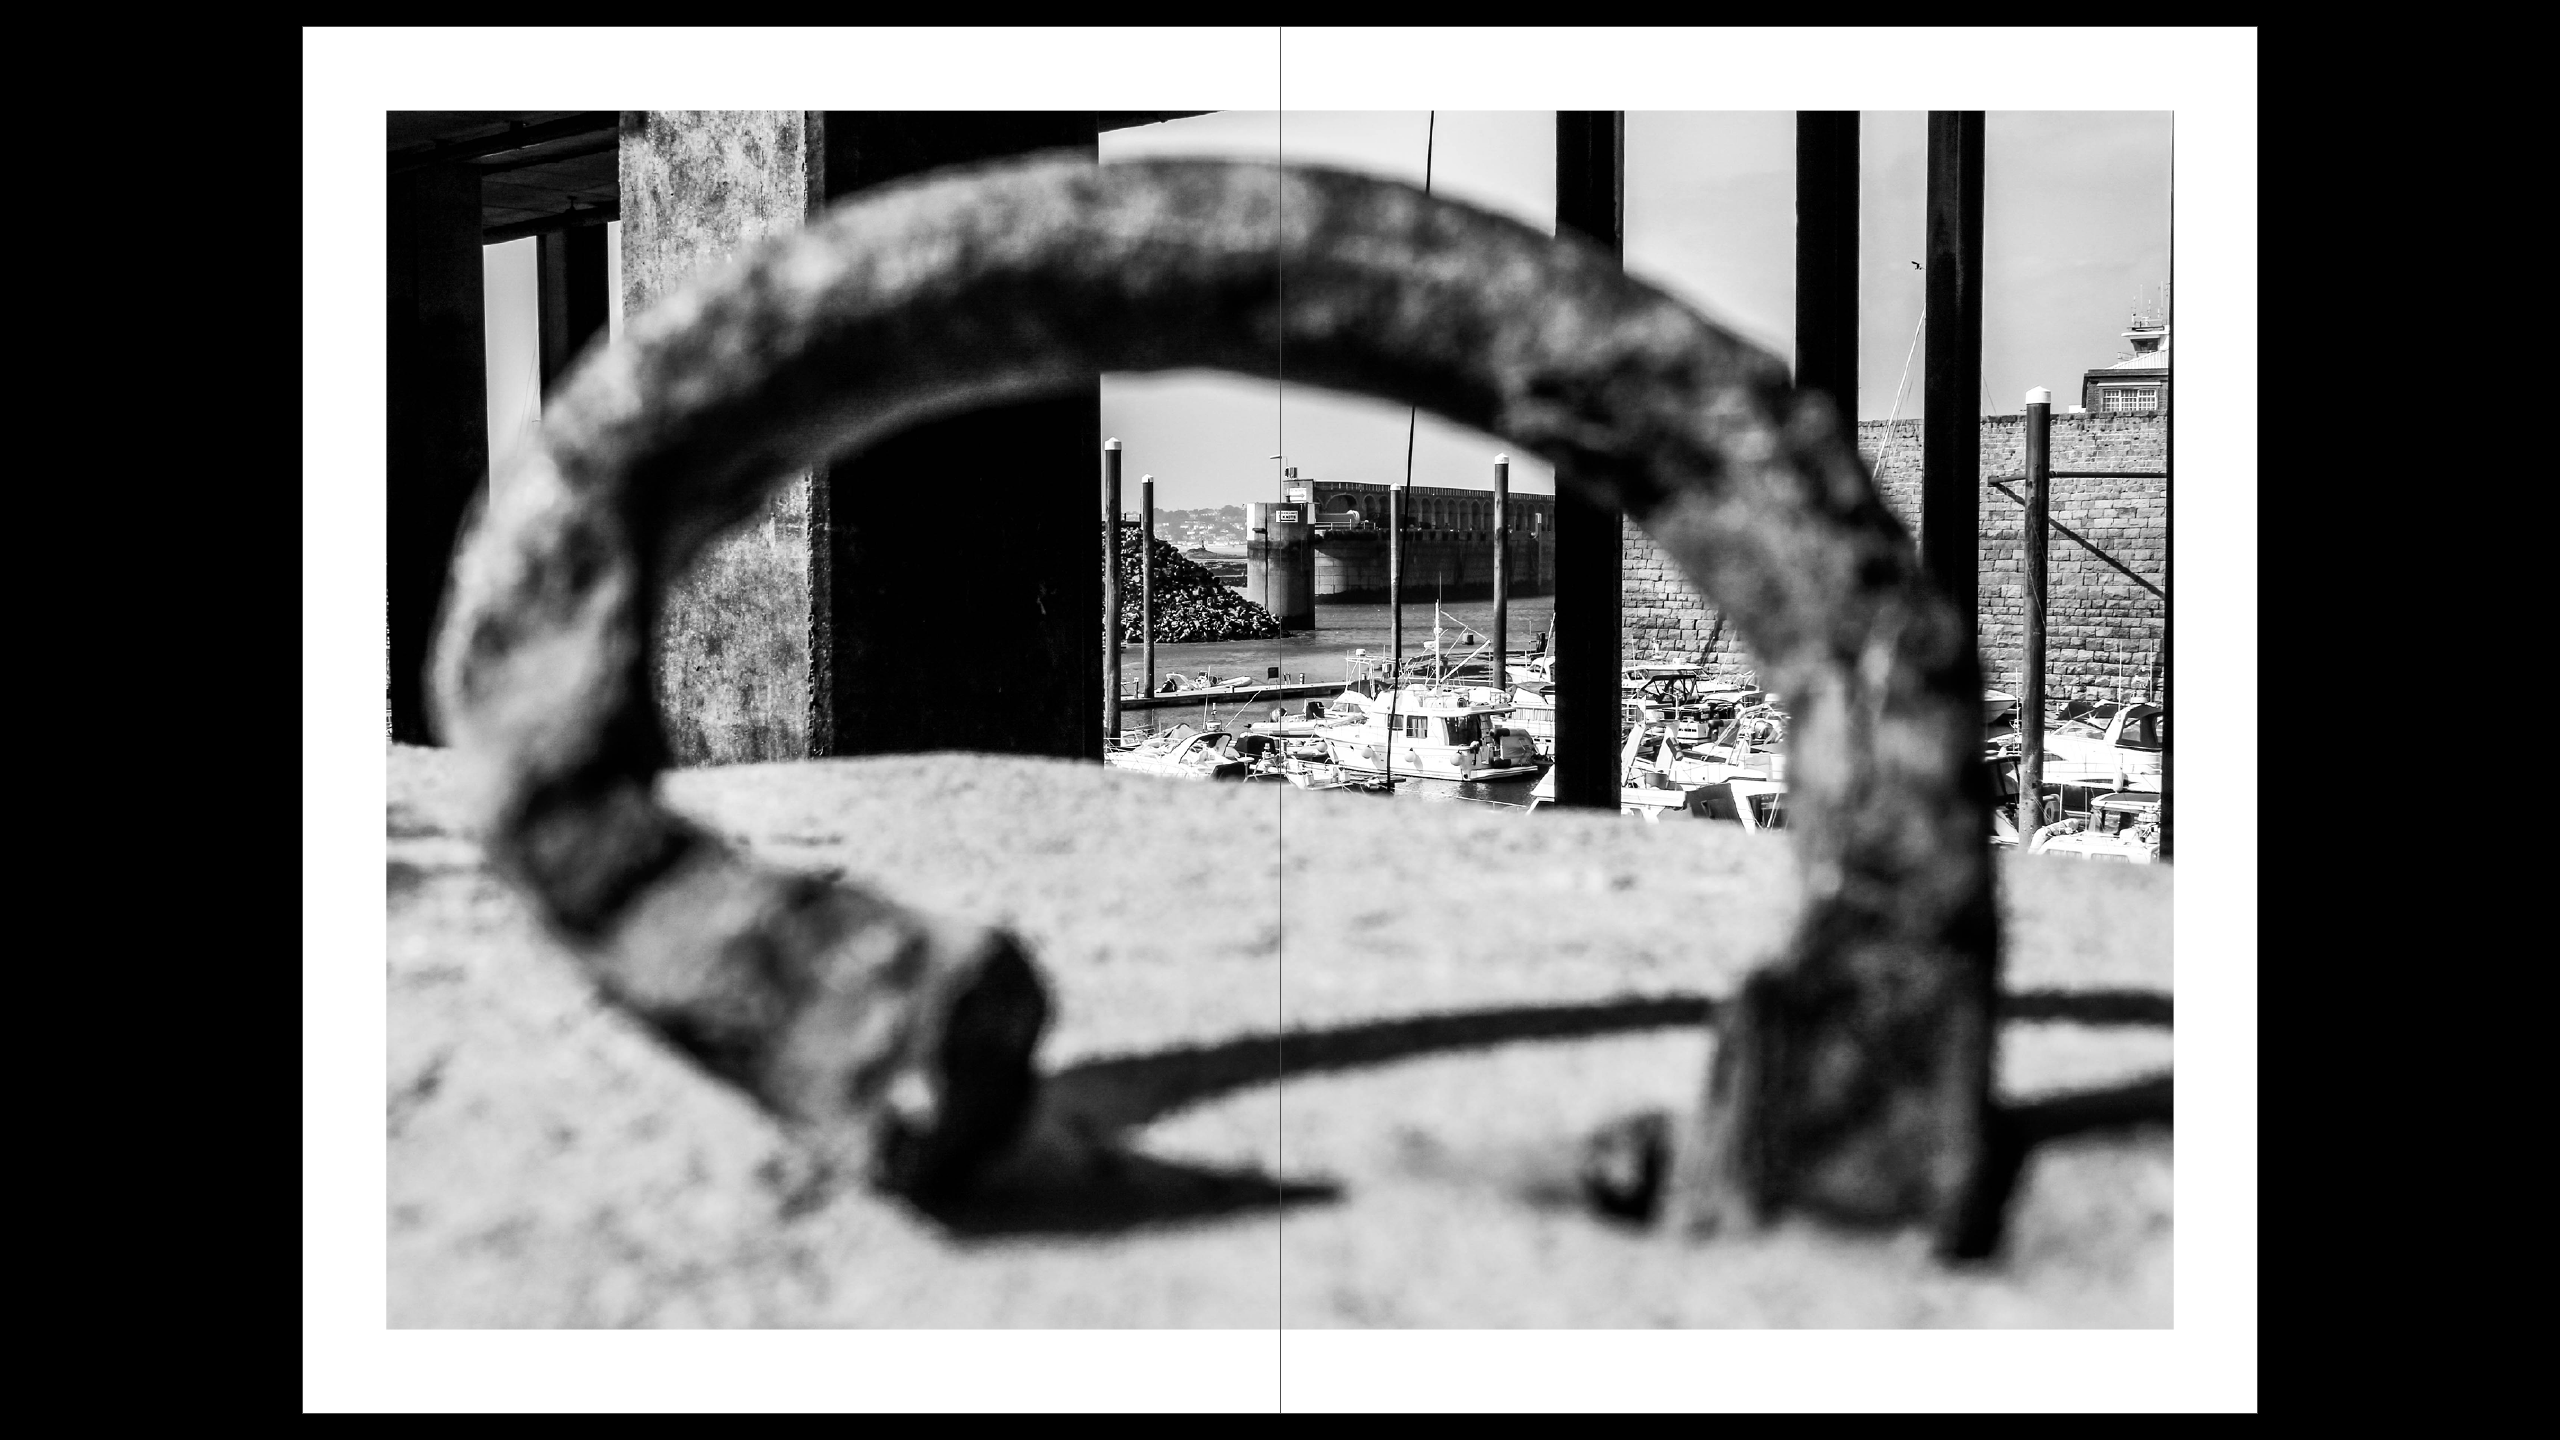
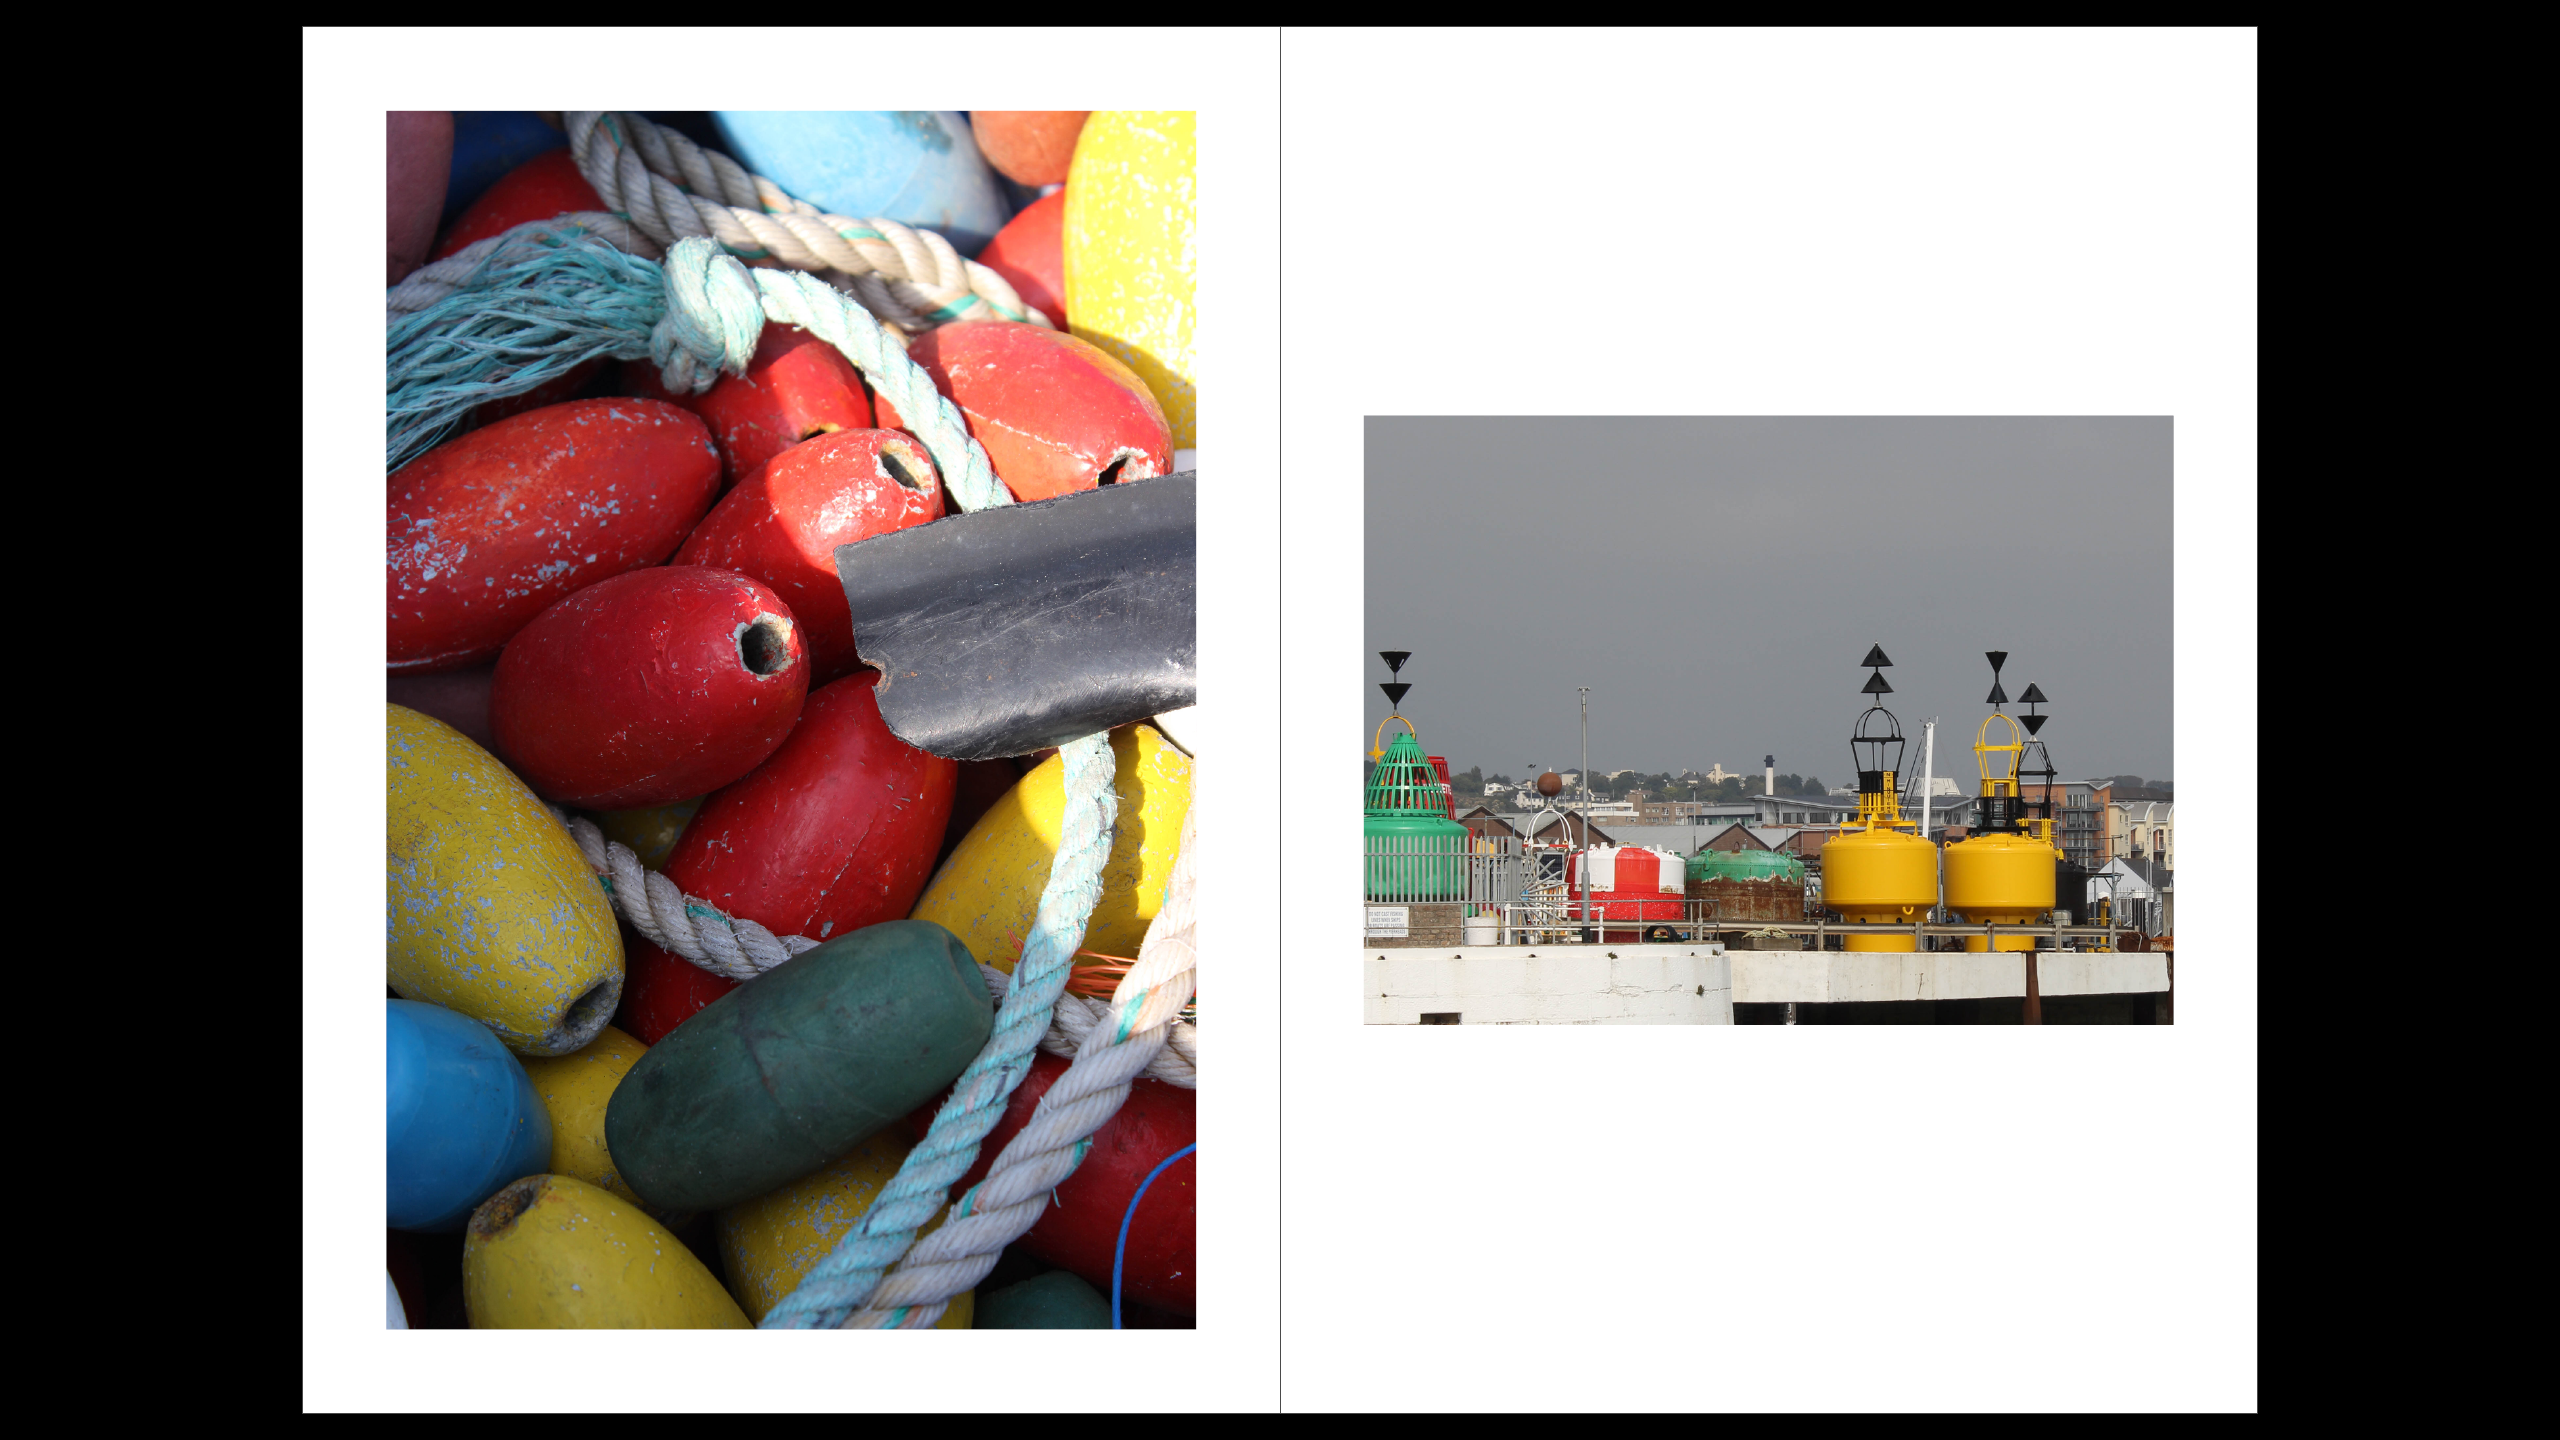
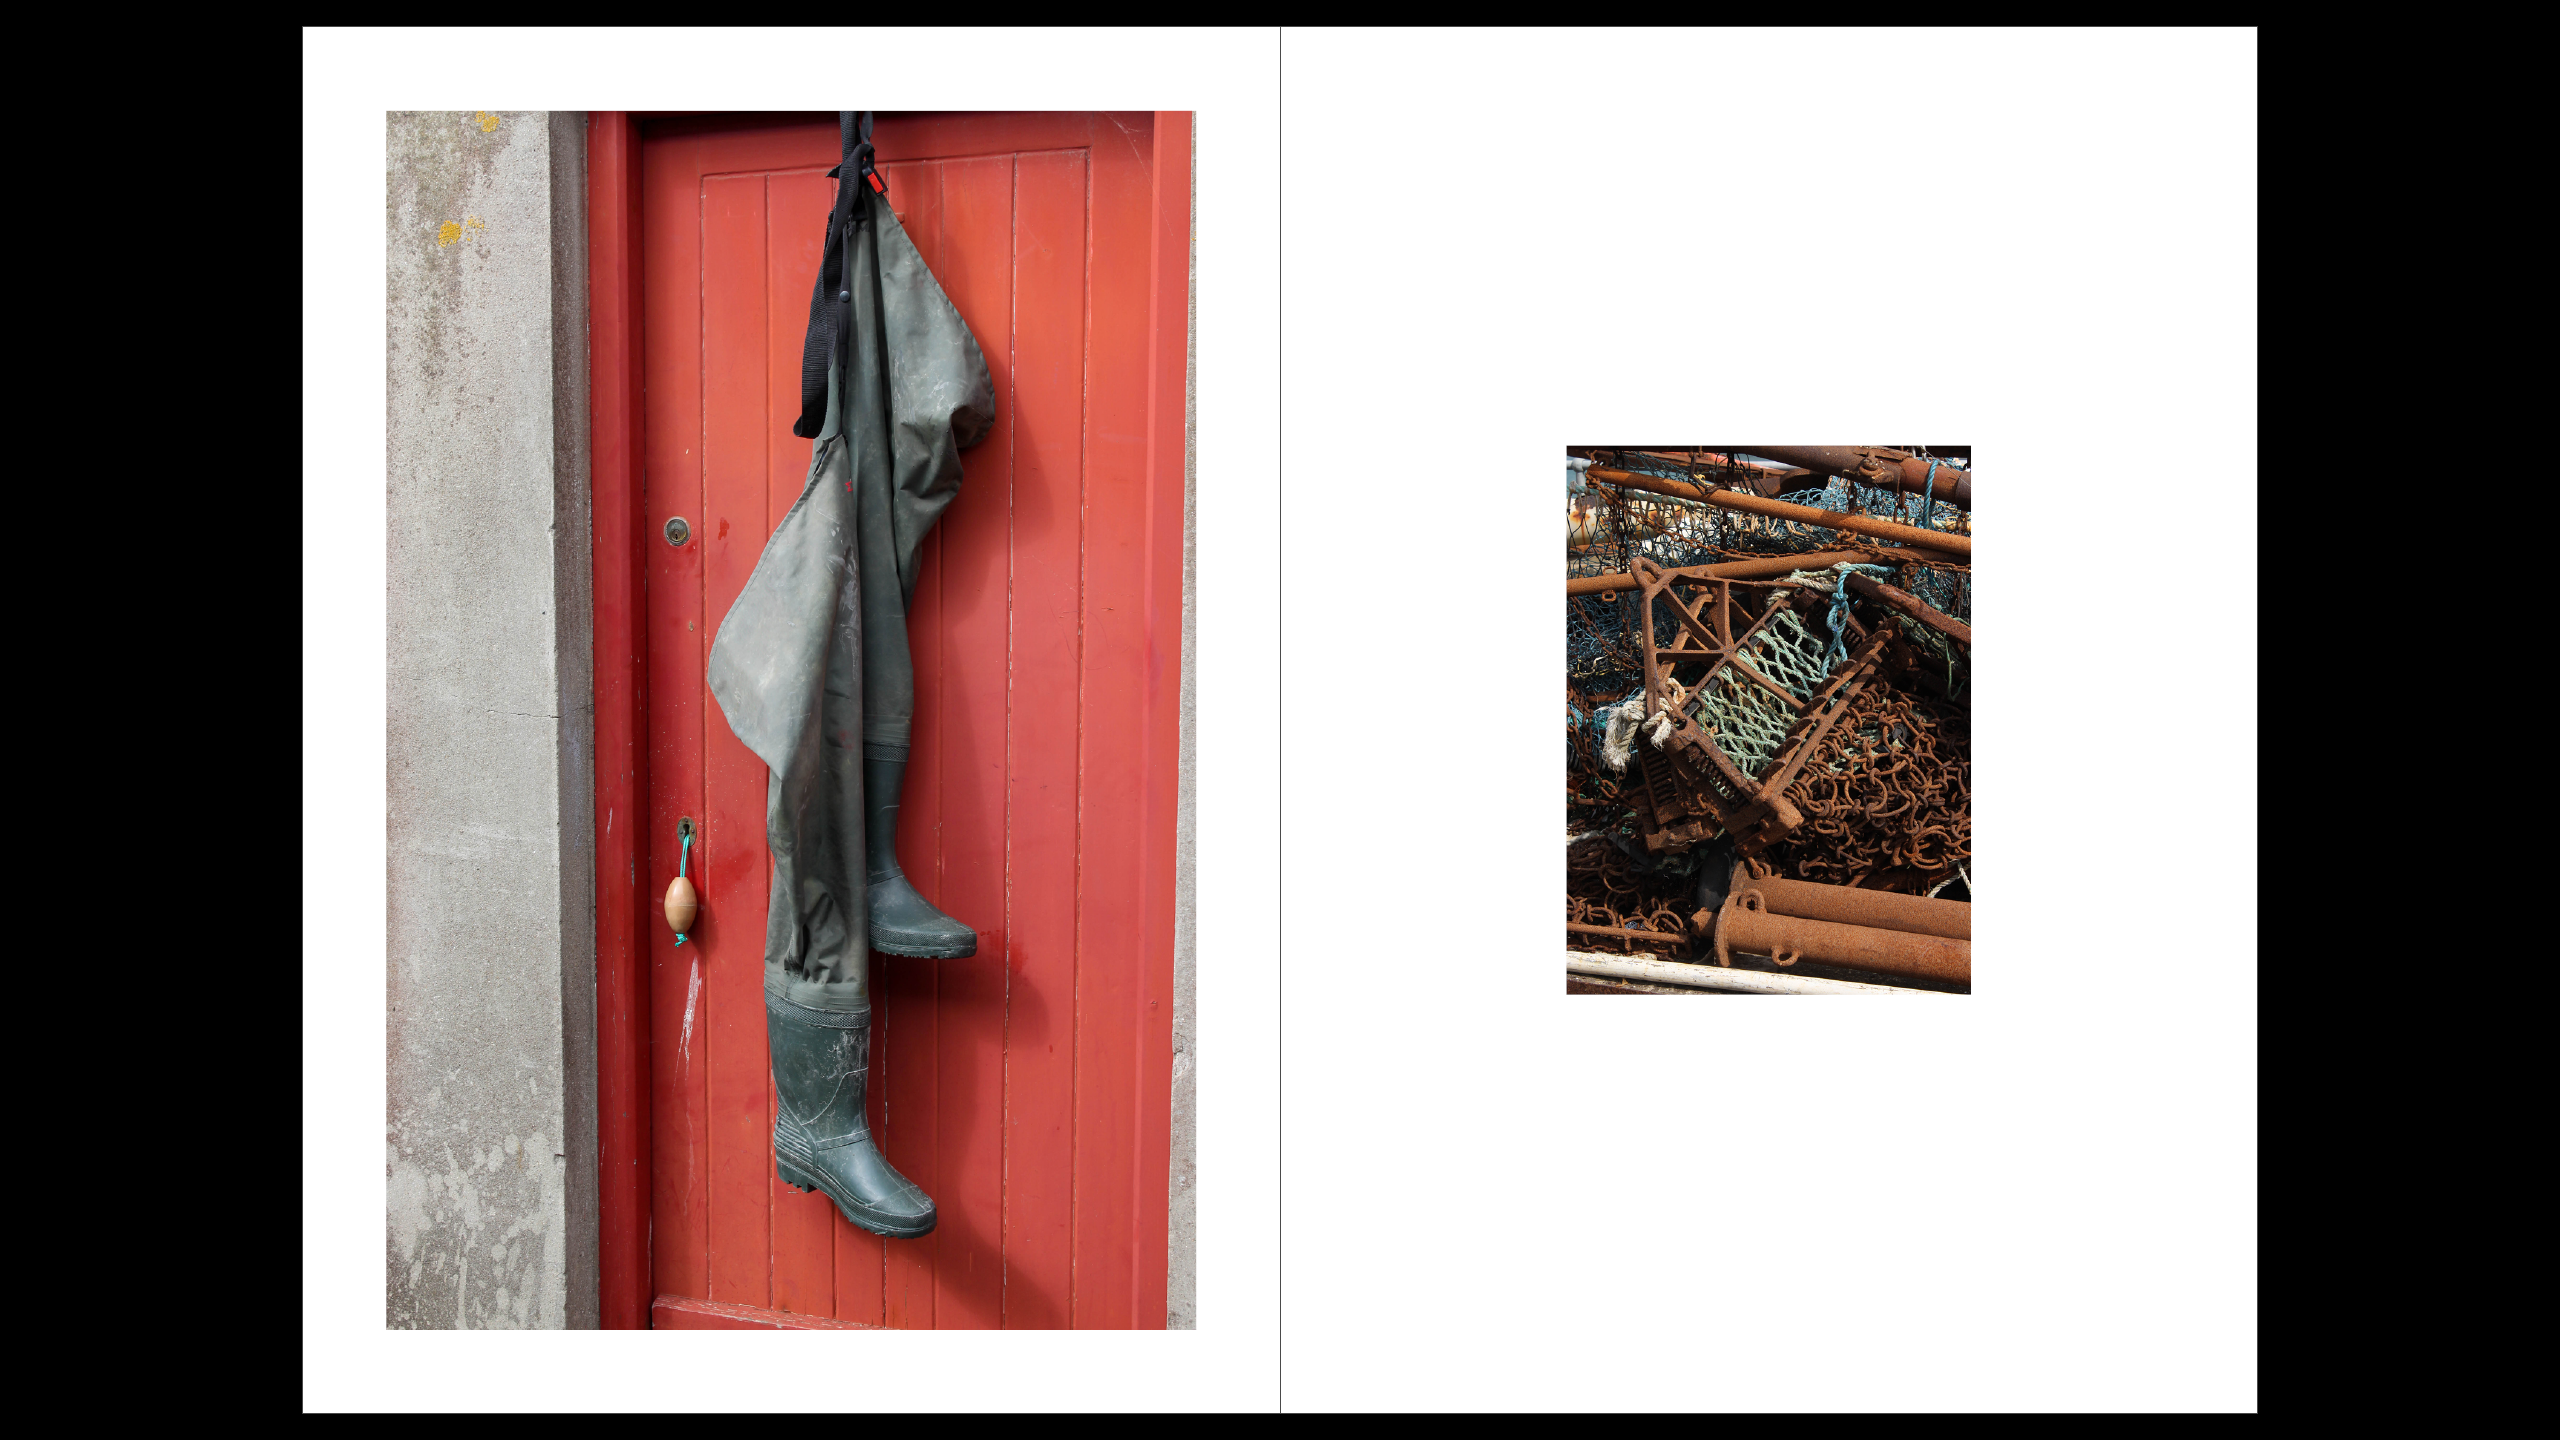
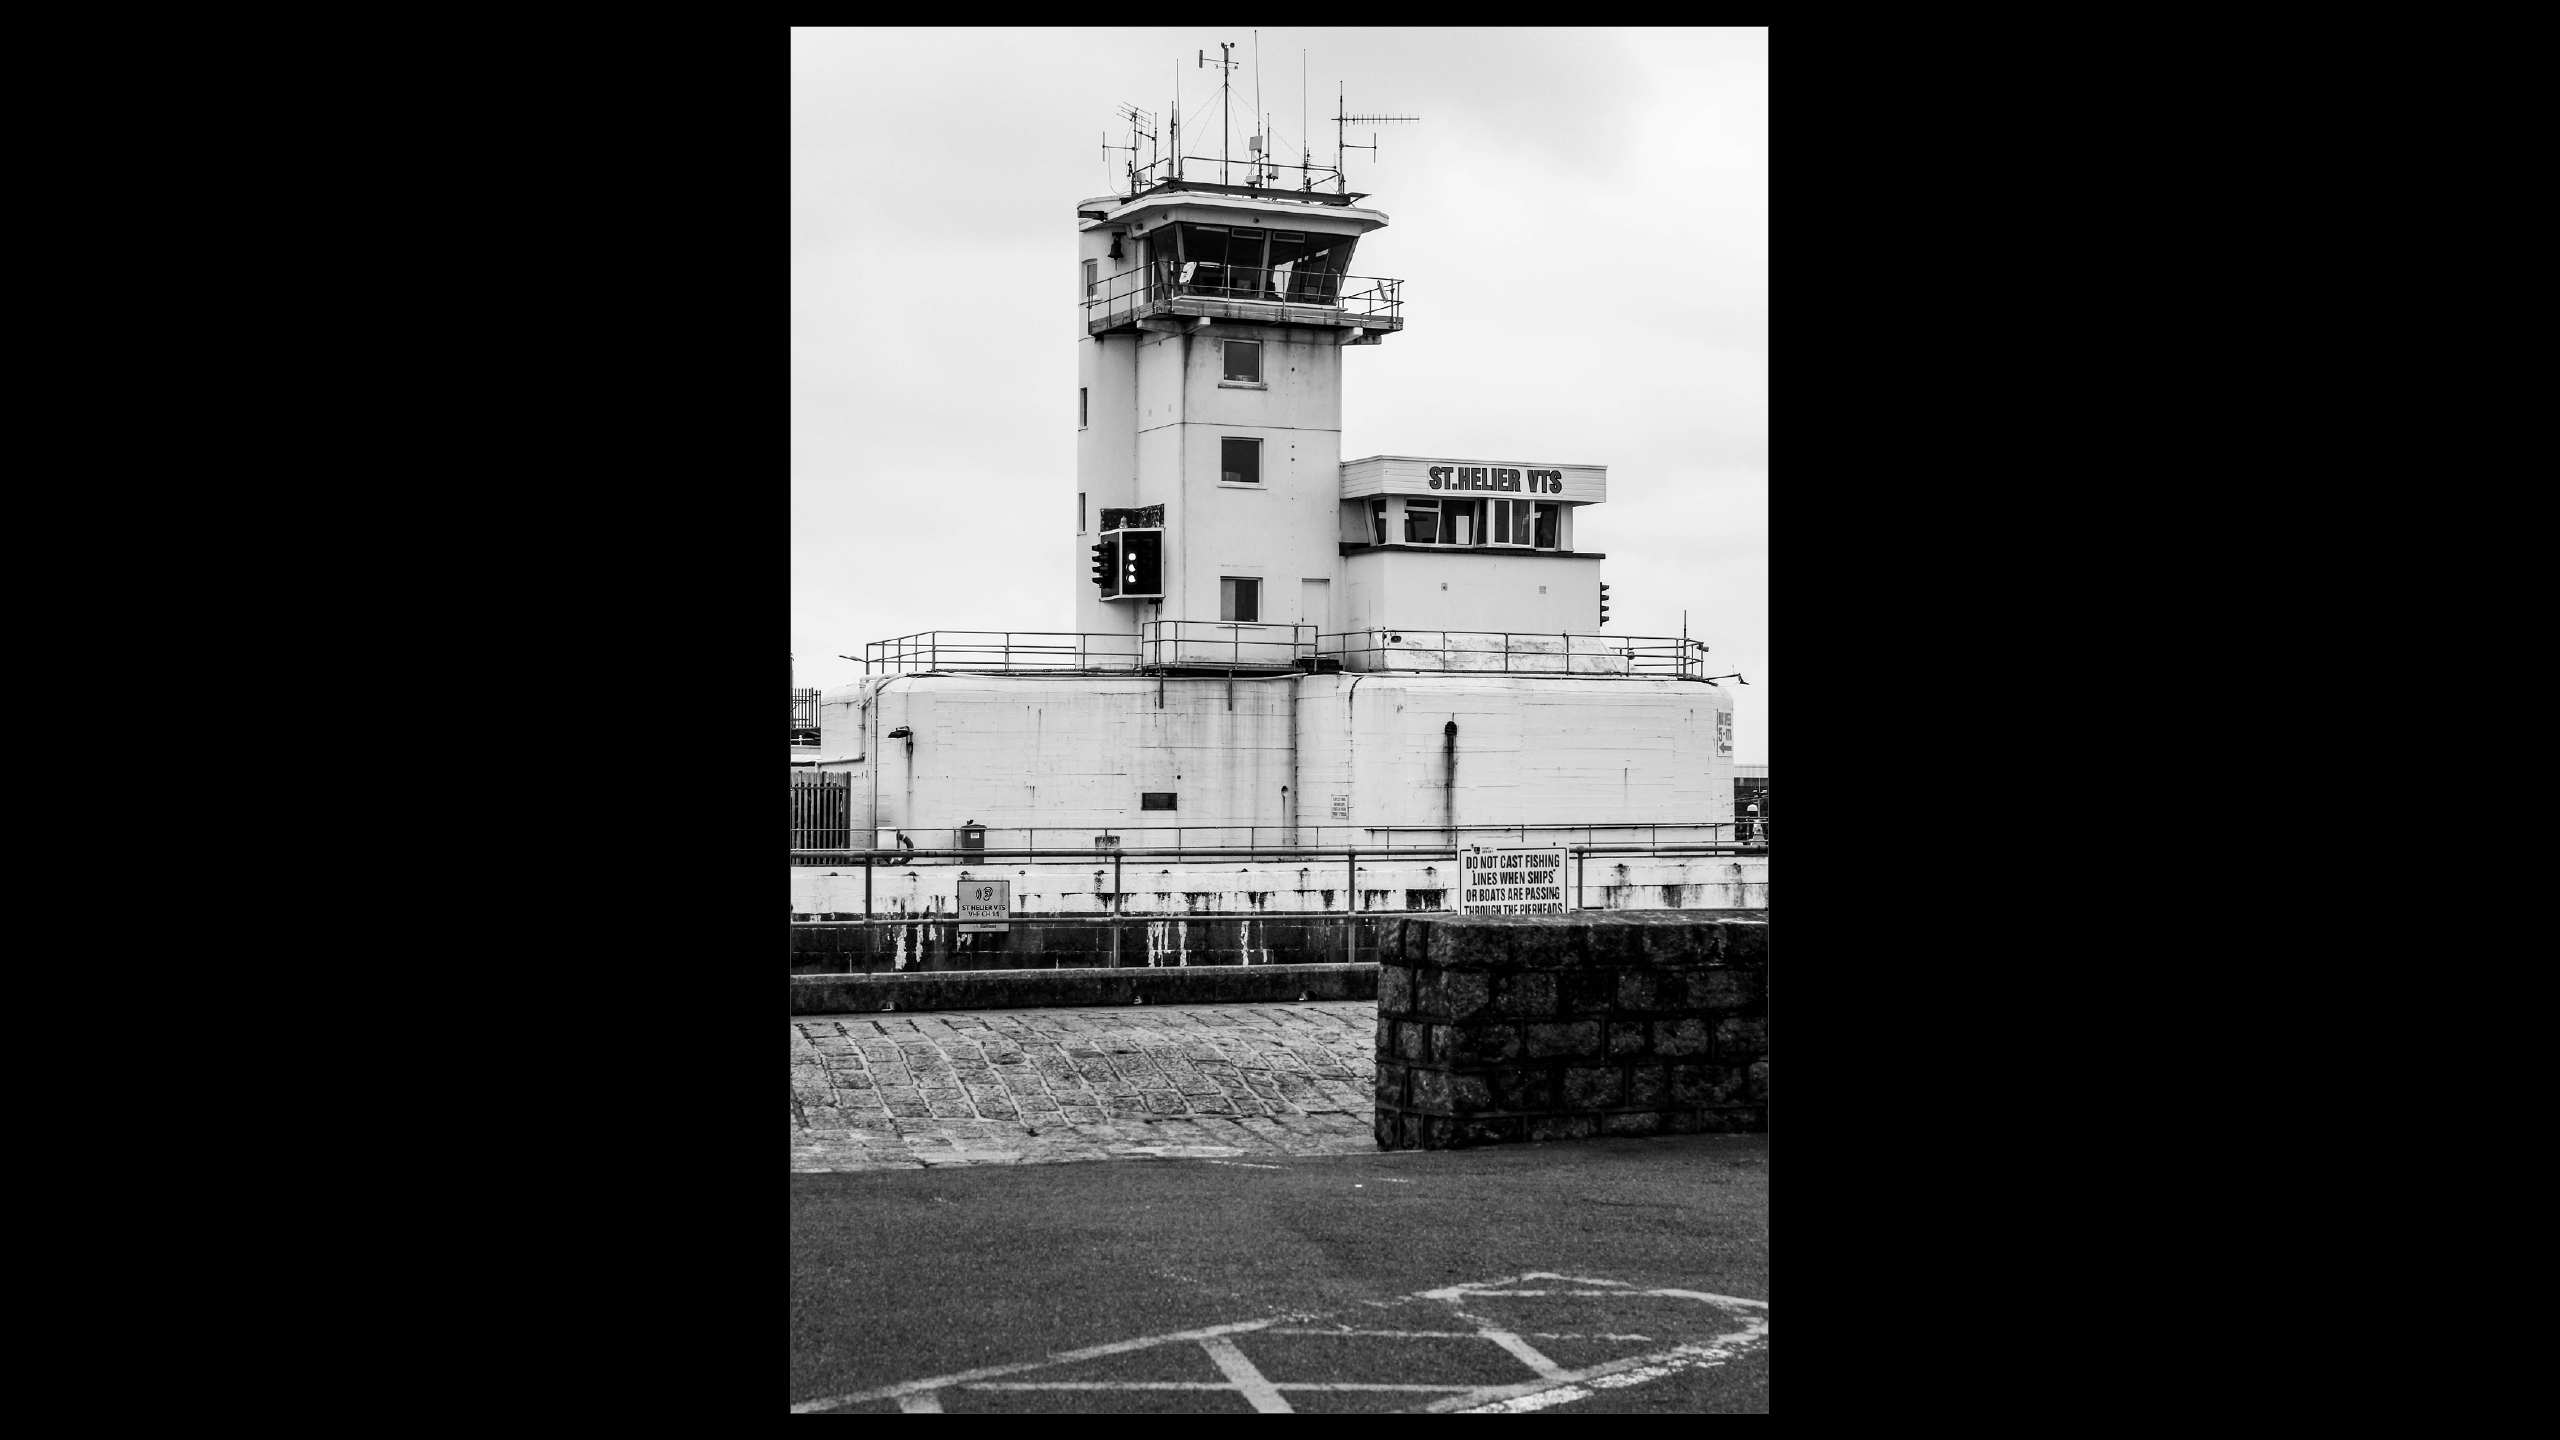
I printed out my images from Adobe InDesign and created my zine:

To do this, I had to ensure that all the pages matched up, specifically the images that I had put onto a double-page spread so that the full picture was together. Then, I had to make sure that both edges of the sheet were aligned, then use a tool called a paper bone:

This enabled me to get a smooth and precise fold in the centre of the paper. By doing this, all my images would line up perfectly in the middle so that I could staple them easily, but it also meant that either side would be even so that my zine wouldn’t look wonky. One I had folded all the pages, I stapled them down the spine.

Then, I used a knife to slice off the white edges to get a clean and even edge so that it would look more professional and smooth.

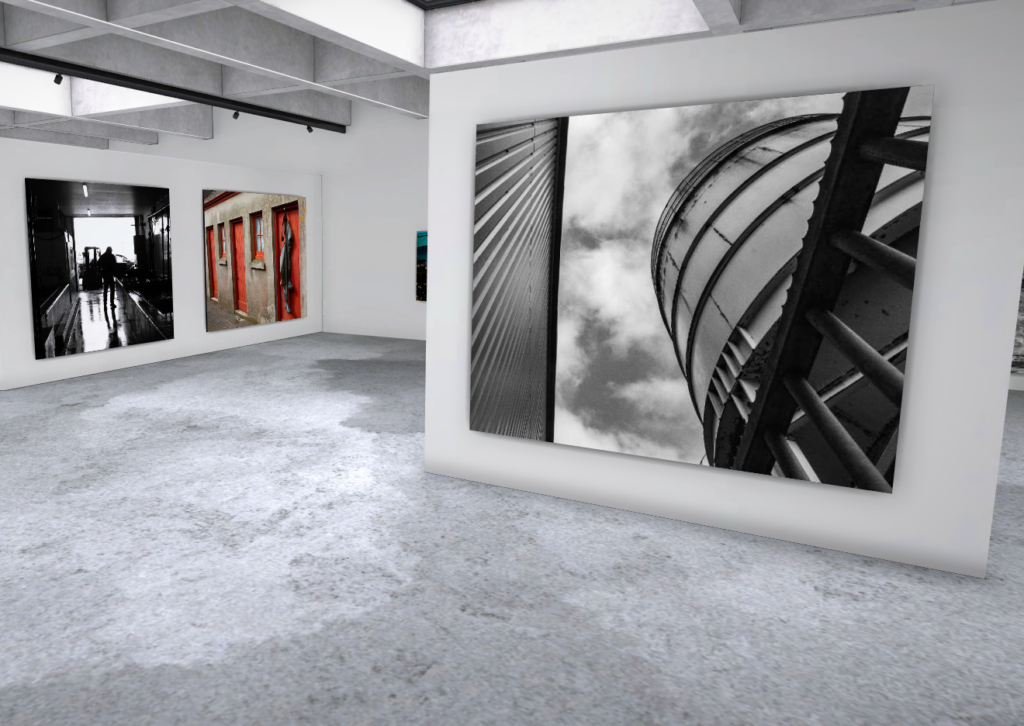
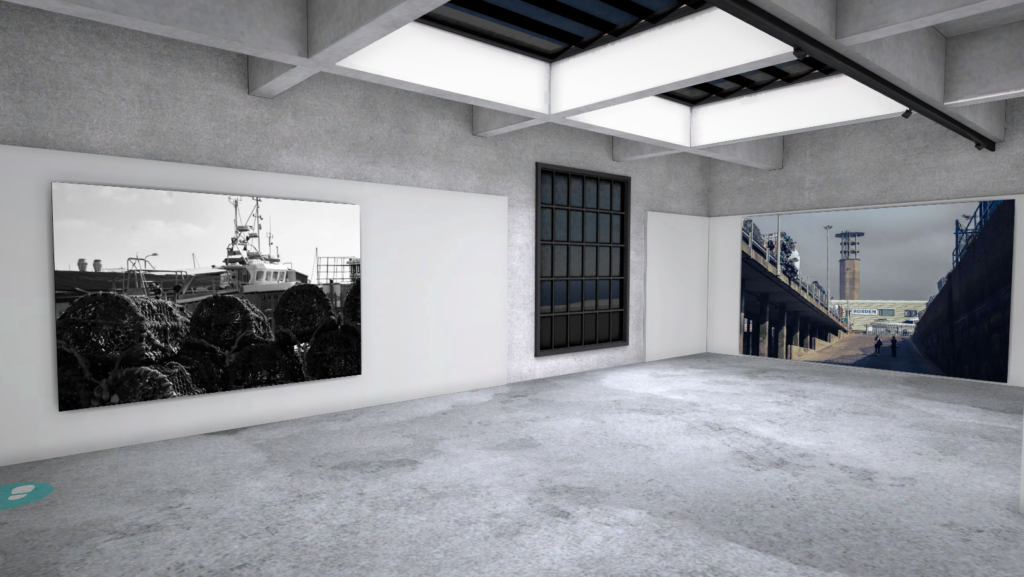
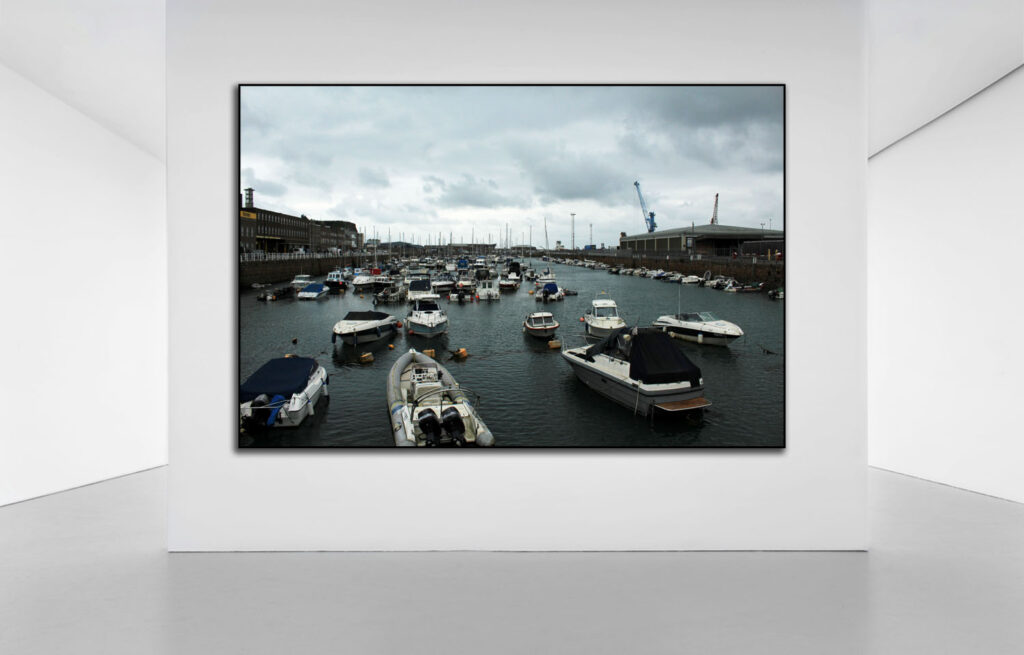
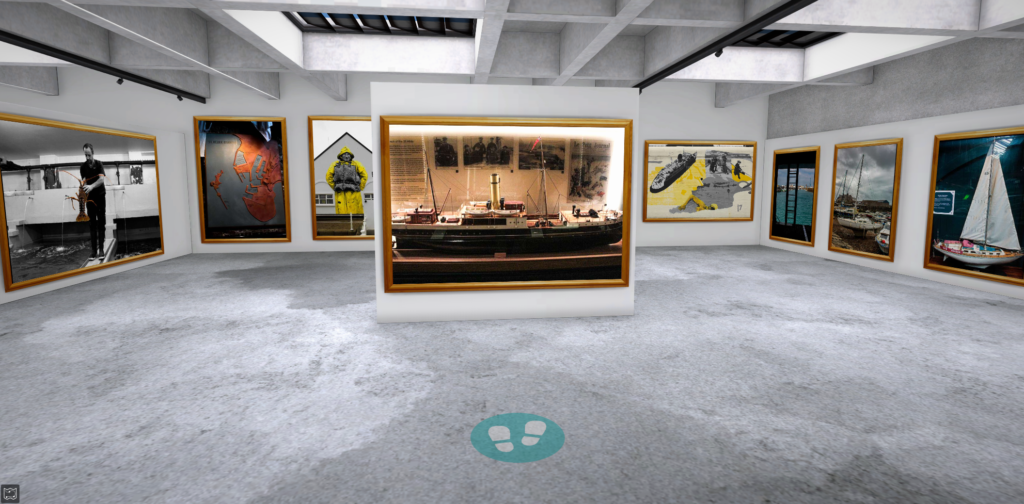
After I created my zine, I created a virtual gallery to showcase my images using Artsteps so I could show my work in two mediums – physically and digitally.

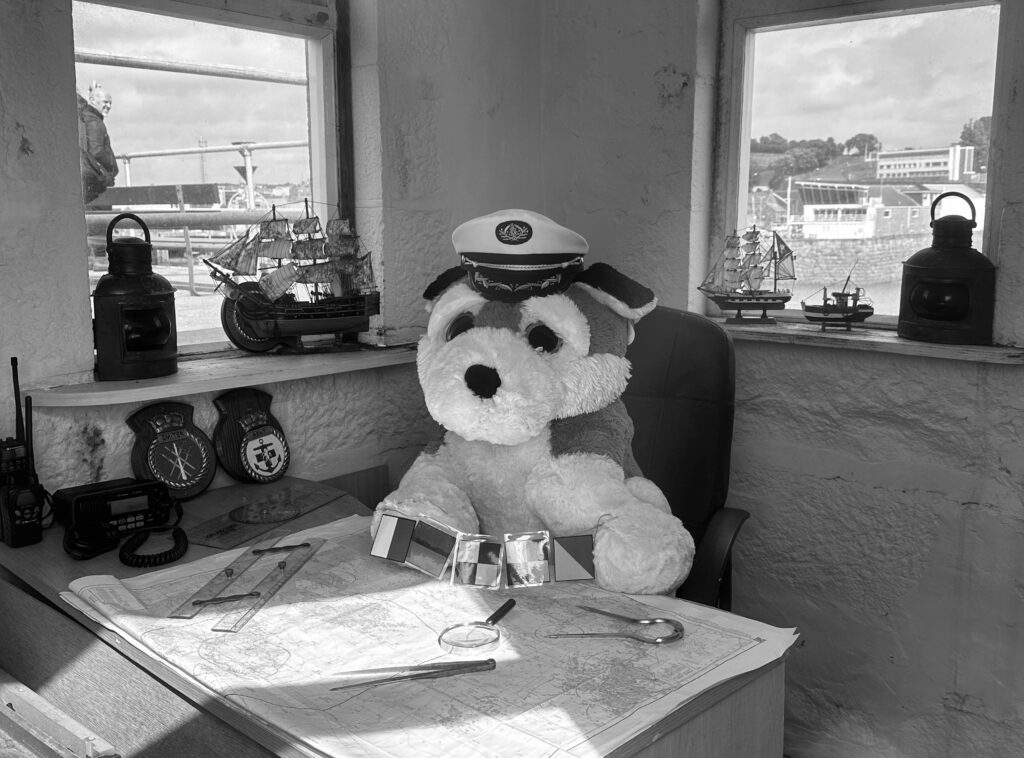
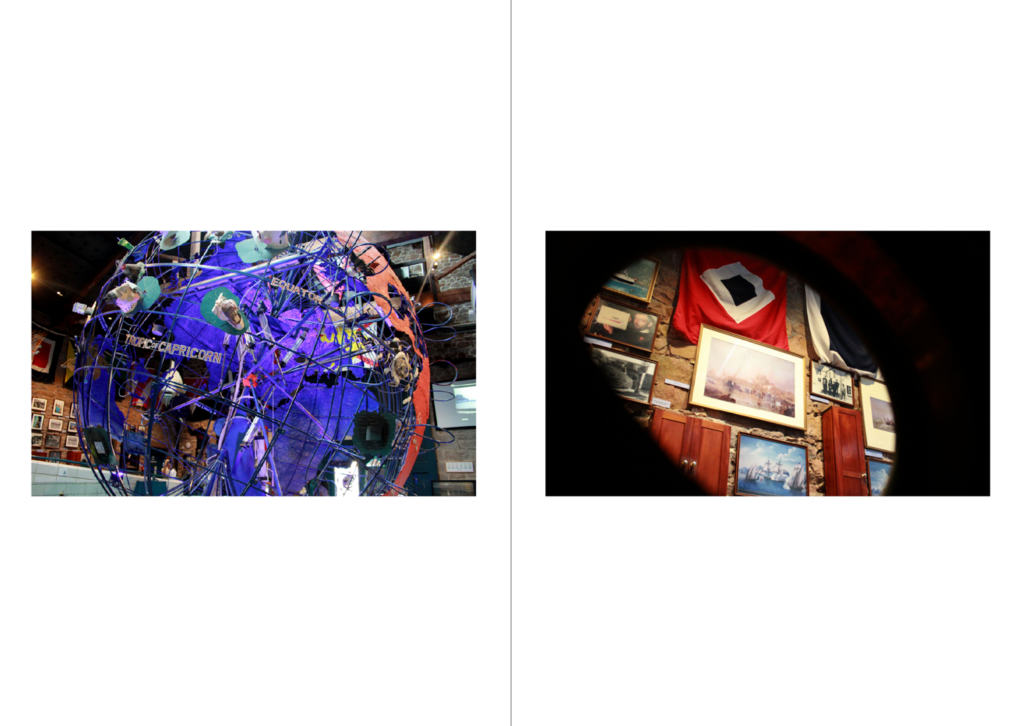
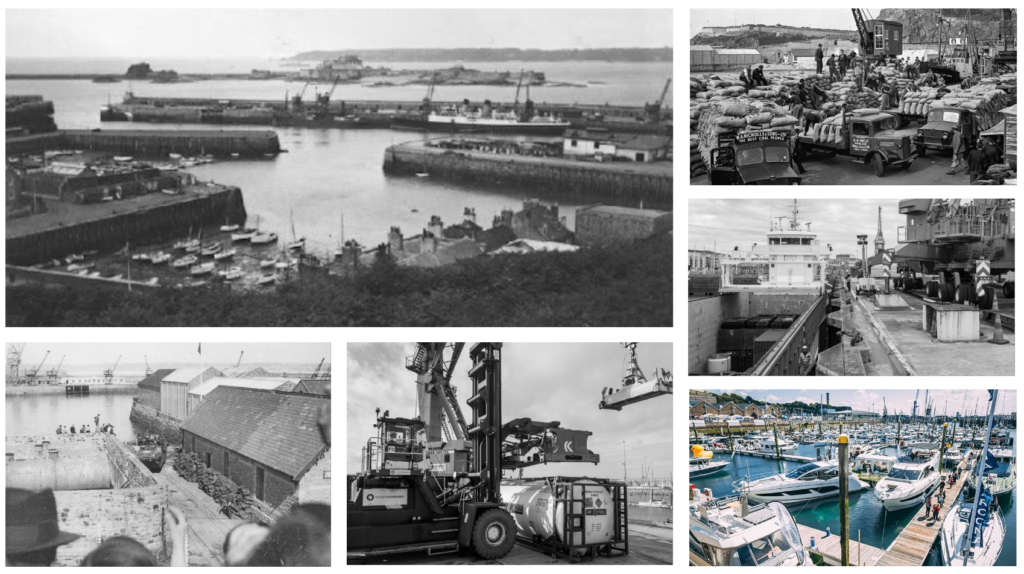
Overall, I am quite pleased with the outcomes I have produced within the topic of Jersey’s maritime history. Initially when we were researching the islands maritime history, I didn’t really enjoy it as I found it fairly tedious and dull, however when we began doing photoshoots I began to gain a little bit of motivation. In the first photoshoot we took down at Société Jersiaise Photographic Archive and St Helier Harbour, my expectations were that I was going to try and highlight Jersey’s fishing culture and history. Whilst some of my images were very successful (for example capturing a seagull flying), I don’t feel that I could be entirely creative with this as I didn’t particularly notice any specific details that I thought would be beneficial to my work and didn’t explore the area entirely. Due to this, many of my images were similar. However, my second photoshoot was where I think I was able to really get engrossed in my work and seek out unnoticed aspects of the harbour, leading to me having a vast selection of images to select from. Here, I was able to make the topic my own by exploring the harbour in detail instead of just taking images of the parts that were the most visible or just shooting pictures of the boats at the harbour in an unstructured way like I had in the majority of my images during the first photoshoot. As well as this, I made colour and texture the foundation of my images so that when I did go to create my zine, this would make it easier for me to form a narrative behind my images. As this shoot was taken down at the Maritime Museum, The Fresh Fish Company and around the Marina, this let me know that I had many options to choose from when deciding what I wanted my zine to be about. Despite that, while the images I took at the Maritime Museum provided a high amount of historical value and contextual importance into my work, I didn’t want to use any of them within my work or experiment with them any further because it didn’t fit in with my intentions behind this topic and were not as effective as the other photos I took, yet I am still glad that I did include them in my blogpost because this ensured I had that awareness behind what I was creating instead of doing it blindly. As a result of my images being successful, I ended up planning to create two zines with two separate After this, I began to prepare to create my zine by researching about narratives and sequencing, trying to spark a story by describing both my zines intentions with 3 words, a sentence and then a paragraph. I think this activity was really beneficial to me because it made me sit and think properly about what I wanted to produce and how I wanted to use the topic of Jersey’s maritime history, a topic that didn’t excite me at all, to create an artistic zine. Once I had figured this out, I found it quite a straightforward process in beginning to choose what images I was going to put in my zine. What helped me decide further was physically creating final selections by printing out various images in both black and white and colour. I think this activity was also really valuable because it meant I had to be critical about my work as I used process of elimination and be realistic about what images worked with each other and which ones didn’t. Once I started using InDesign, everything came together smoothly and I found it easy to show the storyline I had intended. I am really happy with how my zines came out, however if I did this again I would have liked to have made a black and white version and layout my images in a different way, with images overlapping the page or multiple on one page, or using text. I didn’t do this in my zines because I wanted each image to speak for itself, however it would’ve been good to do this because then I would have more variety in my work.

Origin Of Photography

Camera Obscura

Many people believed photography began during 1822, however it actually dates back to over 400BC, where the camera obscura technique was used. Camera obscura is a lightproof box or room with a hole in one side. Light from the sun then reflects off objects outside the camera obscura and passes through the hole, lighting up the surfaces inside the room with an inverted projection of the outside view. Since the renaissance period many Artists would manually trace what they saw, or use the optical image as a basis for solving the problems of perspective and parallax, and deciding colour values. This method became the first way to make an image.

Nicephore Niepce

Thousands of years later a man named Nicéphore Niépce was born. Niépce grew up to be a French inventor and one of the earliest pioneers for photography. Within his lifetime he took the first ever photograph during 1826, he did so using his Heliography technique. Niépce created the heliograph by dissolving light-sensitive bitumen in lavender oil and lightly covering a polished pewter plate with it. He placed the plate next to a window in his second-story workroom and put it into a camera obscura which then created the photo.

This photo inspired many other photographers to experiment with this technique and to explore the potential of the medium. Niépce’s photo opened the door to a new form of art and expression, and it paved the way for the development of modern photography.

Louis Daguerre and Daguerreotype

Another impactful figure in the history of photography is Louis Daguerre, a French artist and photographer who eventually became one of the fathers of photography.

Using a thin copper sheet coated in silver and subjected to the vapour released by iodine crystals, Daguerre created a layer of light-sensitive silver iodide on the surface of the technique that would later be called the daguerreotype. In the camera, the plate was then exposed. To make a distinct image, this procedure initially also needed a very long exposure. However, Daguerre made the important discovery that a much shorter exposure could produce an invisible dim “latent” image that could be chemically “developed” into a visible image. After viewing the image that he created he said “I have seized the light – I have arrested its flight!” The daguerreotype process allowed people to capture the image created using camera obscure and preserve it as an object. It became the first practical way to take a photograph and ushered in a new age of pictorial possibilities. The invention of daguerreotype was announced to the public during 1839 in a meeting of the French Academy of Sciences in Paris.

Henry Fox Talbot

Another father of photography is Henry Fox Talbot, who has been credited the British Inventor of Photography. In 1834 Talbot discovered how to make and fix images through the action of light and chemistry onto paper. These ‘negatives’ could be used to make multiple prints and this process revolutionised photography. Talbot patented his invention of this process, and named it ‘Calotype’ during 1841. The process of the Calotype has influenced photographic technologies which are still used today. His interests in photography developed beyond his initial discovery as he also pioneered photographically illustrated books and photomechanical reproduction methods, this led the way to the ‘age of the image’.

William Henry Fox Talbot, positive negative salt paper, circa – 1834

These leaves are images which Talbot took, the lighter leaf is the negative image and the darker leaf is the positive image after it had been developed.

Richard Maddox

Richard Leach Maddox, was an extremely impactful figure for the invention of the camera. He was an English photographer as well as physician. In 1871 he invented the lightweight gelatine negative plates used for photography, known as dry plates.

Three lantern slides of diatoms, produced by Richard Maddox – 1861

A dry plate is a glass plate coated with a gelatine emulsion of silver bromide and it is able to be stored until exposure. After the dry plate has been exposed it can be brought back to the darkroom for development at leisure. Dry plates were able to be bought in stores which allowed photographers to create photos without having to prepare their own dry plates. Negatives did not need to be developed immediately and for the first time, cameras could be small enough to be hand-held. Cameras could also be concealed, and with further research fast exposure times were created which led to snapshot photography, as well as the Kodak camera and roll film, this paved the way for cinematography. The John Scott Medal was rewarded to Maddox during 1889 and the Royal Photographic Society’s silver medal in 1901.

George Eastman

These dry plates were created by an entrepreneur, philanthropist, and the pioneer of popular photography and motion picture film, George Eastman. When travelling Eastman found that the weight, the awkwardness and the cost of the equipment required to take and develop photographs was a struggle. This led him to seek improvements. After experimenting for three years with gelatine emulsions, by 1880, he had invented and patented a dry-plate coating machine. Eastman formed the Eastman Dry Plate Company in 1881, which led to the development of easy-to-use cameras, this enabled many people to take photographs, and developed a flexible film that was a critical contribution to the launch of the motion picture industry.

Kodak Brownie

Eastman Kodak developed a series of camera models known as the Kodak brownie which were first released during 1900.

Brownie camera found in good shape at Granny’s Antiques in Payson.

The Brownie was a basic cardboard box camera which has a simple conveys-concave lens which took 2 1/4 inch square pictures on number 117 roll film. The Kodak Brownie had an initial price of $1, which is equivalent to around $37 as of 2023, and it had simple controls, the Kodak roll film and processing also had a low price, which is why it surpassed its marketing goal.

Digital Photography

Today, digital photography is used which is a complex technological process which uses optical physics, materials engineering, and data science to transform light into electrical signals which are converted into photo elements, creating a digital image. This was initiated by the American Computer engineer, Russell Kirsch, who during 1957 developed the first rotating drum scanner and software which was able to digitally record images. Just 3 years later in 1960, two engineers George Smith and Willard Boyle developed the charge-coupled device, the precursor to the CMOD, used in fully digital cameras. However the first digital photo camera was not created till 1975 by an engineer working for the Eastman Kodak company named Steve Sasson. Sasson developed him camera using an image sensor created in the previous year. This camera weighed almost 9 pounds and took 23 seconds to capture one photograph.

Conclusion:

Therefore photography originated very early on when the camera obscura was used, however it was not as popular and easily accessed until many years later when the Kodak Brownie was invented as it was an easy way for many people to take their own photos without the need for all of the equipment necessary in earlier years of photography.

Sources:

Zine Design + Layout – Seek, Observe, Challenge

Final Photos

Creating the Zine on InDesign

This was how I set up a new document that then became my zine.

This is how the document came out, this allows me to have creative freedom over each photo I put into this zine. I will use my paper mock up to help create a base before I make any major changes to it.

To make sure I have access to the tool bars, I changed the setting on the top right from ESSENTAILS to ESSENTIALS CLASSIC.

I changed this setting to make the zine high quality without having to use the shortcut SHIFT W to remove the guidelines.

Front Cover

Page One

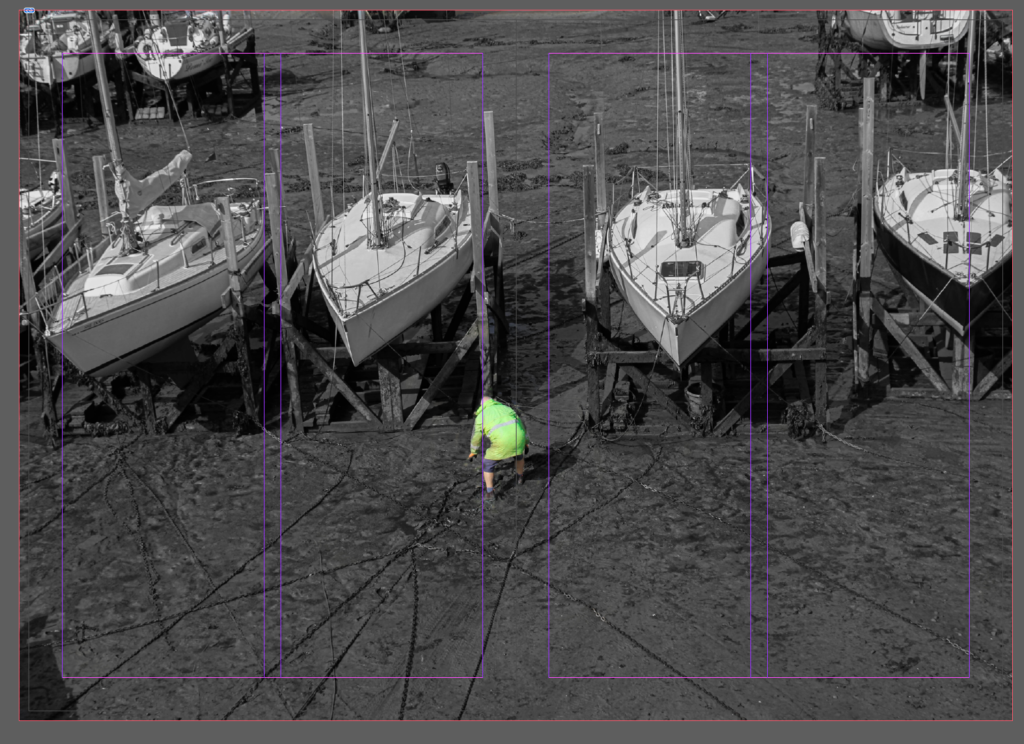
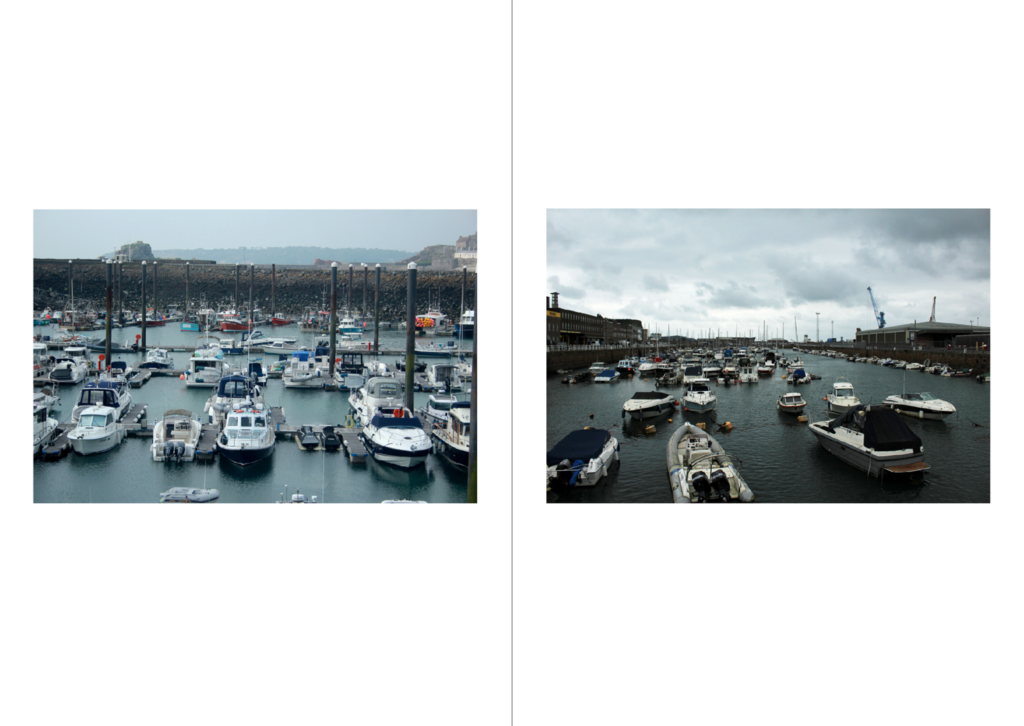
Following my paper mock up I put these three photos on the first page after an empty page. By matching up the images making them into a sort of joined tryptic photo. This worked well and created a bold, interesting first page setting the narrative for the rest of the zine.

Page Two

Before

After

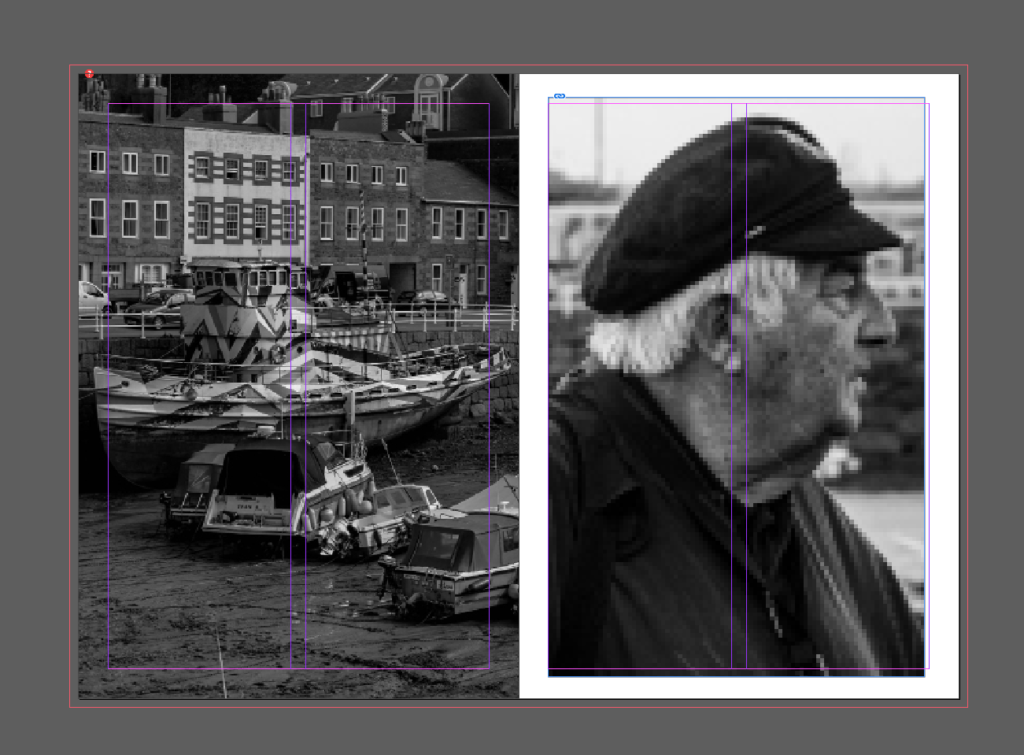
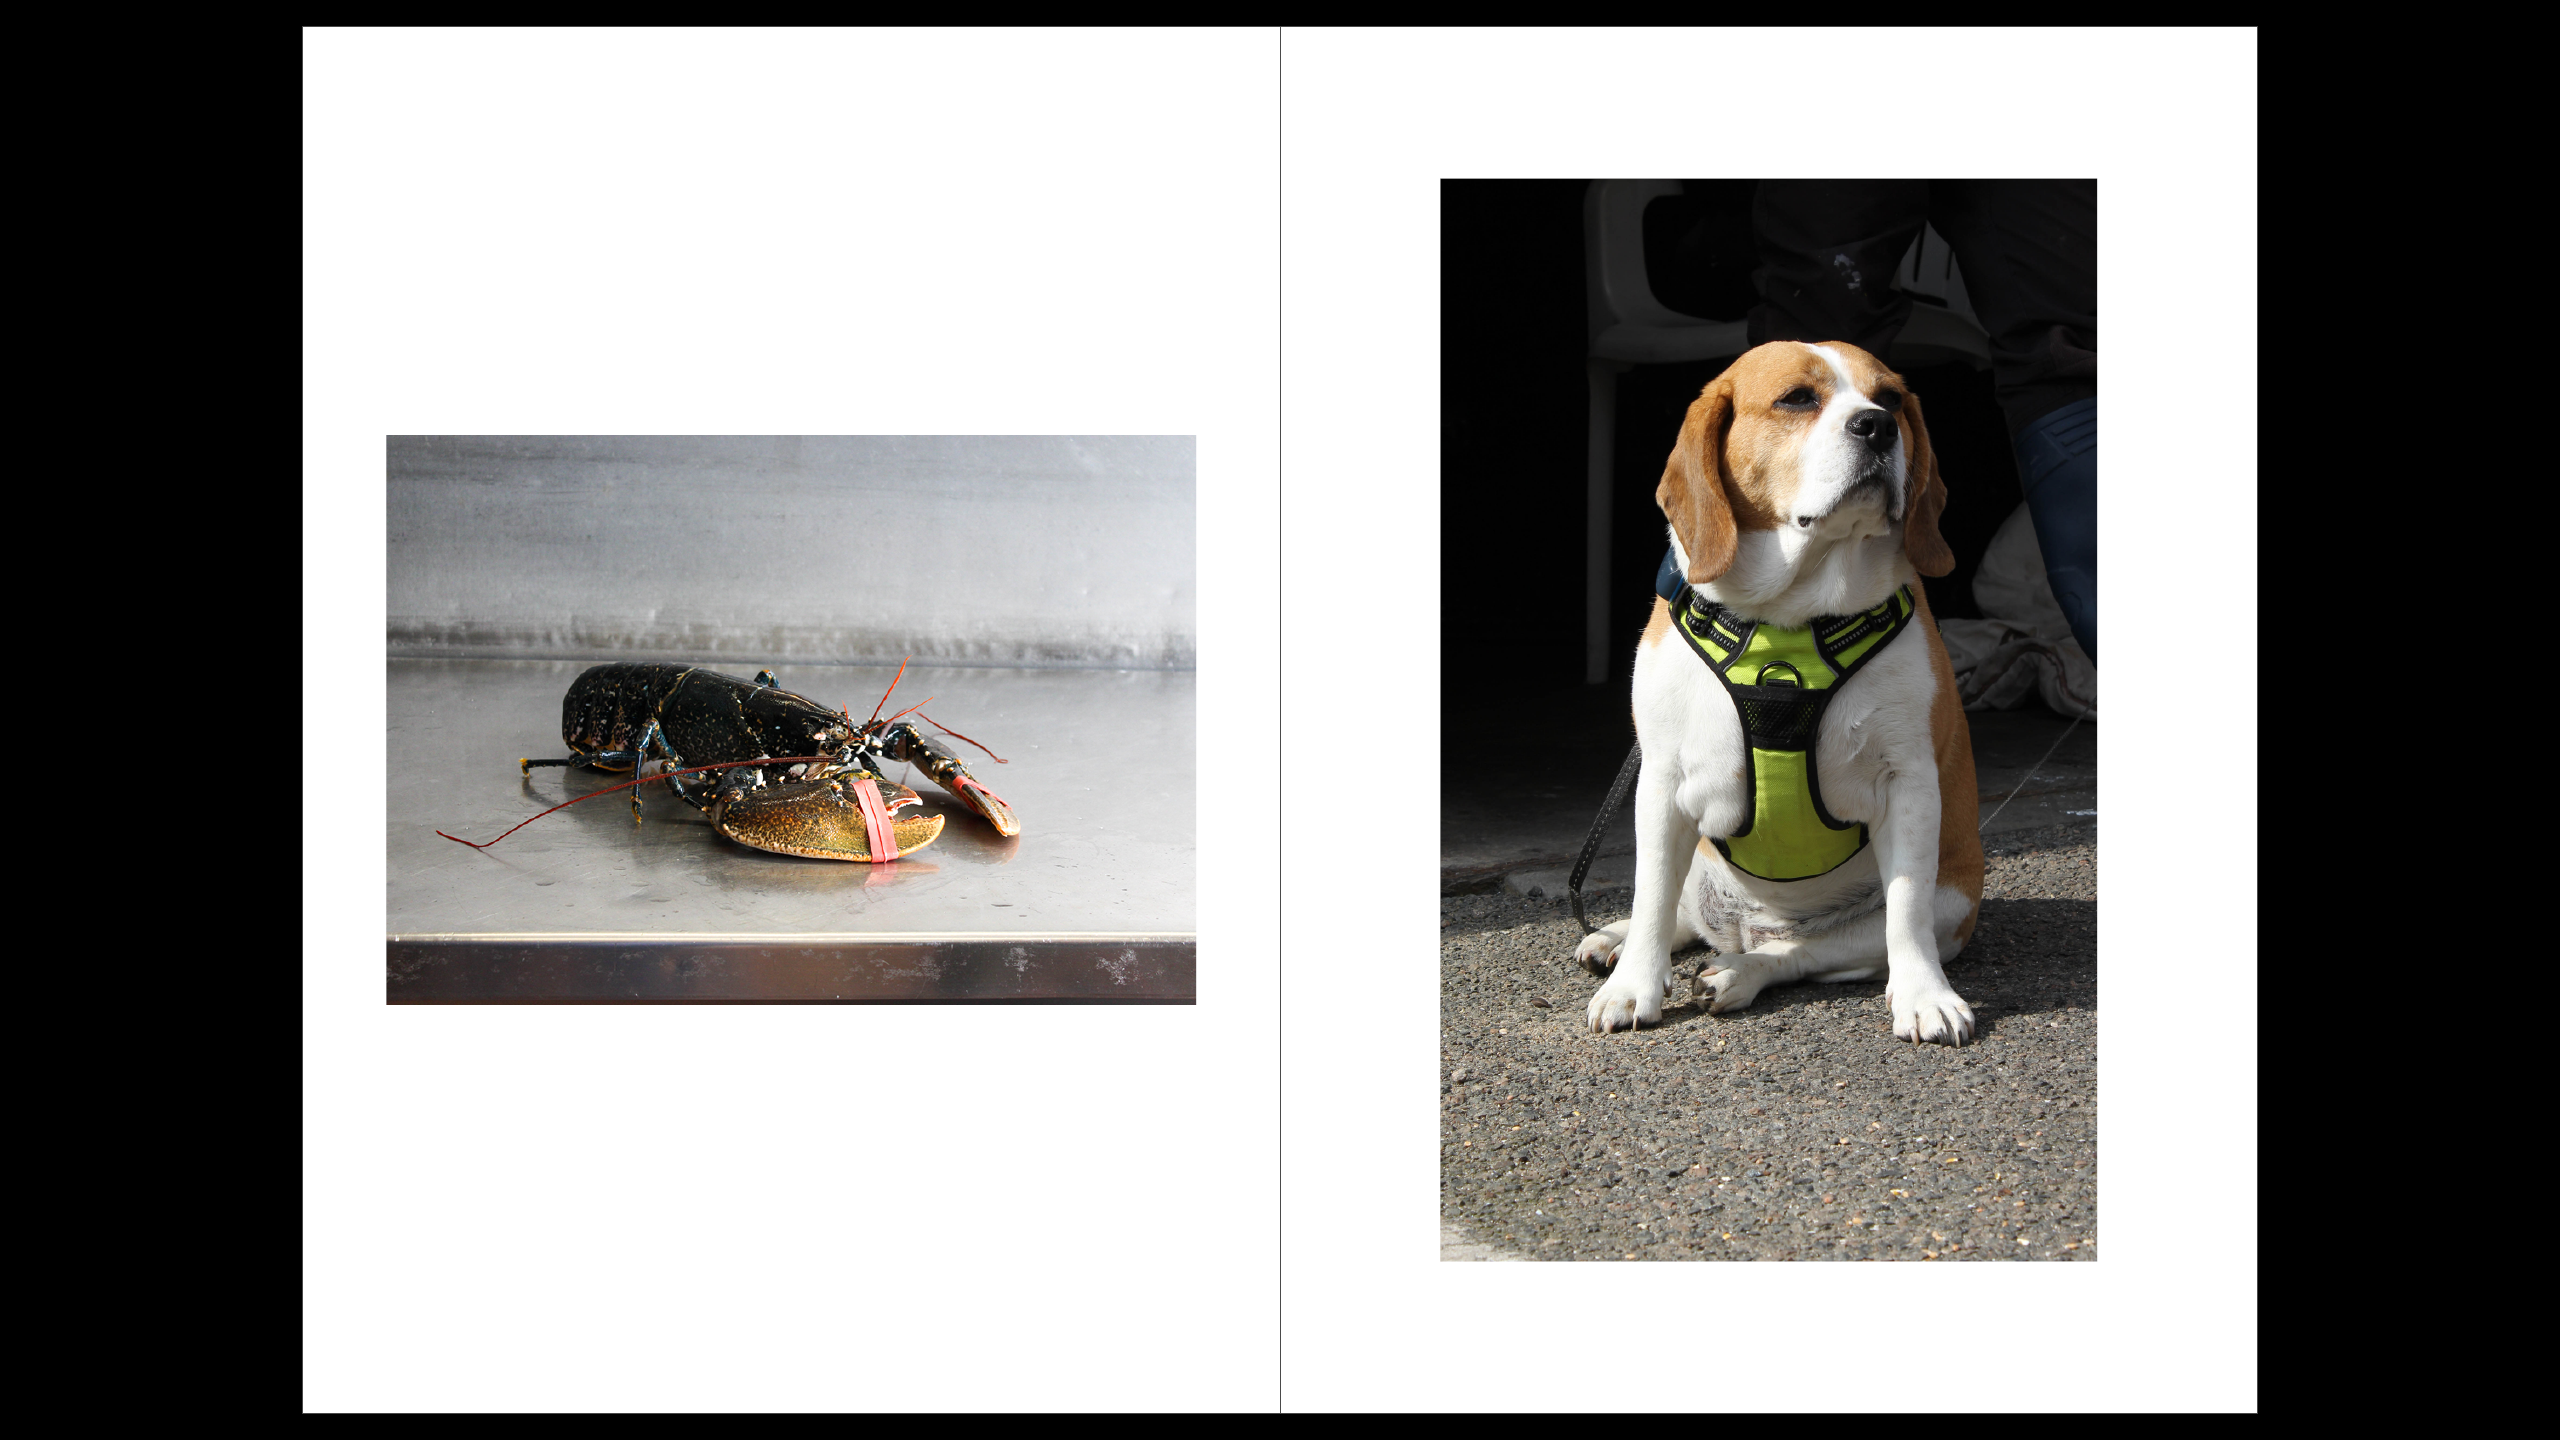
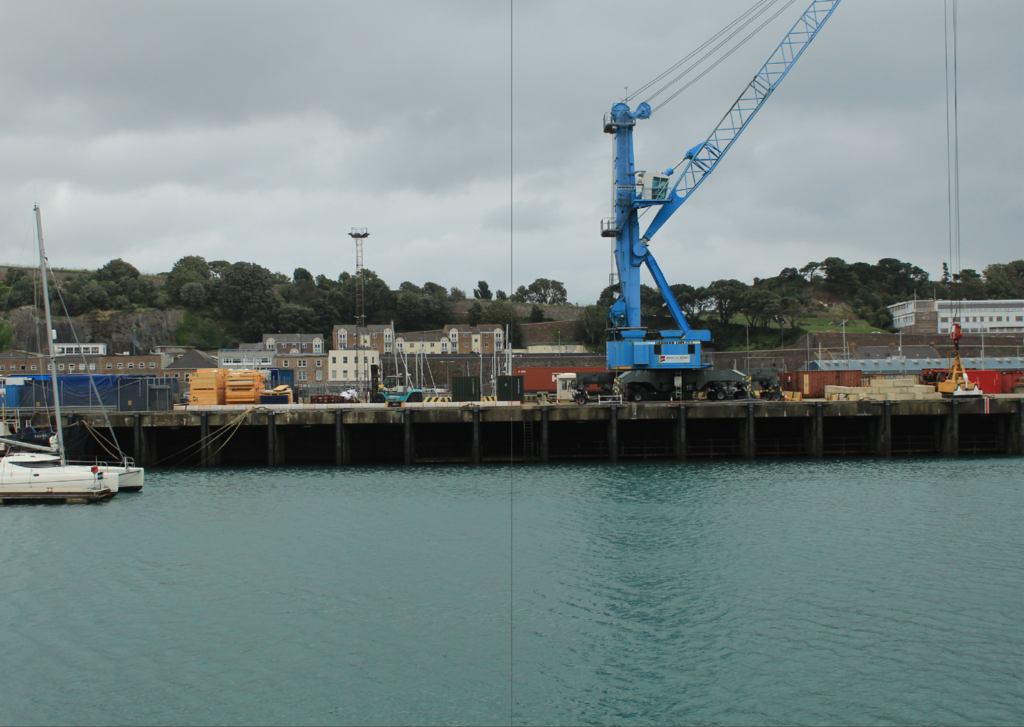
For this page on my mock up I kept the background blank, however when I did this on the actual document it appeared too empty so I experimented with backgrounds, before settling on the one above. This actually then helped link the next page in as the next page is all black and white images, while also providing context as the rest of the photos are mostly small snippets and details shots. I also made this a double page spread to give the images enough room to be seen without being overcomplicated, I used the imagine in the middle to split between the two pages as it is a detailed image unaffected by being folded across the two pages.

Page Three

This was my original design however I felt the bottom left photo of a roll of rubber wasn’t quite right. The shadow was distracting and the lighter tone didn’t quite fit. To fix this I re-cropped the image and re edited the image. This made for a much better overall look.

Page Four

I kept this page the same as paper mock up as it worked well when I placed it onto the pages, I like the contrast of the full size black and white image with the two smaller full colour images.

Page Five

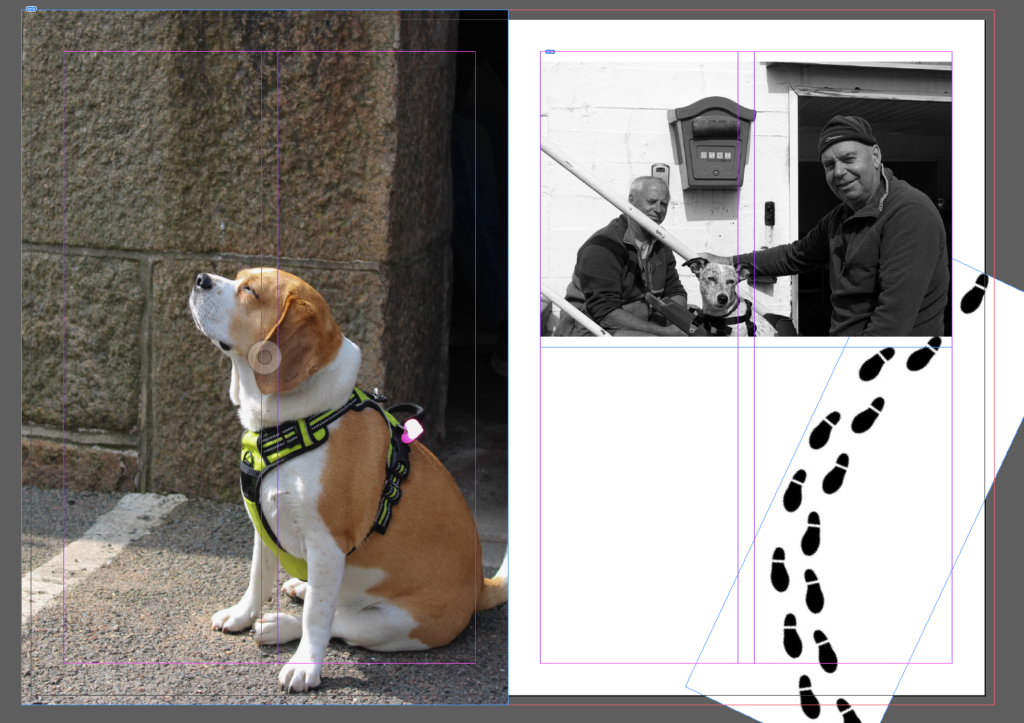
Again I tried making the page the same as the paper layout but the page appeared to blank with too much free space. To fix this I added an abstract detailed photo in the background with lowered opacity. I also made sure the colours in the three images worked with the background photo.

Page Six

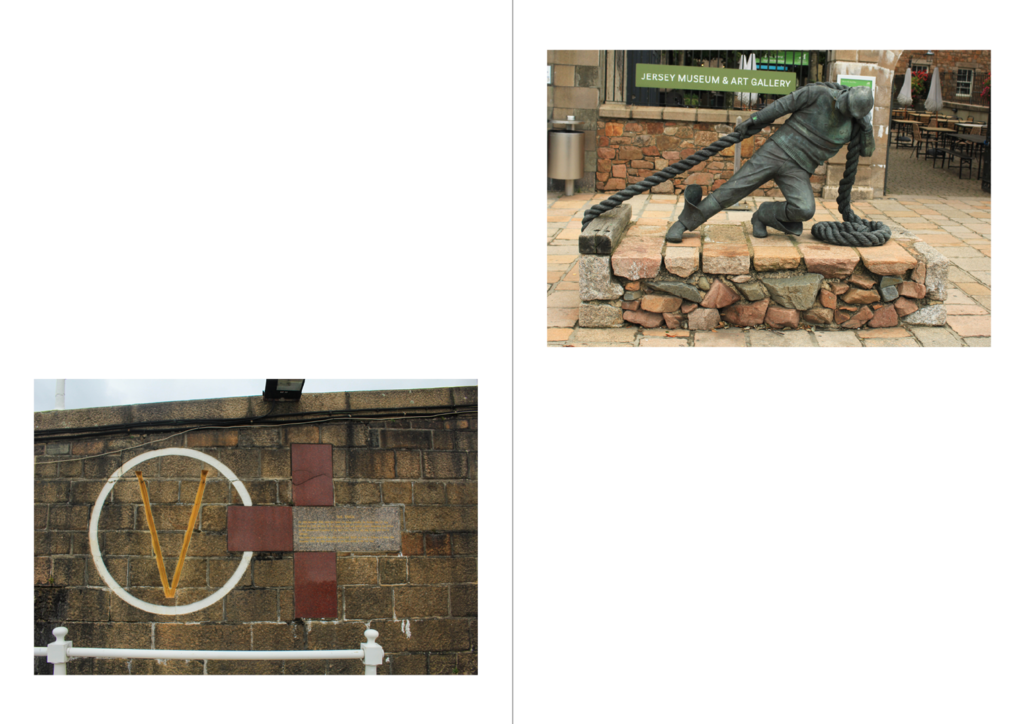
As I had used the original photo on the left for the background of the previous page I needed to swap the photo on the left out. The photo on the right matches well as this is actually the same wall as the photo on the left just at different points, both are important historical points to the Jersey harbour. The photo on the it is a traditional Jersey arch with the three blocks sticking out as the style and the lamp acting as a ‘traffic light for boats’.

Back Cover

Front cover . Back Page

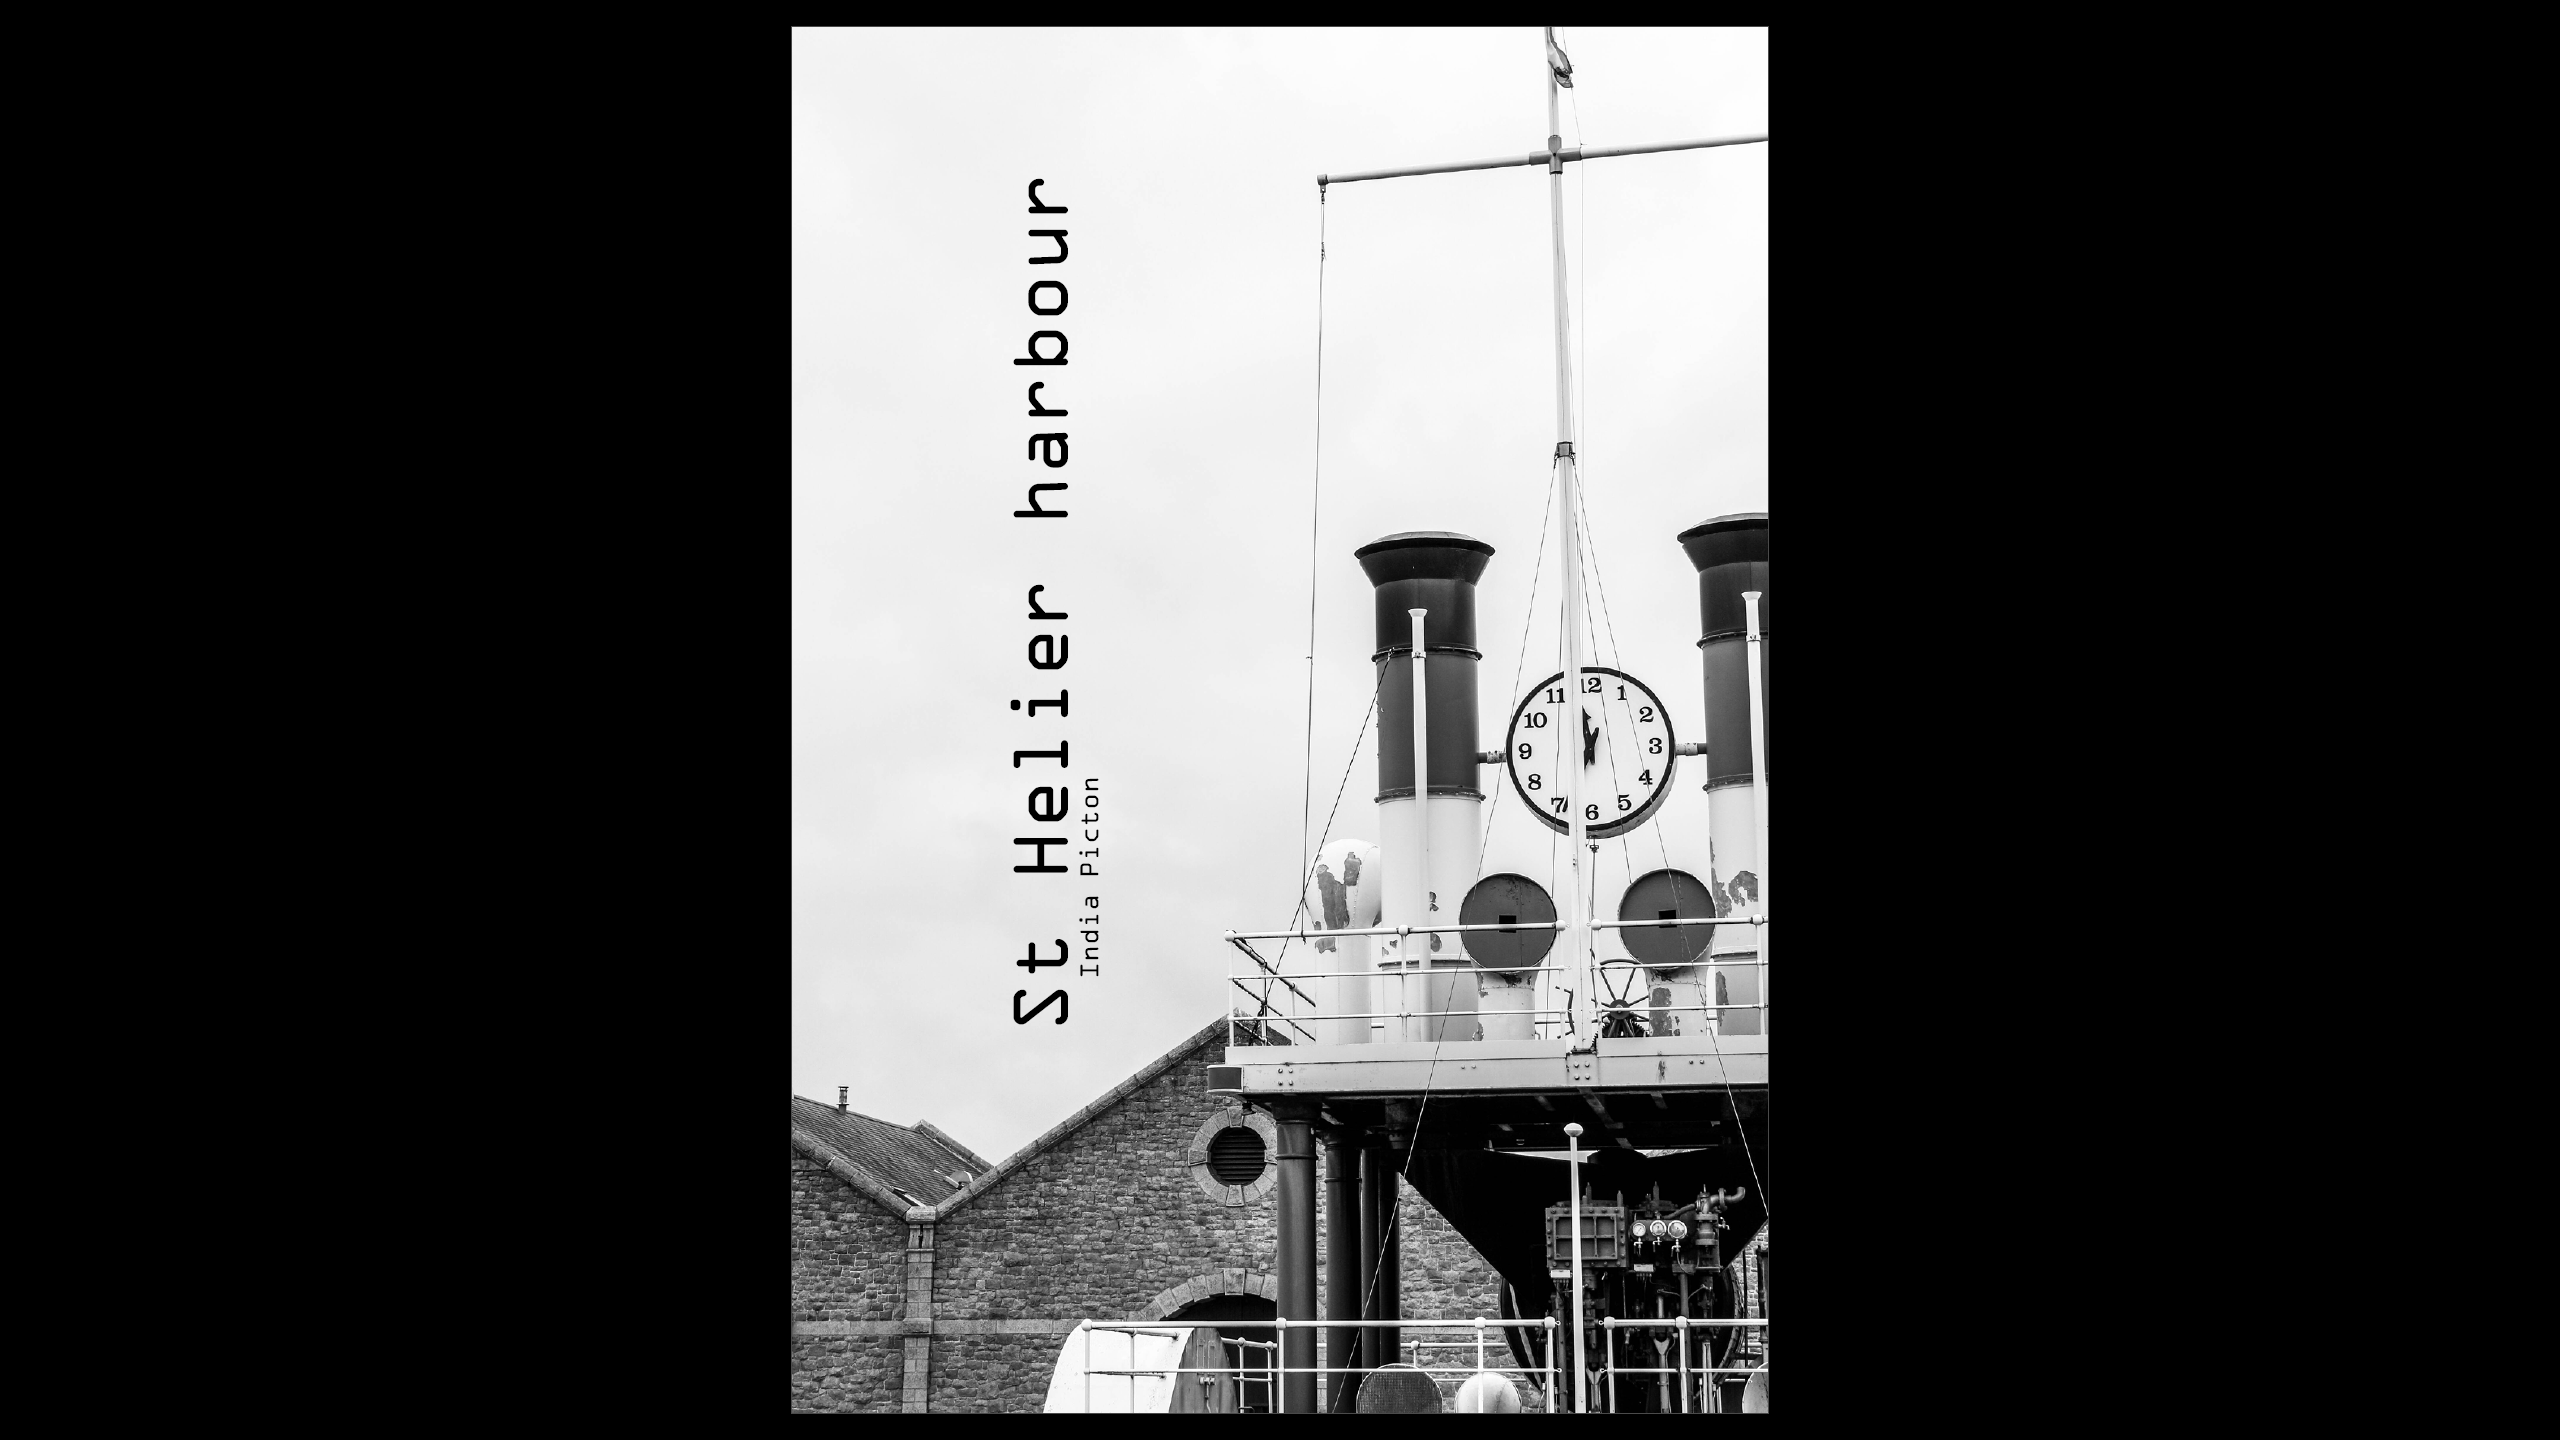
The final page I kept the same as the front cover, however I flipped the photo so if you opened the pages out it appeared one whole image rather than the same photo twice. I also put my name on the elastic band to keep it almost hidden.

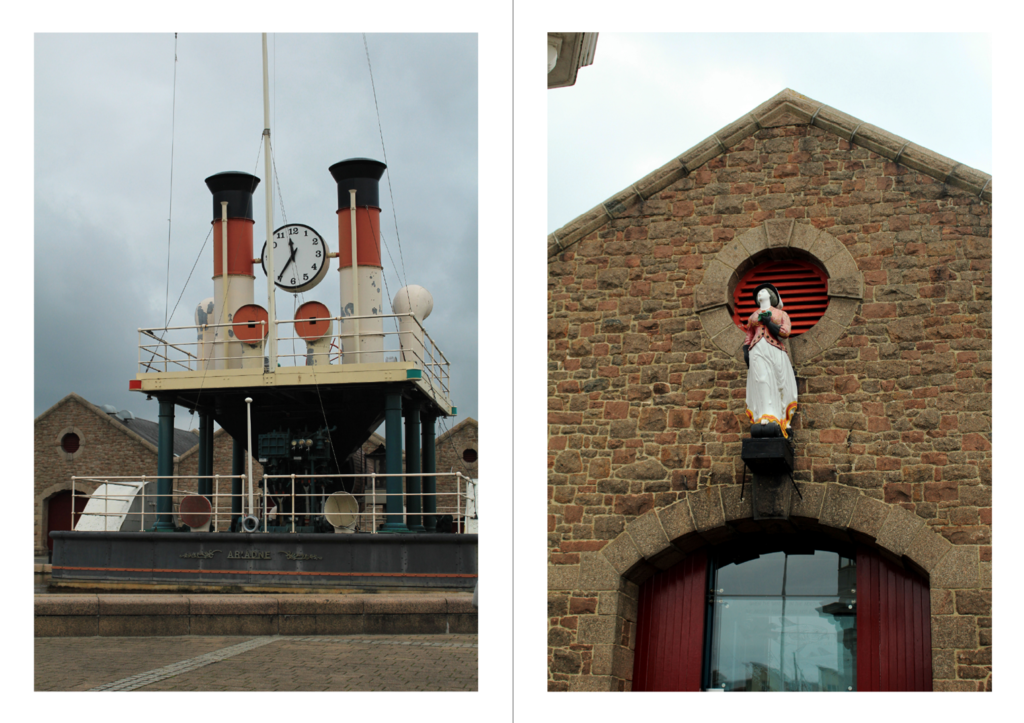
I have now finished the zine and as above I have captured the process I went through to select the final version of the zine from a paper mock up to the final print out. By recording each decision I made allowed me to reflect on the choices and how I could change things to fit with each other as well as giving me an opportunity to understand my own choices and how well the narrative flows by how easy it was to explain in words. I found sometimes I was making connections only I would as I knew my work and photos as well as what I was trying to say so this gave me a point of comparison to reflect on. The zine captures the harbour well, I paired it with the title ‘Lobsters, lamps and lochs’ as I felt this was a simple overview of the zine and also harbour through an intriguing alliterated phrase. As the zine goes on the the history is more and more obvious highlighting further specific links to the Jersey harbour over any other harbour. I have shown this in the photos, for example on the second last page there is a photo of an arch and pump which is where sailors would have gotten fresh water from, but the arch is specific to Jersey as the design of three bricks sticking out on the non curved part.

Final Zine Evaluation

I decided to go with the second version of my zine because I preferred the layout and images selected and because I felt that they coordinated with my intentions much better.

I chose to go with the name “Thalassophile”, meaning love of the sea or someone who loves the sea, for my zine because it made sense with the story I was trying to convey.

Narrative and Sequencing.

What Is a Narrative?

A spoken or written account of connected events; a story that you write or tell to someone, usually in great detail. This may be fictional or real, it also usually involves characters, a plot, conflict and eventually a resolution to the problem. These narratives typically covey a ‘deeper meaning’ to something.

What is a Zine?

A zine is a small booklet of photographs created by someone or a group of people, they are created using a photocopier or a printer and help to convey self expression, community, creative freedom and encourage a do-it-yourself dynamic. They also help to allow individuals to share their unique perspectives and connect with other people.

What is a Story?

A story is a similar to a narrative in the sense that they both have a plot, setting and characters etc. They also are used to entertain people and covey deeper messages. Stories can help people to share ideas, experiences and emotions and connecting with other perspectives. Storytelling enriches lives and provides a way to understand the world.

What is MY Story?

– 3 words

Unseen, dedication and diligence.

– A sentence

The unrequited effort that is put in to produce food and to keep our Island beautiful.

-A paragraph

My Zine reflects a story of a mixture of the outcome from the effort put in to keep our harbours clean, tidy and charming for citizens and tourists to enjoy. I also wanted to display the hidden work and labour of hundreds of people which is concealed and goes unnoticed. I displayed this element in my zine by showing the not-so-noticed parts such as the equipment, people and uniform. I chose for there to be a mixture throughout of outcomes of the work put in, mixed with industrial side to the harbours of Jersey. I wanted to incorporate close up’s of production materials such as oars, buckets, buoys, boats etc. In a way to attempt to make them look just as interesting and amusing as the amazing sea views.

Mood Board:

This was my mood board of ideas and photos I found of Jersey harbours that I used for inspiration and ideas when taking my own photos.

This was my mood board of photos I took of Jersey harbours that I used in my Zine chose for my final product.

Typography:

I chose the title ‘Mariners’ as I thought It described the people and their work that is done everyday perfectly.

I also then used the words ‘Fair Winds and Following Seas’ as It is another way of saying ‘Good Luck’, I thought this was a wholesome reference which conveyed the peaceful and tranquil community well.

I also used a nice and simple font called Cambria Math. This keeps things easy to read and used a white colour to make it eye-catching and also easy to read as It does not blend in with the background.

Zine: Design and Layout

I created my InDesign document first and the settings I used are below;

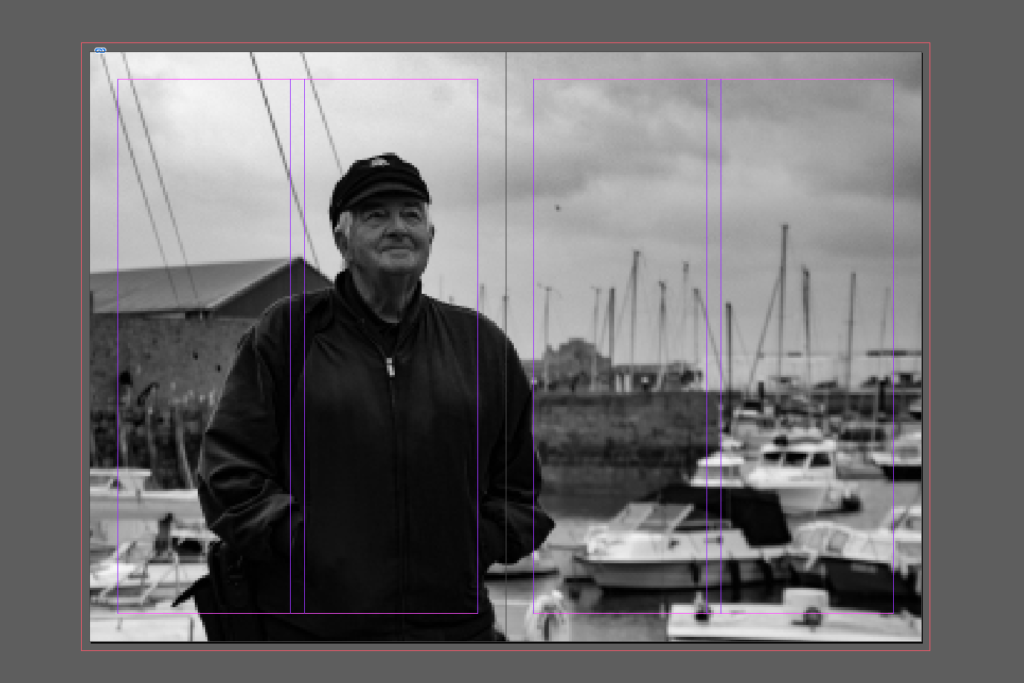
I created 16 pages for my 16 photographs, just like on my prototype booklet.

I used the square selecting tool selected below to chose the size of my image and where I wanted it.

Next, I went to file and place and selected which image I wanted for this page.

Then, I right clicked on the image I had chosen, once it was placed and went to fitting and selected fit frame proportionally. I did this, so that the fitting would be more accurate and the image would fit perfectly within the selected box.

The result.

I could also go into display mode, so I can view my work in high resolution, so that my images were clear. This helped me be able to experiment and see what I did or didn’t like.

Experimentation

Once I had finished inserting my images, I wanted to experiment with my layout and be more brave with my juxtaposition, so I made an alternative layout, where I could swap my chosen images around in the layout.

I experimented with many different orders of my images. I also decided to get rid of some of my images and include one extra different image. I did this, because I wanted the include my landscape images as a full page spread.

Writing Experimentation

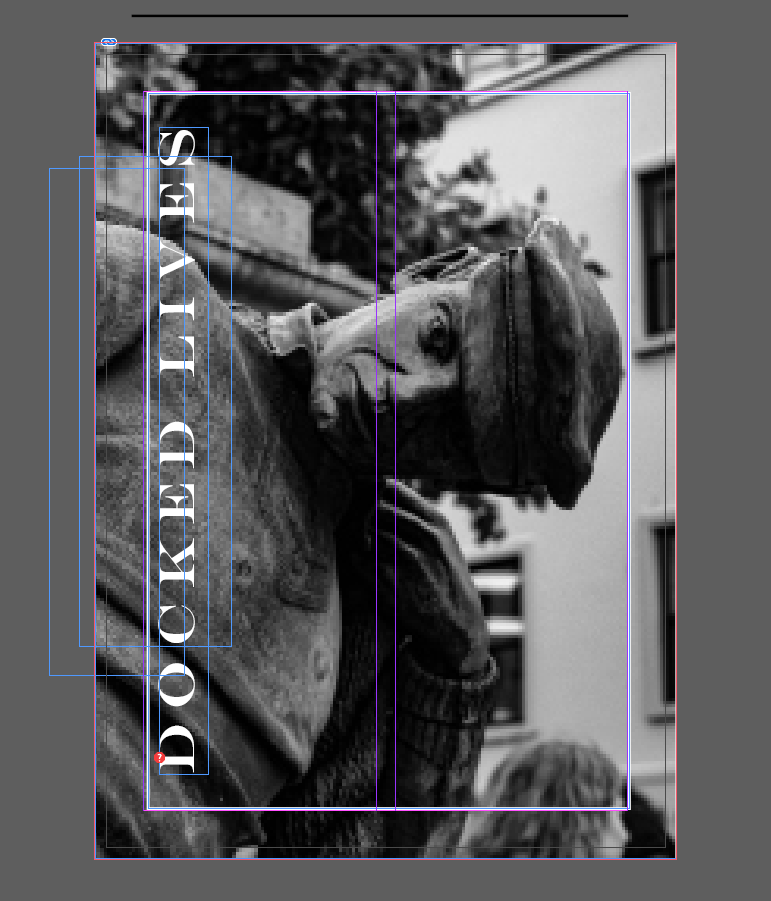
Next, I experimented with my text and typography. I experimented with the size of the writing for my title, as well as experimenting with the different fonts and colours of writing. I also had to layout my writing where I wanted it.

I experimented with lots of different font type, but in the end, I decided on ADD, because I think it best suited my zine, as it was the nicest font, but it was also a font that suited the harbour theme, unlike very posh cursive writing would for example.

Next, I experimented with the size I wanted my title and my name. I chose 30pt for my title, because I think it perfectly filled up the negative space at the top of my image. I chose 18pt for my name, because I wanted it to be slightly smaller than my title, but still stand out.

Then, I experimented with the colouring of my writing. I wasn’t able to use darker colours like black, brown, red for example, because the space where my writing is is very dark, so the writing would not be visible. That is why I have chosen to use white for my writing, because it stands out well and looks the best with my front cover and against the dark background.

Finally, I wanted to experiment with adding writing to my images, to explain my narrative.

I experimented with this, but ultimately decided I didn’t want writing throughout my zine, because I wanted my images to speak for themselves, and I didn’t want the writing to distract from my images.

Final Print Out Booklet

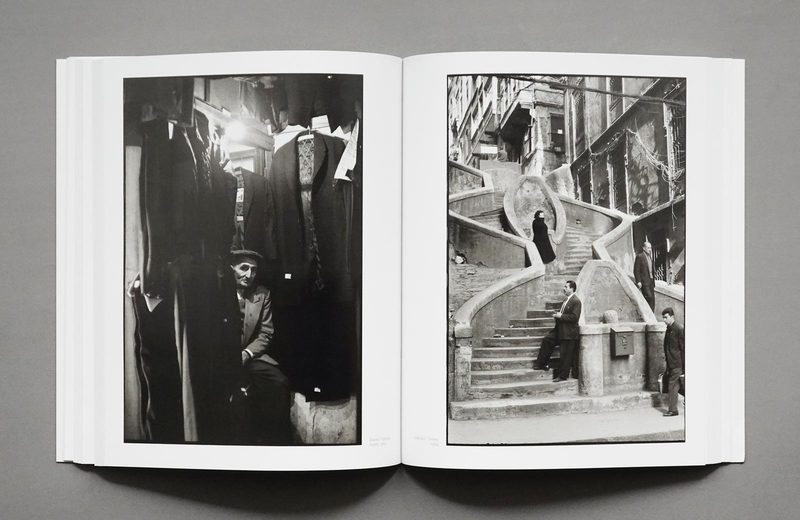
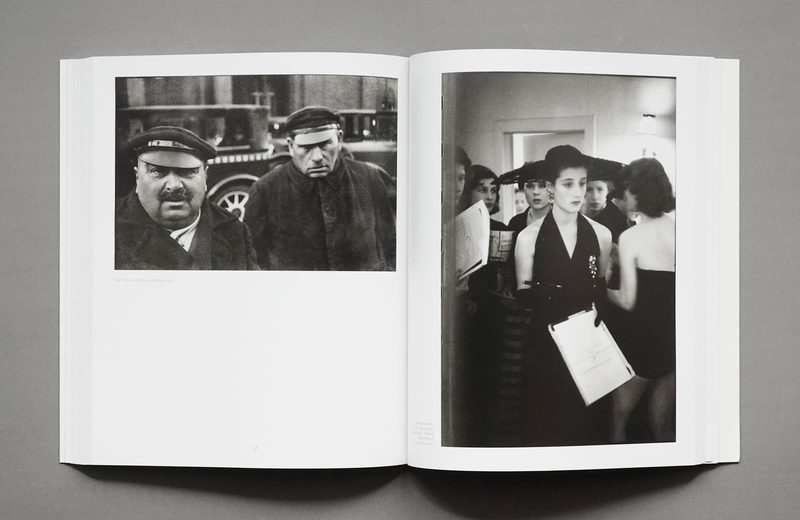
Finally, I printed of my images and folded them using a paper bone, so the pages were folded perfectly. Then, I put my images in order and stapled my booklet pages together.

My Final Layout

Narrative and Sequencing

In my zine that I am creating I have experimented with the layout of my images, and using images, which have relationships, so that I am able to create a narrative (story) portraying St Helier Harbour. I also had to create a visually appealing zine in InDesign.

What is a story?

A story is a narrative about people and events, usually including an interesting plot, is a story. A story can be fictional or true, and it can be written, read aloud, or made up on the spot. Journalists write stories for newspapers, and gossips spread stories that may or may not be true.

There are also picture stories, which are the intentional use of pictures and words assembled into a story. You can also have a picture story, without writing.

STORY: What is your story?
Describe in:

  • 3 words- ‘Life at the Harbour.’
  • A sentence- ‘The different elements of the harbour include, fishing, sailing, salting fish, selling fish and so much more.’
  • A paragraph- ‘At the harbour there was loads of different elements and workers working together, to keep the harbour life running smoothly. There was fishermen, salesmen, sailors, harbour masters and so many more people working together. They had to work together, so they could capture, salt and sell all different types of seafood, as well as transporting goods.’

NARRATIVE: How will you tell your story?

  • Images > New St Helier Harbour photographs
  • Archives > Old photographs of St Helier Harbour from SJ photo-archive or JEP Photographic Archive
  • Texts > Write a short introduction or statement about your picture story, image captions
  • Typography > creative uses of words, letters, font-types, sizes

About my Zine

In my zine, I used my images, which I had taken at the harbour, but I also wanted to experiment with old photos of the harbour from different archives, including the JEP Photographic Archive. I wanted to experiment with the archives, so that I could compare today’s harbour and the harbour from a long time ago and present the similarities and differences between them in my photos. However, in the end I preferred my zine with just the new photos of the archive that I had taken, because I thought they had more of a relationship with each other, and I just wanted to be able to present more of my work. I also experimented with different texts on my zine. I experimented with different titles, until finally deciding on, ‘Life at the Harbour.’ I also experimented with different texts inside my booklet, but I ultimately decided I preferred my zine without the writing, because I didn’t want to take attention away from my images, and I believe that the images speak for themselves. Finally, I experimented with typography, using different sizing, fonts, colours etc. for my title.

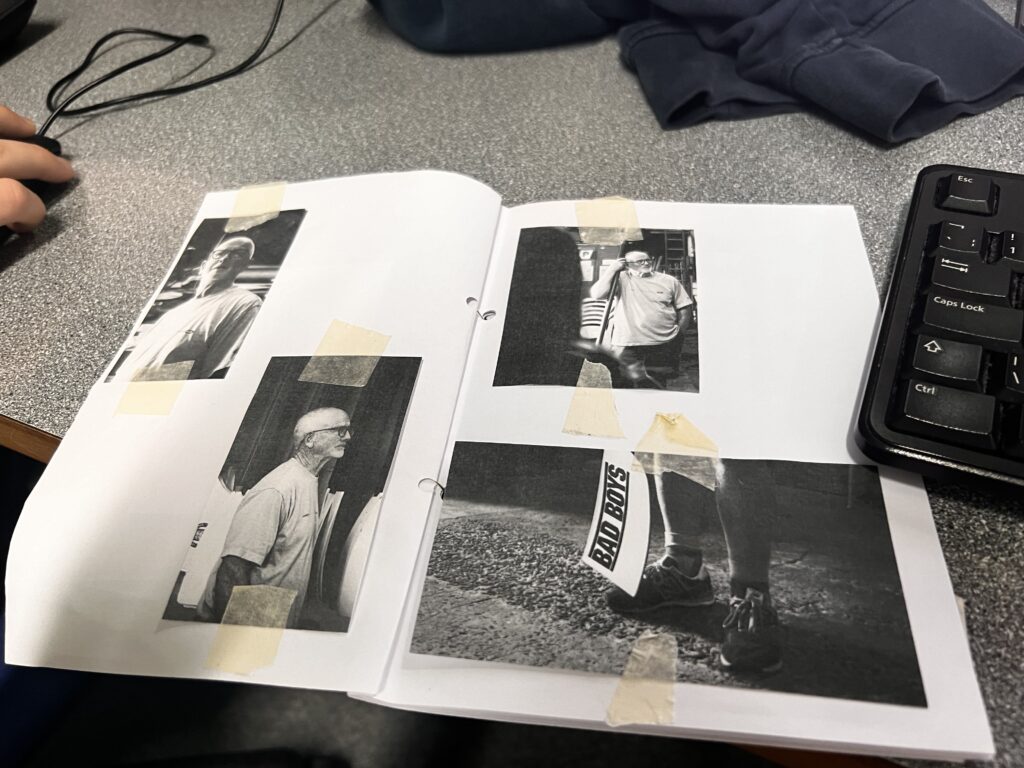
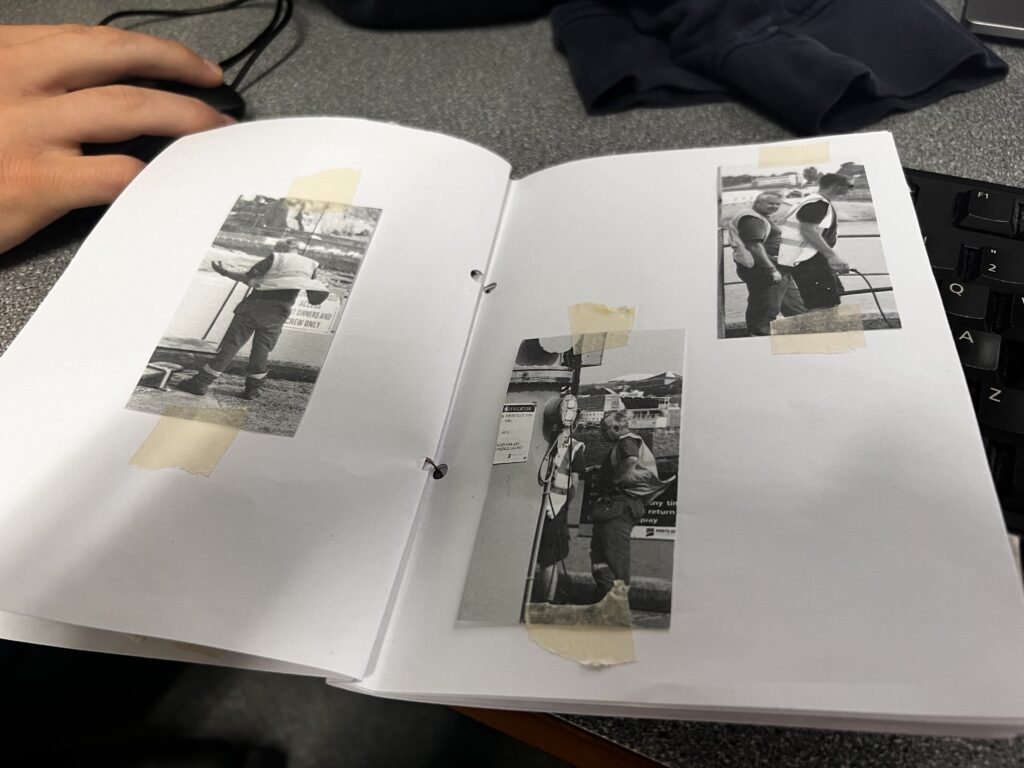
I used many differing images in my zine, that weren’t necessarily related, but also were, because of what I was trying to portray with my zine. I used images from all over the harbour and images of all the different aspects, eg the workers, the alive crabs, the seafood being sold, the boats docked, the rowing boats and crew etc. I wanted to include all of these images, so that I could present every possible aspect of the harbour, because a day at the harbour is never the same for everyone and I wanted the portray that. In my work I also didn’t add any text other than my title, because I felt the images speak for themselves, but because I also wanted to leave a level of subjectivity for the audience in my work, so the viewer can interpret my work in their own way.

What is a Zine

A zine is short for a magazine and it is a small self-published piece of original work, which can be presented as a booklet or magazine, with appropriate text or images. This is typically used as a form of developing identity by expressing artistic vision about a certain topic. This is non-commercial print-work that is usually produced in small, limited batches. Photo zines emerged from punk, DIY movements, and underground culture as an alternative way for photographers to showcase their work.

Experimenting with the Archives

For my zine, I want to experiment with archives of the old harbour and compare them to images I have taken of the harbour in present time. I want to experiment with this, because I think comparing and presenting the differences and similarities between present and past time harbours. This would enable me to create a narrative of the progression of the harbour.

I also want to experiment with the JEP archives, because they contain images that famous Jersey photographers have taken during their life and time in Jersey. I could also compare my images to these images, and I could also edit my images into black and white, so they are the same as the archives, or I could leave them in colour to create a juxtaposition between my images and really present the differences in the old time harbour images and the new harbour images.

Final Selections

Before starting my zine on InDesign, I printed out 19 images, which were my best images, that also had a relationship with each other. I experimented with the layout and order of my images on the table and finally narrowed my 19 images down to 16 images and chose m final order and layout.
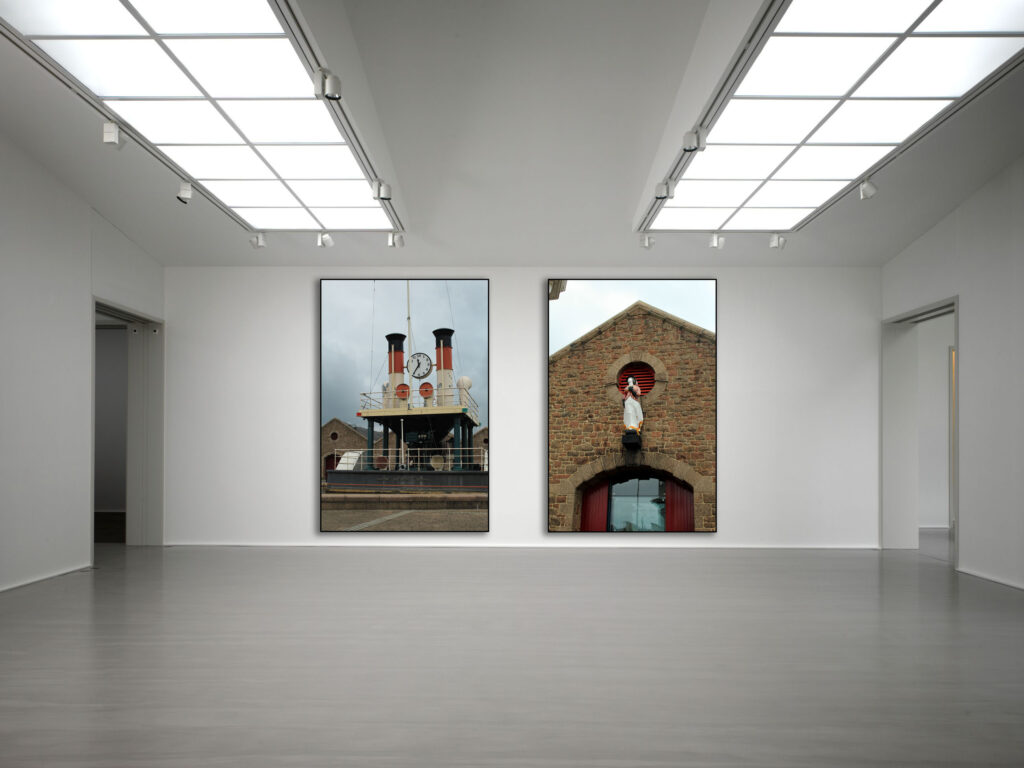
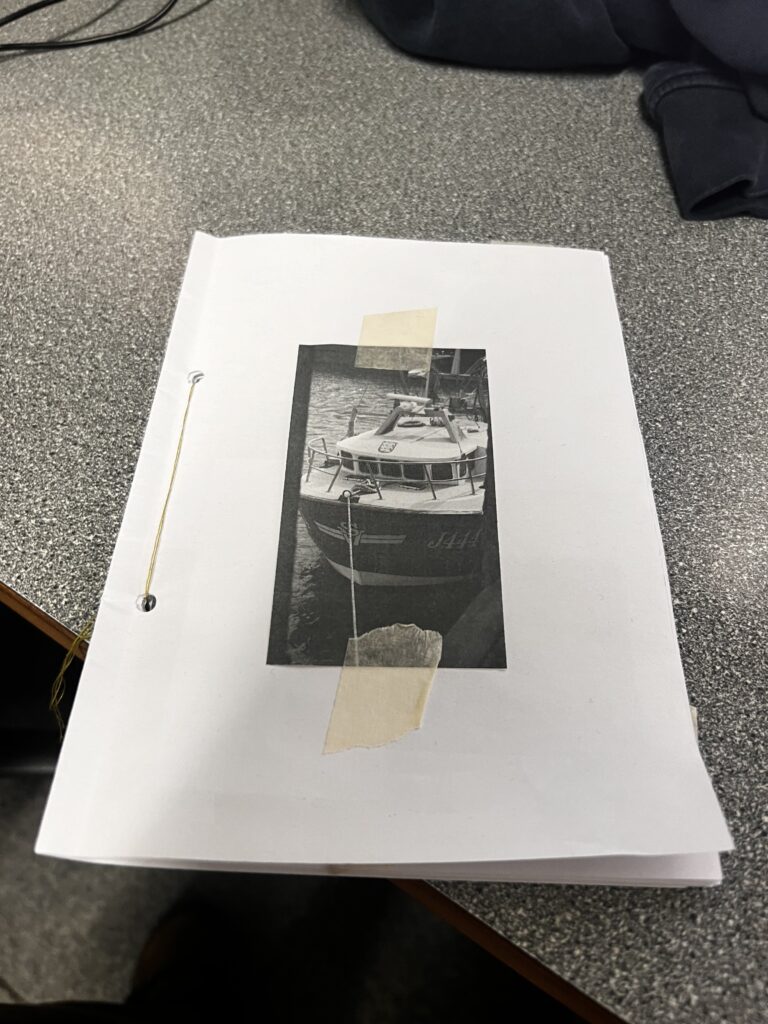
Next, I made a 16 page booklet with 4 pages of plain white paper and folded them all in half. Then, I stuck my images in the booklet in my chosen order, using masking tape. This allowed me to easily experiment with my images and see what my zine would physically look like, before creating it, so that I saved time and it was easier to create my zine.

Mood Board of Selected Images Before Experimentation