Photoshoot plan:
Trip 1: Société Jersiaise Photographic Archive and St Helier Harbour
Our photography trip began with a visit to the Jersey Archives, where we were given a presentation on the relevance and importance of the Jersey archives. We were also shown older photos of saint Helier harbour and the maritime museum. Our first photoshoot was on the old harbours where we were also given a guided tour by Brian Nibbs, who is a former harbour master and a blue badge guide. In our second photoshoot we visited Albert Pier, Elizabeth Terminal, and the Elizabeth Marina.
Trip 2: Maritime Museum and St Helier Harbour
Our second trip was based on the Maritime museum as well as other areas of the harbour that we had not photographed in our first trip. To start we were given a talk by Doug Ford, maritime historian, on Jerseys maritime history and heritage. We were then given time to take photos of the exhibits within the Museum. Next we done a photoshoot of Victoria Pier and the fisheries (Fresh fish and Aquamar).
I took all of my images using a canon camera with a mix between manual and automatic mode.
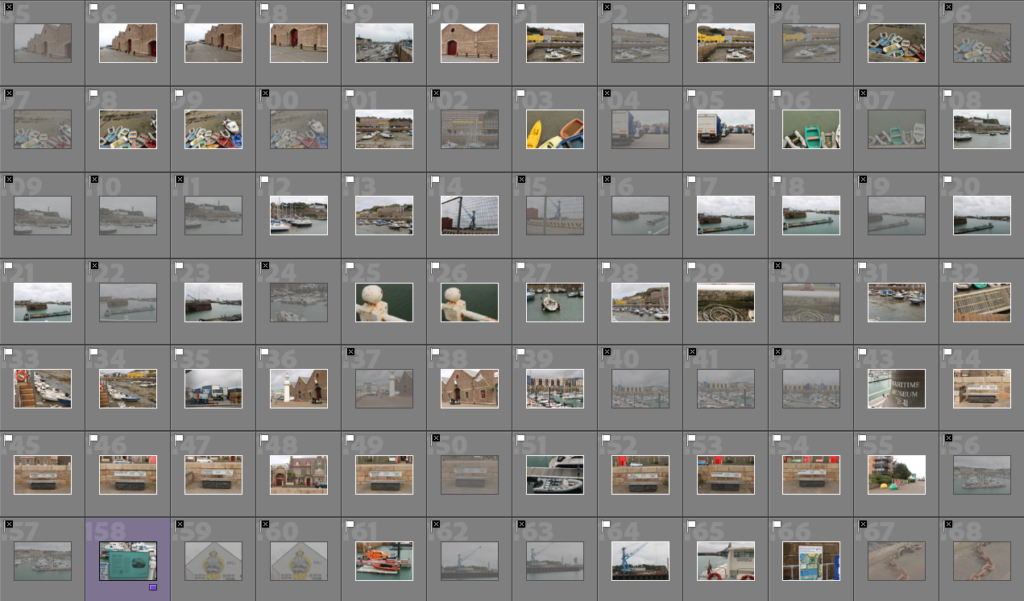
Contact sheets:


I labelled the best photos with a white flag and the bad photos with a black flag. I also set colour labels on some of the images, I made the images from inside the maritime museum as blue, and I made the old photos of the harbour blue along with different piers. I also chose to make the photos of people red.
Best images:
These are my best images which I plan to edit, some of them have a low exposure which I will fix by increasing it through editing.

I believe my photoshoot was successful as I managed to capture many different types of photographs for exmple environmental photos, detailed shots, and landscapes.

Ruby, it’s a good first shoot but be more creative with the way you present your images using a combination of gallery (2-3 images in a row/ column) and individual images. In addition you need to provide some annotation of how/ why you selected images, how you adjusted them, image analysis of your best 1 or 2 images and a final evaluation.
See check list below:
BLOG
– Create a Blogpost with edited images and an evaluation; explaining what you focused in your shoot and how you intend to develop your next photoshoot.
– Analyse a couple of your best images using Photography Vocabulary Sheet, perhaps even comment on the Decisive Moment within the images, if appropriate
EVALUATING: Upon completion of photoshoot and make sure you evaluate and reflect on your next step of development. Comment on the following:
-How successful was your photoshoot?
– What references did you make to artists references? – comment on technical, visual, contextual, conceptual?
– How are you going to develop your project from here? – comment on research, planning, recording, experimenting.
– What are you going to do next? – what, why, how, when, where?