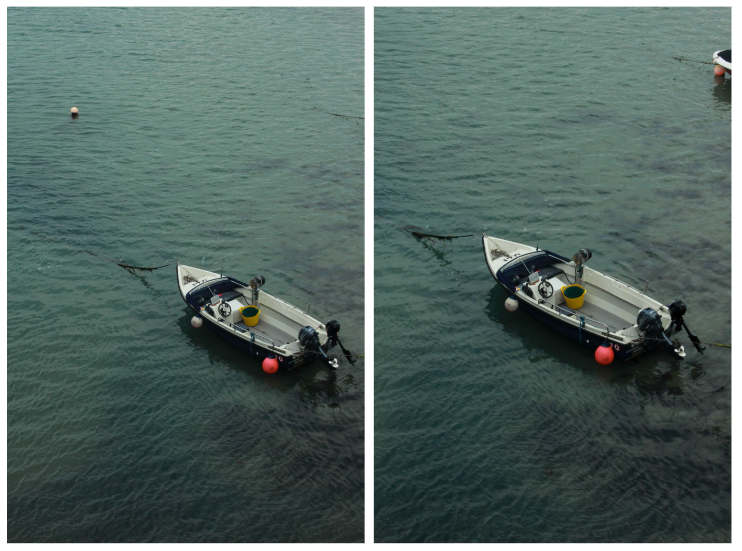
For this photoshoot, I went to the maritime museum and the old harbour. I first took images inside the museum. Next, I took images around the harbour. I took images of the boats, rubbish, fish and other things I saw whilst walking. I then exported these photos onto Lightroom and began narrowing down my images. I began with 457 and ended up with 34. I did this by assigning each image with either a white or black flag depending on whether I wanted to use it or not. Next, I gave all my images with a white flag a rating out of 5. Finally, I gave the final images I wanted to use a green colour.


Once I had narrowed down my images, I then began editing them on Lightroom. I started off with simple edits such as adjusting the exposure, contrast, highlights, shadows, whites, black, texture and clarity.


I like how this photoshoot came out as I managed to explore the older harbour more than I did in the previous photoshoot. Additionally, I like this photoshoot more as it wasn’t as cloudy. This made my images more vibrant and enjoyable to look at. However, one problem I occurred when editing my photos is that in some images there are black dots in the sky due to the camera being dirty. However, I managed to fix this in my later images by opening them up on photoshop and using the remove tool in order to get rid of them.
Edits
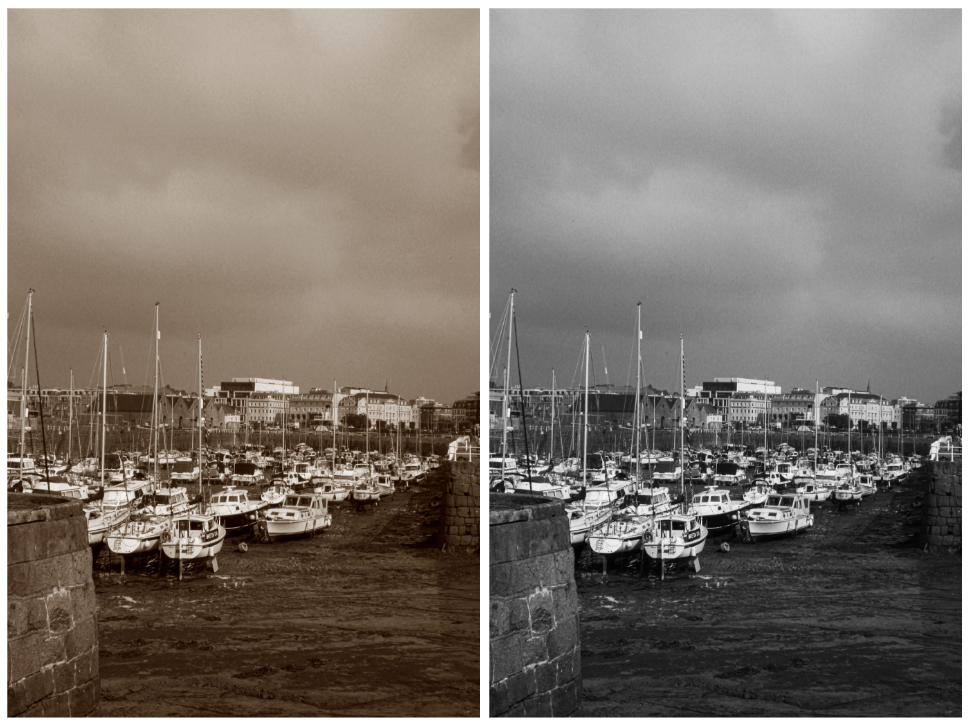
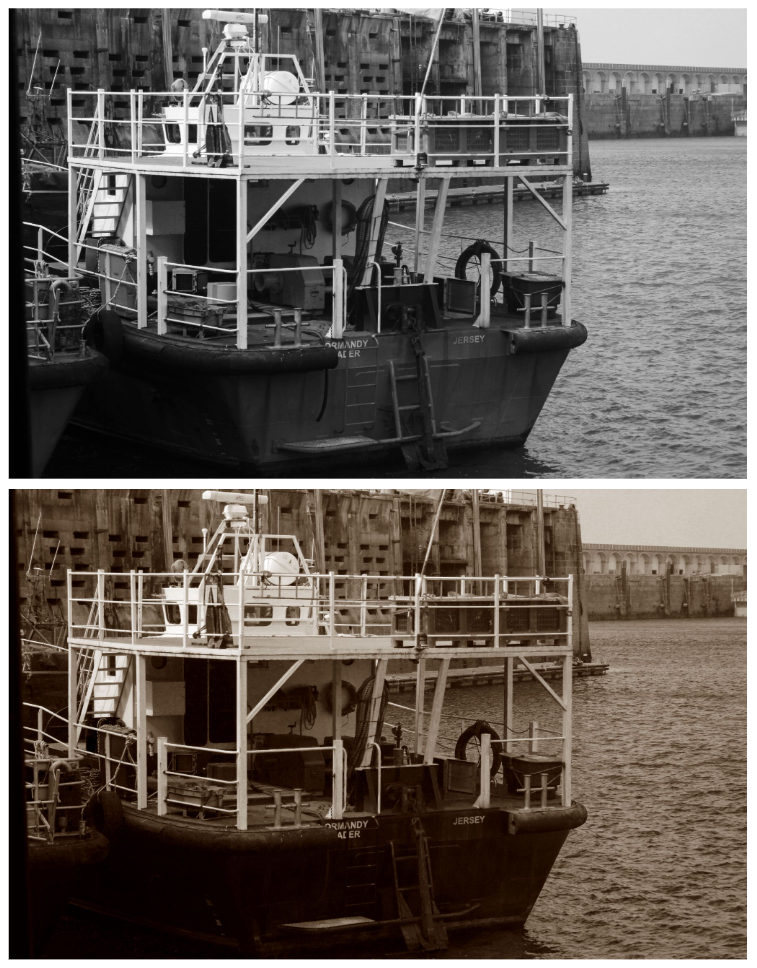
Similarly with my previous photoshoot, I also edited these images by adding a sepia colour on top of them or by turning them black and white in order to portray the idea of oldness and how a photo of the harbour would’ve looked like years ago.


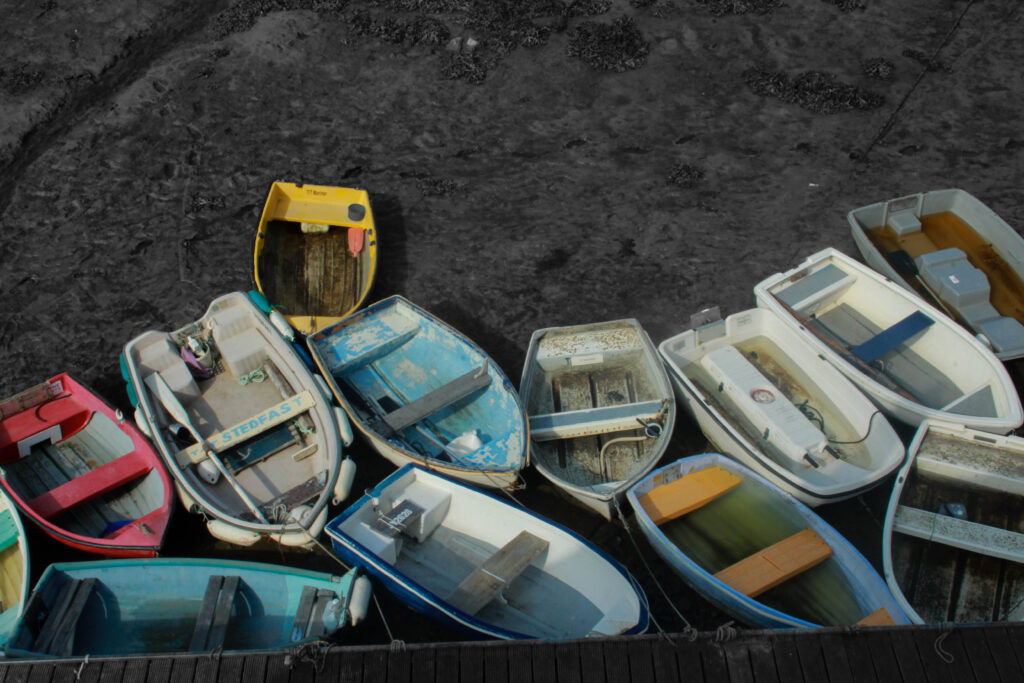
Finally, I decided to do a colour splash on a few images from this photoshoot too as I felt it worked well with the previous one. I think these came out well due to me enhancing the colour on photoshop which I didn’t do on my previous photoshoot. This helped to make the contrast between the object(s) and background even more clearer.


