The story of photography all begins from the year 1822 discovered by a Frenchman, named Nicéphore Niépce. He developed a technique called ‘heliography’ which was used to create the worlds oldest surviving photograph, view from the window at Le Gras in 1927. Heliography was conceived in response to camera obscura theories dating back to ancient history. The camera Obscura is known to be an image projection. It’s also Latin for ‘dark chamber’, it’s a dark phenomenon where rays of light passes through a small key hole onto a dark space to form an image, this results to the image being inverted/ upside down and reversed/ left to right. Camera Obsura could also be referred to as analogous constructions, as an image is being projected onto a dark room onto a translucent screen. Camera obscura with a lens in the opening has been around since the second half of the 16th century and had become very popular for drawing and paintings. The technology was further developed in the 19th century when camera obscura boxes where used to expose light-sensitive materials to the projected image. It’s meant to be a study of eclipses without the risk of damaging the eyes by looking directly into the sun. The camera obsura was able to provide the idea of tracing for drawing to produce highly accurate representations.
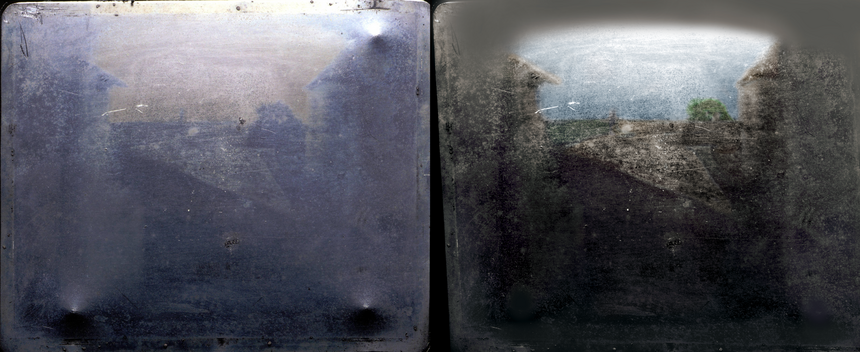
In 1826, Nicéphore Niépce first managed to capture a photograph with the camera but it took at least a couple of days to take exposure in the camera resulting for the photos to be very crude. Later Louis Daguerre went on to develop the daguerreotype process, known to be the first publicly announced and commercially visible photographic process. This process only took a few minutes of expire compared to the obscura camera. Daguerreotype was widely used during the 1840s and 1850s , « Daguerreotype » also référés to an image created through this process. The Daguerreotype was almost completely superseded by 1839 with new, less expensive processes, such as ambrotype, that yields none readily viewable images. There has been a revival of daguerreotypes since the late 29th century by a small number of photographers interested in making artistic use of early photographic processes.
To make the image, a daguerreotypist polished a sheet of silver-plated copper to a mirror finish; treated it with fumes that made its surface light-sensitive; exposed it in a camera for as long as was judged to be necessary, which could be as little as a few seconds for brightly sunlit subjects or much longer with less intense lighting; made the resulting latent image on it visible by fuming it with mercury vapor; removed its sensitivity to light by liquid chemical treatment; rinsed and dried it; and then sealed the easily marred result behind glass in a protective enclosure. The image is on a mirror-like silver surface and will appear either positive or negative ,depending on the angle at which it is viewed, how it is lit and whether a light or dark background is being reflected in the metal. The darkest areas of the image are simply bare silver; lighter areas have a microscopically fine light-scattering texture. The surface is very delicate, and even the lightest wiping can permanently scuff it. Some tarnish around the edges is normal.
Since the Renaissance era, artists and inventors had searched for a mechanical method of capturing visual scenes. Using the camera obscura, artists would manually trace what they saw, or use the optical image as a basis for solving the problems of perspective and parallax, and deciding colour values. A camera obscura optically reduces a real scene in three dimensional space to a flat rendition in two dimensions. In the early 17th century, the Italian physician and chemist Angelo Sala wrote that powdered silver nitrate was blackened by the sun, but did not find any practical application of the phenomenon.
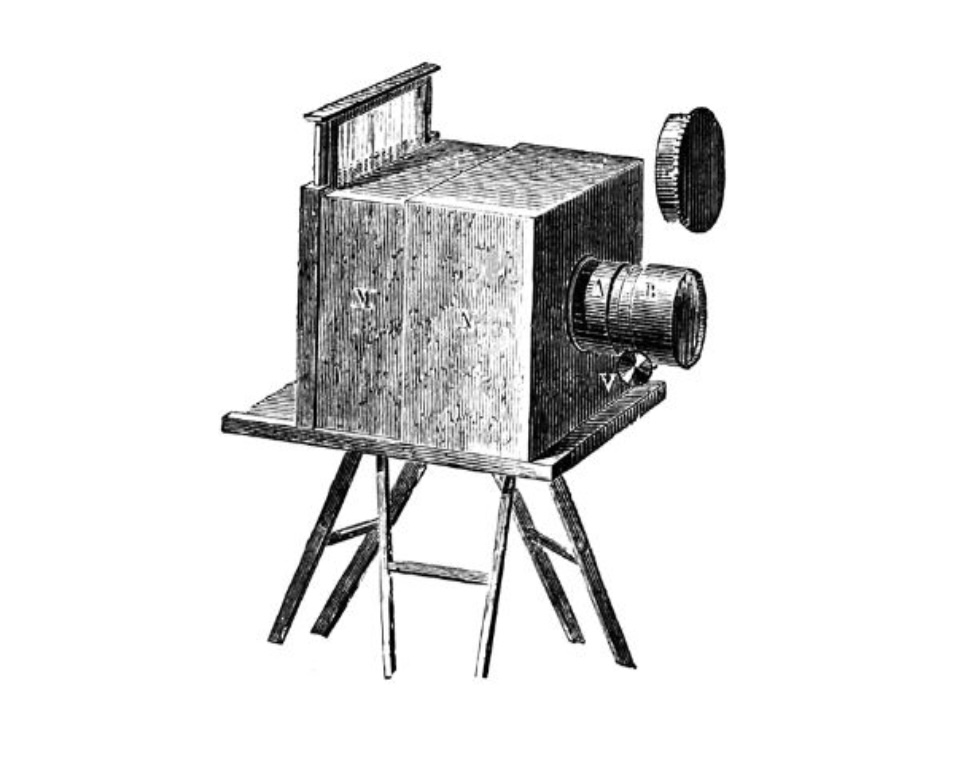
Niépce died suddenly in 1833, leaving his notes to Daguerre. More interested in silver-based processes than Niépce had been, Daguerre experimented with photographing camera images directly onto a mirror-like silver-surfaced plate that had been fumed with iodine Vapor, which reacted with the silver to form a coating of silver iodide. As with the bitumen process, the result appeared as a positive when it was suitably lit and viewed. Exposure times were still impractically long until Daguerre made the pivotal discovery that an invisibly slight or “latent” image produced on such a plate by a much shorter exposure could be “developed” to full visibility by mercury fumes. This brought the required exposure time down to a few minutes under optimum conditions. A strong hot solution of common salt served to stabilise or fix the image by removing the remaining silver iodide. On 7 January 1839, this first complete practical photographic process was announced at a meeting of the French Academy of Sciences, and the news quickly spread. At first, all details of the process were withheld and specimens were shown only at Daguerre’s studio, under his close supervision, to Academy members and other distinguished guests. Arrangements were made for the French government to buy the rights in exchange for pensions for Niépce’s son and Daguerre and to present the invention to the world (with the exception of Great Britain, where an agent for Daguerre patented it) as a free gift. Complete instructions were made public on 19 August 1839. Known as the da, it was the most common commercial process until the late 1850s when it was superseded by the collodion process.
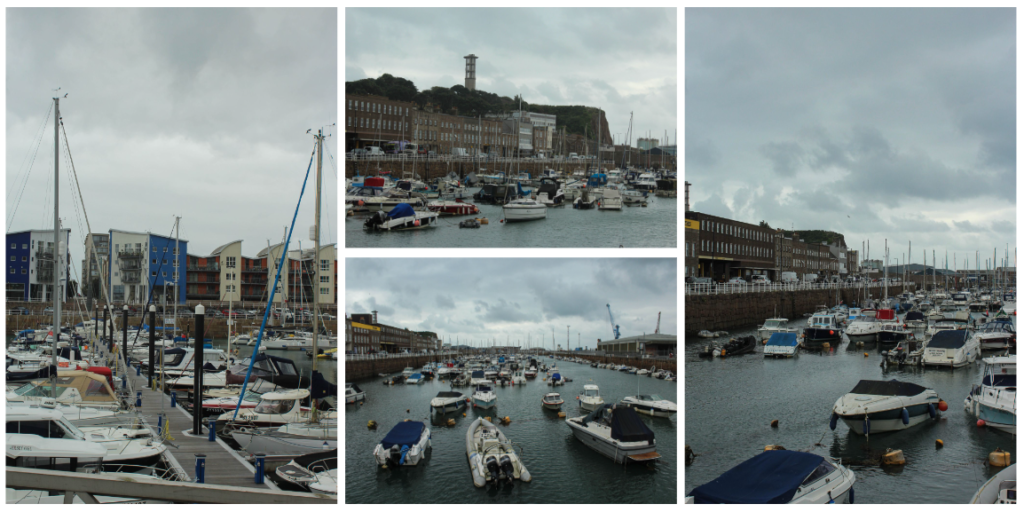
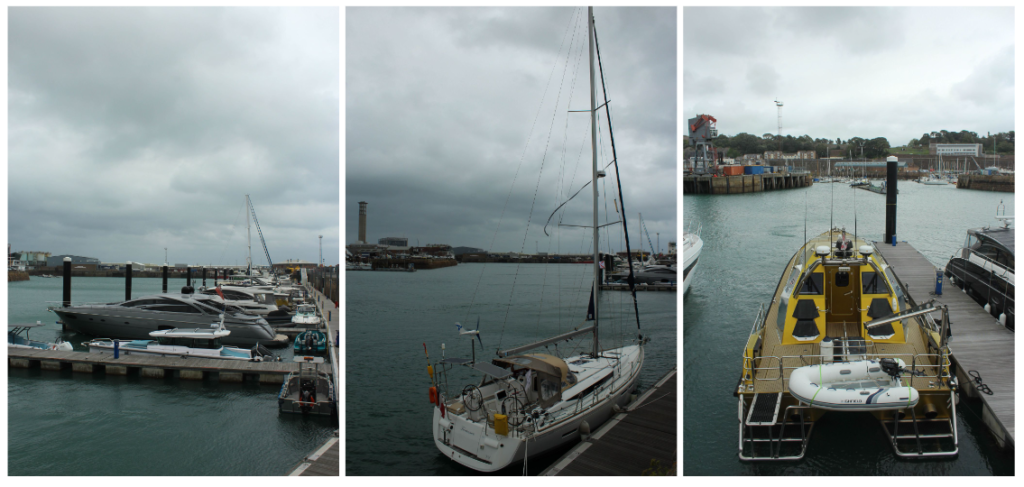
The daguerreotype proved popular in response to the demand for portraiture that emerged from the middle classes during the Industrial Revolution. This demand, which could not be met in volume and in cost by oil painting, added to the push for the development of photography.