
Mood Board


Types of Images
Relationship shot – Shows the connection between themes, objects of people.

Work shot – These show a person at work or in their ‘element’.

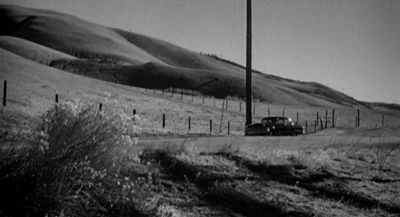
Establishing shot – Establishing shots are typically wide shots to show context. This might be through landmarks or signs.
Detail shots – Closer to focus on a specific detail or element.

Using Indesign for a Pagespread: Design & Layout
For setting up an A3 page I used these settings:


This created a layout of 3 pages laid out with 4 columns in purple. The red outline was created with the ‘bleed’ option so that when printing images can fill the whole page without white edges.
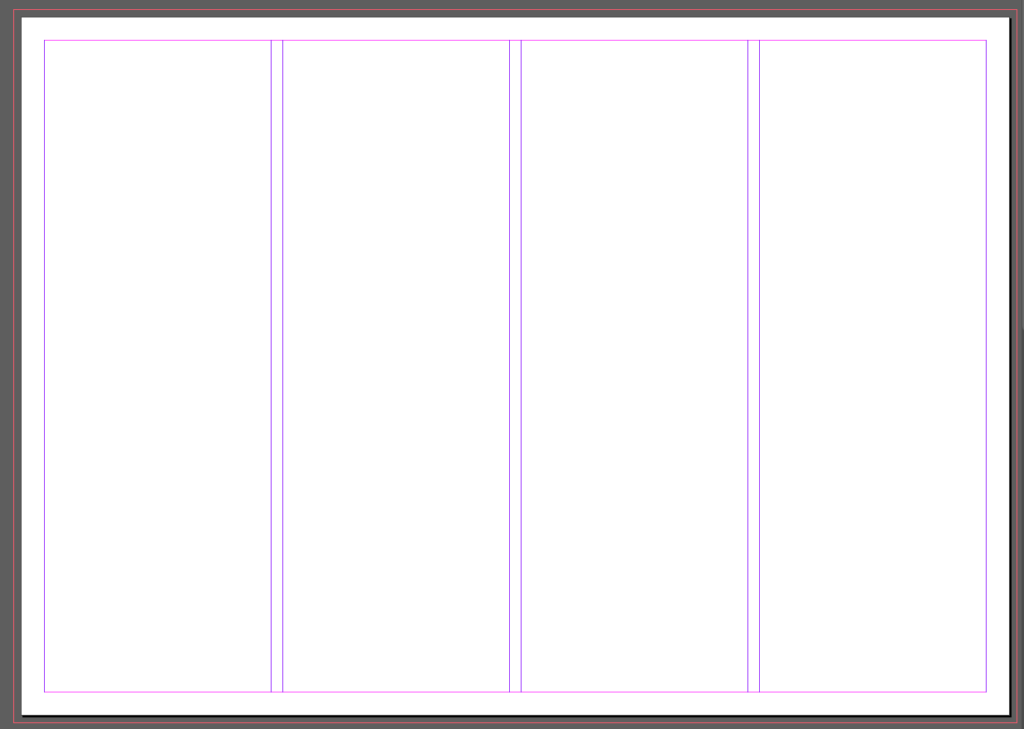
To add an image the rectangle frame tool is useful for creating a specific size on the page.

For my first page spread I tried to create a picture story about people playing football. I chose for the establishing shot to give some context and was the only image that showed more then just feet. I set this one in large on the left. I also decided to split one image into to squares as it was originally a landscape action shot. For the additional images I wasn’t sure how to arrange them or which ones to select so I created a few drafts

The final 3 I created were:
Final Layout:
I decided that this final one was my favourite becauce the text wouldnt need to be split and the title could still sit at the top of the page.