Page Spread – InDesign

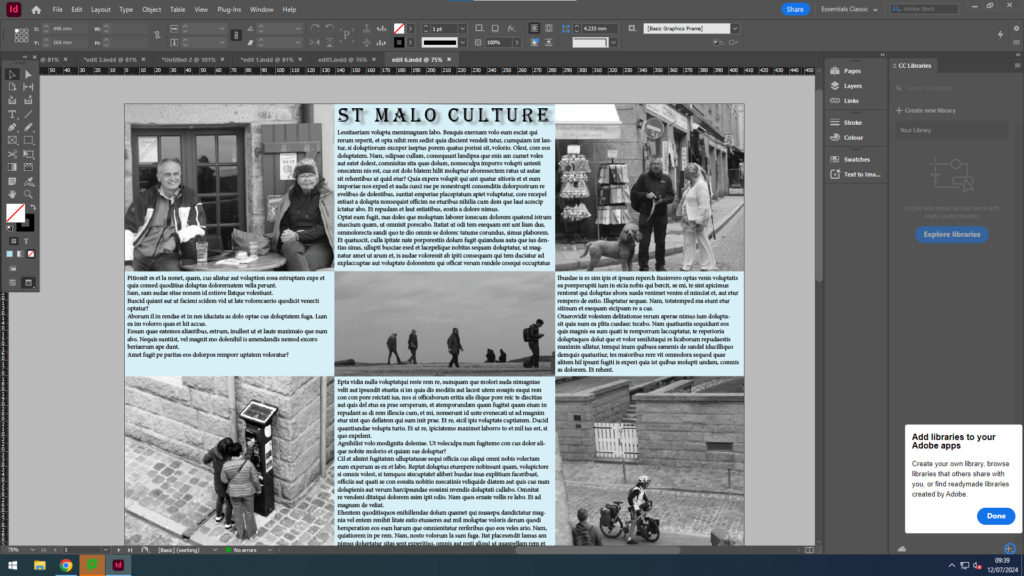
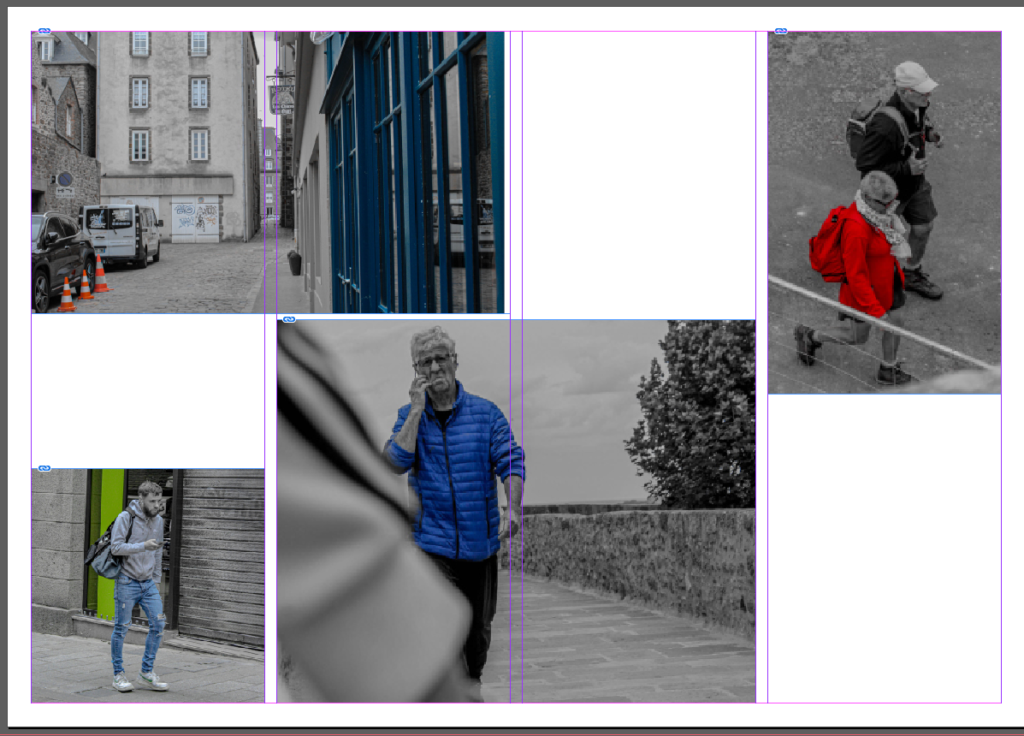
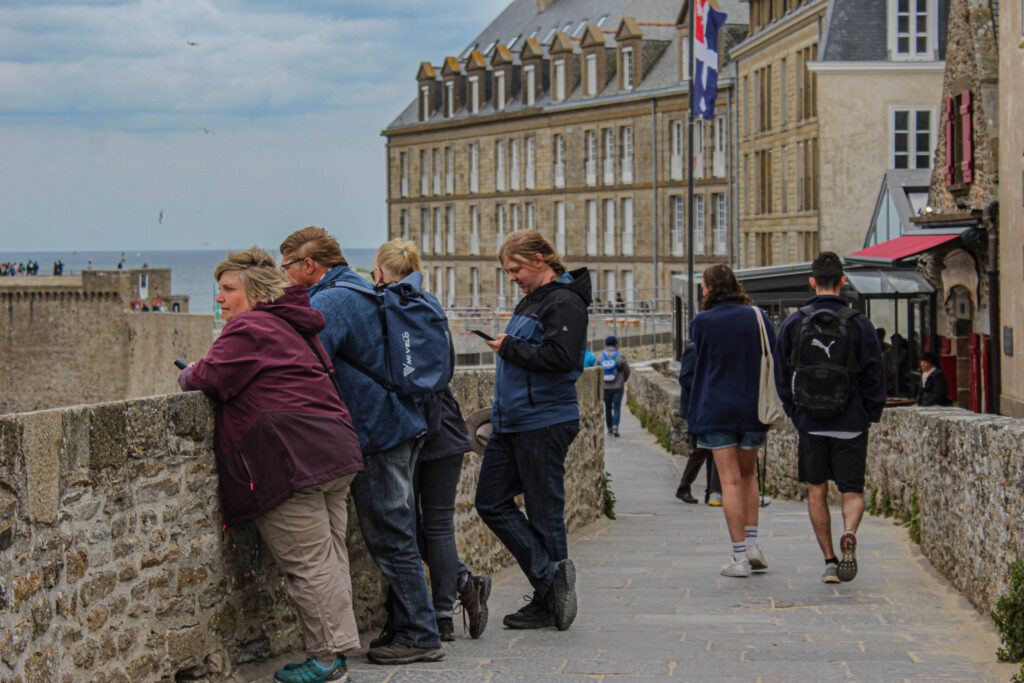
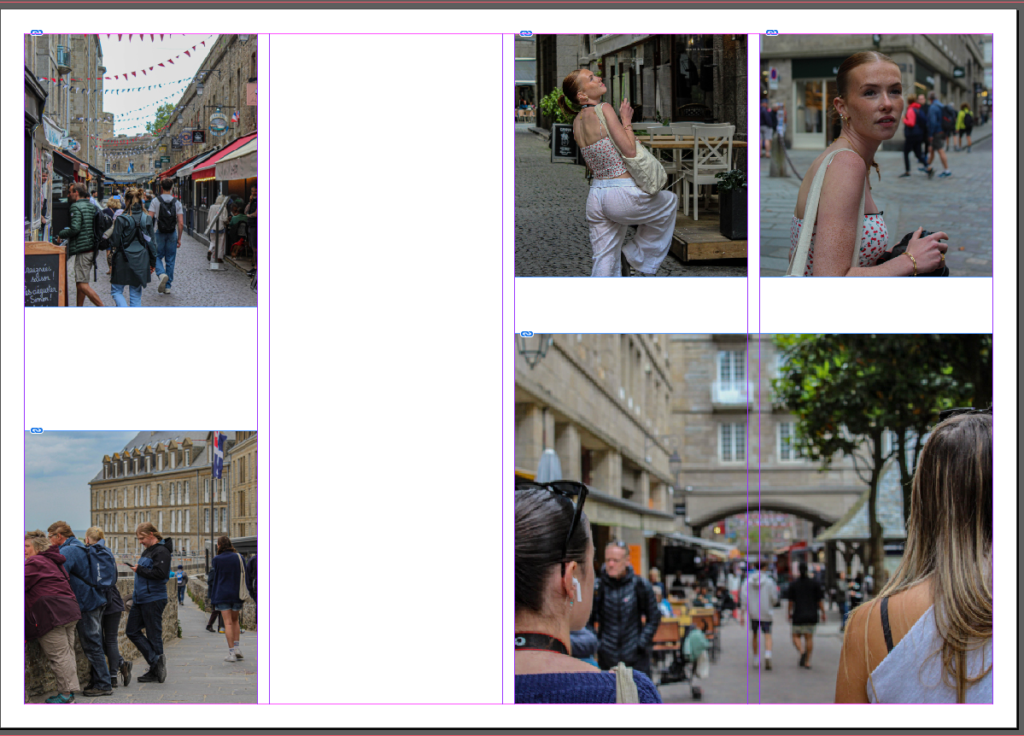
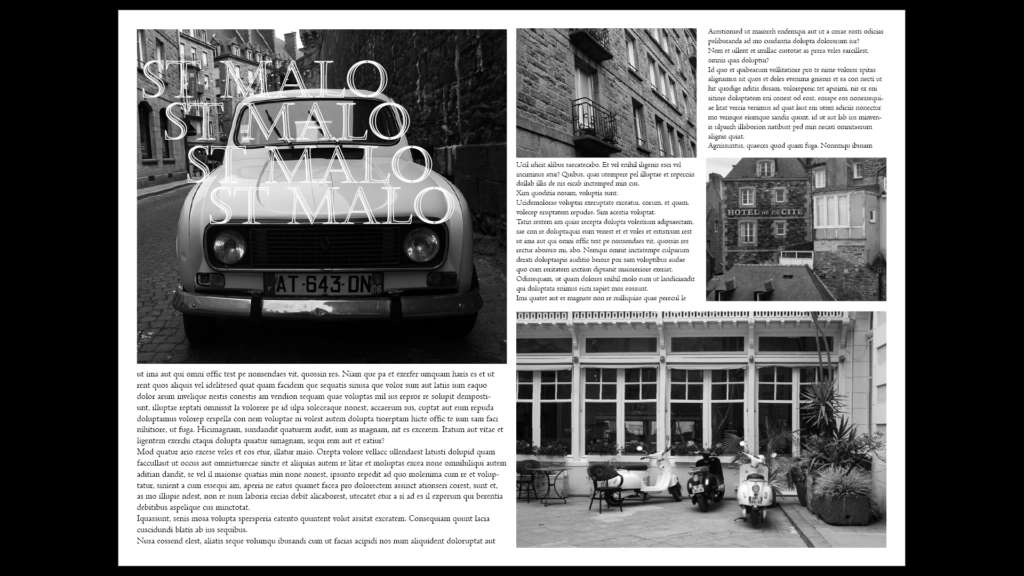
Here Is my first Attempt at InDesign, I used the rectangle frame tool to design where I wanted the pictures to go, then I inserted pictures that I thought went well in those areas. I wanted this slide to be entirely building and motor vehicles so that my next slide can be full of pictures showing the decisive moment. I saw a few picture magazines having text duplicated going across the screen so I replicated that here with the St Malo title.
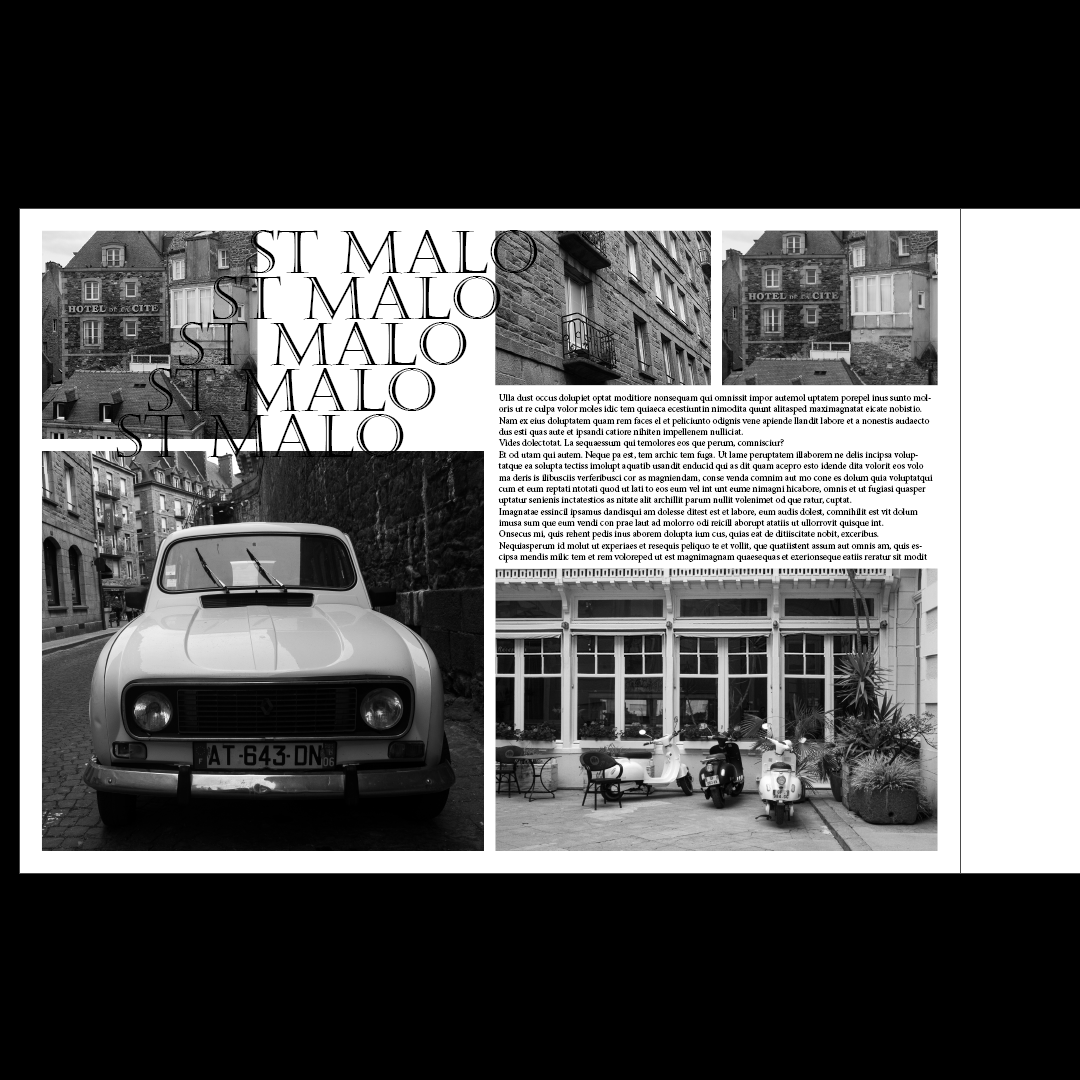
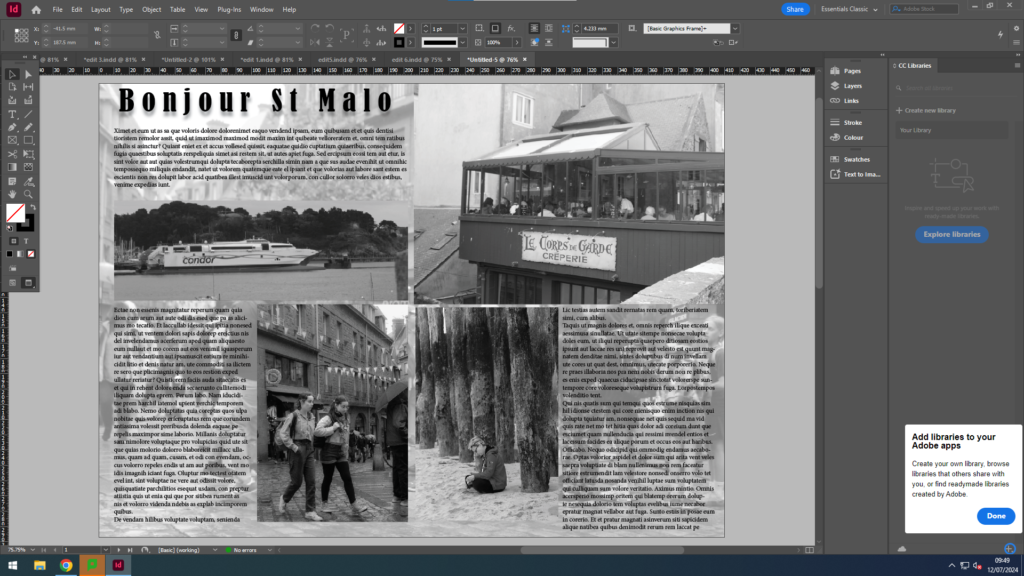
Here Is my second attempt, I reogranised some of the photos but It doesnt look as good as the first so I thought I could add some colour to the image.
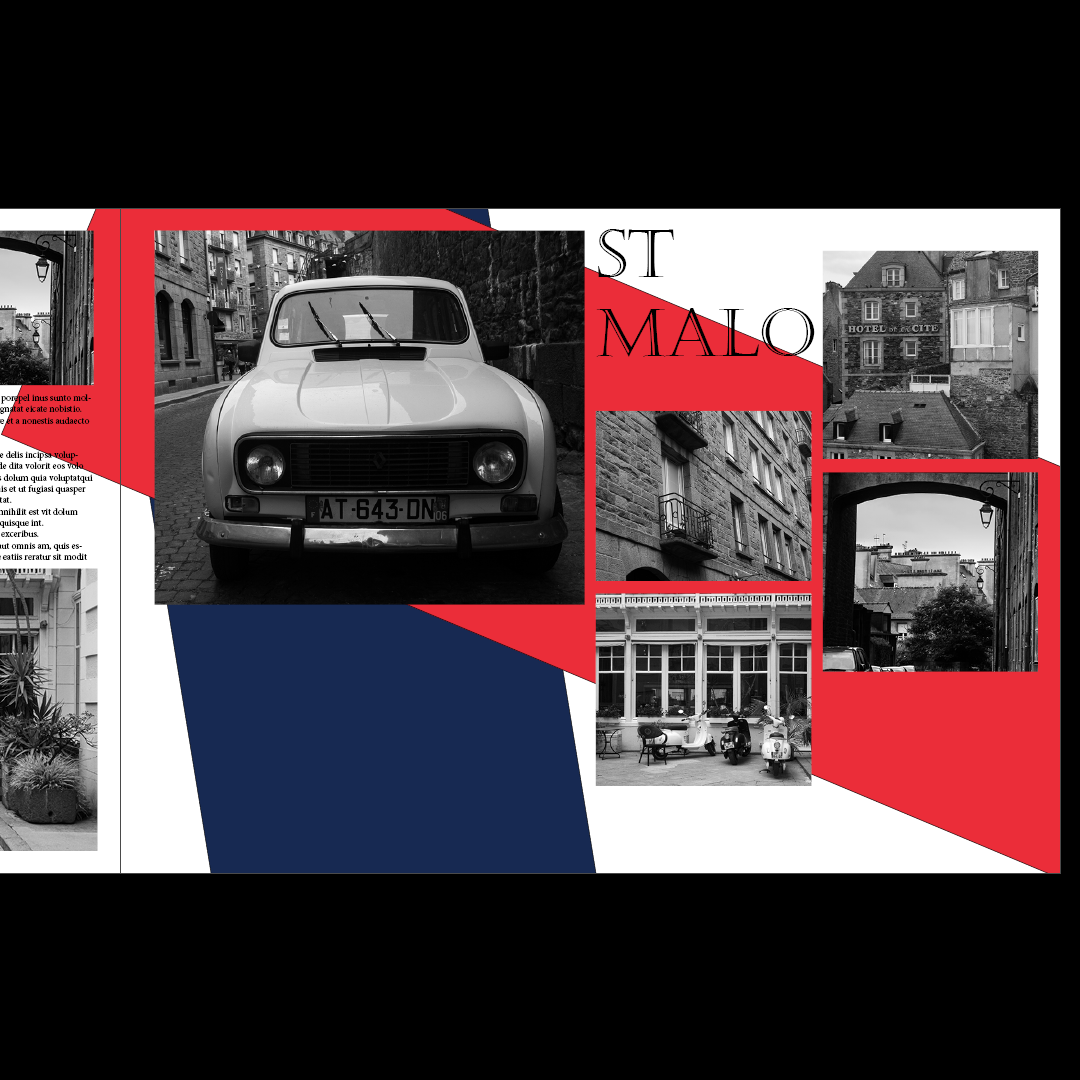
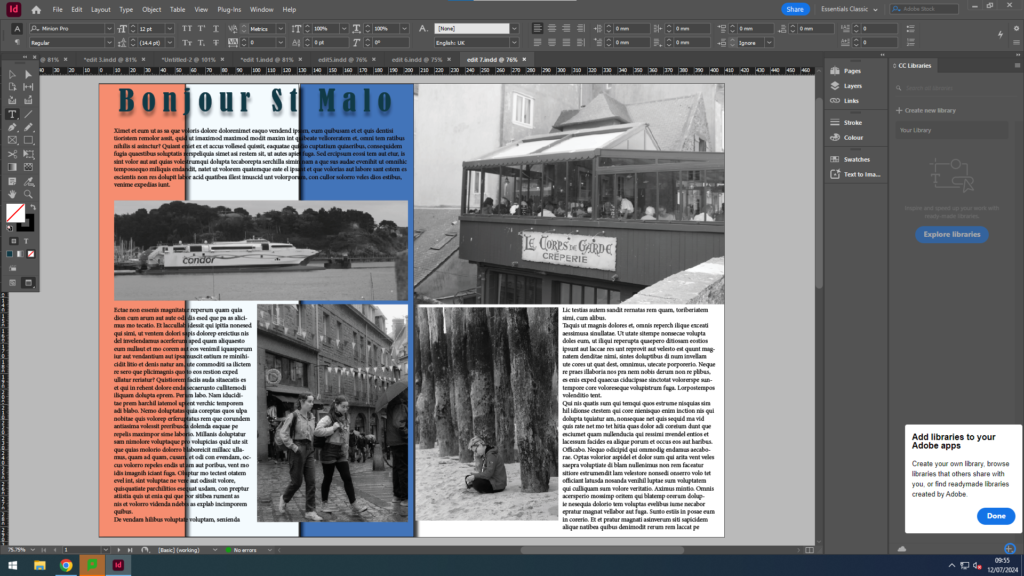
I reorganised the photos again and changed the title to a normal title, I think this is my best one so far.

Using New Photos:
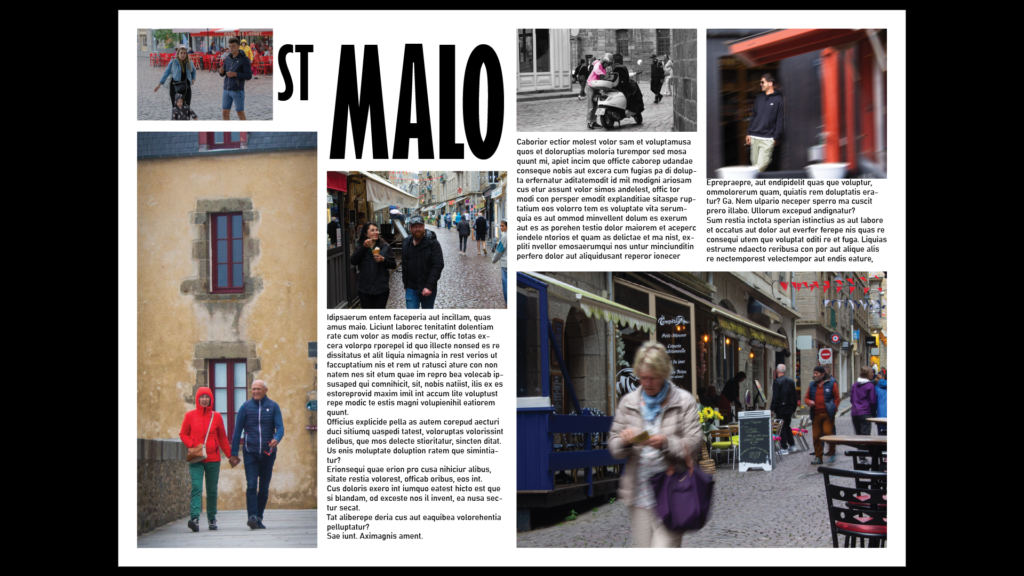
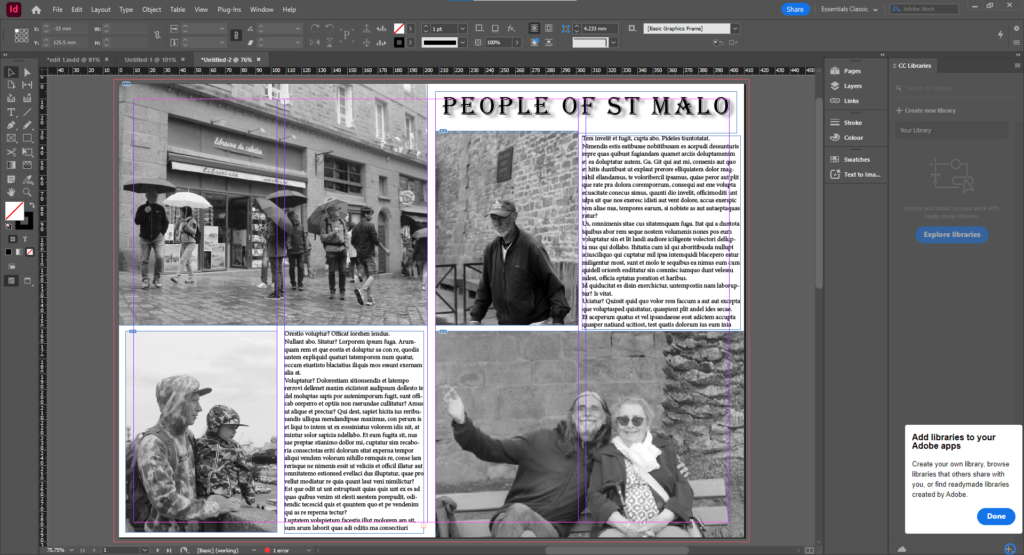
I’m now using photos of people to present the decisive moment, I used a quirky font for the title, however I don’t think it looks French enough so I will add some next.
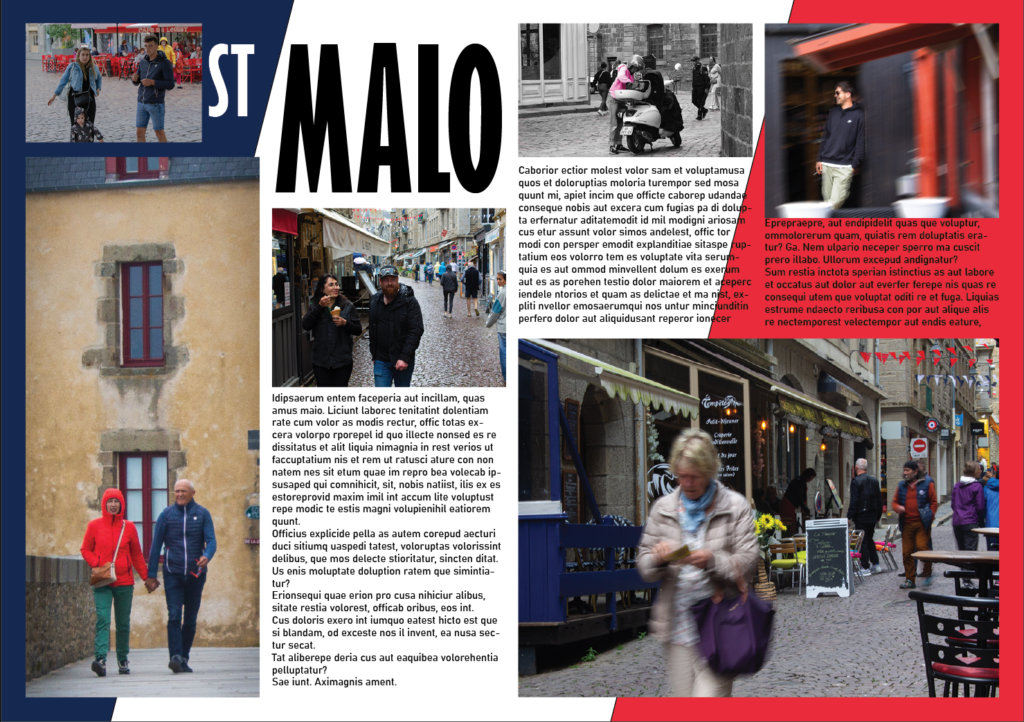
Here I added the French flag with a slight angle at the back of the image. The ‘st’ in the title was hard to see so I changed it to from black to white, to contrast the dark blue behind it. Next I feel like I could improve the title, and maybe experiment more with the background:
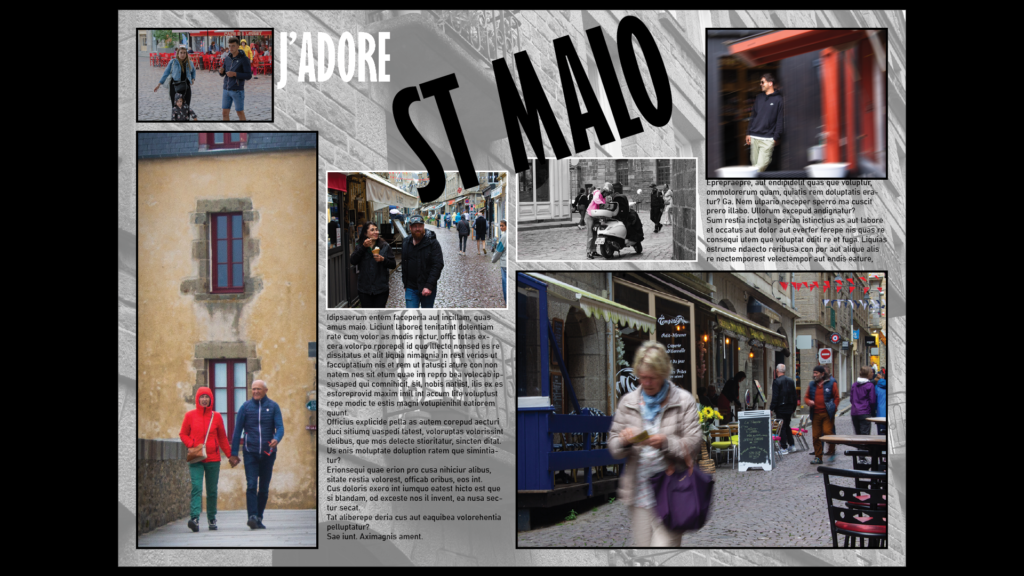
I used a picture of a wall in st malo that I took for the background Image, also decreasing the transparency. I also changed the title to something French. Next Im going to try reducing the noise in the centre by shrinking some images and removing some text:
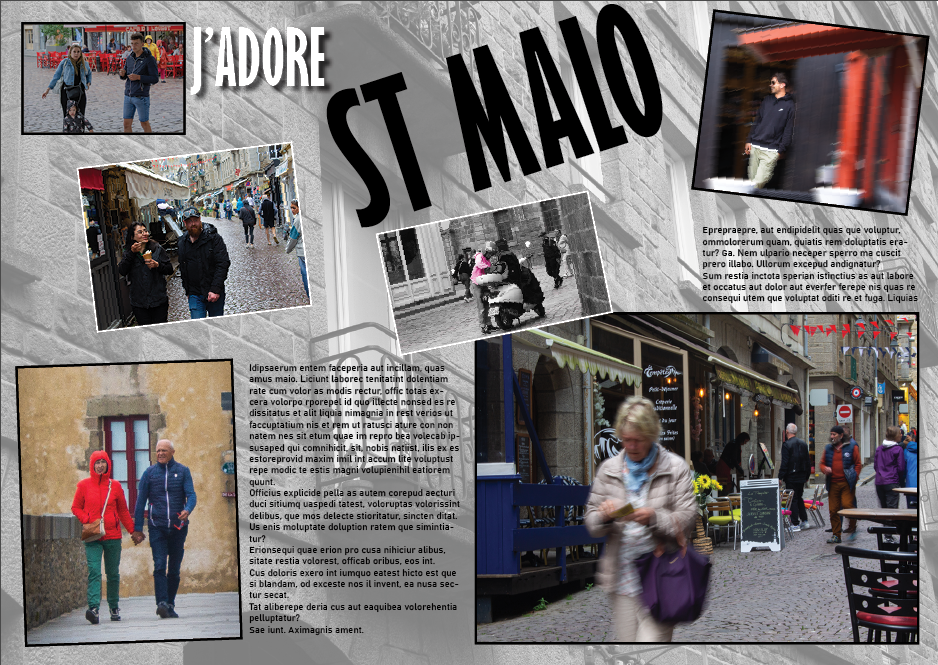
I also added a drop shadow to some of the title and tilted some of the image a little bit but not too much where it looks wrong.
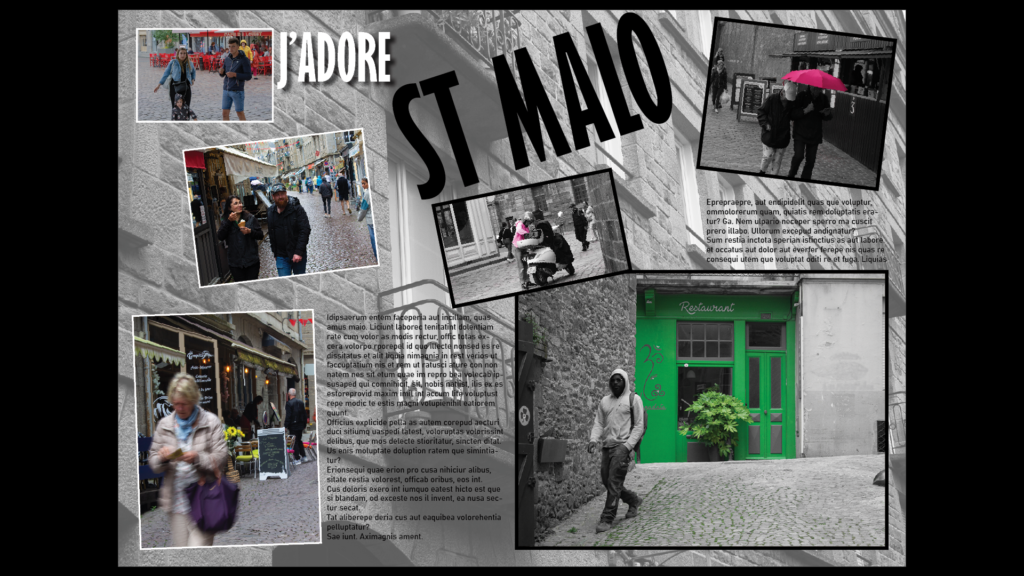
Above is my final iteration, I changed the photos and added different borders to images. I also decreased the transparency for the background image.

InDesign page spreads:

First spreadsheet:

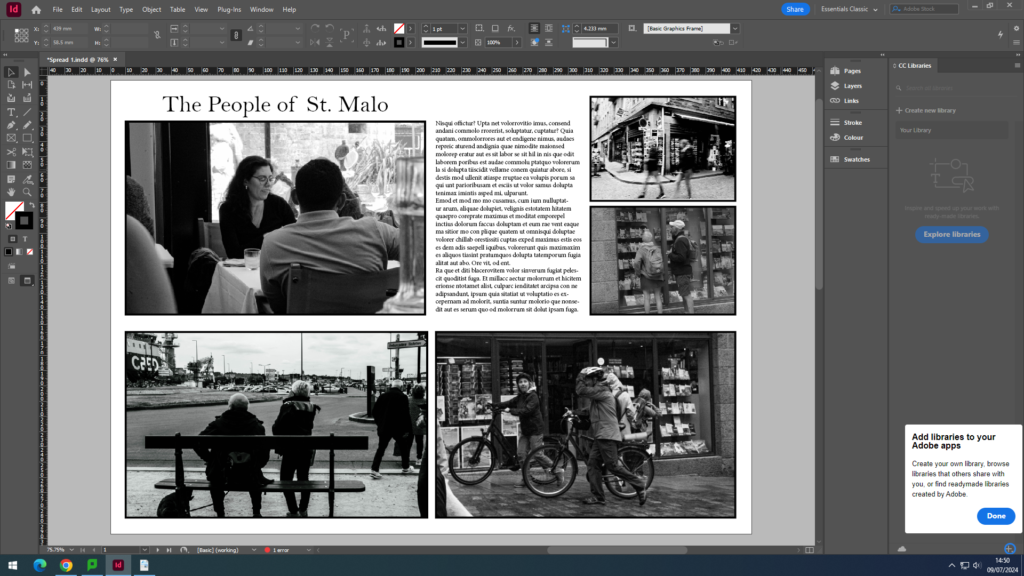
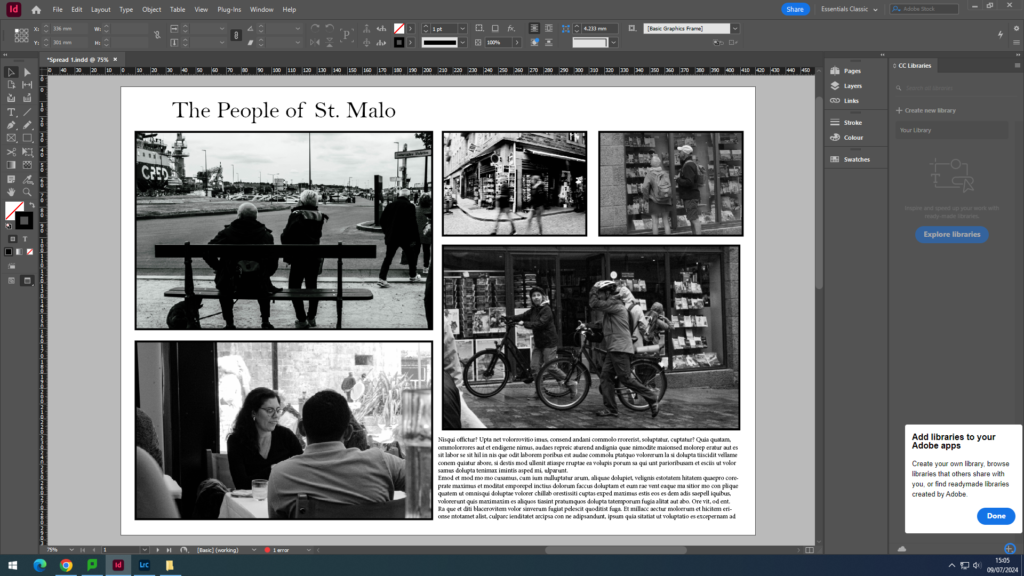
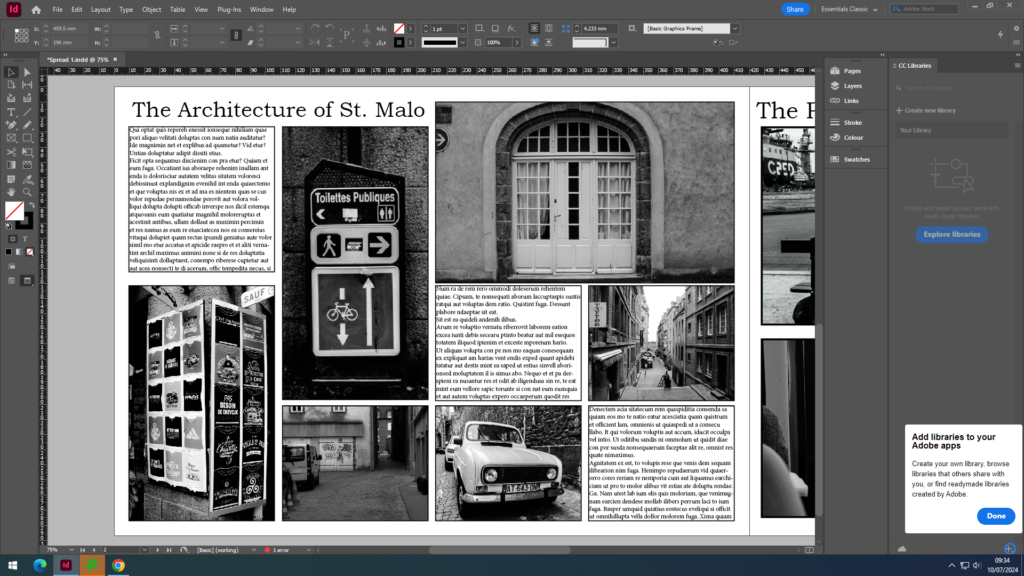
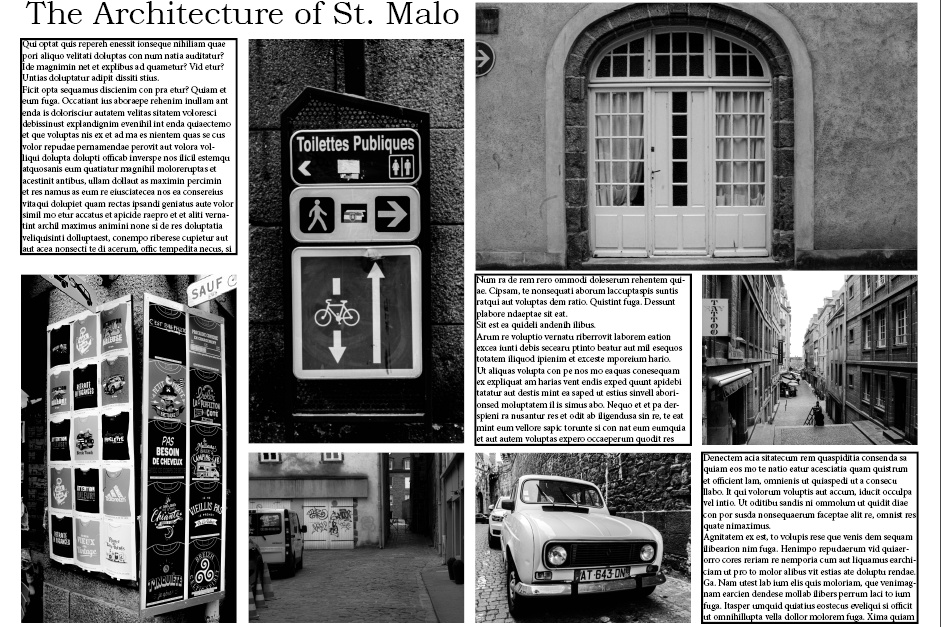
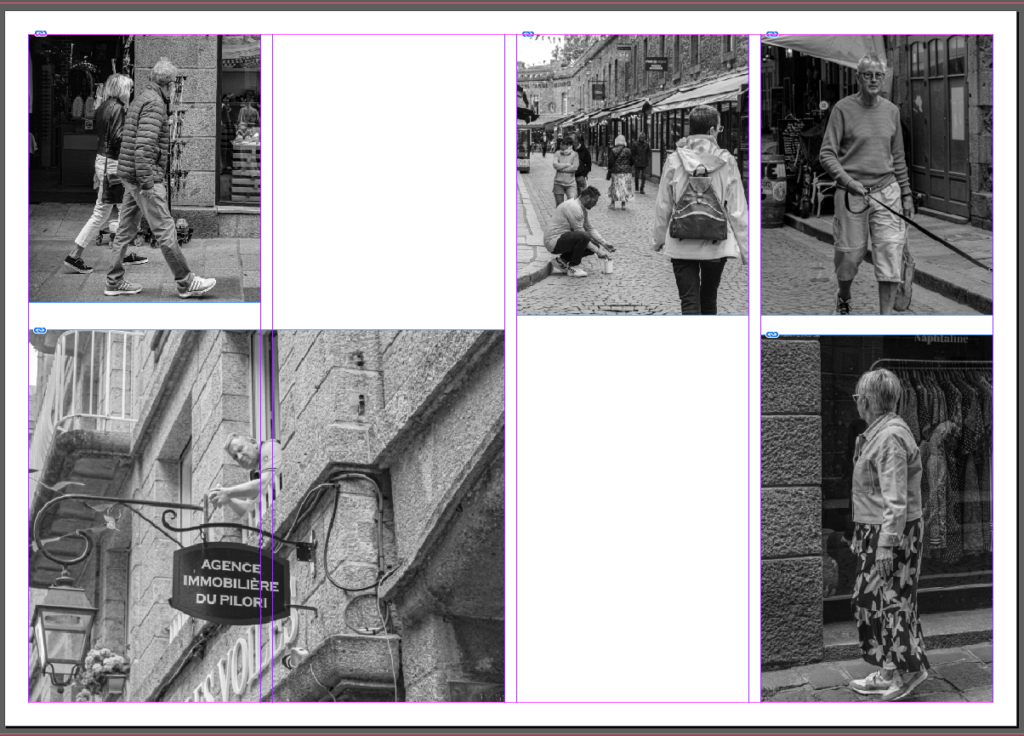
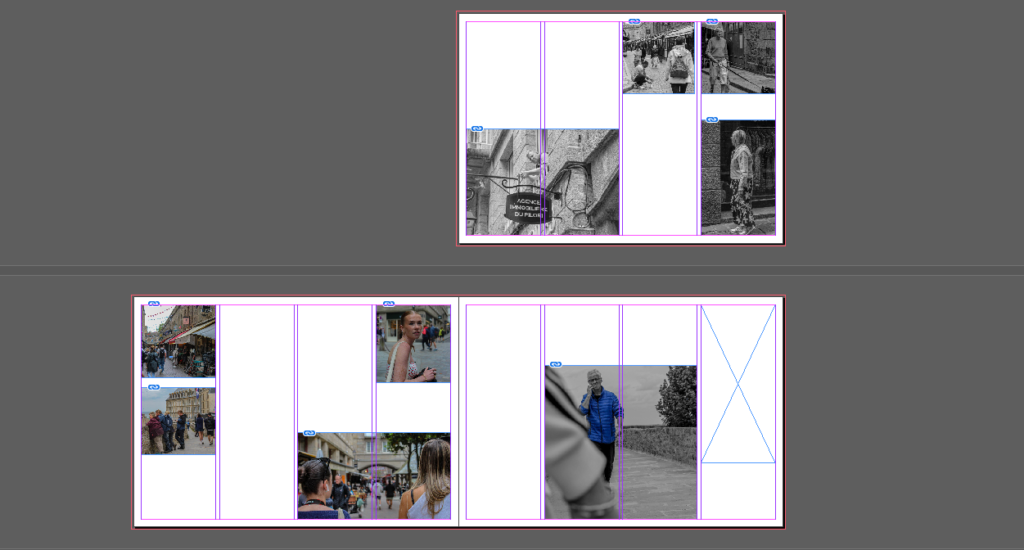
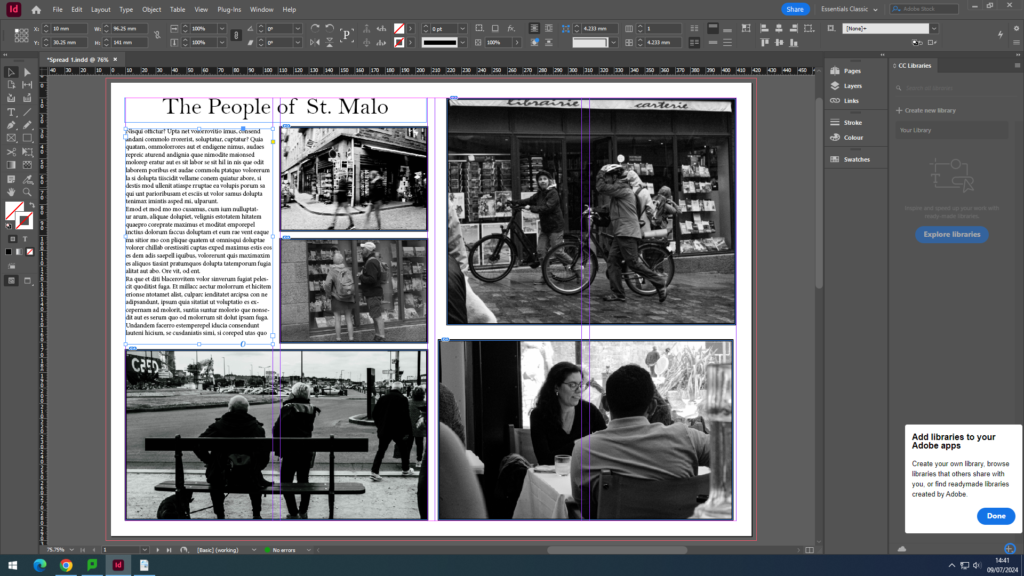
For all of these spreadsheets, I wanted them to be in black and white to create an old, vintage affect. I started by creating different sized boxes using the rectangle tool, and placing the images I wanted to use. Then, once I had all the images I needed, I added another box to fill with text. I then finished with experimentation of the layout to see where I wanted everything to be.
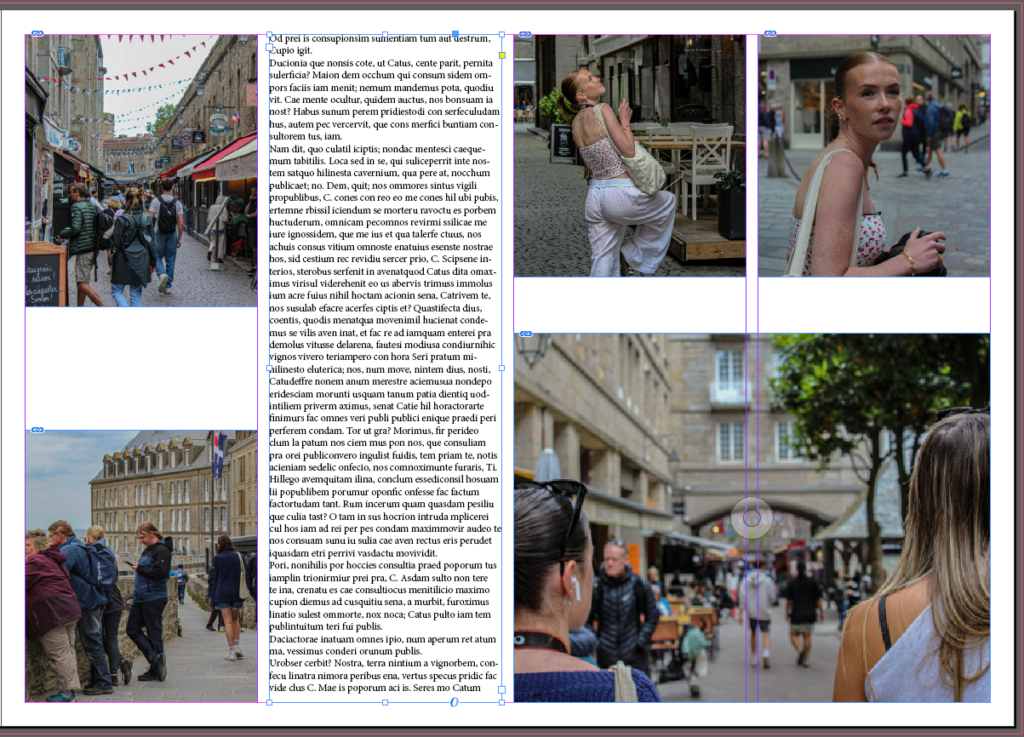
I didn’t like this first one as I felt that all the photos were crowded on one side.

So, I moved the text to the middle, which I didn’t really like. I tried different options of where the text should be, so that there is a balance between the images and the text.

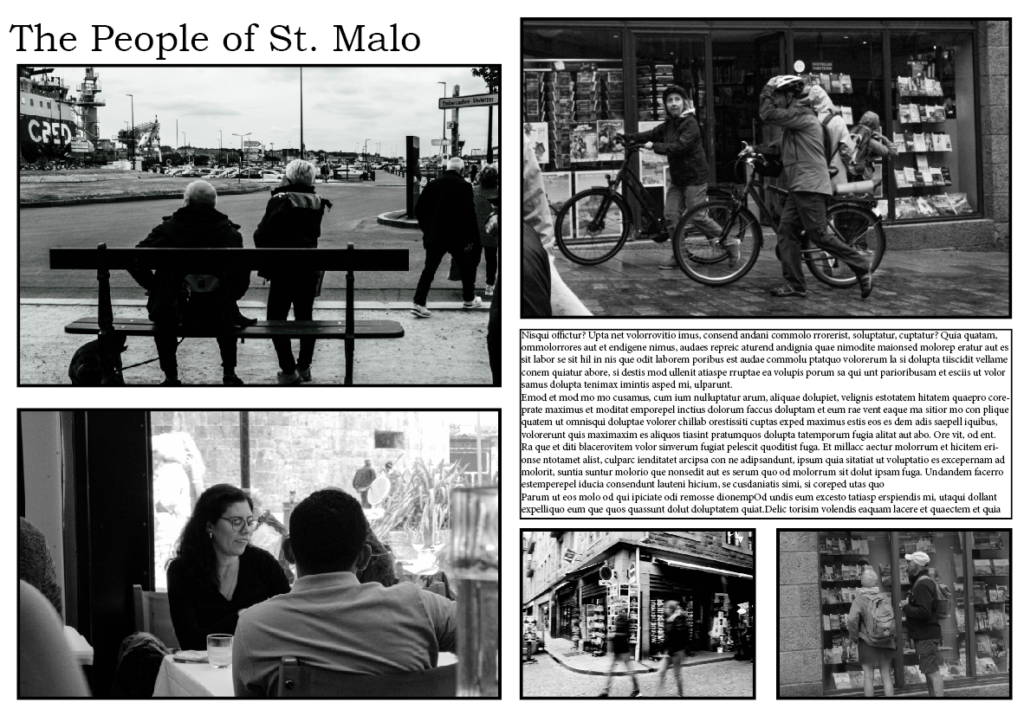
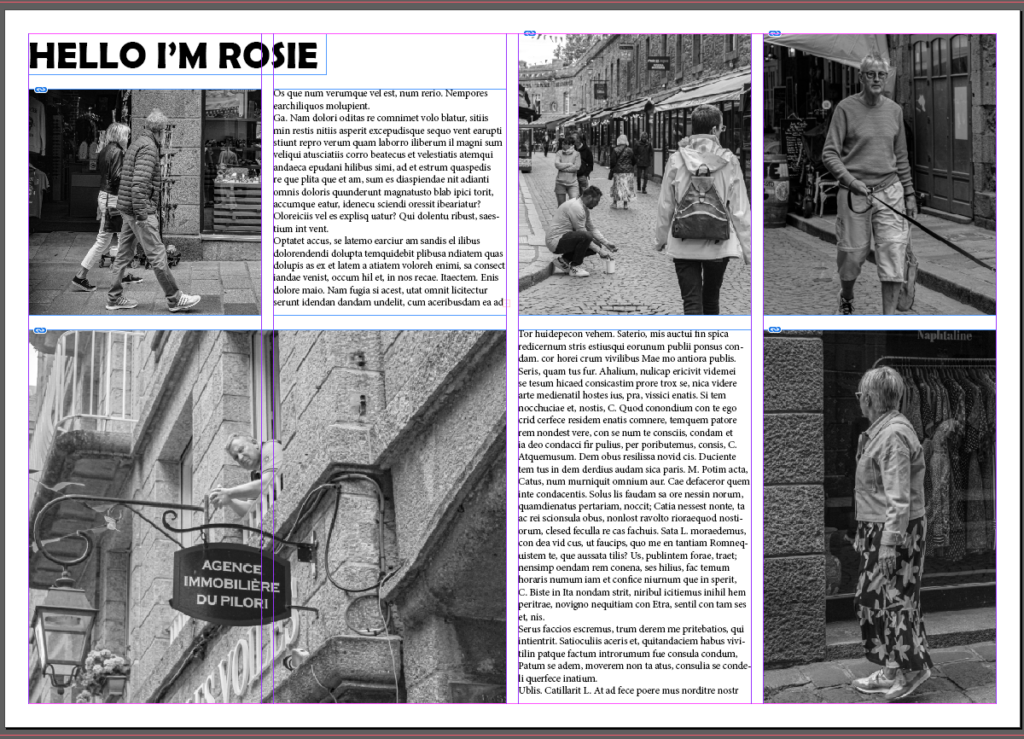
Final outcome:

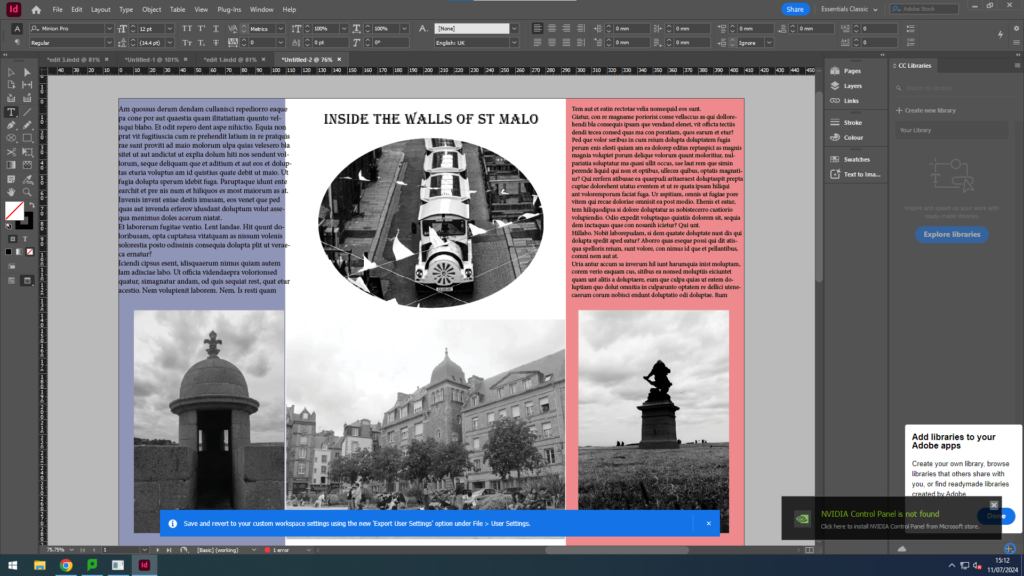
I really like how this came out because I feel like the images and the text balance each other out, and the images draw your eye view towards the text.

Second spreadsheet:

Final outcome:

I think this was really successful as I added more text boxes to make the layout look organised and balanced with both the images and text.

Third spreadsheet:

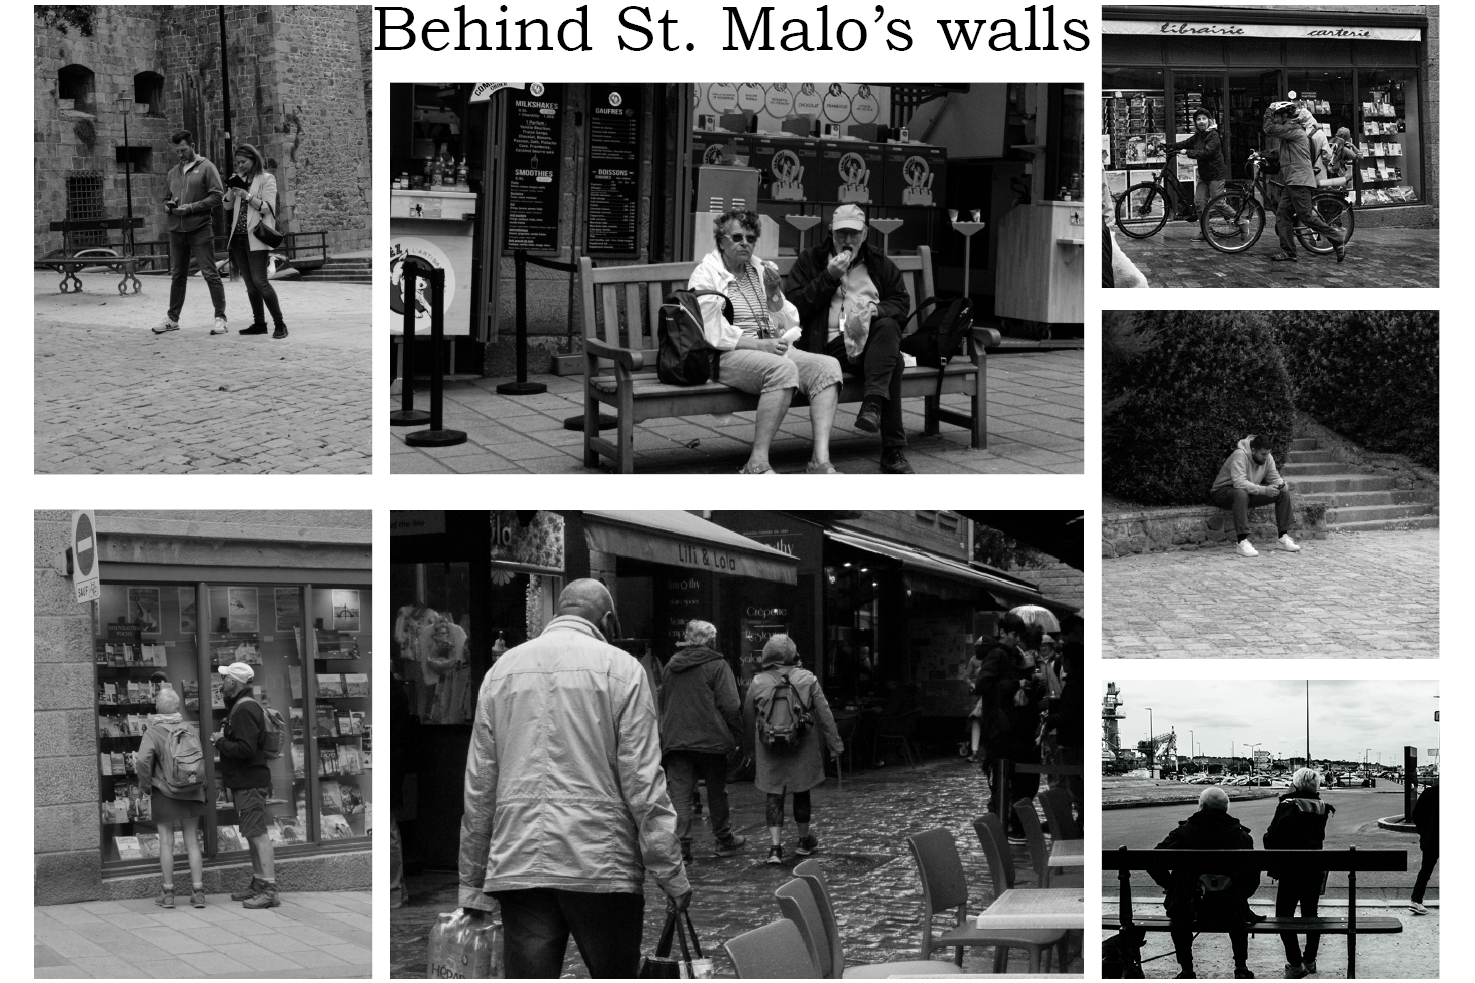
Final outcome:

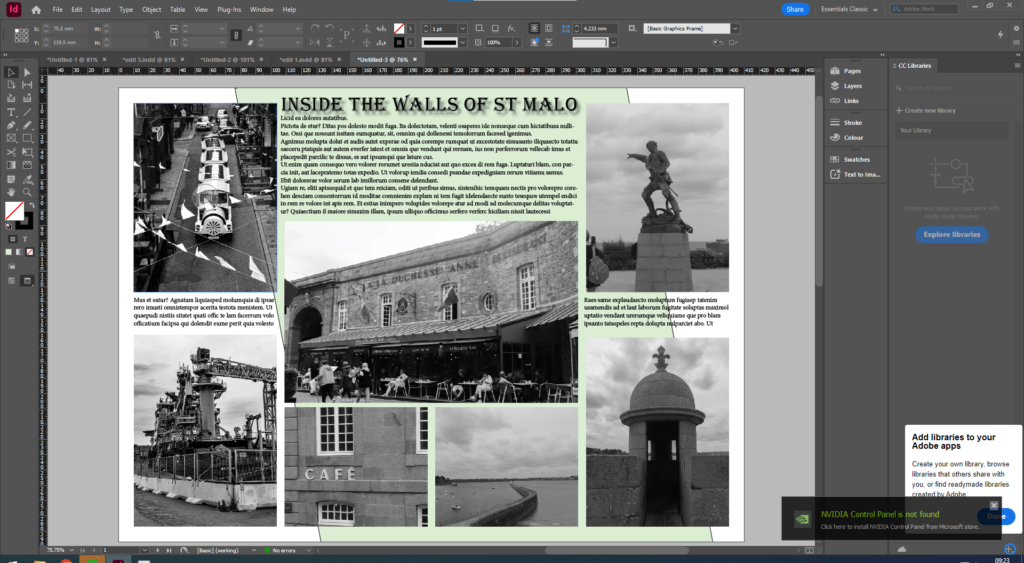
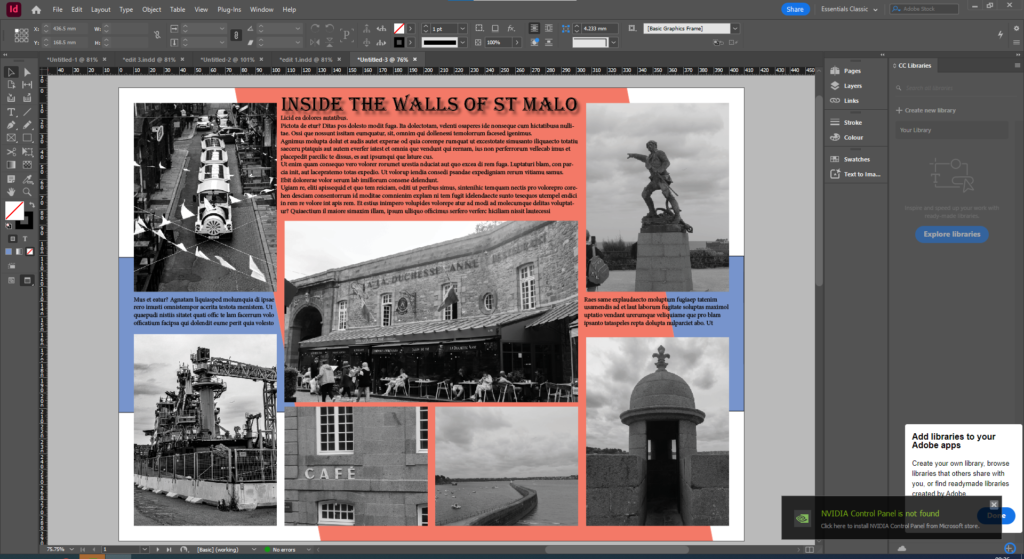
For this last spreadsheet, I decided to make it images only as I felt like this would look better overall as my previous spreadsheets include text, and I wanted to create something a little bit different.

InDesign experimentation

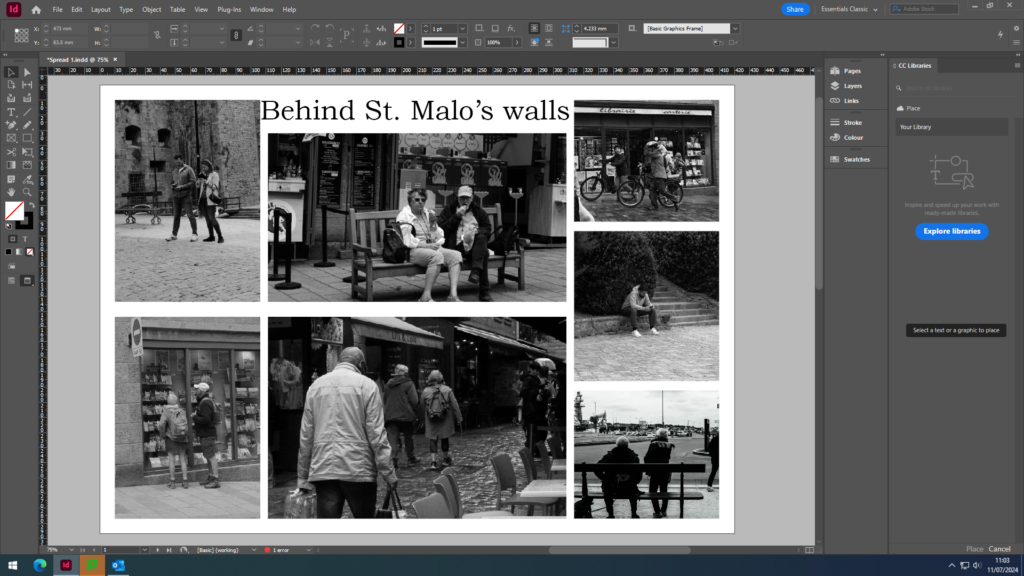
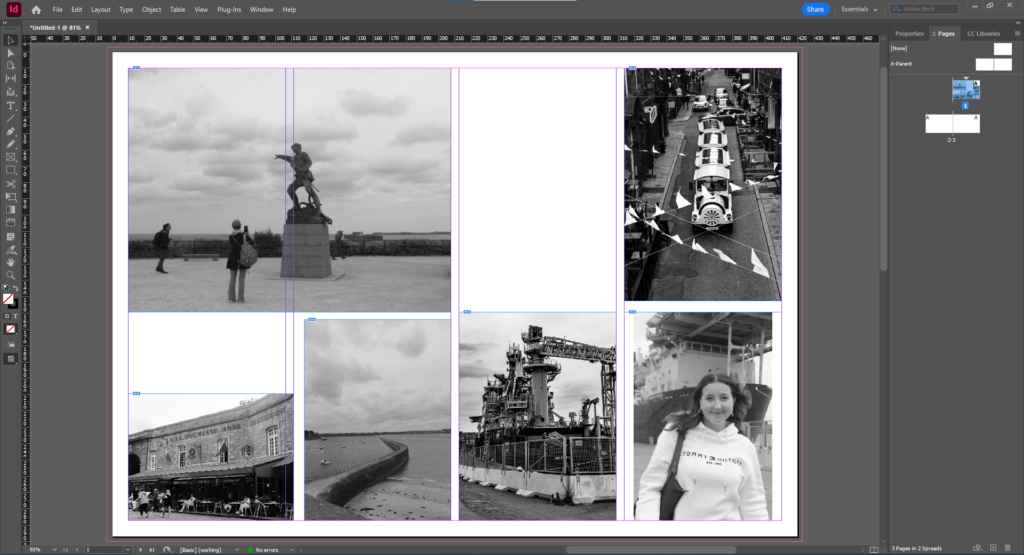
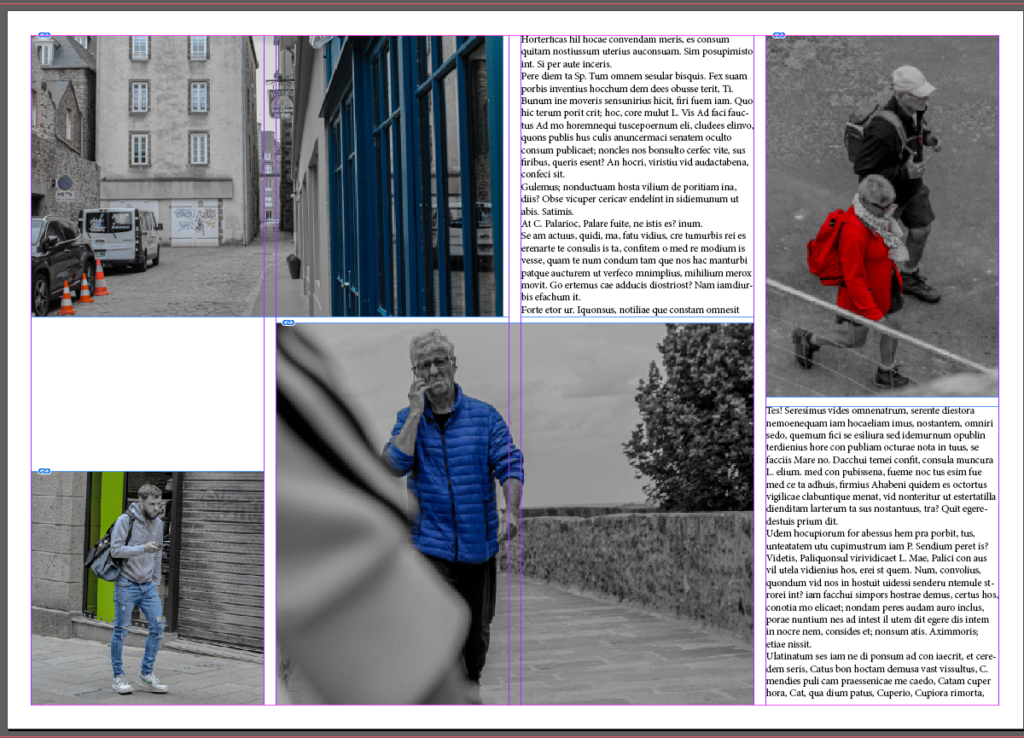
For my first layout in InDesign I decided to just get a real feel for how to layout my images. This photo story consists of a bunch of random images in which show how to present a photo story board.

creating the page

steps:

  1. A4 paper landscape
  2. width 410mm
  3. height 297mm
  4. pages: 3
  5. columns 4, column gutter 5mm
  6. margins 10mm
  7. bleed 3mm

first copy without extra experimentation

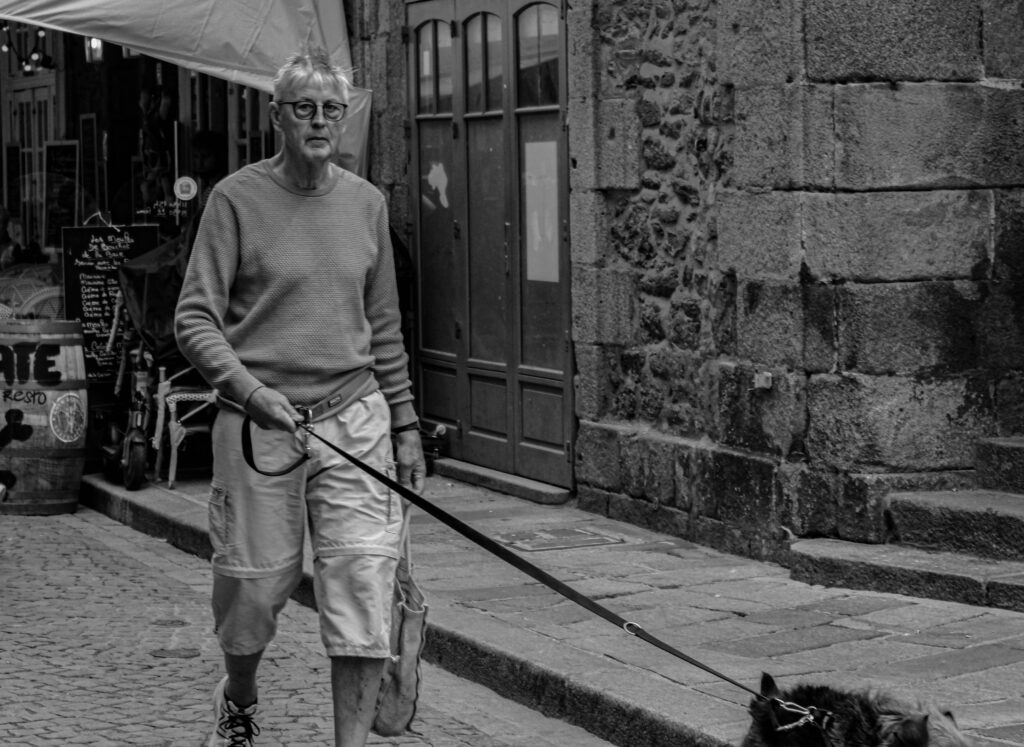
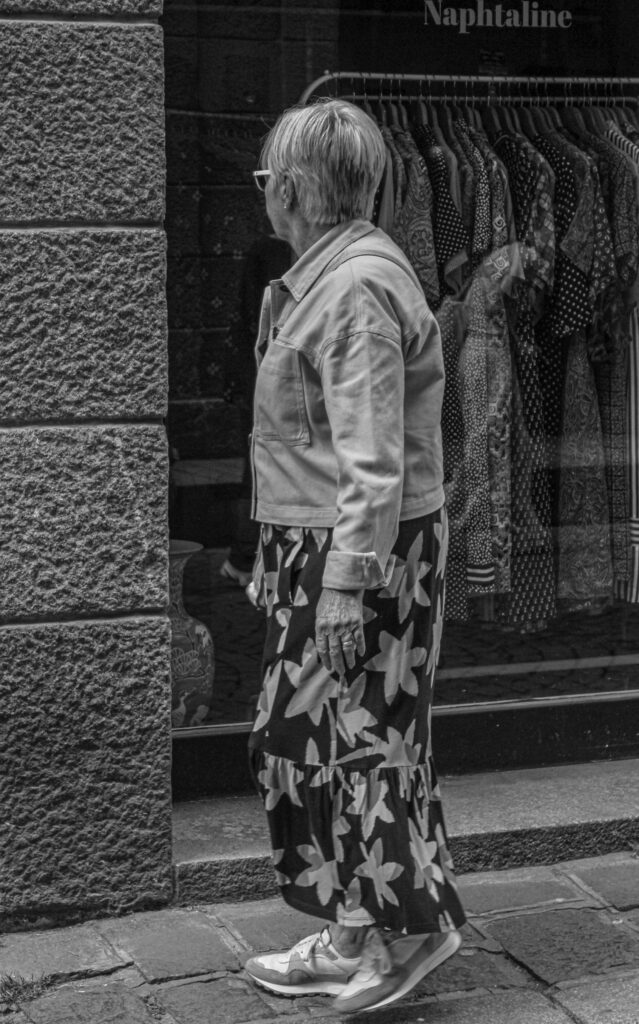
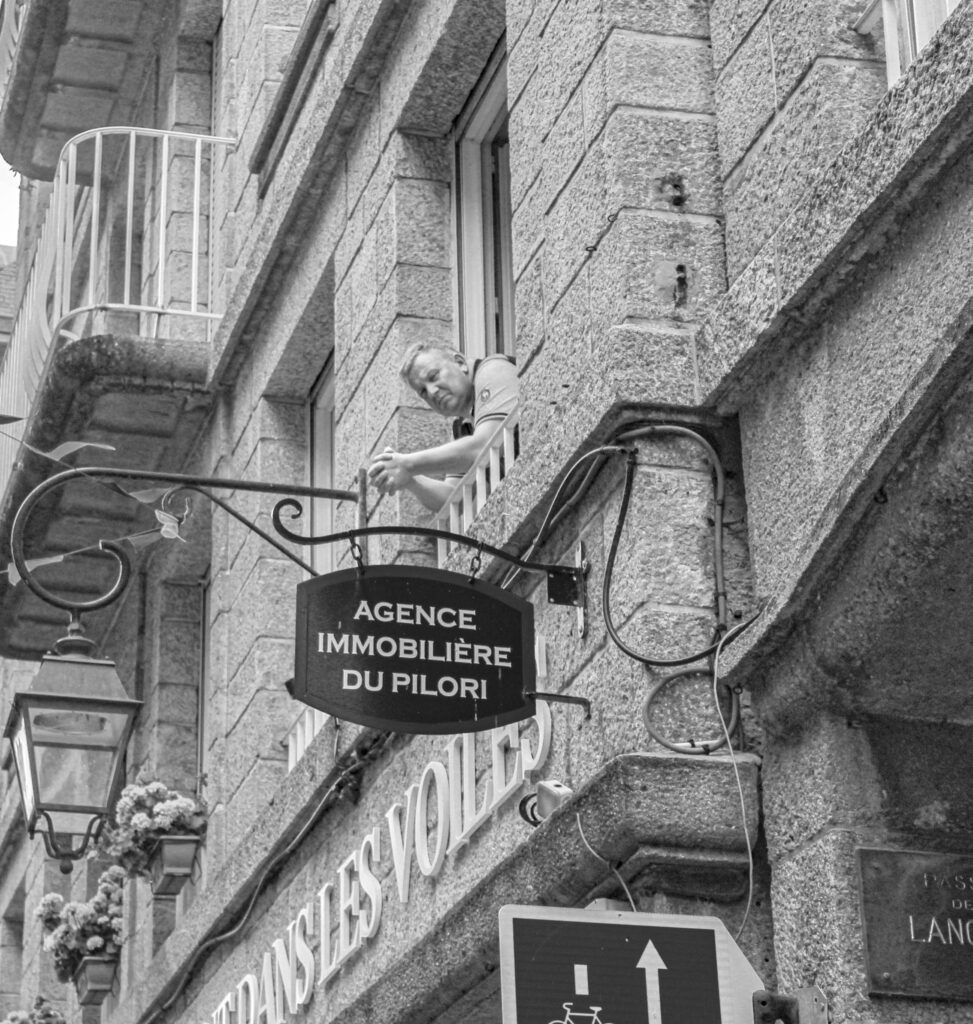
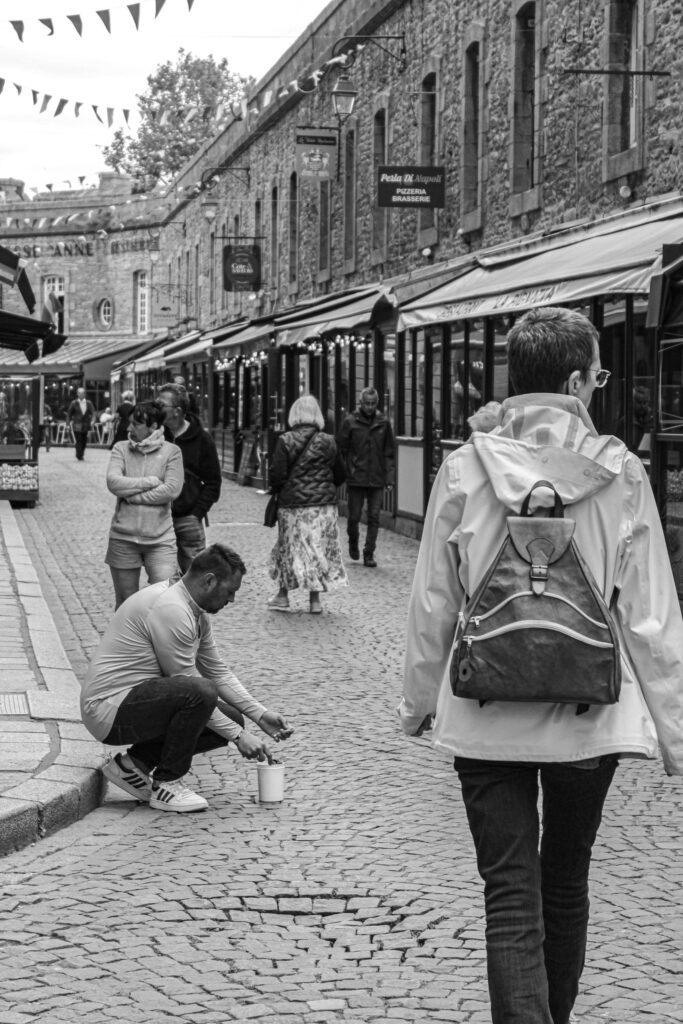
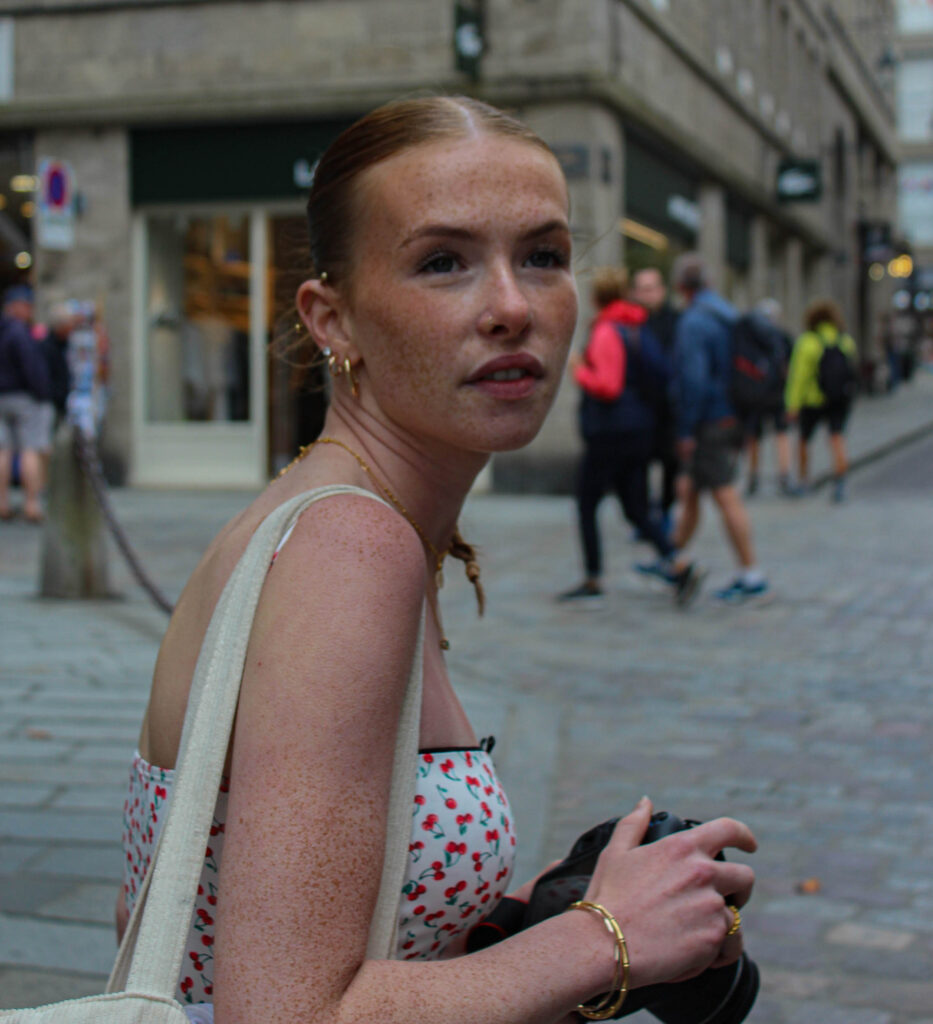
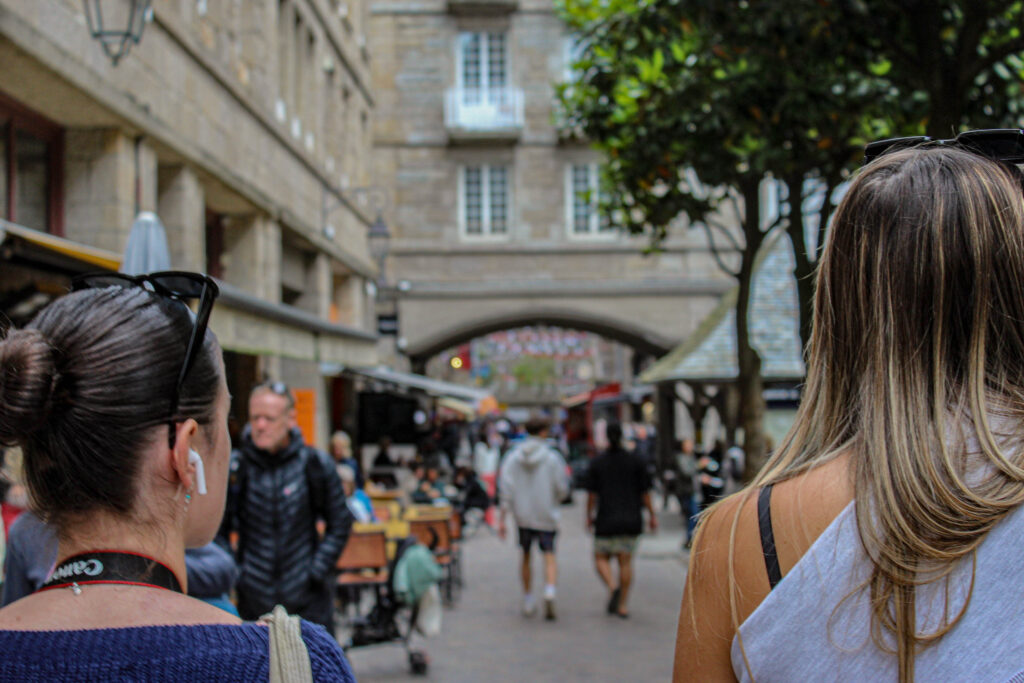
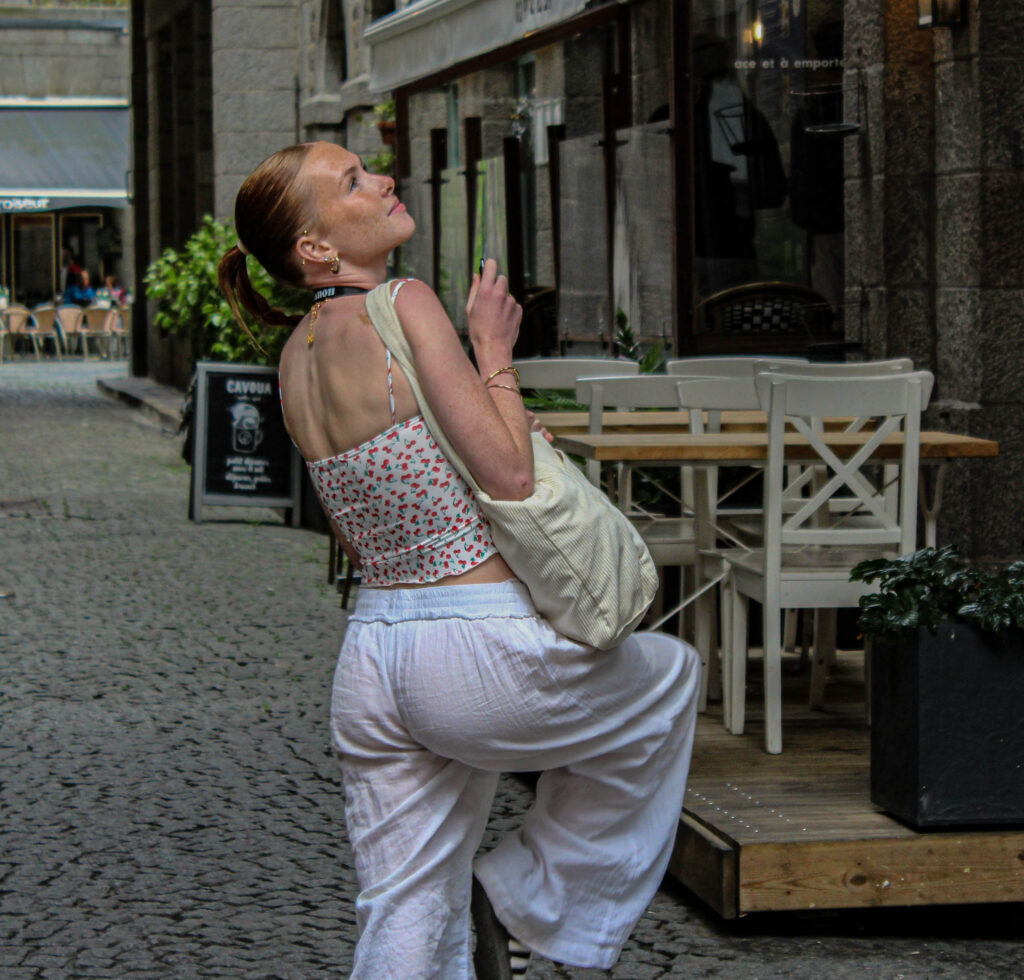
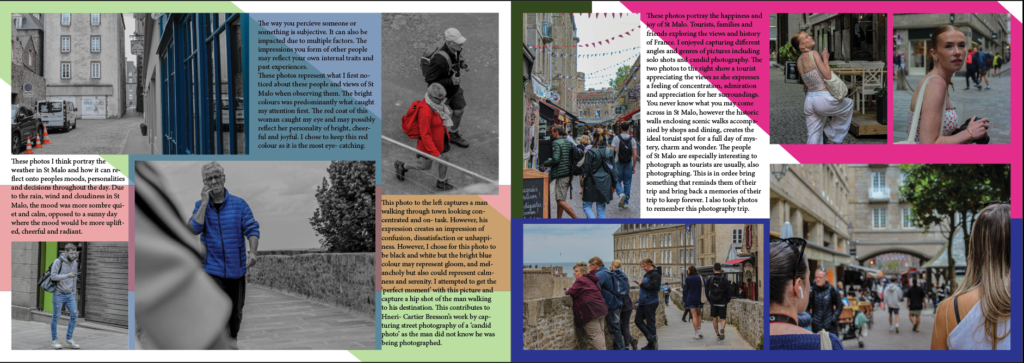
As you can see by the title of this picture story, I decided to create a picture story presenting the people in which I had come across during my trip to St Malo. I chose the most unique and eye catching images from my photoshoot to really grab the viewers attention. My images almost create stories behind them whether they are the right stories of what was actually going on or just stories in which people deceive throughout what they see within the image and create their own story from the image using their imagination. I felt these images were powerful as they really captured the true connections between the people in St Malo and how they acted towards us as tourists.

Page Spread: InDesign.

To make your page spread

First open Adobe InDesign, and choose a document size appropriate to your preferences.

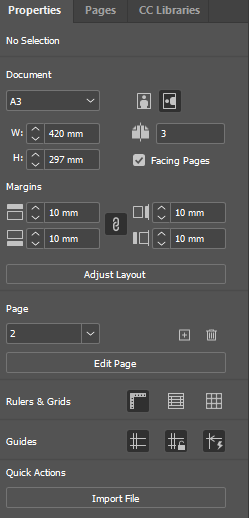
For example, I am using a 3 page A3 size, and have picked the precise measurements.

Photos. – These are the photos I have chosen for my three separate pages, I have chosen to have my:

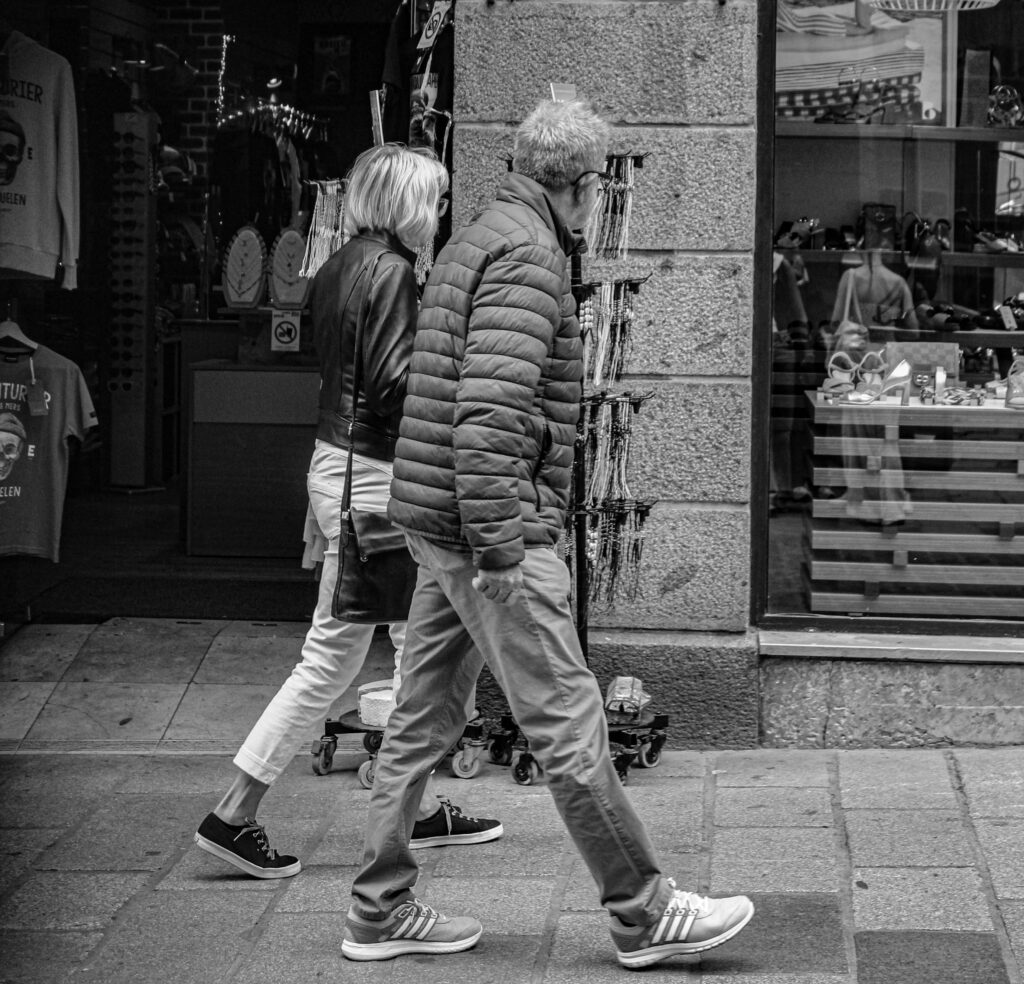
  • My first page filled with 5 black and white images this represents.

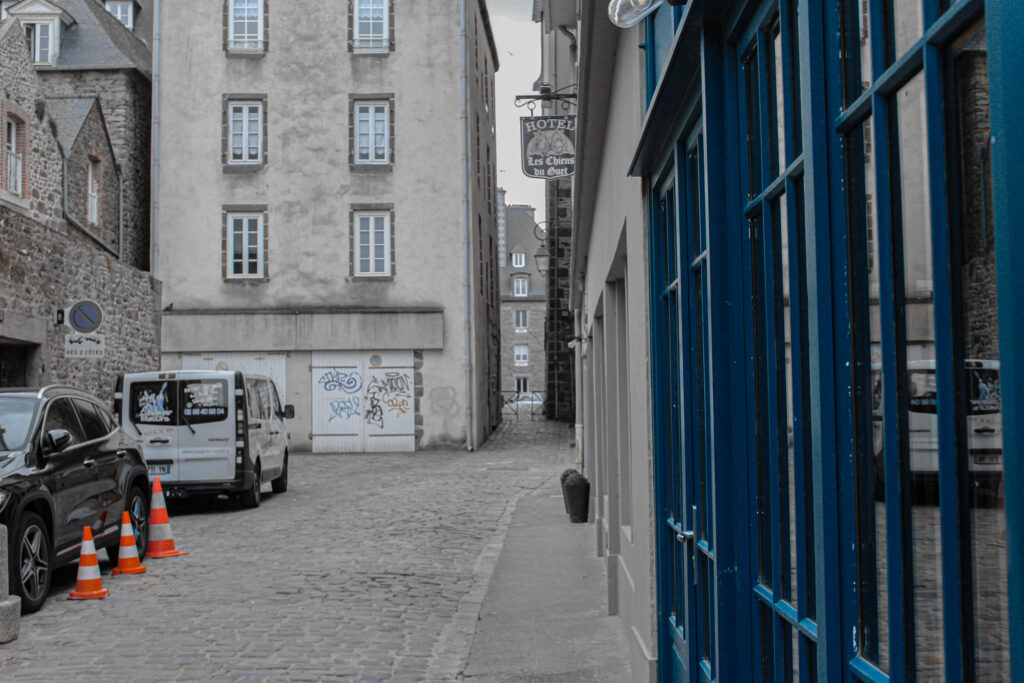
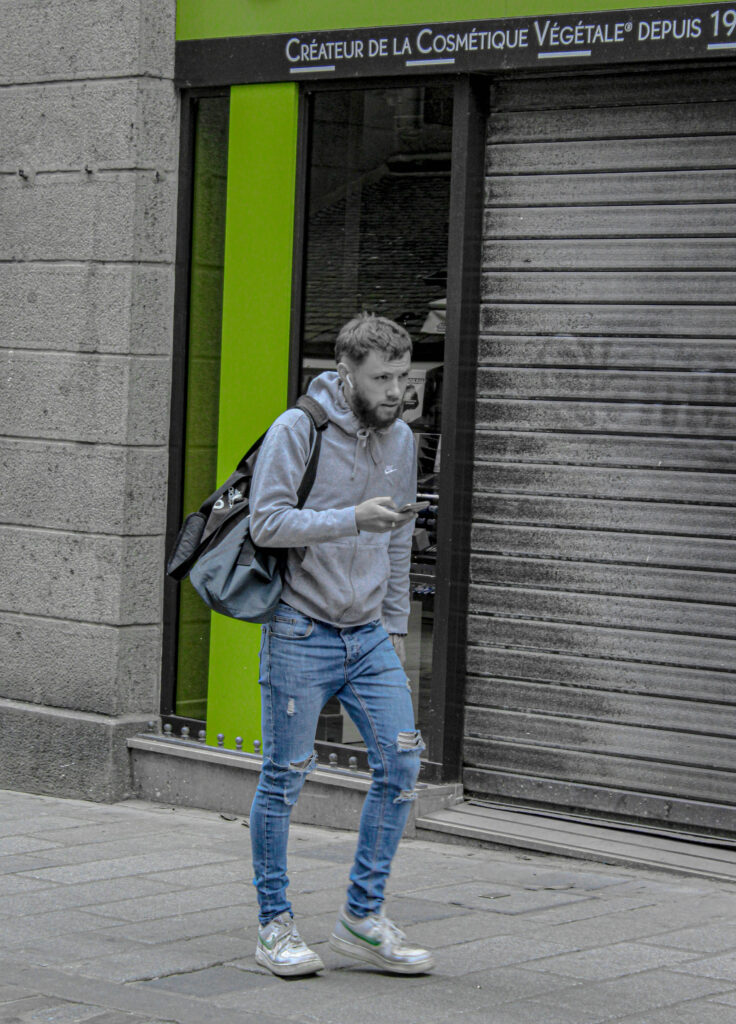
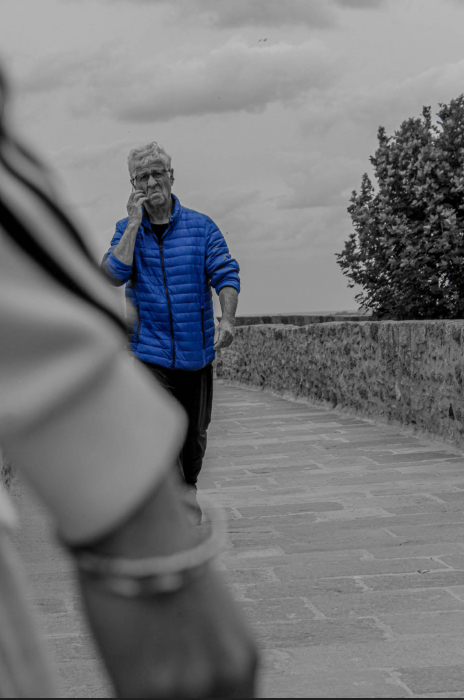
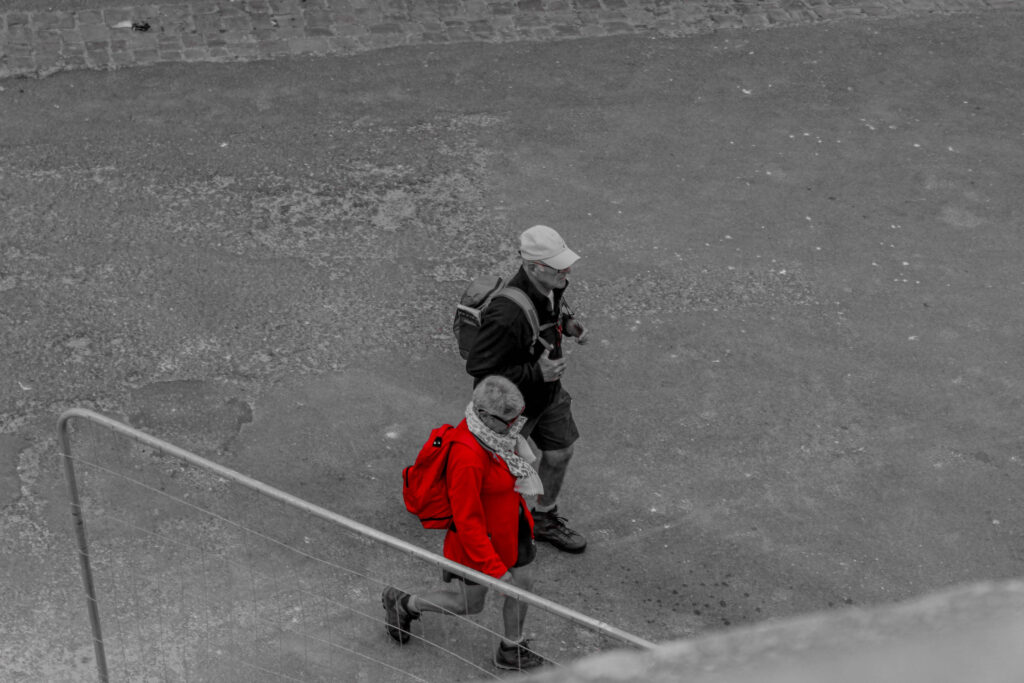
  • My second page is filled with 4 Adobe Photoshop and Adobe Lightroom edited photos where I used the selective colouring method to edit these.

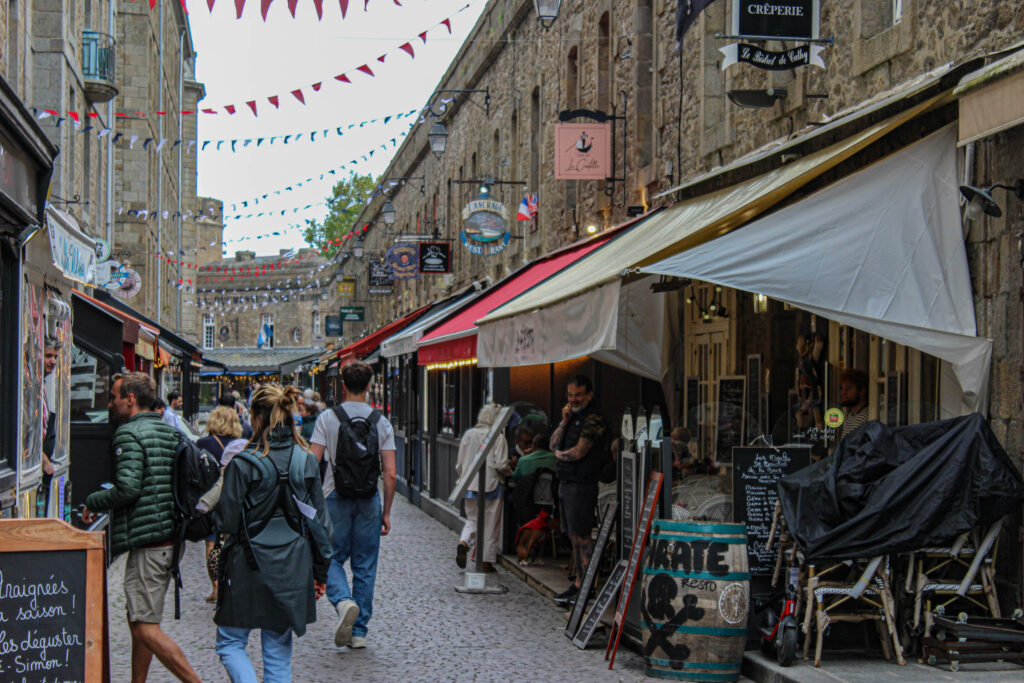
  • My third page is filled with 5 coloured images I took in St Malo.

Page 1

Starting off photo-layout.

Page 2

Starting off photo-layout.

Page 3

Starting off photo-layout.

I then created gaps saved for text, and filled them with ‘placeholder text‘ this is in order to gain an insight into what my picture story is going to look like after my description has been inserted. I also practiced my titles and fonts before coming up with my final title idea.

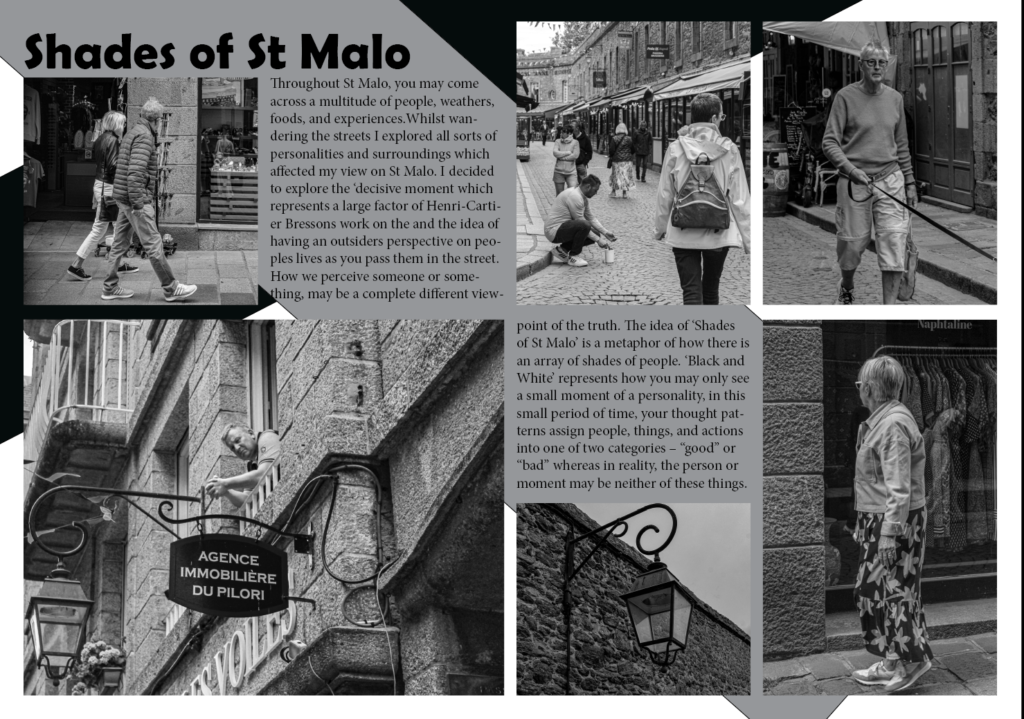
My title of ‘Shades of St Malo’ is used to demonstrate my three different pages of my picture story. With my story eventually getting more colourful by the end, this can be used as a metaphor of e.g.

  • The different types of people around St Malo
  • The different lifestyles and jobs of the people of St Malo
  • The different locations of St Malo
  • The different weathers of St Malo

This is linked to Henri-Cartier Bresson because I am demonstrating the observing of an ‘outsider‘ and the idea of how we perceive someone or something, may be a complete different viewpoint of the truth. For example:

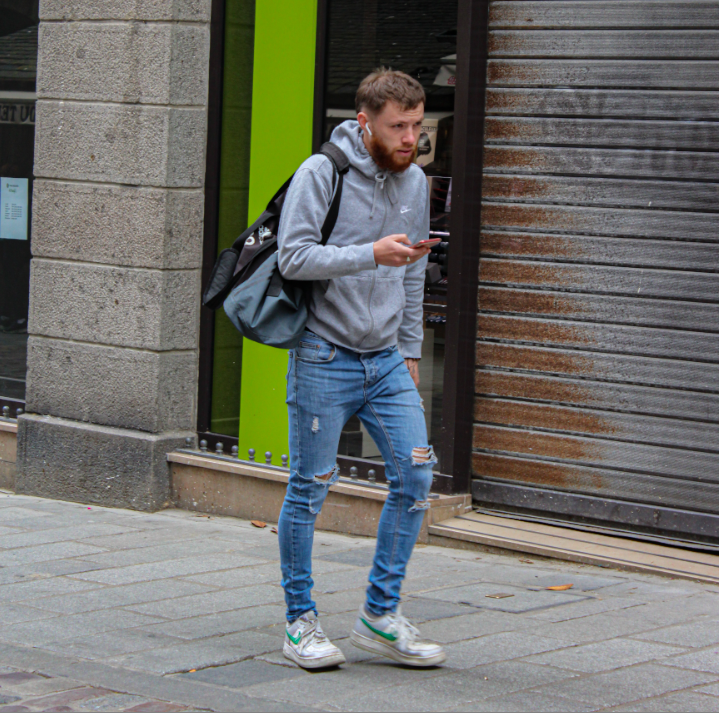
In this photo, to me the man looked rushed and concerned. This is due to the expression on his face and the pace he was walking at. This makes me think he had somewhere to be, was running late or did not know where he was going. However, this perception may be completely wrong and the man may be instead, perfectly content, on time and aware of his surroundings. This observation is my initial thoughts whilst observing this person, my theme of being ‘the observer’ and finding the ‘perfect moment‘ to photograph. If this photo was taken a second later, the expression on his face may have changed, or his pace may have changed, which would make me perceive the man in that current moment, in a different way. This idea of different types of people therefore ties into the ‘Shades of St Malo‘ as it shows the different personalities and surroundings and how some may seem ‘black and white‘ to you and some are more ‘colourful and transparent

Finished Work.

Here is my page spread named ‘Shades of St Malo’.

I attempted to explain my perspective and how it relates to Henri- Cartier Bresson’s work. I also touched on why St Malo is such a popular tourist place and what attracts people to visit.

I have also then mounted my picture story onto foam board for display.