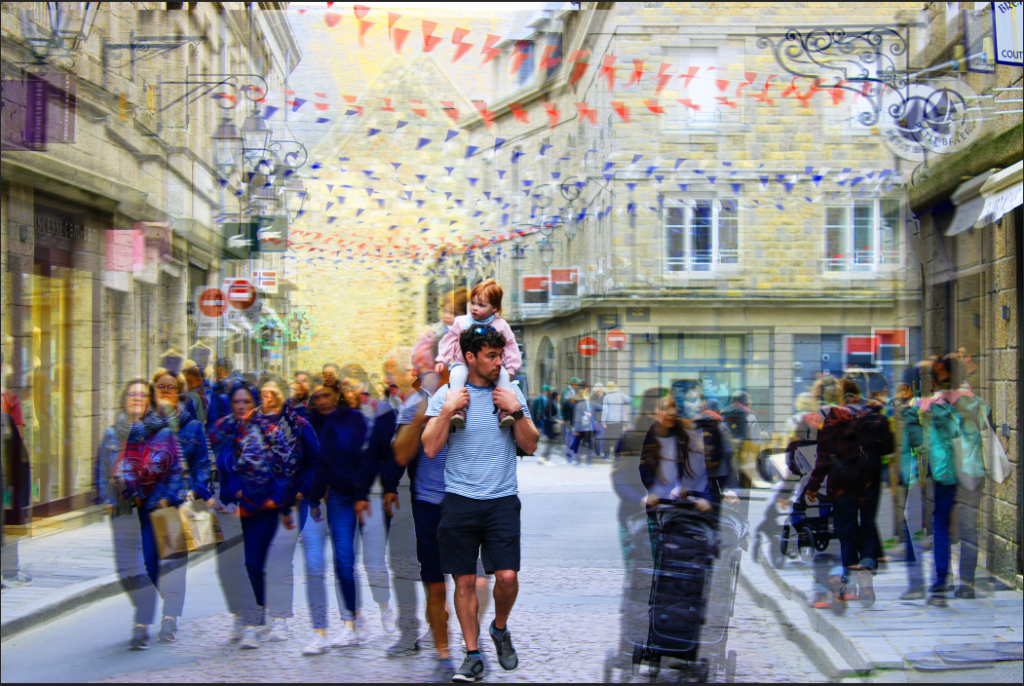
Experimenting with AI
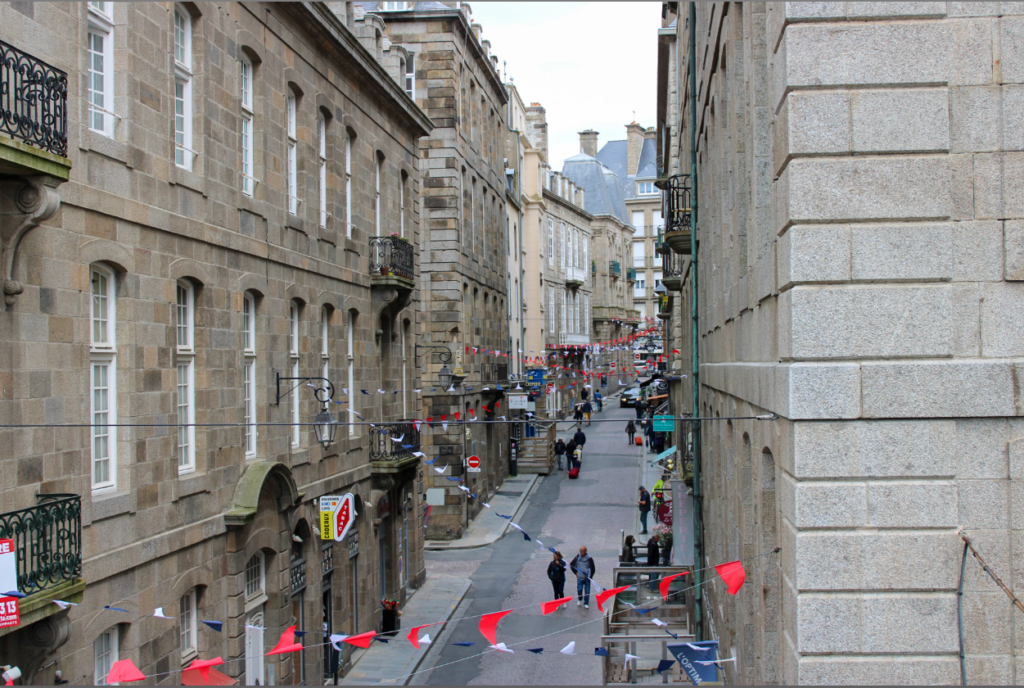
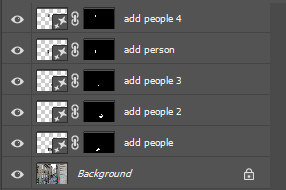
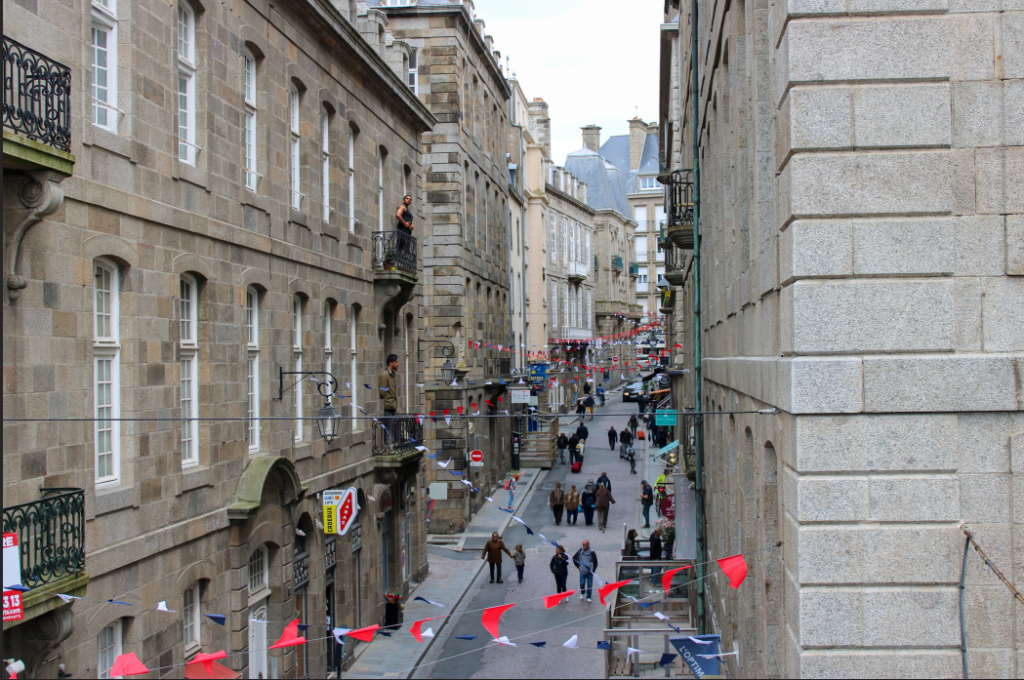
I wanted to use AI to make the streets of St Malo more busy, so I selected where I wanted my people and used different prompts to achieve what I wanted.
Experimenting with cropping
For cropping I chose images that I wanted to zoom in on, or images which I wanted to crop something out of the image.
These are the different cropping formats I tried.
- Portrait Format
- Landscape format
- square crop
- circle crop
- multi circle / porthole crop
- polygon crop
- panoramic crop
Portrait Format
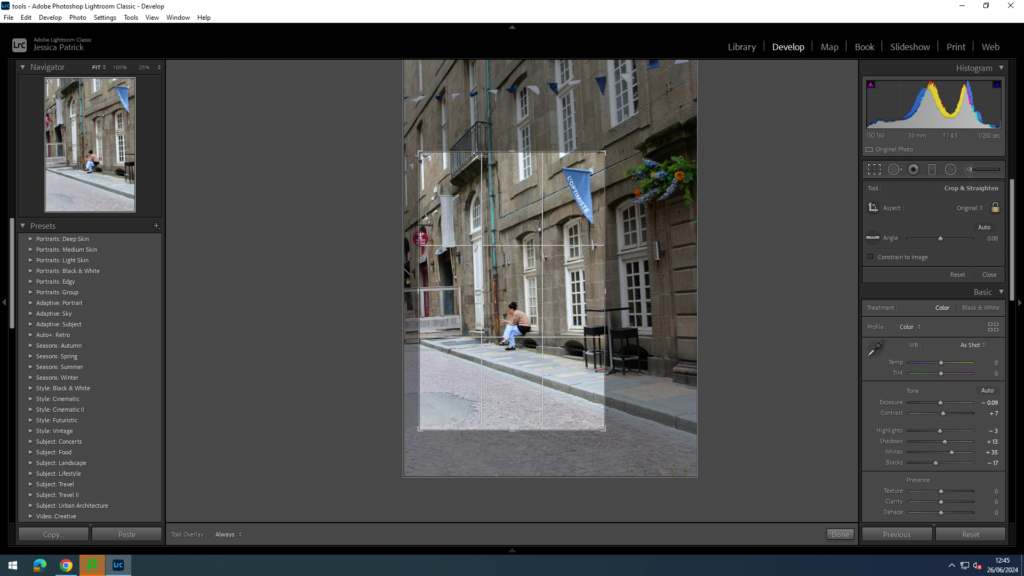
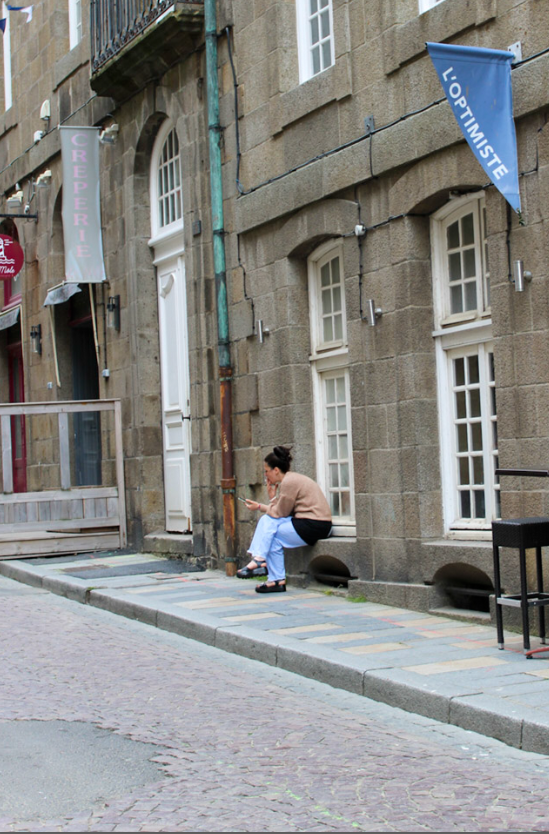
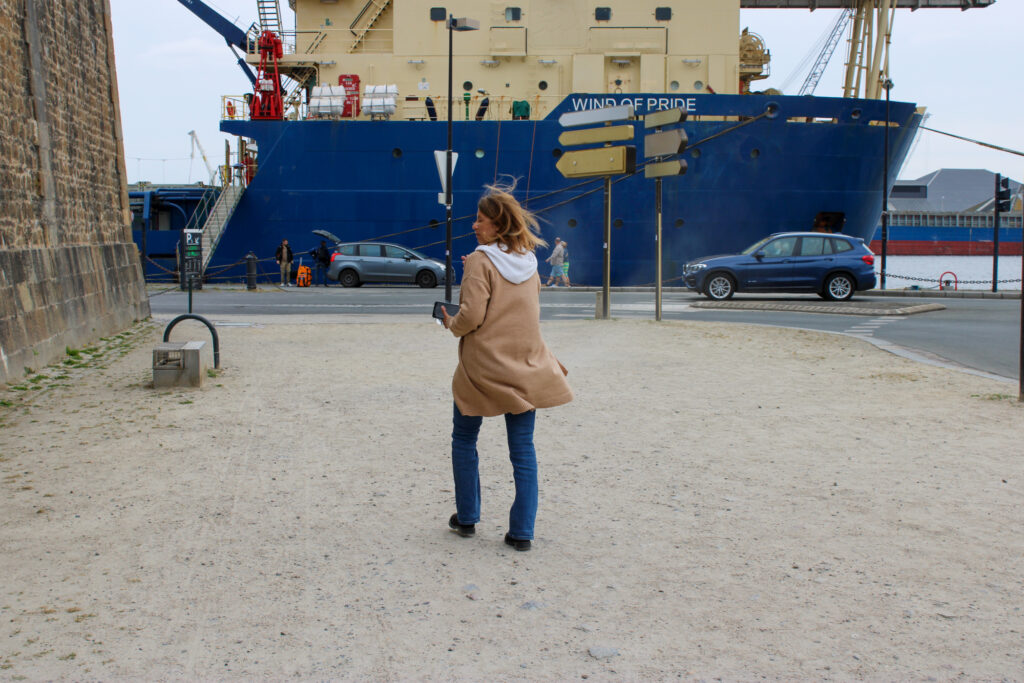
I chose to use a portrait crop for this image, because I wanted to zoom in on the girl in this image more, so that I could remove some of the negative space all around her, so that she was more visible and the main viewpoint.
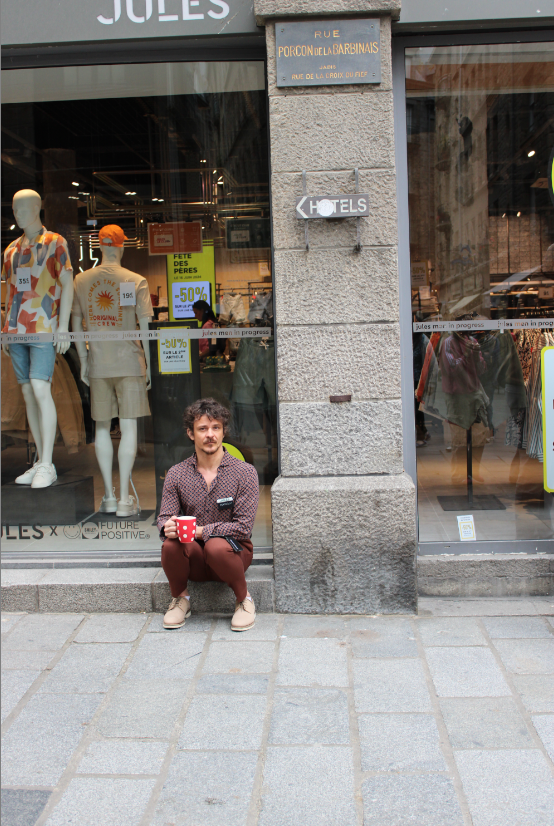
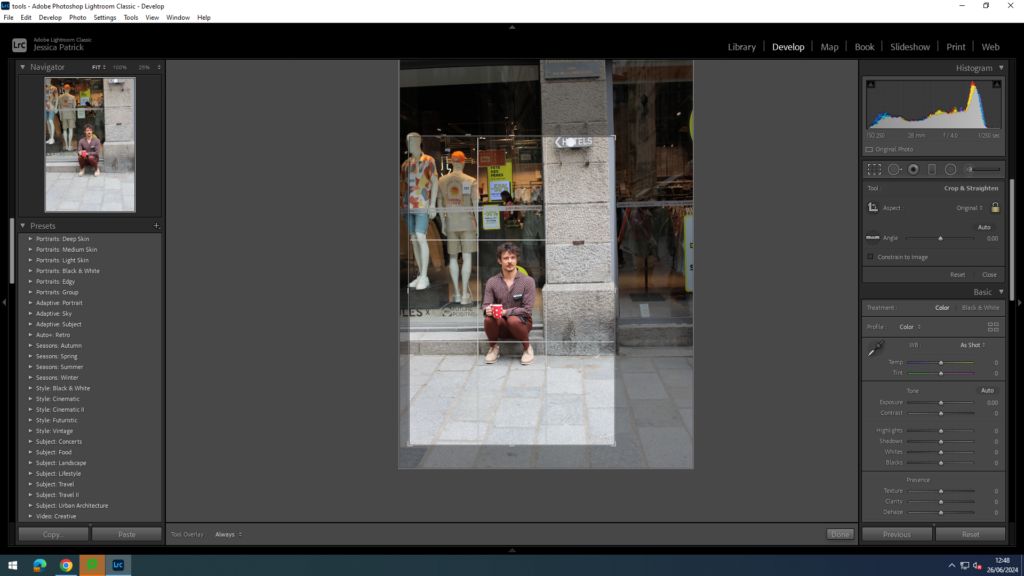
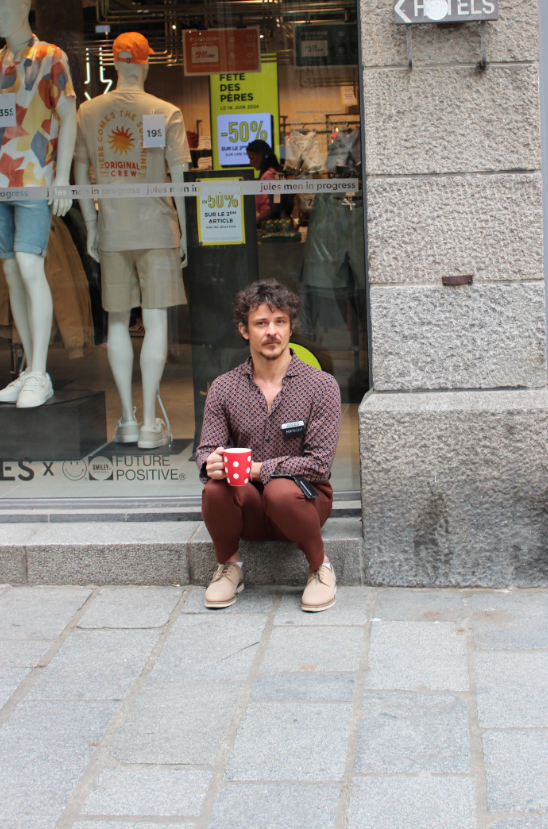
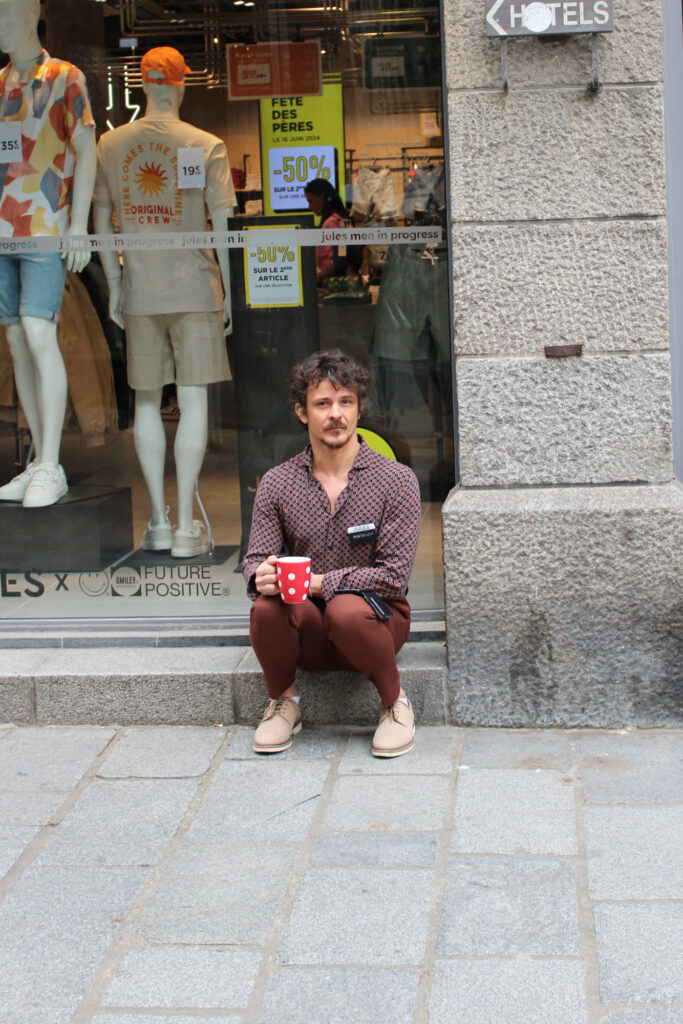
For this image I also wanted to close in on the man in this image more, by removing some of the negative space around him.
Landscape Format
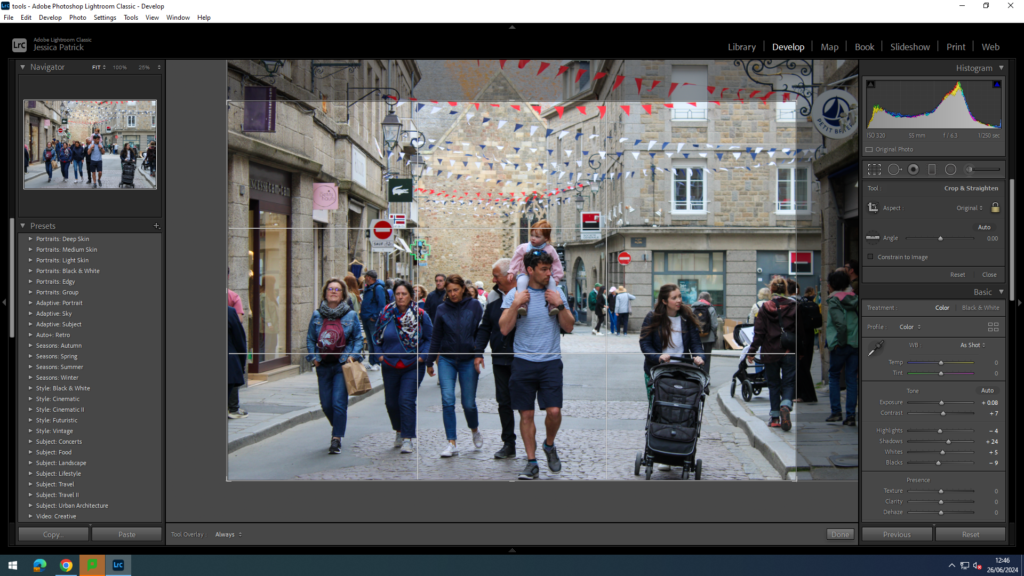
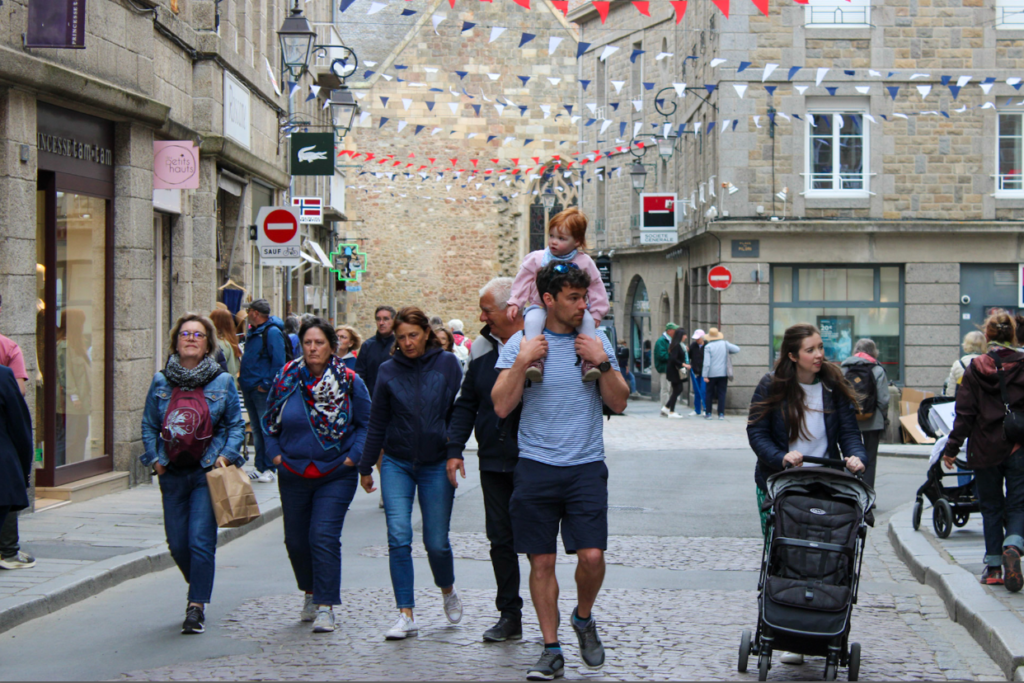
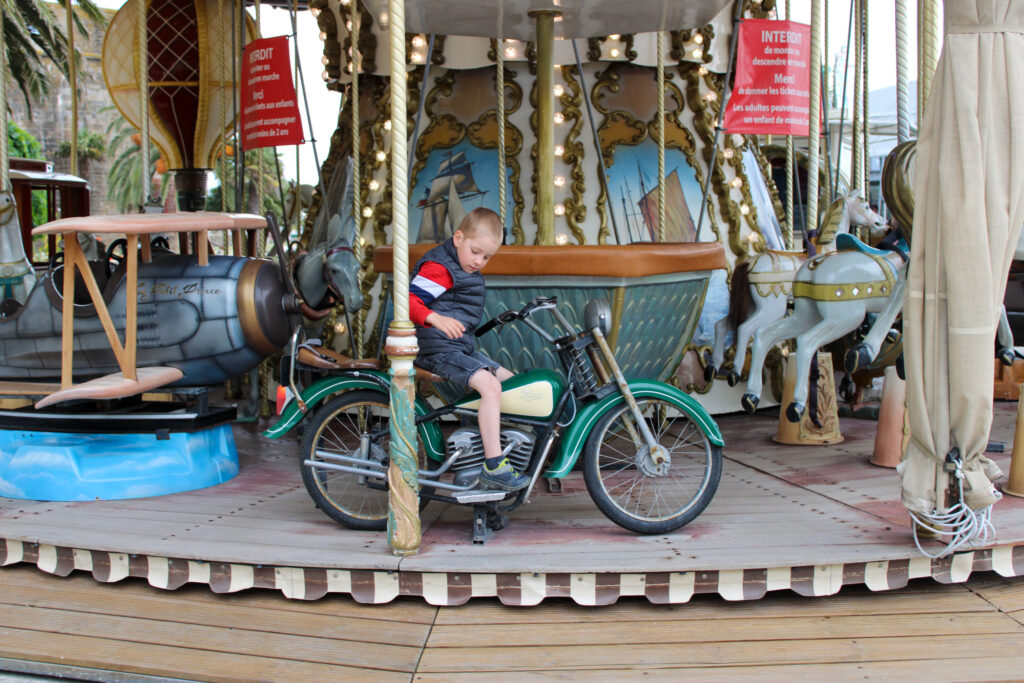
For this image I wanted to remove some of the negative space on the right hand side of this family, so that I could close in on the family more, and so they would be more centre in the image.
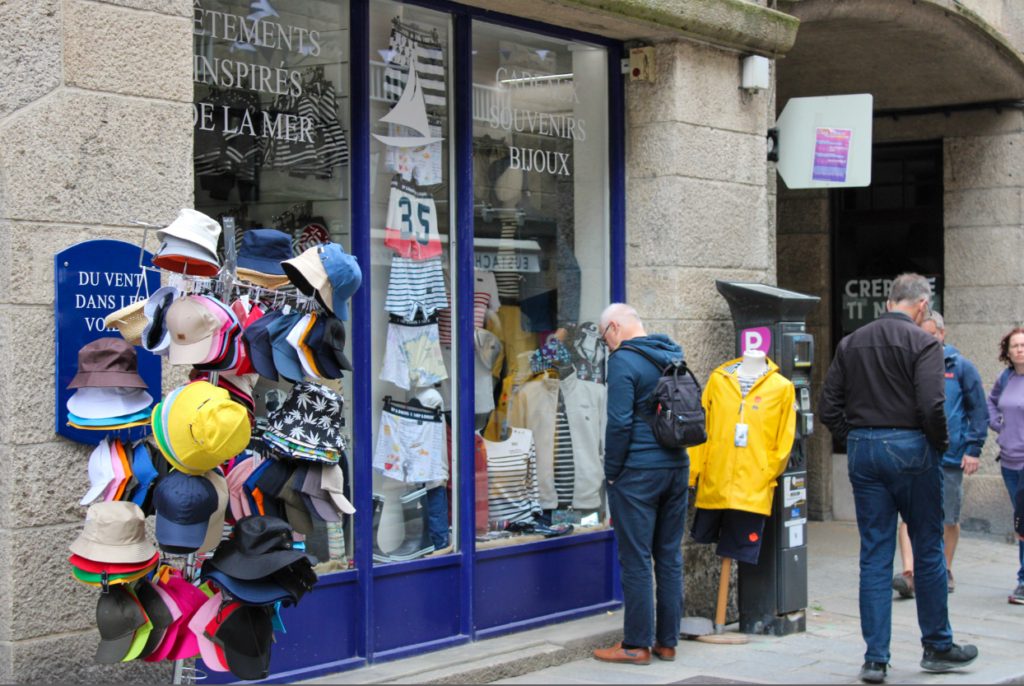
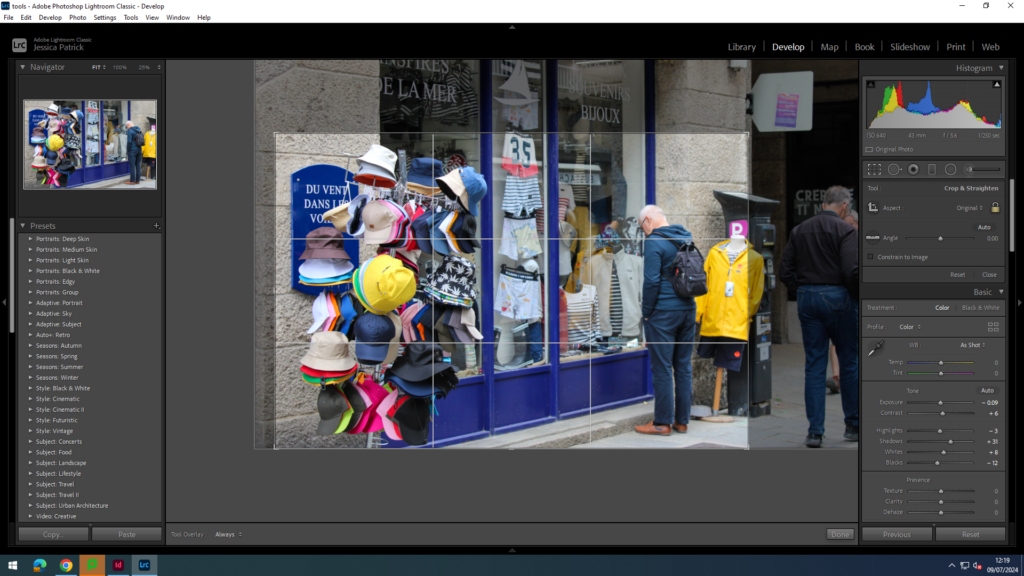
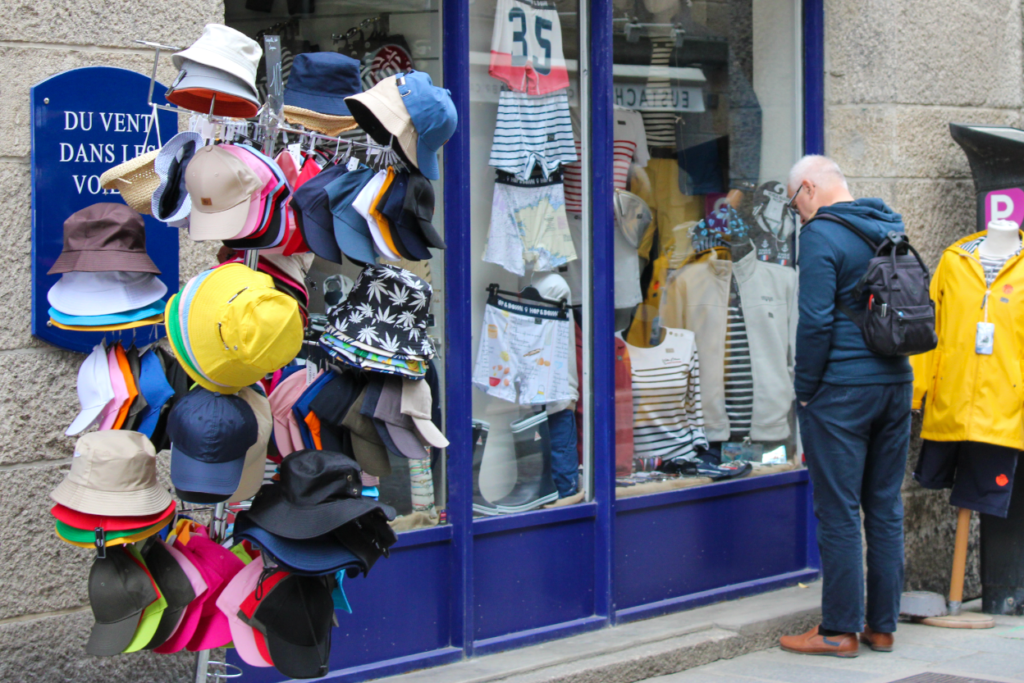
For this image, I wanted to remove the people on the right hand side and zoom in on the man looking into the window more, so that he is the main focus of the image.
Panoramic crop
I didn’t take any panorama for this photoshoot, but I experimented with the panoramic crop in my Anthropocene work.
Square Crop
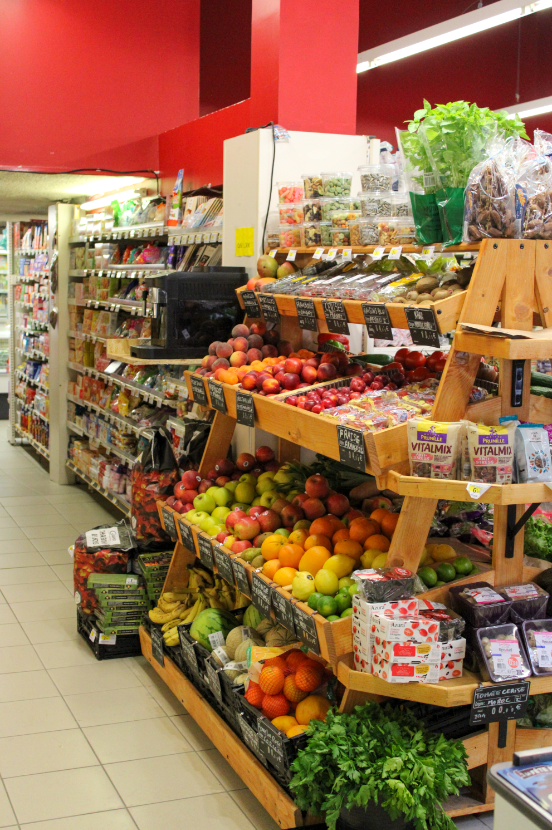
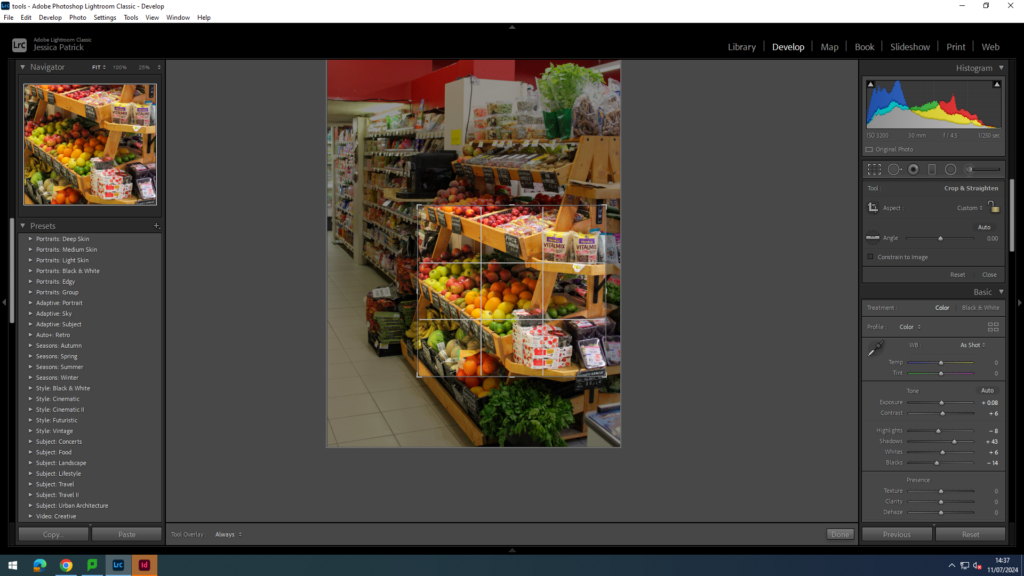
I have chosen to square crop this image, so that I could zoom in on the fruit, to create more of a detailed shot.
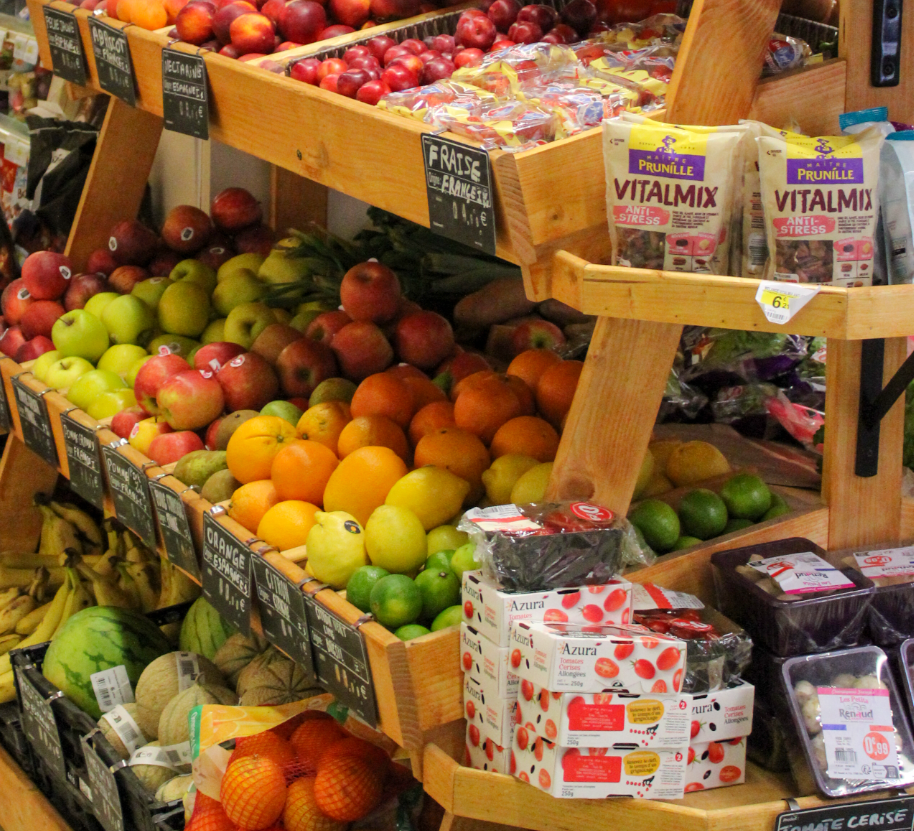
I removed all the negative space around the fruit and zoomed in on them quite a lot, to create this nice detail shot, that an be displayed nicely with a few of my other images.
Circle Crop
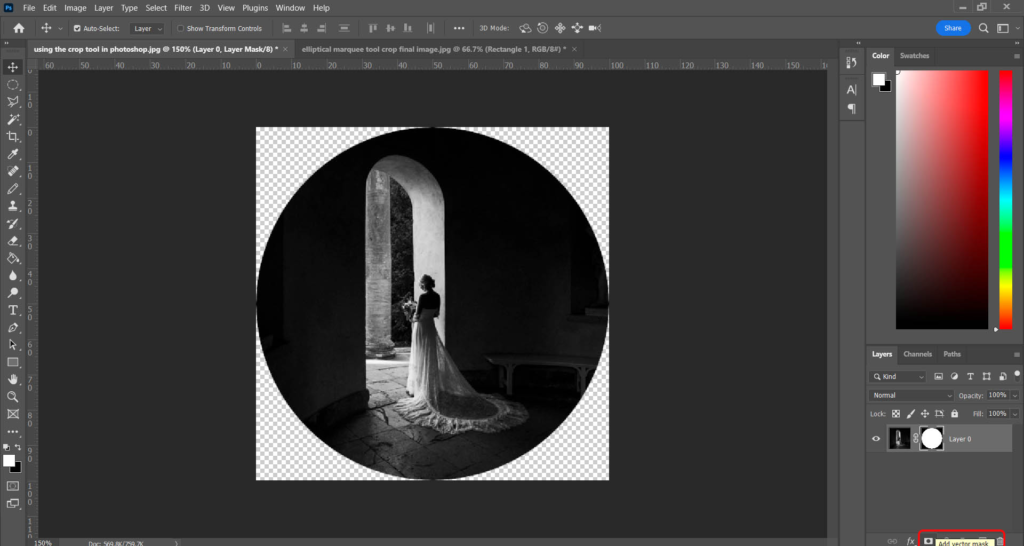
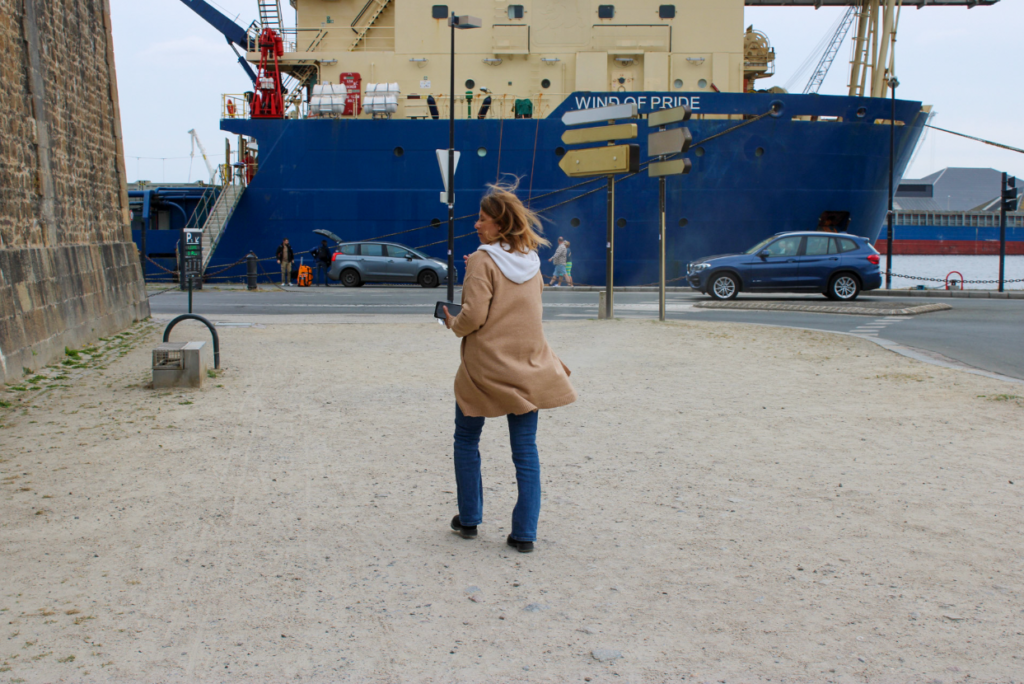
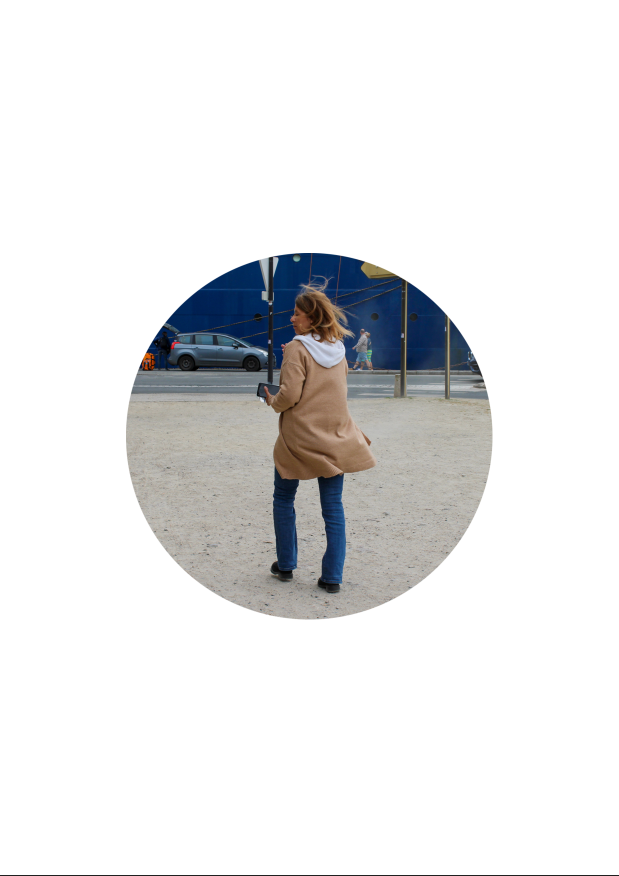
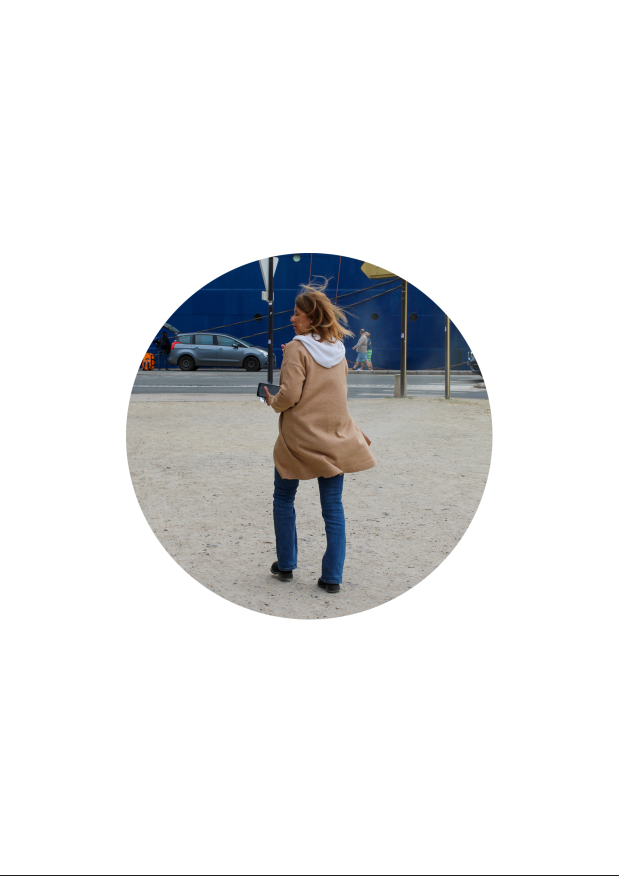
I decided to circle crop this lady in this image, and crop out all the negative space around her.
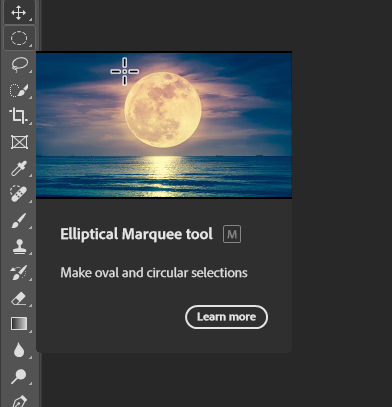
First, I selected the elliptical marker tool and made a circle around her. Then, I went to inverse and deleted my background. Finally, I dragged her onto a white background.
Multi Circle Crop
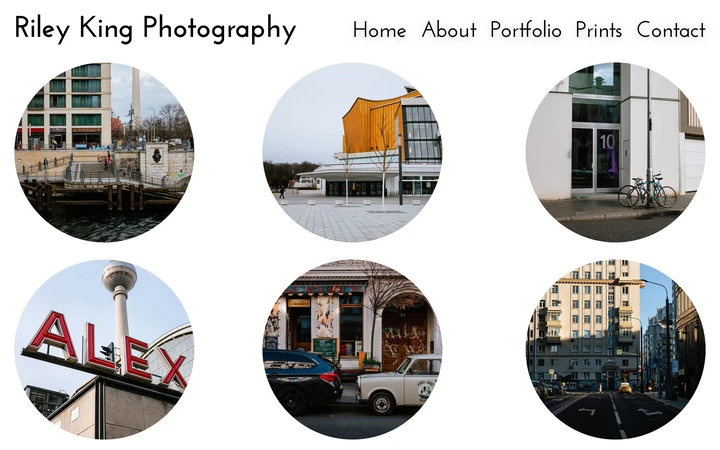
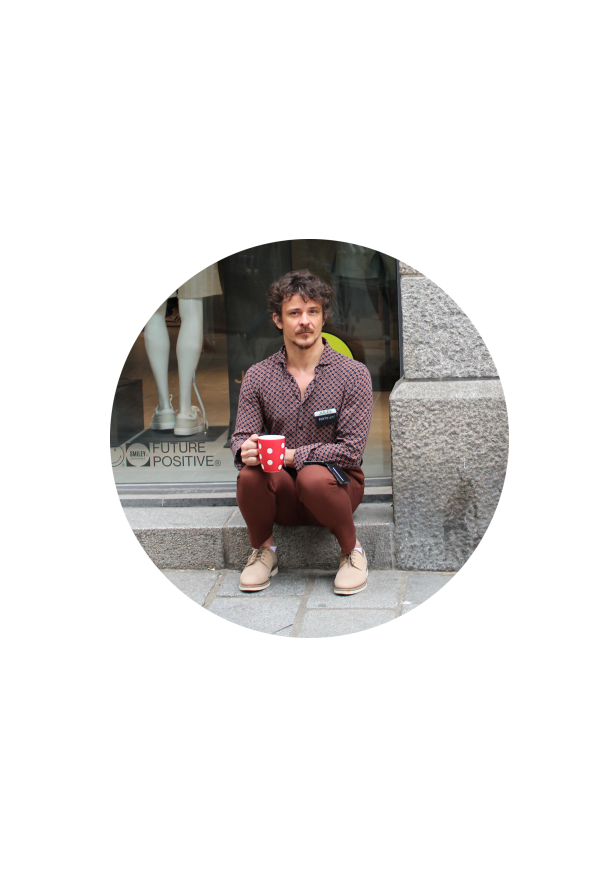
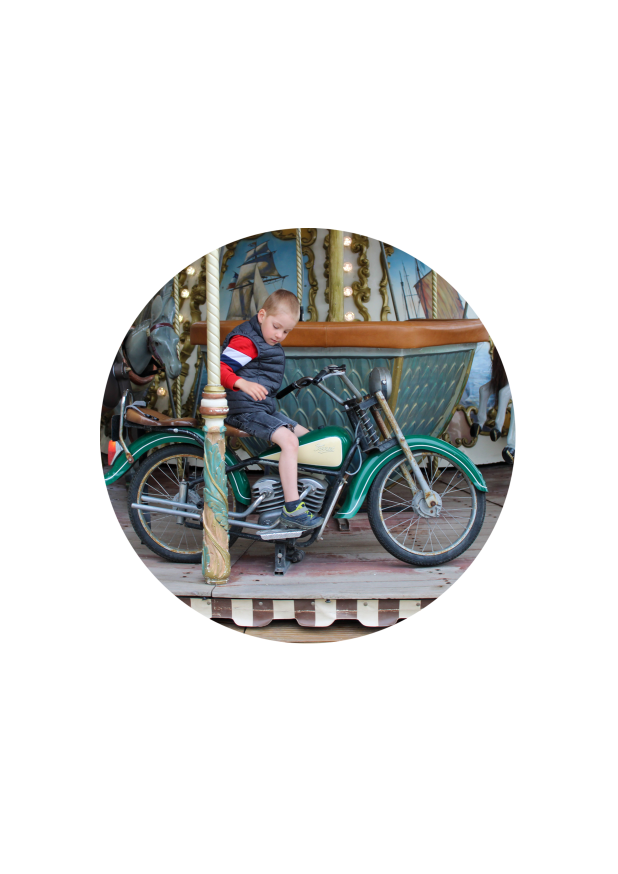
I chose these three images to create a multi circle crop.
Polygon Crop
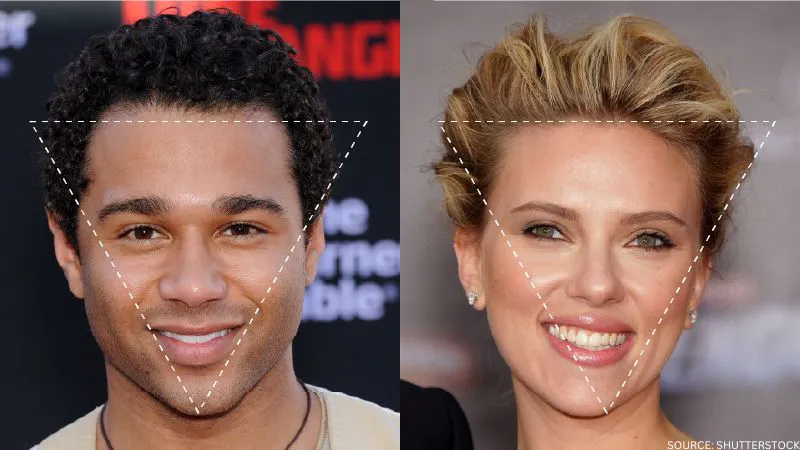
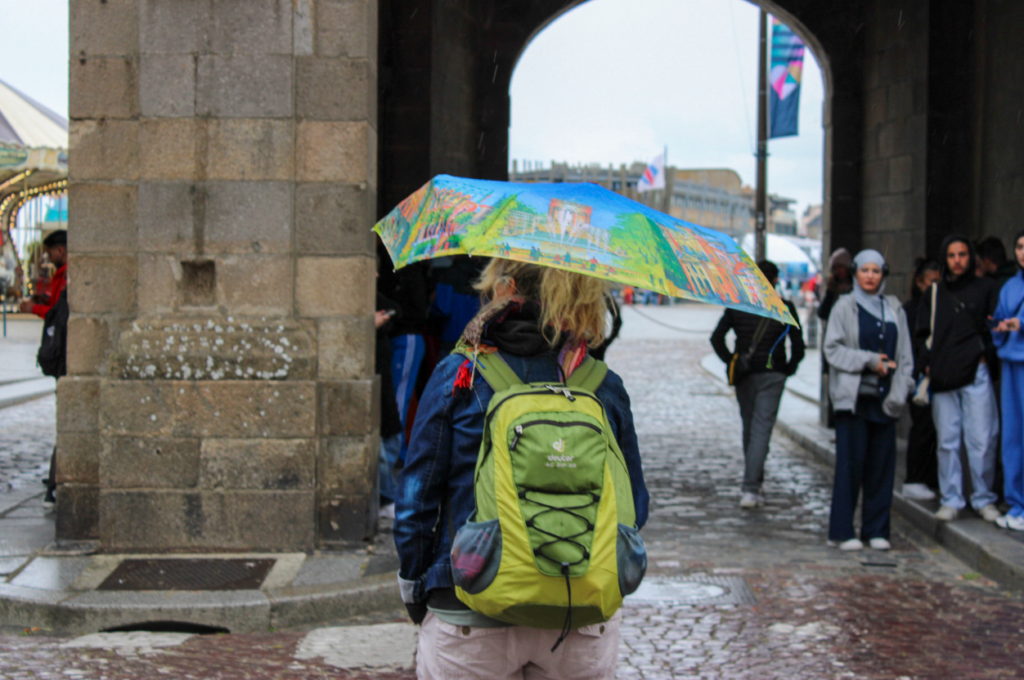
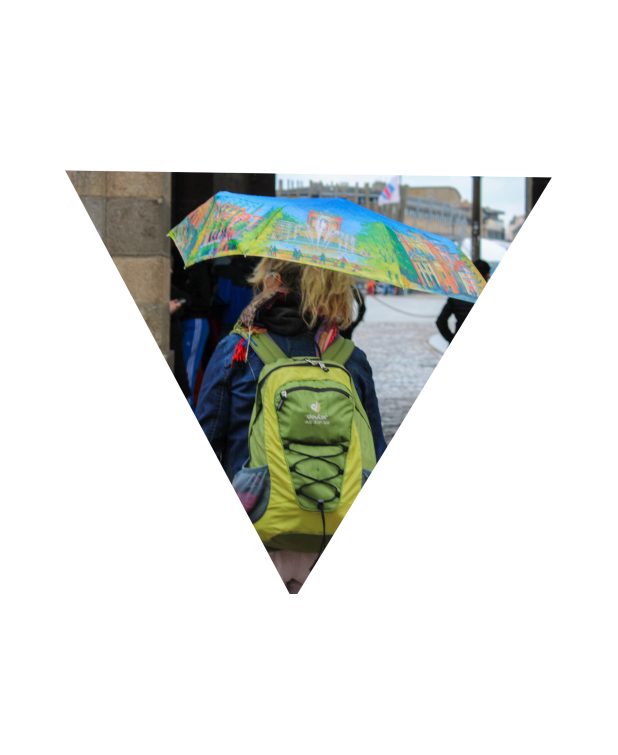
I c hose this image to create my polygon crop.
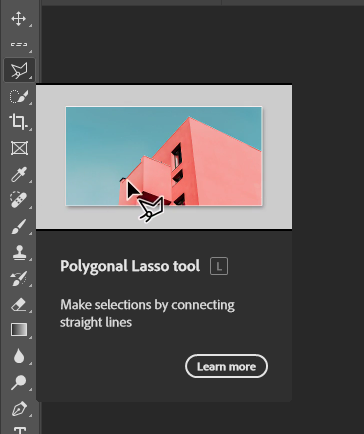
First, I selected the polygon tool and created my triangle shape. Next, I went to select and inverse and deleted the background. Finally, I dragged my polygon onto a white background.
Experimenting with Colour Theory
Finally, I wanted to look at the colour wheel/ colour theory for when I am cropping, so that I can try and include complimentary colours in my images instead of cropping them out.
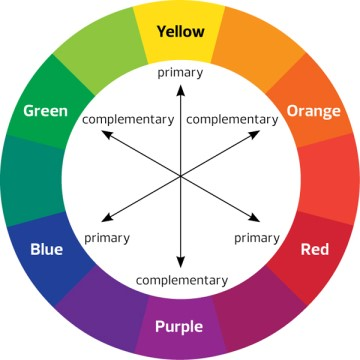
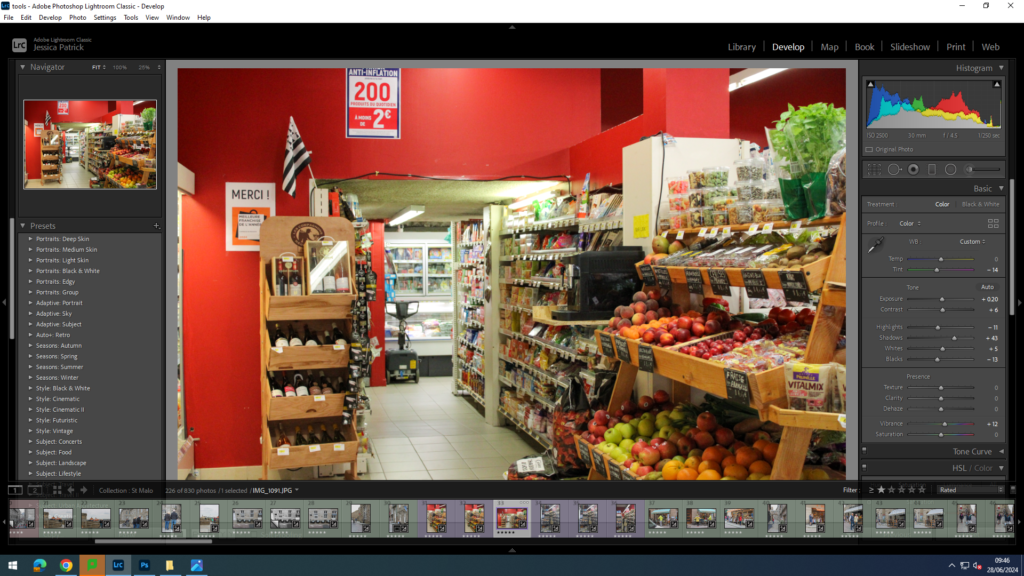
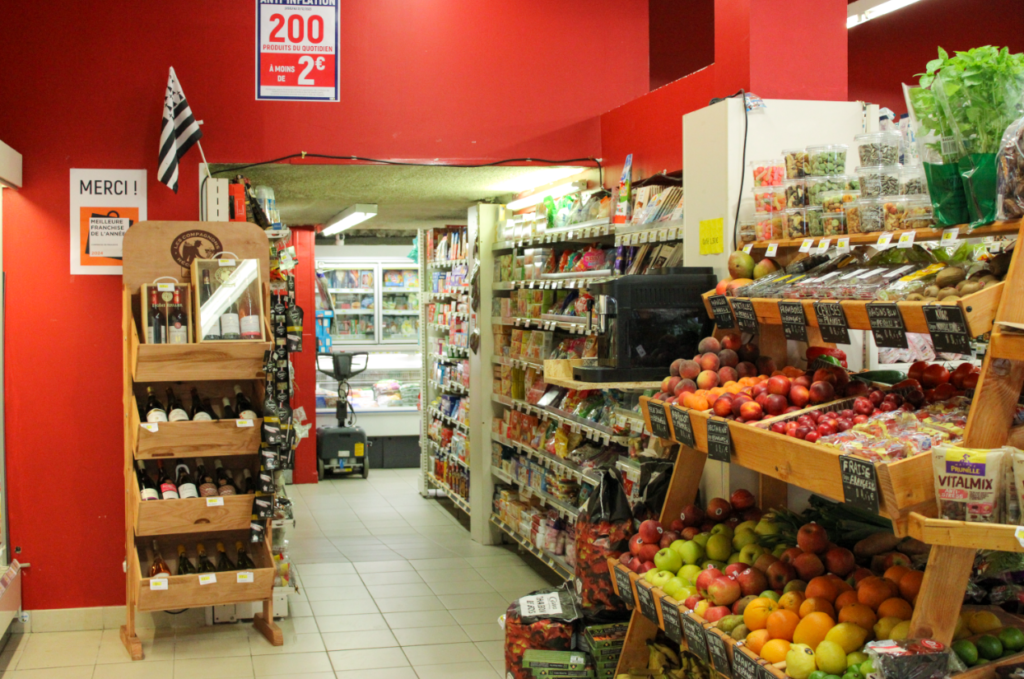
This image contained both red and green, which are complimentary colours, so they compliment each other and look good together in this image, so I wanted to make the green stand out a bit more, so I tinted the image slightly green.
This image contains both blue and orange, which compliment each other well, so they make this image look better.
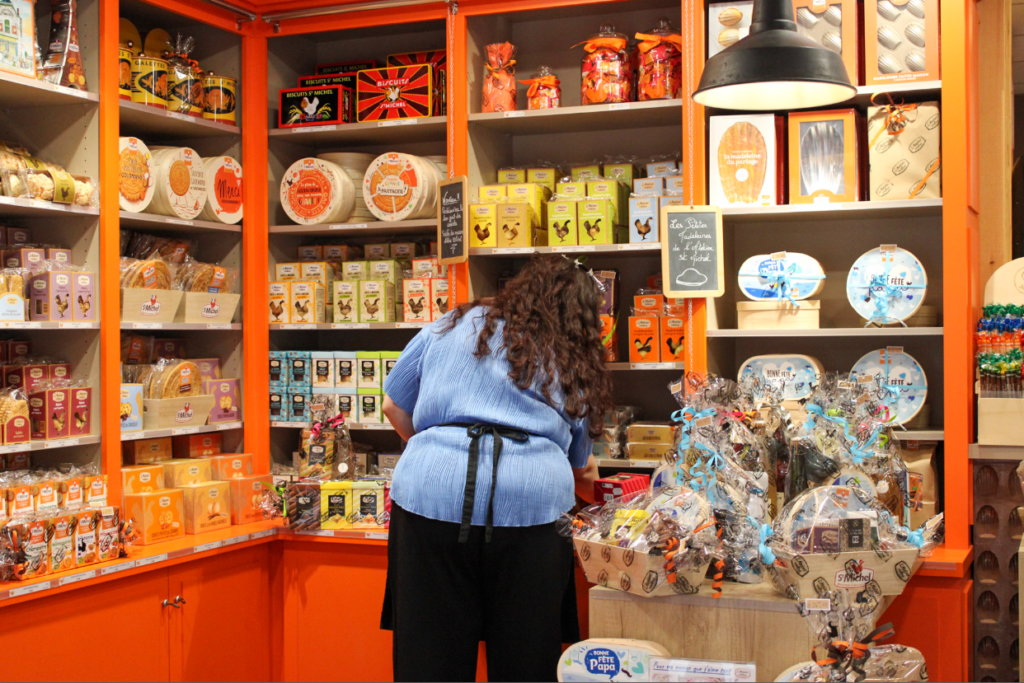
Complimentary colours create a harmony in the image, so they look good next to each other in the viewers eyes, so the image is more visually pleasing.
Experimenting with colour selection
I tried two different methods when creating my colour selection images.
Method 1-
- Open my chosen image in photoshop
- Duplicate my background
- Go on original background and make it black and white
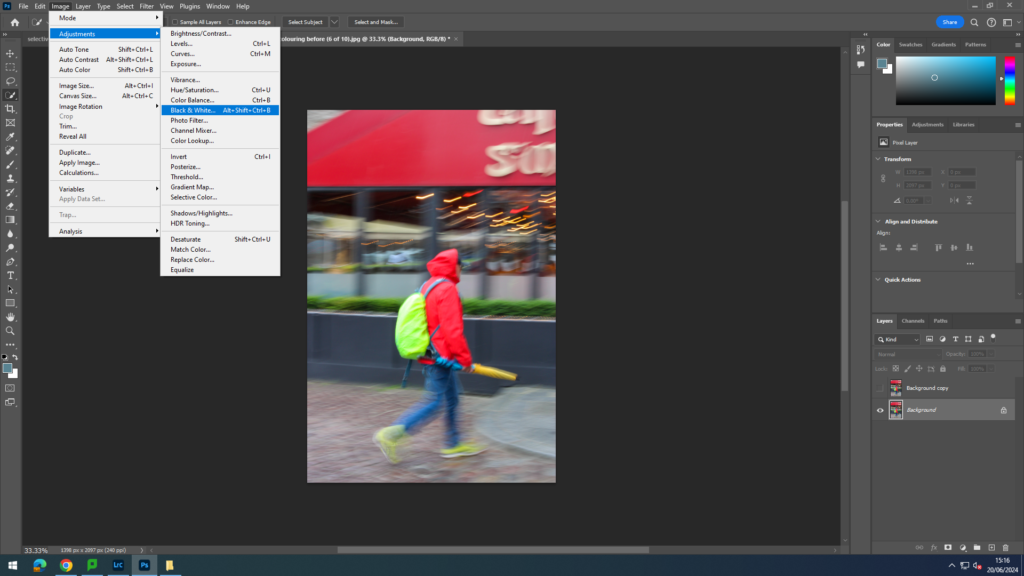
4. Next I went onto my background copy and selected what I wanted to be coloured
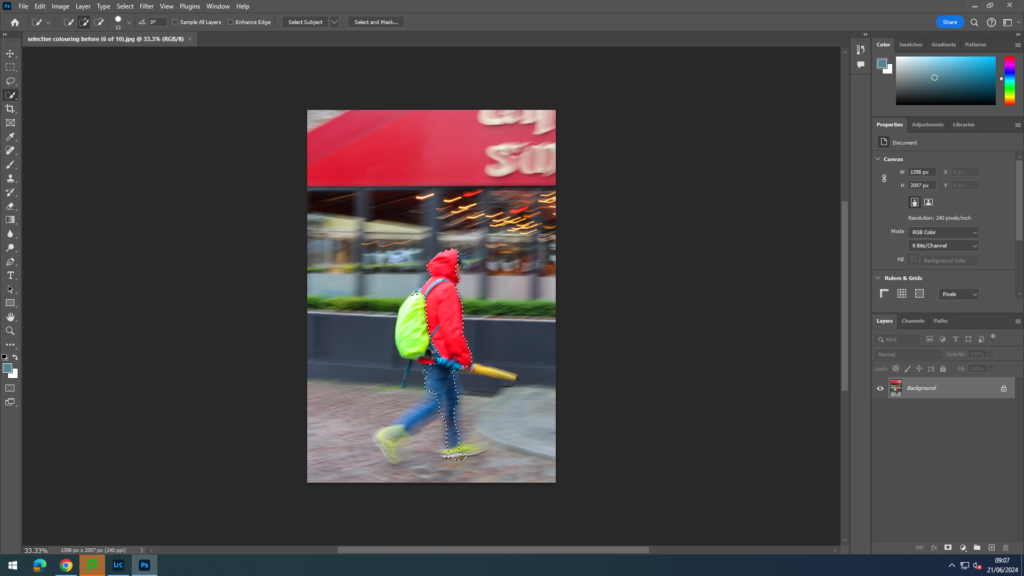
5. Next, I went to select and then clicked inverse, so I am selecting what I do not want to be colour.
6. Finally, I deleted the background.
Method 2-
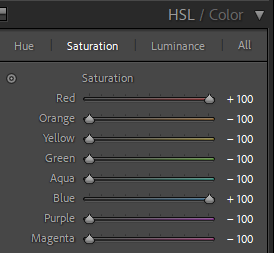
- Open my chosen image in Lightroom develop.
- Go to HSL/ colour and put the colours you do not want in the image down to 0 on the saturation.
3. Then, go to the adjustment brush and lower the saturation and exposure to 0.
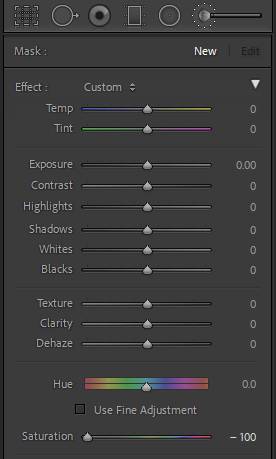
4. Finally, brush over all the colours on the image, which are not wanted.
Final Colour Selecting Images
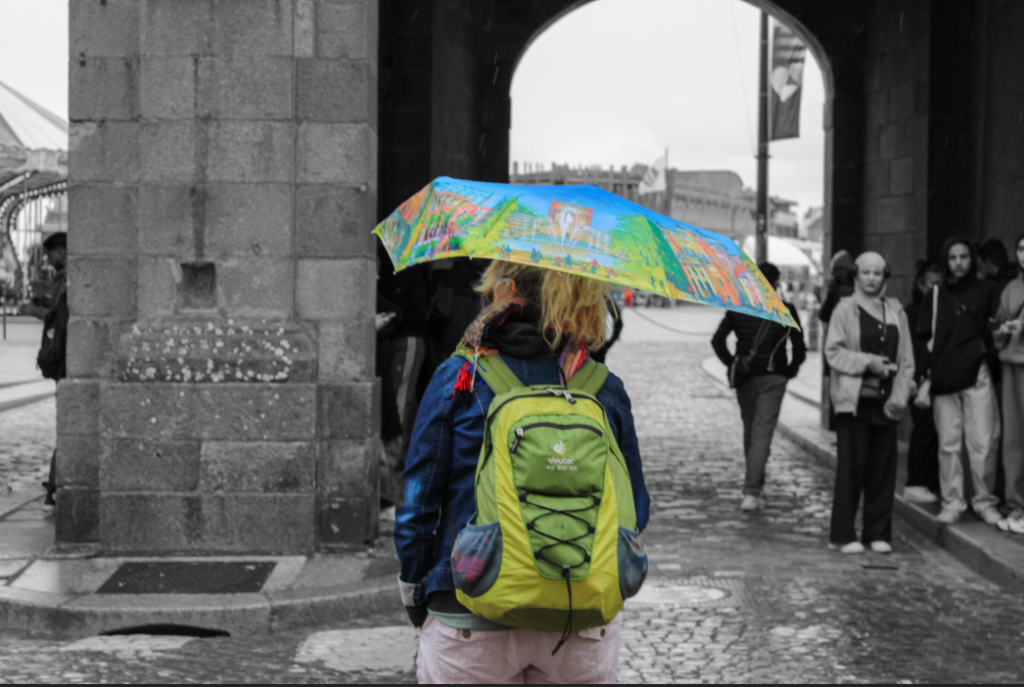
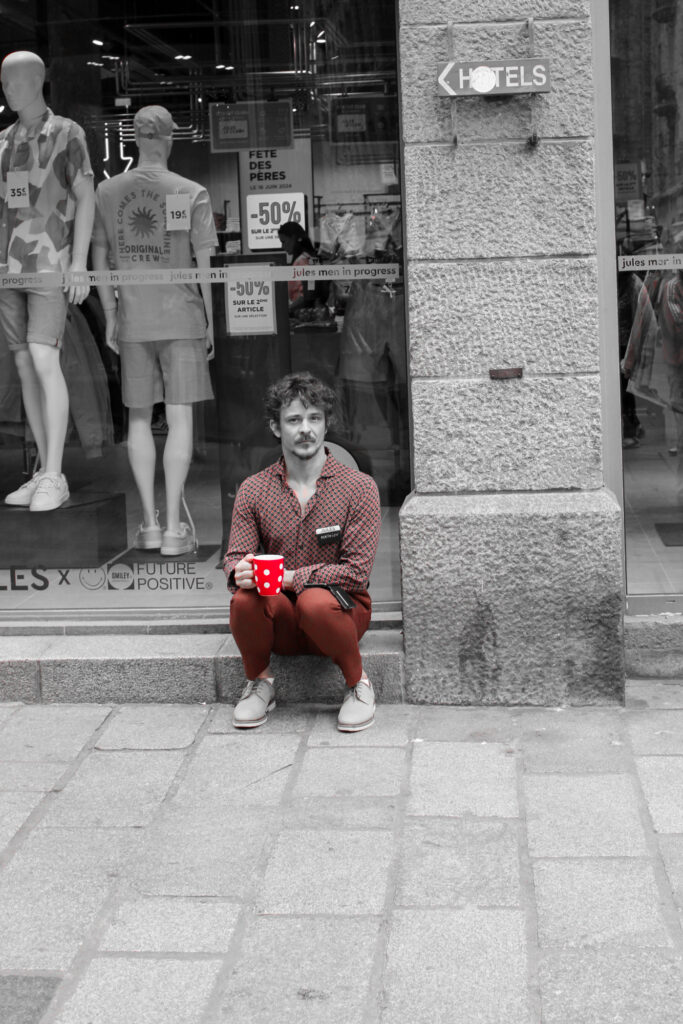
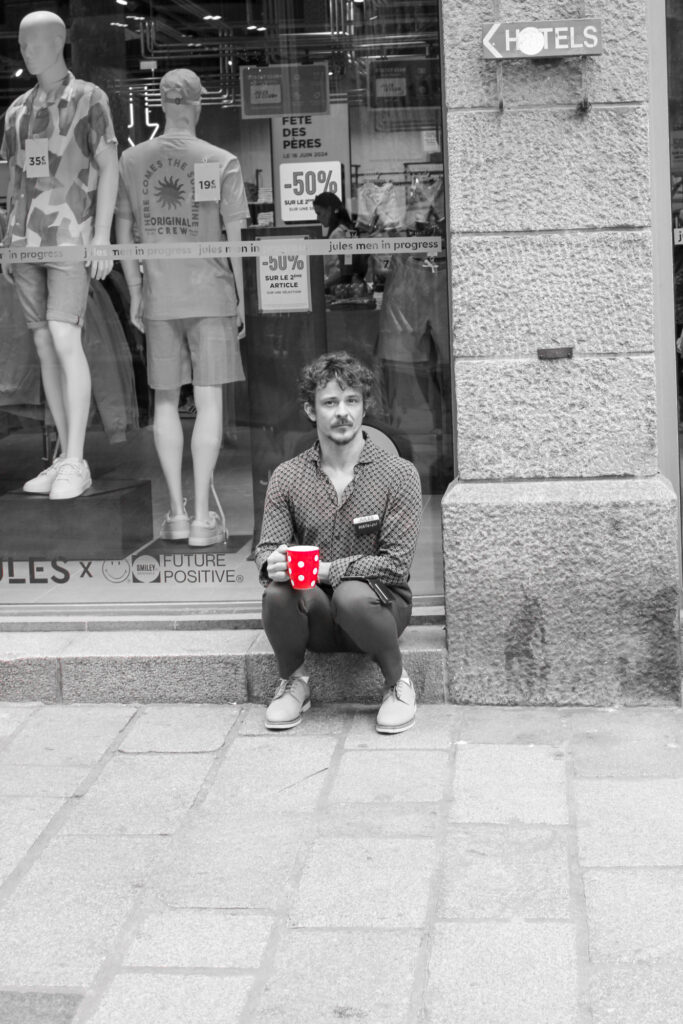
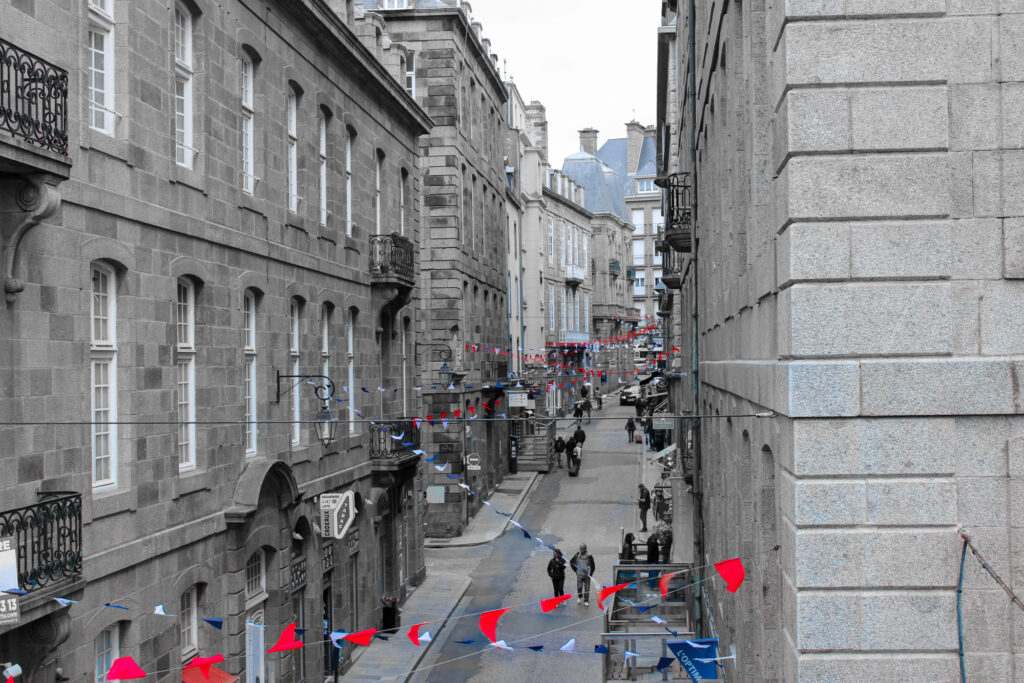
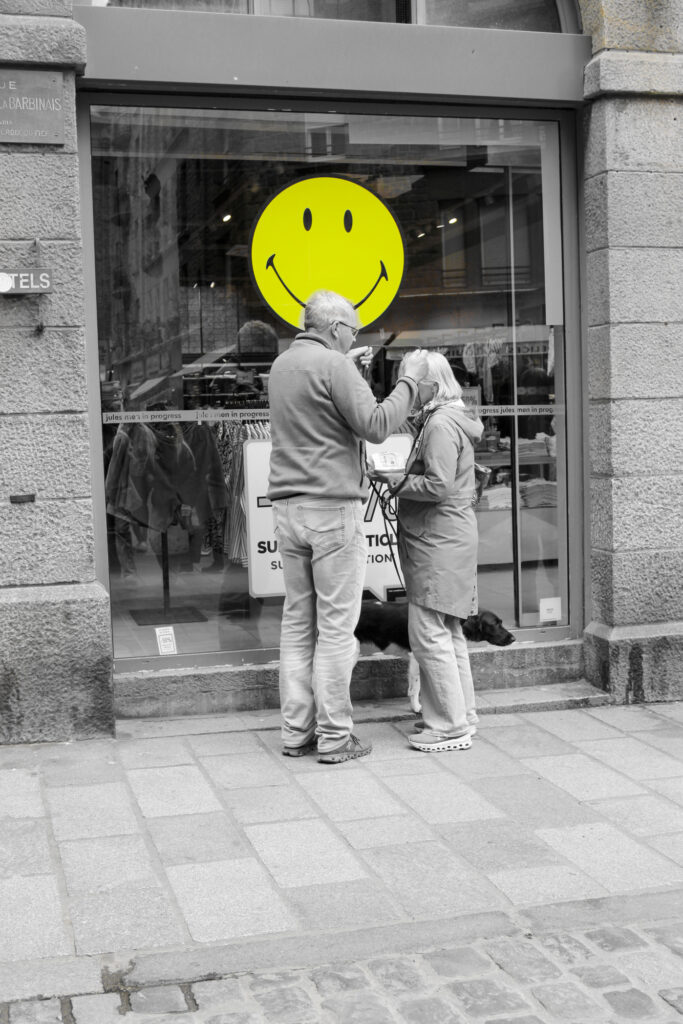
With this image I experimented with which parts I wanted coloured and which parts I didn’t.
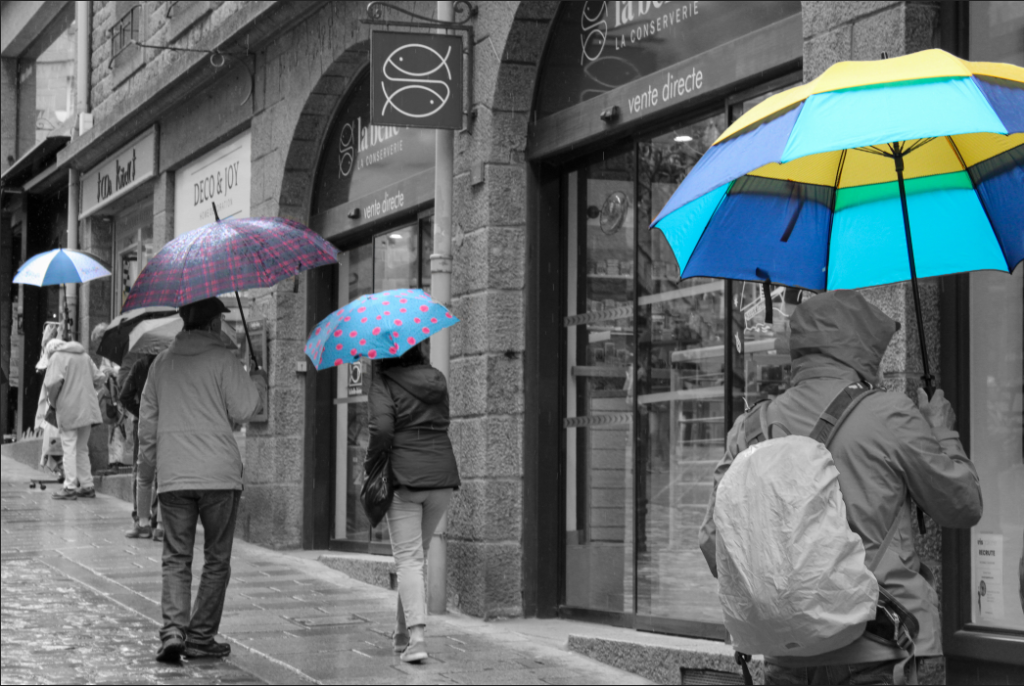
Then, I decided to experiment with making multiple different things and colours pop against the black and white.
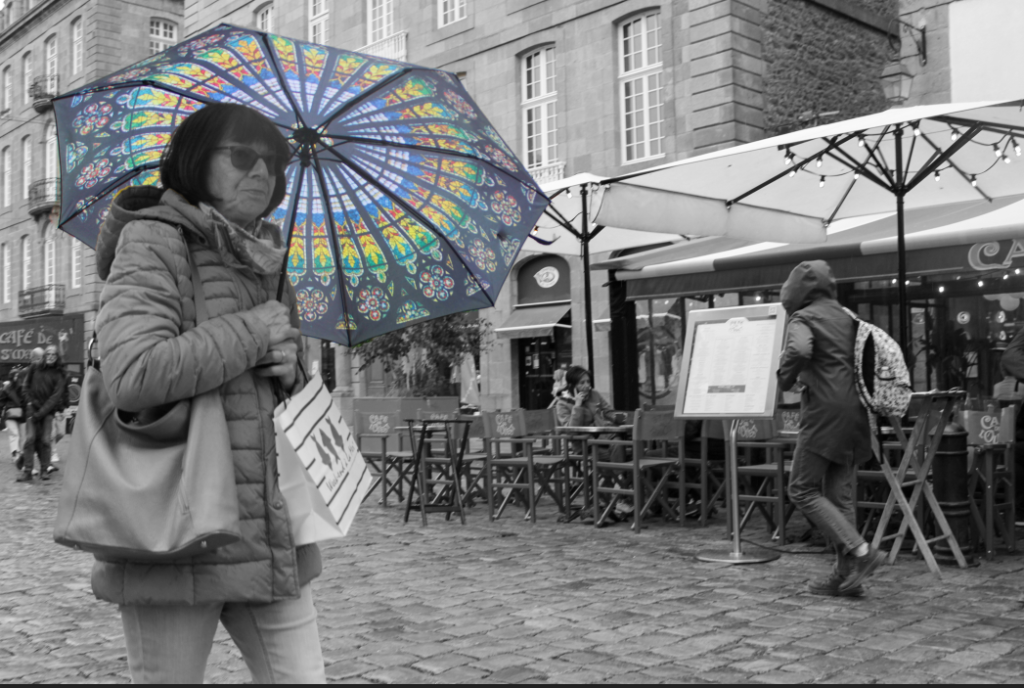
Experimenting with Motion Blur
I wanted to play around with this image, because it is a busy image with lots of people, so I felt like I could do a lot with it.
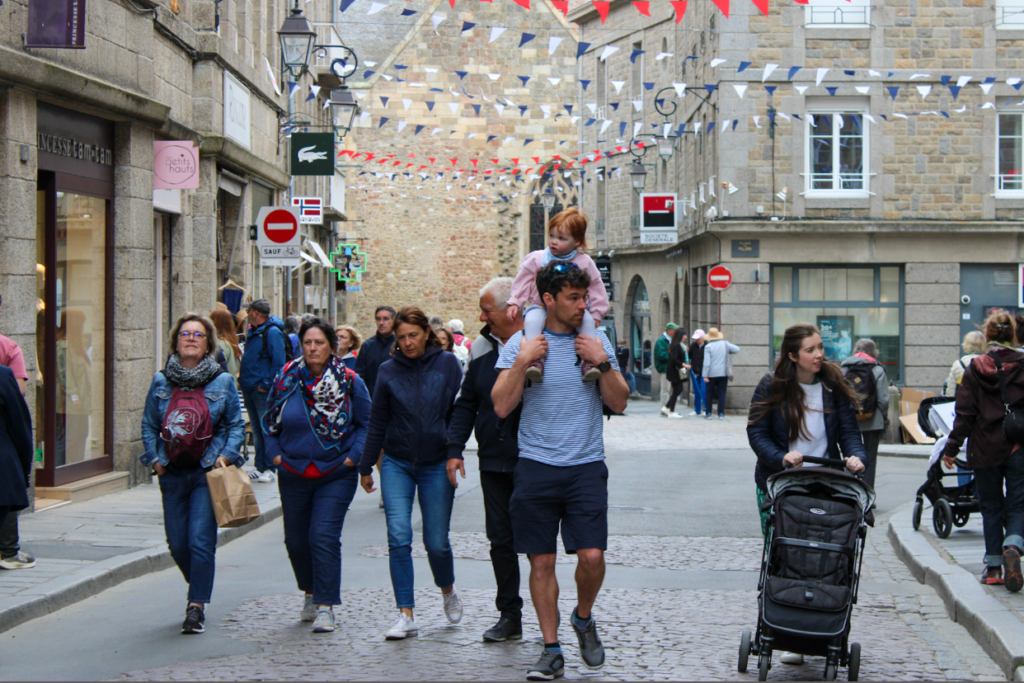
- Firstly, I duplicated the background and selected the man and his baby. Then, I selected inverse and deleted the background.
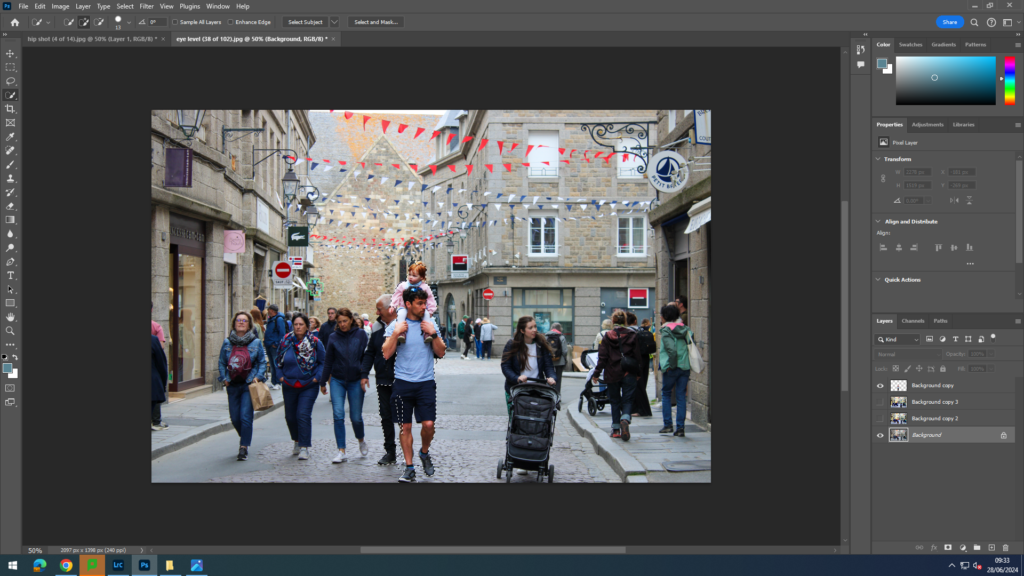
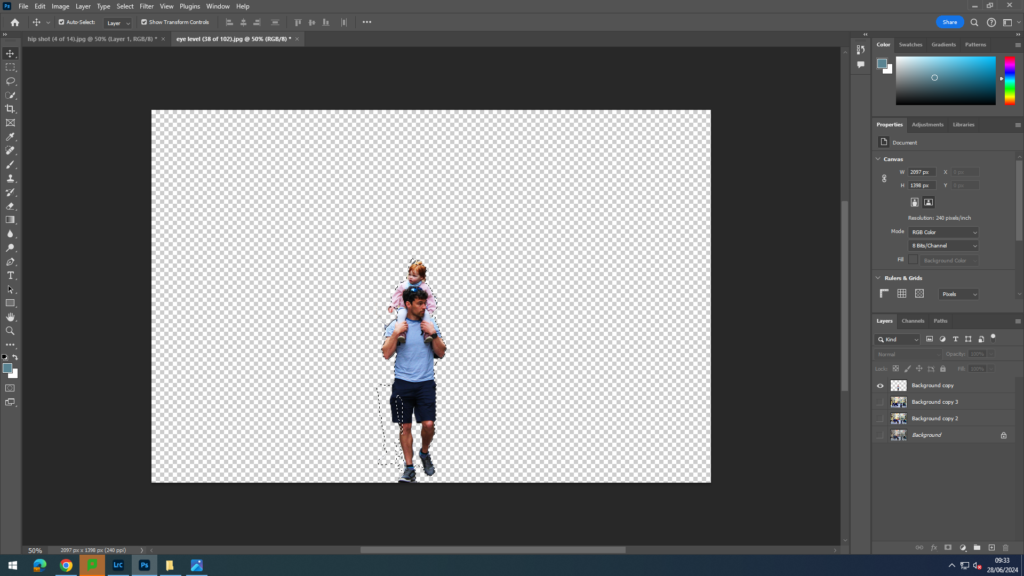
- Next, I selected filter and motion blur and blurred the background.
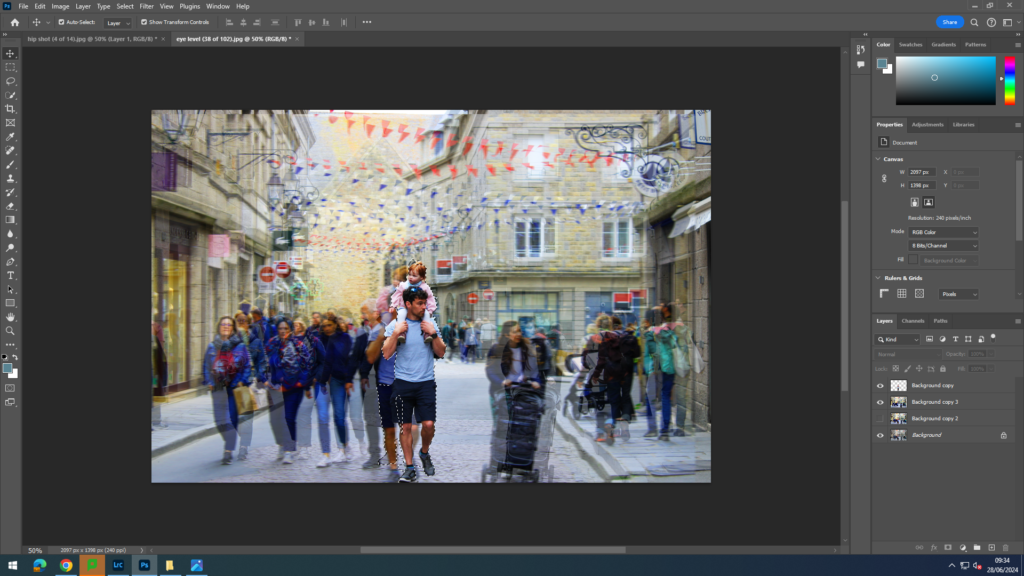
- Finally, I duplicated the background again and played around with the hue and saturation.
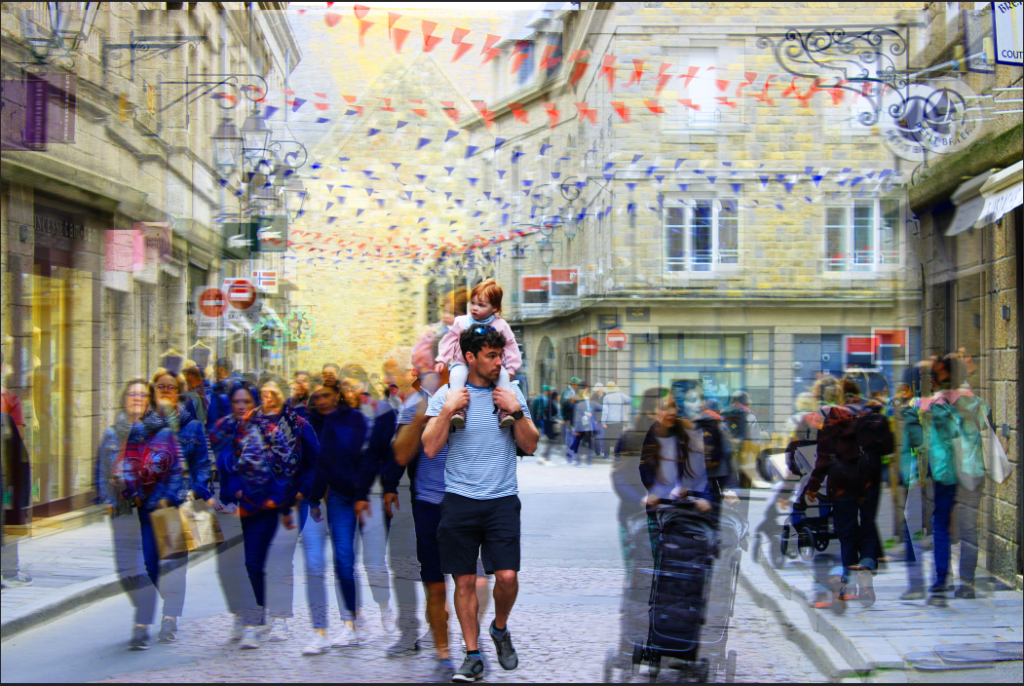
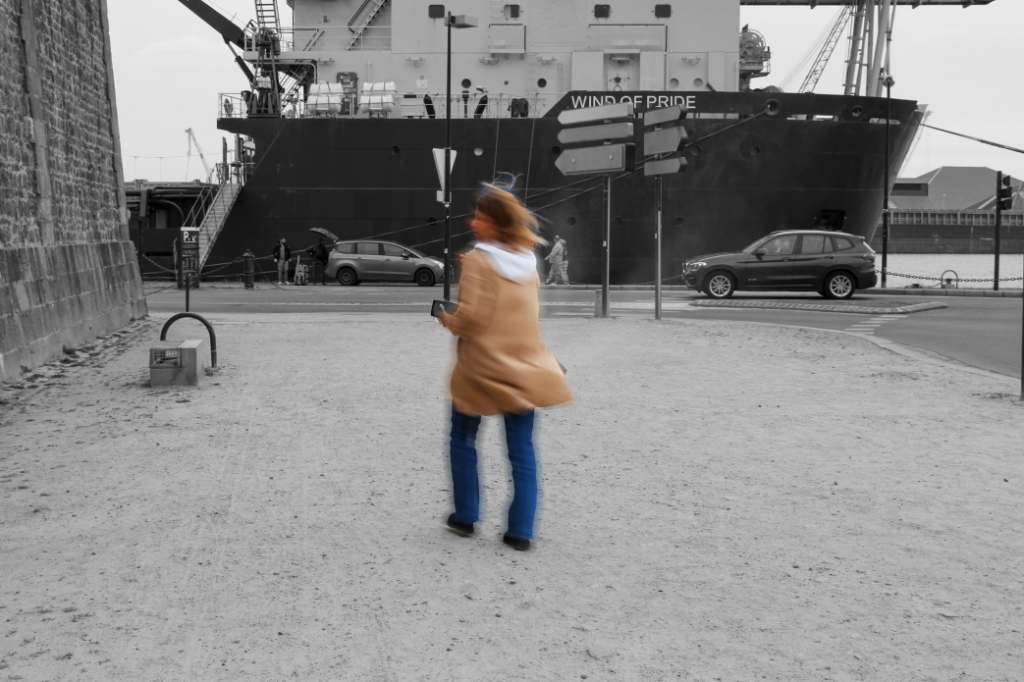
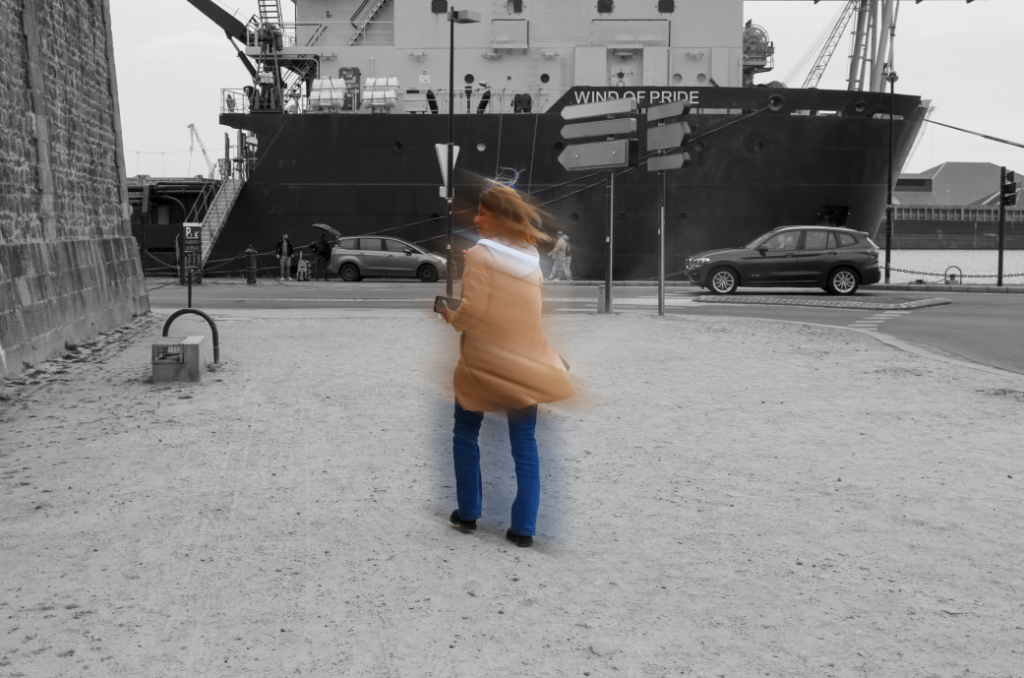
Next, I wanted the experiment with a single person image, and wanted to blur the person, rather than the background. I wanted wanted to experiment with different levels of blur.
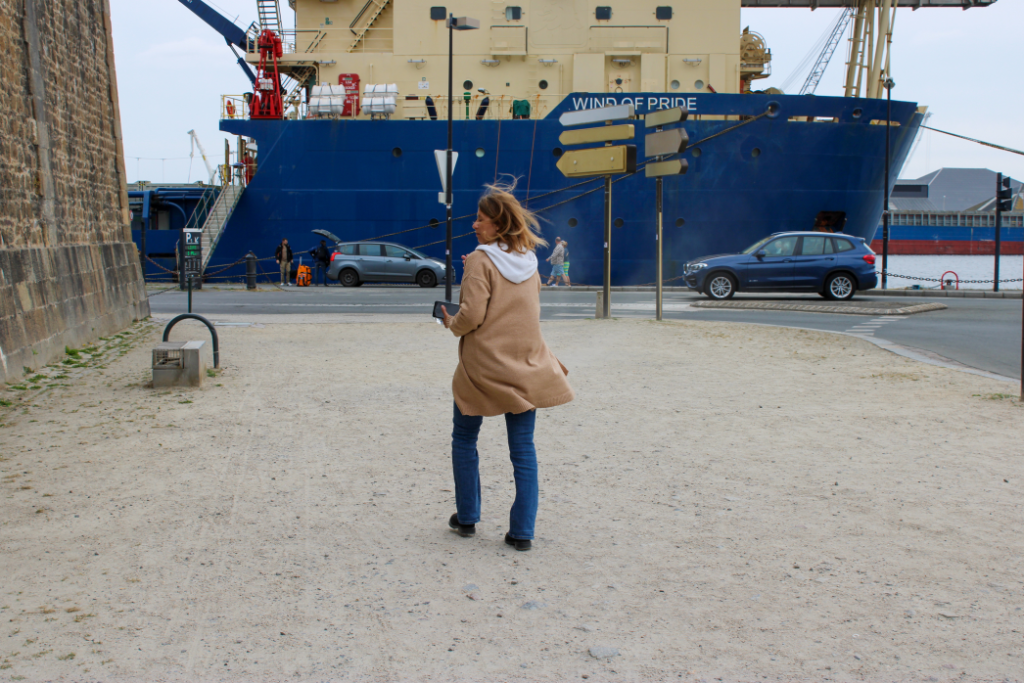
This is the image I decided to edit.
- Firstly, I duplicated my background layer and selected my person. Then, I went to select and inverse and deleted the background.
- Then, I duplicated the background again and turned it black and white, so that the background was black and white, but my person was in colour.
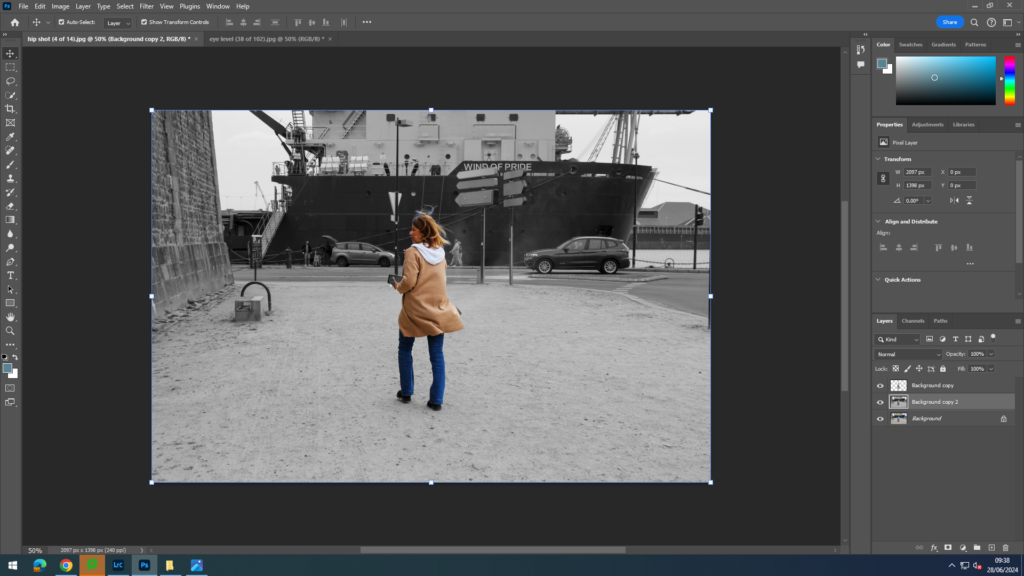
- Finally, I went to filter and motion blur and selected the strength of the blur and the angle.
- First, I experimented with a weak blur.
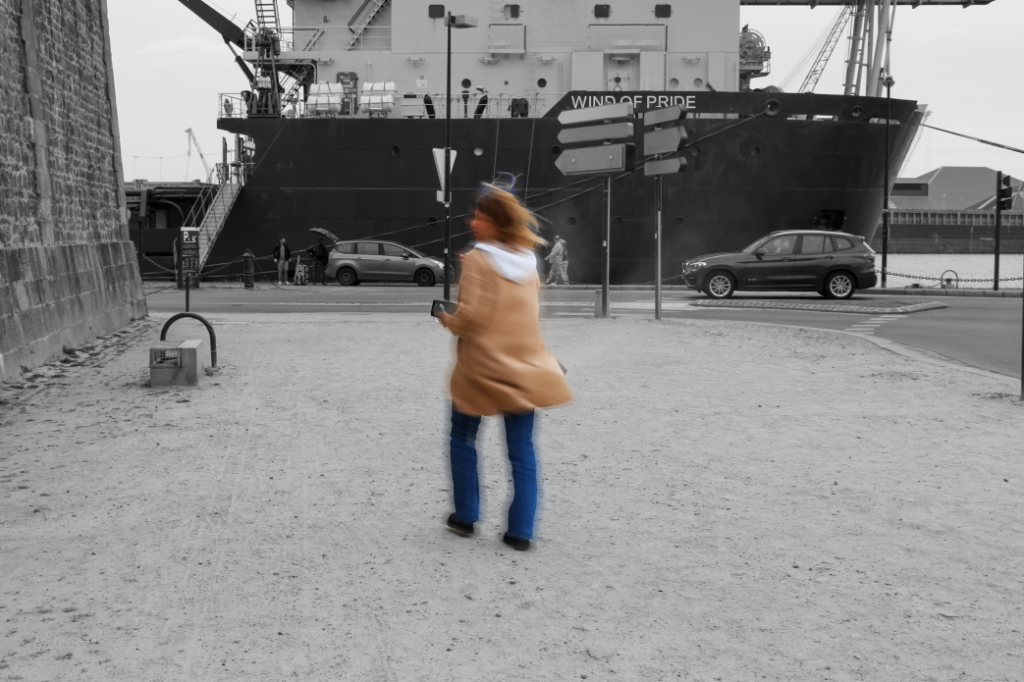
- Next, I experimented with a stronger blur.
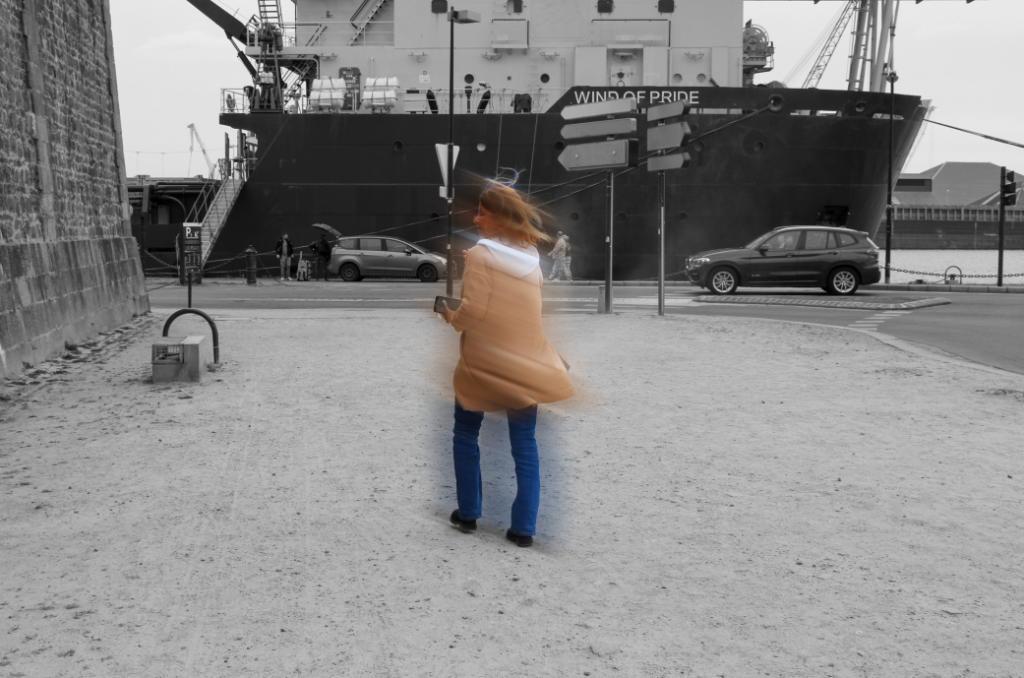
Finally, I wanted to experiment with making a Tryptic out of these three images.
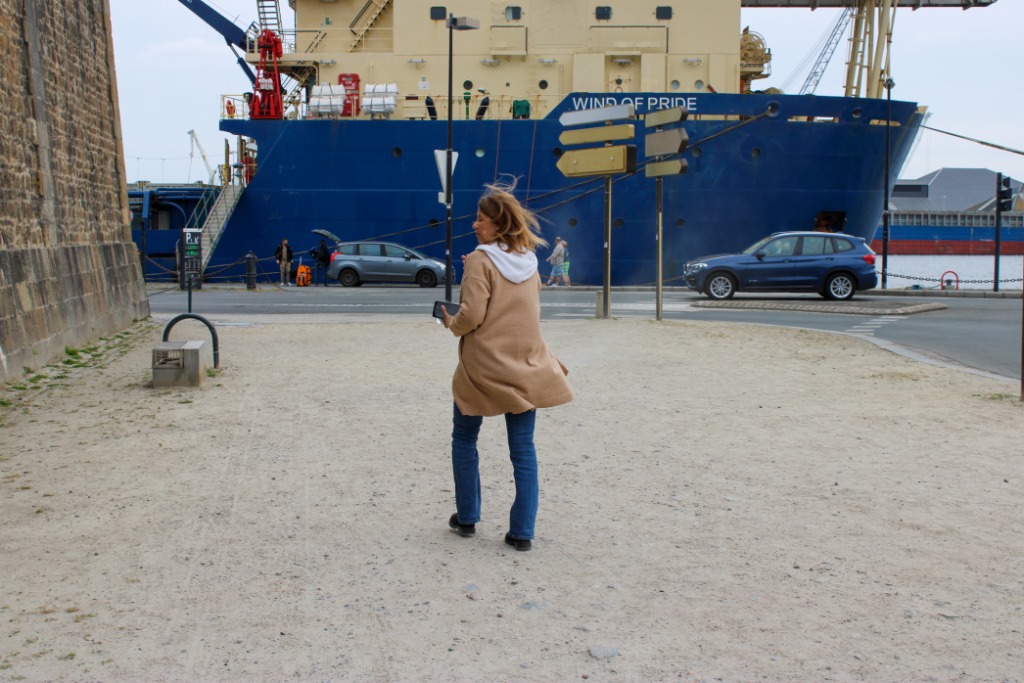
Final Images with Motion Blur
