Using InDesign, I created my picture stories to depict St Malo. I used these pre-sets:
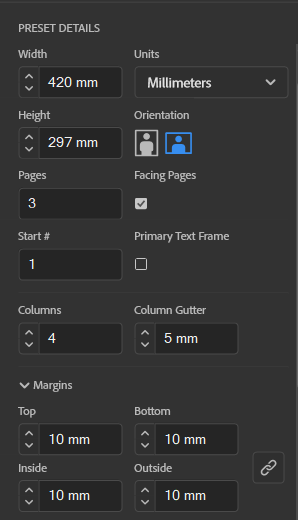
This meant that my pages would be an A3 size with borders at the side. This made it easy for me to ensure my images worked well together and fit suitably on the page. As well as this, I could make sure that the small gaps between each image would be identical so that the picture story would look formal and structured. I began with 3 pages however I could add more by simply just using the pages button and creating more on he document to experiment.
To create my picture stories, I used the rectangle frame tool to create the size of the image I wanted to add:
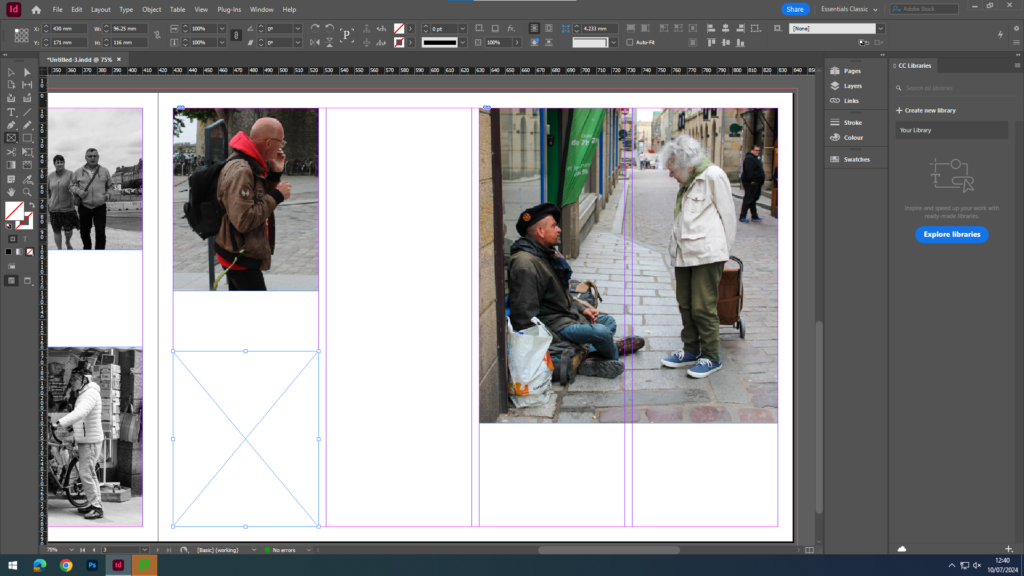
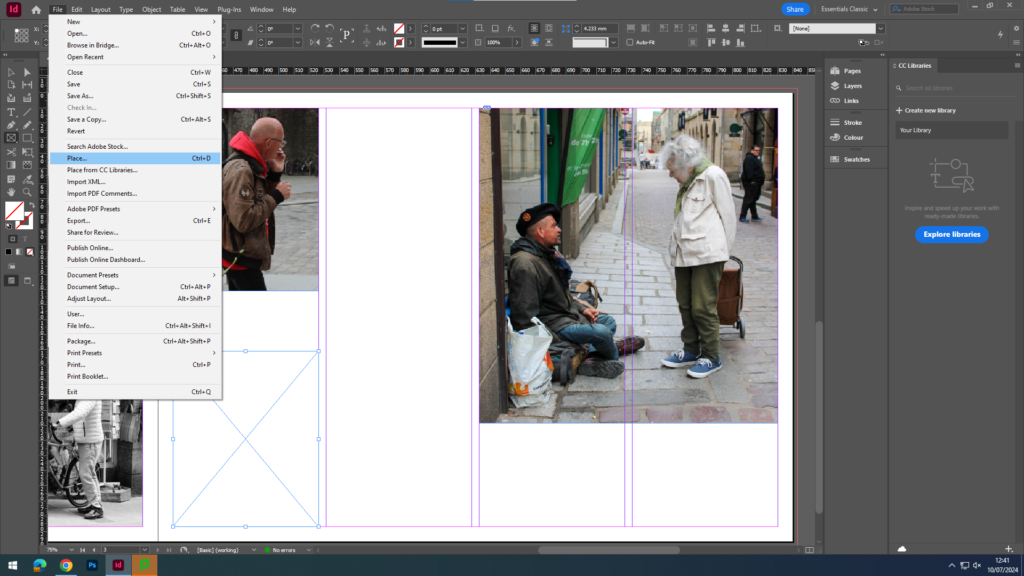
Then I used the place button in the file section and selected an image:
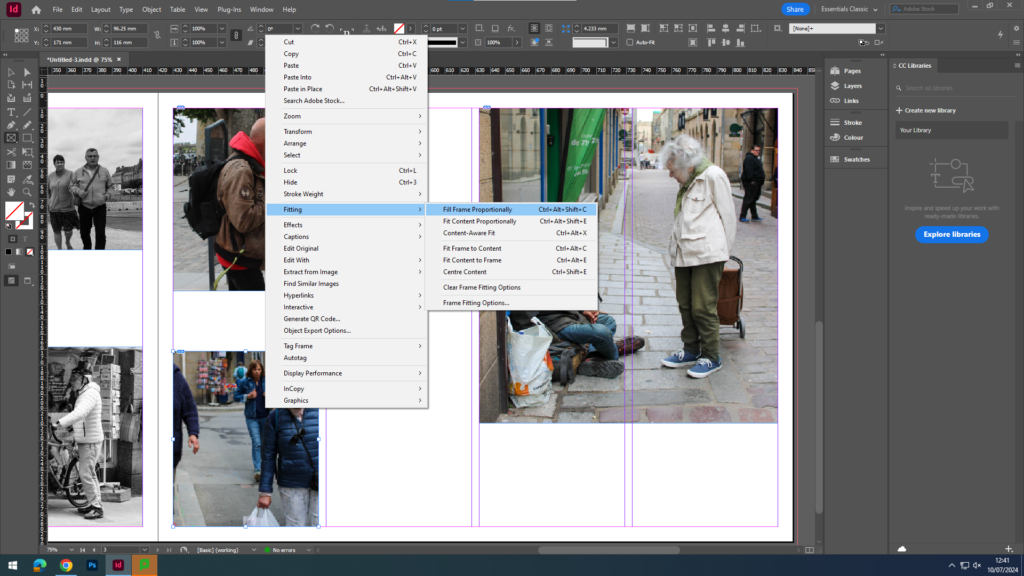
Once I selected my image, I used the fitting button to make sure that the image fit proportionally inside of the frame, then afterwards I could move around the image to my liking. By doing this, it made sure the entire frame was filled and that as much detail was in it as possible.
After I had filled the page with the all the images that I wanted to include within that picture story, I could then use the rectangular framing tool once again and fill it with text depending on the context of the picture story and images in order to provide more information and detail on what it was about and the contents of the images featured.
MY PICTURE STORIES:
I created 7 different experimental picture stories, some in colour, black and white and with graphic design behind them. These are the picture stories before the writing within the captions in changed from placeholder text to mine. Once I was happy with the layout of each one, I either kept the placeholder text there or wrote some information about my images. In my picture story on ‘The Life Of St Malo’, I used google translate to add in some French words as I felt that it seemed more realistic.
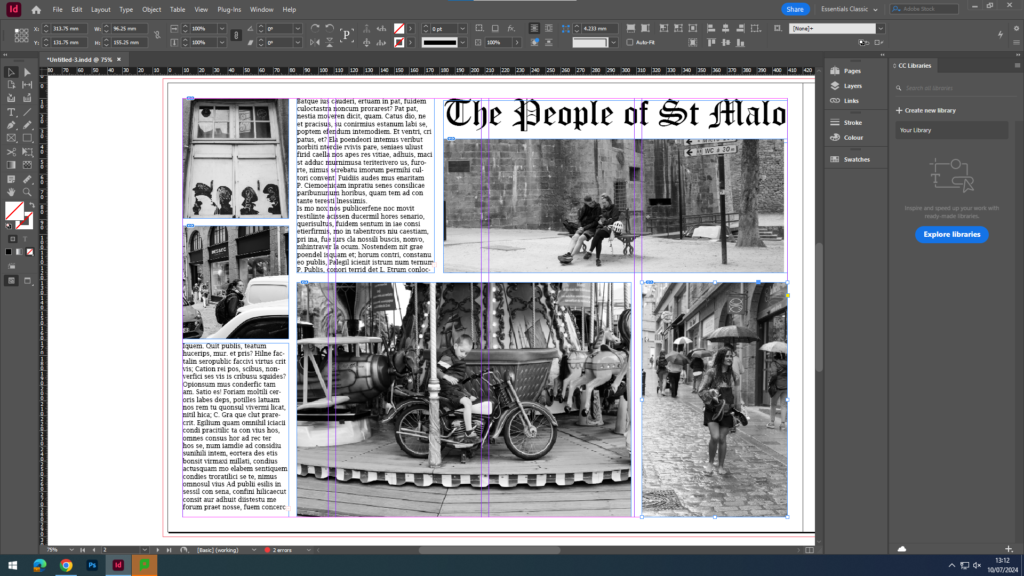
I used my initial picture story as a template to build off of to create these two slightly different images. For the one below, I used the same rectangle frame tool as I did for my photos, however I laid it over the text I had written and filled it with a solid grey, then lowering the opacity to make my writing stand out bolder.
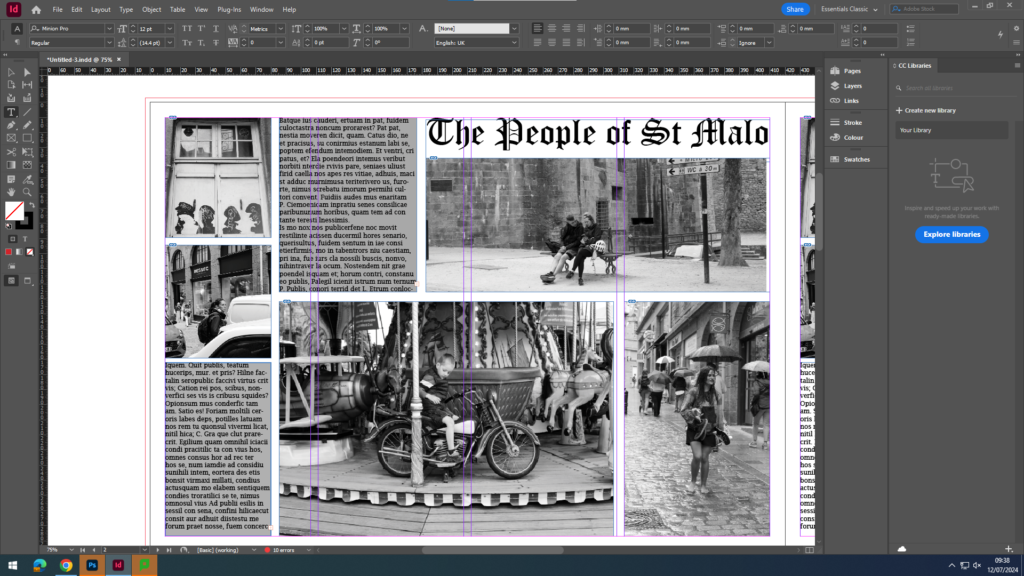
And for this one:
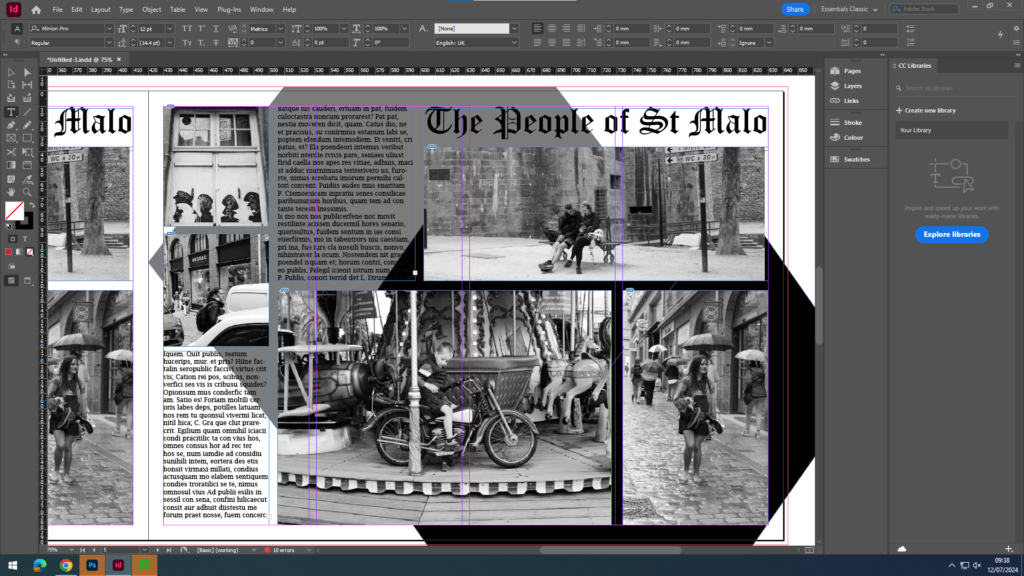
I used the polygon frame tool to create two hexagon shapes and right clicked each to send it behind my work and settled on a monotone colour scheme to make my work look more interesting as everything had been rectangular.
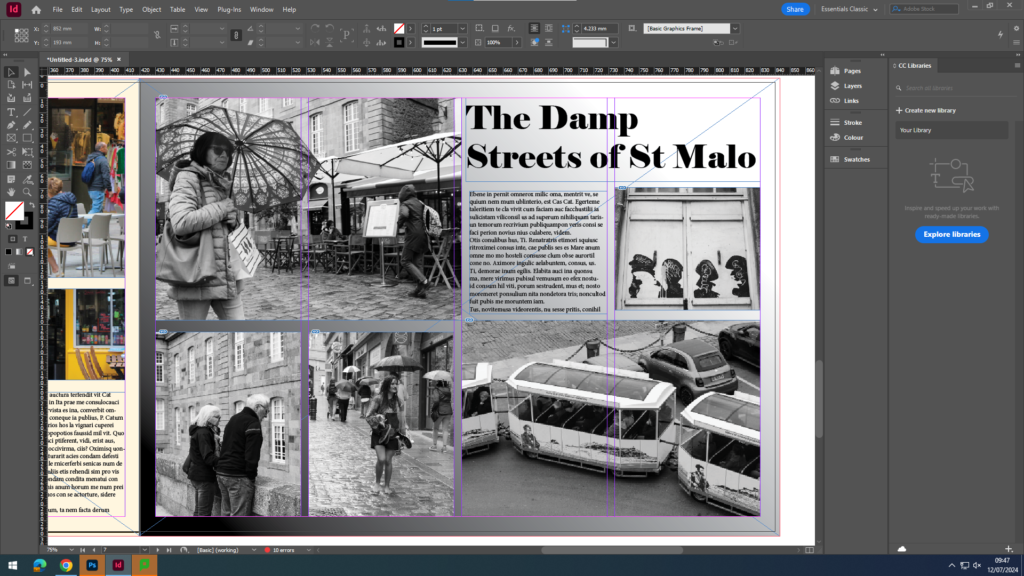
For the background on this one, I used an ombre effect to lighten the title and make it stand out in a bold way, whilst creating a gradient diagonally across the page.
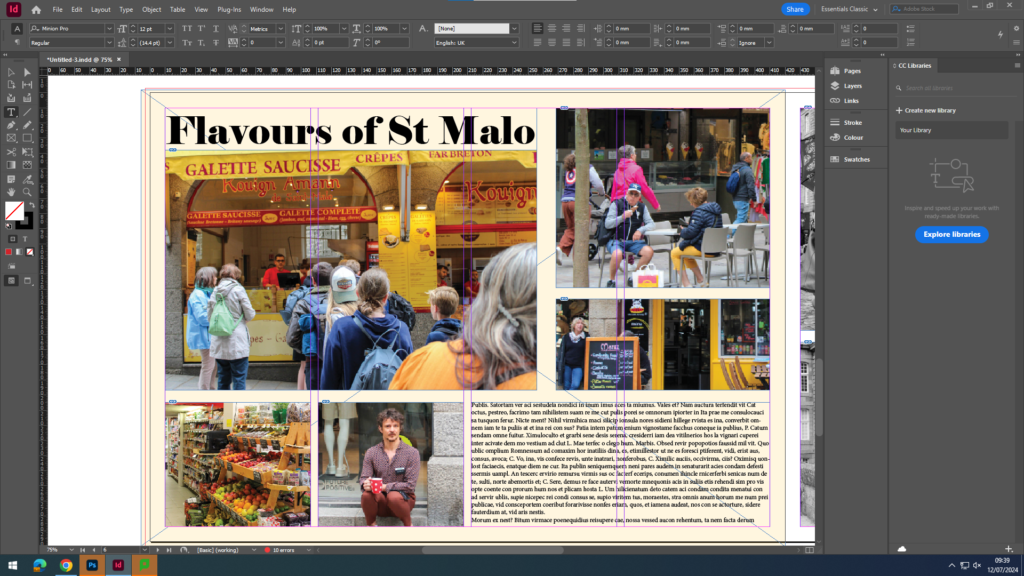
For this background, I used a pastel yellow as yellow and orange tones were frequently shown in practically all of the images, however I didn’t want to make it too saturated as this would have been too bold and could have possibly distracted the viewer from the actual story taking place through the photographs.
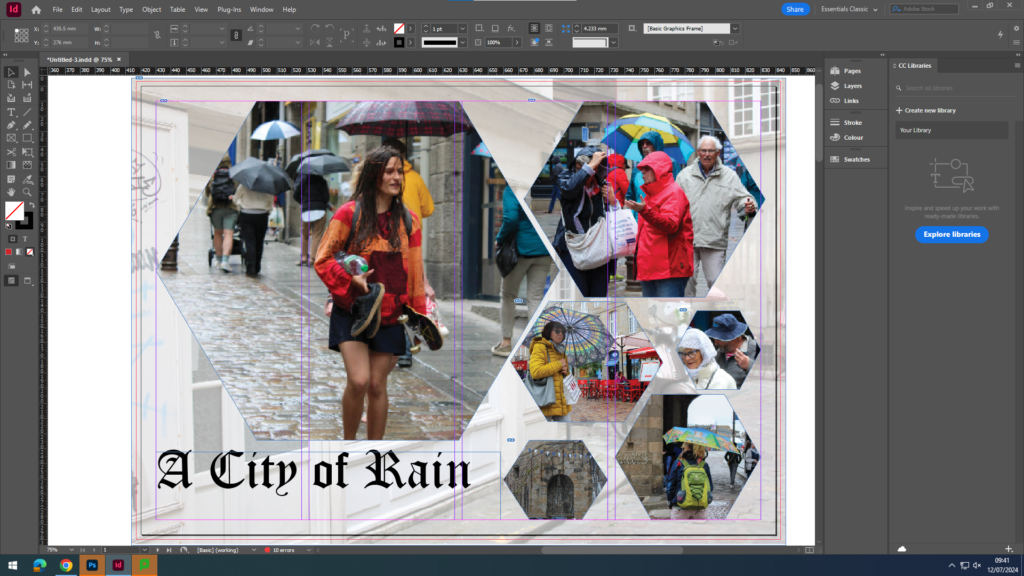
For this picture story, I used the rectangle frame tool to create an opaque background of one of the small lanes I found in St Malo. Then, I used the polygon frame tool to depict a story of the heavy rain there was during my time in St Malo by using different images of people in the rain, structures and umbrellas. I chose not to add text onto this one as I felt that the images were able to carry and tell the story itself as well as the title.

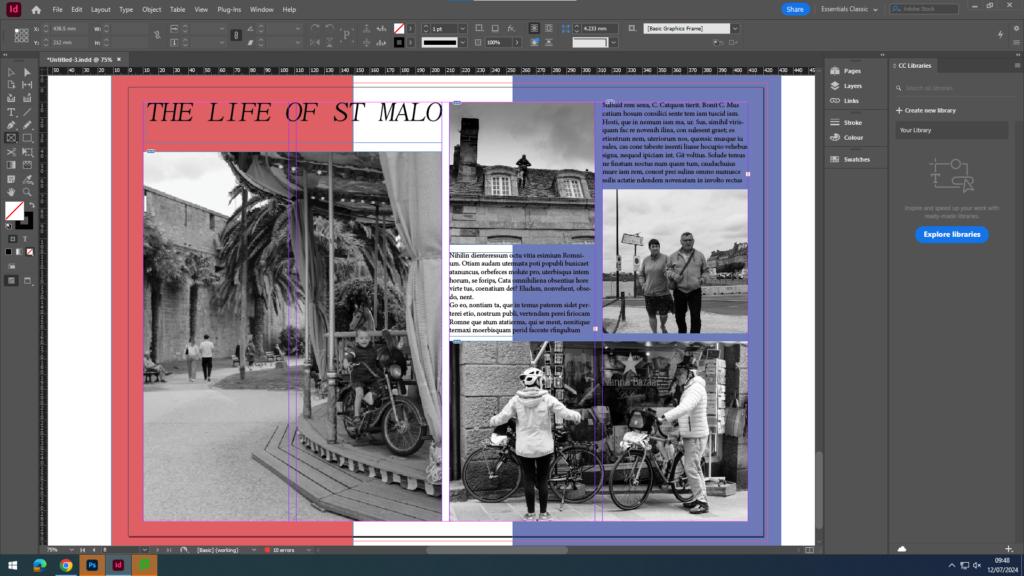
Finally, in this picture story I used the same traditional layout for my images and text however, I used the same framing tool to create a red and blue rectangle in order to show the flag of France so my picture story was more cultural to France. Also, this meant that to those who are unaware of what/where St Malo is, this provides a more muted and simplistic explanation.
