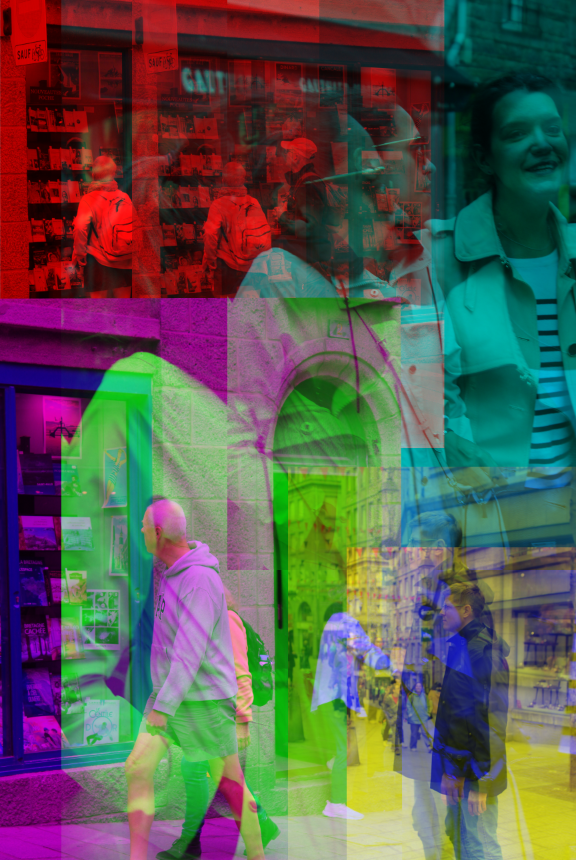
CROPPING.
Panoramic crop (horizontal)
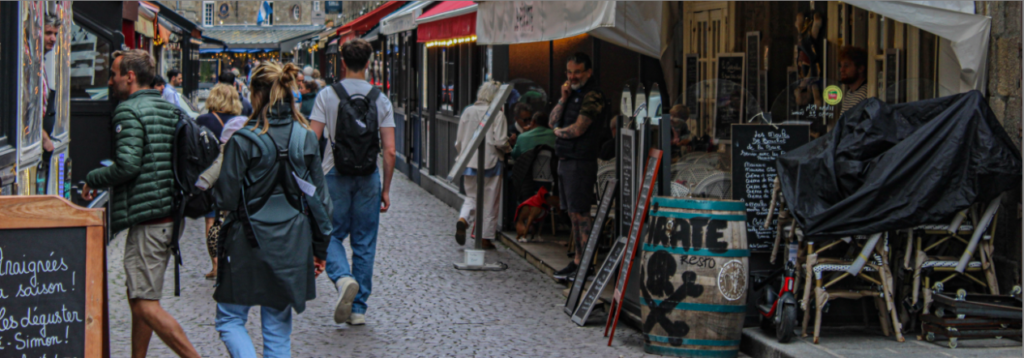

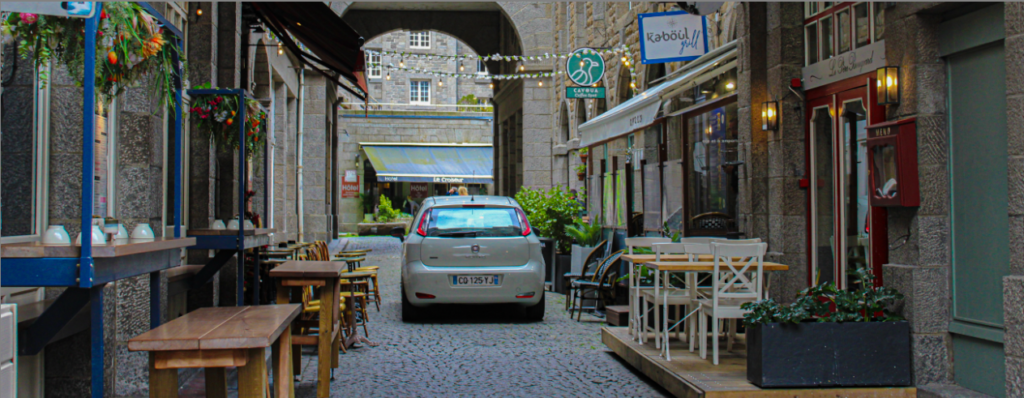
Panoramic crop (vertical)


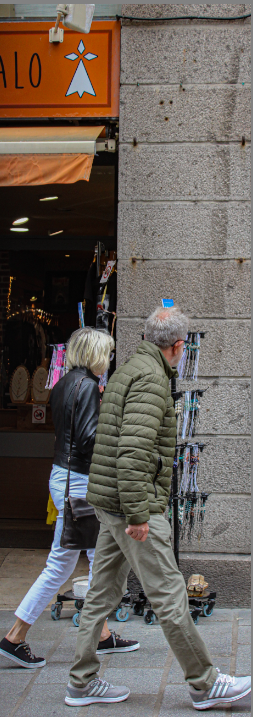
Square crop
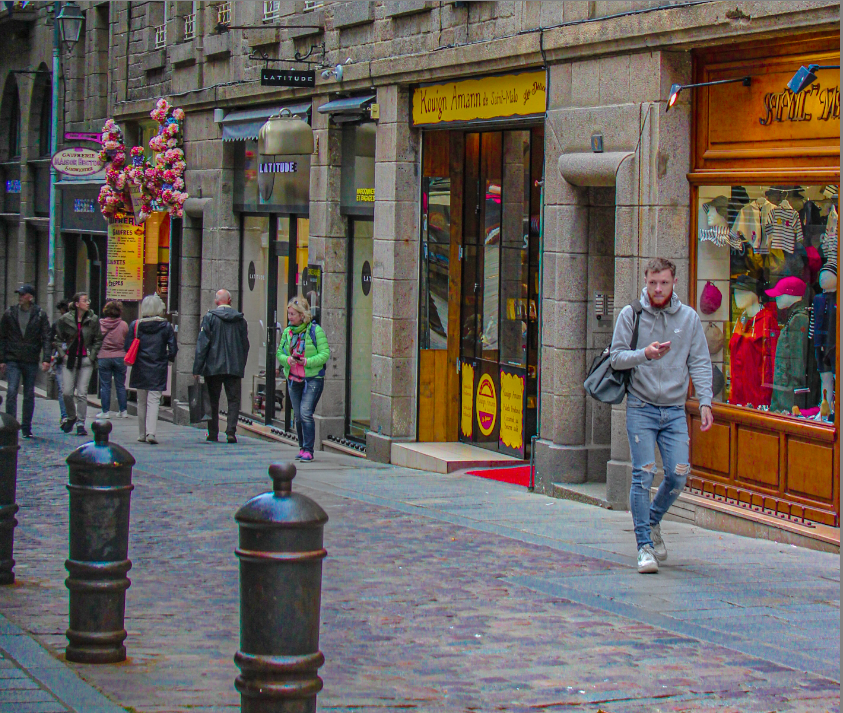
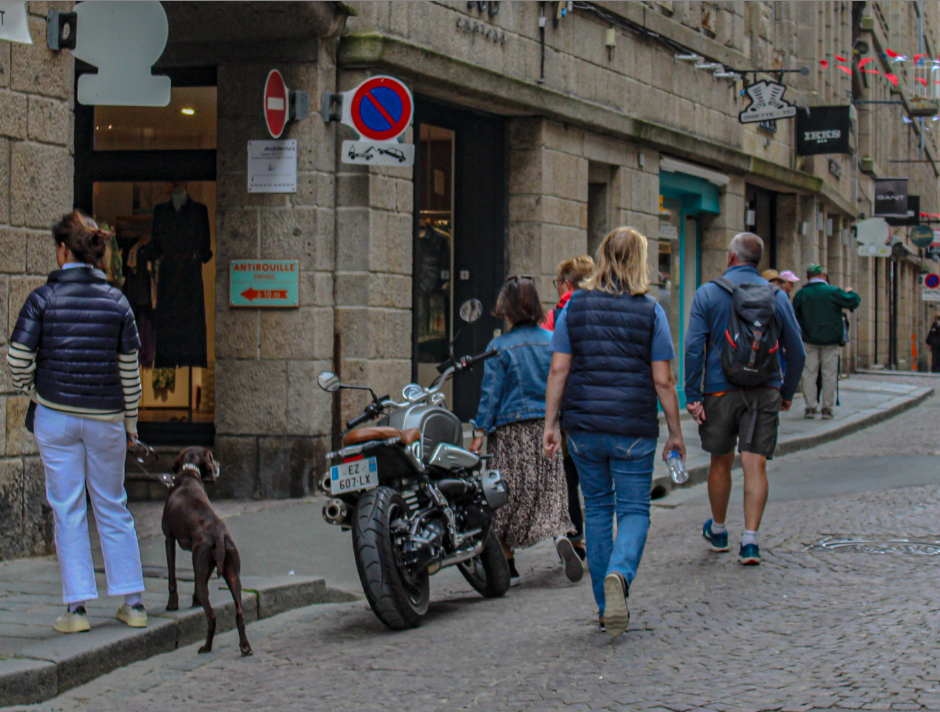
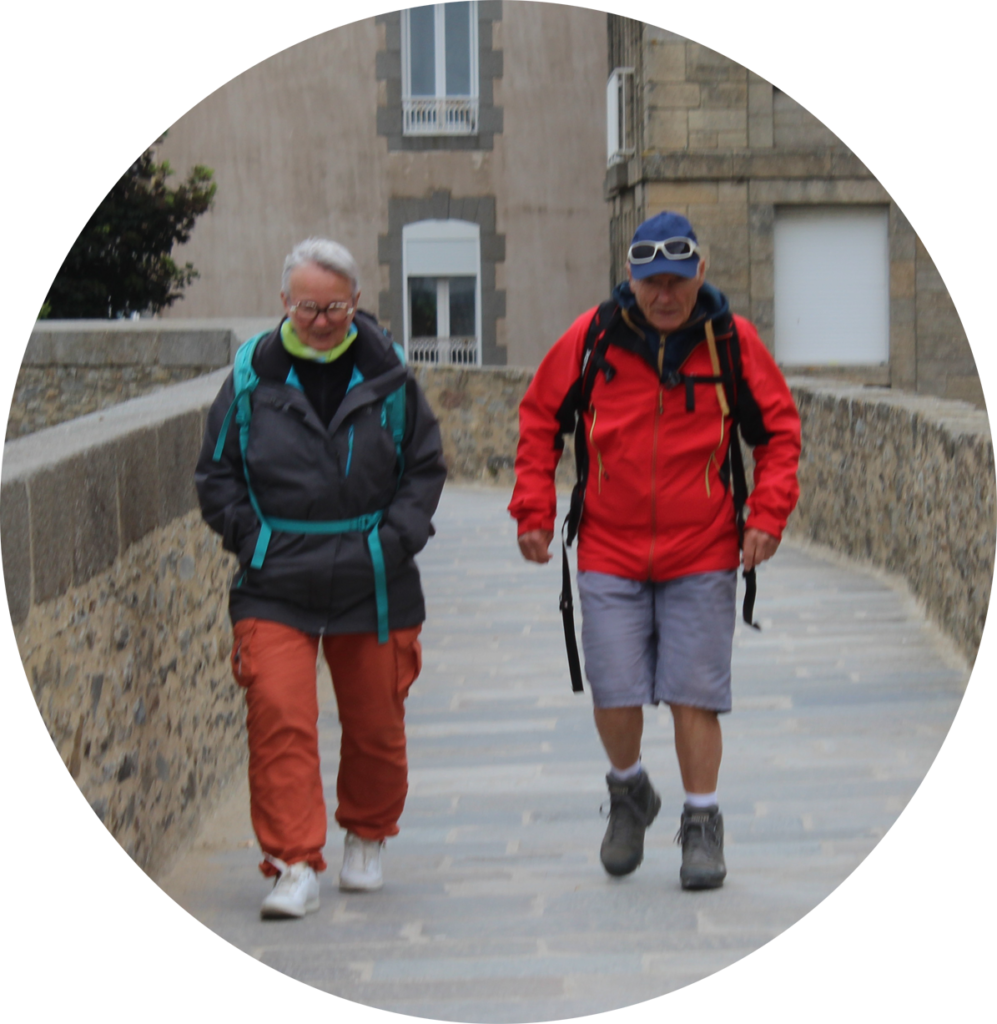
Circular Cropping
Selective Colouring.
In Photoshop, I attempted to edit my images by using selective colouring. This is by having a black and white image with one singular colour or object being colour. This makes the person or object eye-catching and can add meaning to a photo.
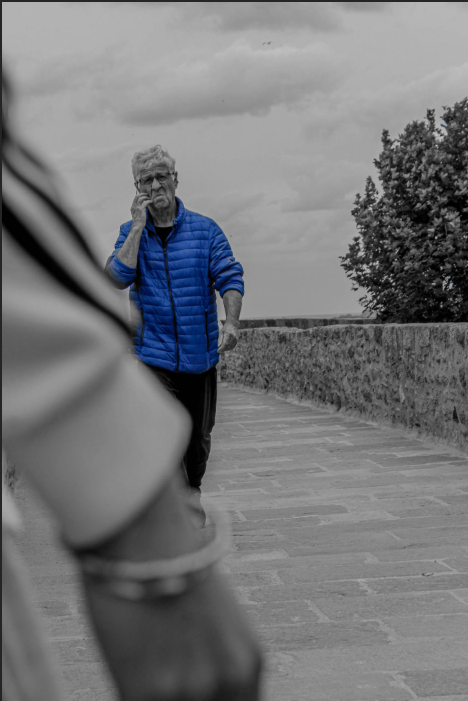
I chose the blue coat to be coloured as he is the focal pint of the image and would be the most eye-catching.
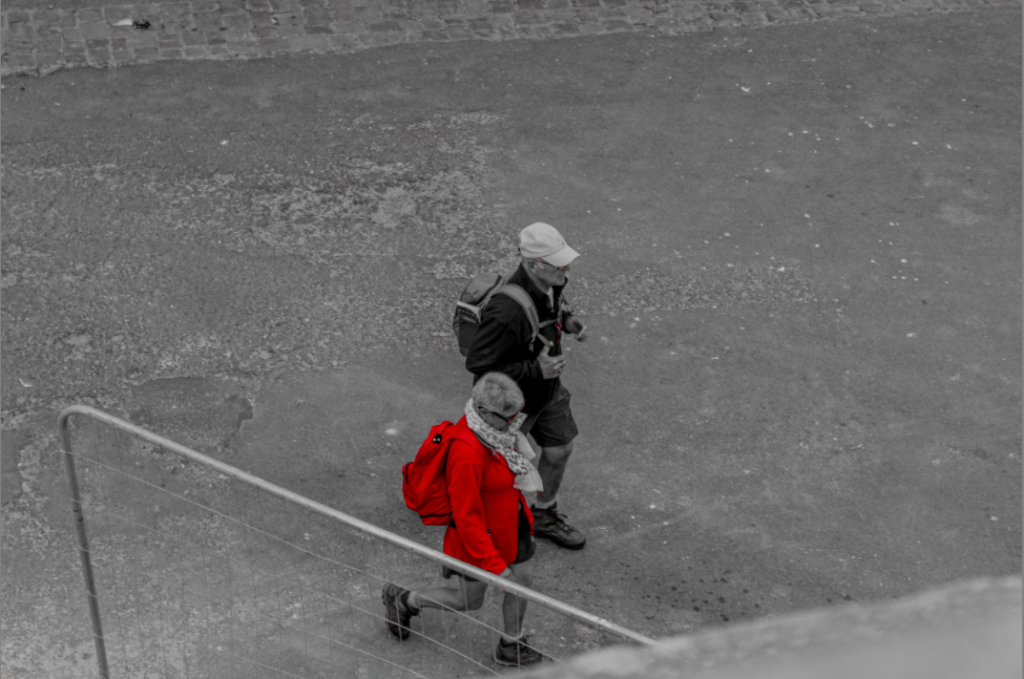
I decided to choose the woman’s red coat to be illuminated as it is a very bright colour.
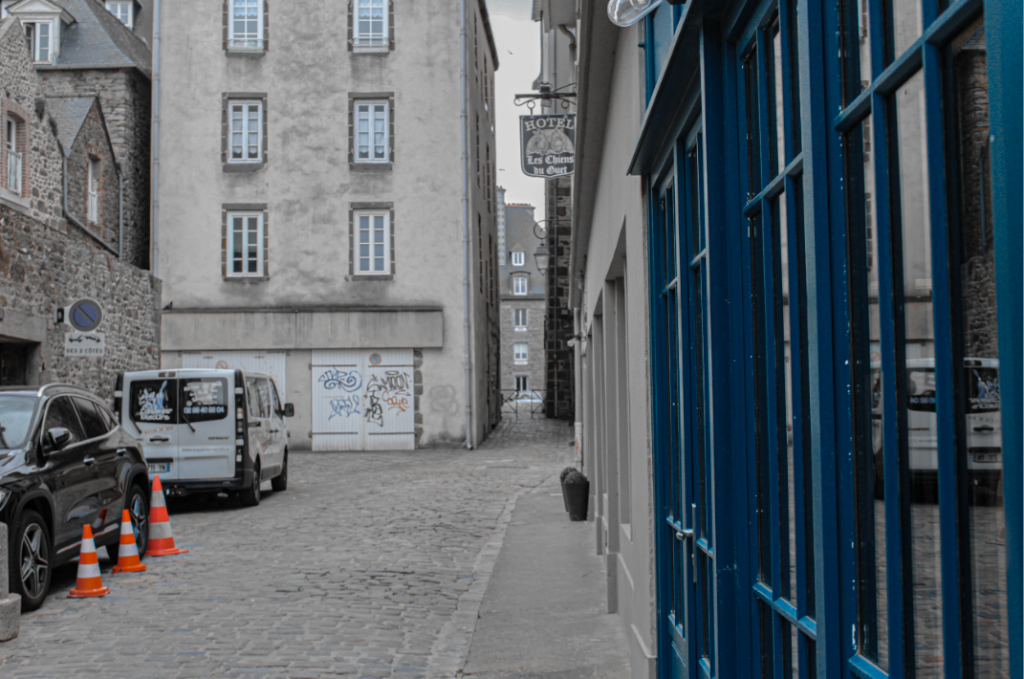
In this photo I chose to have two colours both blue and orange colour. Having the background not fully black and white makes the atmosphere look gloomy and cloudy.
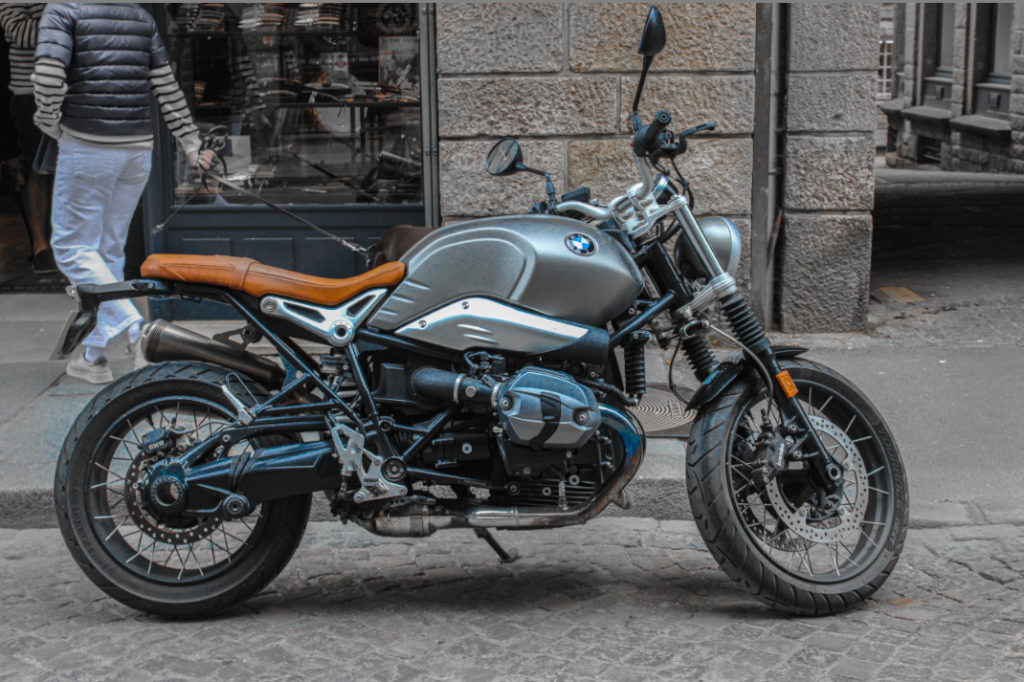
I chose for the orange/brown and the blue of the image to be coloured to make the bike stand out more.
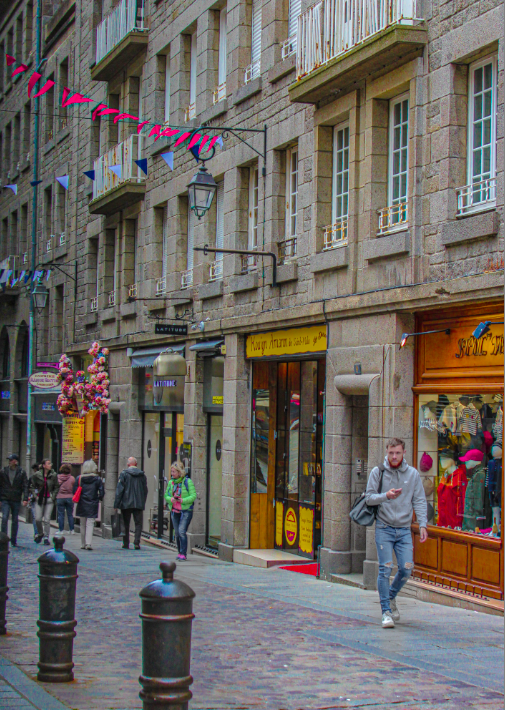
For this image I chose for all the colours including pinks, yellow, orange, green and reds to be very colourful. This was to experiment with selective colouring on Lightroom.
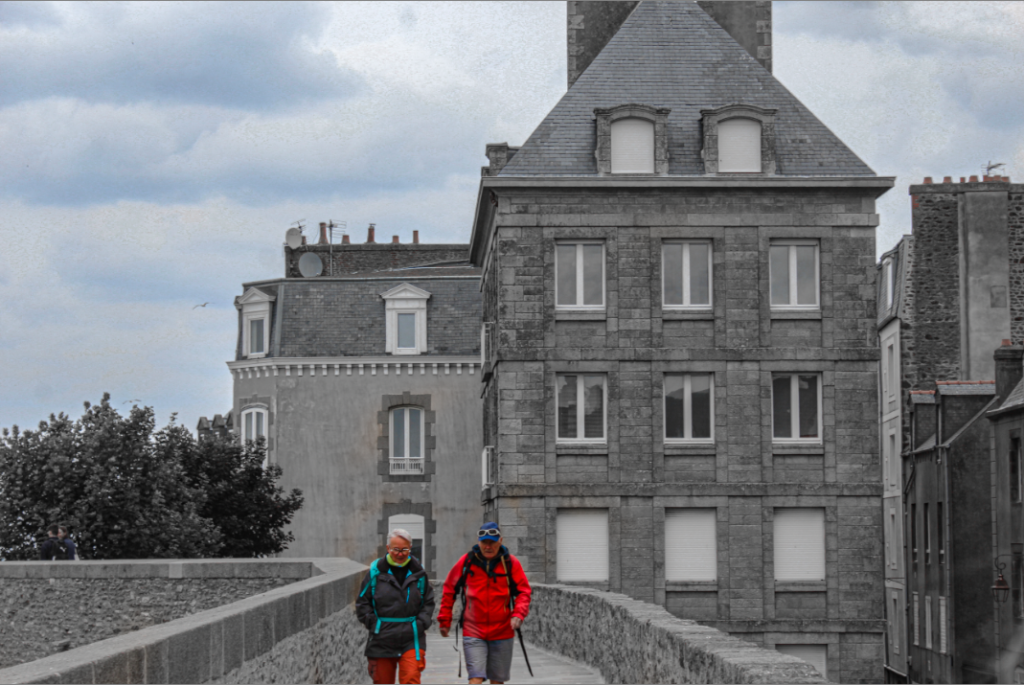
For this image I decided to keep both the people in colour and have the background black and white.
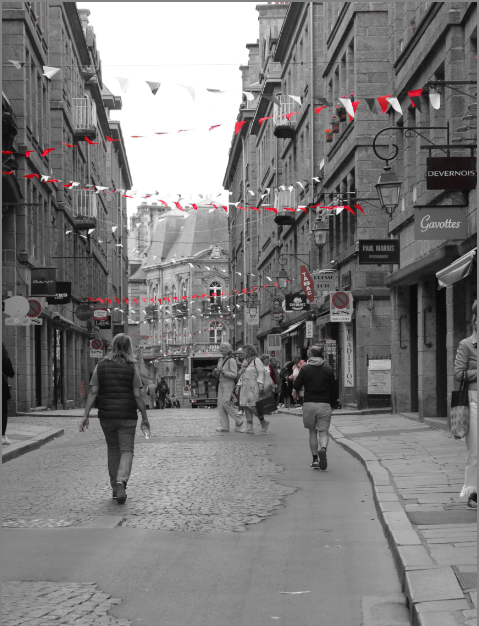
For this image I decided to make the flags in the street both red and white, whilst having the image in black and white. However, this made some red coloured signs stay red also, which I think slightly takes away from the quality of the photo.
Motion Blur Practice.
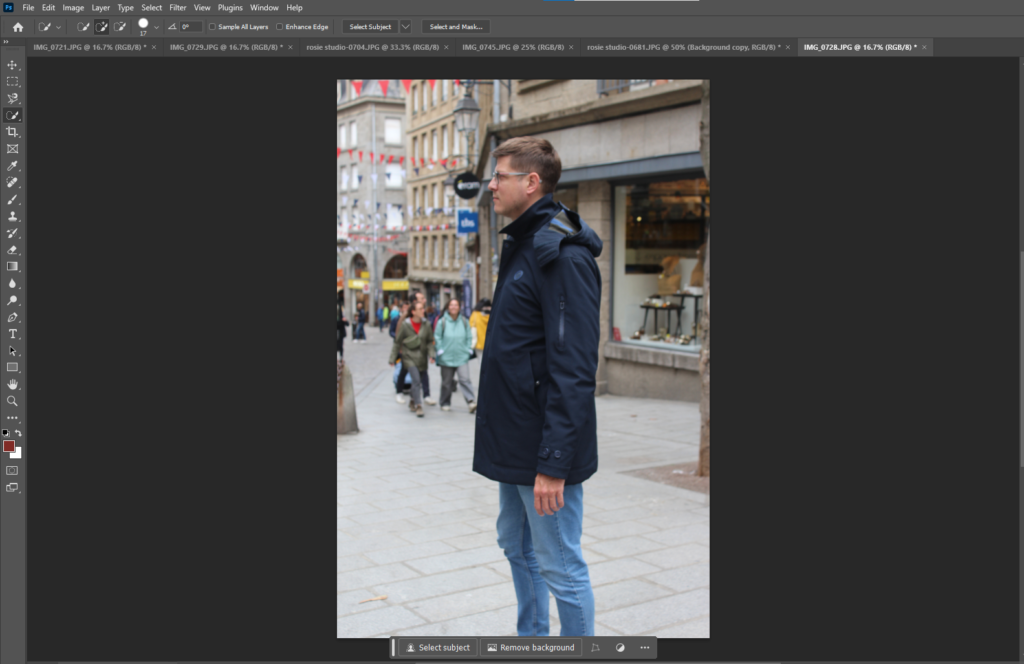
- Select an image and import into Photoshop
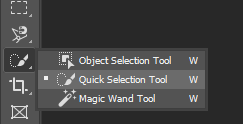
2. Select the ‘object selection tool‘ and right click to change the setting to ‘Quick Selection Tool‘.
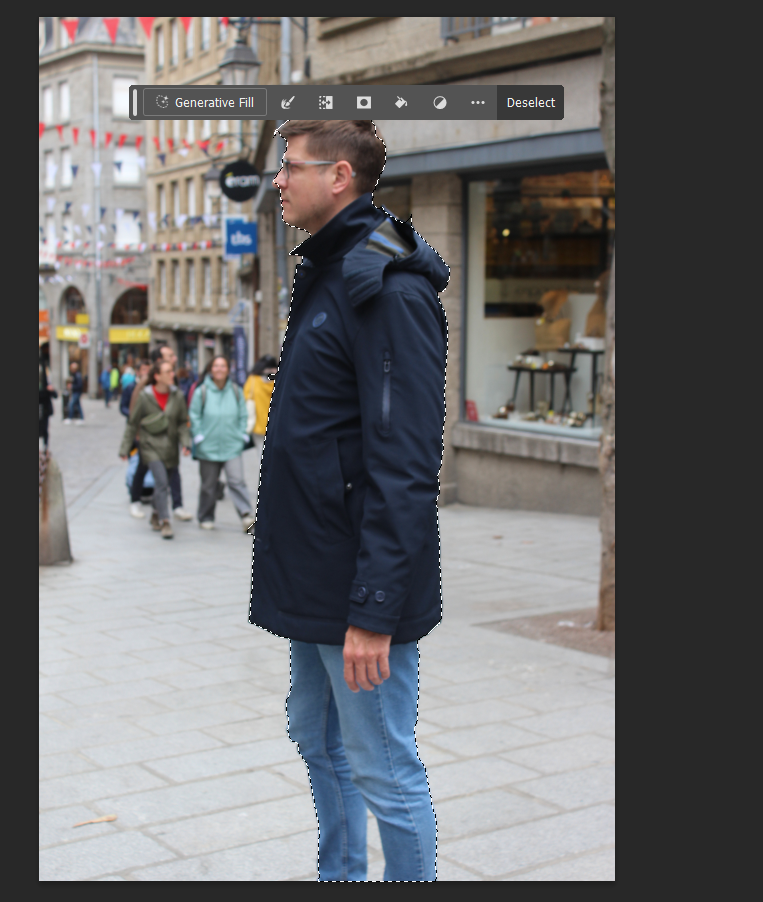
Select around your person using the quick selection tool, to remove some outline press ALT. To select more press, SHIFT.
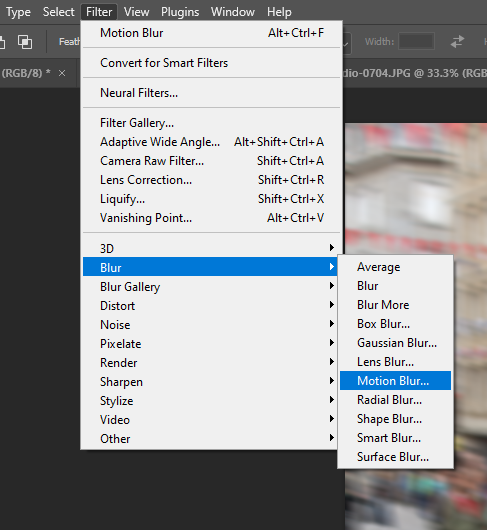
Go into Filter and press Blur and then Motion Blur.
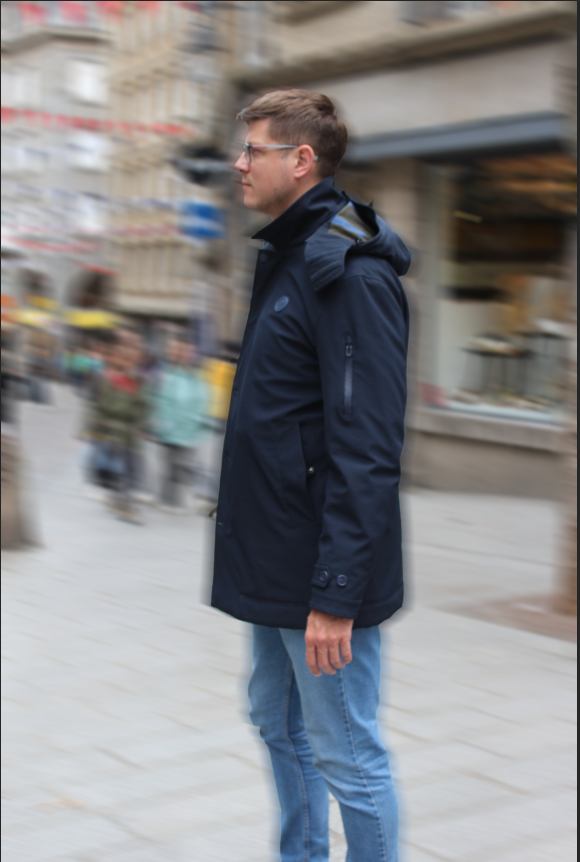
Select Inverse to blur the background of the image and keep your chosen person or object in focus.
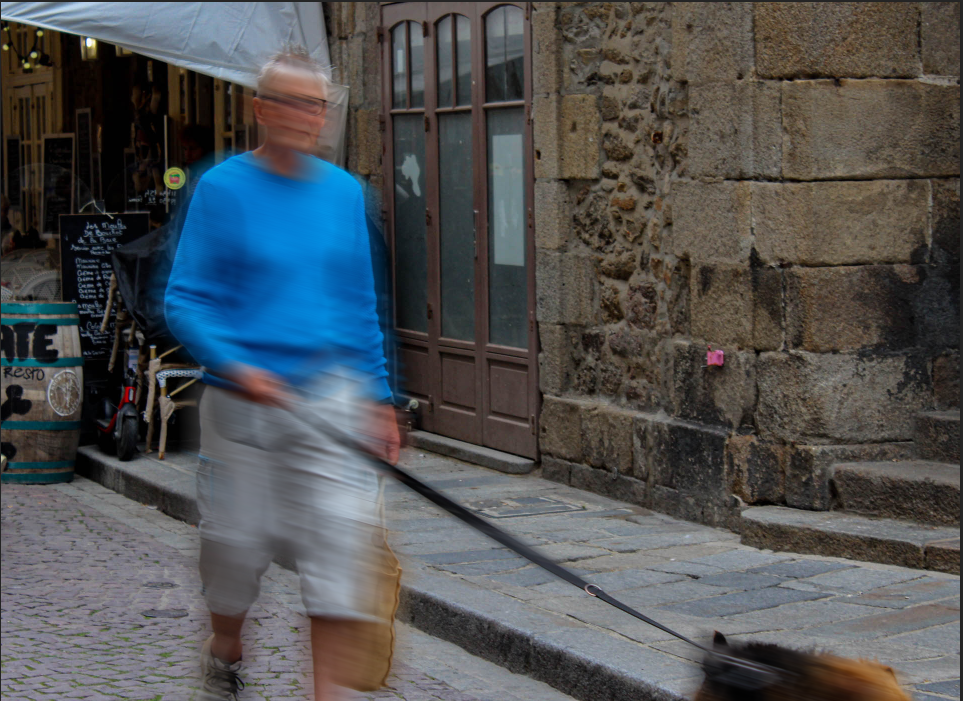
Here I have blurred my chosen subject instead of the background.
