
With people
For these edits, I used my photographs I took in St Malo. I decided to experiment with different cropping styles eg portrait, landscape, panoramic, square and circle. These lead to some unique, different images.
Portrait crop:
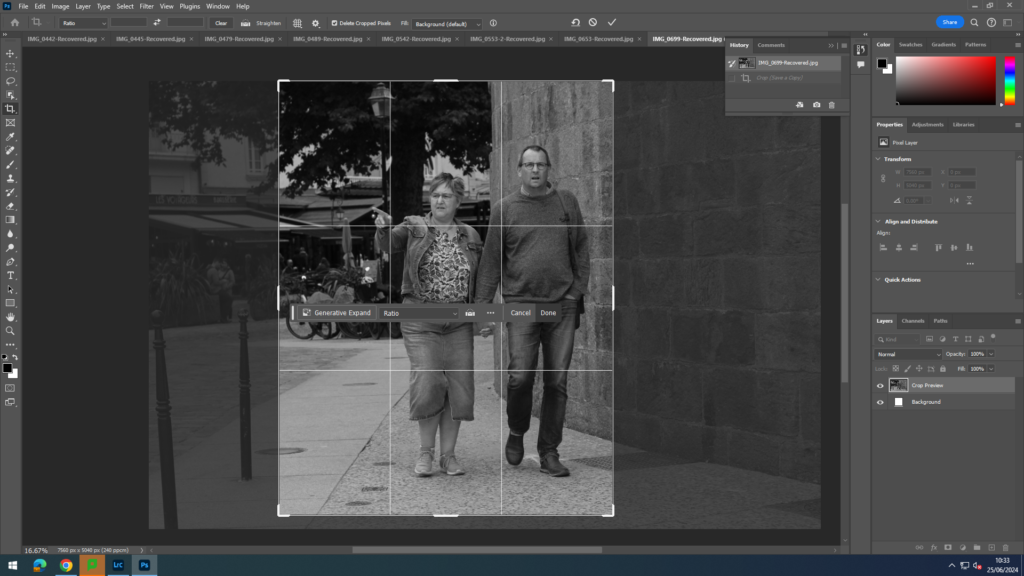
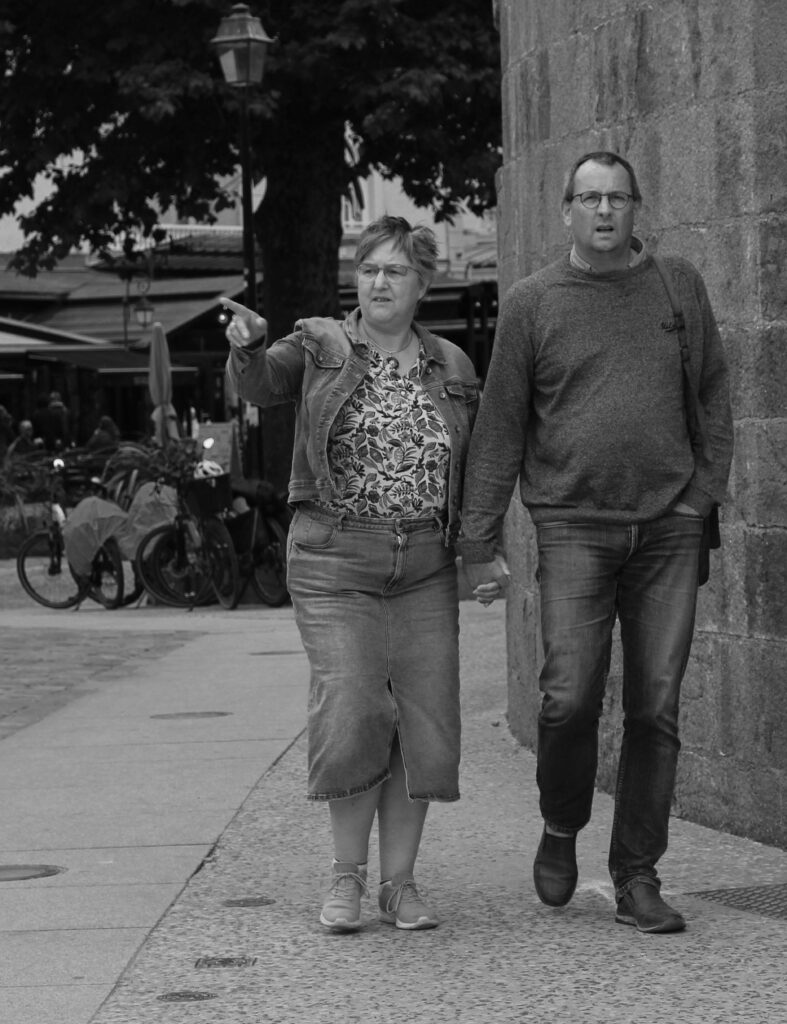
For this type of crop, I opened up a landscape image I had taken then used the cropping tool on photoshop in order to turn it into a portrait image. I decided to off centre the people in the image slightly and include a bit more of the background in it for context. The decisive moment in this image is the lady pointing.
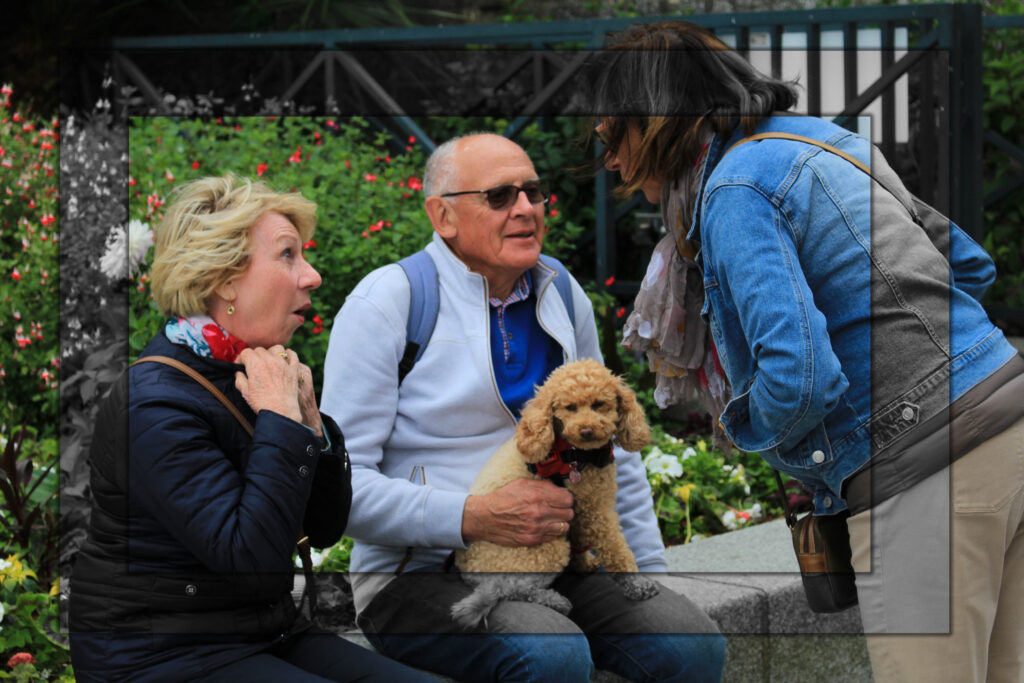
Panoramic Crop:
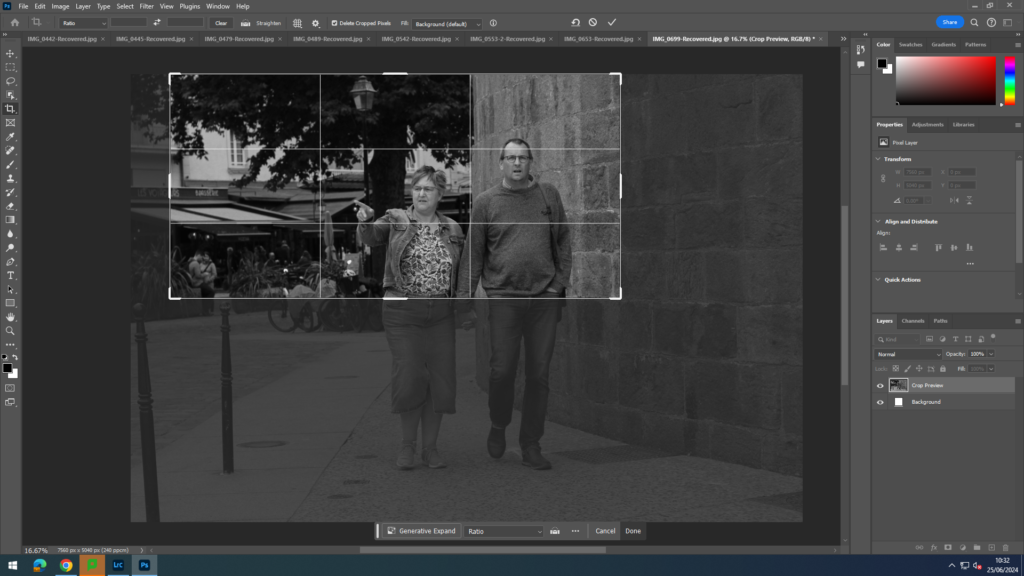
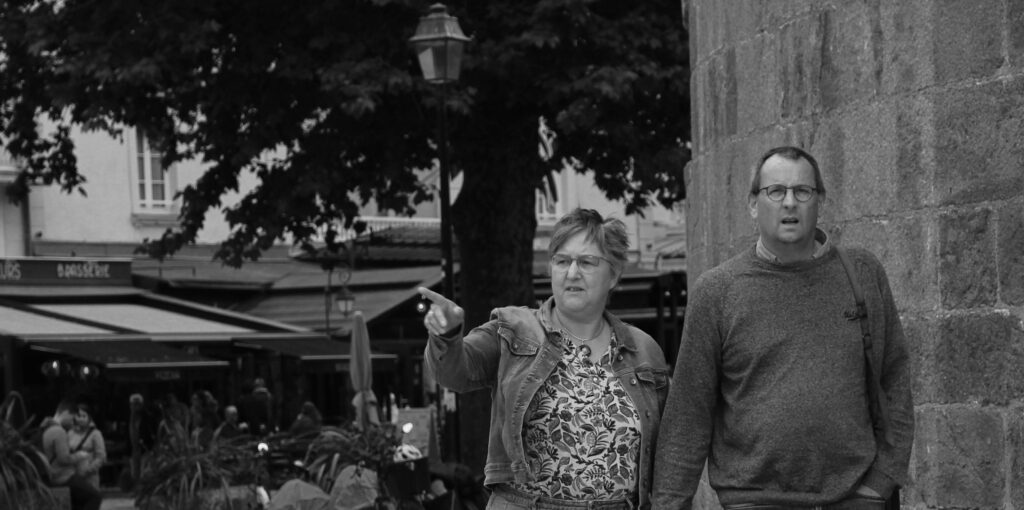
For the panoramic crop, I used the same landscape photograph but this time used the cropping tool to create a panorama which involved only the top halves of the peoples bodies being in the image and some more of the background.
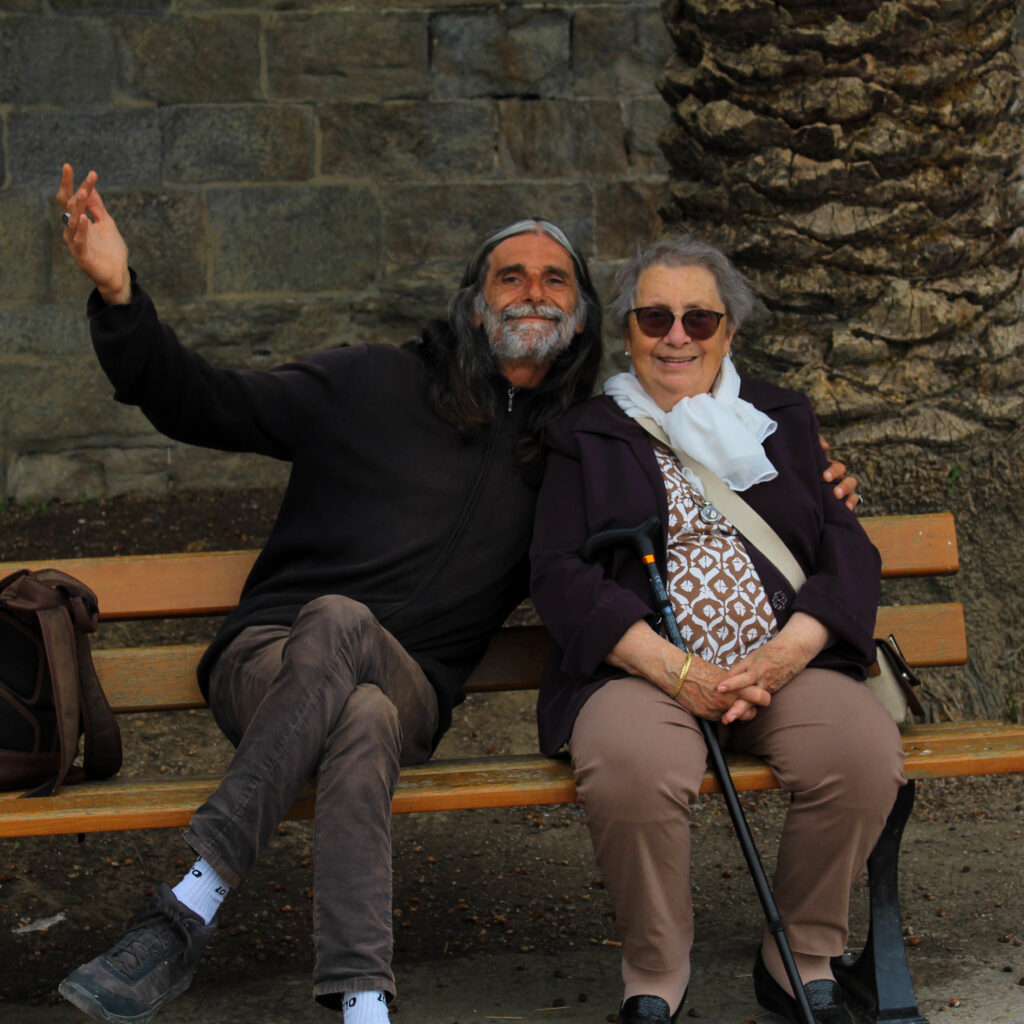
Square crop:
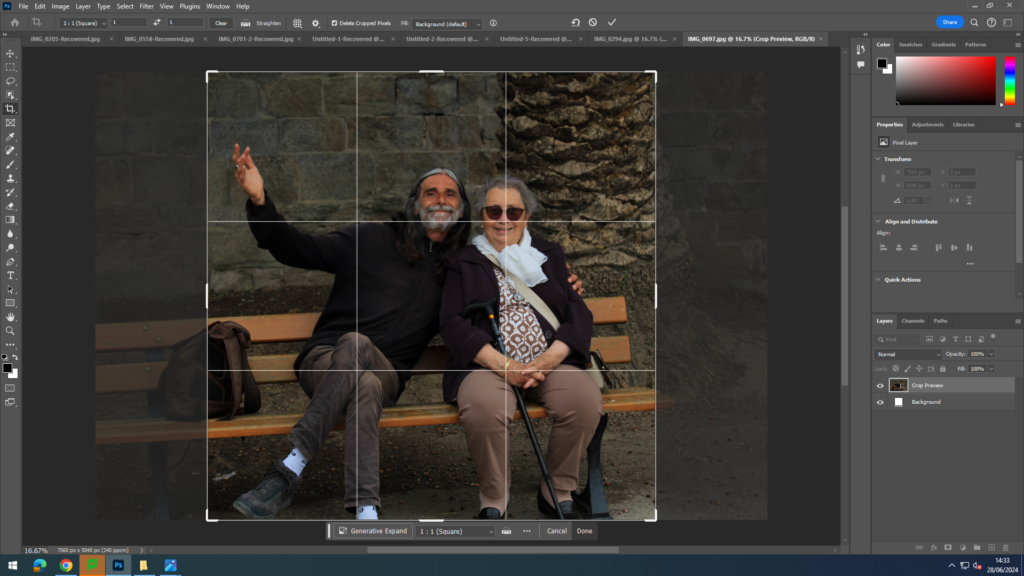
In order to create this square crop, I opened up an image I had taken then selected the crop tool then changed it from ratio to 1:1 (square). I then adjusted the image to ensure the two people were in the centre of it.
Experimenting:
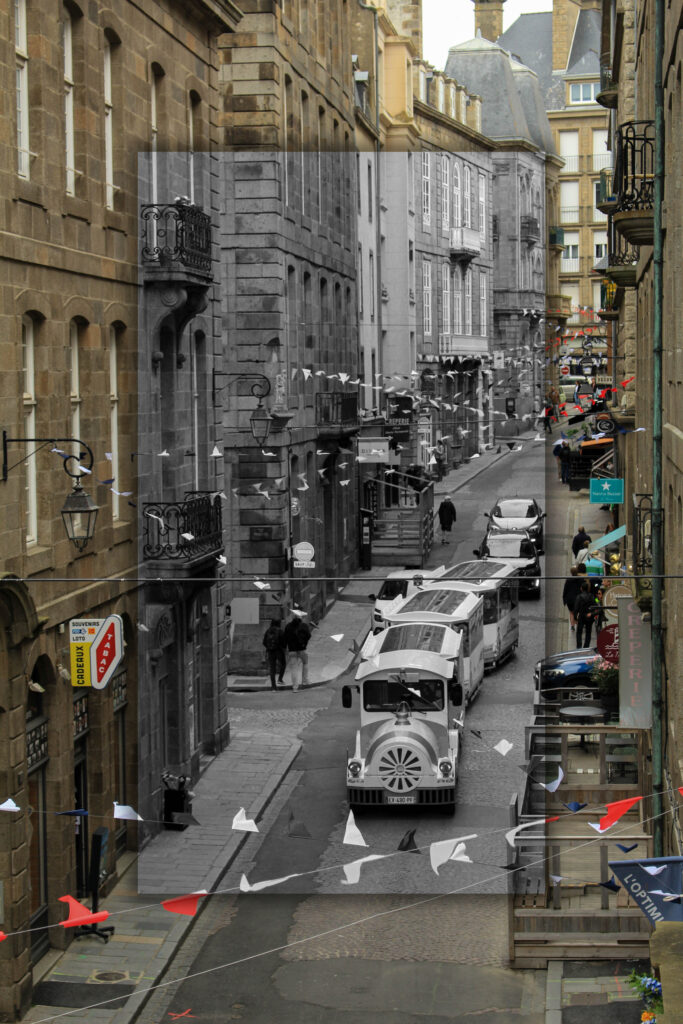
For these next set of images, I wanted to experiment further with using the different crop tools and other various tools. Firstly, I used the rectangular marquee tool to create a rectangle slightly smaller than the whole image in the centre. I then right clicked on the rectangle and pressed layer via copy. Once I had created this new layer, I then decided to colour it black and white. Next, I created a smaller rectangle inside of the rectangle I had just made. I then selected the bottom layer (colour layer) then right clicked on the rectangle and clicked layer via copy. This ensured that my rectangle was in colour and not black and white like my previous one. To finish this idea off, I added a drop shadow to the rectangles. This helped to enhance the contrast between the black and white rectangle and the colourful ones.
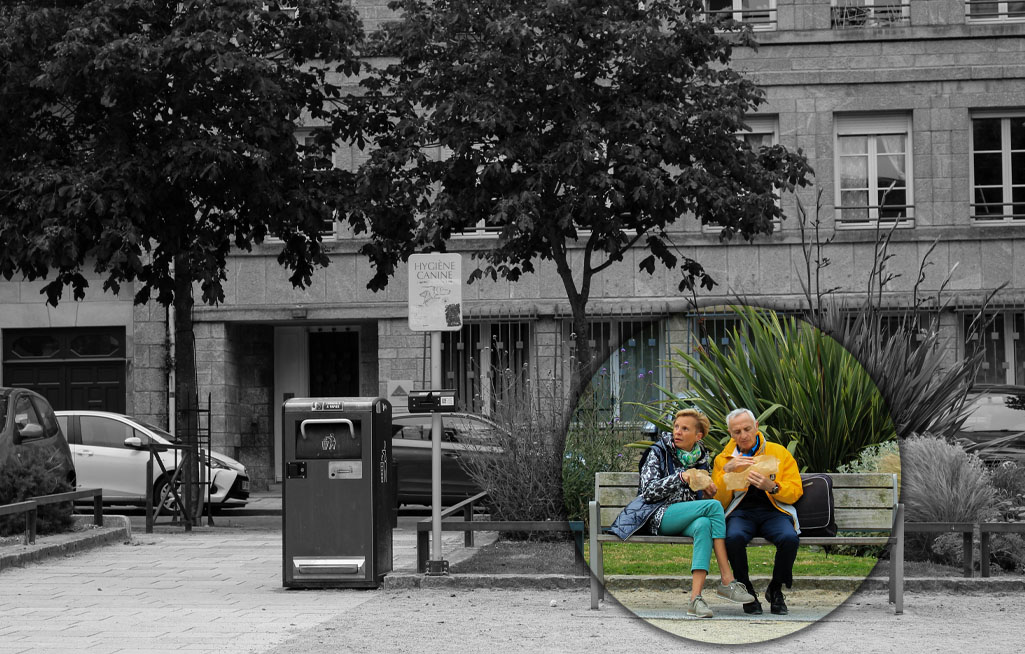
For this idea, I used the elliptical marquee tool in order to create a circle shape. I decided to draw the circle around the two people, highlighting the decisive moment in the image. I then right clicked on the circle and pressed layer via copy. Then in order to make the circle stand out I decided to make the background black and white and keep the circle and people in colour. Finally, I added a drop shadow to create some depth and contrast in the image.
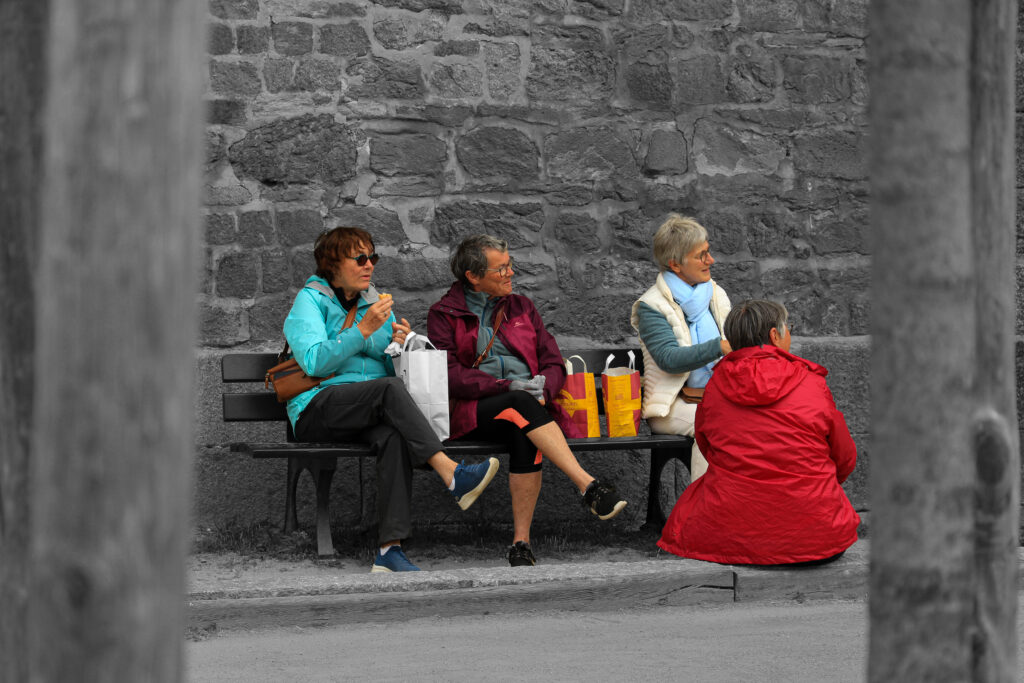
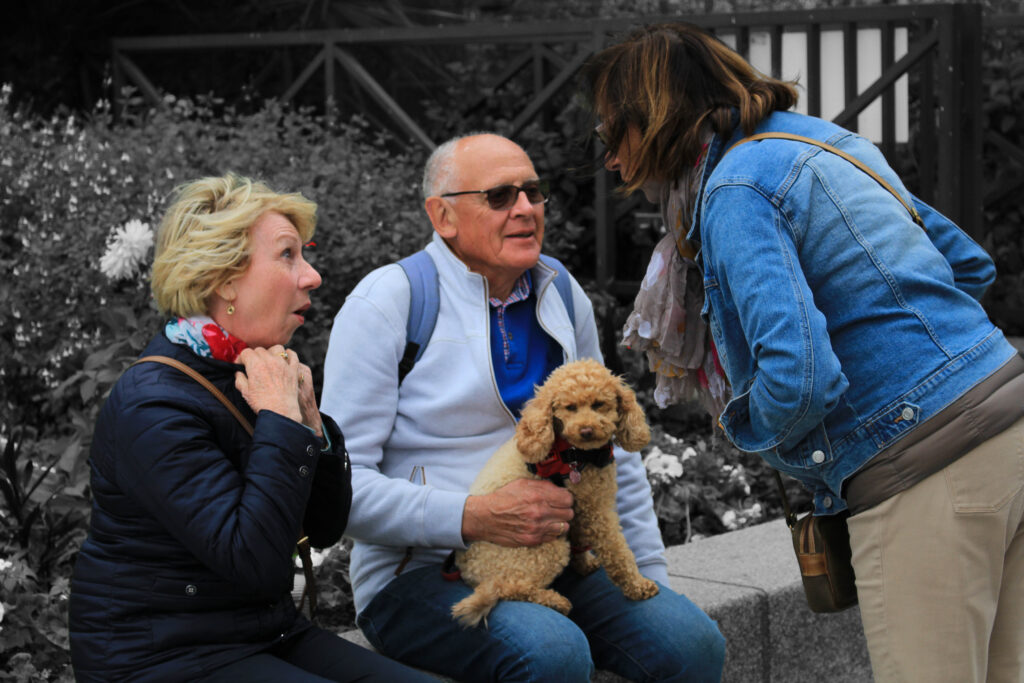
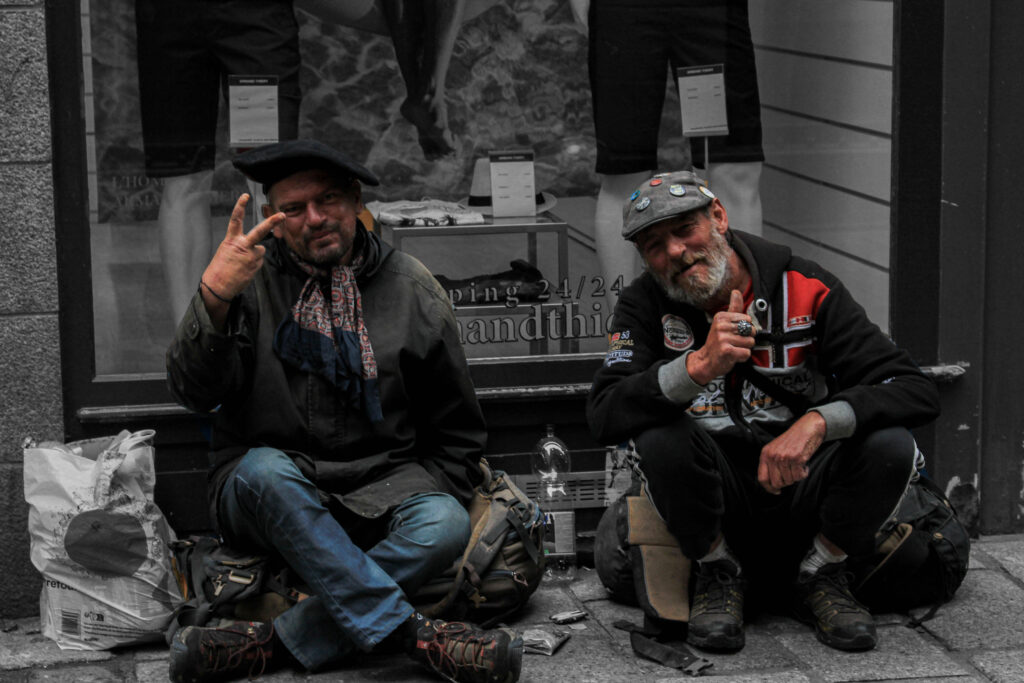
For the next few images, I created a colour splash in which I made the people in the image have colour and then make the background black and white. I did this by using the object selection tool to select the people I wanted to highlight then pressing layer via copy. Once I had them all cut out, I then made the background black and white by going onto image then adjustments then pressing black and white. Finally, I decided I wanted to enhance the colours of the people so I exported them into Lightroom then used the colour section on it to change the hue, saturation and luminance. I like how these images turned out as they bring attention to the people as the bright colours seen on their clothes contrast drastically with the black and white background.
Without people
Panoramic crop:
I then experimented with creating a panoramic crop again but this time with a landscape picture. I think this crop was successful as it only shows the necessary parts of the image and got rid of any random objects at the bottom of the image.
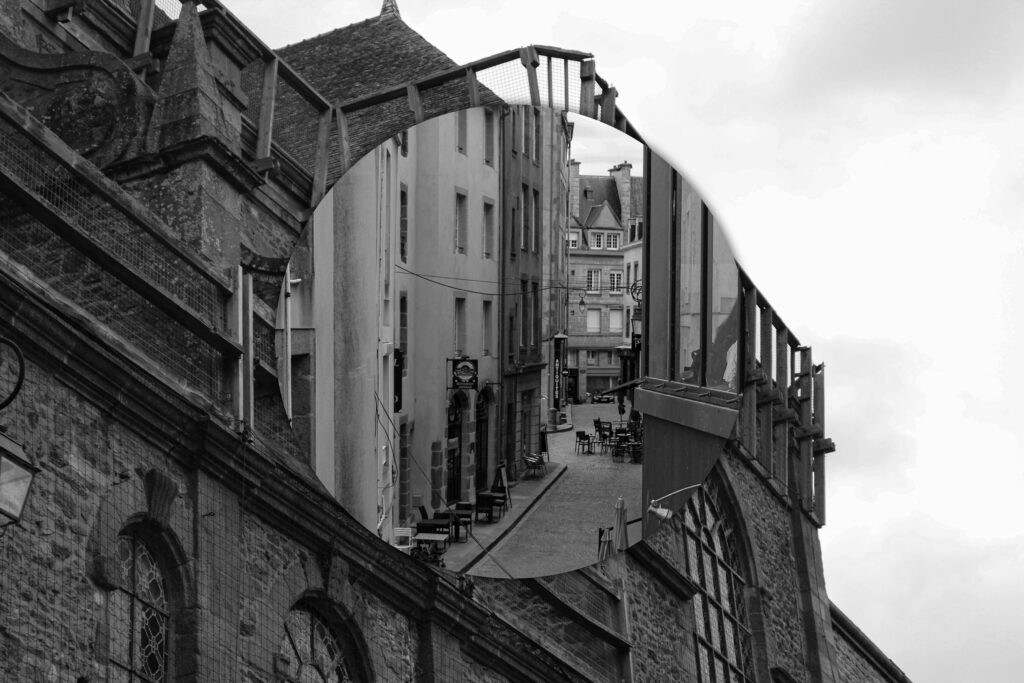
Circle crop:
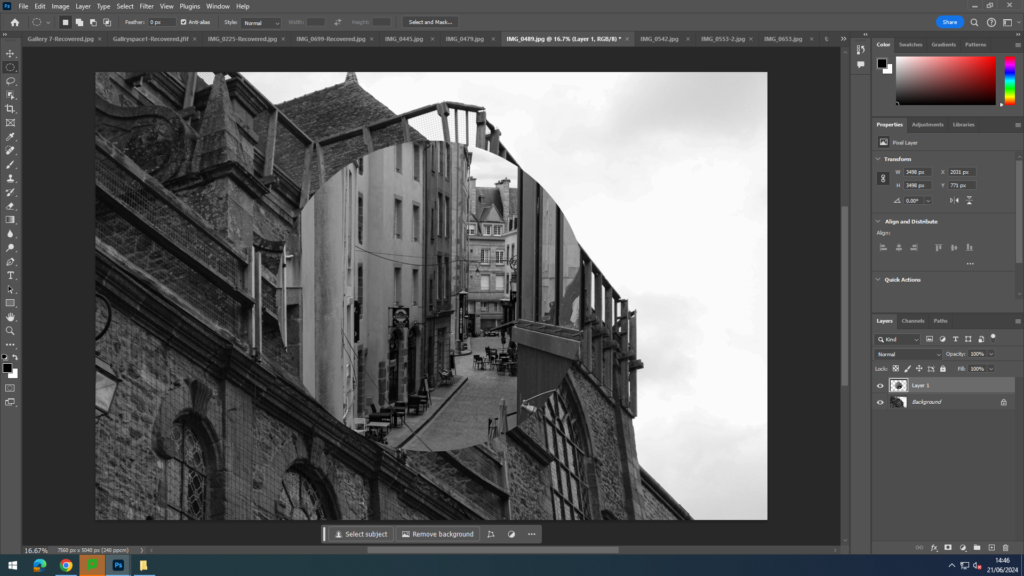
I then experimented with using a circle crop. I did this by using the elliptical marquee tool on photoshop in order to create a circle shape around a certain part of one of my images. However, I didn’t like how just one circle looked on a plain white background and so I decided to try out different things. For example, I opened up a new, different image and then dragged the cut out from the other image onto it. Then added a drop shadow to the circle in order to make the difference more clear and prominent.
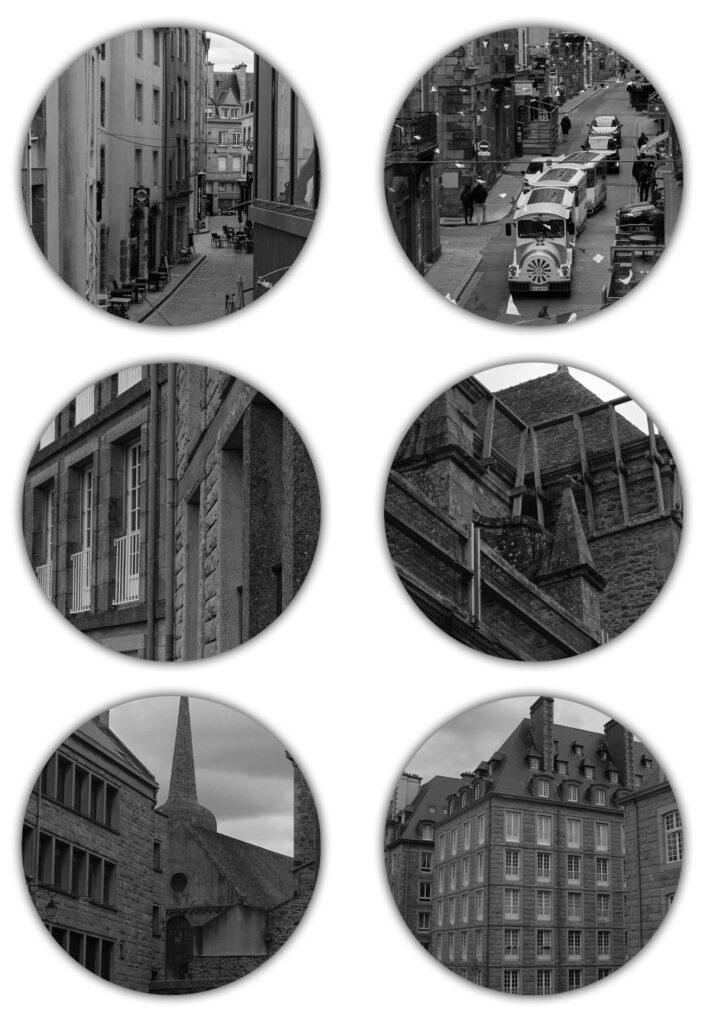
Next, I used the elliptical marquee tool on 6 different images. Once I had all of my cut outs, I then opened up a plain sheet of paper and dragged them all onto it. To finish this idea off, I added a drop shadow to all of the circles. I think the many circles instead of just one looks better and more interesting and allows you to see more of St Malo.
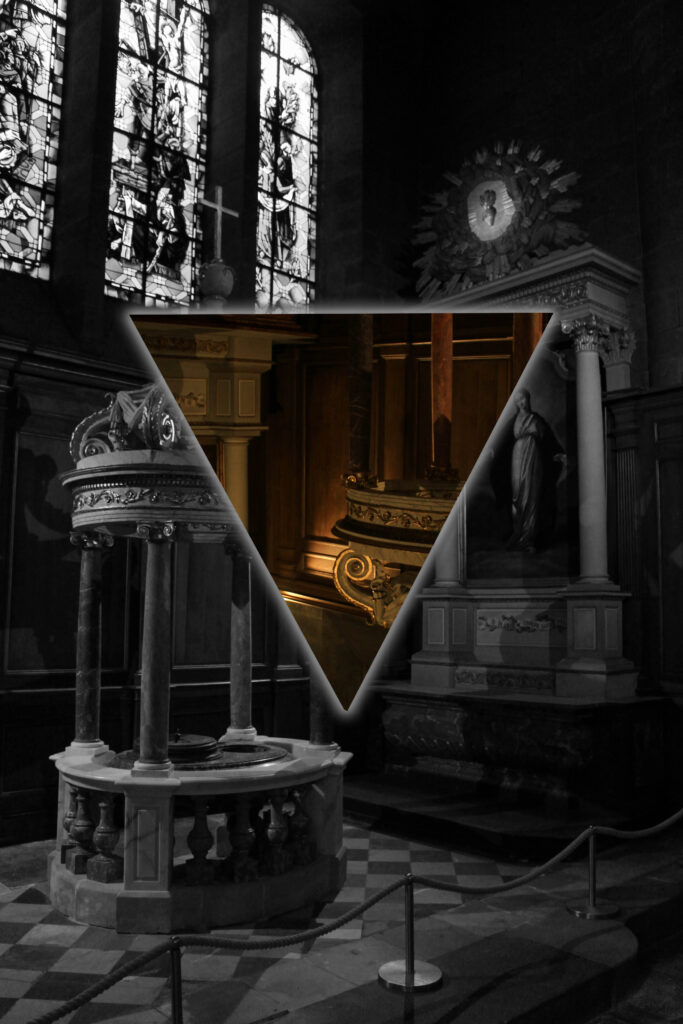
Polygon crop:
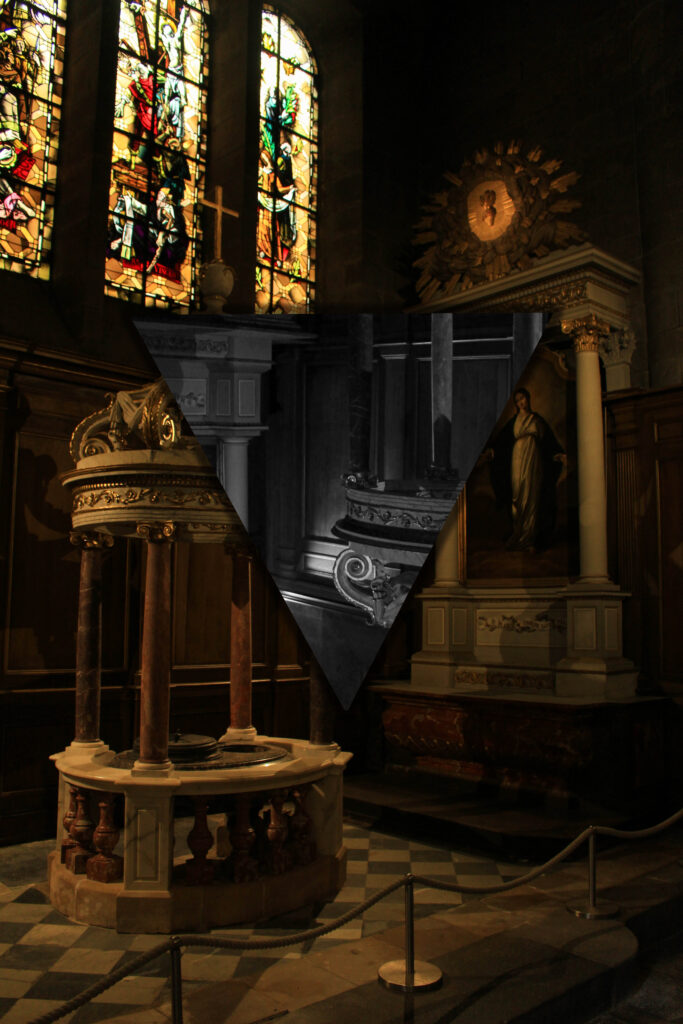
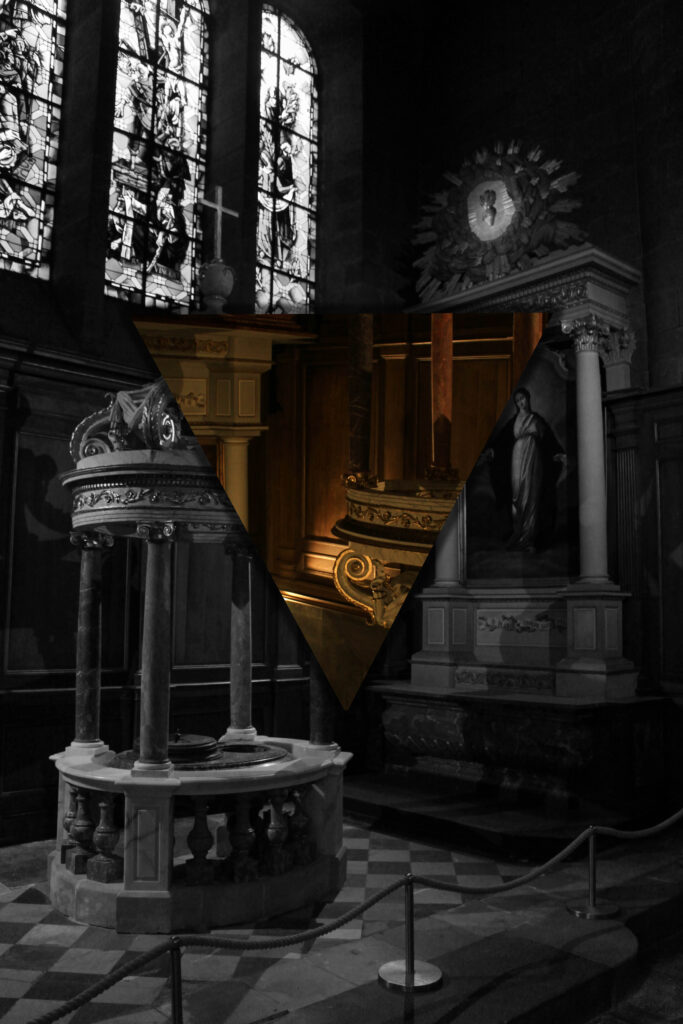
For the final crop, I used the polygonal tool. With this tool, I drew a triangular shape on my image and then right clicked on it and pressed layer via copy. I then tried different colour scenarios eg making the triangle black and white and the background in the colour, and making the triangle in colour and the background black and white. I also added a drop shadow to both. Finally, I tried using an outer glow effect on the triangle as a way to emphasise it more due to the image being quite dark already.
Experimentation
For the next two images, I superimposed two images. I did this by opening up on image to start with then opening up another one and dragging it on top of the original one. I then readjusted the size of it so it filled the page. Next, I lowered the opacity of the top layer in order for the bottom layer to become more visible. Finally, in one of the images I selected the top layer and then pressed on adjustment pre-sets then selected ‘cinematic-split tone’ in order to add a green-red colour to my image.
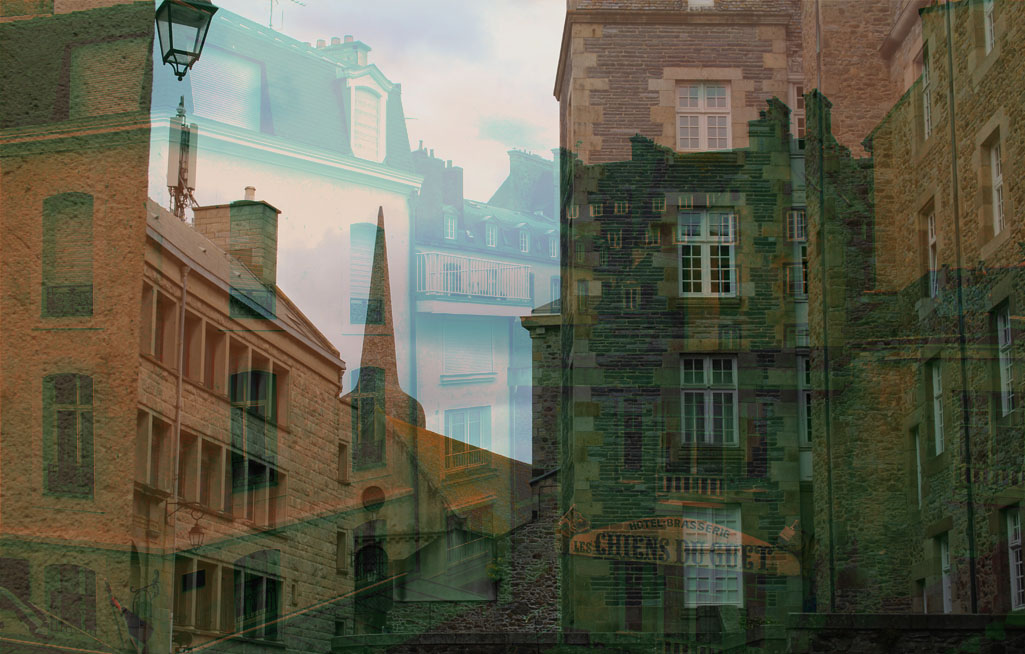
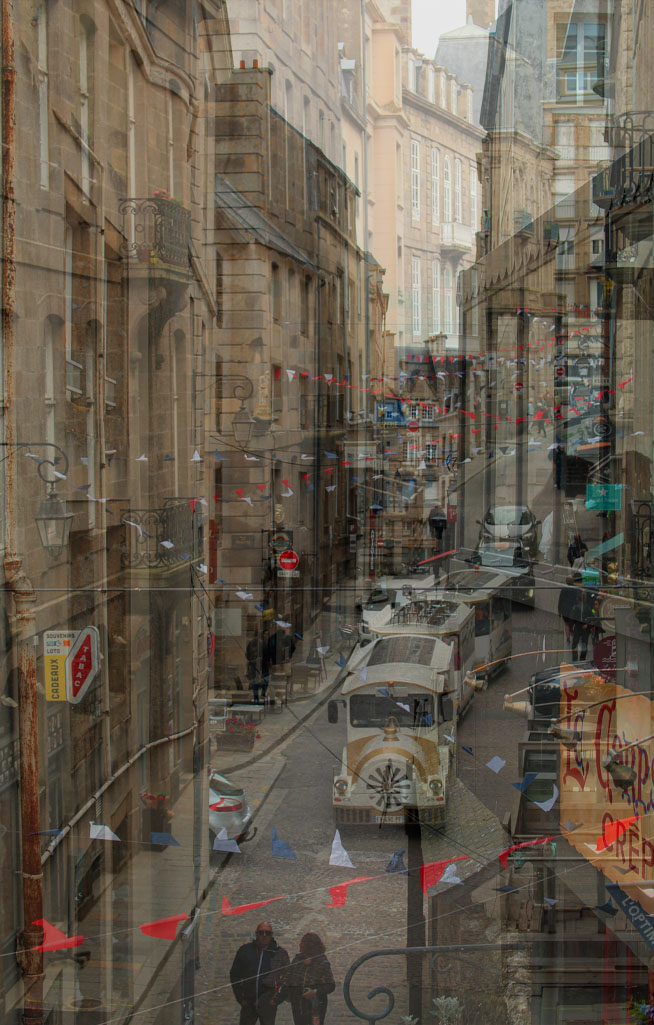
These were inspired by Stephanie Jung.