Picture Stories ; Research And Analysis

Photo stories are a means of visual storytelling. Photojournalists use photo stories to narrate a series of images so that they give better insight into an event or topic. These stories range from photos of an event that describe what happened, to long term or long-form stories following things like wars and elections.

  • Establishing shot
  • Person at work
  • Relationship shot
  • Detail shot
  • Environmental Portrait
  • Formal Portrait
  • Observed portrait

These images are typically used in picture stories, this is because they help display the whole story with enough detail and show a selection of emotive intentions and contextual situations.

An establishing shot in photography is a wide or extreme wide shot that sets up the context of a scene and shows the location where the action/events occur. It can include buildings, landscapes, or other obvious signals of place and time. Establishing shots help convince the viewer of the images background and validity.

A person at work shot is helpful when establishing a person.
This is an image of an individual at their job/occupation
It demonstrates them in their everyday ordinary life allowing the viewer to relate to the individual.

a person at work shot must include a
+Who – the image should show who is working
+What – it should be clear in the image what the individual is doing
+How – the viewer should be able to infer how the individual is completing their job/task
+Context – the contextual clues should allude too the individuals occupation

there are relationships of many kinds, familiar, platonic, romantic and the relationship between and individual and there pet, these shots can even illustrate the relationship between strangers or mild acquaintance’s
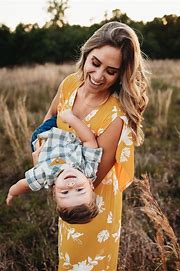
A detail shot is a close-up photograph or artwork that focuses on a specific part or element of the subject, highlighting its intricate details and textures.

An environmental portrait is a type of portrait photography that:

  • Includes more than just the subject, capturing them within a broader context.
  • Is executed in the subject’s usual environment, such as their home or workplace.
  • Showcases the subject’s personality and connection to their surroundings.
  • Combines a meaningful setting with basic portrait photography skills

Photographers who take traditional portraits aim to capture the essence of the person they are shooting. That’s most iconic figures in popular culture, politics, and history have traditional portraits taken of them. 
formal portraits tend to focus entirely on a persons face in a posed position with a controlled environment and specified lighting.

observed portraits are candid images aiming to capture the individual with out their knowing.

Using In Design – St Malo – Seek, Observe, Challenge

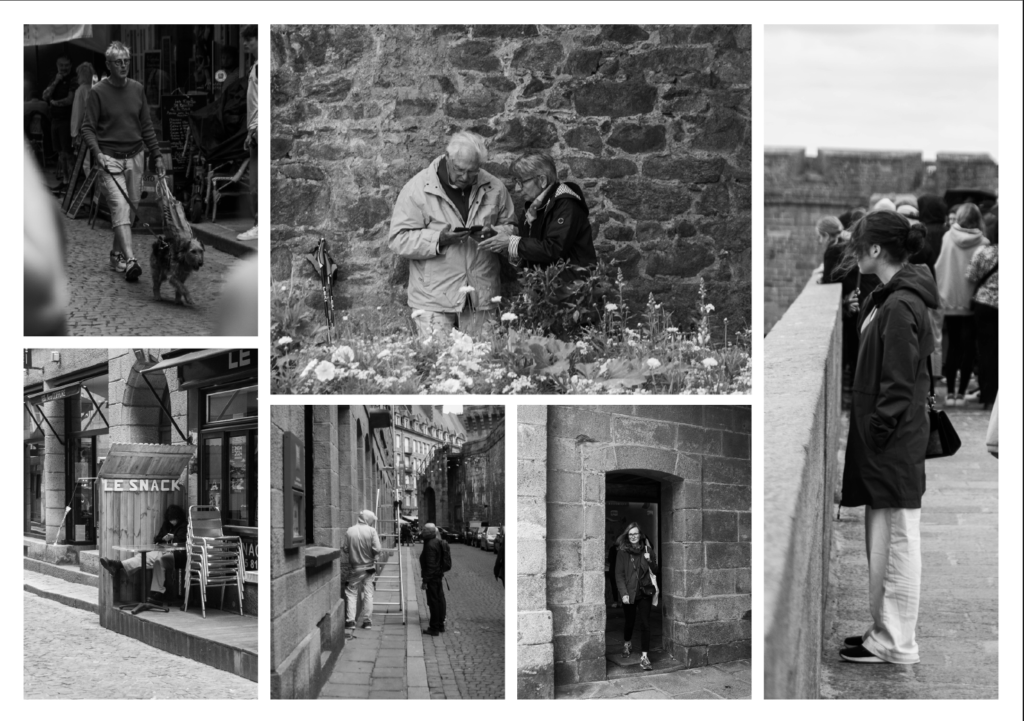
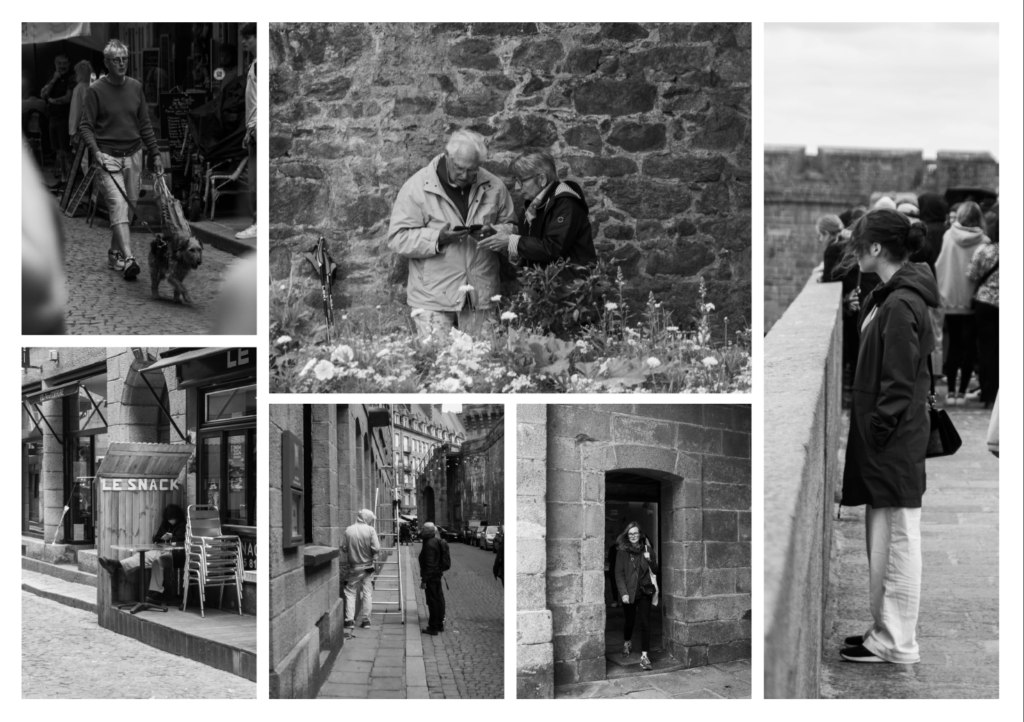
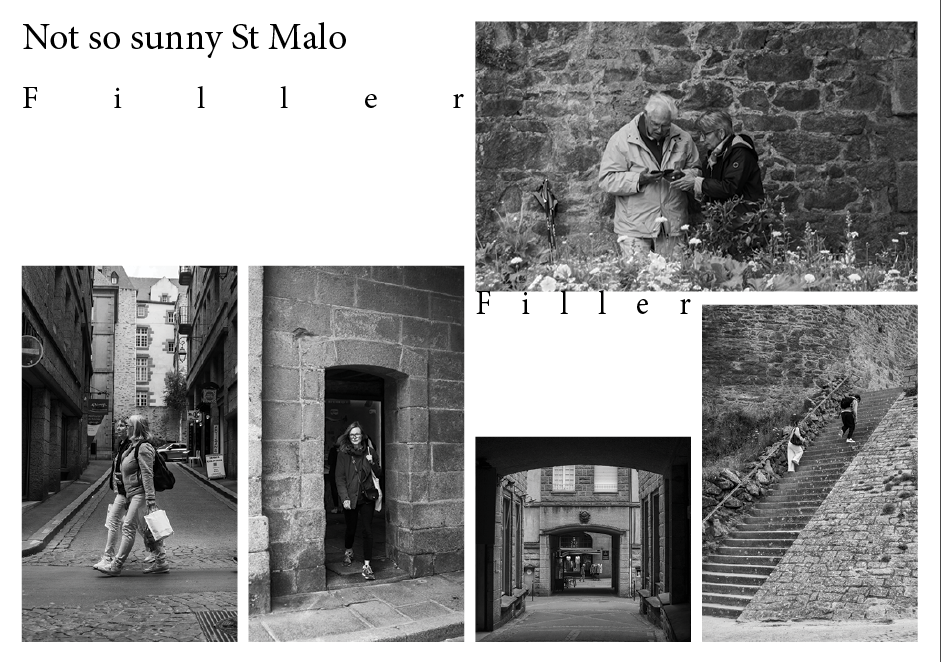
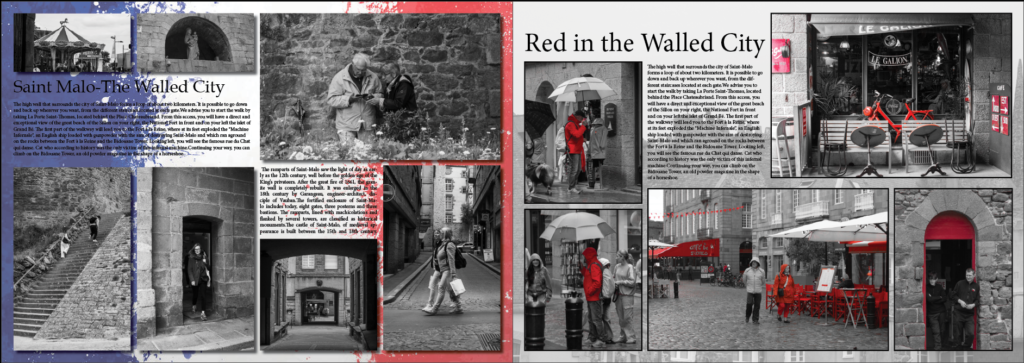
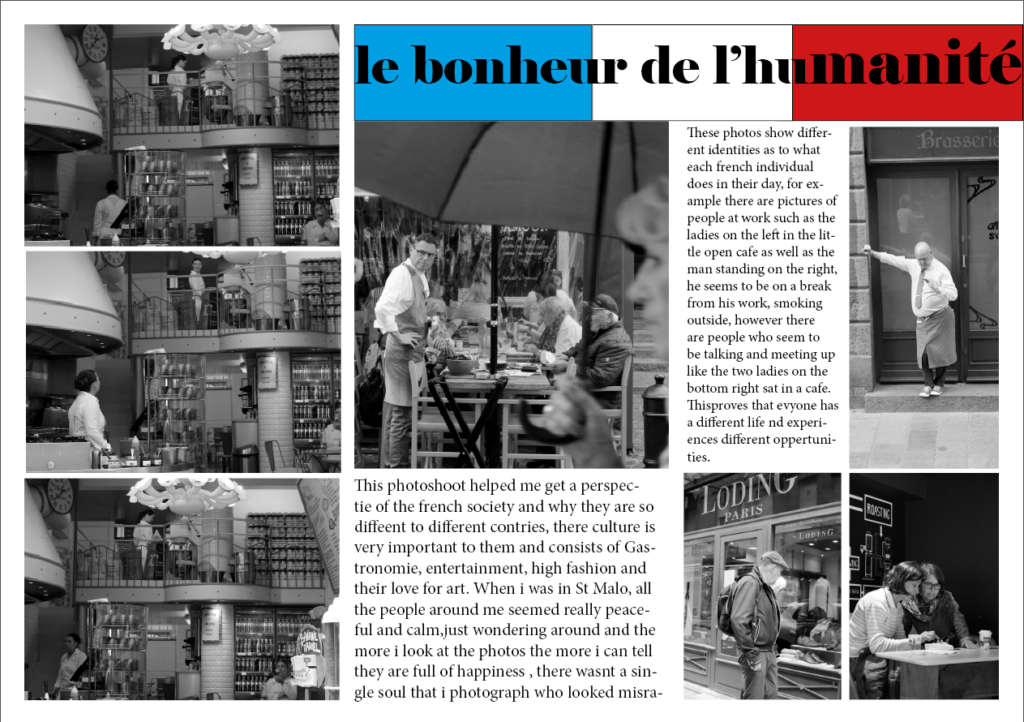
Another way of presenting images, is creating page spreads. This allows for many photos to been seen at once with text providing context. I have selected good photos from the St Malo day trip, already edited to use in the process of creating page spreads. I will look to pair and match similar photos ether compositionally or narratively, this will help create a joined, polished page spread. My aim is to describe St Malo through photos, from the walled city to the shopping streets to the exposed nature of rough rocks and sandy beaches, capturing how people interact with all theses elements.

 A3 Page-Spread Designs:
InDesign

Create new document
width: 420mm
height: 297
pages: 3
orientation: landscape
columns: 4
column gutter: 5mm
margins: top, bottom, inside, outside: 10mm
bleed: top, bottom, inside, outside: 3mm

Short cuts

CNTRL D – place photo

Shift W – preview

W – remove margins

CRTRL -/+ – zoom in and out

Move Image-use centre of photo to pull photo

Make box, for photo.

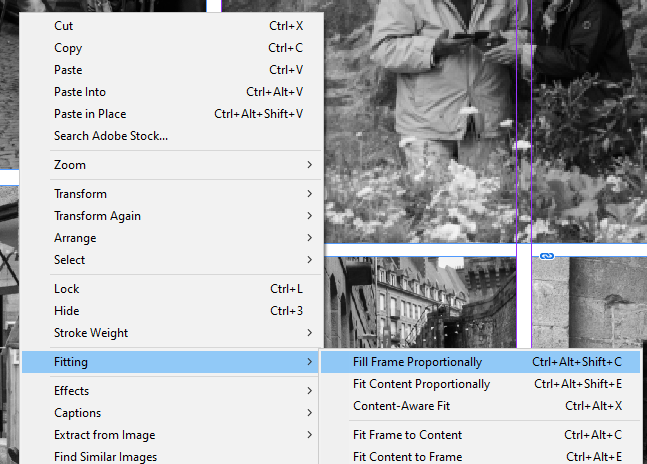
Right Click – fitting – fill frame proportionally

This is my first attempt working out how to use the different tools to import and aline photos.

Adding to Photos

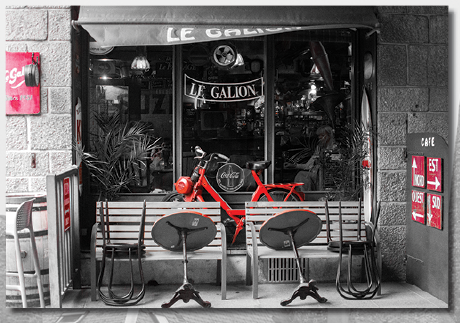
To add borders I selected the photo using the arrow tool and then increased the size of the border to add make it more visible.

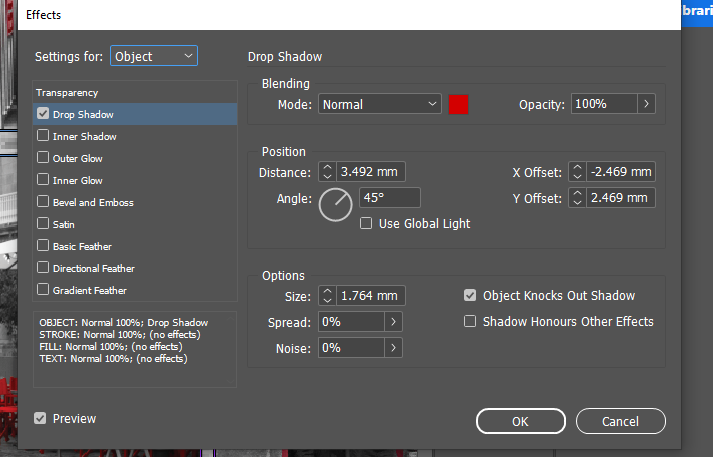
To add drop shadow to photos I used the same process just selecting the drop shadow tool rather than the border weight.

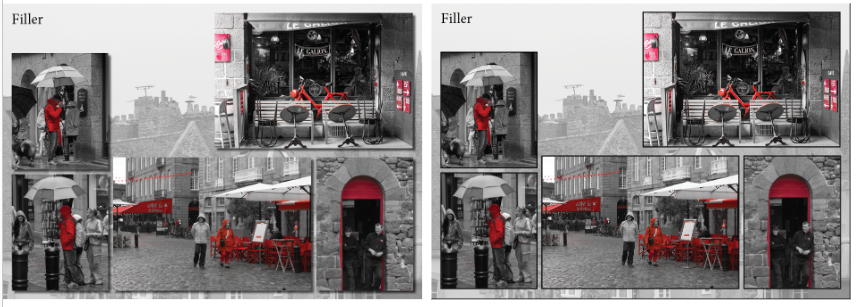
Adding Drop shadow (left) adding border weight (right)

By trying both, drop shadow and borders on the photos it has given me a chance to compare what creates a stronger presentation and what would make a weaker one. I like both results but the bordered one helps make emphasis on the individual photos not just the page spread as a whole.

Backgrounds

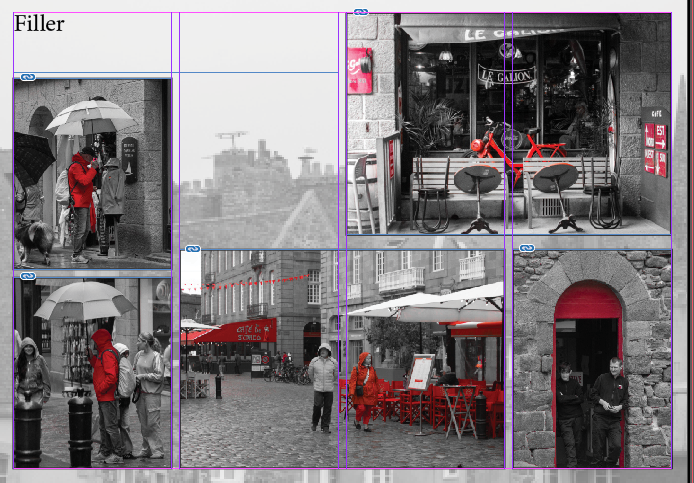
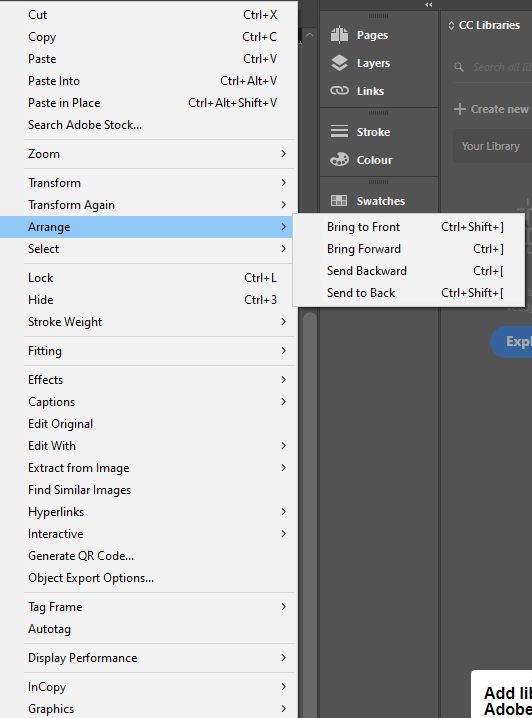
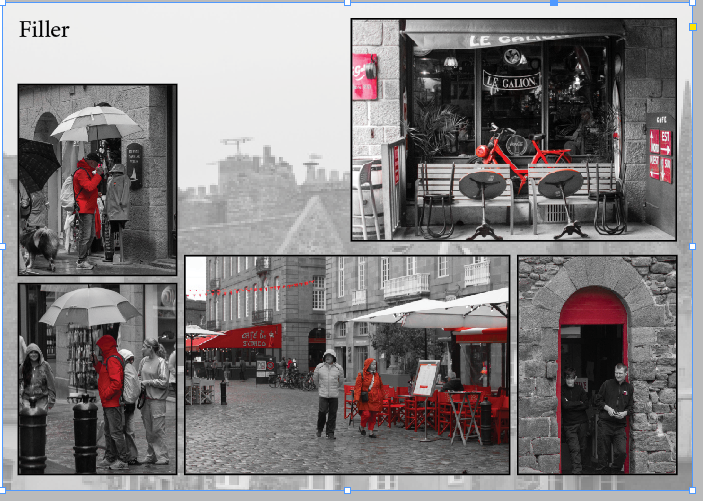
To keep the background from being blank I added another photo from the same shoot that complemented the others without taking away from them. To do this I created a box over the whole page and then imported my photo, right clicked and selected arrange, SEND TO BACK to move the photo behind the rest. I then used the opacity slider to reduce the opacity and make the photo duller and less distracting.

Opacity Slider

Editing Text

Design Ideas

Final Designs

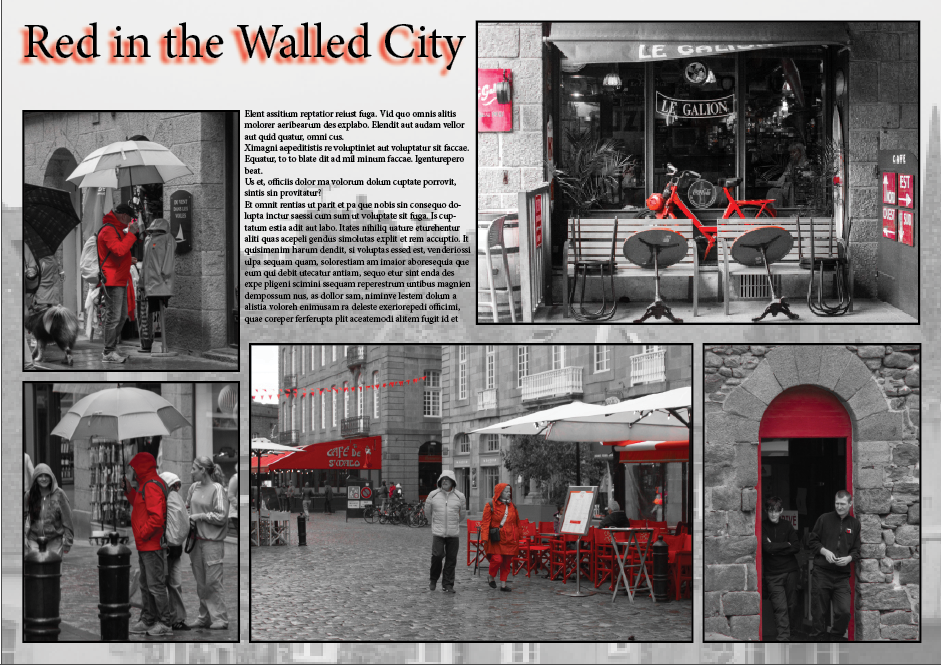
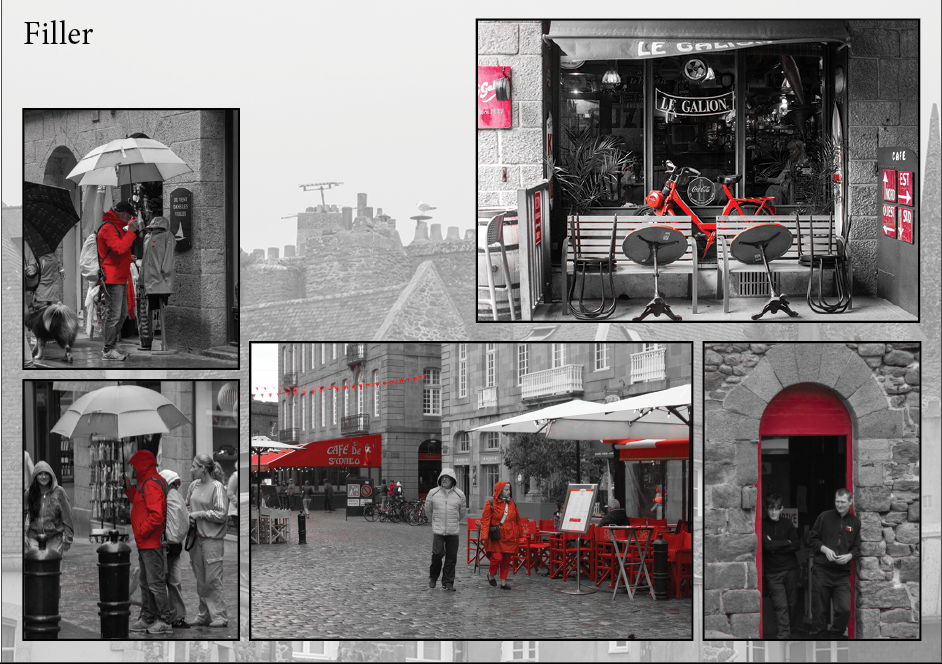
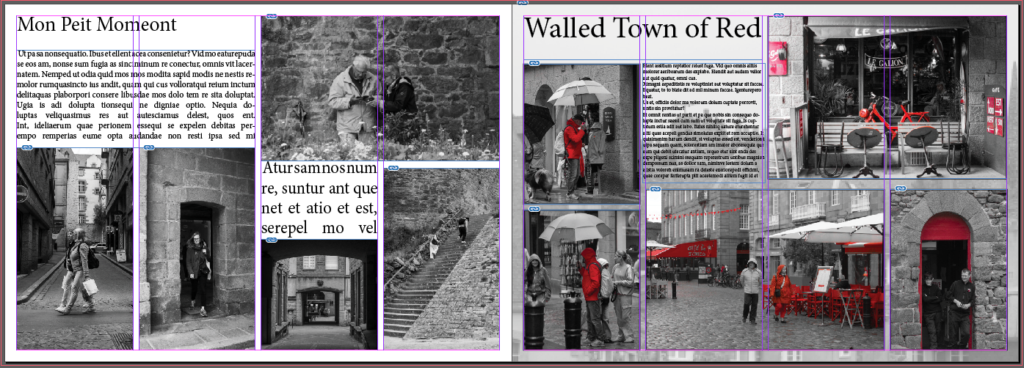
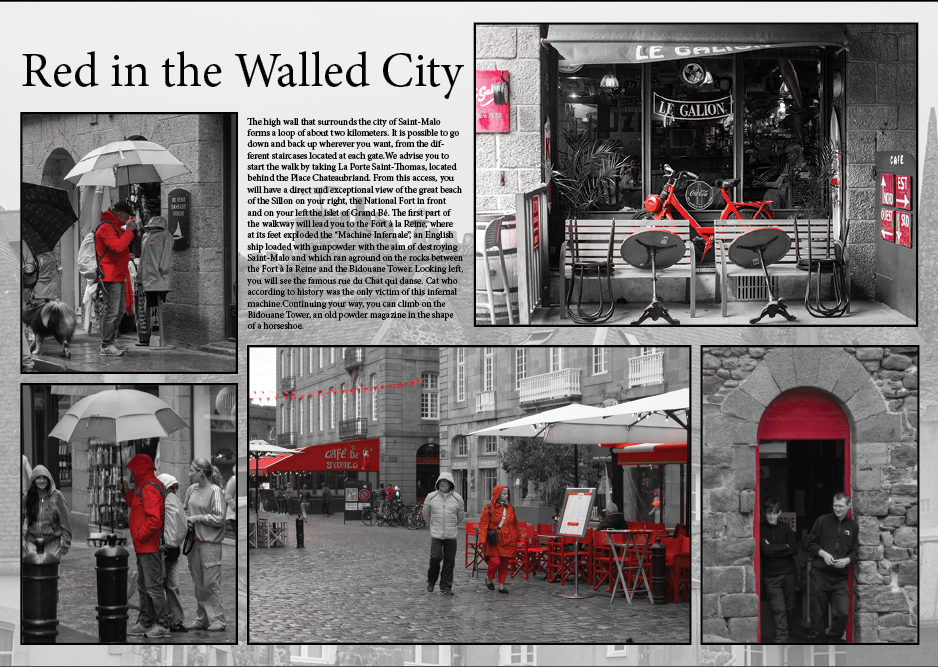
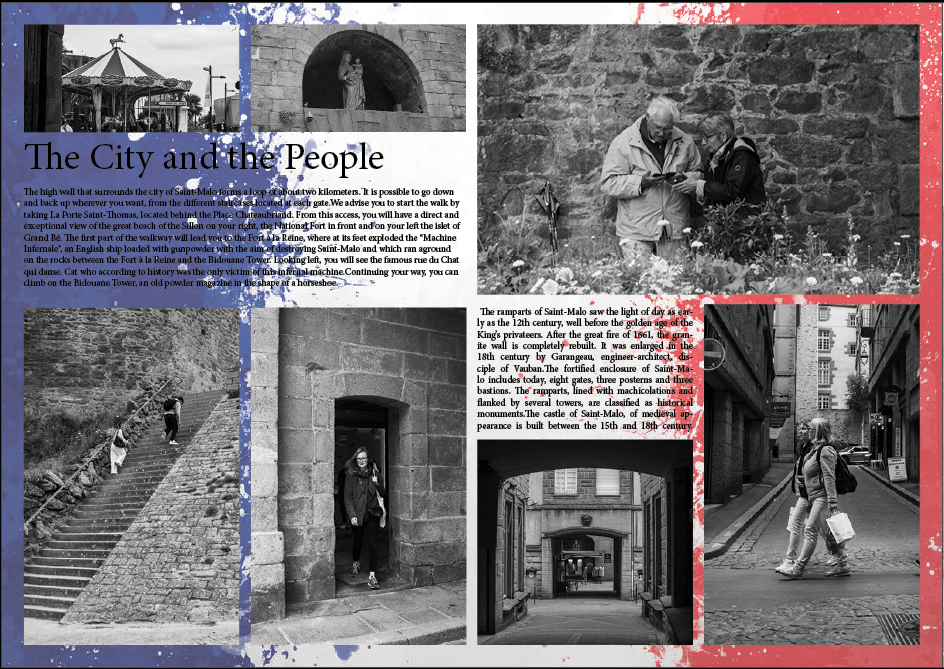
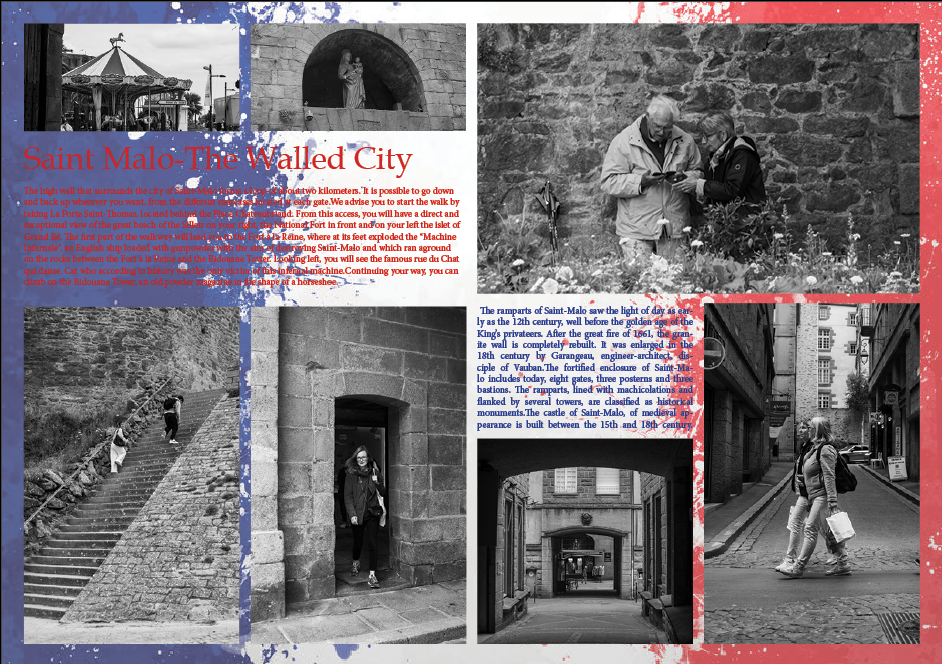
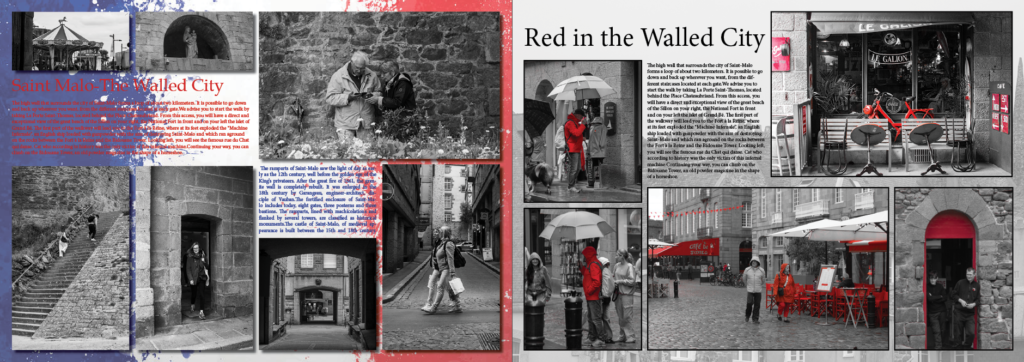
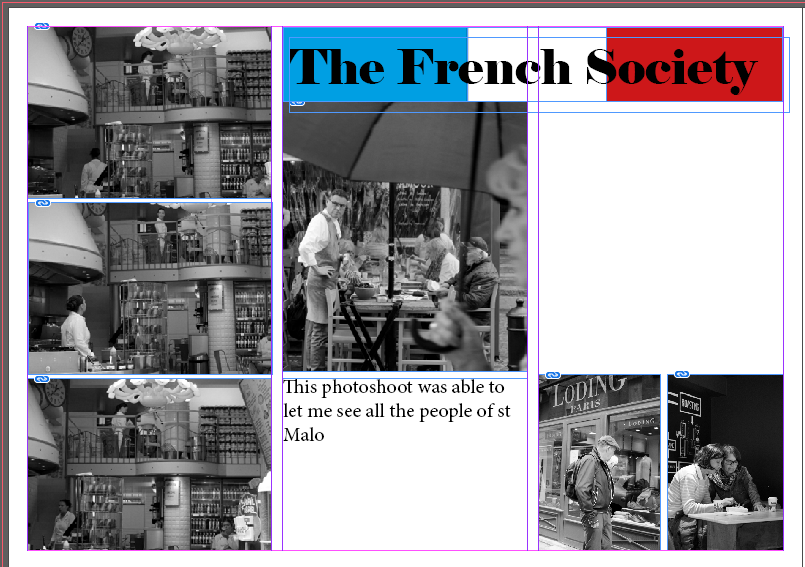
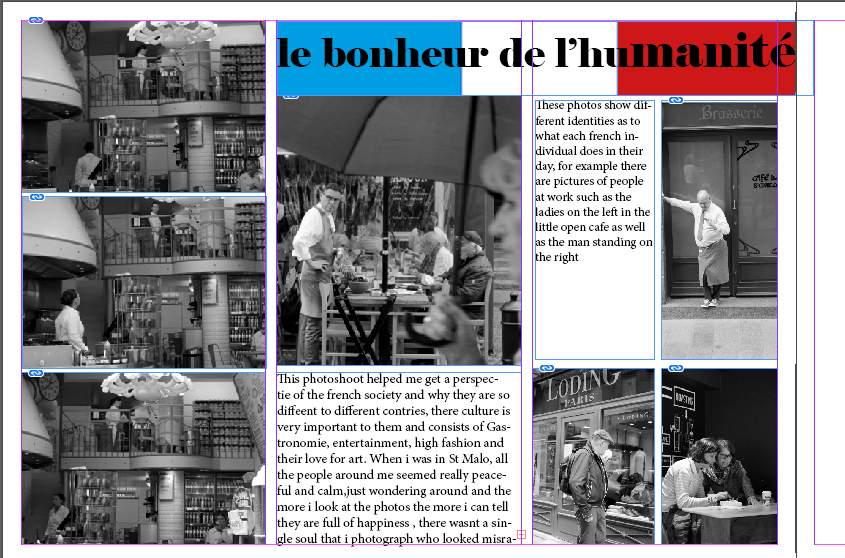
I tried many different options for my page spreads, this allowed me to experiment and create new content. I ended up with a double page spread of two different styles but using the red in both to tie the pages together. By the page on the left having the French flag as the background it is obvious to the viewer this is France, made more clear with the title ‘Saint Malo the walled city’. By using an establishing shot in the top right corner I draw the viewers eye to the text surrounding it then the rest of the smaller photos. The red is also on the under the establishing shot as other than that’s the way the flag is it draws the viewer to the other page spread, ‘red in the walled city’ which is a progression on an overview of the city, delving deeper into the colour that is often seen and used in France. Overall the pages are successful and provide knowledge as well as dynamic photos to keep the viewer interested, I also used border weight and drop shadow, backgrounds etc to emphasise the significance of each picture and keep them from becoming flat to the background. 

Cropping Experiments – Seek, Observe, Challenge

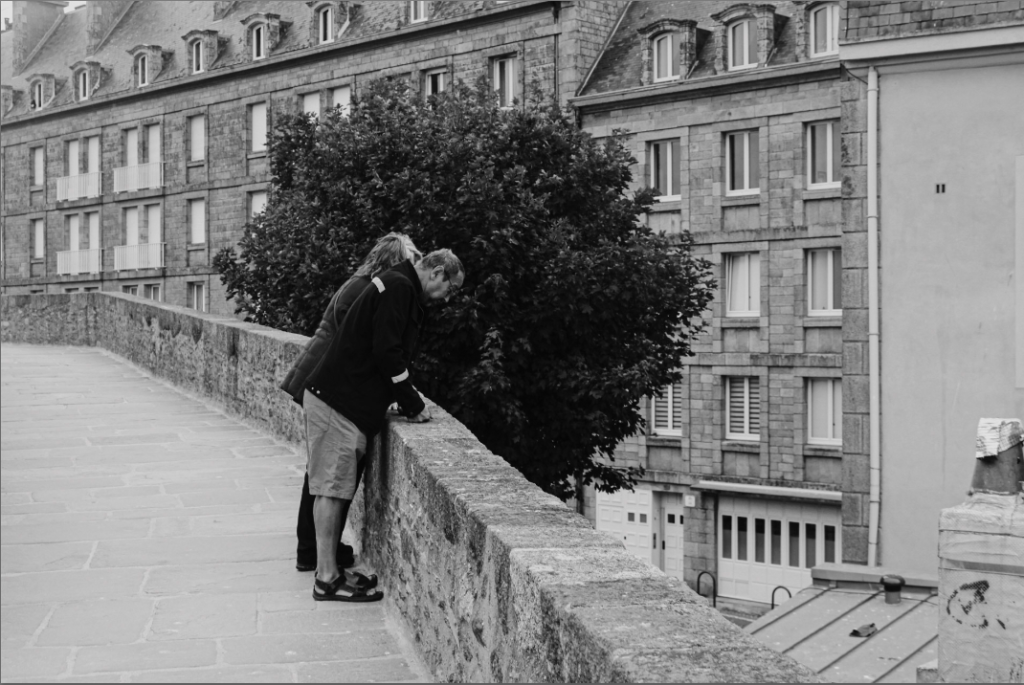
Cropping is a great tool photographers have to completely change the look of a photo and its impact on the viewer. Generally it’s a basic crop to get rid of excess negative space or to focus down on one subject. However there are more unusual crops that are just as effective and make the photos significantly more interesting to look at. To test my own creativity I have used my St Malo street photography photos in a number of different cropping styles looking at what fits a photo best and trying different outcomes before settling on one.

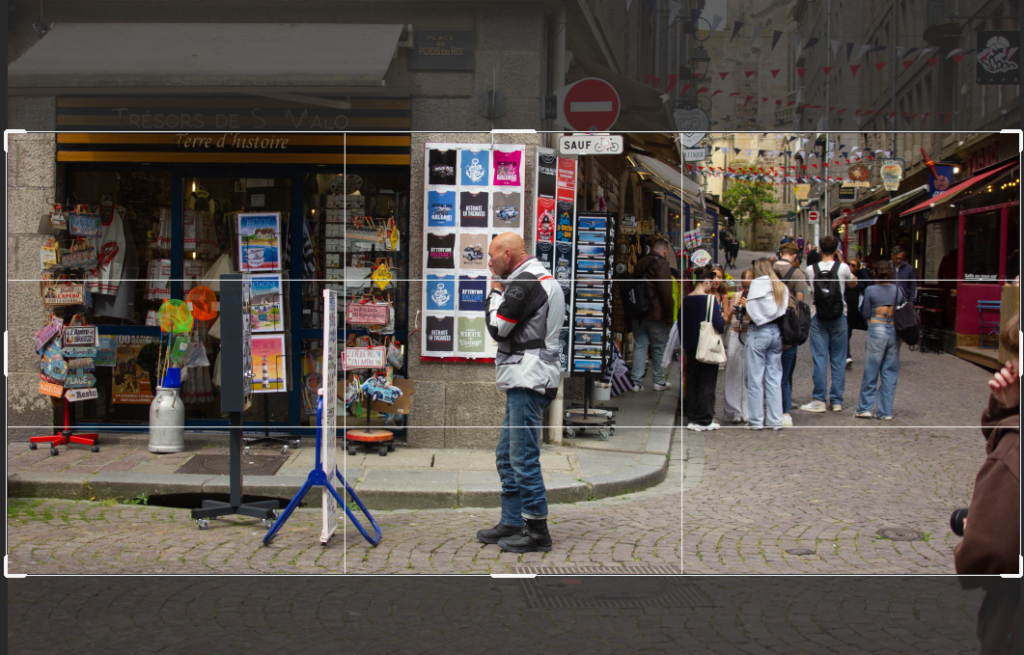
Panoramic Crop

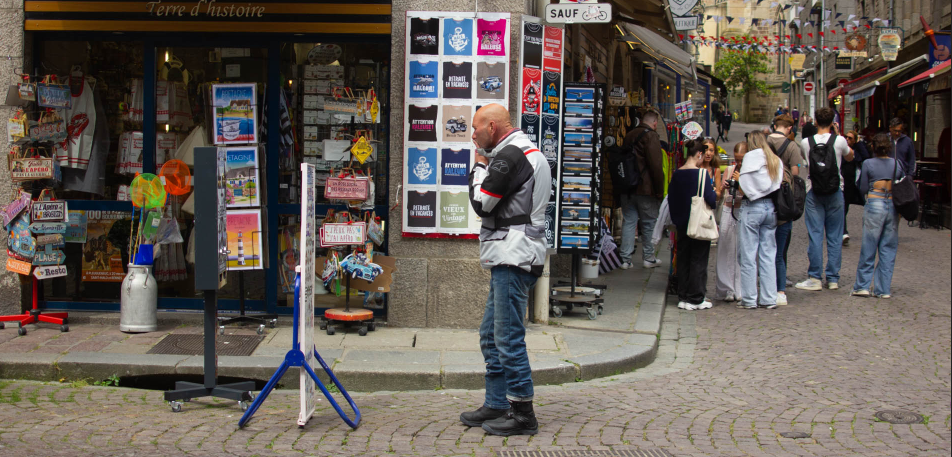
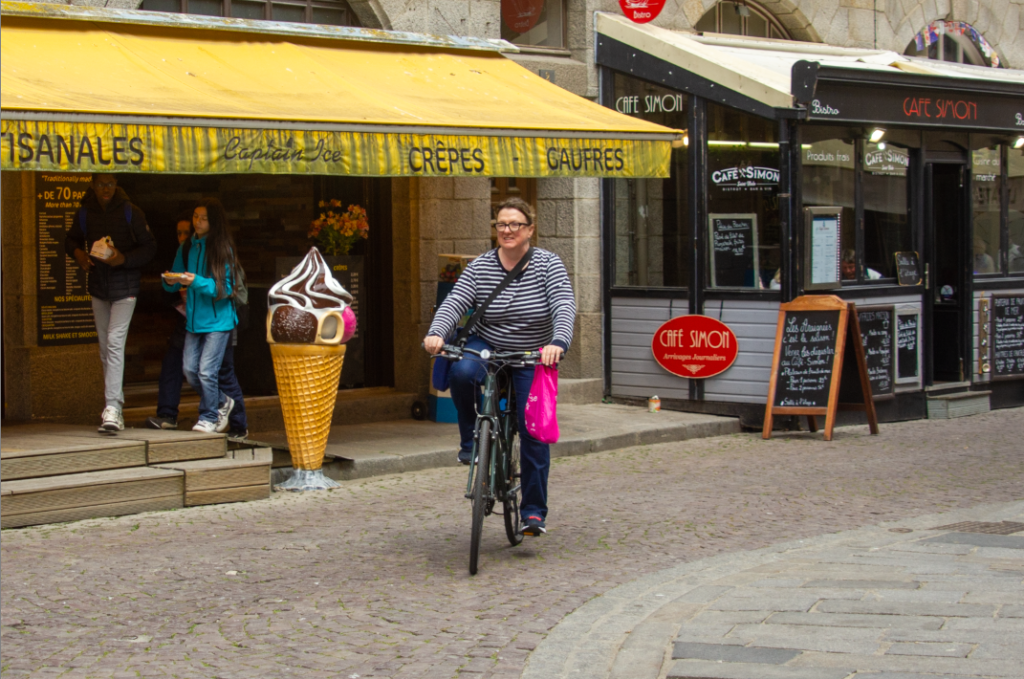
For this photo I chose to do a panoramic crop as I felt it was a great photo for it, keeping the man central looking at board. While cropping the photo down I was wary of the text on the signs and shop sign as well as the colourful sign. This kept the straight lines in without making it feel like it was cropped incorrectly but cutting the text off. This removed the busyness in the background which made the photo more successful as it focused down on the subject while making the wider view more obvious.

Landscape Crop

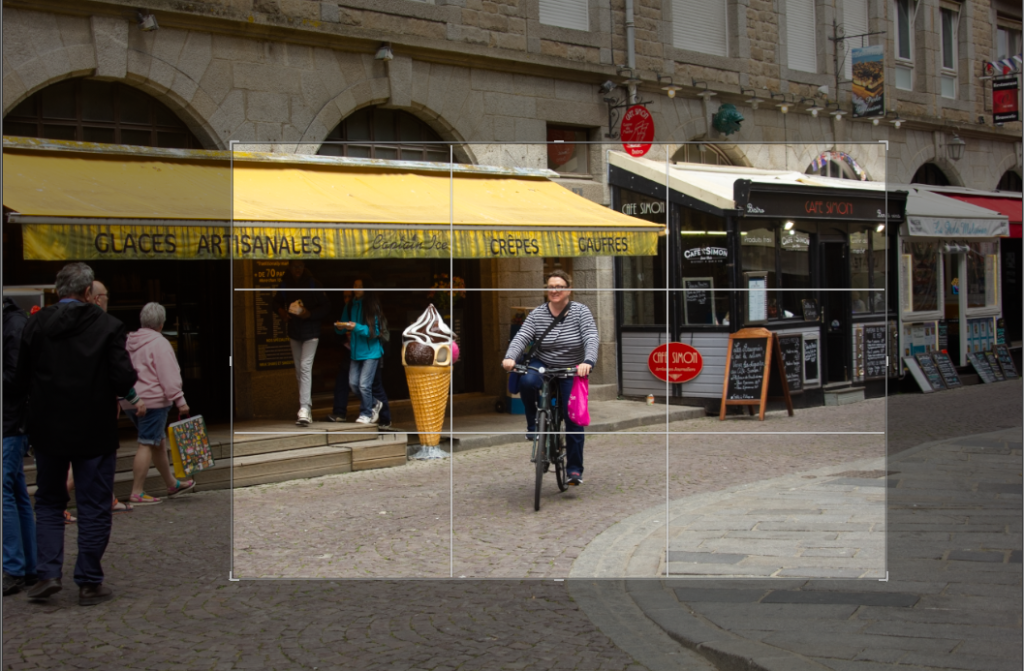
For this crop I used Lightroom to reduce the original photo, this helped focus down on the subject, I looked at making sure the roof tops were in line without effecting the depth of field too much. This helped focus on the subject and emphasis the colour while also removing distraction from the people walking away from the camera.
Square Crop

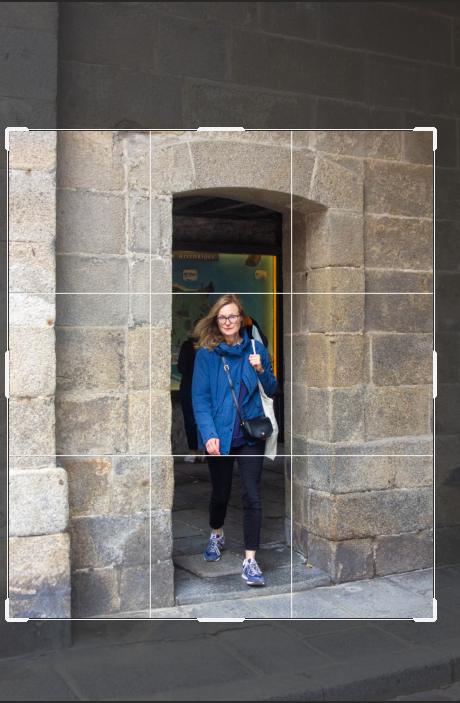
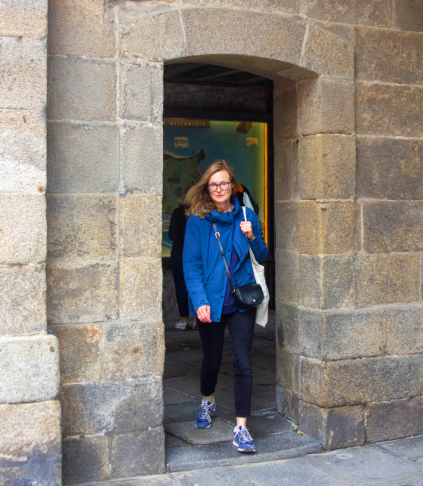
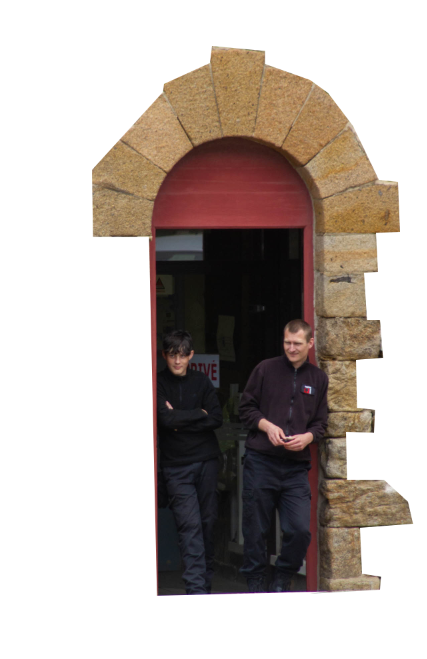
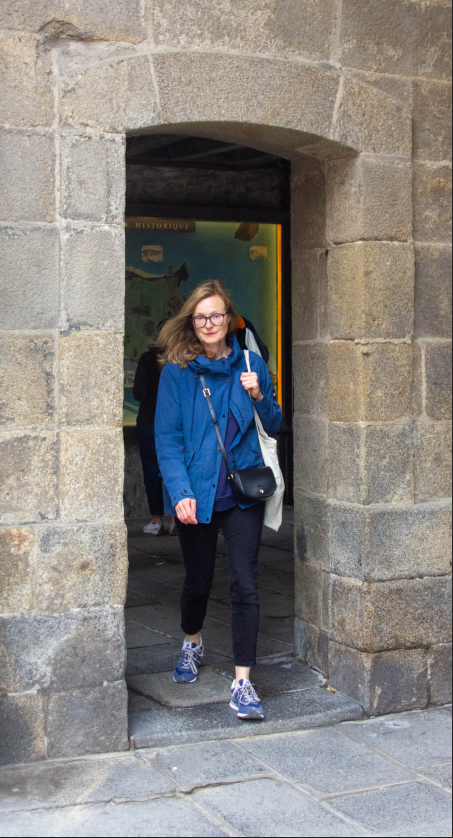
I used the doorway to frame the subject and my crop. By using the crop to remove distractions it helped focus in on the subject and remove the negative space from the bricks. It has done a good job of making the photo feel human as it is a similar eyeline view to what as the photographer I saw though a not full frame camera.

Portrait Crop

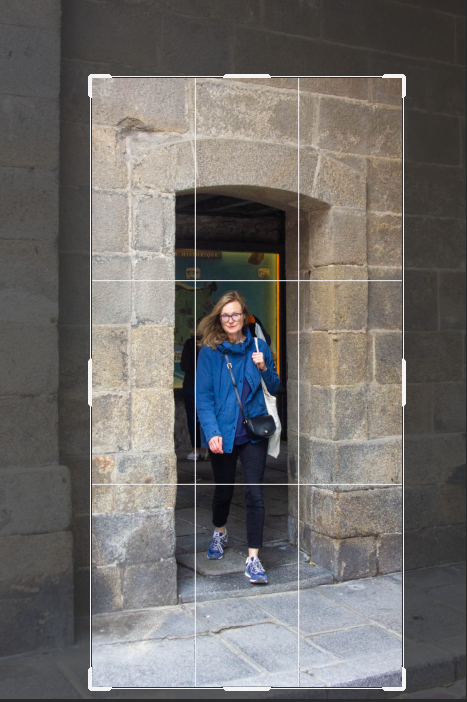
This crop I used the same photo as the square crop to have images to compare on which crop suited the image better. Both change the photo dramatically but the portrait one makes the photo seem taller and more complete as it has more foreground and fits the narrow doorways look of being an overall narrow image.

Comparing Crops

Polygon Crop

This tool is great for picking out elements of a photo rather than using a traditional box crop. Meaning it has more options to outline certain shapes in a photo.

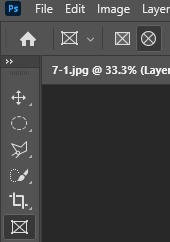
This is the tool I used on photoshop, when selecting the lasso tool then right clicking and picking the polygon option.

These two images are now a more geometric style having used an unusual crop, by using the polygon lasso tool on photoshop to outline the sharper edges of the image and patterns that add to to the overall feeling of the photo. I have presented these two edits next to each other so the edit choice becomes more of a pattern and the style becomes more apparent as the elements make sense next to each other. This benefitted the street photography style in that in focused in on the subject and their direct environment but it has taken away from the authenticity feeling of the style.

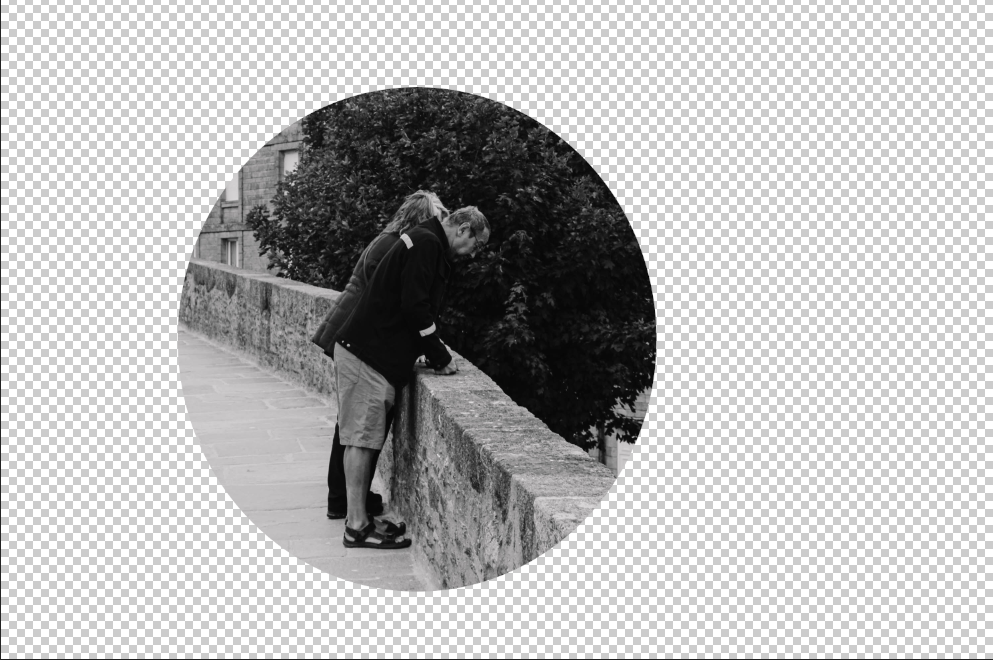
Porthole Crop

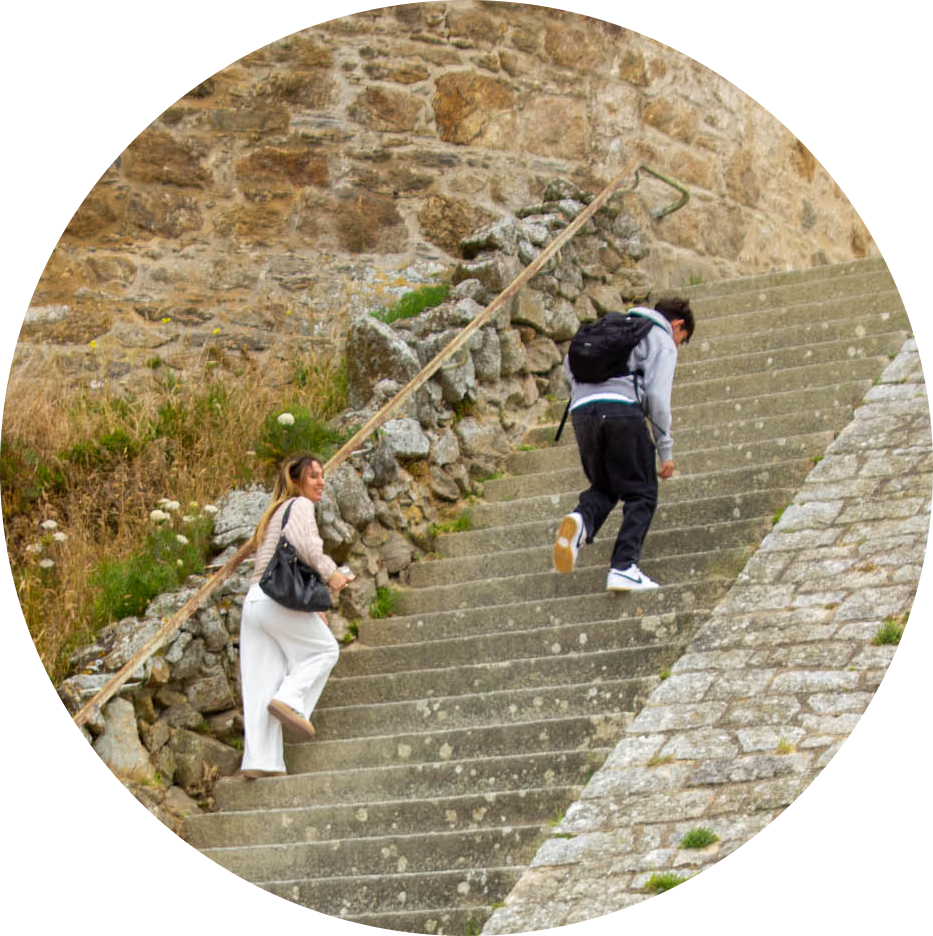
It is often visually compelling to crop an image into a circle. One common use is when presenting images of people.

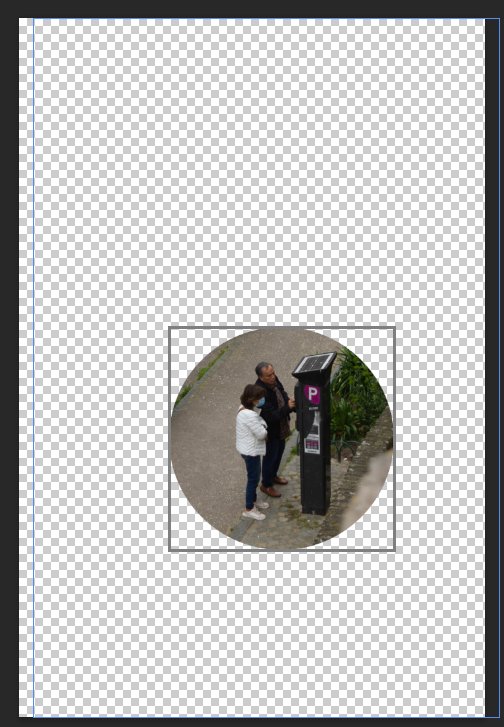
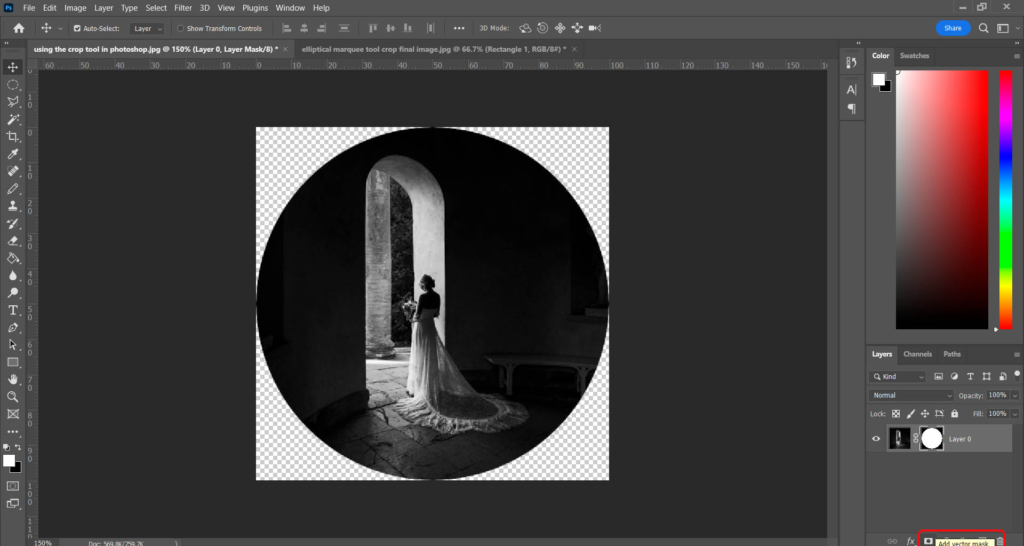
To make a porthole crop I have used the frame tool and then selected the circle.

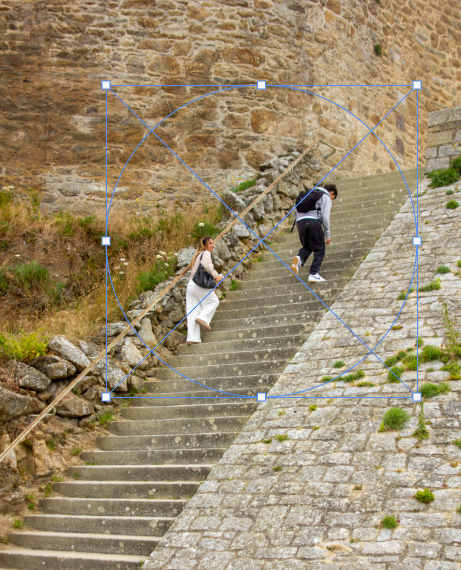
Once I’d dragged the circle shape onto where I wanted on the frame I adjusted it to fit the subject into the middle.

The next step was to unlock the layer and drag the layers together.

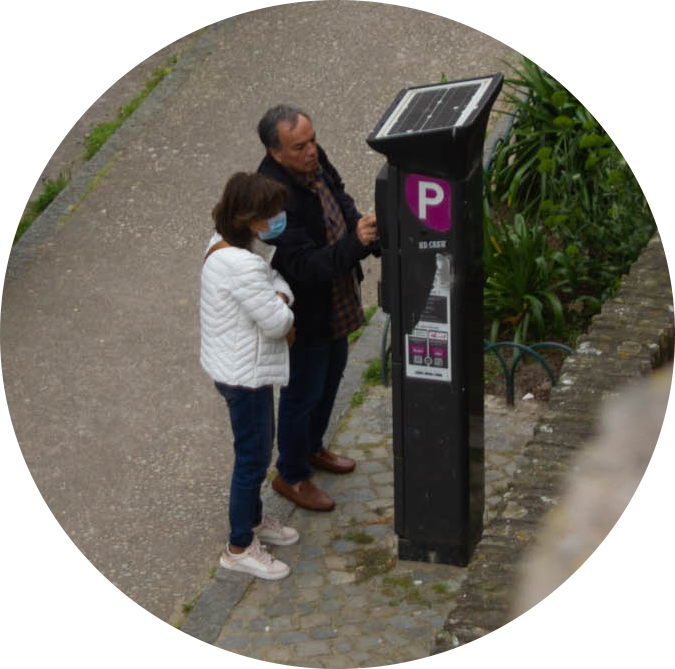
That step led onto this in which I can then right click on the layer and export as a PNG.

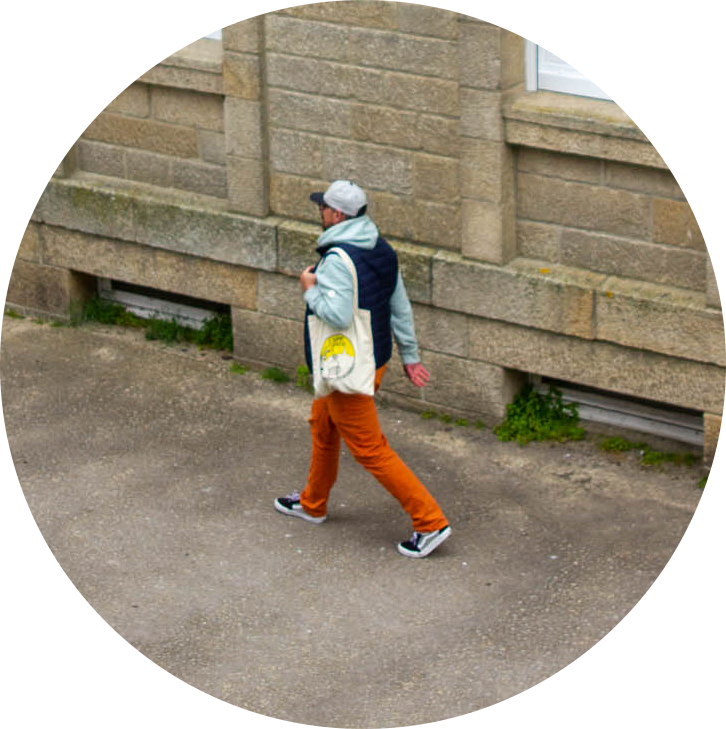
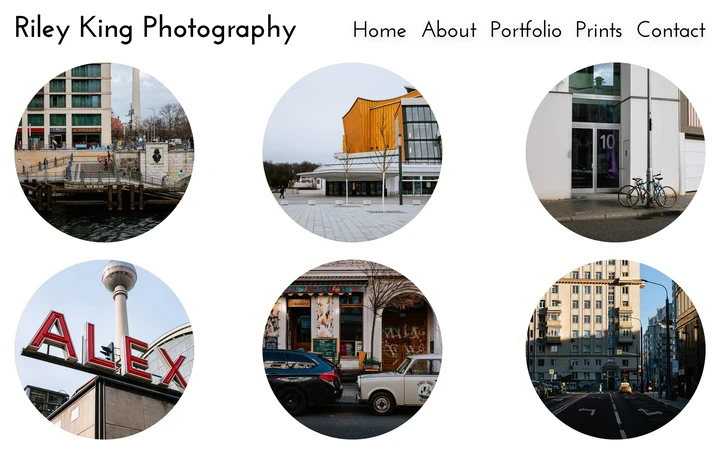
Presenting porthole crops

I wanted to make a series to add make the cropping appear purposeful, which while it was a one off didn’t look right. By grouping the circles as three equal sizes with the two lighter stone and the darker middle adds to the intentional feeling. This has created a polished look that gets people to focus in on the subject of the photos. This has also complemented the street photography style by not taking away from the unaware feeling or removing too much of the background and presents as a nice mix of photos of daily life in St Malo.

Henri Cartier Bresson – Seek, Observe, Challenge

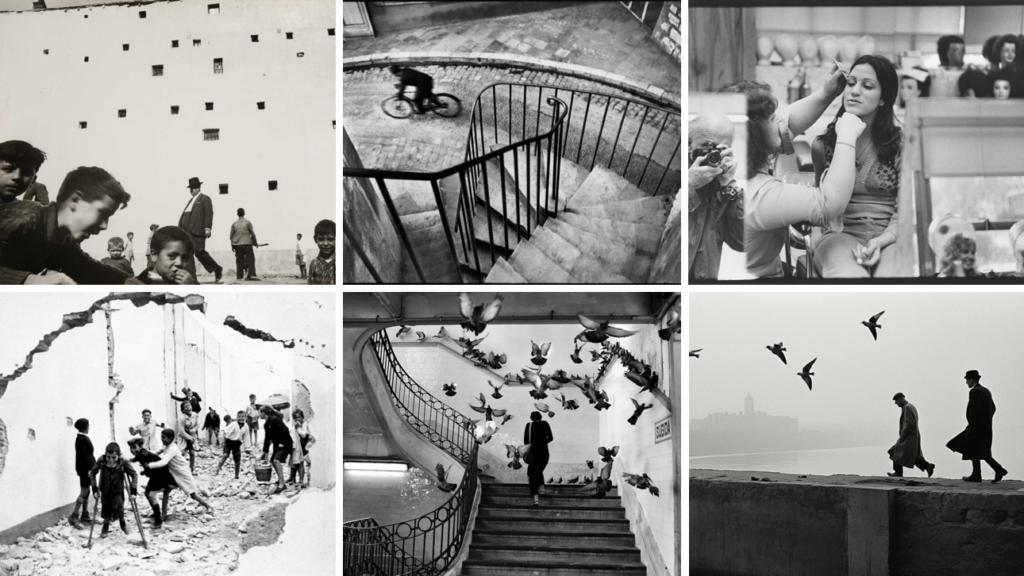
Photos by Henri Cartier Bresson

About Henri Cartier Bresson

Henri Cartier-Bresson was a photographer who is best known for his candid street photography. He was born in Chanteloup, France in 1908 and grew up in a wealthy family. Henri was introduced to the arts early and was initially drawn to painting until he discovered photography. This was where his passion for photography sparked as he believed that it was an extension to drawing. Growing up, Henri went to school not far from Paris then later attended Cambridge to study Literature and Art. Henri was a photographer for over 40 years and travelled the world until he sadly passed in 2004.

About his Work and Career

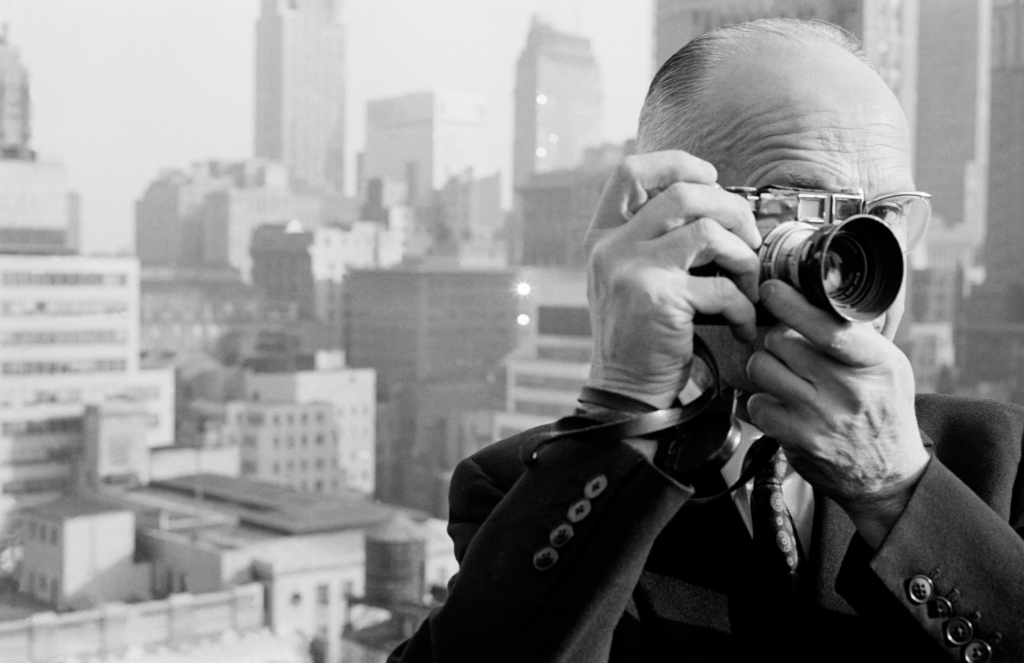
Henri Cartier Bresson holding his Leica Rangefinder camera

After attending college at Cambridge and being released from the Army, Cartier-Bresson travelled to Africa in 1931 to hunt wild antelope and boar. He soon grew tired of this sport and gave it up as he was never interested in eating the animals. He then began taking photographs of the world around him after receiving a Brownie as a gift. Interestingly, Henri likened photography to hunting as he said “It’s like being a hunter. But some hunters are vegetarians – which is my relationship to photography.” By this, Henri was referring to the fact that he prefers taking shots than actually printing and displaying them. Another way in which these hobbies/proffesions can be similar is the fact that you have to watch and wait patiently in order to get the right shot. Henri Cartier-Bresson became a humanist photographer and is now considered a master of Candid photography as the subject of his work was to capture the movement of people through the world. Upon returning to France later that year, Henri purchased his first Leica Rangefinder camera. At the time, these cameras were revolutionary pieces of equipment in photography and Cartier-Bresson would use these as they were discreet, compact and quiet cameras. This was essential for Henri Cartier-Bresson as he aimed to catch unstaged moments and avoid drawing attention to himself when taking street photographs. Finally, Henri preferred the 50mm lens as the field of view was the most similar to the human eye which could ensure that his images felt natural and immersive to the viewers.

The Decisive Moment

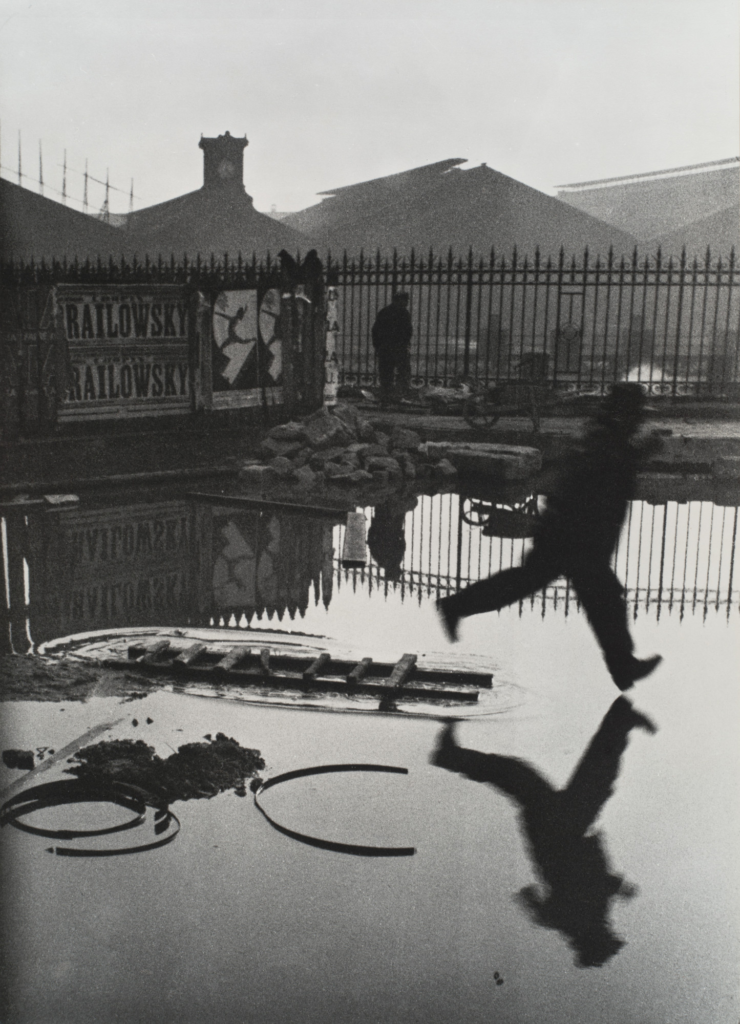
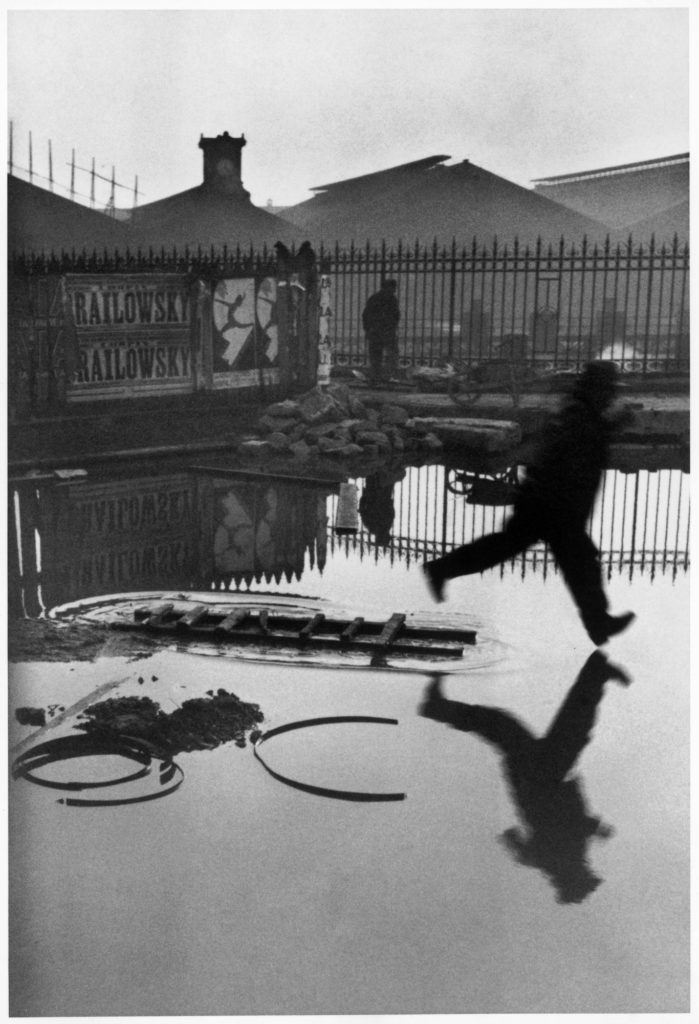
The main component of Henri’s work was the use of the decisive moment. The decisive moment in photography is about intuition, anticipation and the connection with the subject and the environment. The term ‘decisive’ means to make a quick and effective decision which in photography would be the moment you decide to release the shutter to take a photo. By using the decisive moment, Henri Cartier Bresson would ensure that his work was candid and natural. A good example of the use of this moment in Cartier Bresson’s work would be his photograph Behind the Gare Saint Lazare, an image of an unknown man leaping over a puddle.
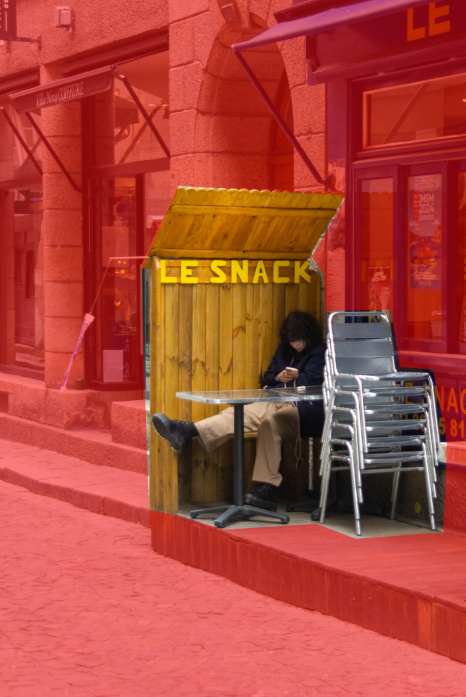
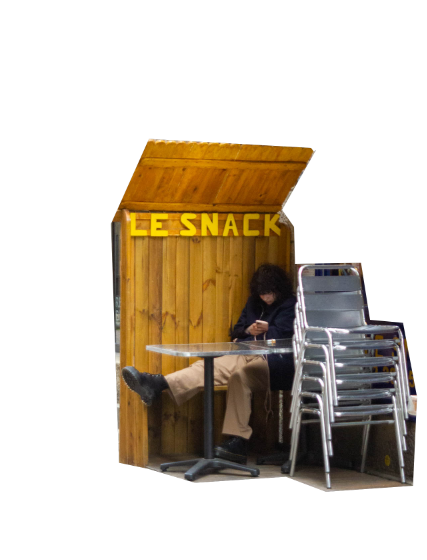
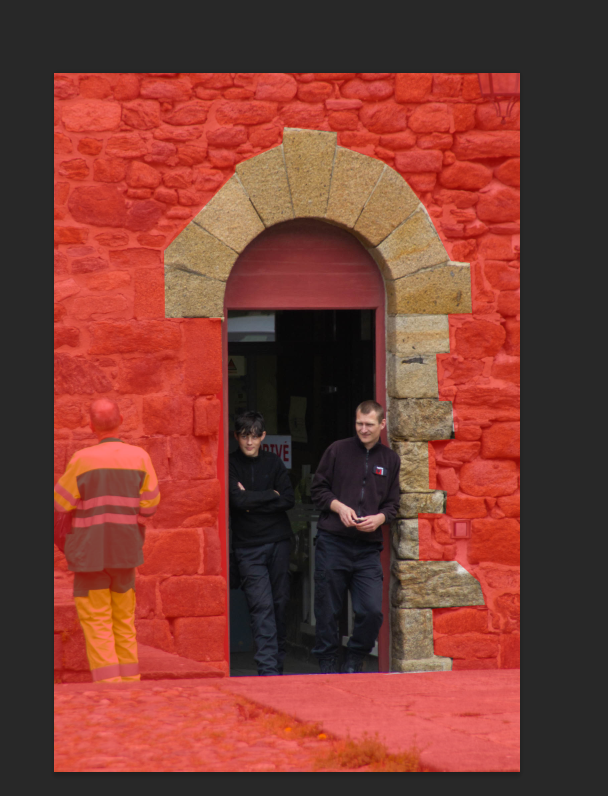
Image Analysis – Behind the Gare St. Lazare. 1932

This is an image by Henri Cartier Bresson which was taken in 1932 behind the Gare St. Lazare. Train Station. This image represents the decisive moment, which is shown by how the man was captured mid air. Henri used his intuition when taking this image and made the decision to take the photograph at that moment so that he could display the figure jumping. Overall, this image displays a man who seems to be attempting to jump over the large puddle from the ladder on the floor with some other people stood in the background. This image has the use of the rule of thirds as the guy is centred vertically within the last third. The reflection of the fence in this image also aligns with the centre horizontal third. There are also leading lines in this image which lead your gaze towards the man such as the ladder and the fence. In addition, the tower in the background of this photo and the reflection of the man are the two aspects which leak the most into the negative space (the water and sky). This demonstrates balance and allows you to focus on the centre of the image without distraction. Due to this image being in black and white, there is high contrast within the image, specifically between the man’s reflection and the water. By looking at this image, I can tell that it was taken on a somewhat cloudy day with the use of a slow shutter speed as there is slight motion blur from the man. I personally think that this image looks staged, although Henri is trying to capture a candid moment, as the guys looks to be jumping in to the puddle and not over it and you can’t even see the edge of it.
Henri Cartier-Bresson – the decisive moment  

 French artist and humanist photographer considered a master of candid photography.
Bresson revolutionised photojournalism and is lovingly called the ‘grandfather of street photography’ because of his theory of the decisive moment, Bresson believe the camera to purely be an extension of of his eyes and as natural as breathing.

Born: 22 August 1908
Died: 3 August 2004 (aged 95) 
Alma mater: Lycée Condorcet, Paris
Spouses: Ratna Mohini · (m. 1937; div. 1967) · Martine Franck (m. 1970)

Henri Cartier-Bresson was a ground-breaking force in The early developments of street photography. He was born in 1908 in France and was considered to be a master of candid photography.
His approach to photography was treating his camera like an extension of the eye and photographing things connecting humanity.
Henri grew up in a wealthy family, to begin with Henri’s passions lay with traditional art.
He started to paint at just five years old.
In1927 Henri took on the challenge of boarding school(the Lhote Academy)
This institution was ran by André Lhote a famous and re-nouned cubist painter and sculpture.
Henri Described André as his teacher of “photography without a camera.”
In 1929 Henri Cartier met Harry Crosby who had an interest in photography and gave him his first camera and they would take photos together, which was the awakening of his photography legacy and gave him an interest in it.

Henri used the Lecia Rangefinder camera which had a 50mm lens.
He used these cameras as they were more compact and smaller, making them easy to use and take candid photos with, in comparison to a large camera.
He also used to the 50mm lens as it has a similar view to the human eye so the photos felt more natural.

What is the decisive moment?
 The exact instance when a unique event is captured by the photographer – when something that may never happen again is frozen in the frame.

this photo depicts a man helping a women across a puddle, which ordinarily would be considered a very normal moment, but a very difficult one to capture completely undetected, which was Bresson’s specialty.

If a photograph is to communicate its subject in all its intensity, the relationship of form must be rigorously established. Photography implies the recognition of a rhythm in the world of real things. What the eye does is to find and focus on the particular subject within the mass of reality… In a photograph, composition is the result of a simultaneous coalition, the organic coordination of elements seen by the eye. One does not add composition as though it were an afterthought superimposed on the basic subject material, since it is impossible to separate content from form.
Composition must have its own inevitability about it.
But inside movement there is one moment at which the elements in motion are in balance. Photography must seize upon this moment and hold immobile the equilibrium of it. [emphasis mine]

Cartier-Bresson’s “The Decisive Moment”

The decisive moment is a property of vantage point, framing and timing, and not about how ideal the external event is. Cartier’s point is that in the mixture of humanity and nature, all surrounding us, there are occasional brief and fast moving moments where moving objects align naturally into a frame.

however, when all those compositional elements align, the thing average ‘thing you’re photographing can reveal something intimate and heartfelt.
This is a result of the composition. And capturing it really cannot be accomplished through organized thinking and forced structure— it happens through instinct, of pressing the shutter release at an instant based on intuition.

Image Analysis

This image has captured a perfect balance of ordinary and unordinary, the photo captures all but the human figure in the foreground in perfect stillness, the human figures reflection creates symmetry throughout the image along with the harsh, sharp lines of the gatepost in the background of the image also reflecting the in water coated ground.
Unlike the gate posts in both reality and reflection the human figure is distorted and blurred.
When attempting to consider what strikes me most about this image the fist element that comes to mind is the stark difference presented between the foreground and background, perhaps illustrating how unlike inanimate objects and the industrial world around us humans are forever changing, evolving and moving forward.
Despite my original thoughts towards this photography being a positive commentary on how humans are evolving fast to the benefit of all around us, upon further consideration I think its more likely this photo is illustrating the forever rush we as humans are perpetually in, the stress and anxiety of being rushed, pushed forward and swept up in whist remaining in the midst or unexpected peace that can be found in simple stillness.

Henri Cartier Bresson Photo Analysis

Behind the Gare St. Lazare 1932

Bresson took this photo behind the Gare St. Lazare, train station. He took this image capturing the decisive moment that this man leaped over water rushing to his final destination. In this moment the man is mid leap, in the air, showing the rawness and realness of the image. The image doesn’t just capture this person in the action, the background and foreground play a big part of the image. Things such as leading lines, balance, framing and rule of thirds also make this image what it is.

Leading Lines

In this photo there are some obvious leading lines which draw your attention to the leaping man, the focal point. These can be found horizontally across the top of the gate and in the water, in the shadows of the objects floating. These automatically, but not done purposefully, attract your eyes to the man in the middle right as he is enclosed between the subtle lines.

Balance & Framing – Negative Space

In this image, there is some negative space which draws your attention to the leaping man, ensuring the attention is on him. This photograph is well balanced, for example, the man in the distant background, is also reflected onto the water along with the gate and building causing the image to be symmetric and to be balanced.

Rule of Thirds

This image works really well as there are things happening across all thirds. However, the main attraction, the man, is in the far right third drawing your attention to him. I think this works really well as he is travelling in that direction which adds some mystery to it as we can.t see where he is going but it is as if we are following him.

Colour

Because of the limitations of cameras in the 30’s, this photo could only be taken in black and white. However, because of this, it allows you to see the image for what it is and not focus on the bright colours that may have been there. It also means that it gives it an almost timeless appearance to it.

Camera Settings

Cartier Bresson most likely used a fast shutter speed to capture the leaping man in sharp focus. He also used a low aperture to catch a still, focused image of this man, focussing on both the foreground and background.

Lighting

For this image, the only lighting used was the natural sunlight presumably around midday as the position of shadows suggest so. This makes the image more natural as it is already taken off guard, the lighting being natural is another way for Cartier Bresson to capture the reality of the moment. The sunlight can normally not turn out well in photos due to strong shadows or the sunlight overtaking, however in this case, he has made these usual flaws into his own advantages. The shadows made interesting geometrical shapes in the background and they also add depth to the image.

Cropping and Editing Images

Create a blog post that clearly shows that you can crop street photography images effectively and critically.

Make one of each and label them accordingly.

Remember to show before and after / screenshot the crop overlay to illustrate your process…

Save / export 12-15 images in a new folder in your M Drive, ready for Monday’s Lesson with MVT

You can use Photoshop or Lightroom or both

1 x landscape crop + 1 x portrait crop…zoom in !

1 x panoramic crop (vertical or horizontal)

1 x square crop

1 x circle crop

1 x multi – circle / porthole crop (3, 6 or 9 images)

1 x polygon crop (use polygonal lasso tool in Photoshop) eg TRIANGLE

Explore negative space by cropping out areas in an image

Combine your cropped images

Colour Experimentation

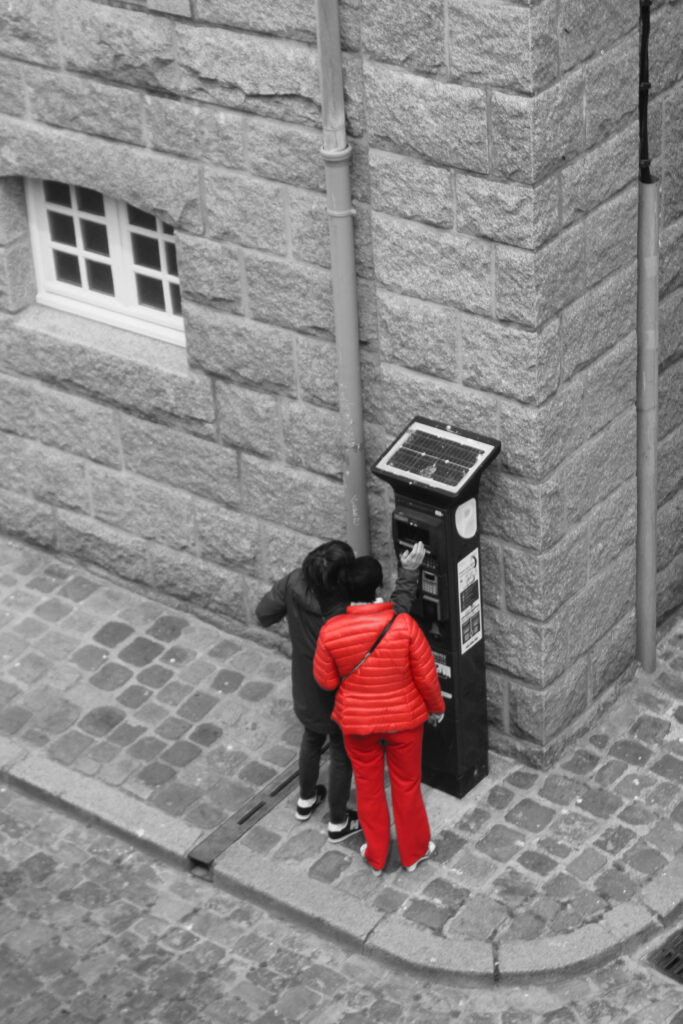
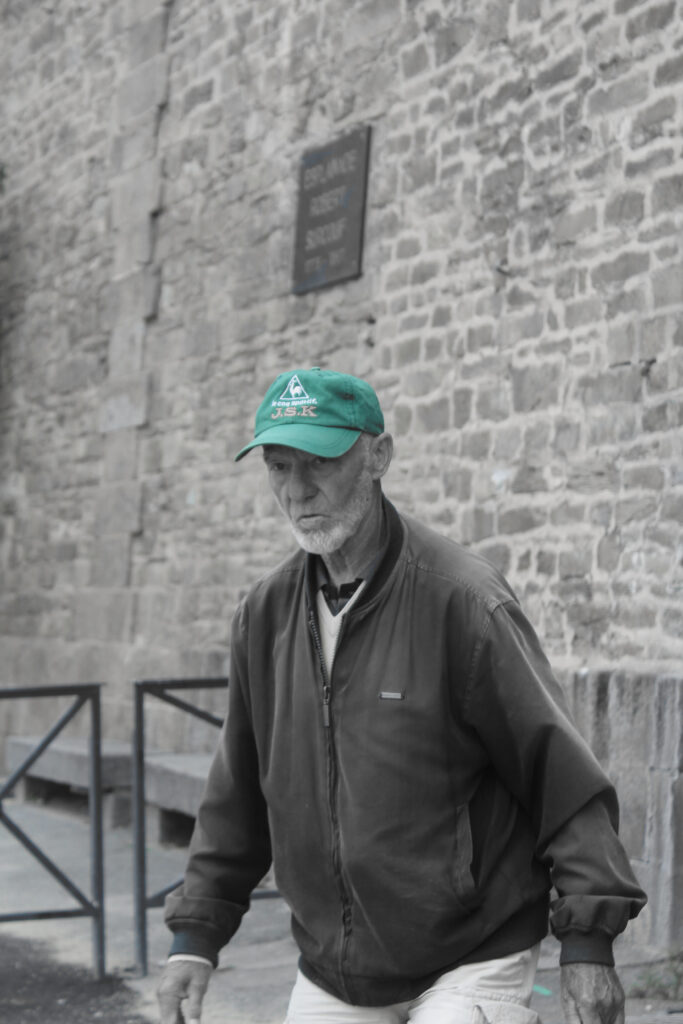
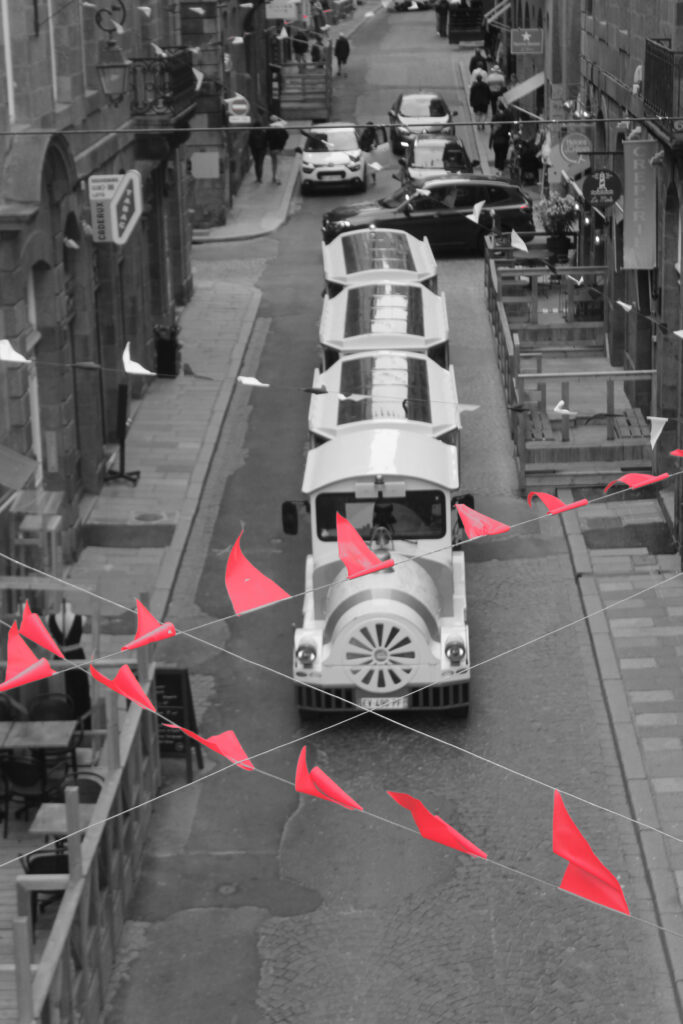
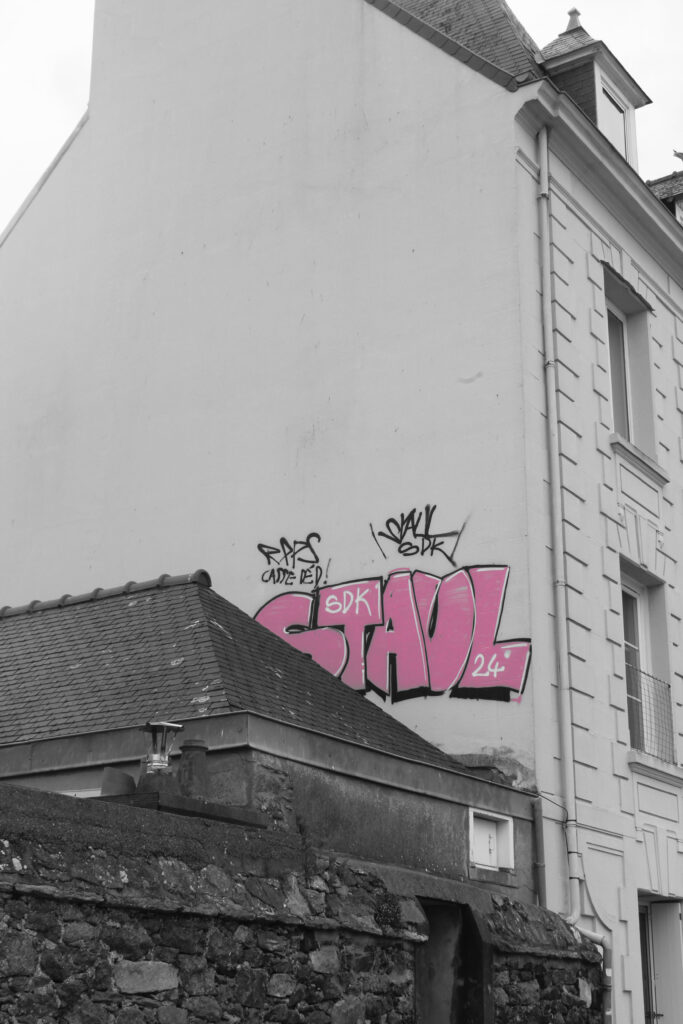
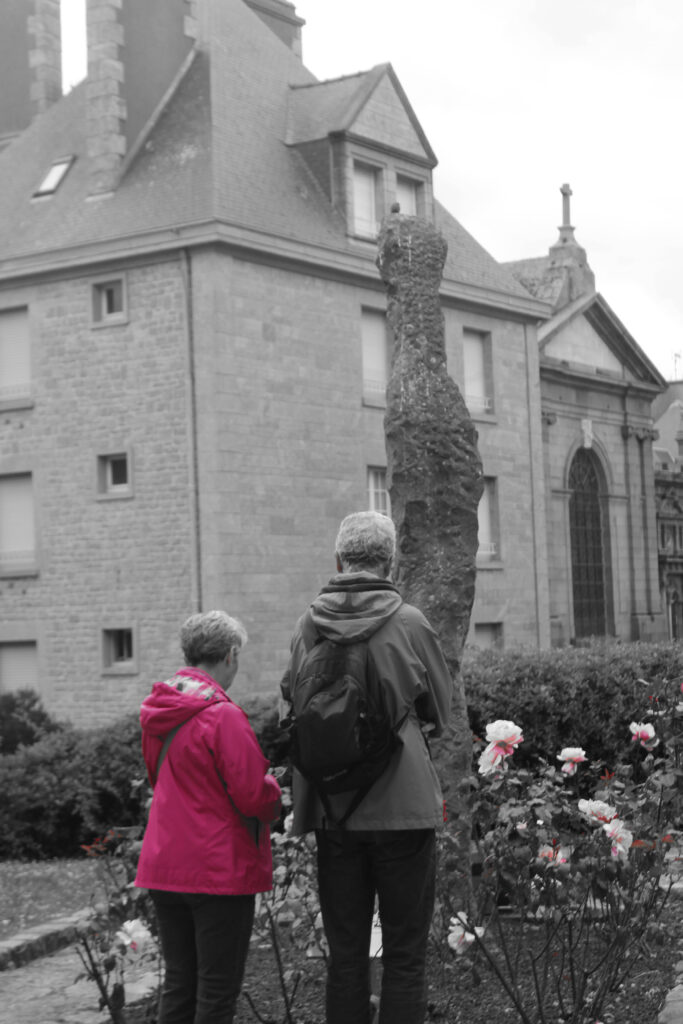
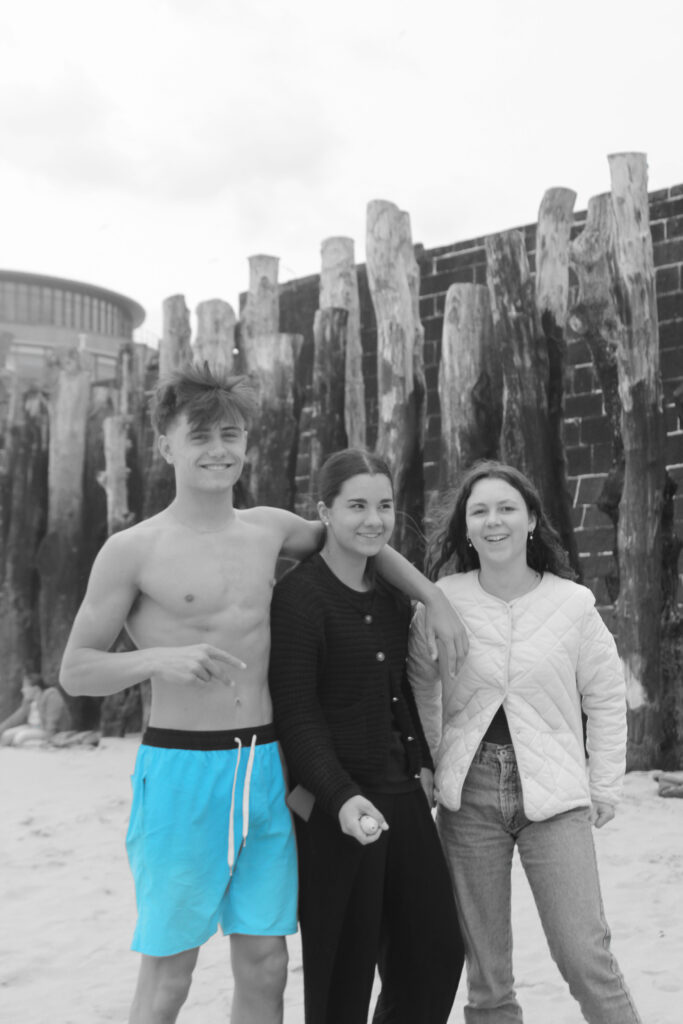
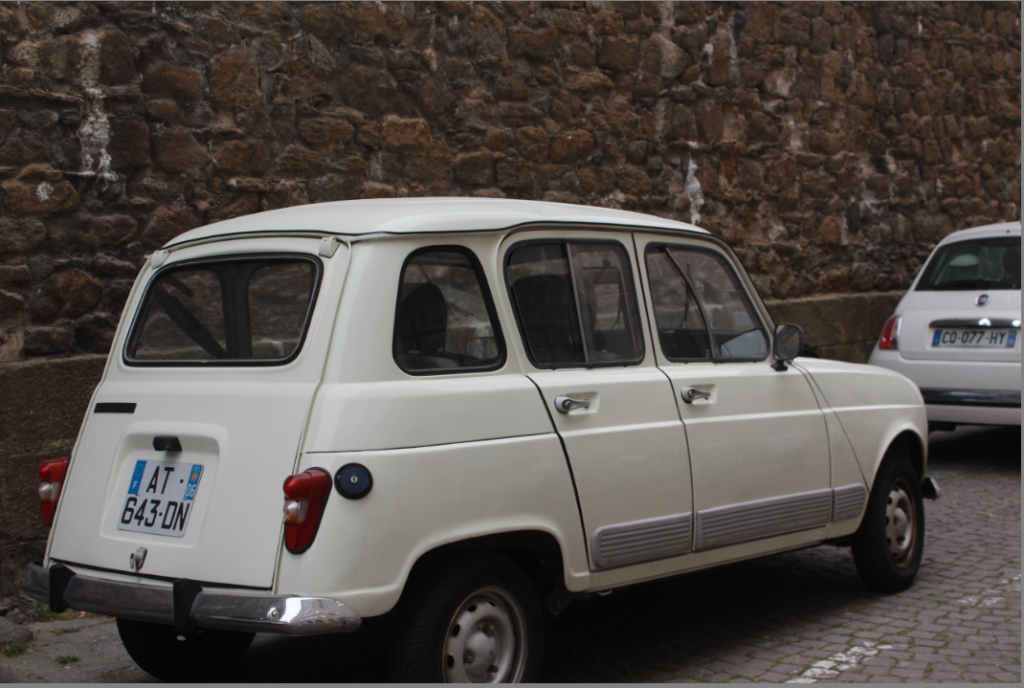
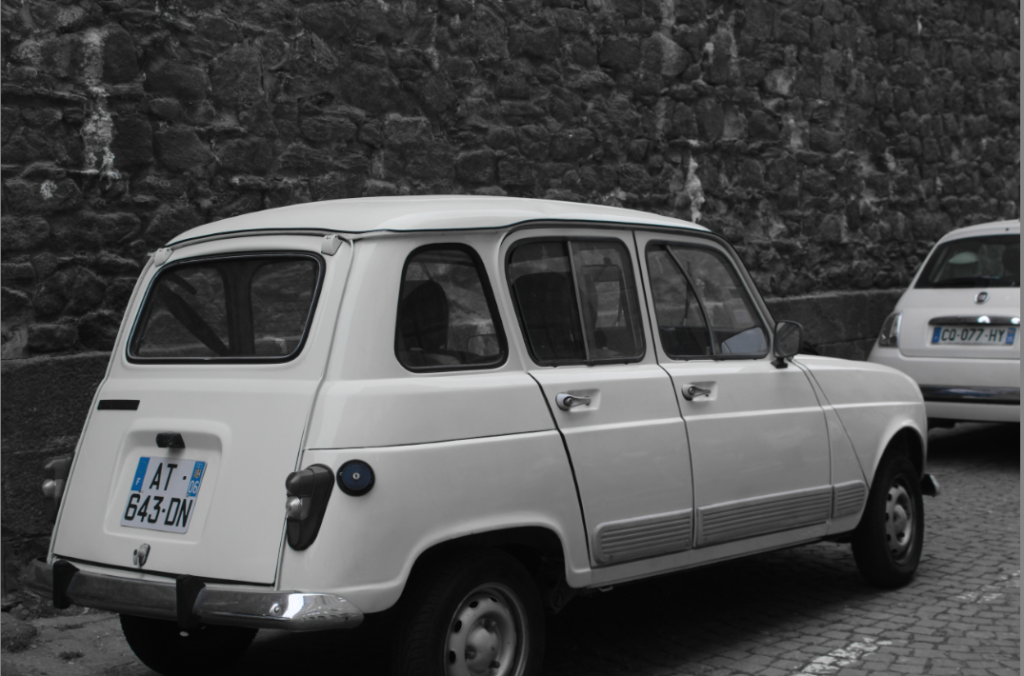
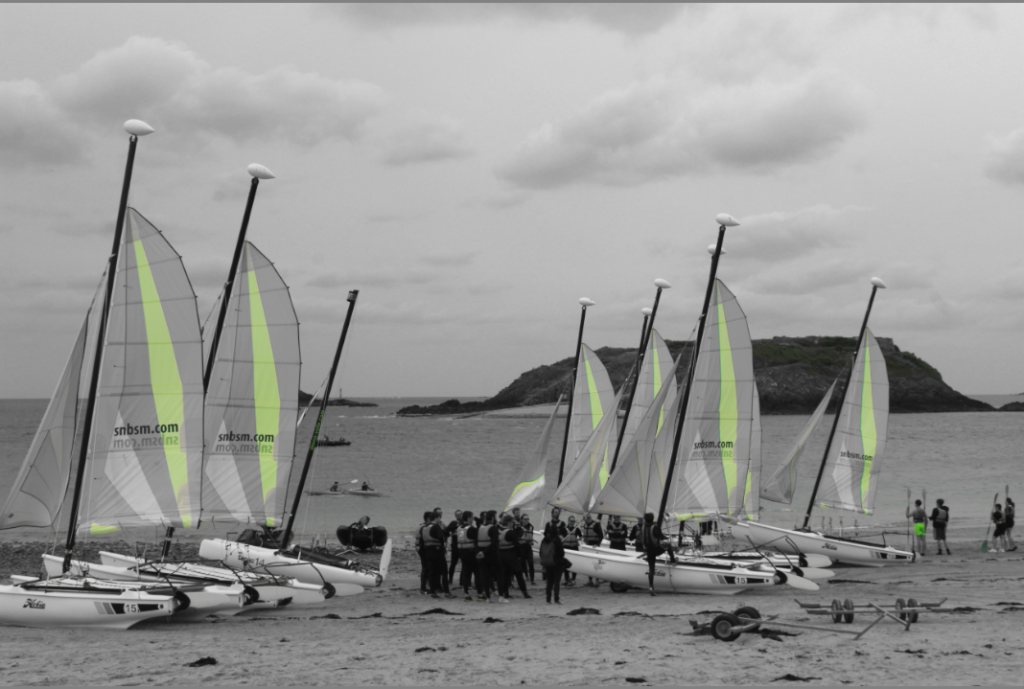
Colour selection edits

  1. how to create this edits

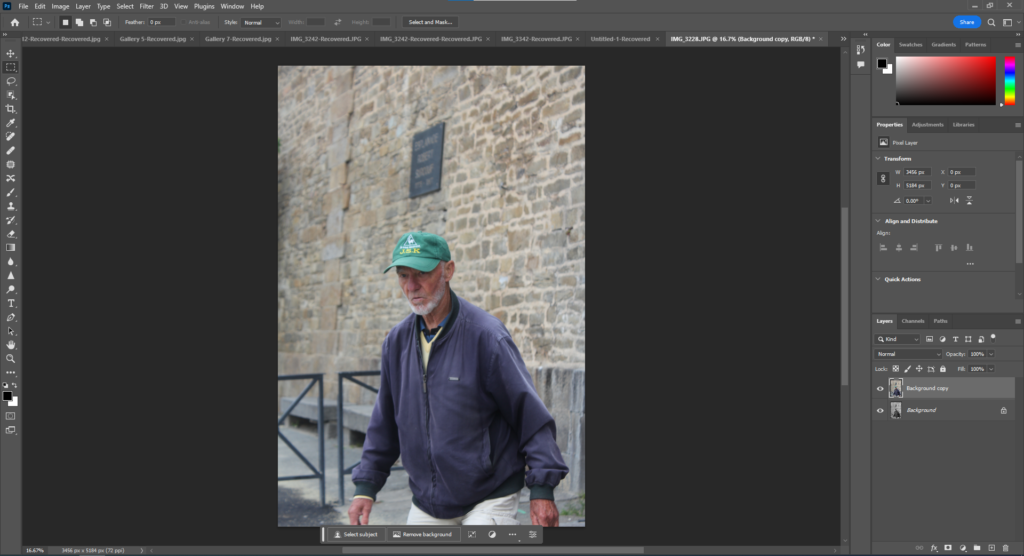
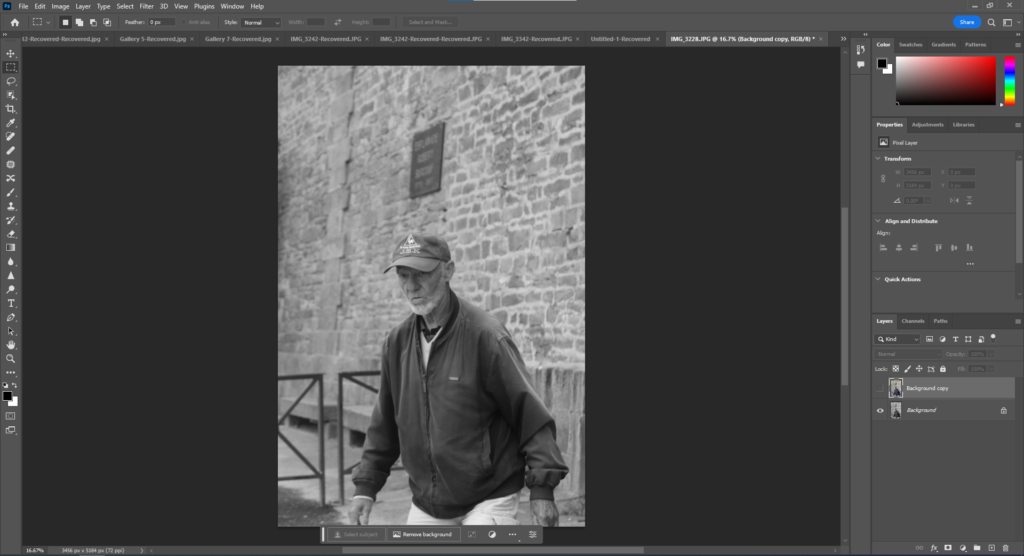
To begin these edits you start by choosing your image and creating a background copy of the original image.

You then make the original background layer black and white.

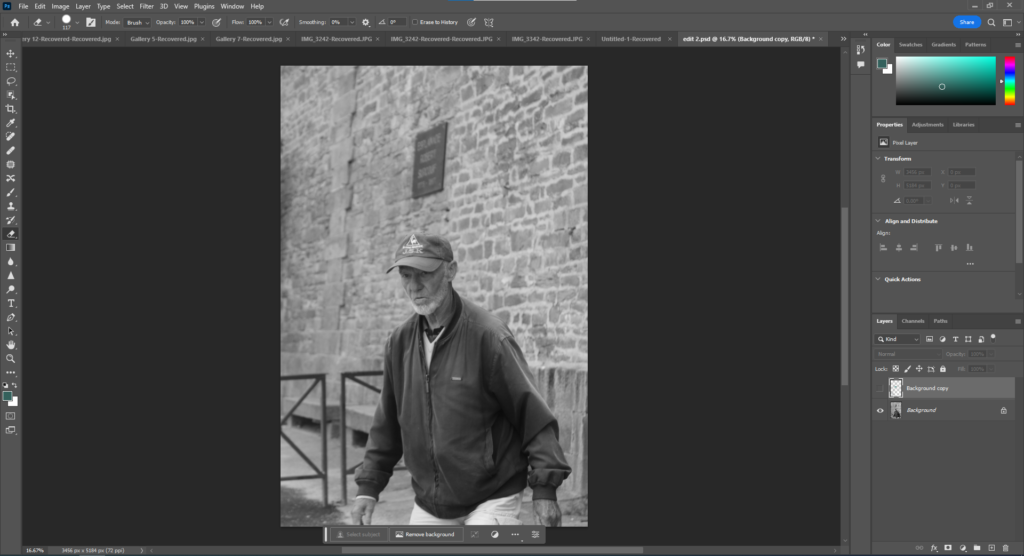
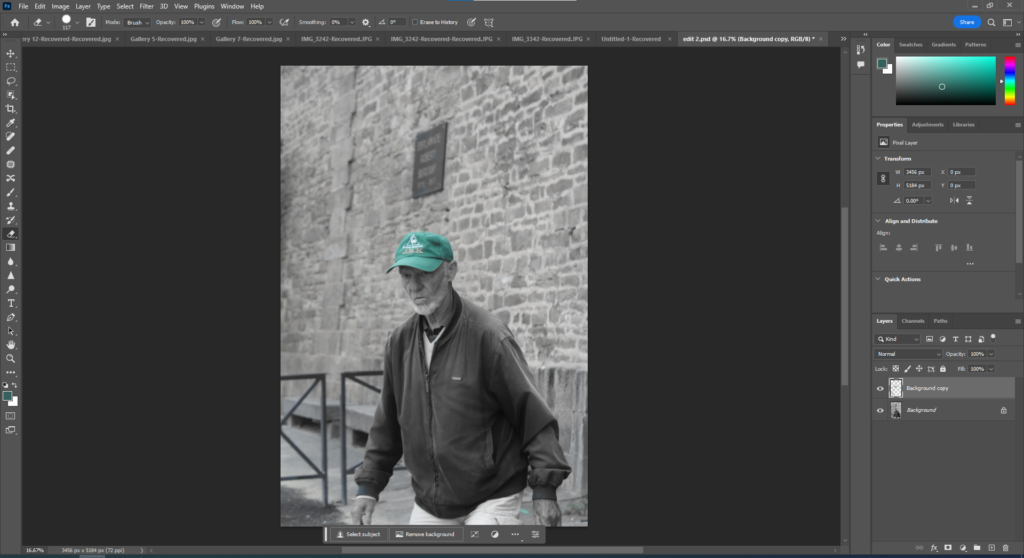
then you go to select and colour range, you must be in the colour layer, then select the areas you want to keep. Then go to select and inverse and press delete.

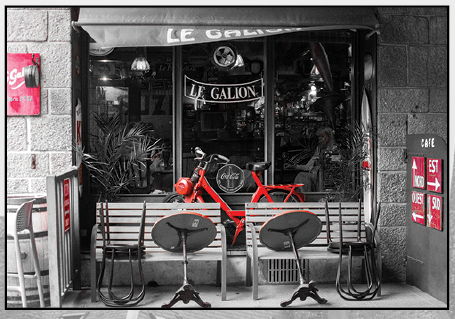
Here is the final edit from this image, it creates very unique looking images and makes them stand out compared to fully coloured or fully black and white images.

Final edits

Here are my final edits for the colour range experimentation, I have created 7 unique images in black and white with a vibrant spec of colour bursting in the images.

Street Photography – different editing styles

Cropping –

I wanted to play around with the cropping of my final photos to see if I could give a different feel to each.

First cropping –

For the first photo, I wanted to play around with circular cropping almost to show the main focus in my photo.

I went onto photoshop and figured out the cropping tool playing around with the circular and square crops. I ended up just using the circular shaped crop for this photo.

Second cropping –

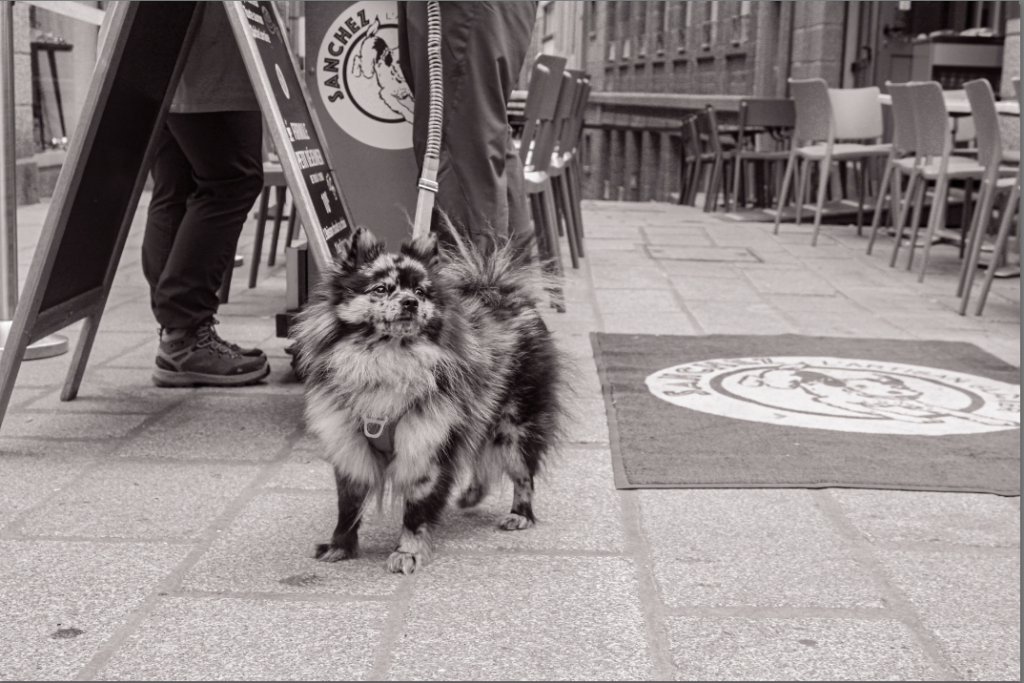
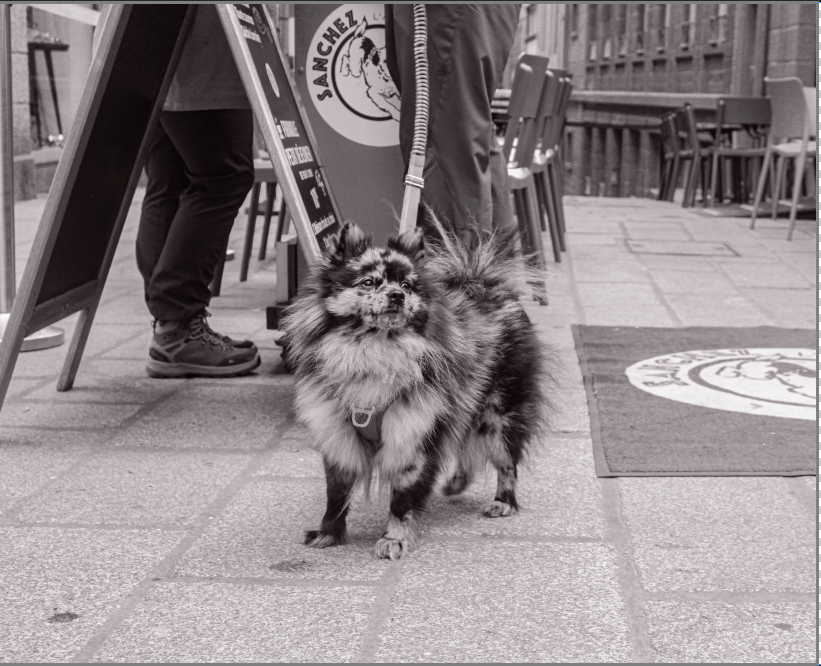
For this photo, I wanted to show the rule of thirds through this photograph. The dog isn’t centred in the photo and I thought cropping would work really well to centre the focus.

Third cropping –

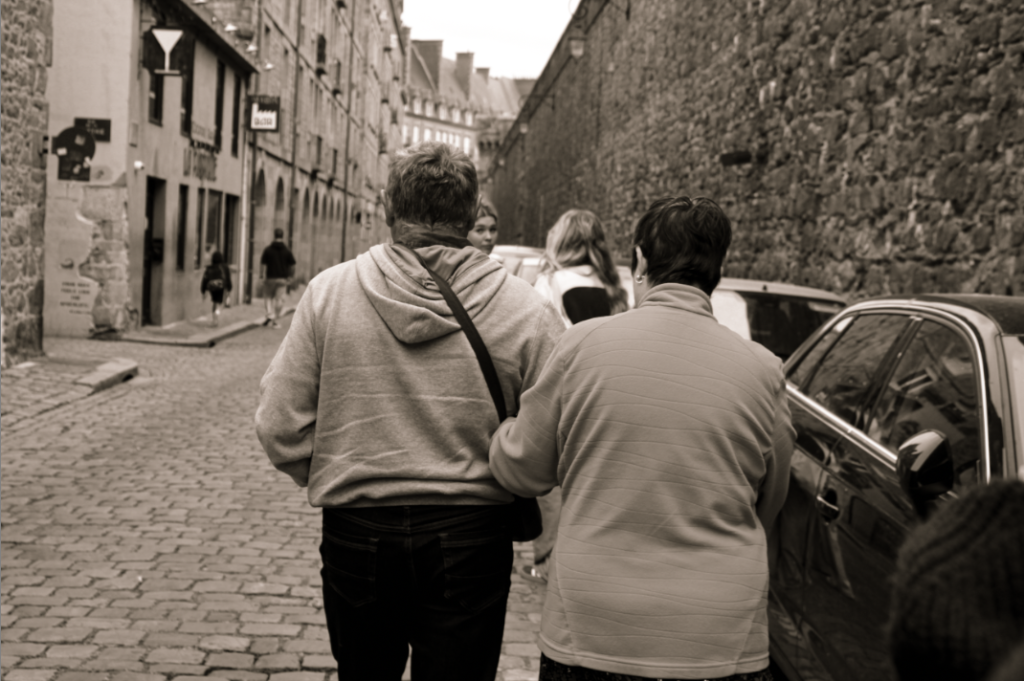
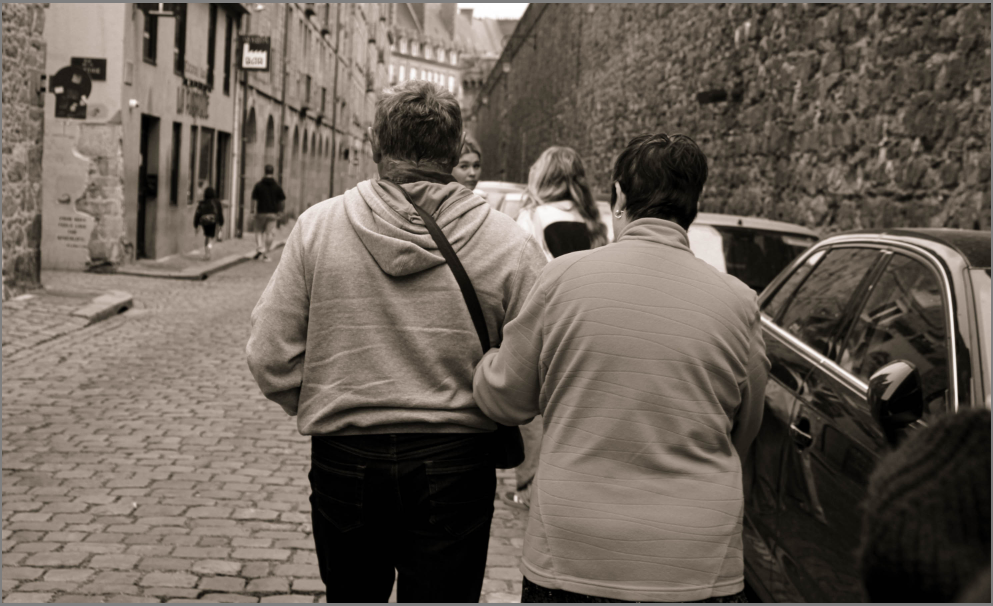
In this photo there is a lot of negative space and whilst that can be very powerful in some images I want the couple to be the main focus in this one, so I decided to crop the landscape.

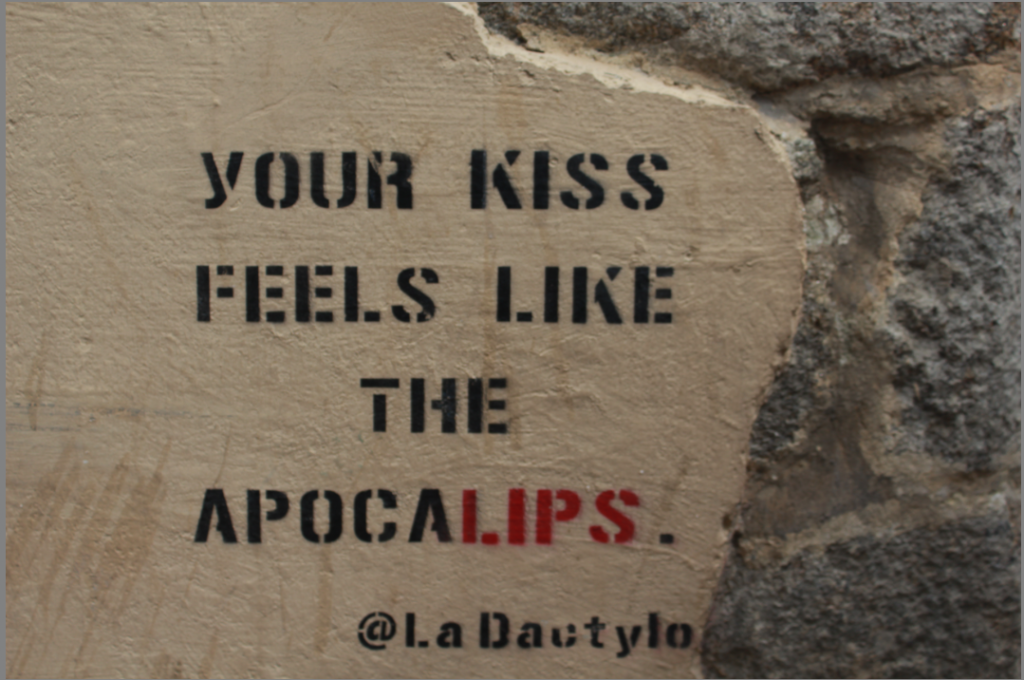
Colour hue edits –

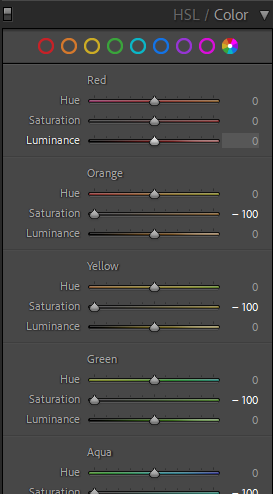
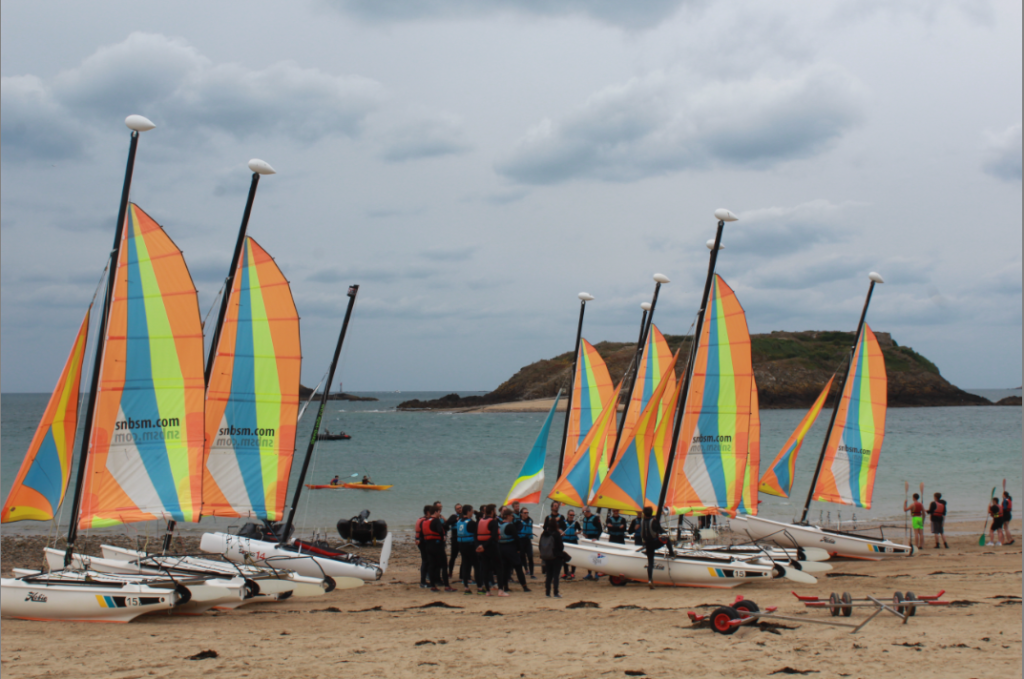
We are practicing changing colour and focusing on separate colours for these edits. This is done on light-room through the hue section.

Photo 1 –

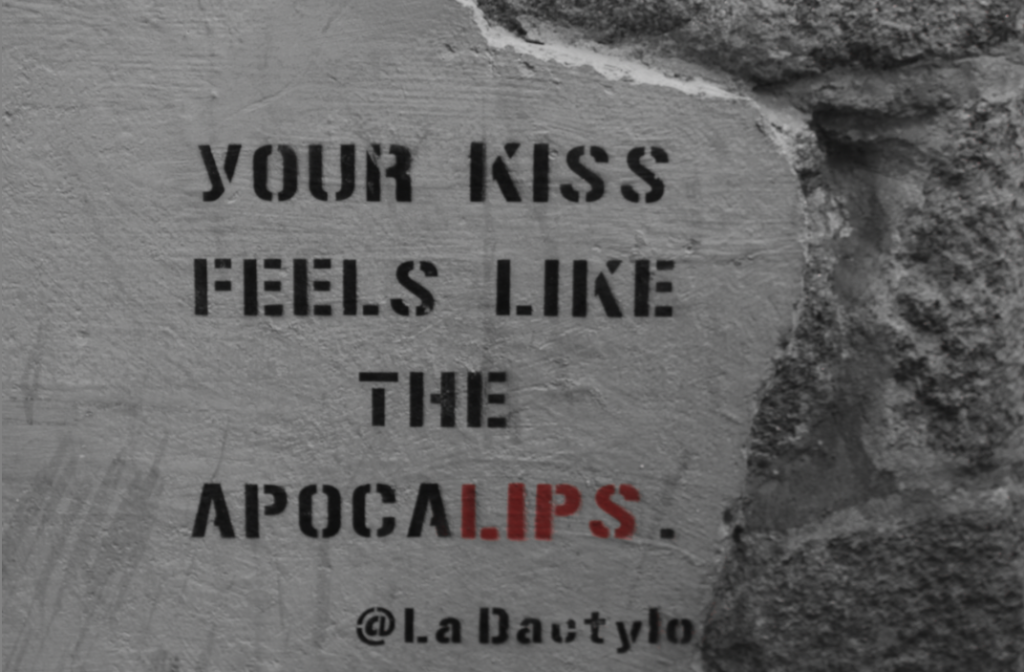
I want to focus on the red in this photo so I will be muting the other colours to focus on the red in the word ‘ APOCALIPS’.

Photo 2 –

In this photo, I want to focus on the registration plates since they are blue because the photo was taken in France (St Malo).

Photo 3 –

I want to just focus on the sales on the boats in to Emphasize the neon yellow stripe on each sale.

Henri Cartier-Bresson and the ‘decisive moment’

“For me the camera is a sketch book, an instrument of intuition and spontaneity, the master of the instant which, in visual terms, questions and decides simultaneously… It is by economy of means that one arrives at simplicity of expression.

Born in Chanteloup, Seine-et-Marne, in 1908, Cartier-Bresson was encapsulated and fascinated by painting, specifically Surrealism. In 1932, after spending a year in the Ivory Coast, Henri Cartier-Bresson discovered his lifelong passion for photography through his camera of choice – the Leica.  He had his first exhibition at the Julien Levy Gallery in New York in 1933 later making films with Jean Renoir.

Taken prisoner of war in 1940, he managed to escape on his third attempt in 1943 to then subsequently join an underground organization, assisting prisoners and escapees. In 1945, he photographed the Liberation of Paris with a group of professional journalists, then filmed the documentary Le Retour (The Return). This involved working closely with other artists such as Matisse, Bonnard, and Braque. After traveling for three years in the East, he returned to Europe in order to publish his first book – Images à la Sauvette (published in English as ‘The Decisive Moment’)

From 1968, he began to curtail his photographic activities, preferring to concentrate on drawing and painting. In 2003, with his wife and daughter, he created the Foundation Henri Cartier-Bresson in Paris for the preservation of his work.

Cartier-Bresson received an extraordinary number of prizes, awards, and honorary doctorates. He died at his home in Provence on August 3, 2004, a few weeks short of his 96th birthday.

Henri Cartier-Bresson is now known as a French artist, humanist, filmmaker and a large role-model and master of candid photography. He pioneered the genre of street photography through this technique and viewed photography as capturing a decisive moment – an intuitive and spontaneous moment to capture an image that shows unity in comparison to other photographers who tend to look for horror. He approached photography like it was hunting without killing, seeking out the perfect moment.

His images relied heavily on the strong relationship with shape and geometry in a raw way, absent of posing, in order to act as a form of intellectual pleasure. He looked with his heart to make all elements of reality align perfectly, representing what joins us as a society instead of the things that tear us apart. By doing this, he represented the rich diversity of the USA by capturing the expressive snapshots of people from all walks of life. Through this ideology of every aspect of the image being unplanned, Henri Cartier-Bresson used his Leica as if it was an extension of his eye, capturing these wholesome moments as if he was blinking.

This image, ‘Derriere la Gare Saint-Lazare’, is a perfect example of Henri Cartier-Bresson’s decisive moment of street photography, having all pieces of an image constructed into a singular moment with the absence of posing. Using his 35mm Leica, the shoot into the daylight involves a slow shutter speed in order to create a motion blur in the air of the figure leaping across a puddle. The shadows and reflections created make it clear that this image was shot facing towards the light to ensure they balance towards the foreground, in front of any subjects or objects. Alongside this, these reflections and shadows bring the image to life by making it stand out, looking more 3 dimensional. The image being in black and white makes the image blend together cohesively; bringing attention to the sign in the background indicating that this was located by a railway. As well as this, the black and white creates a greater contrast and tonal range within the image, making it look more dramatic and dynamic. The subject is in one third of the image off to the right, revealing a second in the background further away. The fog placed at the top of the image is looming over the houses in a quiet way, adding a tone of mystery and gloom, working with the grain washed over the image.