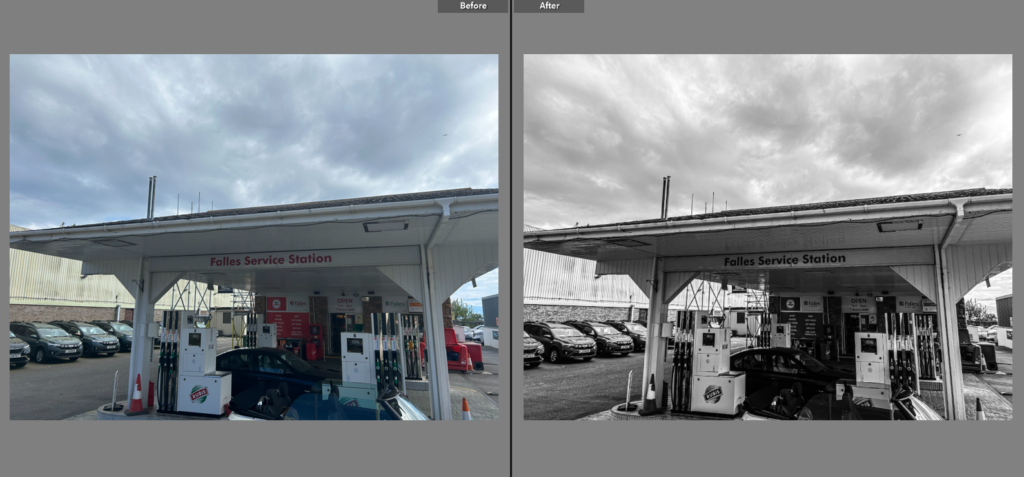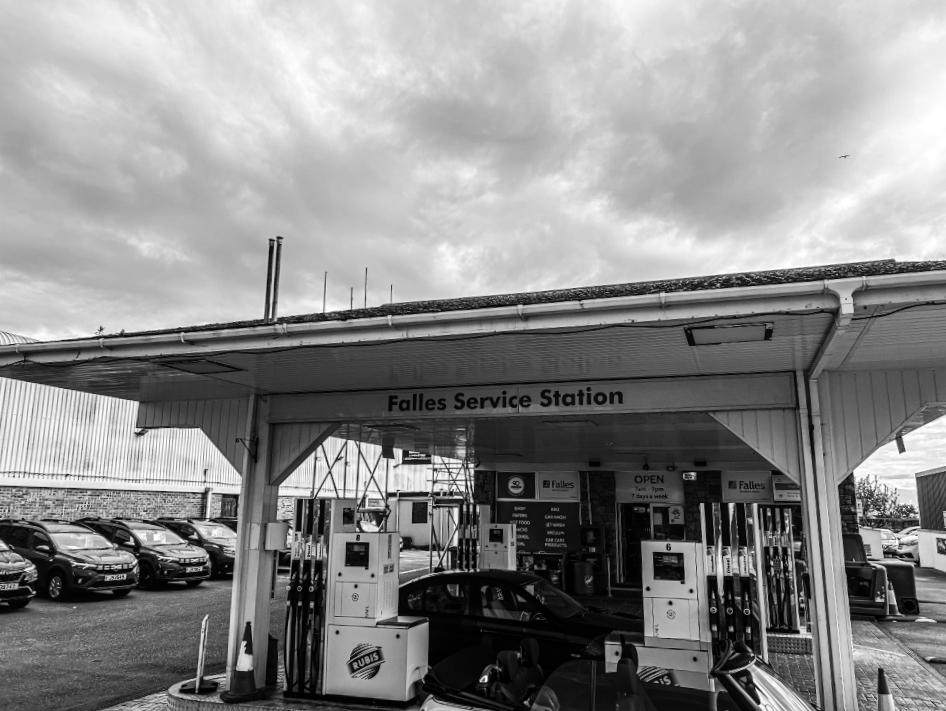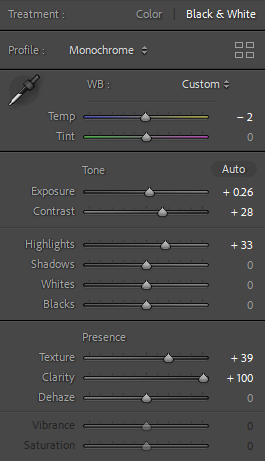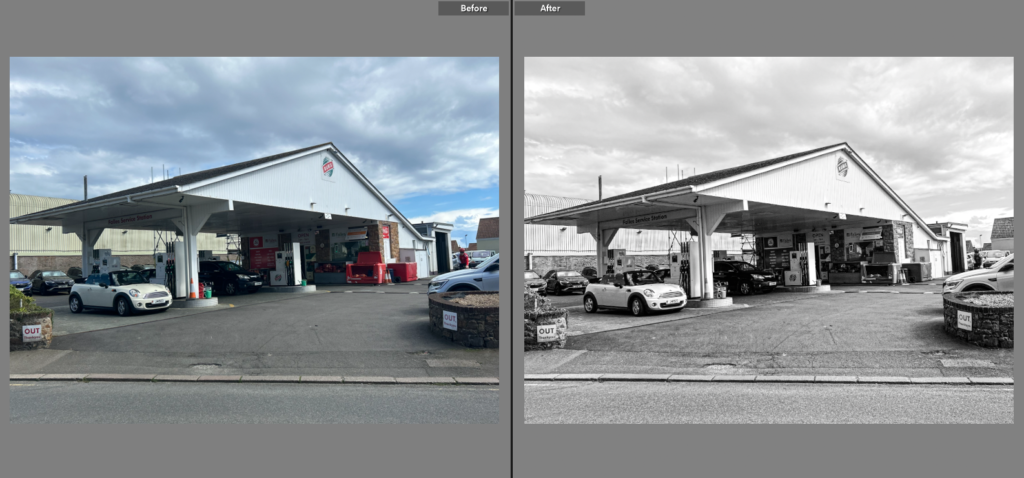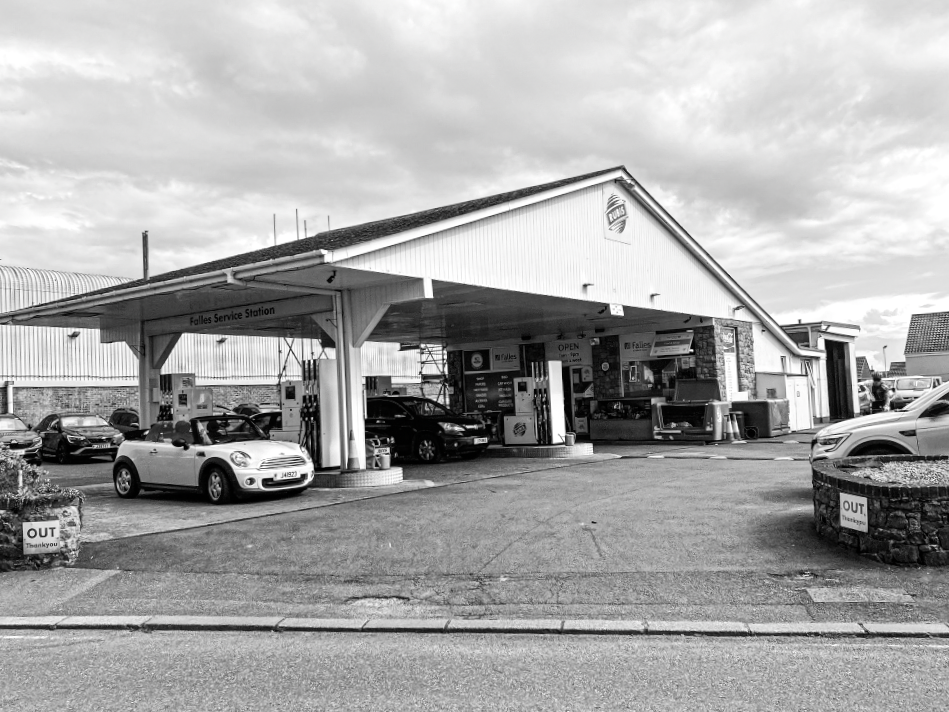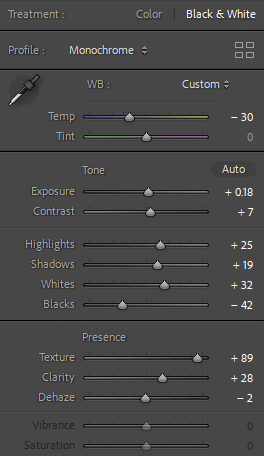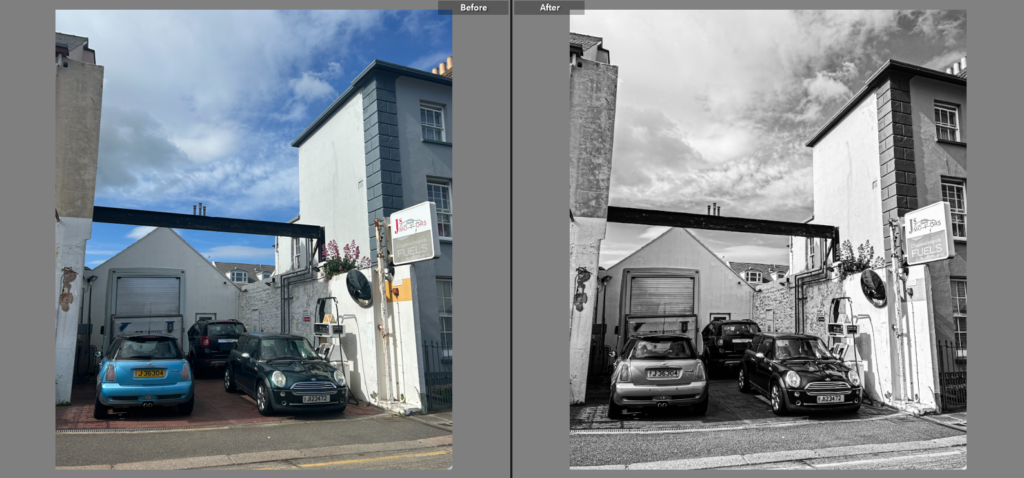
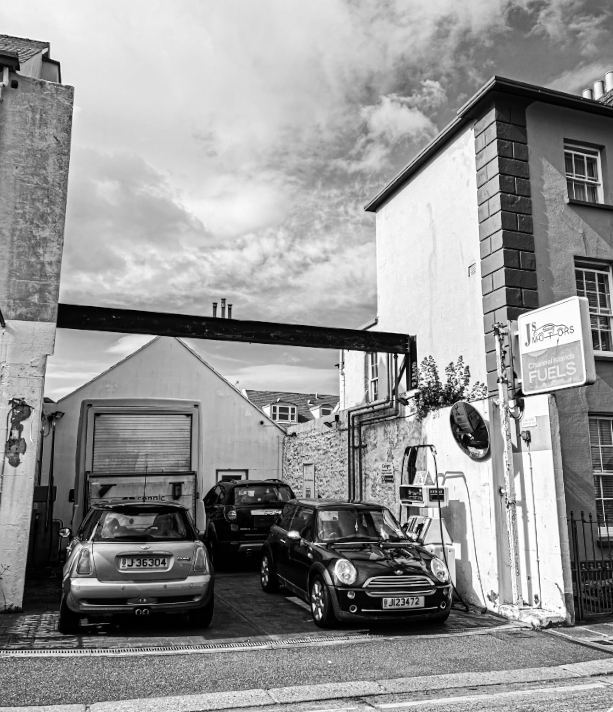
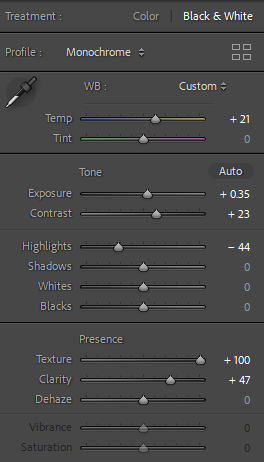
For my first image, I adjusted the temperature to exaggerate the different shades within it. I knew this would be useful as all of my images are going to be in black and white, so by doing this I am preventing my outcomes from looking bland and lifeless. I also increased the exposure to add more brightness into the photo, and the contrast to extenuate the lights and the darks. I also increased the texture in all of my images as it adds a grainy affect, which is significant for me because it helps my images take on a more historic effect.
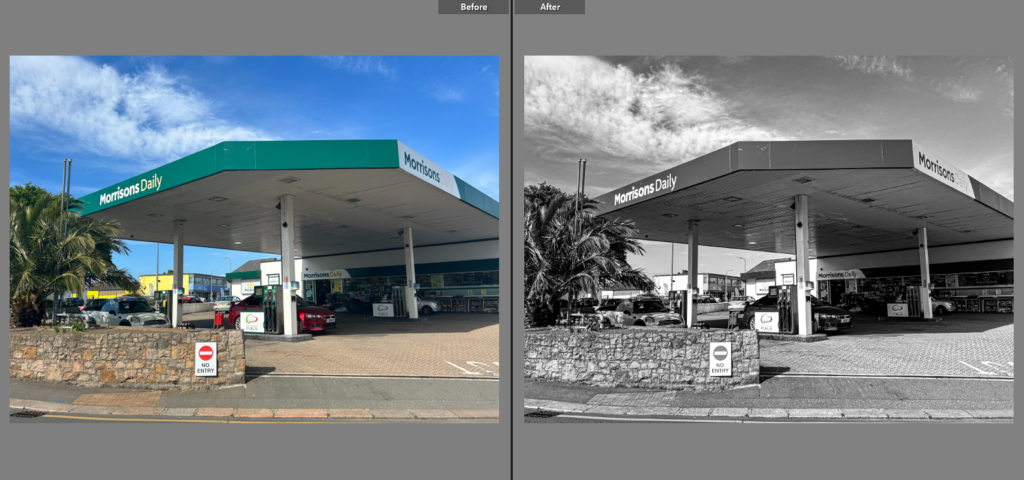
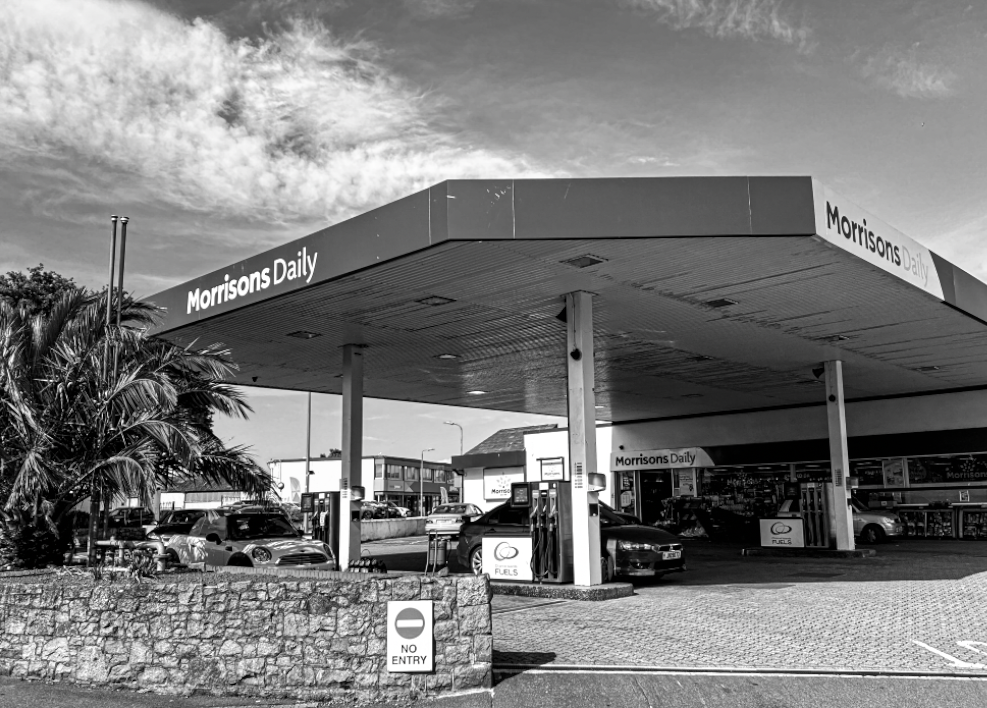
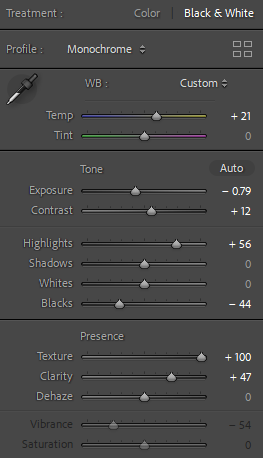
For my second image I decided to decrease the exposure rather than increase. I did this because the lighting when I took the original photo was very bright, which took away from the features in it. By decreasing the exposure I was able to bring out the main subject rather than the background. However, I increased the highlights as it was able to bring some life back into the photo, while also helping create a bigger contrast. Again, I increased the dehaze to bring out all of the different textures in the image. Finally, I decreased the blacks as this also helps exaggerate a contrast between the different tones, which linked back to my artist inspiration.
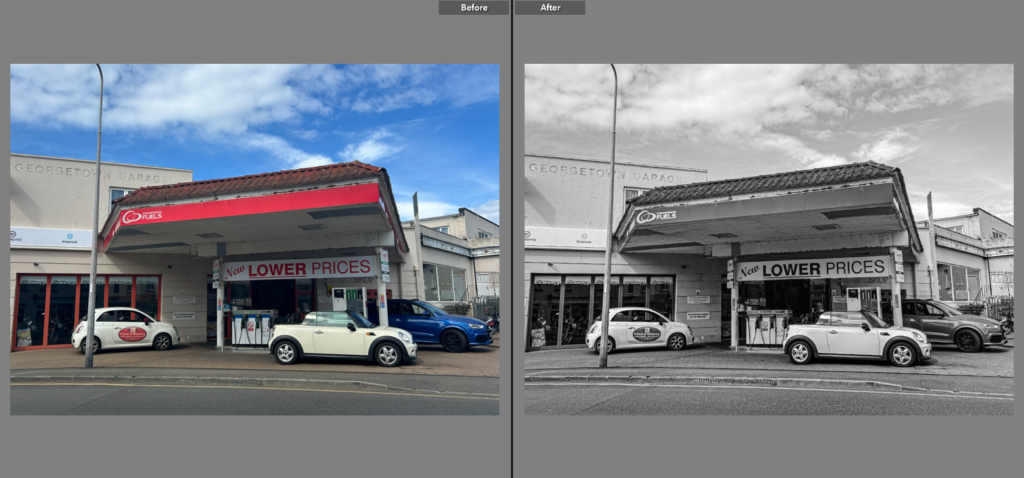
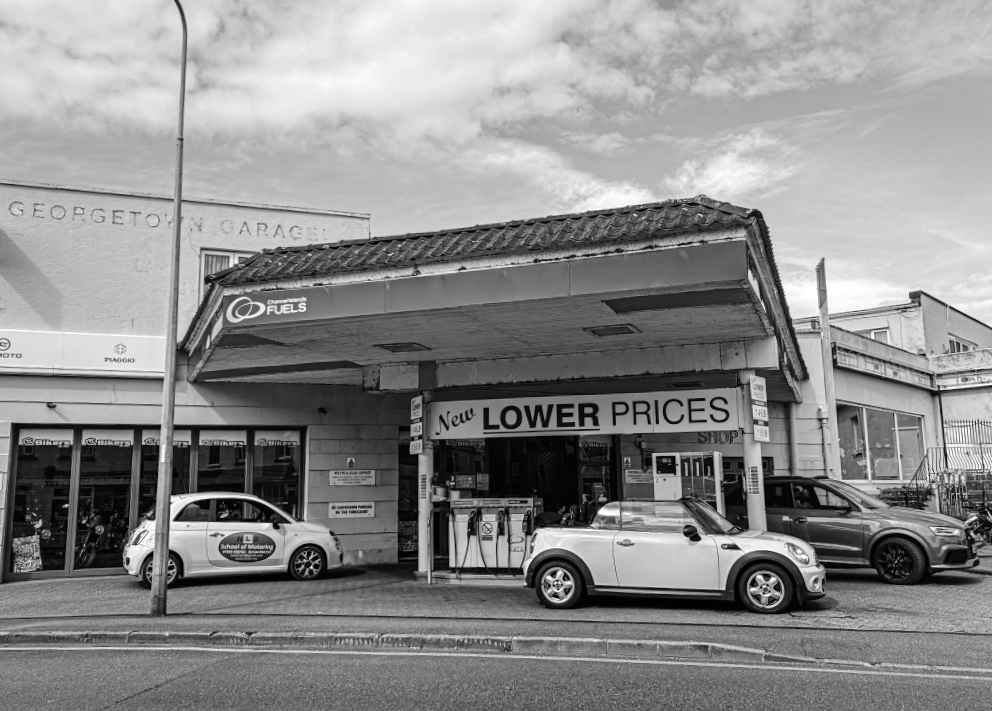
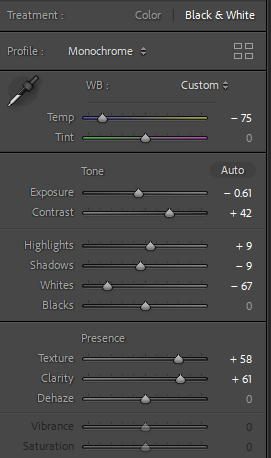
For this image, I decreased the temperature rather than increasing, this is because it helped exaggerate the black and white rather than decrease the overall mood. By doing this, my photo was able to fit in perfectly with the rest of them as originally it naturally had a brighter aesthetic. I decreased the whites because it made the image look over-exposed, and increased the texture and clarity to match my other outcomes too.
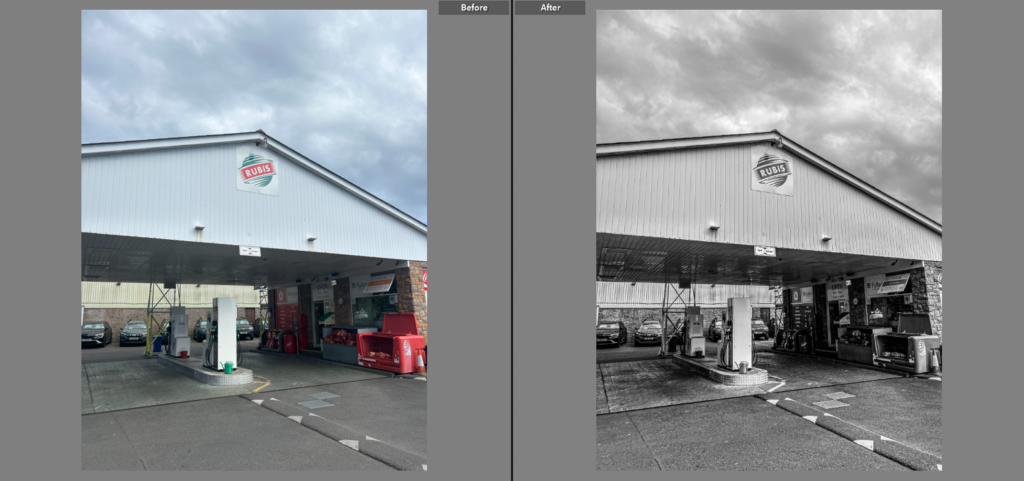
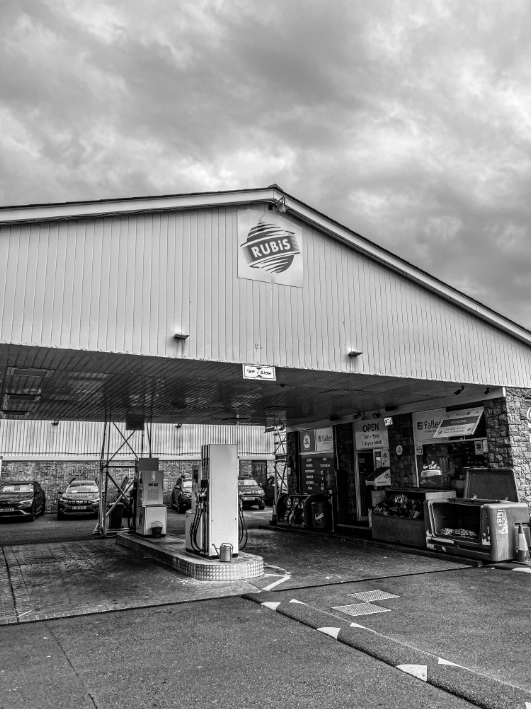
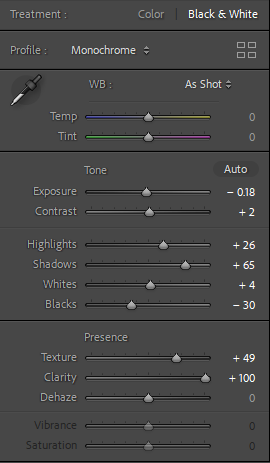
Similarly to my last image, this photo was originally over-exposed. Therefore, I decreased the exposure to neutralize the different shades. By increasing the highlights, shadows and whites I could create a natural looking contrast, which helped my main subject easily become more eye-catching to the viewer. In this image I kept the temperature and tint neutral because I did not want to change the colours in the image too much.
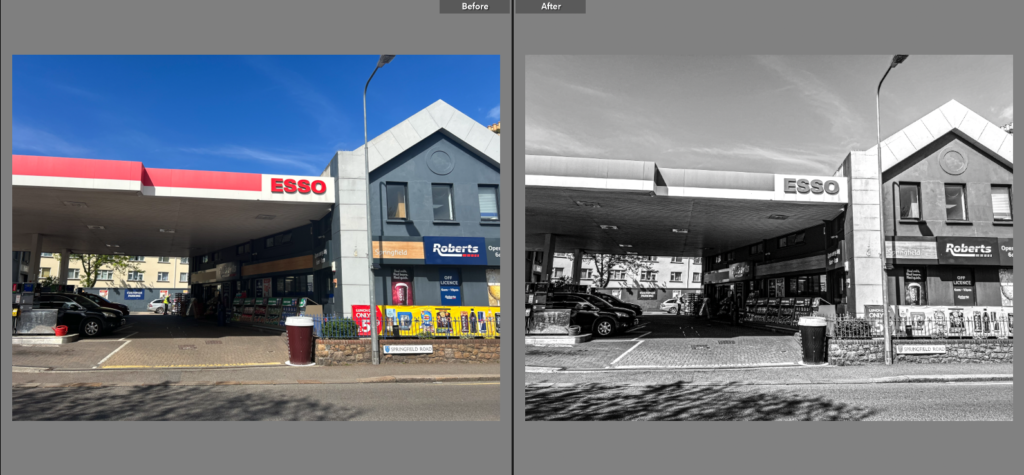
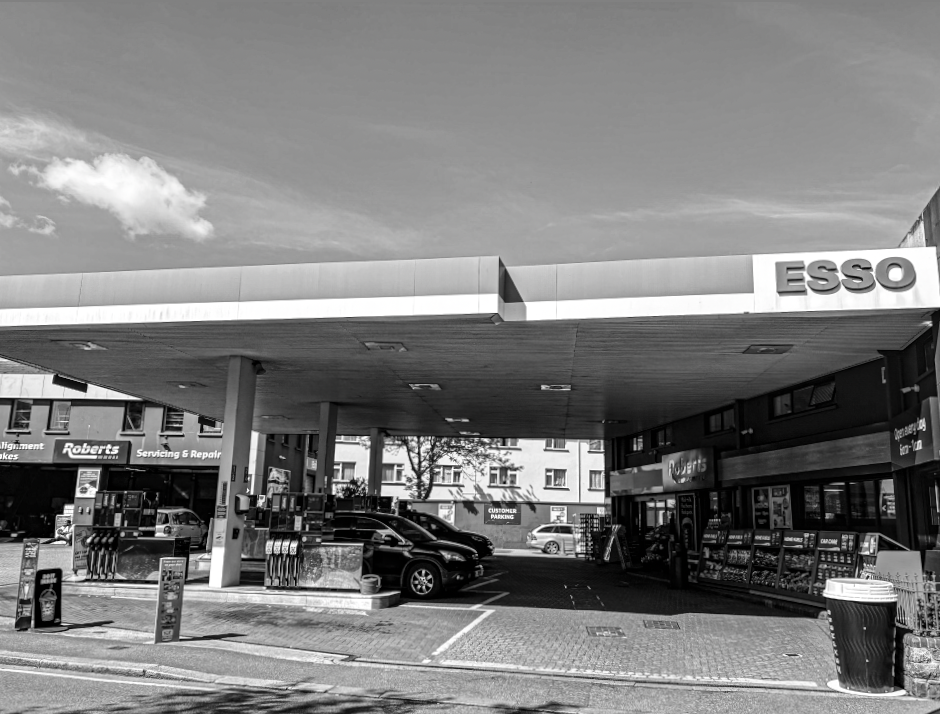
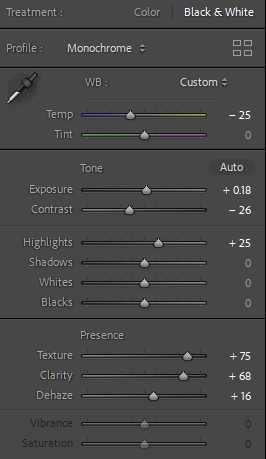
In my fifth image, I decreased the temperature because this image had a wider variety of different colours compared to my other image. This way, I was able to bring down those colours to help this image fit in with the others. I slightly increased the exposure but not too much because there was a lot more sky incorporated in this photo than the others. Although, I increased the highlights because it created a successful contrast between the white building in the background and the dark roof of the petrol station.
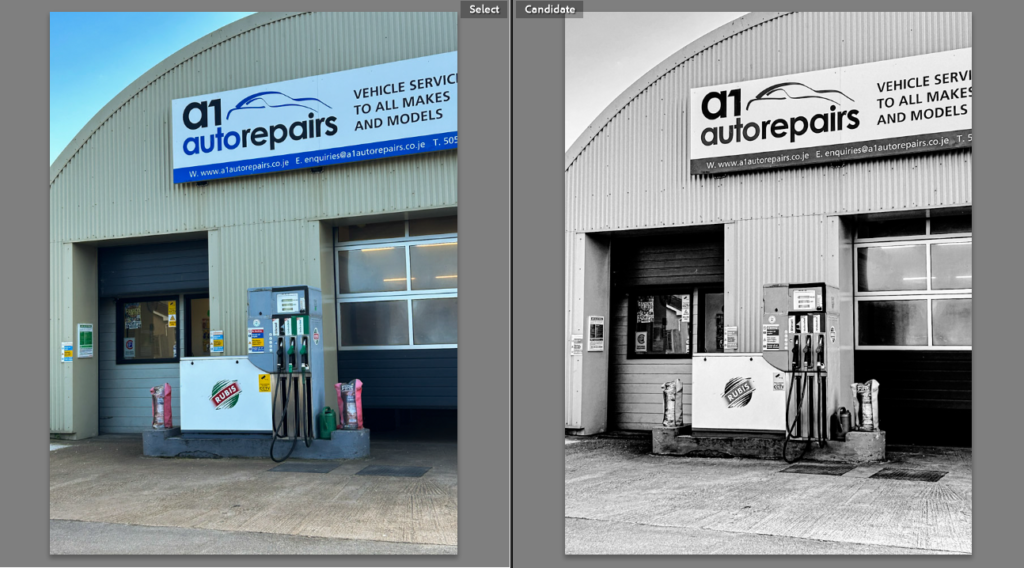
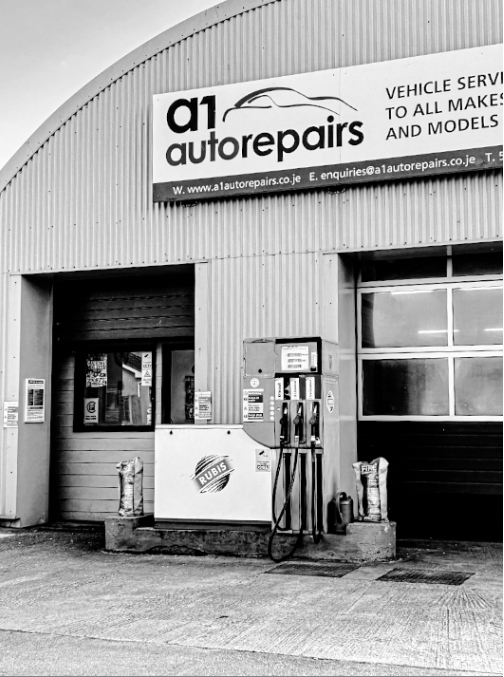
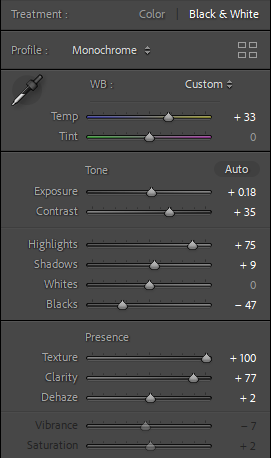
This is the last image I edited, and I increased the temperature by a significant amount because originally this image had minimal colour and appeared more dull than the others. There was very little contrast throughout the image before editing, therefore I increased the highlights, shadows and texture to bring some life into the outcome. Also by increasing the dehaze, it helped add a more ancient feel to the outcome, as well as showing resemblance between my outcome and my artist inspiration’s.
Extra edits:
