Picture 1:
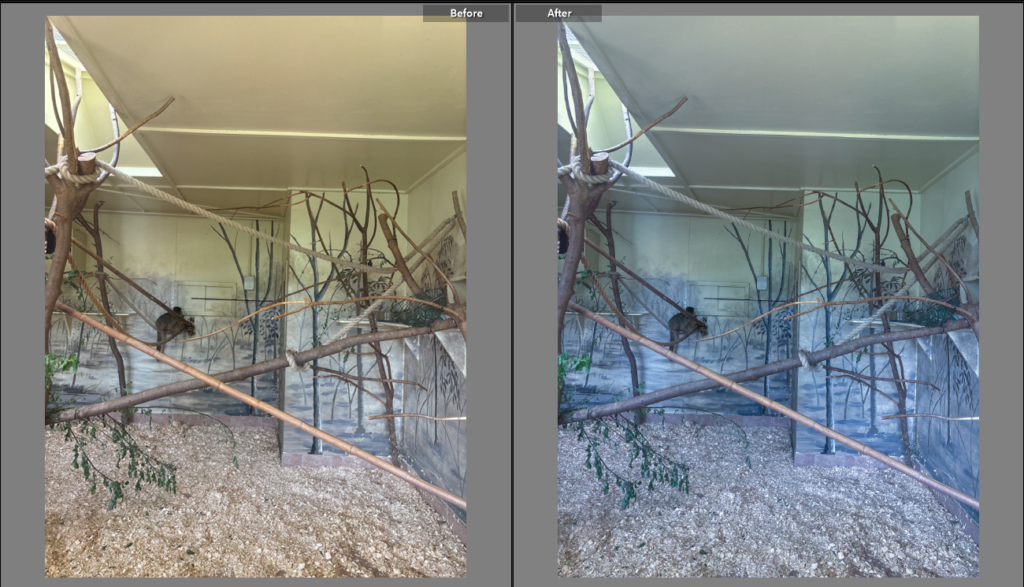
Editing:
For this picture I opened light room, pressed develop and decreased the temperature by -26 to make the image more cold and exposure by -0.44 to give it a more darker look to it and then increased shadows by +60 to help give the image more depth.
Developing:
With this picture, I removed the monkey from the picture to show an empty enclosure using the selection tool on photo shop and saved the picture but then, using AI on Photoshop, I added more monkeys to the picture. As seen below.
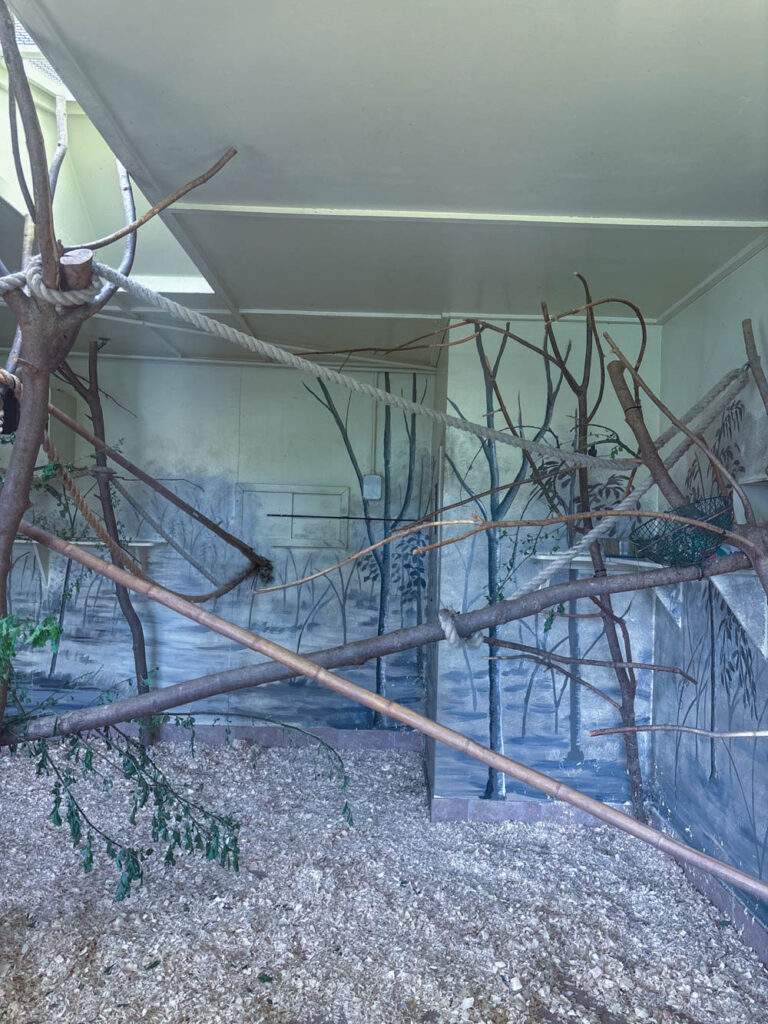
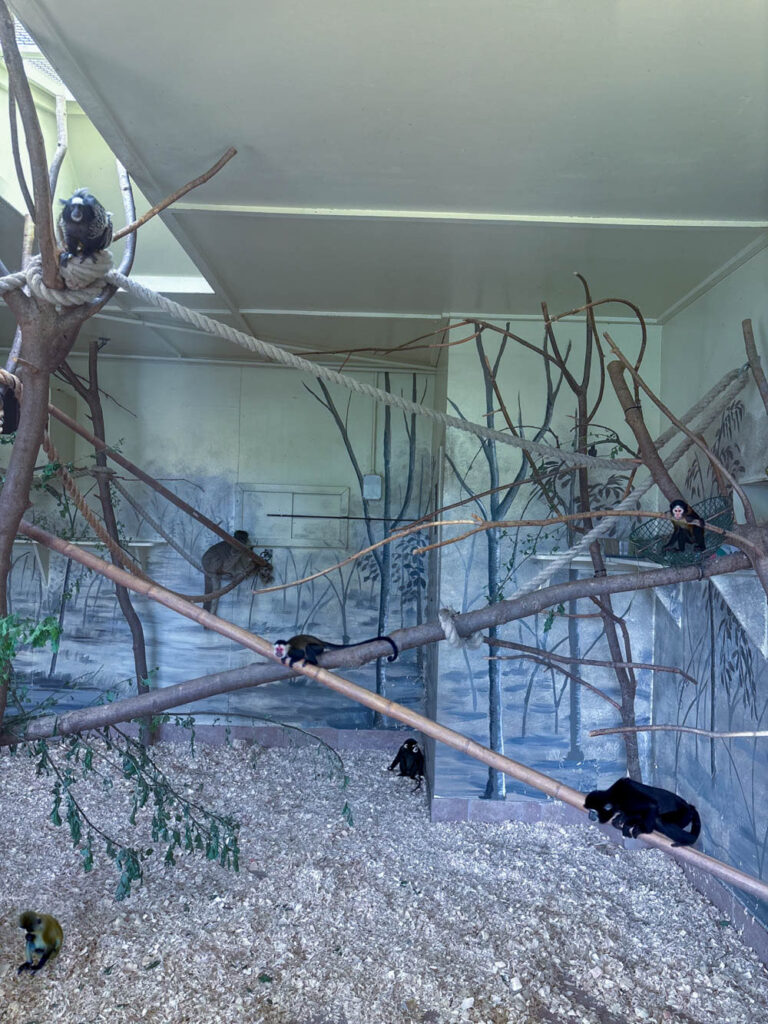
Picture 2:
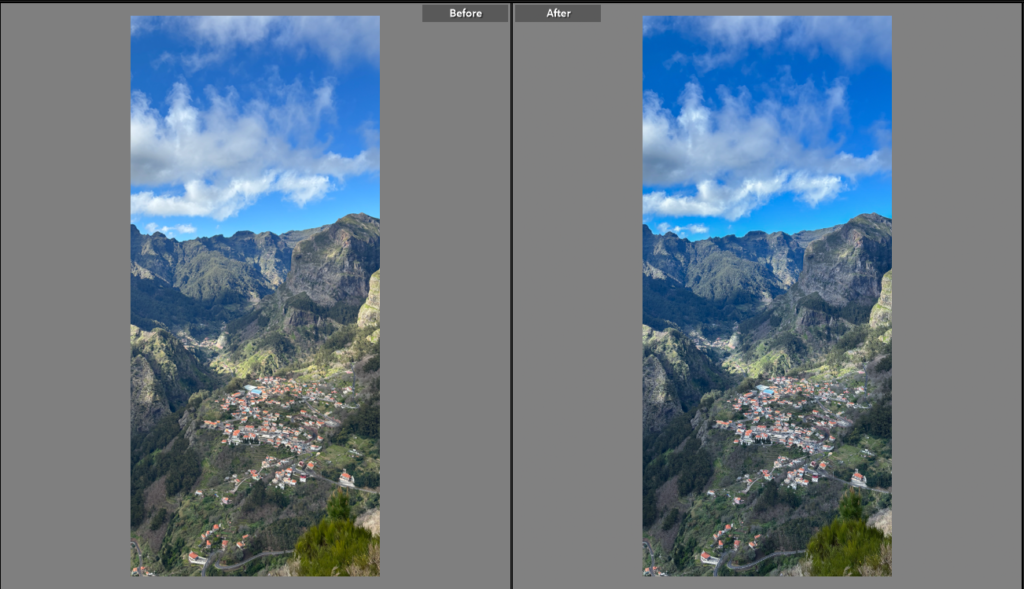
Editing:
For this picture I opened light room, pressed develop and decreased temperature by -9 to make image colder , highlight by -100 to recover any lost detail and shadows by -47 to give image more depth.
Picture 3
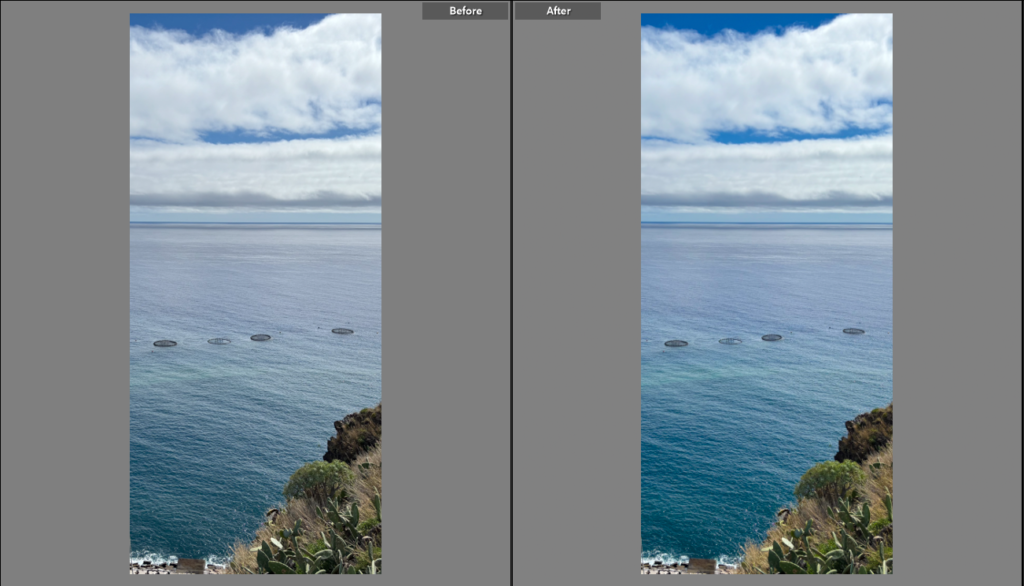
Editing:
For this picture I opened light room, pressed develop and increased the vibrancy by +47 to make the image more colour and give it more ‘life’.
Picture 4
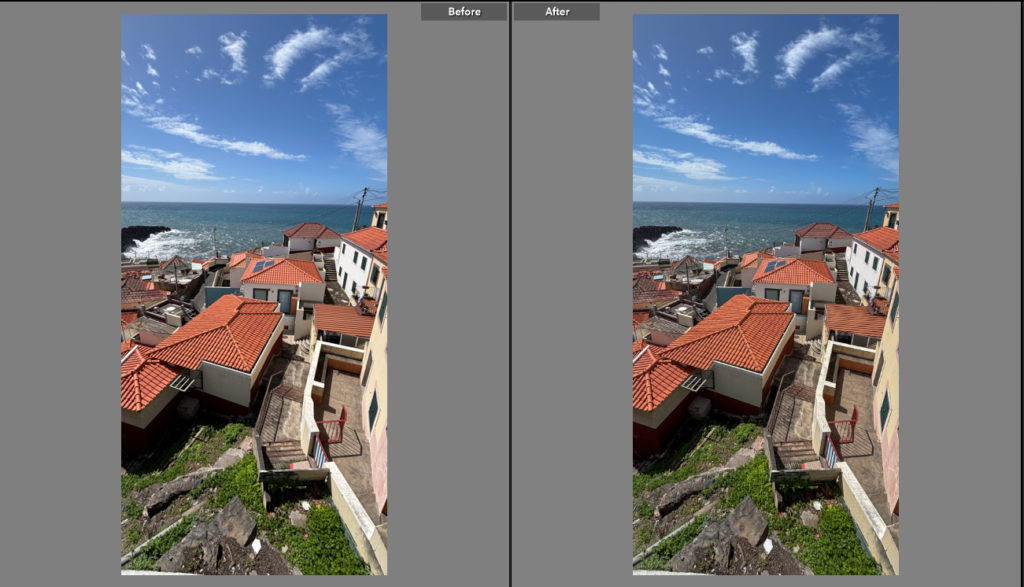
Editing:
For this picture I opened light room, pressed develop and decreased exposure by -0.35 to make image slightly lighter and highlights by -33 to recover any details that was lost and undefined and increased shadows by +44 to provide the image with more depth.
Picture 5
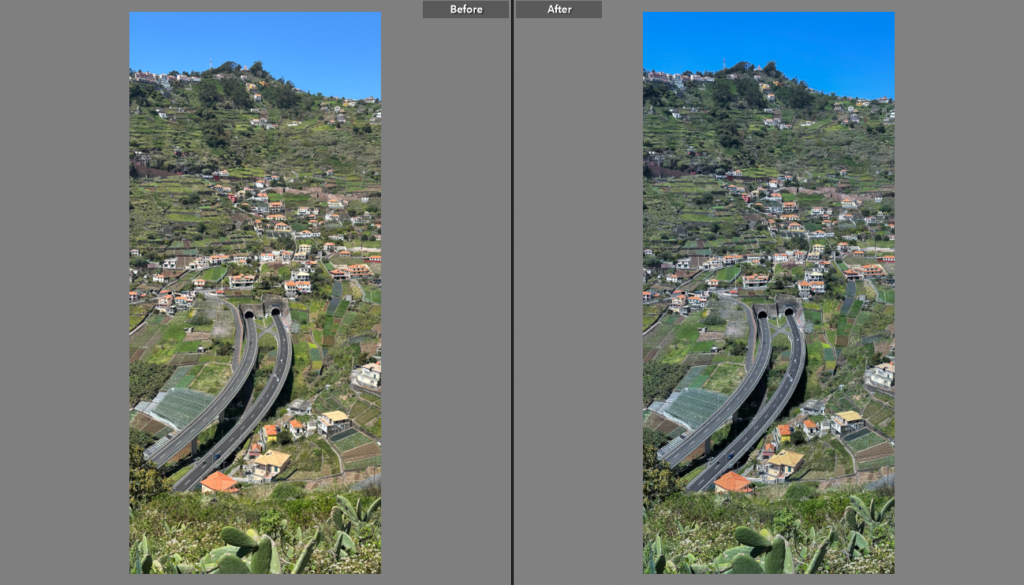
Editing:
For this picture I opened light room, pressed develop and decreased temperature by -9 to make image ever so slightly colder, highlights by –100 to make any darker part in the image lighter and shadows by -47 to ensure image has more depth.
Picture 6
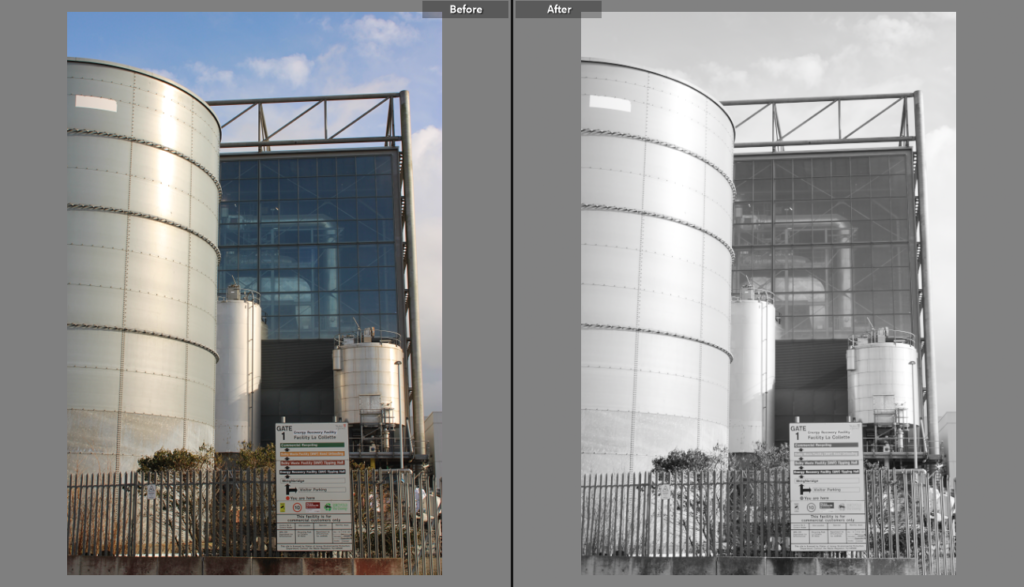
Editing:
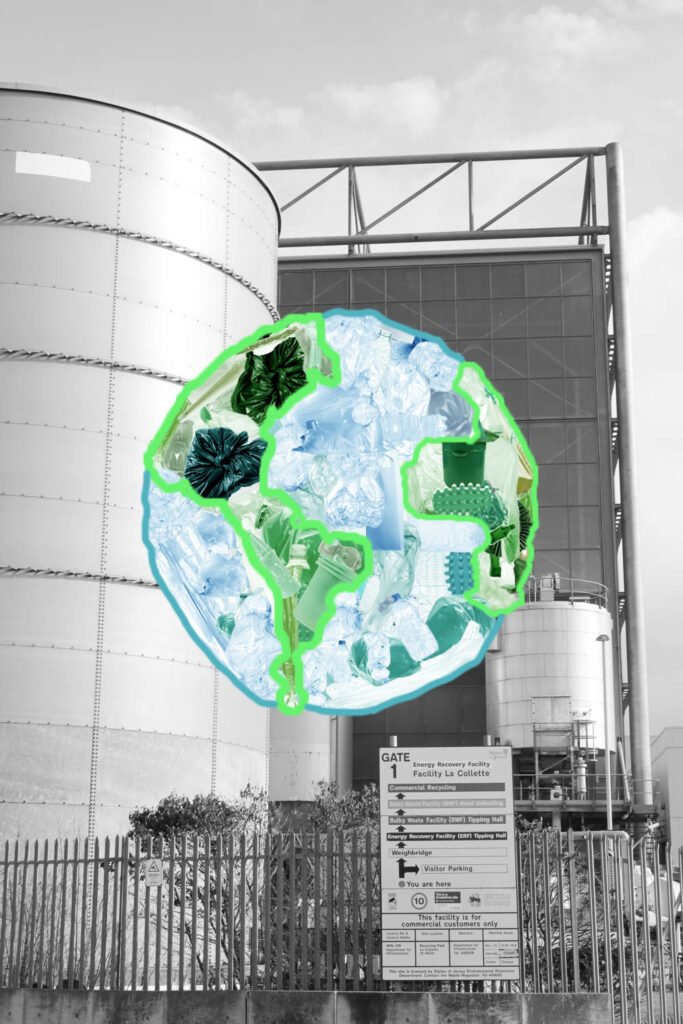
For this picture, I opened light room, pressed develop and increased exposure by +1.05 to make the image overly exposed so that when image turned black and white, it would be white washed, vibrancy by +100 to enhance colour in the image and then decreased saturation by -100 to make image black and white.
(Picture 2,3,4 and 5 were all cropped to make them into thin rectangles)
Picture 7
Developing:
To develop this image, I used image 6 from above, I opened Photoshop and uploaded image 6 to Photoshop. Then creating a new layer, I placed an outline of the world and placed it on the middle of the image. After doing this, I created another layer. Opening another tab in Photoshop, using AI I generated some rubbish and litter and then increased tint to make the rubbish green or decreased temperature to make the litter blue. After generating enough rubbish and litter, using the object selection tool to select each one individually and dragged the selected rubbish to the tab where image 6 was and placed the litter where I thought it was most suitable on top of the outline of the world. After filling in the outline of the world with rubbish, pressing on the layer where I put the outline of the earth, I deleted that insert. Then I outlined the green parts of the world using object selection tool and then choose the green colour and applied it. I did the same thing for the blue parts of the earth. This was all I did for this image.
Other edited pictures
Picture 1:
Editing:
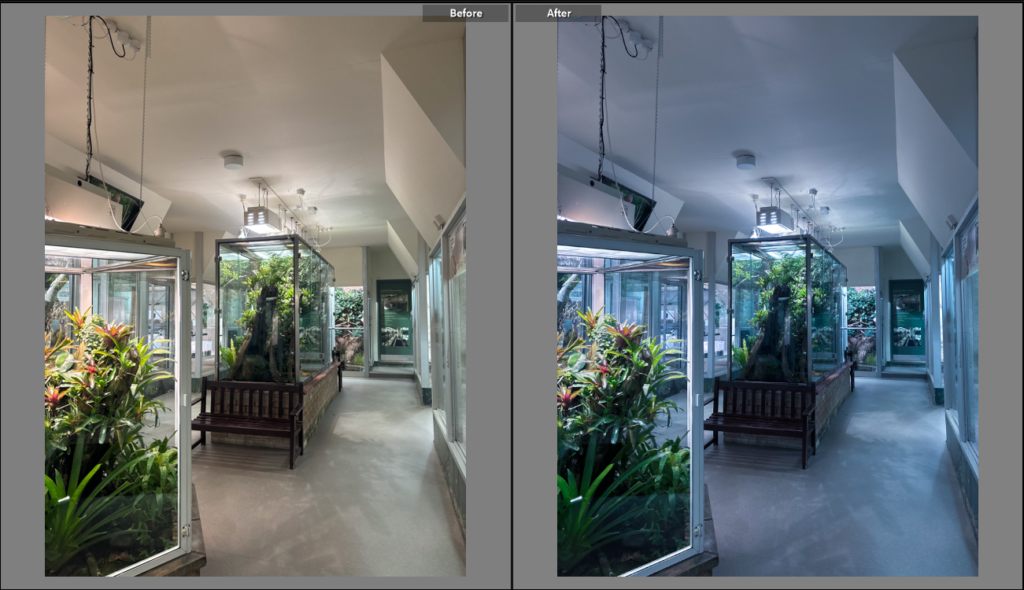
For this image, I opened Lightroom, pressed develop and I decreased temperature by -0.30 to make the image colder and more laboratory like and then I decreased exposure by -0.70 to make image less exposed as I thought that the image was too exposed and to recover any detail lost from the exposure.
Picture 2:
Editing:
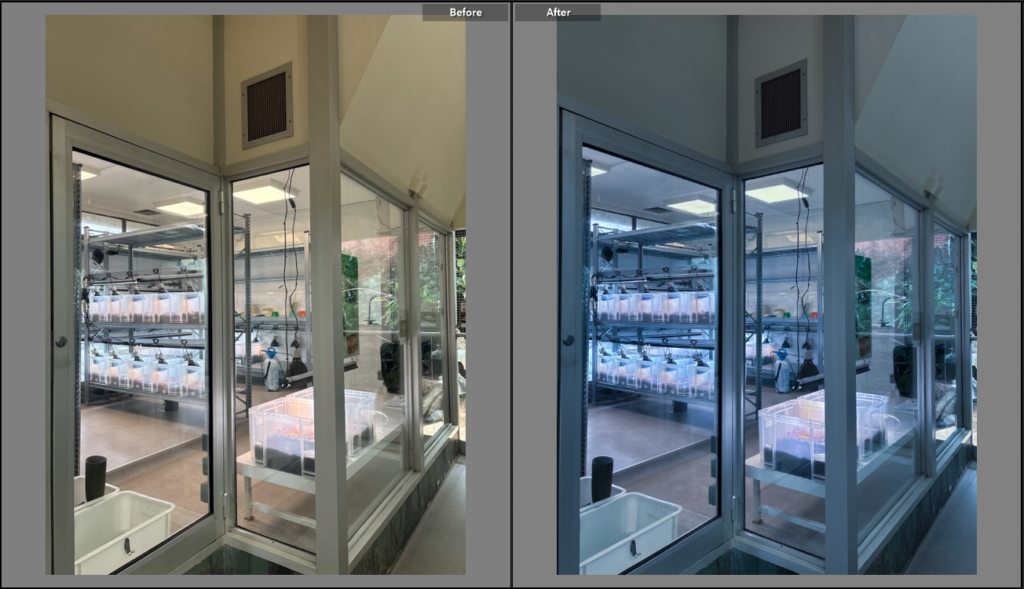
For this image, I opened Lightroom and pressed develop and I decreased temperature by -0.30 to make the image colder and more laboratory like and then I decreased exposure by -0.79 to make image less exposed as I thought that the image was too exposed and to recover any detail lost from the exposure.
Picture 3:
Editing:
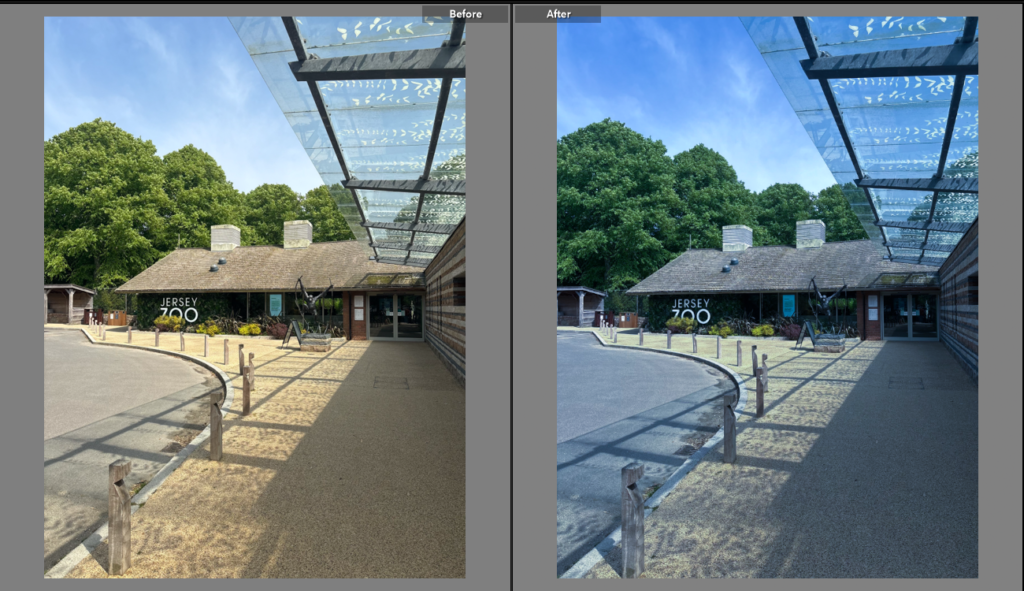
For this image, I opened Lightroom and pressed develop and I decreased temperature by -0.30 to make the image colder and more dull and boring so that people would see the zoo as an organization that is bad and morally wrong and then I decreased exposure by -0.79 to make image less exposed as I thought that the image was too exposed and to recover any detail lost from the exposure.
