Photoshoot & Edits in relation to Ed Ruscha- Anthropocene

Why did I choose Ed Ruscha?

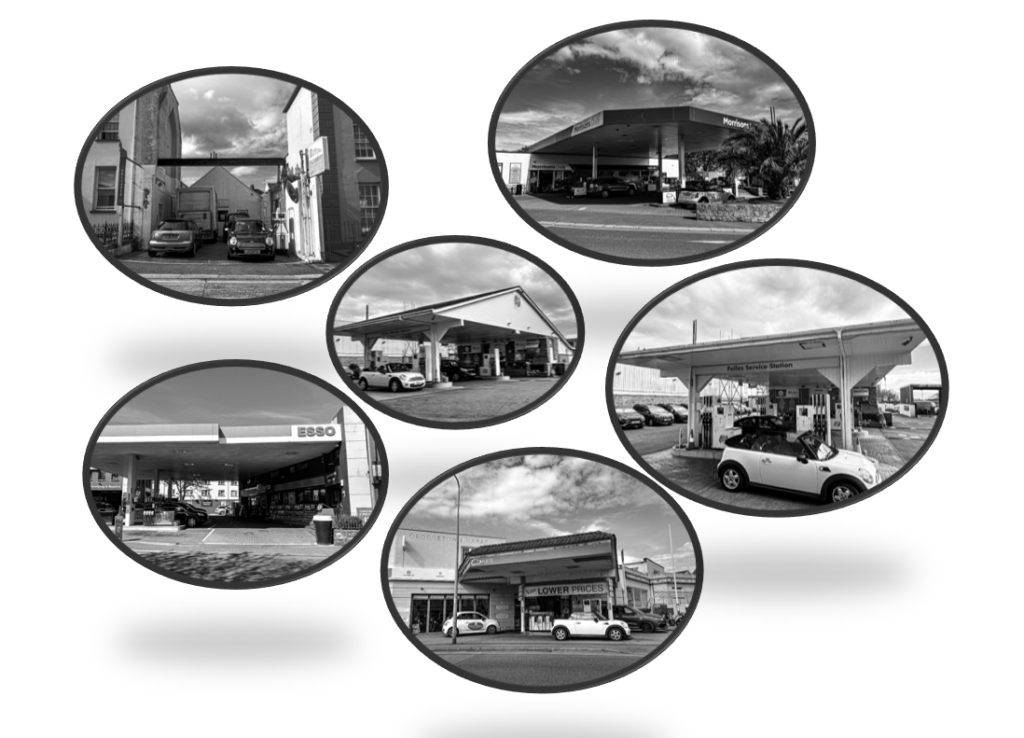
I personally chose Ed Ruscha in relation to the Anthropocene as I wanted to focus on the cause rather than the subject itself within how human activity impacts the earth. Ed Ruscha was a perfect artist for inspiration as he is known for taking images of twenty six gas stations. This significantly links to the Anthropocene as the petrol and gas humans use massively effect the air pollution. Therefore, my idea was to take images of petrol stations in the modern aesthetic and attempt to edit it to make them look vintage and nostalgic. This is effective as it isn’t normally an every day thought when it comes to people filling up their car. Although this was not Ruscha’s aim, it is my aim to focus on the impact of petrol and gas specifically within the sector of air pollution. For context a typical passenger vehicle emits about 4.6 metric tons of CO2 per year. This assumes the average gasoline vehicle on the road today has a fuel economy of about 22.2 miles per gallon and drives around 11,500 miles per year. Every gallon of gasoline burned creates about 8,887 grams of CO2. So, instead of taking photos of animals becoming extinct or suffering due to air pollution e.g. polar bears in Antarctica. As Anthropocene is a project to show through art and photography the effect on the earth because of humans or what it could be potentially if us as humans began to make better choices. I wanted to significantly instead show the effects and impacts itself but the cause. I think this will benefit my project as it is different and links well to an artist reference.

What is my intention and aim?

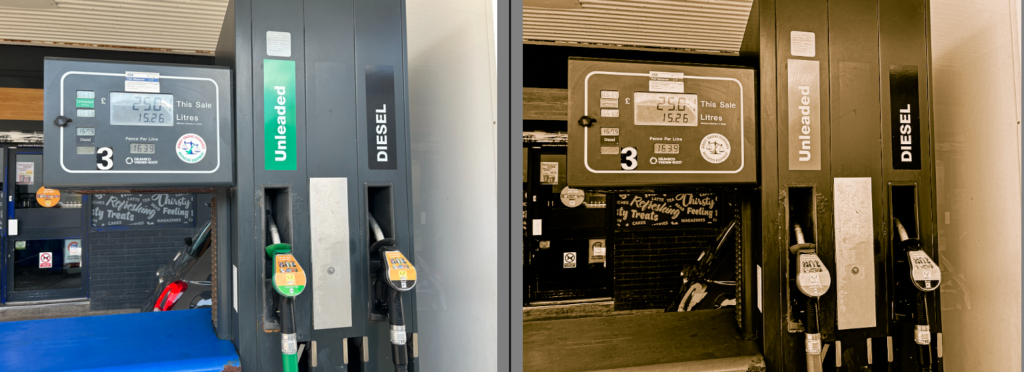
My intention and aim is to significantly edit my images to look old and in a rusty aesthetic so it looks like Ruscha’s work which may be significantly harder to do so as everything has evolved to be modernized whereas Ruscha actually took the images in the 1960’s. Aside from that, my next step would to put them into a typology to add another technique towards my work as Ruscha sometimes did that. I want to keep my images dull and simple so it does not draw away the main factor to the image which is simply to remind the viewers that every-day basis factors that us as humans do not give a second thought about actually massively impact the earth. This links to Ruscha as in his famous book ‘ Twenty-six gas stations’ he kept it simple with little words and only the image to keep it interesting and eye catching to make the viewers focus on one thing; his photographs. Ruscha kept them in black and white potentially because he chose too or because colour was only beginning to evolve. I will edit some images in black and white to relate to his work but I will also keep some in colour to compare and contrast the modernized and vintage aesthetics. To keep it from being too dull and boring, I personally think putting it into a typology technique will significantly add an interesting and eye catching feature. Overall, my aim is too to show the causes of the damages not the damages through photography.

My Photoshoots and edits
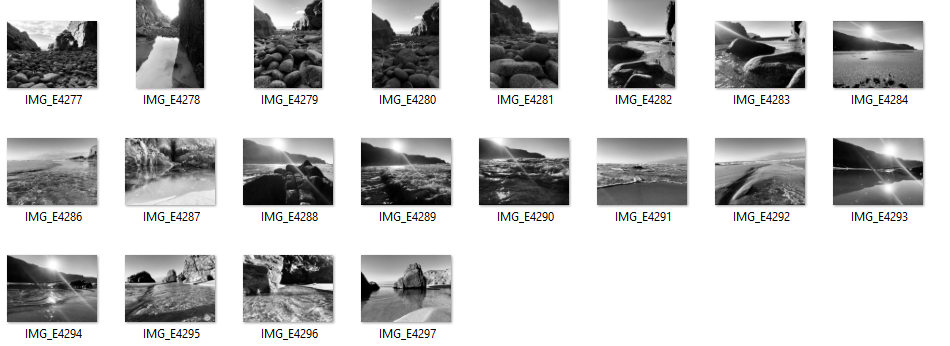
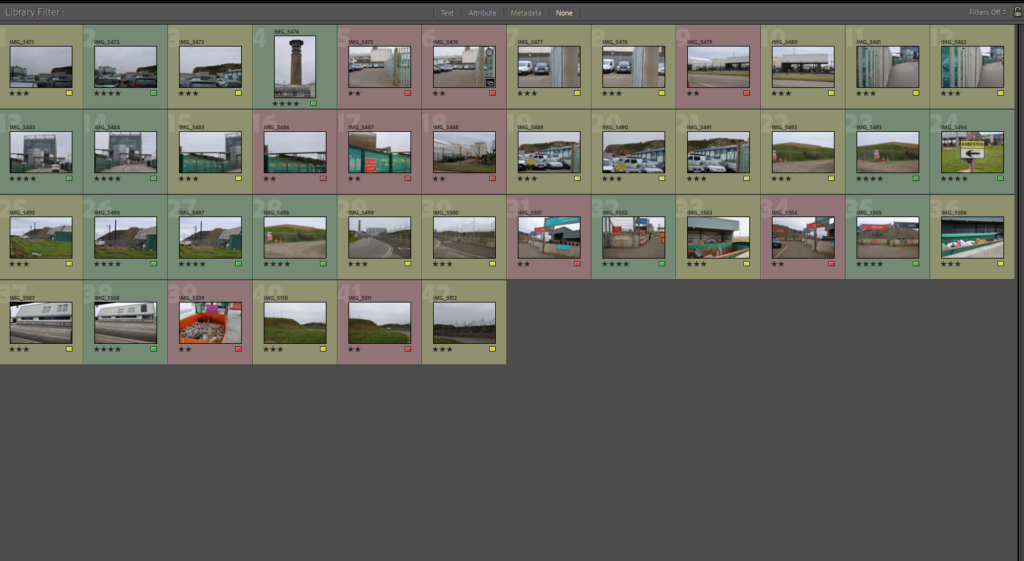
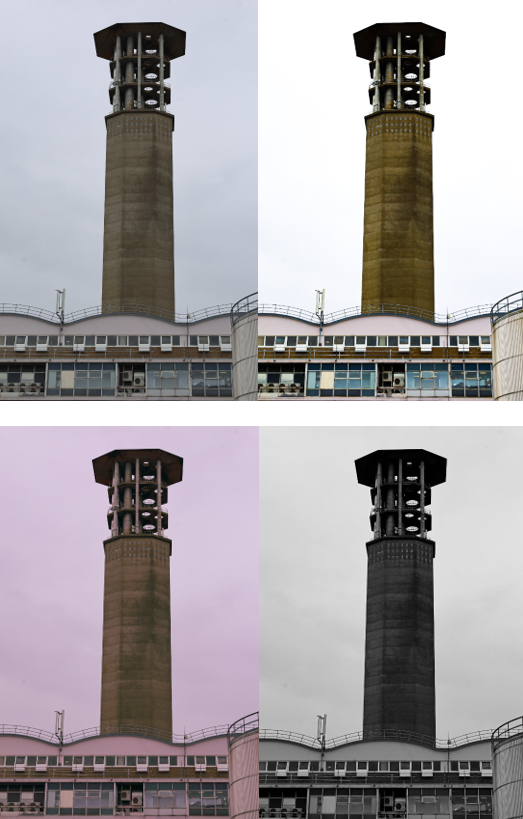
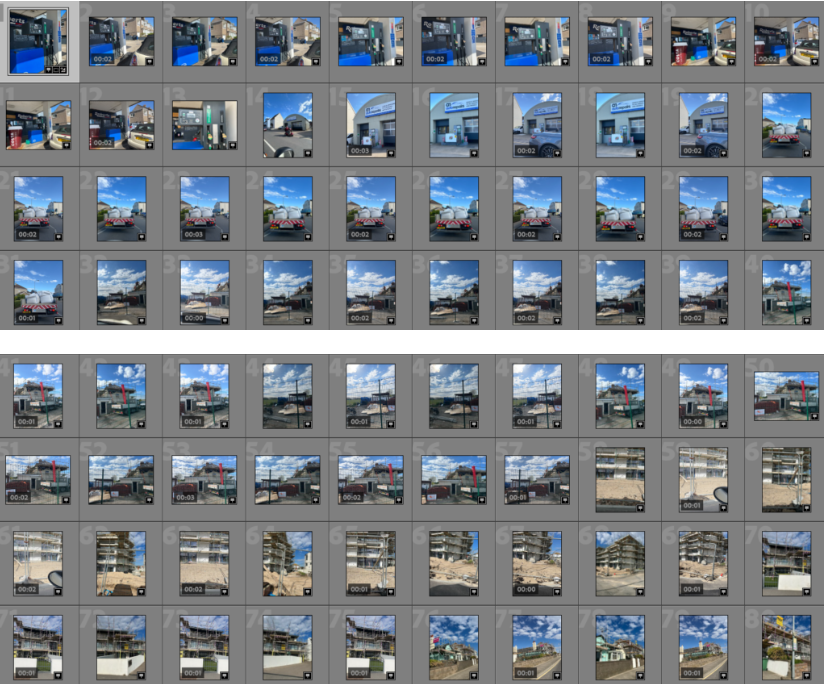
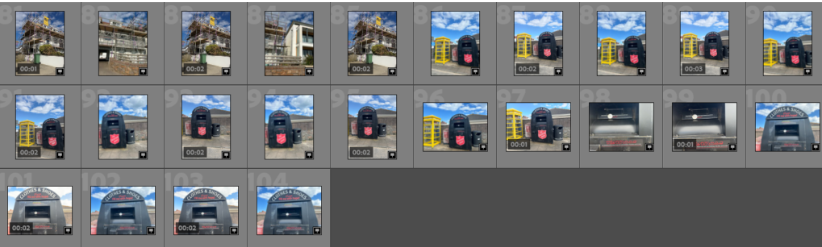
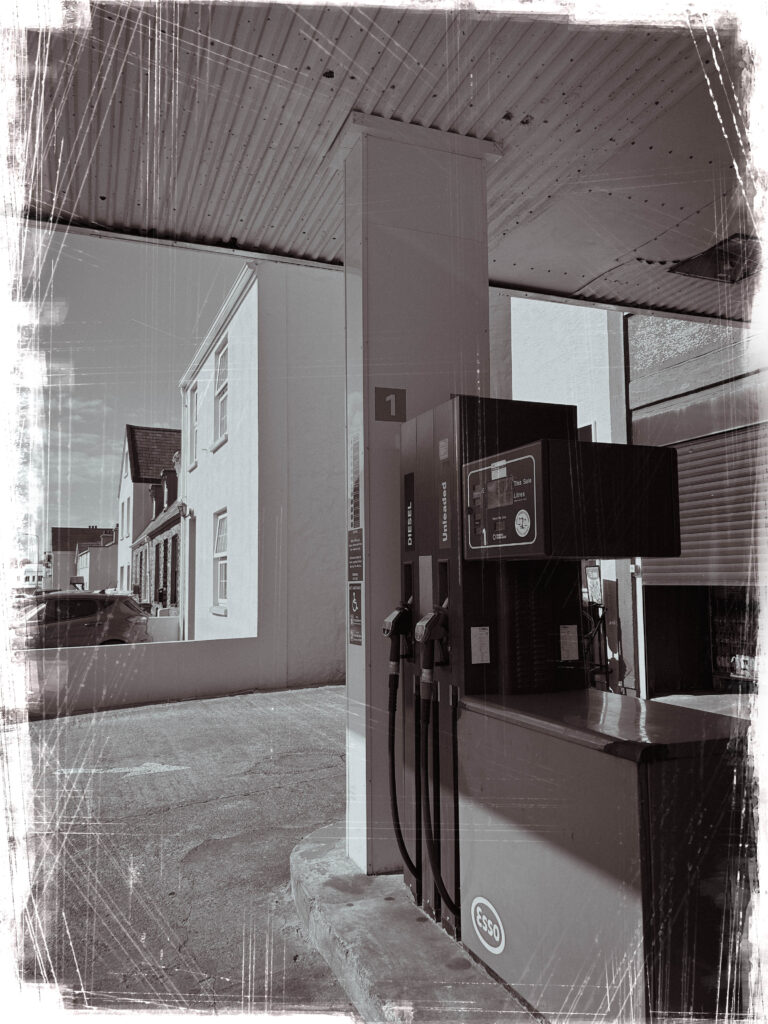
Contact sheet-

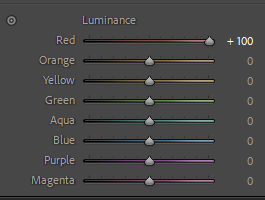
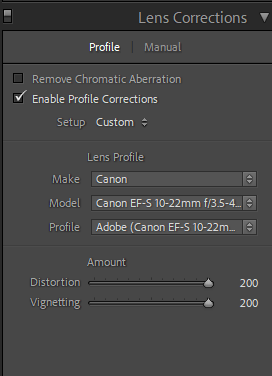
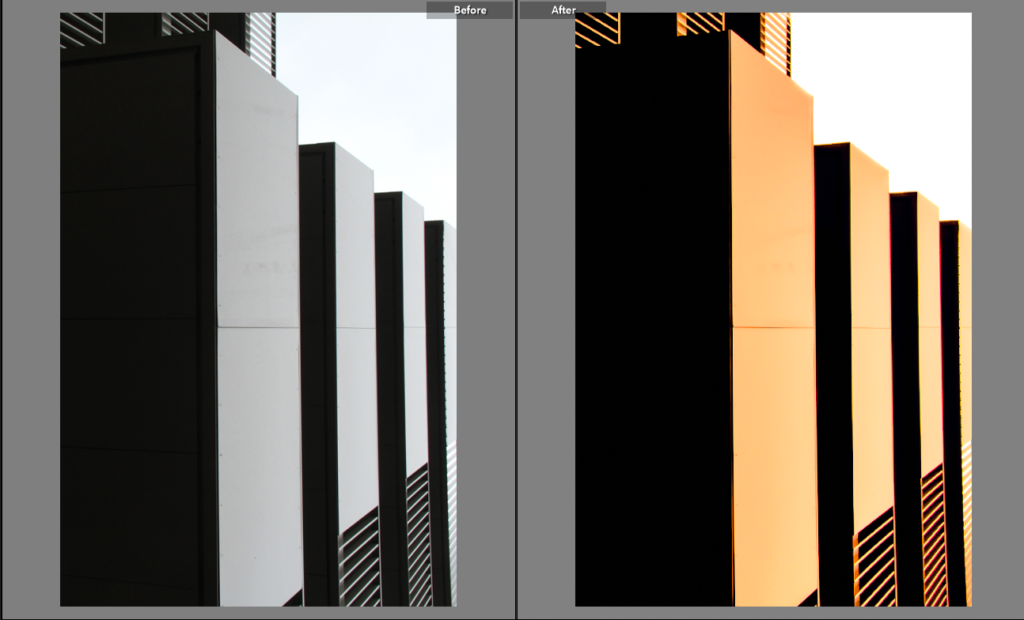
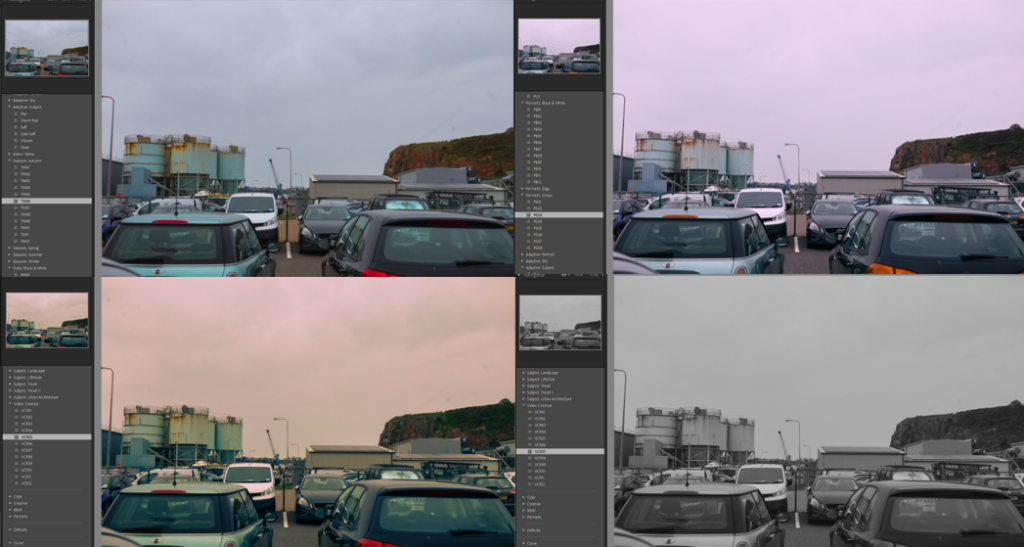
Edits in Lightroom & Photoshop-
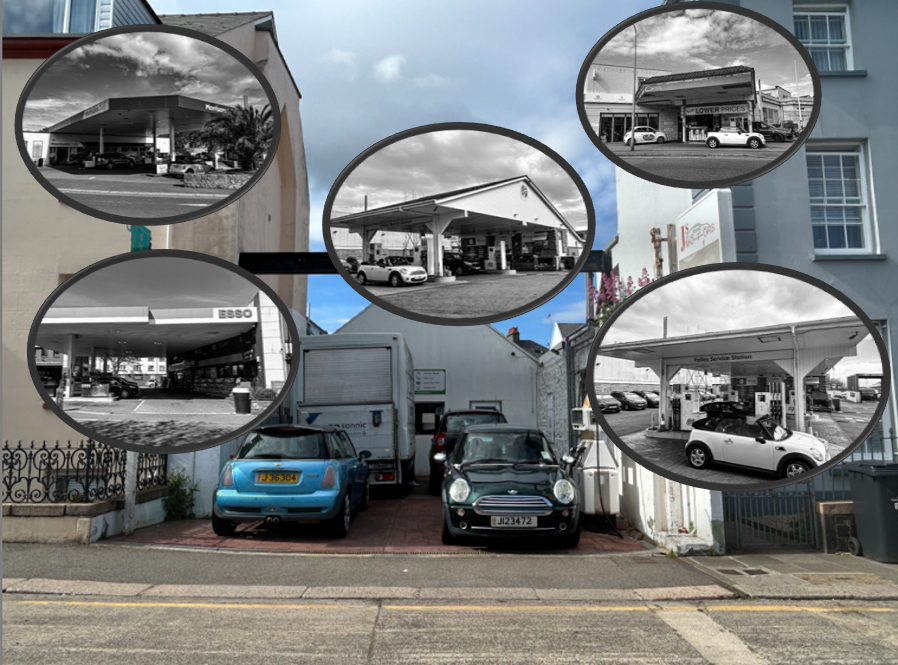
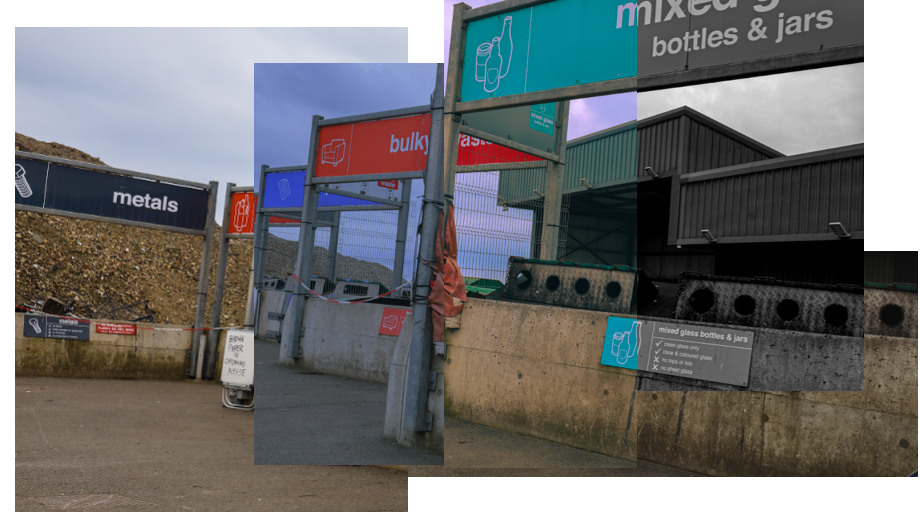
Typology

How this became my outcome-

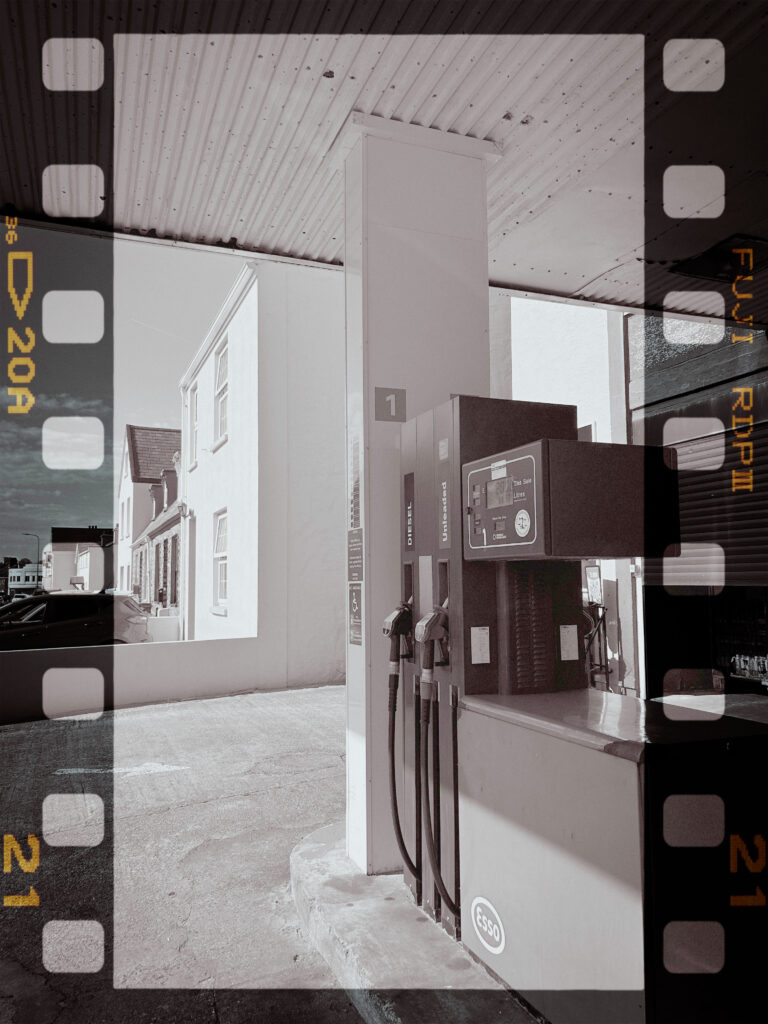
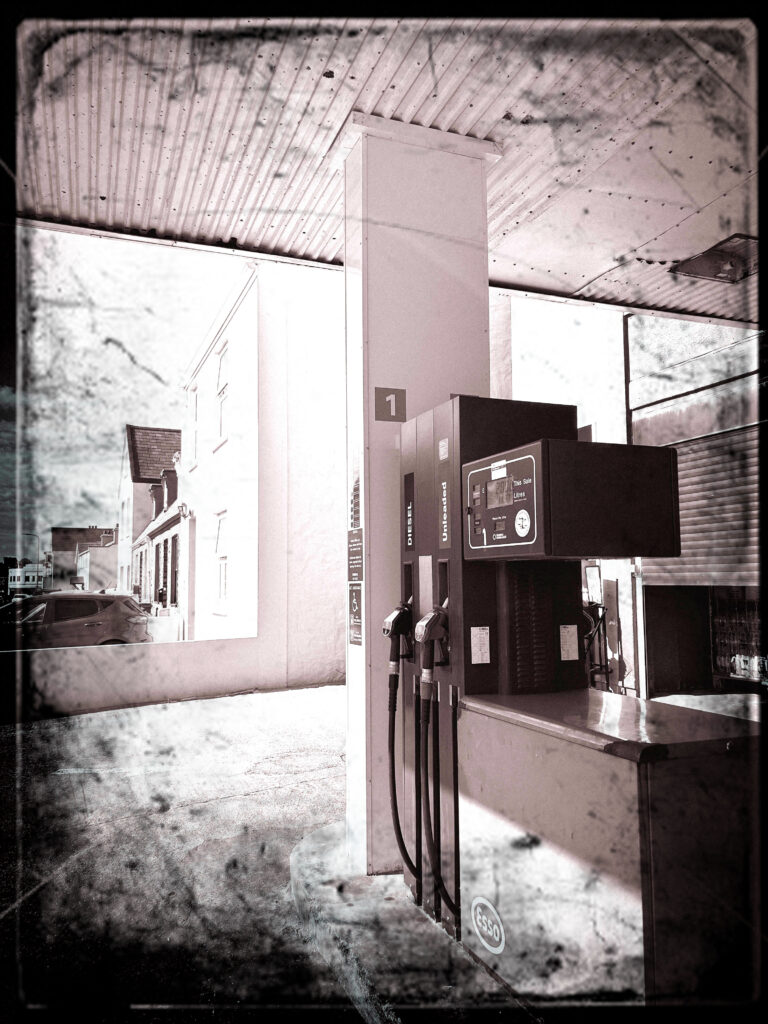
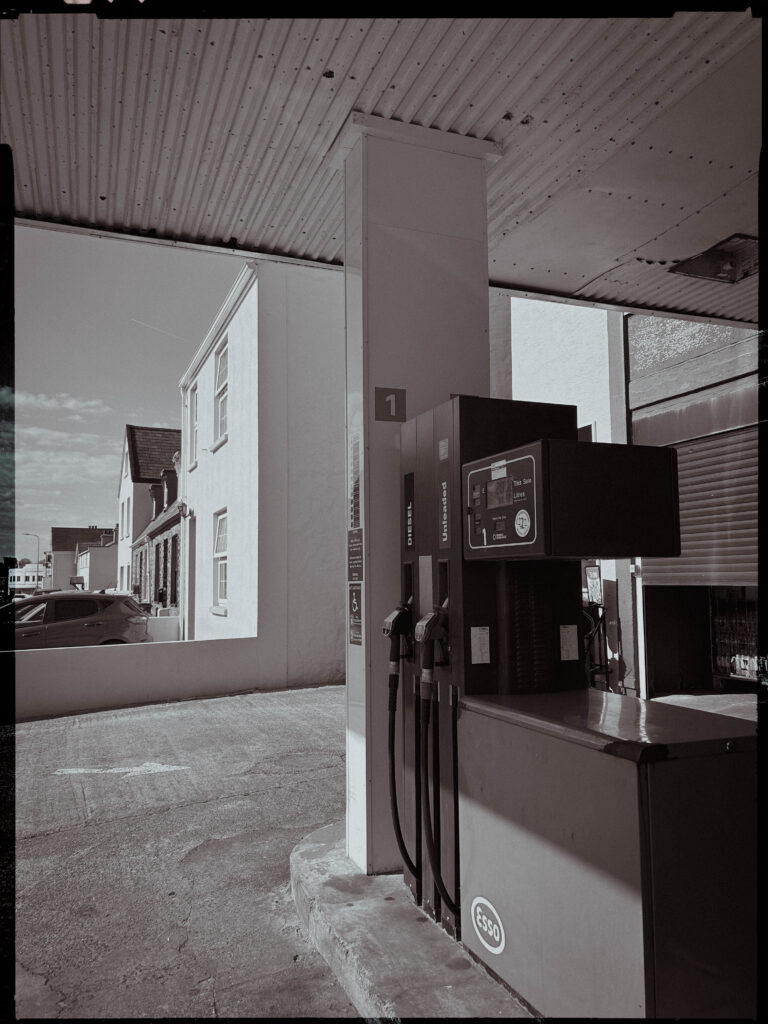
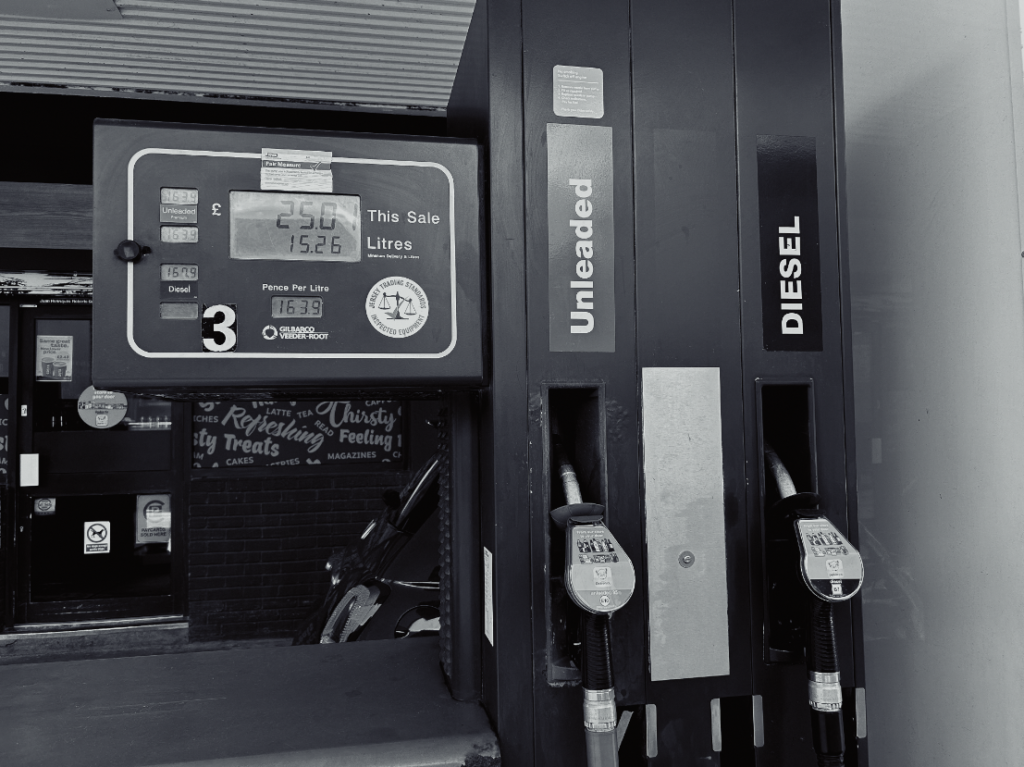
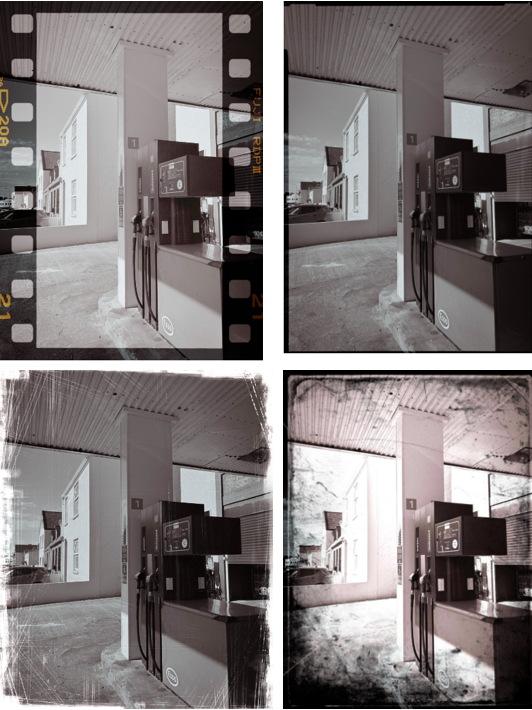
Firstly, I began in light room by making sure the exposure and contrast was correct to my aim and put a tint on it to make it look old and vintage to try replicate Ruscha’s camera in the 1960’s. I did this through ‘presets’ and chose ‘cinematic 2 VN07’ as it had a warm tone that I personally preferred the most. My next step was to find a frame and add a layer onto my original images on photoshop. I blended them by merging them together and chose one that wasn’t standing out too much. I then chose the rubber tool to make the original layer the main focus of the image not the frame itself. I repeated this with different layers to experiment and see my preferred one. I kept them in black and white as my aim is to pretend that I have taken these images on old images.

What I could of improved on

Personally, I think I could of improved on texture to make it look more realistic. To do this, I would have to photoshop and edit to make my images grainy with a old and bad camera aesthetic. This would make my images more believable as I think my images are very clearly modern day looking. However, this may be challenging as it is very hard to make my images look grainy and vintage because of how much cameras have evolved and became so complex. This makes difficulty to try replicate Ed Ruscha’s. I also think I could of improved on my images itself within my first step. I think it would of been more beneficial for my typologies to execute a similar thing as Ruscha to take photographs of multiple gas stations. Therefore, each image would be the same thing however a different type. This would ultimately make my typology a lot more eye catching and draw attention to the eye as it is a lot more to look at and the viewer can compare and contrast each petrol station. To improve, I will take images of multiple gas stations and edit them to make them look realistic and old and put them into a typology to try and replicate Ed Ruscha’s famous book.

What I liked about my photoshoot vs his work

What I liked about my work was how it is a typology but however each image is the same. But I personally like how each edit is diversified which significantly keeps attention to my images for a viewer. This also creates creativity and experimentation to be able to figure out which my preferred style is and helps me learn from my mistakes or recent work to benefit for my future work. I loved the frames I added in photoshop as it added an old aesthetic and interesting feature which was needed as the images I chose were the same so it was not too dull and simple. Conversely, I liked his work as it was realistic and not edited in a book but also not too dull and boring as he diversified the gas stations by taking images of multiple gas stations rather than editing which kept it very simple, however mine was simple but in another factor. However, to try to improve and benefit my work I will try replicate his work but with my photoshop and editing to make it more my work and diversify it. I also liked how he kept his work in black and white to keep an old aesthetic but also so colour will not draw any attention to his images.
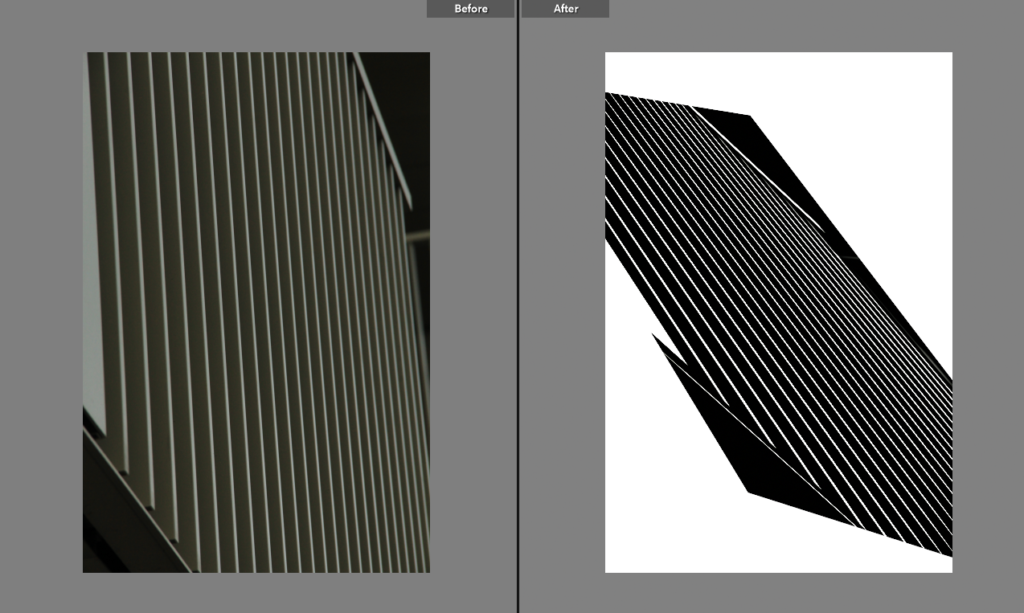
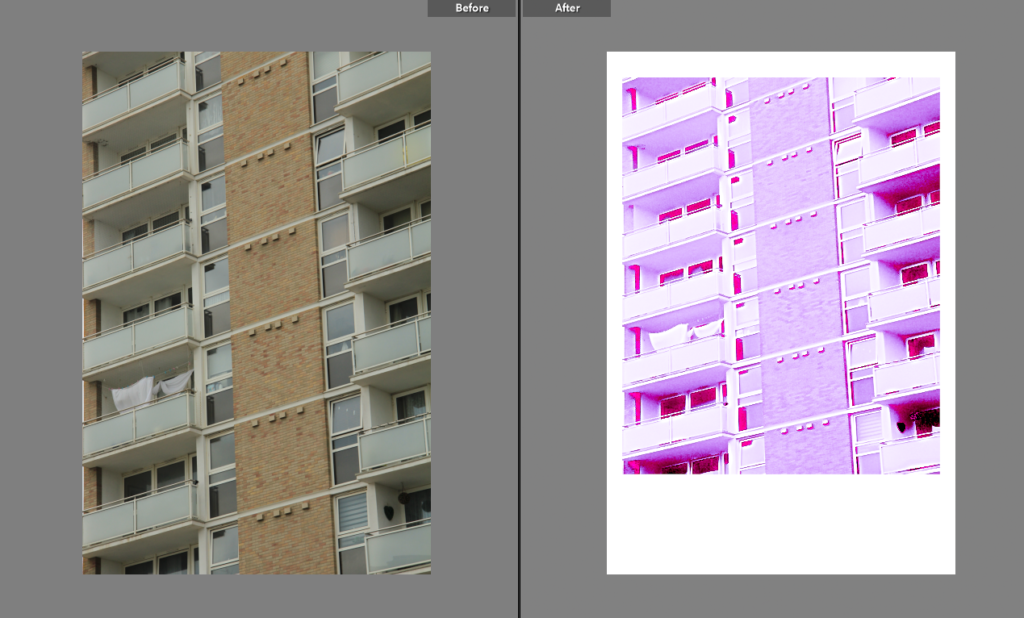
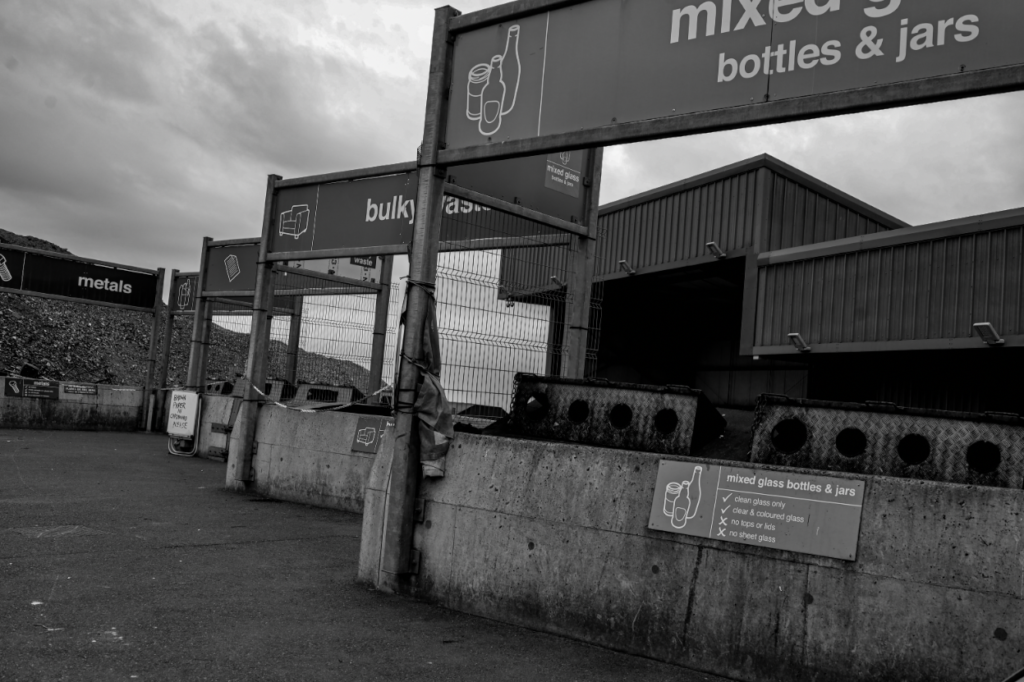
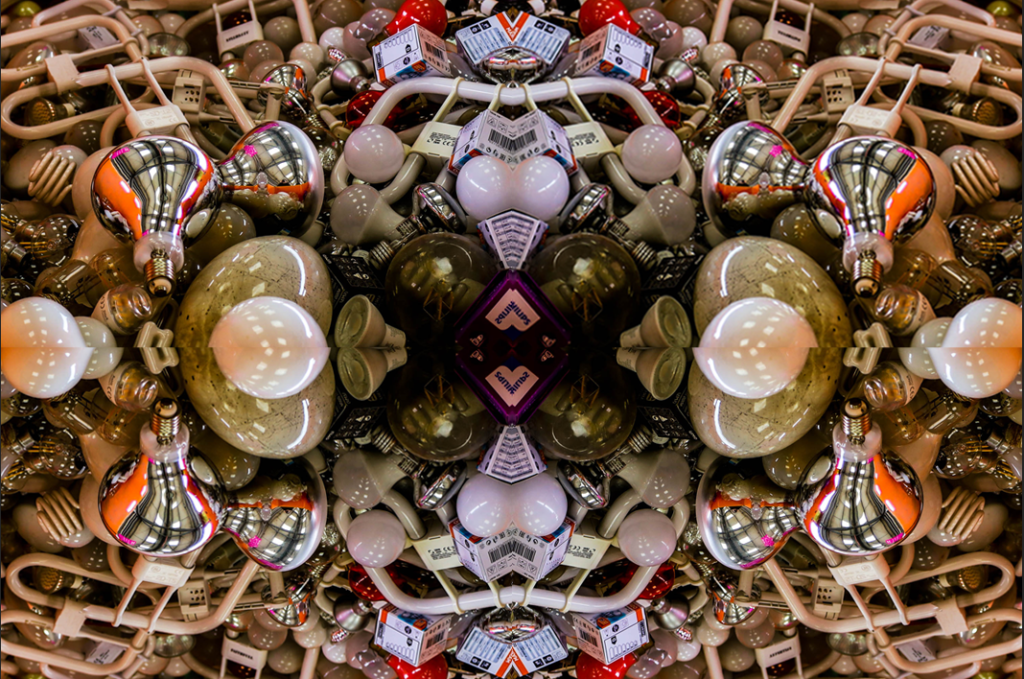
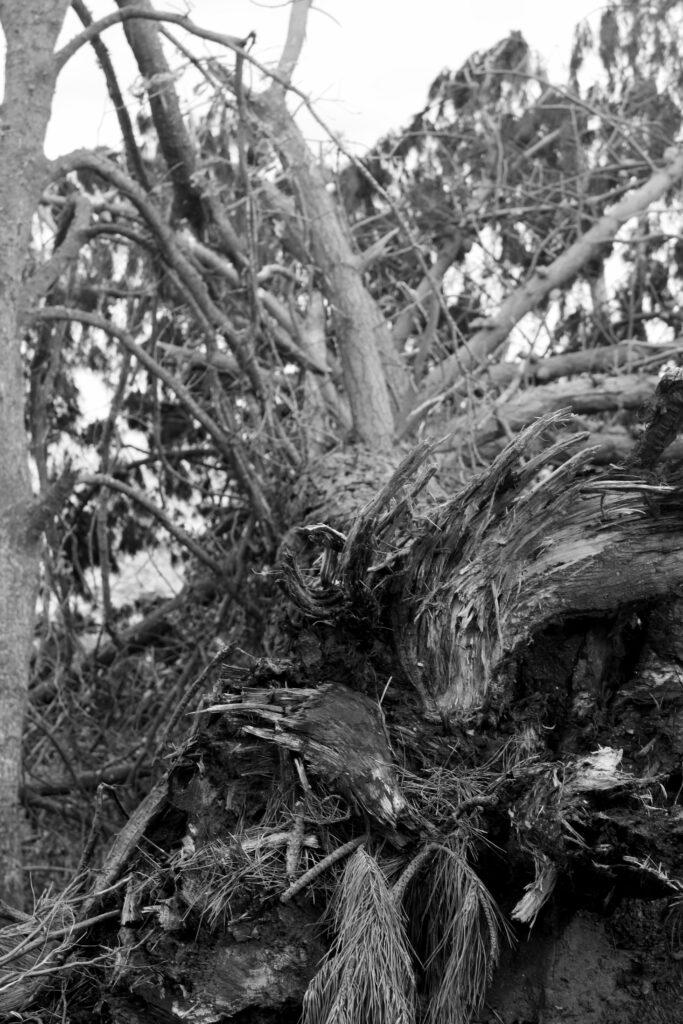
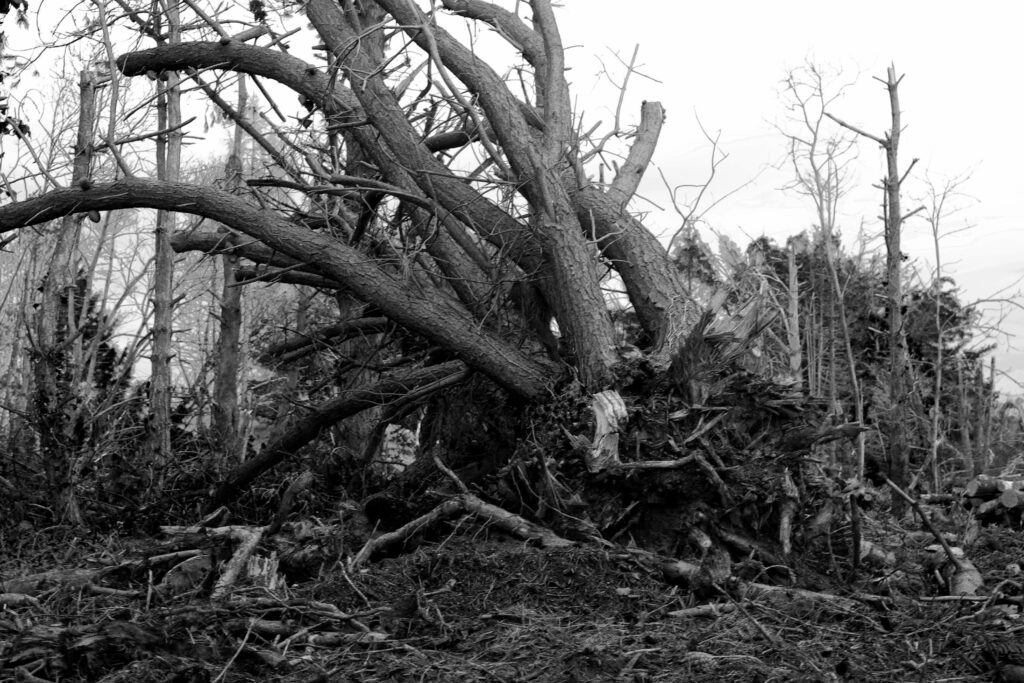
Experiments

Landscape | Experimental Editing

In an attempt to get any work done in photography I have resorted to creatively destroying my work by creating the worst images possible.

This is a photo i captured at the new flats at Havre de Pas. In the beginning I turned tint and exposure fully up and decreased blacks and whites fully.

After messing around with the colour grading I brightened the highlights and gave it a hazy effect. I really enjoy the chaotic composition of the balconies.

After maximising and minimalising most of these values I had made the image monochromatic.

All the low-mid to high values have been boosted.

Finally I adjusted the position of the photo.

It turned out like an optical illusion comprised of lines, stripped of any depth or colour it had in the original.

This image went over a similar process to the other photos with some additional grain.

Random parameters being removed or maxed out.

As the image was heavily overexposed I took away as much as I could from the midtones and shadows.

I’ve also positioned the image to give a polaroid style position. This is obviously really out of place on purpose because otherwise the image would look entirely unfamiliar and the loss of the detail and sparkly pink reminds me of the y2k photography aesthetics.

This photo reminds me of what could’ve been old colourised photo from the 19th century because the vignette and overall image looks quite smudged. The vignette also almost adds a subtle fish eye effect.

I found these settings gave it quite a ghostly appearance.

I was curious as to how following the general slope of the histogram would look which gave it a similar output to the pink polaroid photo.

HSL and colour grading was again me trying to figure out the most appropriate and jarring colours.

I actually genuinely really liked the original photo as it obeyed the rule of quarters and has a lot of interesting textures but I find the colours to be quite cumbersome. But I thought, ‘time to ruin it’.

I won’t talk through any of the changes I have made already to other photos.

I wasn’t happy with the natural distortion of vignetting on the original image so to give the photo more character I changed that.

I added this grain as a final touch to add to the worn and torn look of the image.

This original image was cropped and I made two edits of it. I thought it kind of looked like a western concept of cyberpunk skyscrapers because of the confirmative and geometric shapes. I leaned into this idea by darkening the shadows and adding a dirty-dusk colour scheme.

Ansel Adams related photoshoot (Anthropocene)

My plan:

For this photoshoot I have decided to go to Plemont beach as this beach has a lot of texture to it and would look really similar to Ansel Adams work as his images are full of texture and different heights, shapes and shades which I think I would be able to capture at this location.

My contact sheet:

Edit 1:

Edit 2:

For these edits I have used a greyscale chart otherwise known as the zone system to show where the different areas of colour and shades are within the images. There are a range of different areas of lighting, the darker areas being the areas where your eyes immediately are drawn to, and the lighter areas being a feature within the image that makes it stand out as it has a variety of different shades it helps bring out the structure and shapes that lie within the image and makes them really stand out compared to an image with no volume or areas of different colour.

Photo Comparison :

Here you can see the comparison between mine and Ansel Adams photoshoot the images are very similar and it shows that I have taken into consideration how he presents his images and tried to replicate them in the best way possible.

PHOTOSHOOT 1

CONTACT SHEET:

I explored with different filters to add onto the same image to see which ones I prefer or look the best. Here are a few examples that I chose to lay out in a grid:

This photo shows the contrast between the old water tanks that were built many years ago in St. Helier compared to the grassy cliff on the opposite side of the photograph.

I like these edits because it links back to topographics also. I think having presented this images in a grid, the photo has become more interesting and bright rather than the initial photo which is dull and colourless.

Initial edit:

Final edit:

I experimented with montaging different edits of the same image to create one final photo. I think this is quite successful and I really like the way this came out because it shows the different ways to edit images using different filters and tones.

Before:

After:

At first, I edited this image to make the colours more vibrant and illuminous, rather than lifeless and monotonous. Then, I cropped the image to the size I wanted it including the wanted contents of the image. I created four copies and flipped them four times in opposite directions to create this final outcome.

landscape photoshoot 1

Contact Sheet

This is my contact sheet from my first landscape photoshoot where I went to one of the forest near Noirmont point around the coast where they had lots of damages due to storm Ciaran. I took some inspiration from Ansel Adams with the editing style.

editing process

For this photoshoot I took my originally photos and in Photoshop I went into the black and white section and then I was able to change the specific colours in them. So I could adjust the different colours in my photos and make some appear quite dark and then could make others in my image appear very bright and white.

while editing I tried to focus on the zone system that Ansel Adams would use for his images. The zone system is basically different shades of black 0 being the darkest, with that shade you don’t end up seeing any texture and it kind of ends up as negative space. Then you have 10 being the lightest its often the light source or sometimes the reflection in the image. What made most of his images so great was that he would every “zone” in his photos. It creates these dramatic and intense contrasts which work really well.

Final Edits

I think these photos turned out really good I added lots of the dramatic editing which Ansel Adams liked to use in his photos. I believe it worked really well with the photos because they were all of these really dramatic damage which works well with the theme of the sublime. It kind of appears very overwhelming and almost scary due to the sheer size .However if you think about the actual act of for these trees falling over and destruction it has caused on the environment around it can be kind of daunting.

I think my favourite photo would be the one underneath of the root of a fallen tree. Due to the editing style I used you can see so much detail like the strands from the roots where its just been harshly ripped out of the ground.