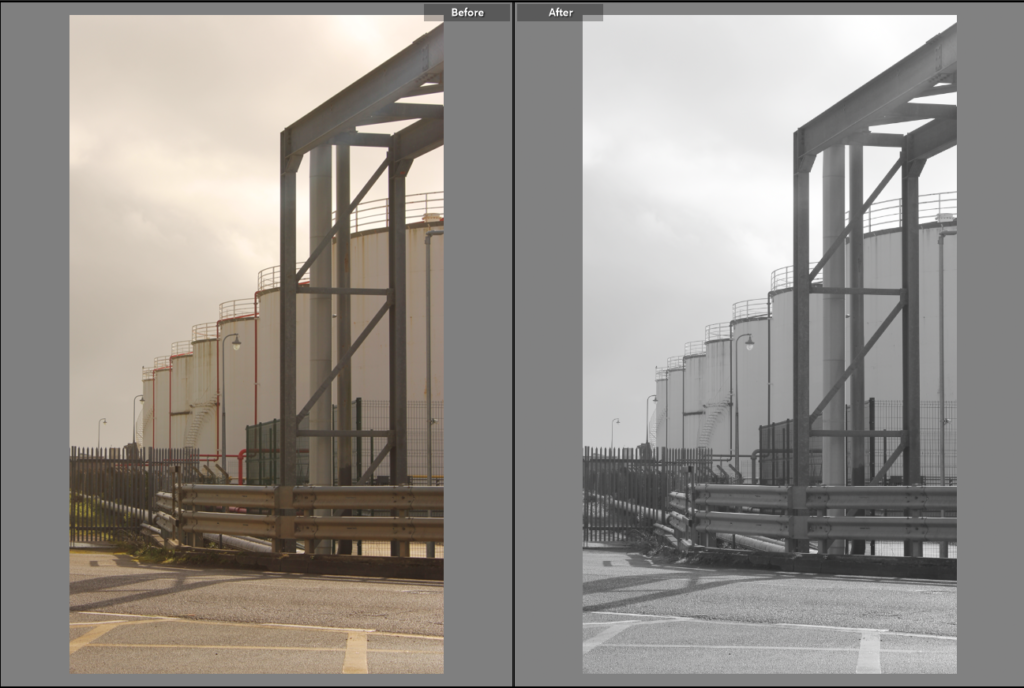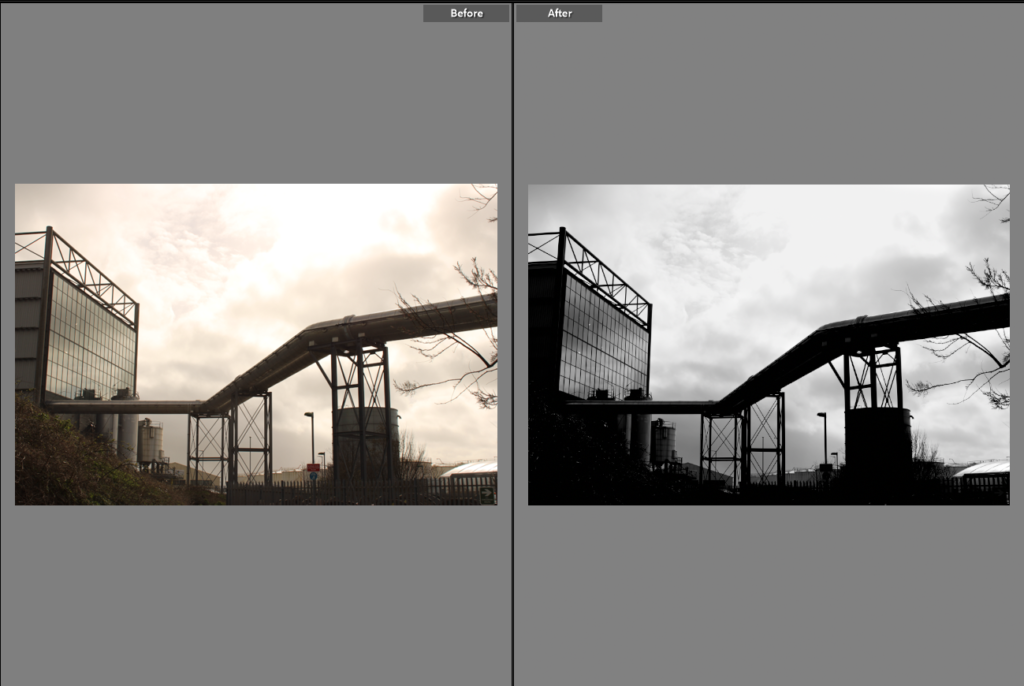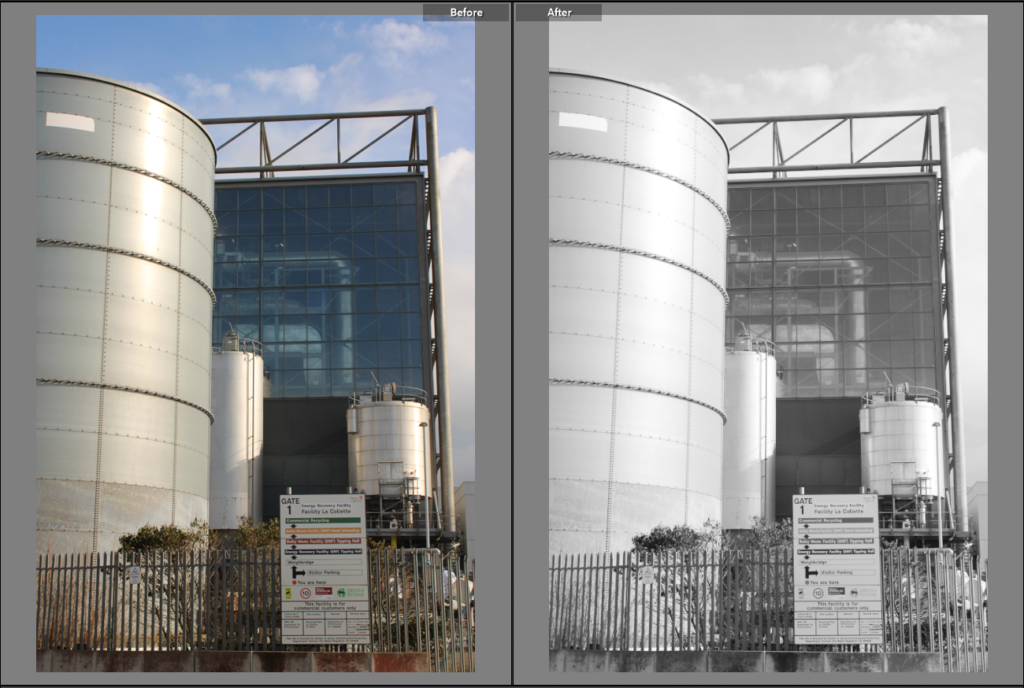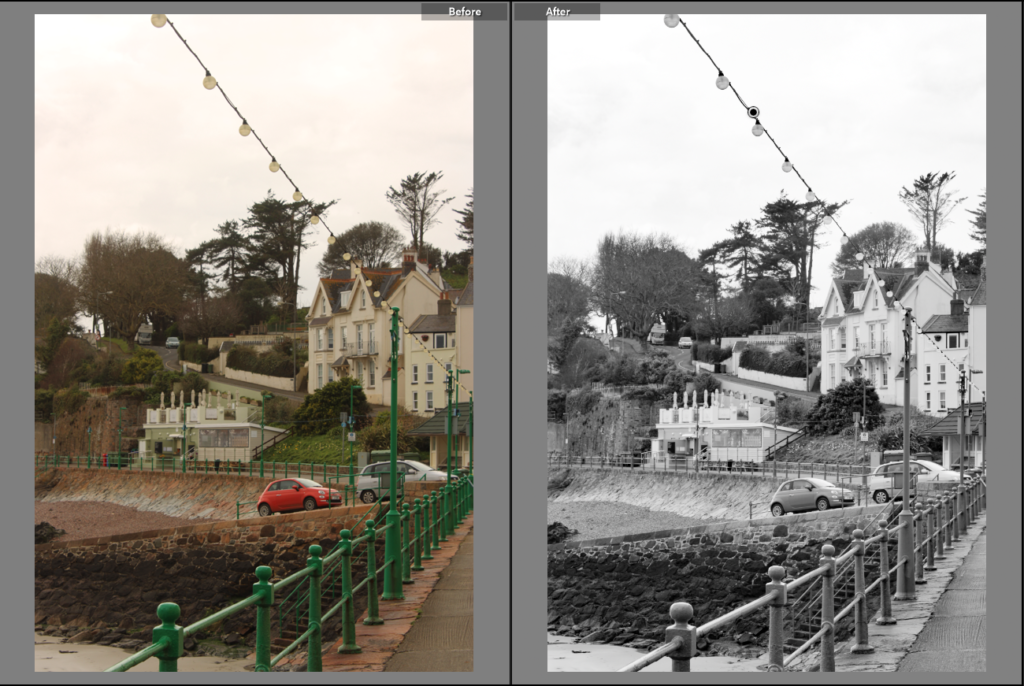
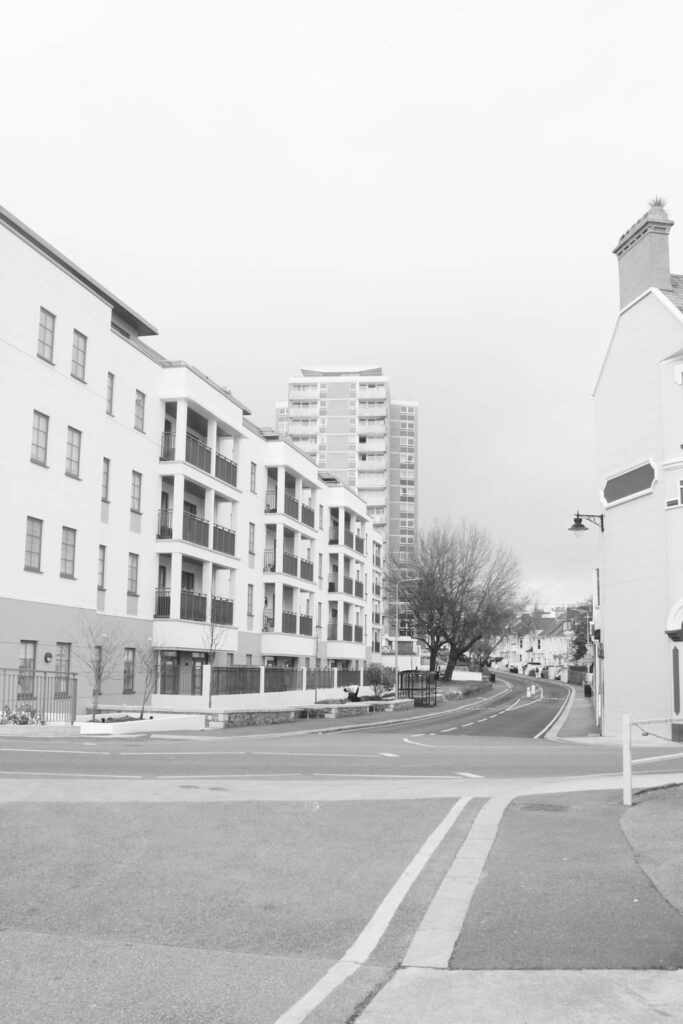
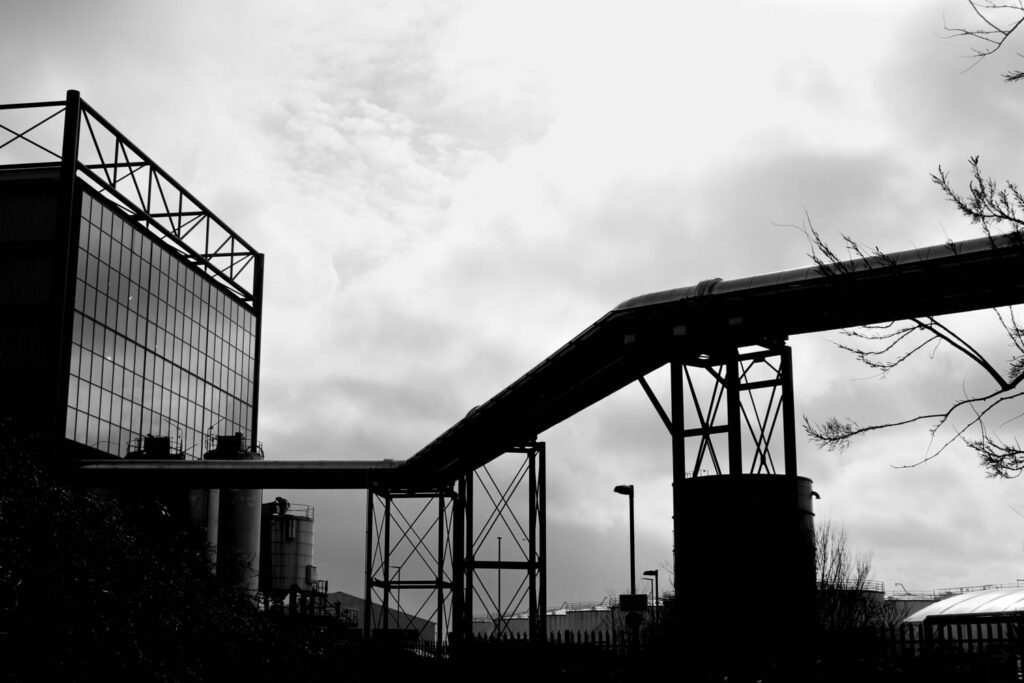
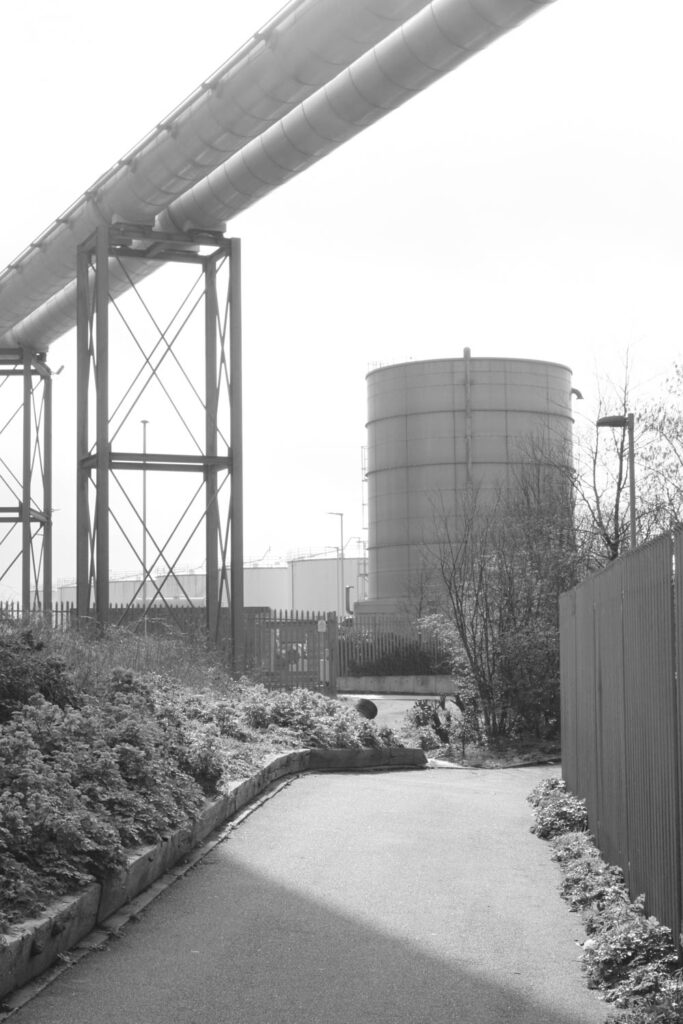
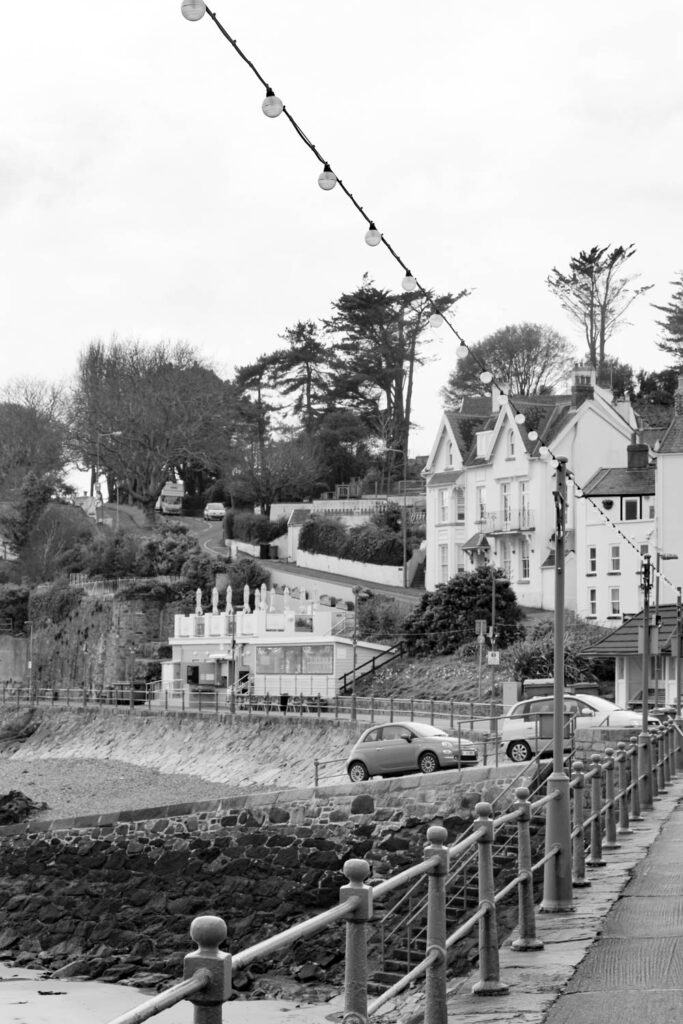
Presentation:
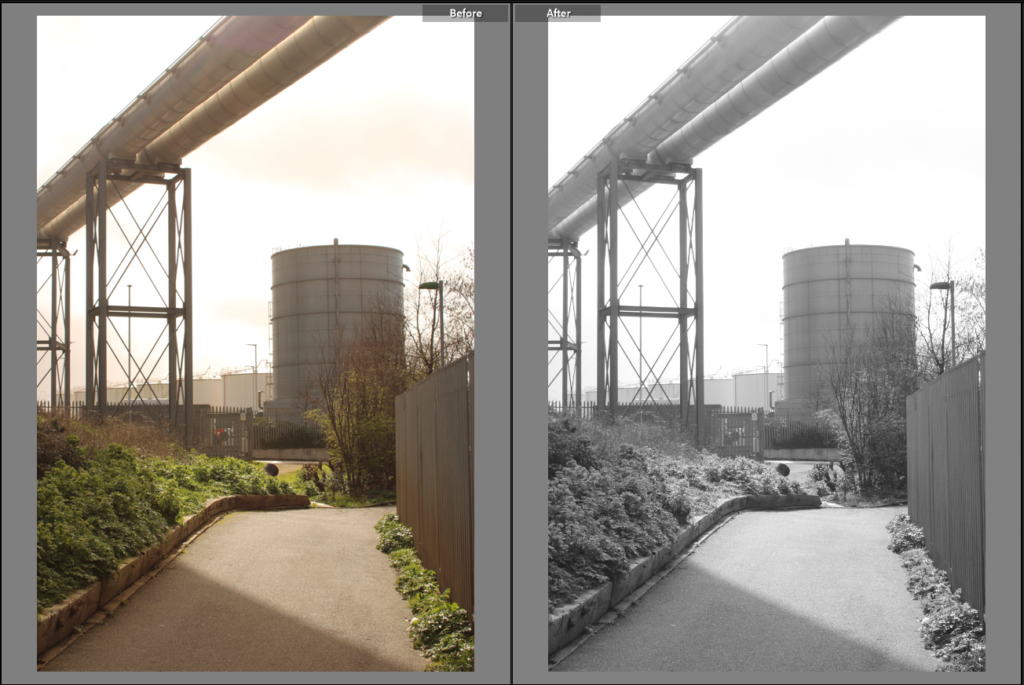
Presentation 1:
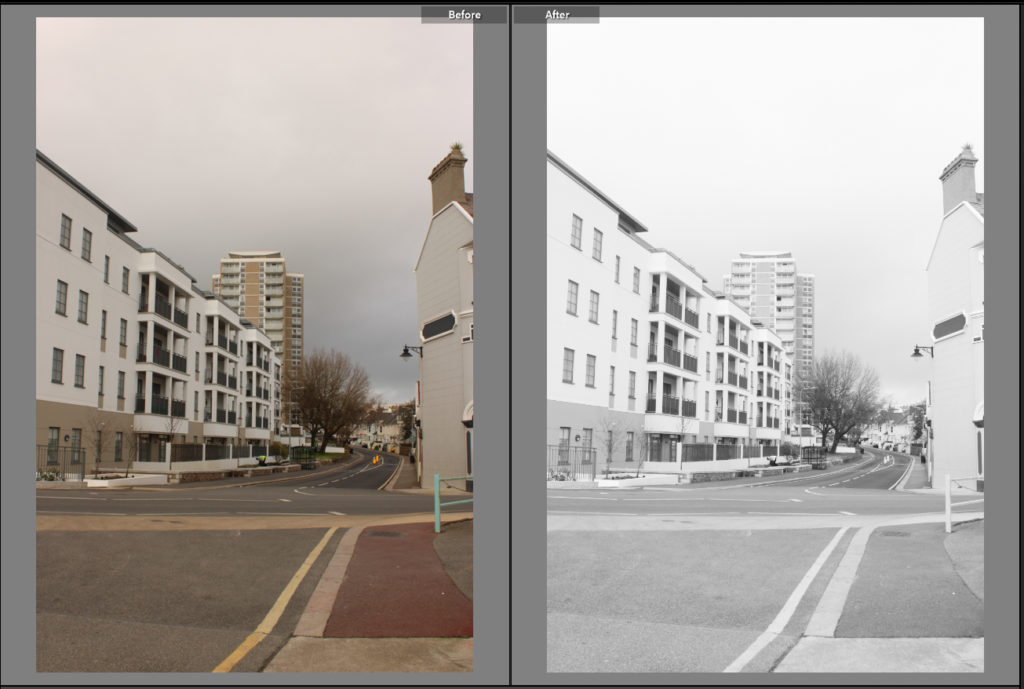
Presentation 2:

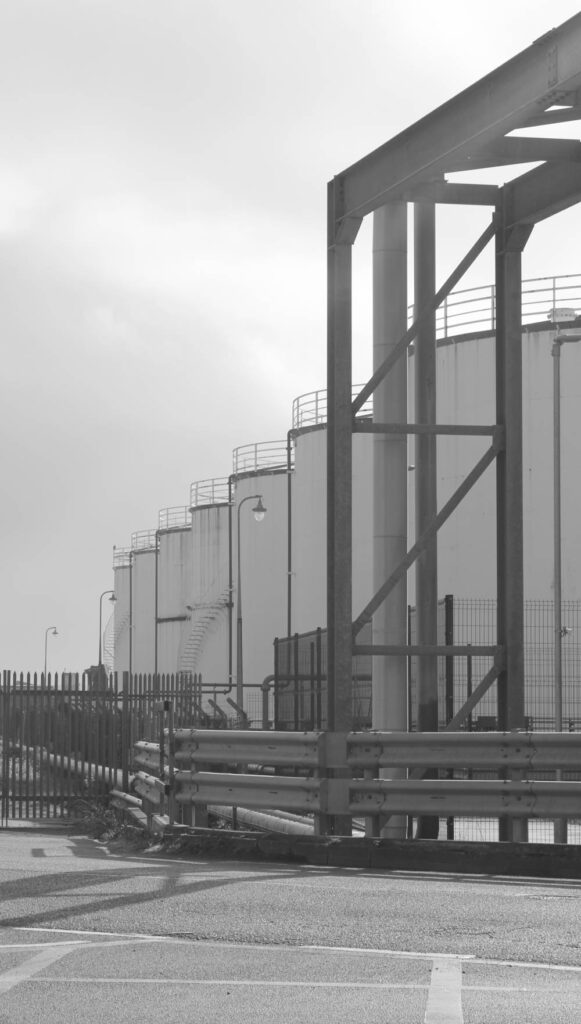
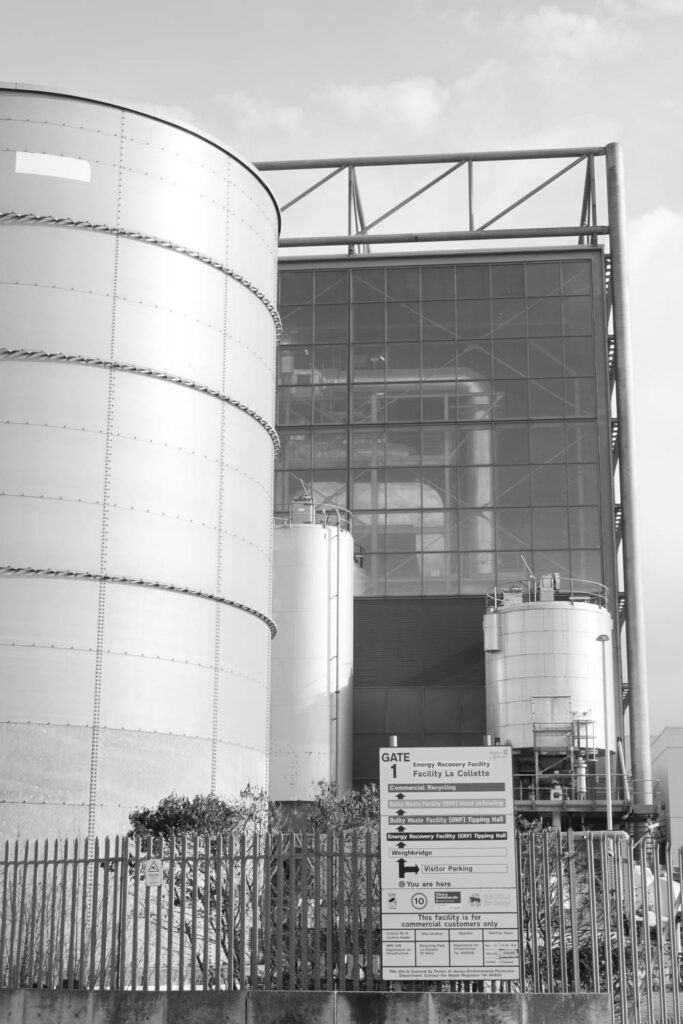
Presentation 3:

Evaluation, critique and comparing:
I think that overall, my outcomes are quite good.
In my editing, I’m able to enhance the pictures and give these what were once boring pictures, pictures that now have character and uniqueness. I think that my editing is one of my highest strengths in this topic because I think that I clearly edited the pictures that revealed that inspiration I felt when looking at Robert Adams work.
My pictures show whitewashed pictures just like how Adams pictures were produced. The certain bland and deserted look that Adams picture had was something that I really liked, and I straight away knew that I wanted to produce picture that showed how heavily influenced I was by Adams work.
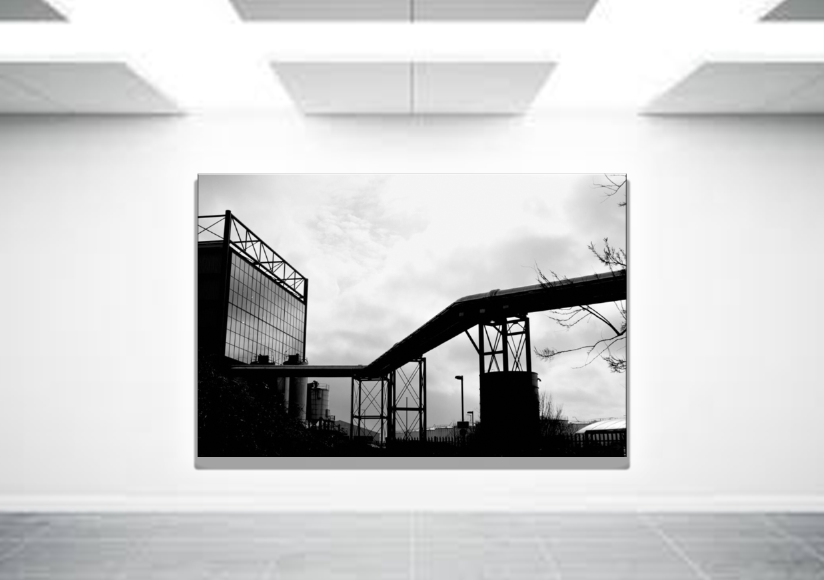
As seen in Adams’ work, Adams did produce some dark pictures that had a dark tone and highlighted the shadows of the obstacle he photographed. I really liked how he was able to bring a certain darkness to industrialization and how he portrayed it as something negative not positive. As seen on presentation 1, I presented a picture that showed a blackened building which, as stated above, was heavily influenced by Adams. I edited this picture so that it would make the building dark and unnatural and made the sky bright and natural environments lighter to communicate that the environment does not need this dark evil which is industrialization.
I strongly believe that the comparison between my work and Adams work is evident, and it is obvious that my work was influenced by Adams work.
However, there are some improvements my pictures need, like the fact that some of my pictures did not show the impact on earth. I could have photographed more specific places or buildings that heavily impacted the world. I should have photographed a building doing the destruction like photographing the place where plastic and rubbish are burned. I could have edited it in a dark manner to highlight how negative and impactful such action is to the earth. I should have photographed more serious matters instead of photographing buildings that might not even have much significance.

