Image 1:
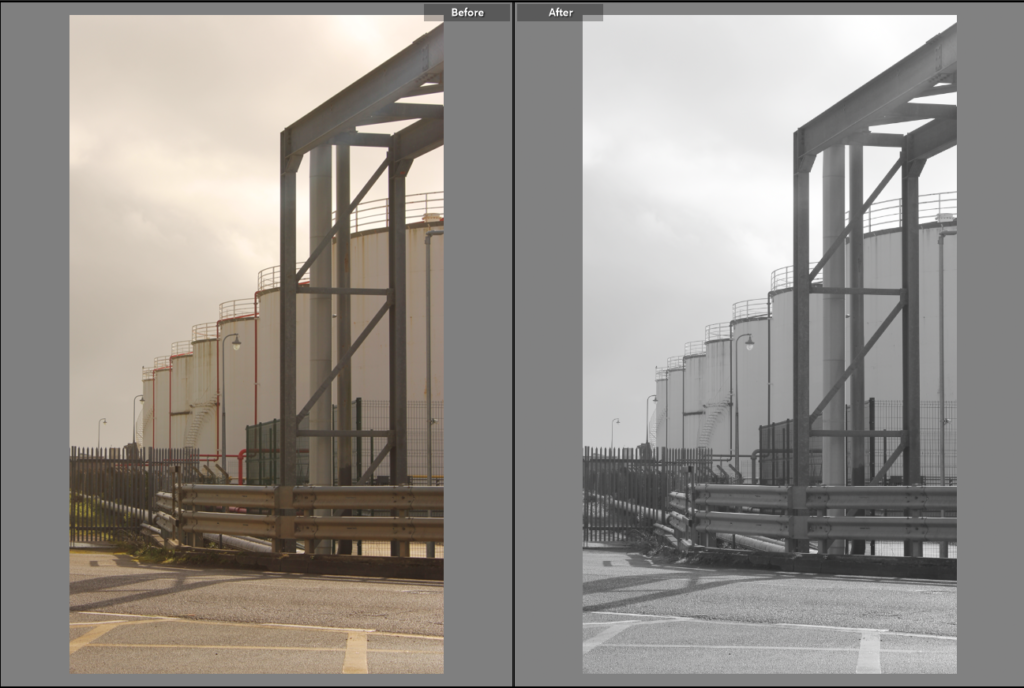
Editing process: For this picture, I pressed on the tab called develop and I increased exposure to +0.35, and vibrancy by +100, and then decreased saturation by –100. I then cropped the picture, using the cropping tool, so that I could remove the moving bus that was captured in the picture. This was all I did for this picture in terms of editing.
Image 2:
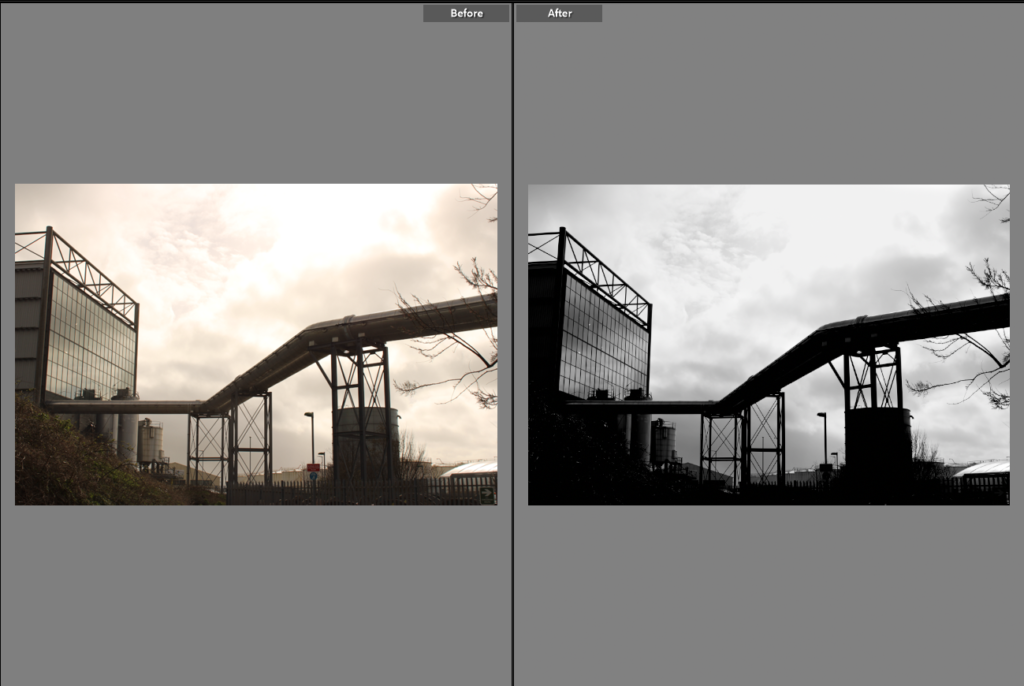
Editing process:
For this picture, I pressed on the tab called develop and I increased vibrancy by +100 and decreased blacks by –100, saturation by –100 and exposure by –0.09. Then at the top bar I pressed on an icon that looks like a paint brush that looks like this,

In this icon, I decreased the whites by –19 and then brushed these adjustments on the clouds in the picture, making sure not to brush on the darker parts/building in the picture.
Image 3:
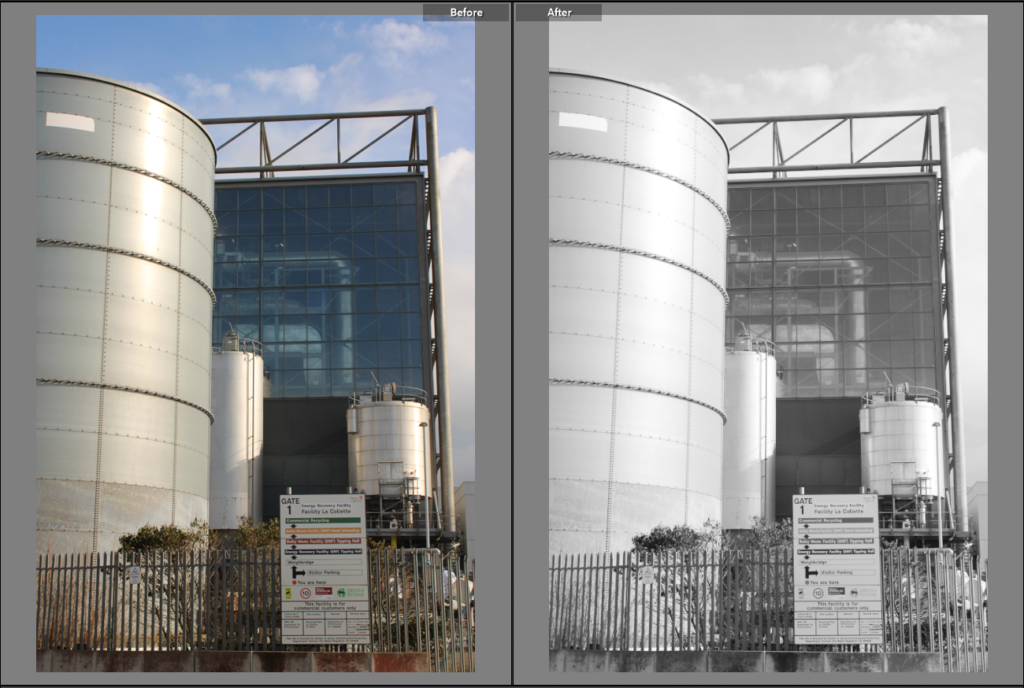
Editing process: For this picture, I pressed on the tab called develop and I increased vibrancy by +100 and exposure by +1.05 and then decreased saturation by –100. This was all I did in editing to improve this picture.
Image 4:
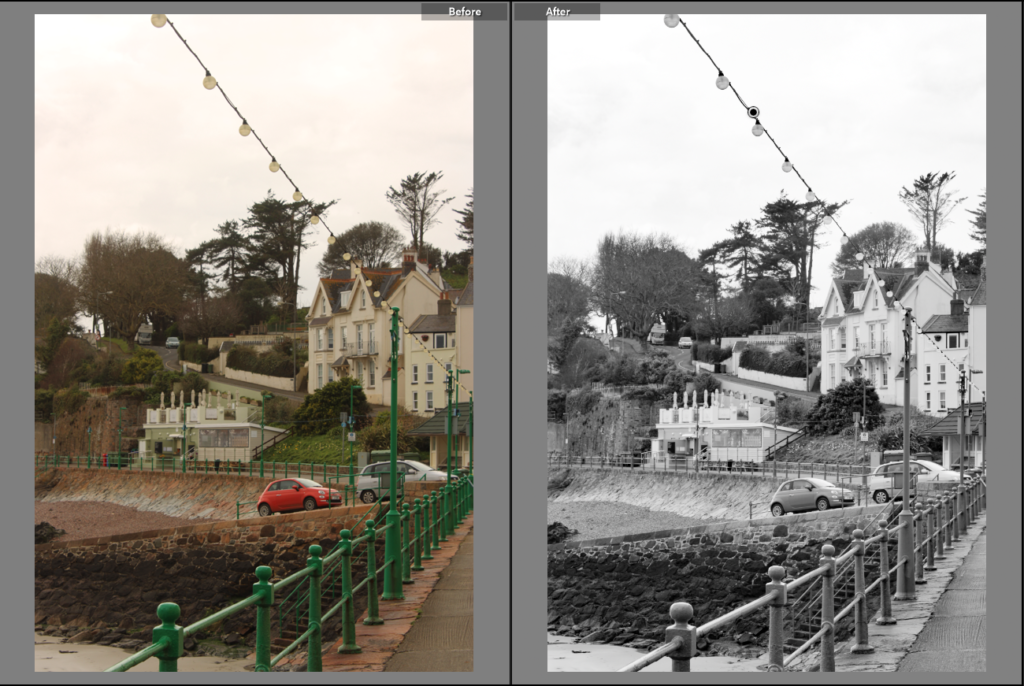
Editing process: For this picture, I pressed on the tab called develop and I increased vibrancy by +100 and exposure by +1.40 and then decreased saturation by –100. Then at the top bar I pressed on an icon that looks like a paint brush. In this icon, I increased dehaze by 68 and then brushed these adjustments all over the picture making sure I don’t miss any spot on the picture. This was all I did to edit the picture.
Image 5:
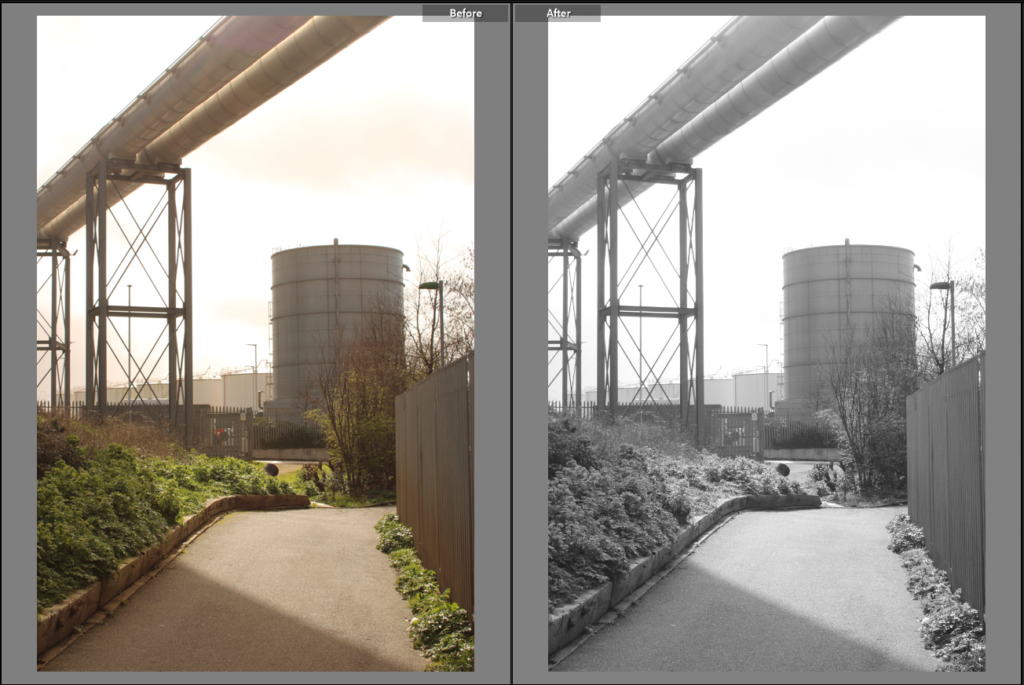
Editing process: For this picture, I pressed on the tab called develop and I increased vibrancy by +100 and exposure by +0.61and then decreased saturation by –100. This was all the editing I did to improve this picture.
Image 6:
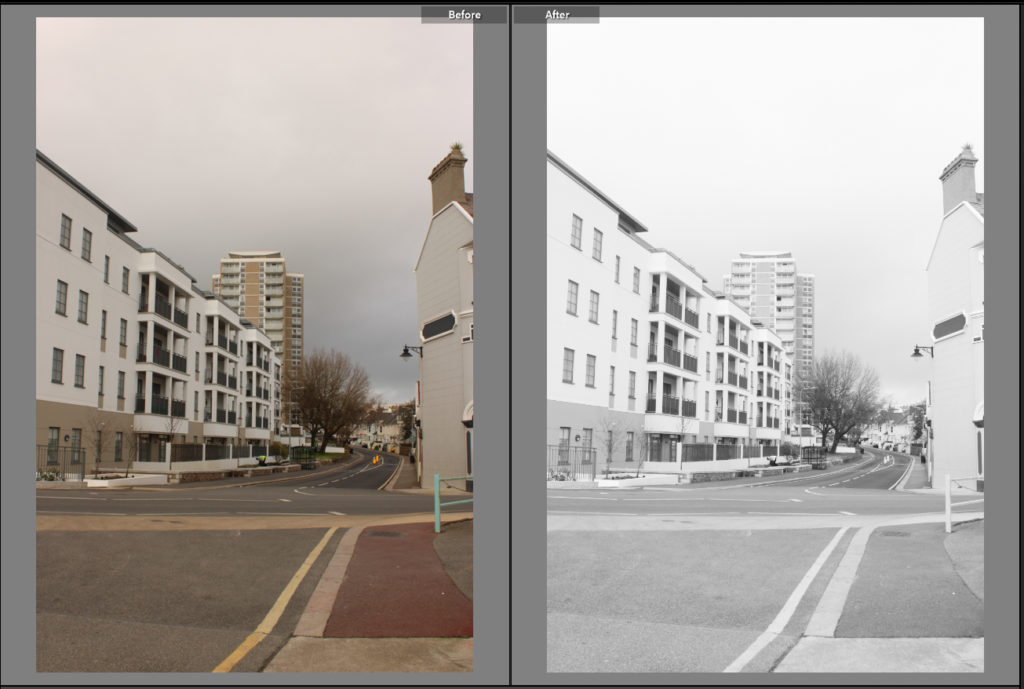
Editing process: For this picture, I pressed on the tab called develop and I increased vibrancy by +100 and exposure by +1.63and then decreased saturation by –100. This was all the editing I did to this picture.
