Storm Ciaran
Storm Ciaran hit Jersey Channel Islands Wednesday 2nd November 2023. Jersey was hit by a tornado and extremely strong winds lashed the island. This caused dozens of people to be evacuated from their homes. Schools, work, shops were shut due to this storm and the whole island was advised to stay inside until the next day due to the really unsafe conditions and unsafe damage.
“It’s really clear certain areas of the island have really been hit hard this time and the damage is very significant.”
“We’ve all seen footage of some really serious damage that has been done but it will take some time to be able to assess all of that.”
The government asked any islanders planning to return to their properties and assess damage should only return “if it is absolutely safe to do so.”
“For properties that have sustained significant damage, we strongly advise seeking the opinion of a property surveyor or structural engineer before entering and or trying the collect belongings.”
Lots of damage was caused, mainly in St Clements, as that is where the storm/ tornado hit the worst. Damage occurred to;
- Schools (Hautlieu, Highlands)
- Many homes
- Airport
- St Clements Golf club
- Trees/ environment
- etc.
This has taken a while to fix, even though some of the damage still has not been fixed yet. This also costed the Government and many people lots of money and time to fix this damage created by the storm.
Examples of tree Damage
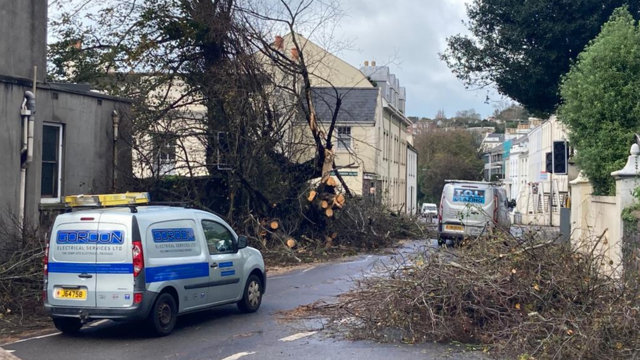

These images were taken by other people in jersey a few days after the storm, when there was much more damage and fallen trees still around, before the clean up. This is an example of how powerful Storm Ciaran was.
Examples of house Damage


These images were of peoples homes not long after Storm Ciaran, and these images present just how powerful the storm and the wind was, to be able to knock down walls, and take off roofs etc.
Examples of other buildings Damage


These images were also taken not long after the storm of other buildings, which were not people’s homes. These images also present how strong and powerful, while also dangerous the Storm and the winds were.
Examples of Rough Waves

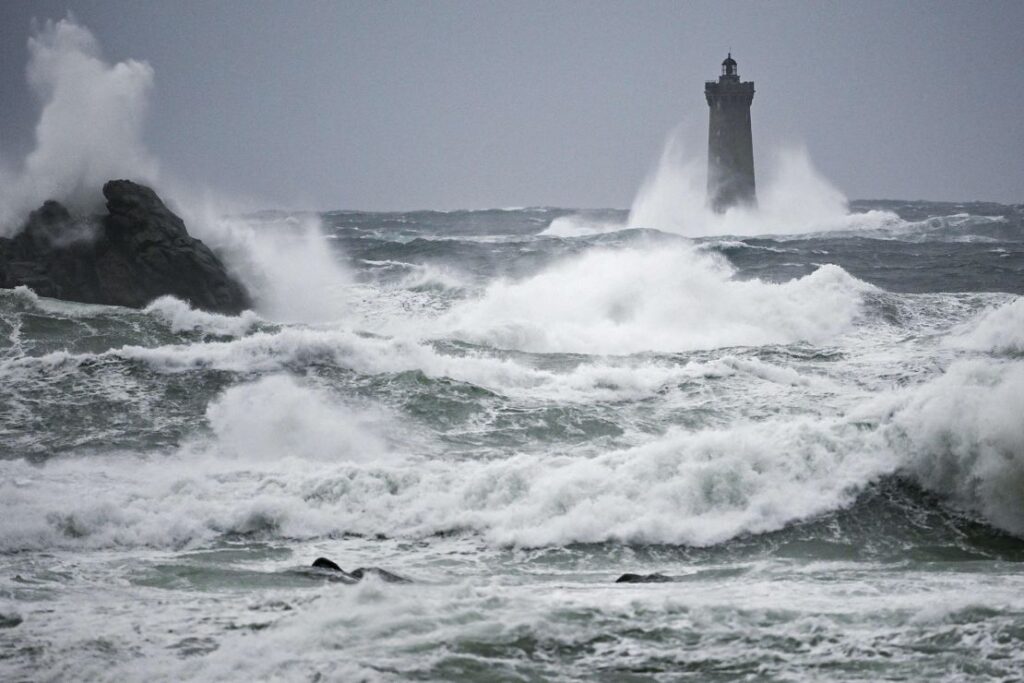

These Images were taken of the waves during the strong winds of the storm. These waves help present how rough and strong the storm and winds were, to be able to produce these mighty waves.
My Storm Damage Photos


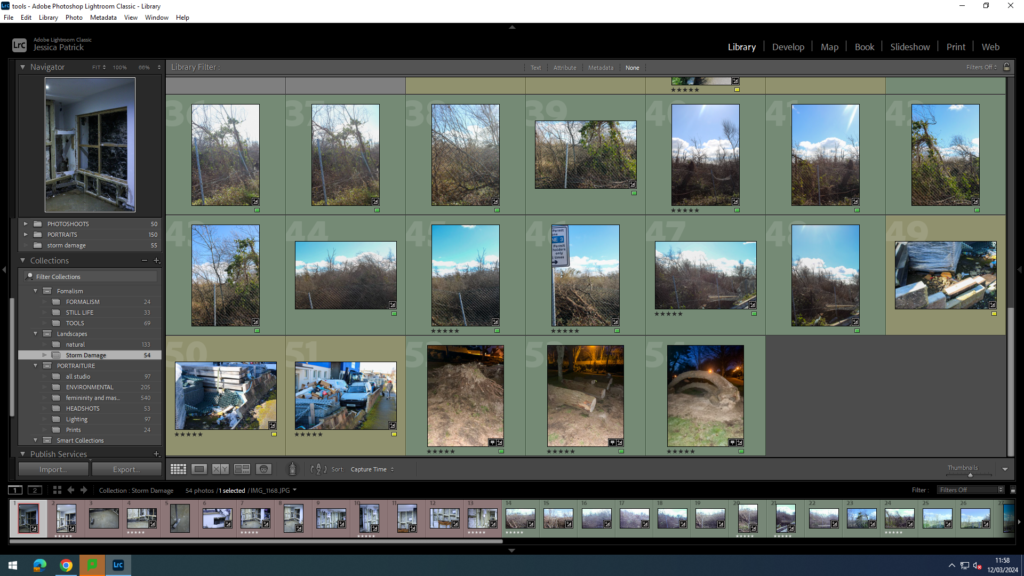
The images that I have highlighted green are the images I have chosen to edit, because I think they show all the different damage the storm did the best, while also having the best focus and composure.
House Damage
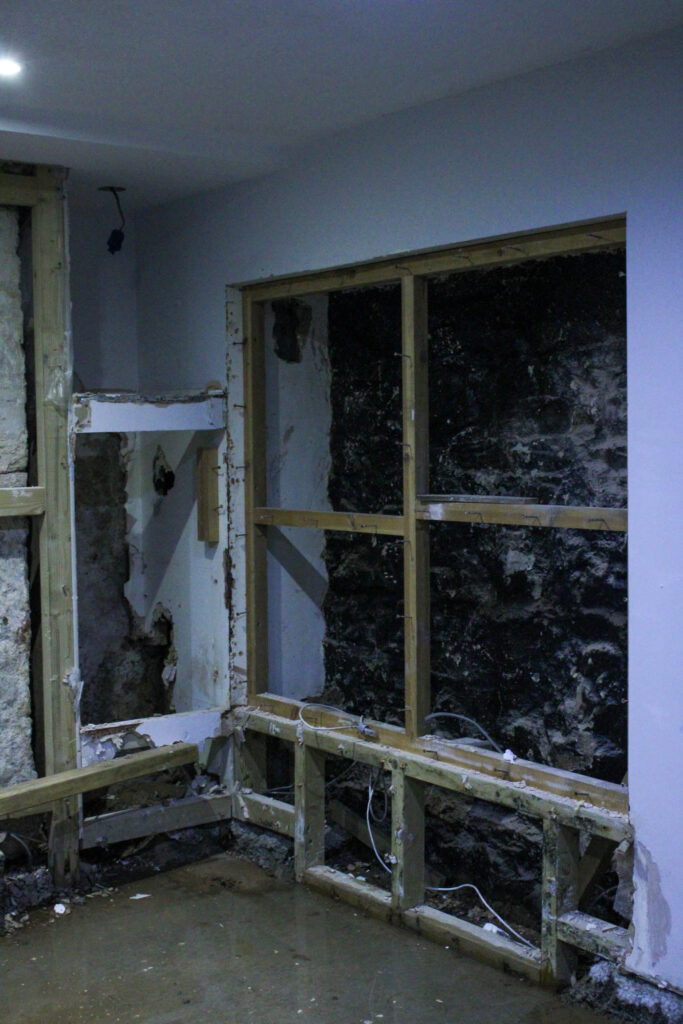

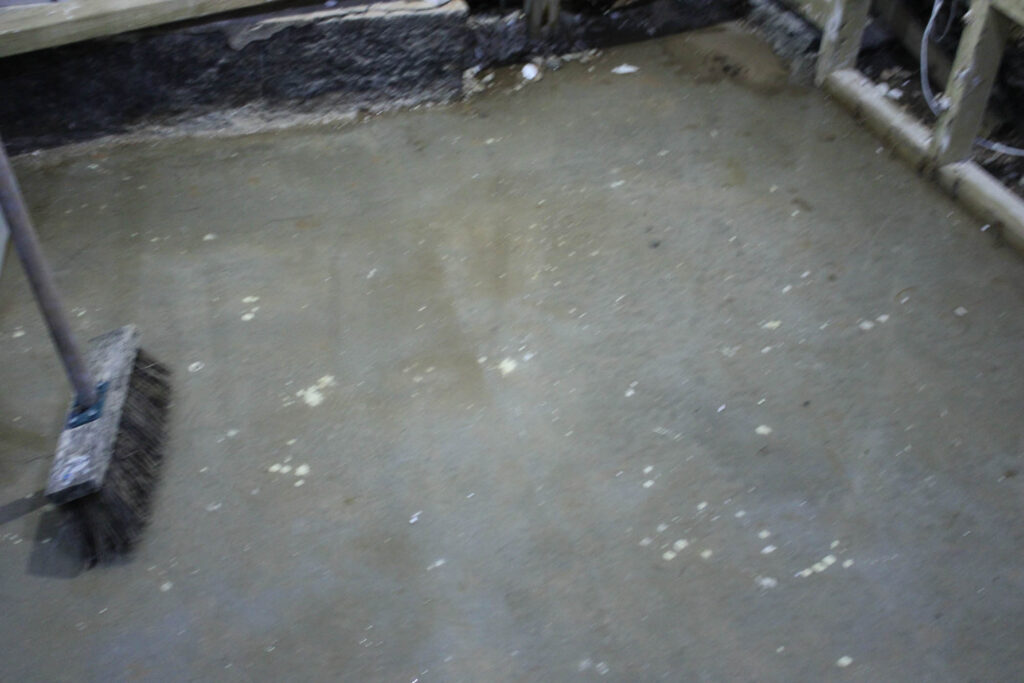


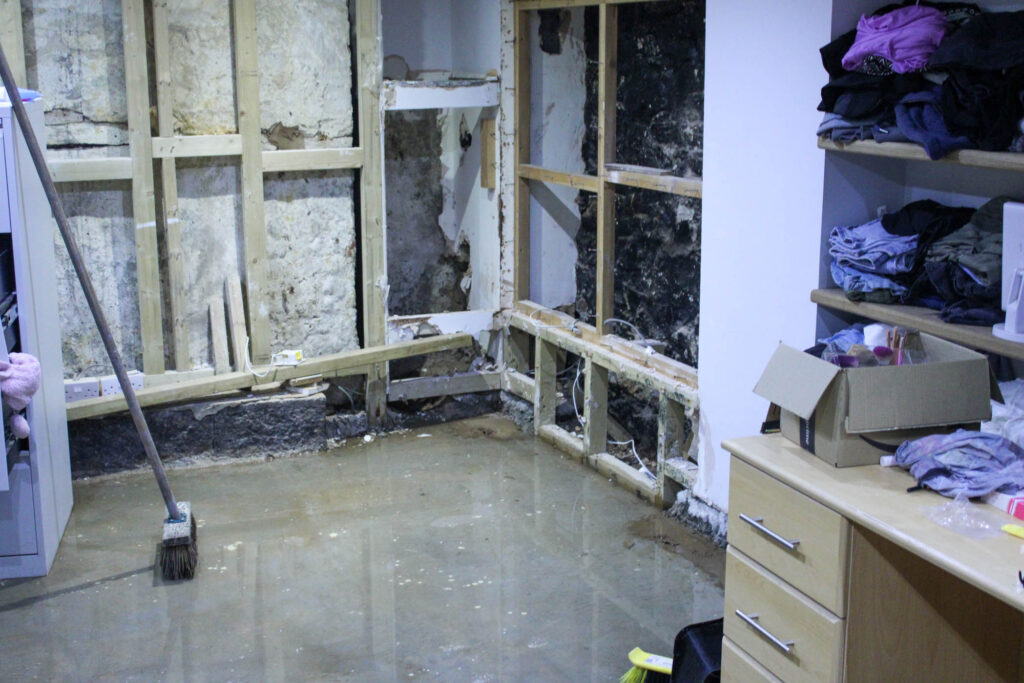


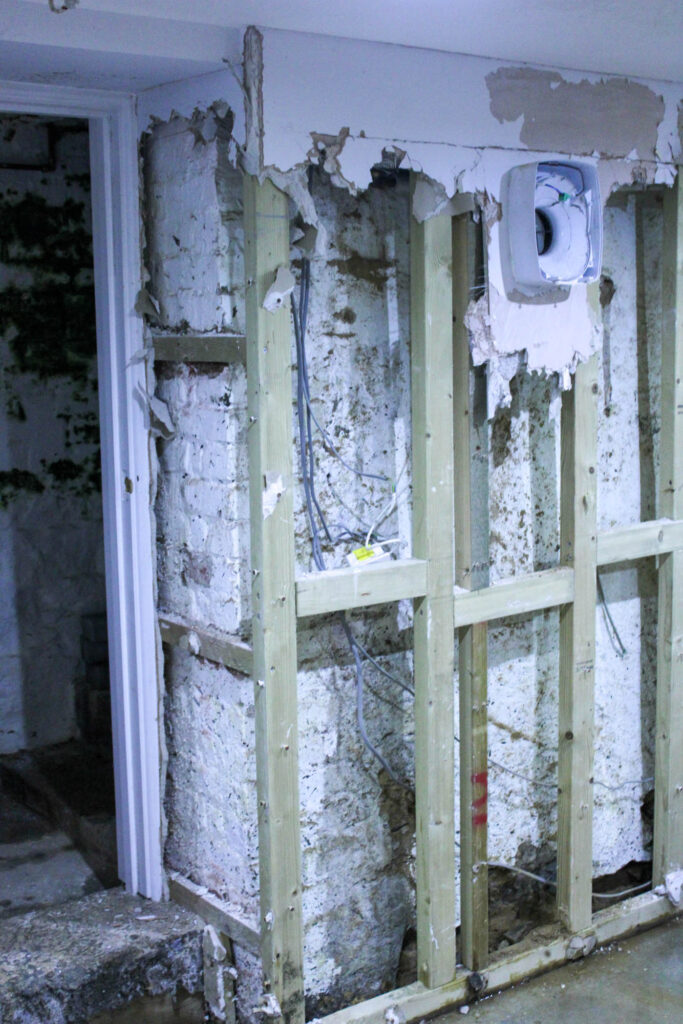
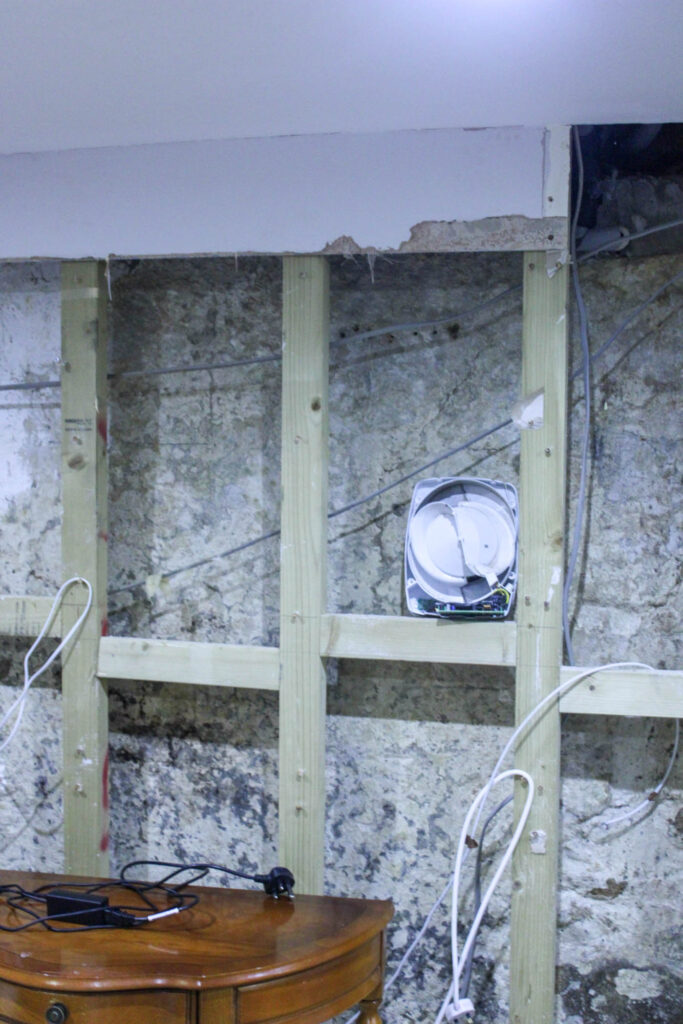


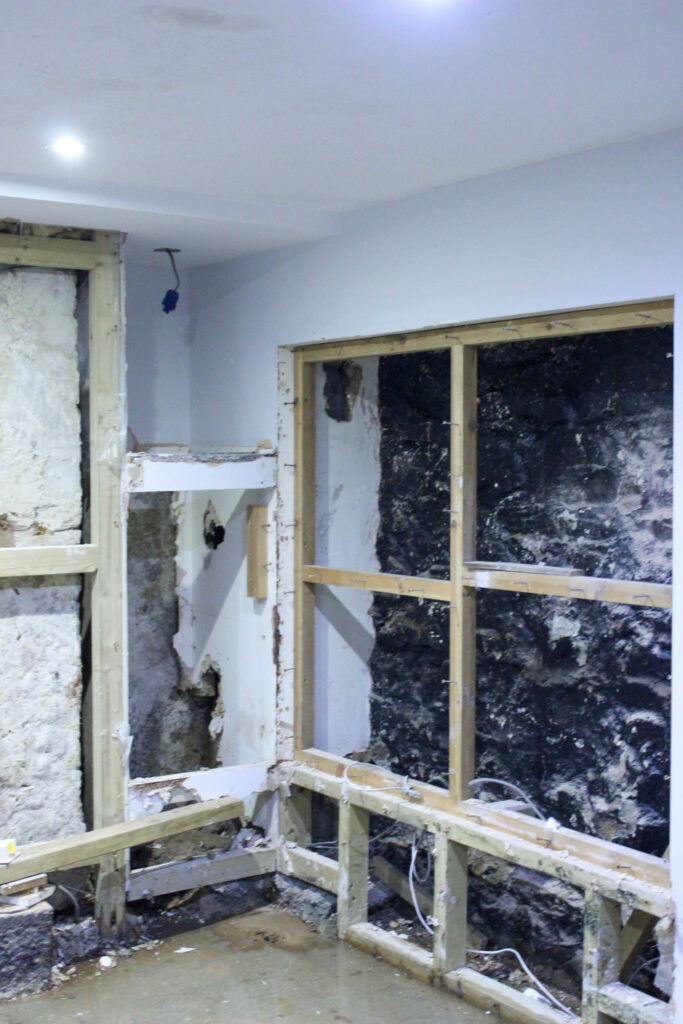
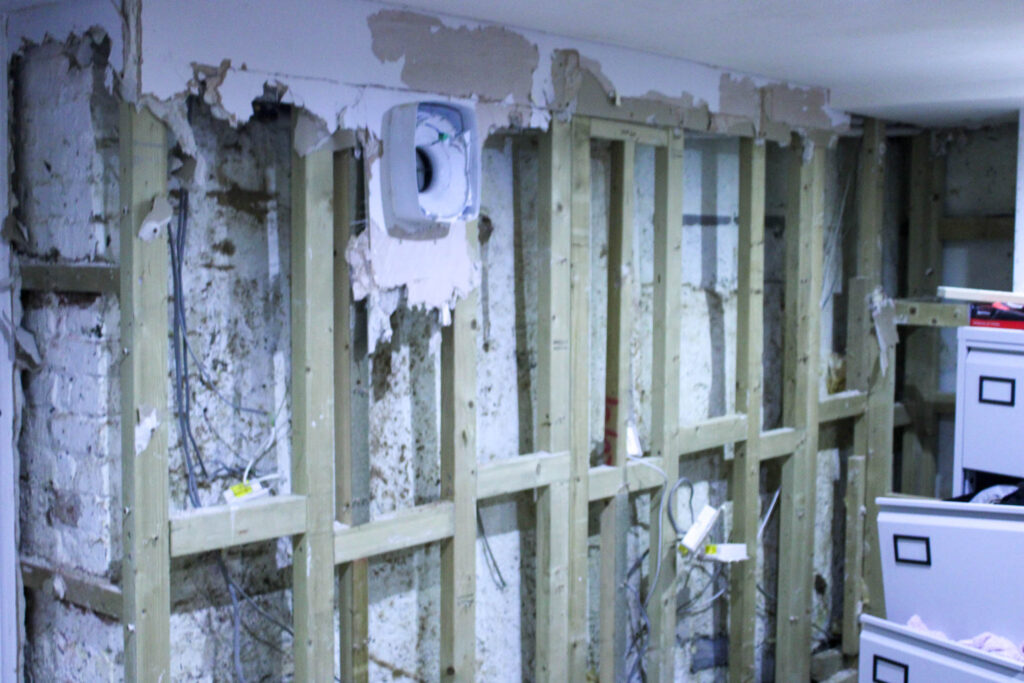
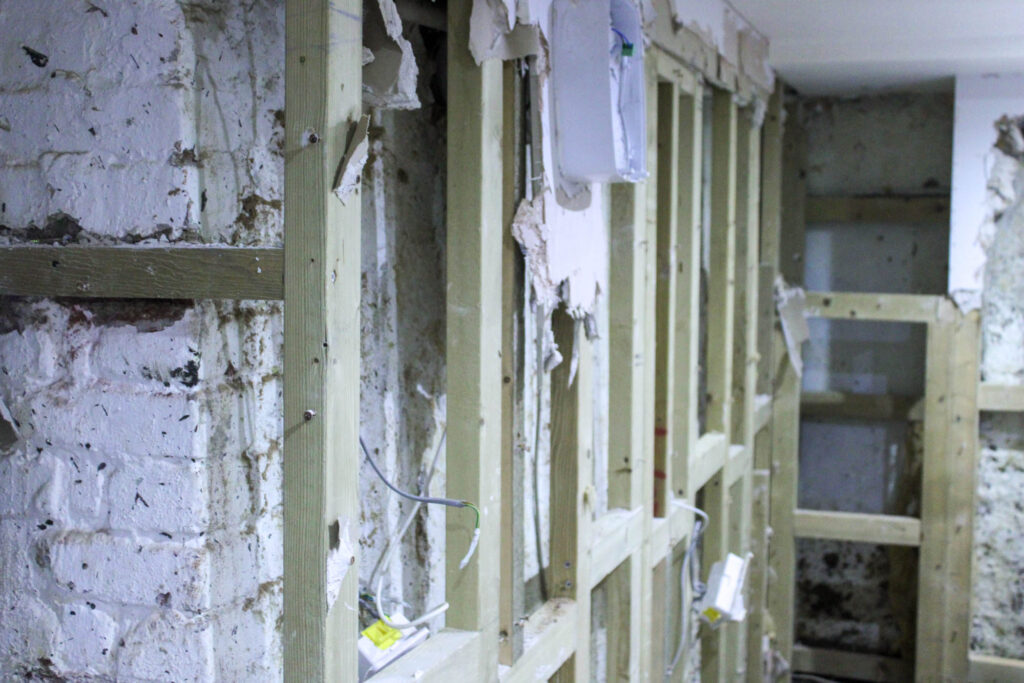
I took these photos in my bedroom in St Helier near Harve De Pas. The storm damaged my room, by causing flooding, which you can see with the water on the floor. This then caused the walls to wear away, and then have to be knocked down.
Edits


I edited these pictures by increasing the exposure, contrast, shadows, whites, vibrancy and saturation, while also decreasing the highlights and blacks, so that the photo would be brighter, and so the white walls would have less of a grey tint and look more of a clean white. I also did this, so the image would be brighter and have less blacks through it, so that all the damage was more visible.


The final edited images then came out like this. In this image you can see the hole in the wall in the corner, where the water is flooding in, as well as the damage it has done to the walls and floor. You can also see lose wires that have been hung up, so they do not fall in the water, so they will not cause any electrocutions.

I edited this photo by increasing the exposure, contrast, shadows, whites, vibrancy and saturation, while decreasing the blacks and highlights, so that the room and walls looked much brighter, and so the water on the floor was more visible.
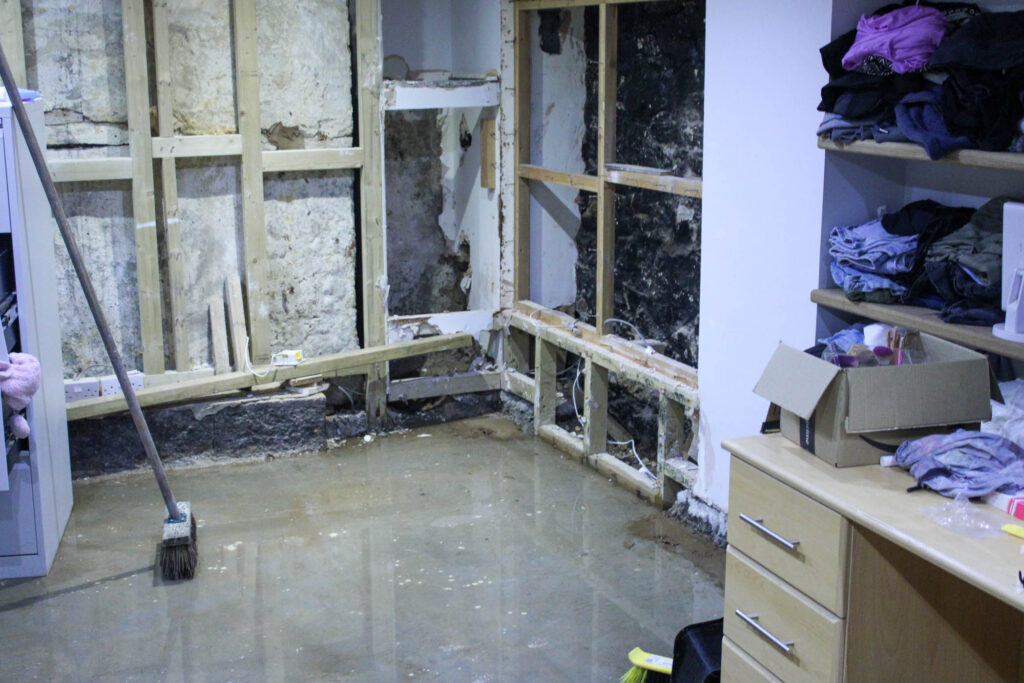
This is how the final edited image came out. You can still see the damage to the corner of the room, but you can also see the water on the floor now, and a broom which was used to tidy some of the damage.


I edited these photos in the same way, by increasing the exposure contrast, whites, shadows, vibrancy and saturation, while decreasing the blacks and highlights, so that the images were more vibrant and visible. However, on the second image I also increased a yellow tint, because the original image had a slight blue tint.
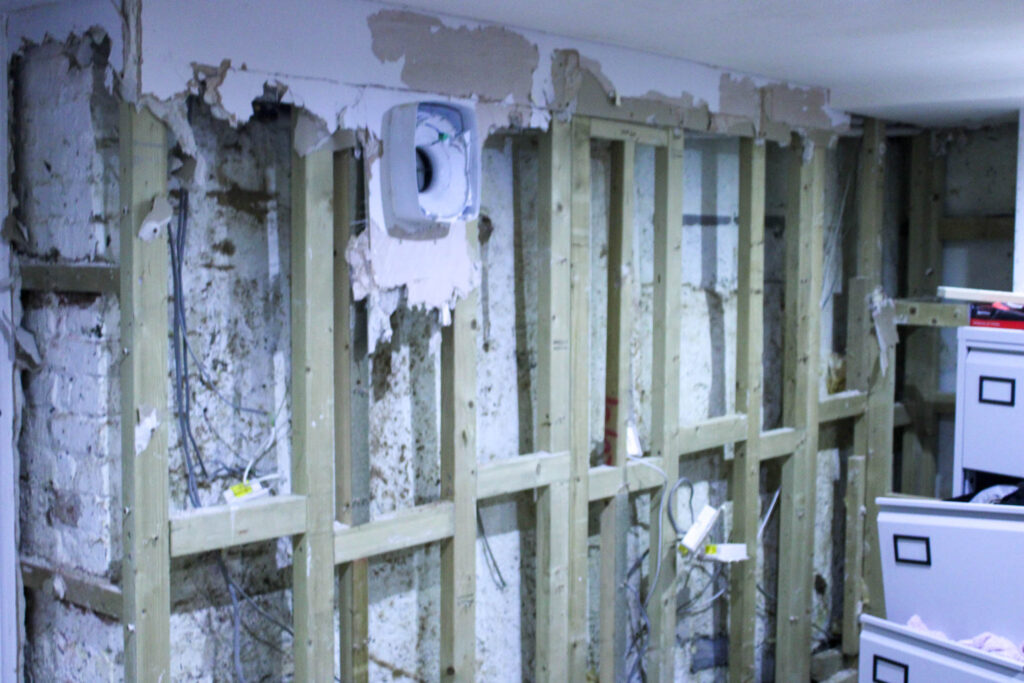

This is how the final edited images came out. They show the huge damage done by the storm to the walls in my bedroom.
Tree Damage


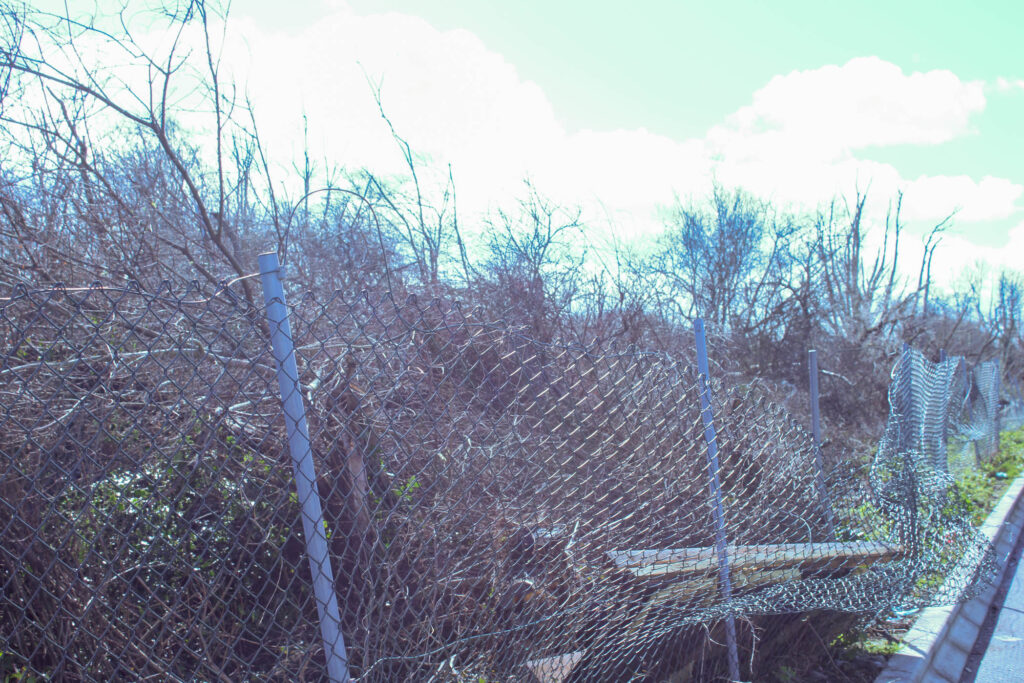

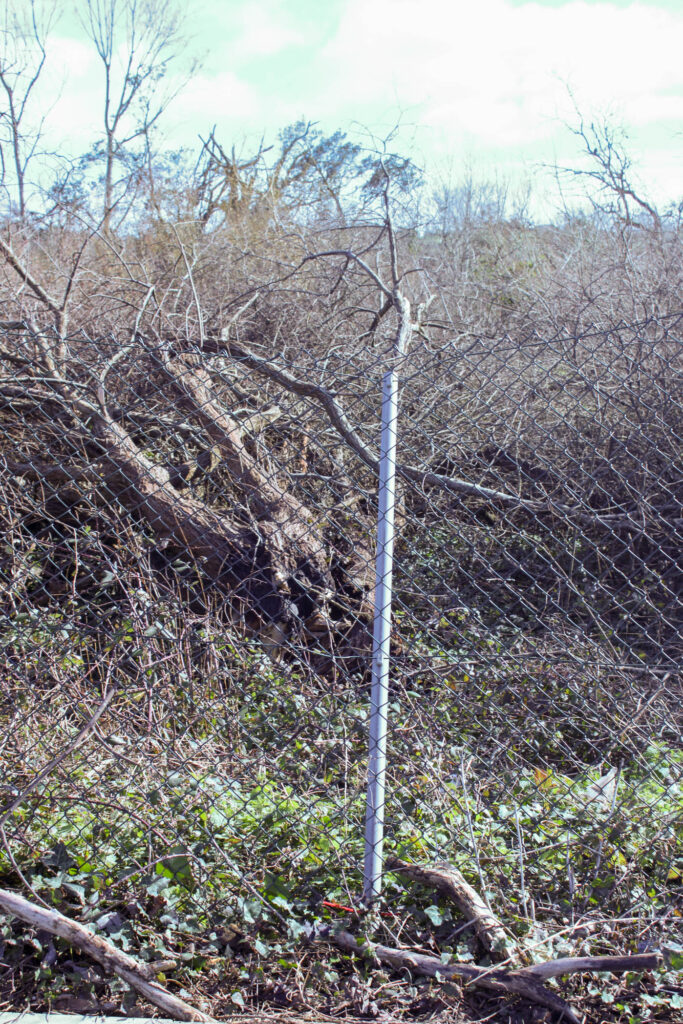
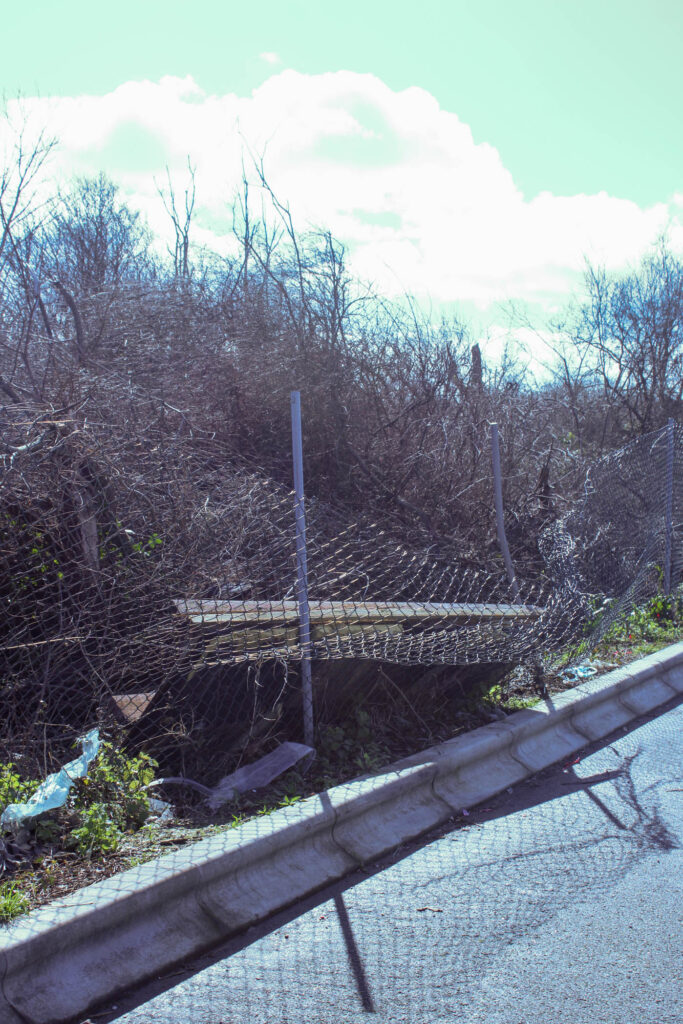
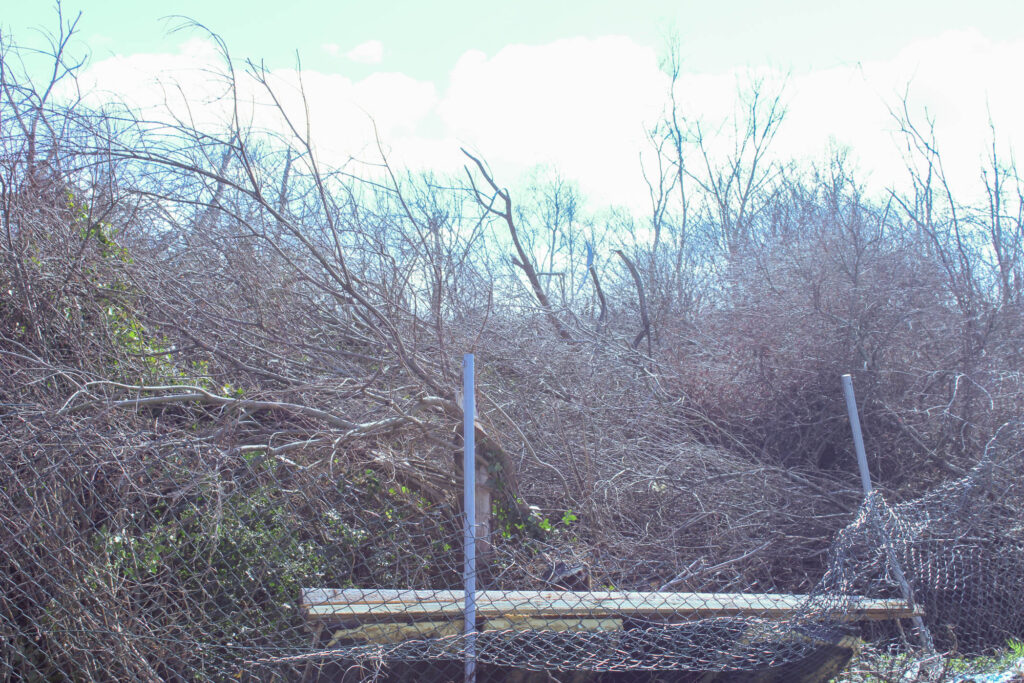


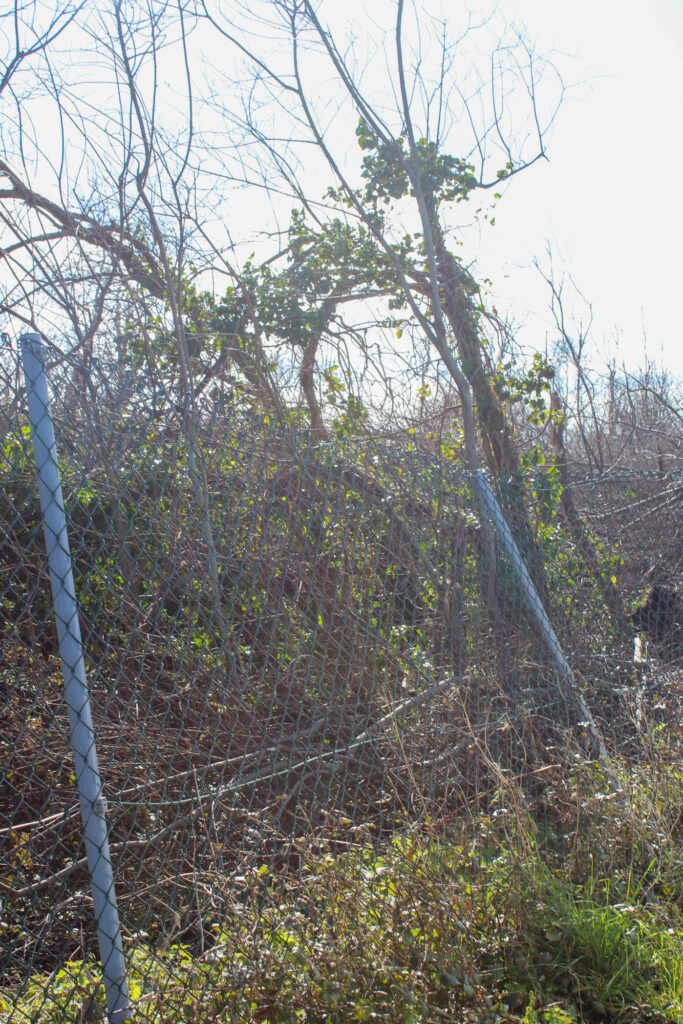

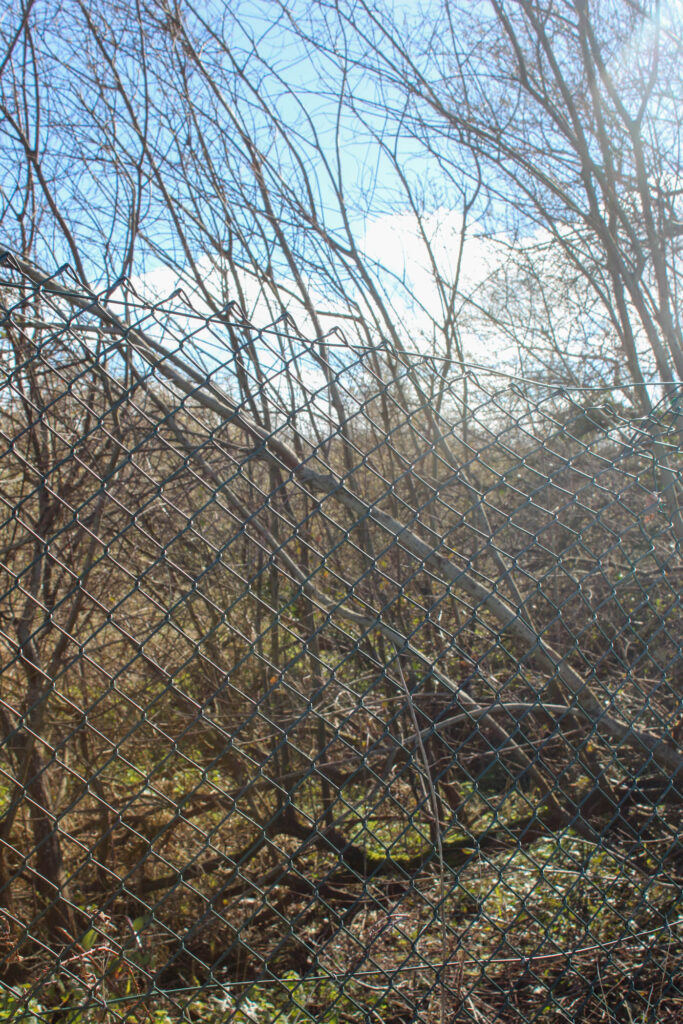


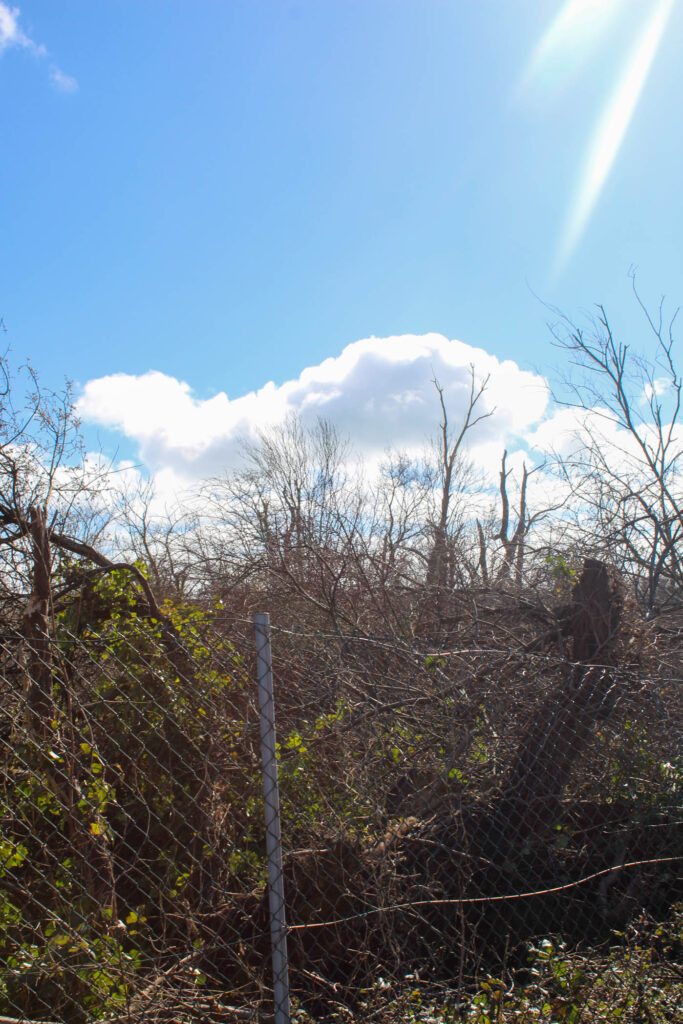
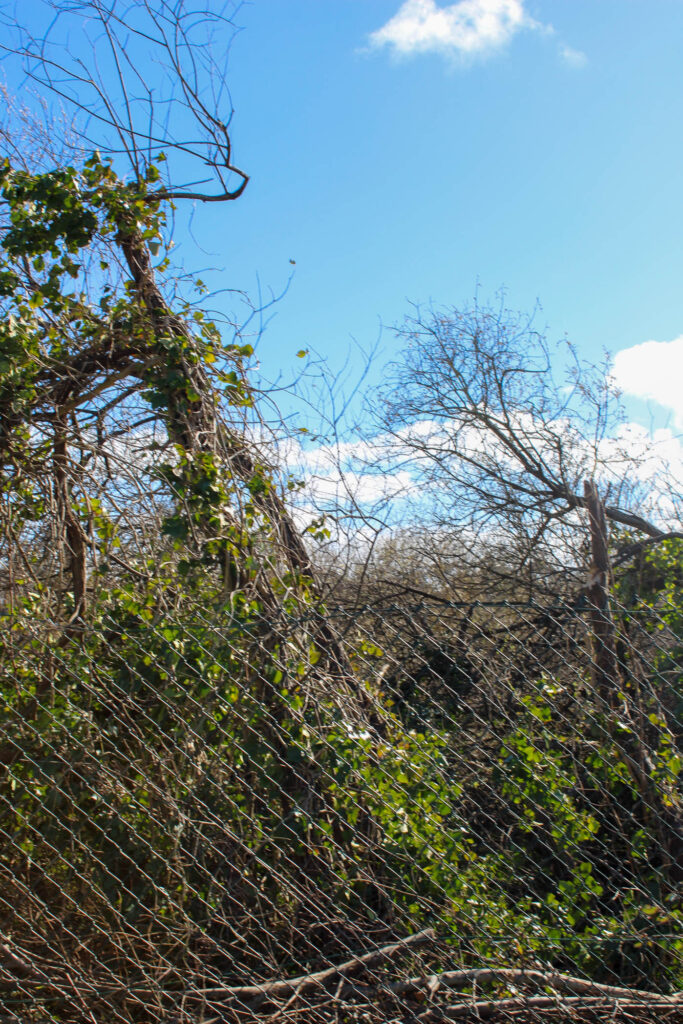

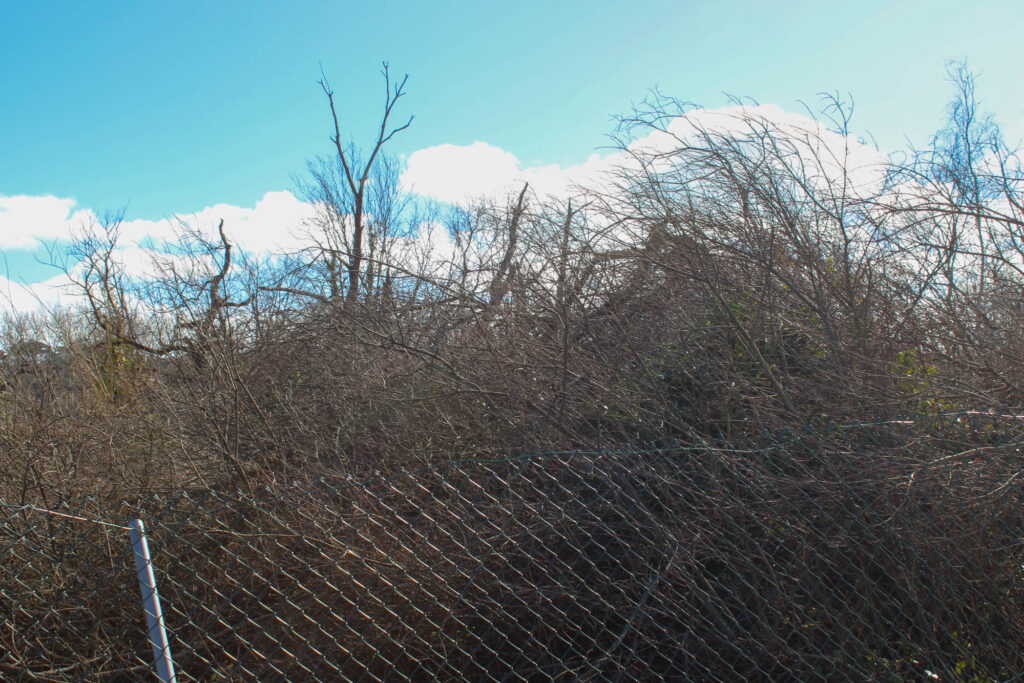


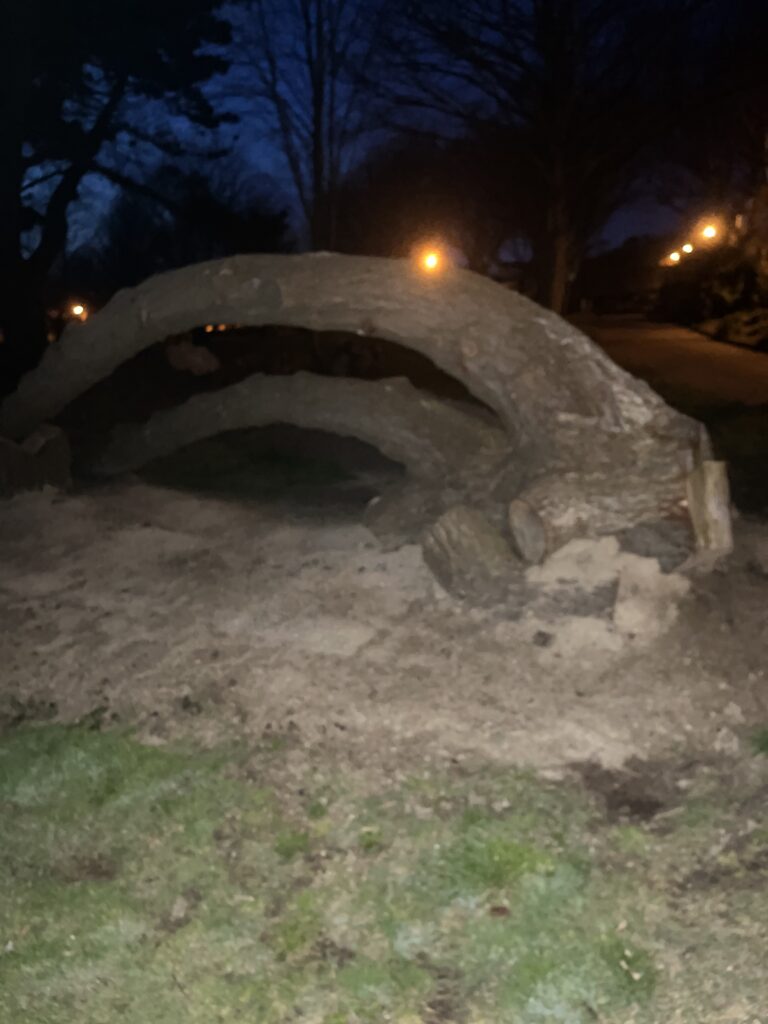
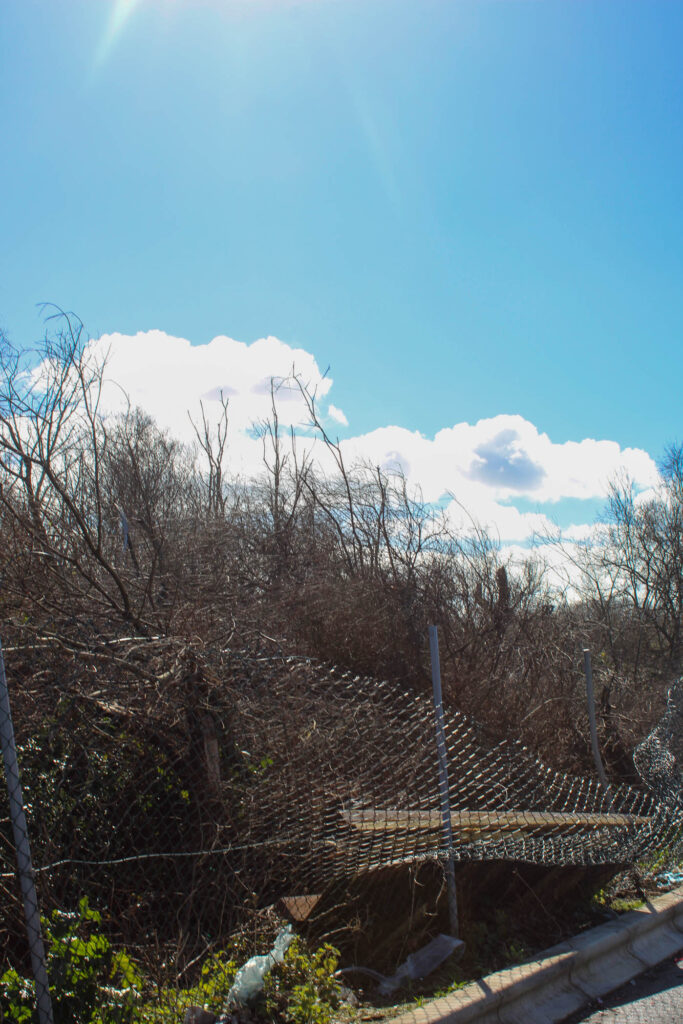
I took these images near the Post Office in St Clements. The storm has caused many of these trees to have fallen over and fallen all on top of each other. This presents how powerful and strong the wind was from the storm to be able to blow all these trees down. Many bigger trees were cleared up just days after the storm, but smaller trees in non-hazarded places are less of an urgent concern. In these images there was also damage to the fence surrounding the trees, which you can see.
Edits


These first images I took had quite a blue tint on them, so I had to adjust it and add more of a yellow tint to be able to cancel the blue out. Then, I edited these pictures in the same way, by increasing the contrast, shadows, whites and vibrancy, while also increasing the saturation on the first one. Then, I decreased the exposure highlights and blacks on both. I did this, so that the colouring was better and brighter on each image, so that the image was more accurate compared to what I saw.


The final images then came out like this, where you can see all the fallen trees piled on top of each other, while also being able to see the damage done to the fence surrounding the trees in the second image.
Once, I realised my photos were coming out with a blue tint I played around with my camera settings adjusting them, so that there was no longer a blue tint.

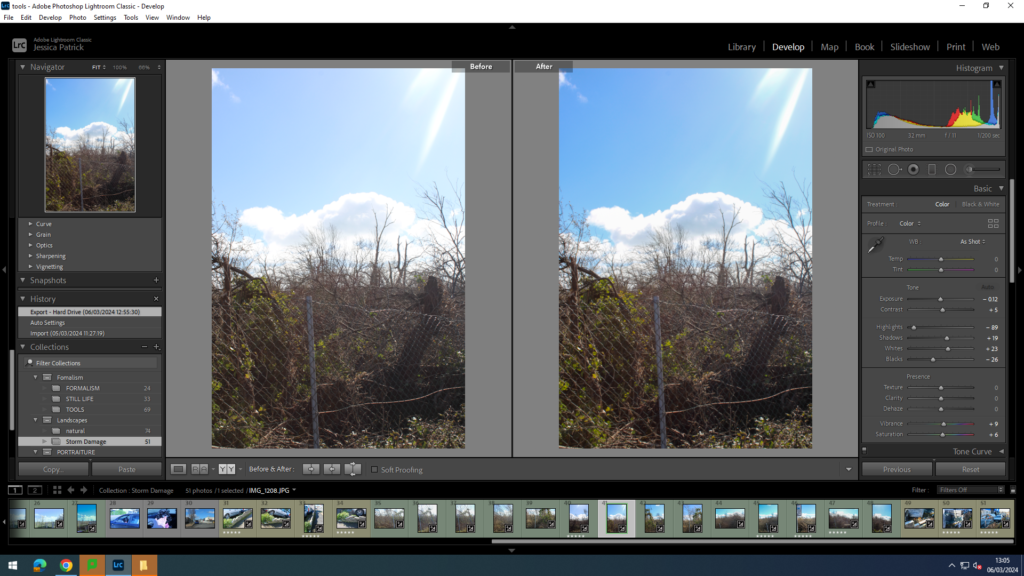
I edited these images, by increasing the contrast, shadows, whites, vibrancy and saturation, while also decreasing the exposure, highlights and blacks, so that the image looked less dull and the damage done by the storm could stand out more.
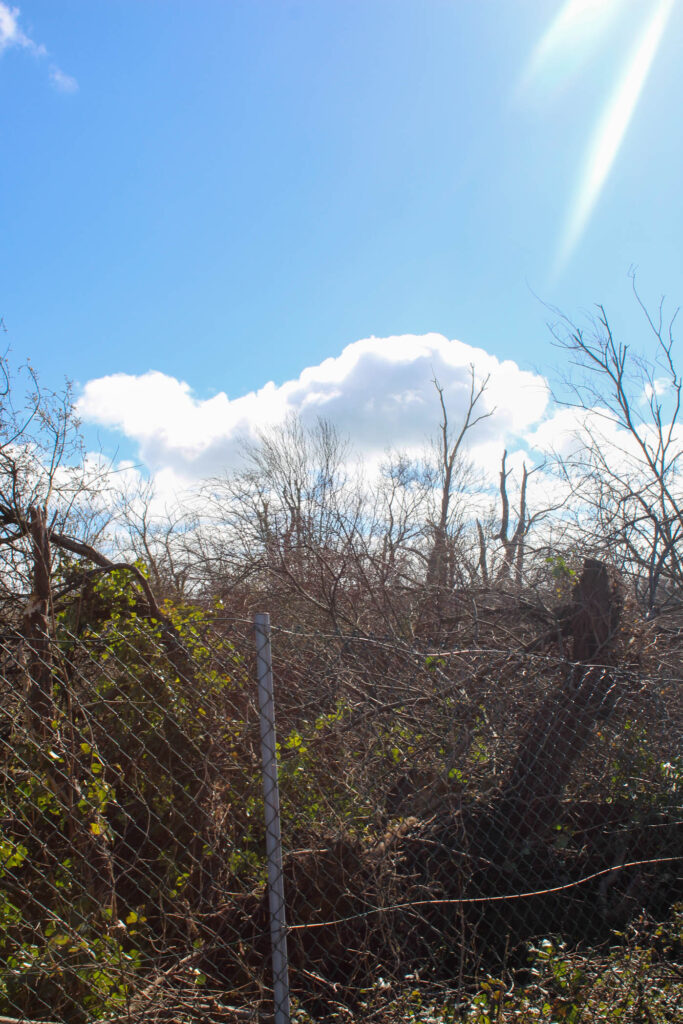

The final edited images then came out like this. You can clearly see the damage done to the trees, as they are all fallen and on top of each other, while also seeing the damage done to the fence surrounding it. This presents how strong the storm must of been to be able to cause all this damage.

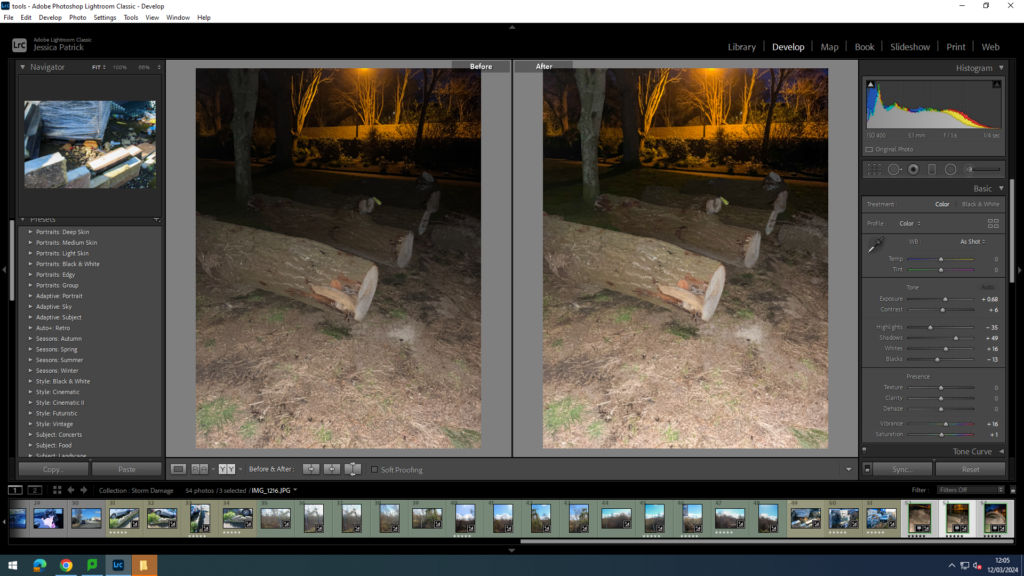

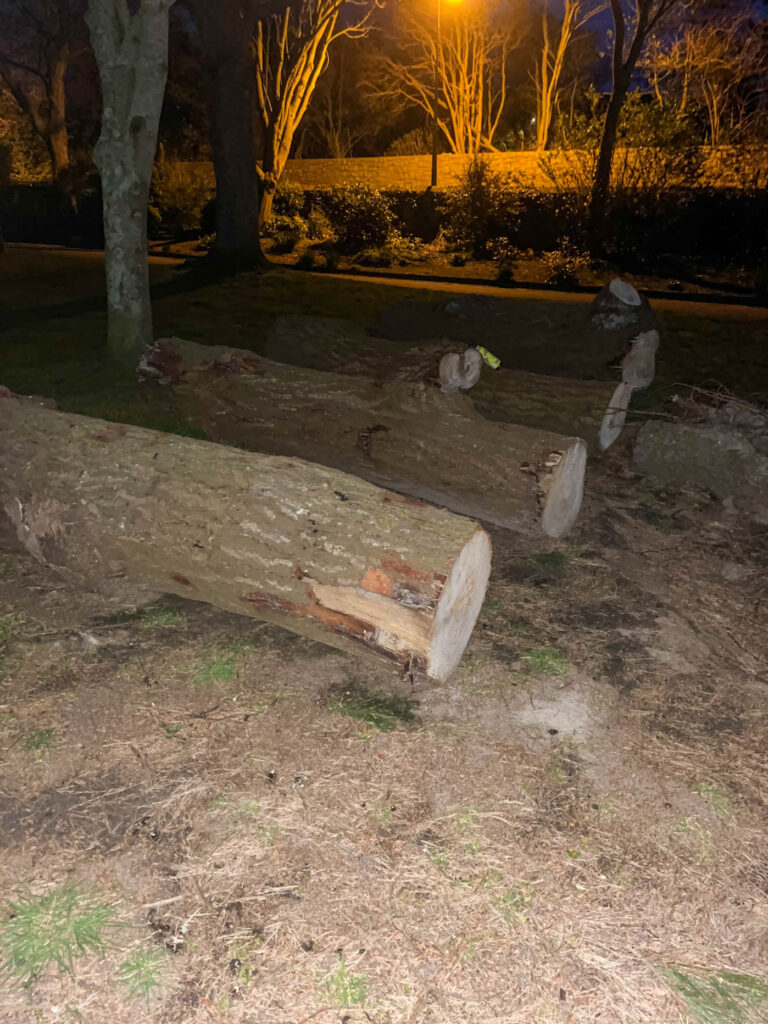
I edited these images by increasing the exposure, contrast, shadows, whites, vibrancy and saturation, while decreasing the highlights and blacks, so that the image would be brighter and more visible, as the images were taken when it was dark.

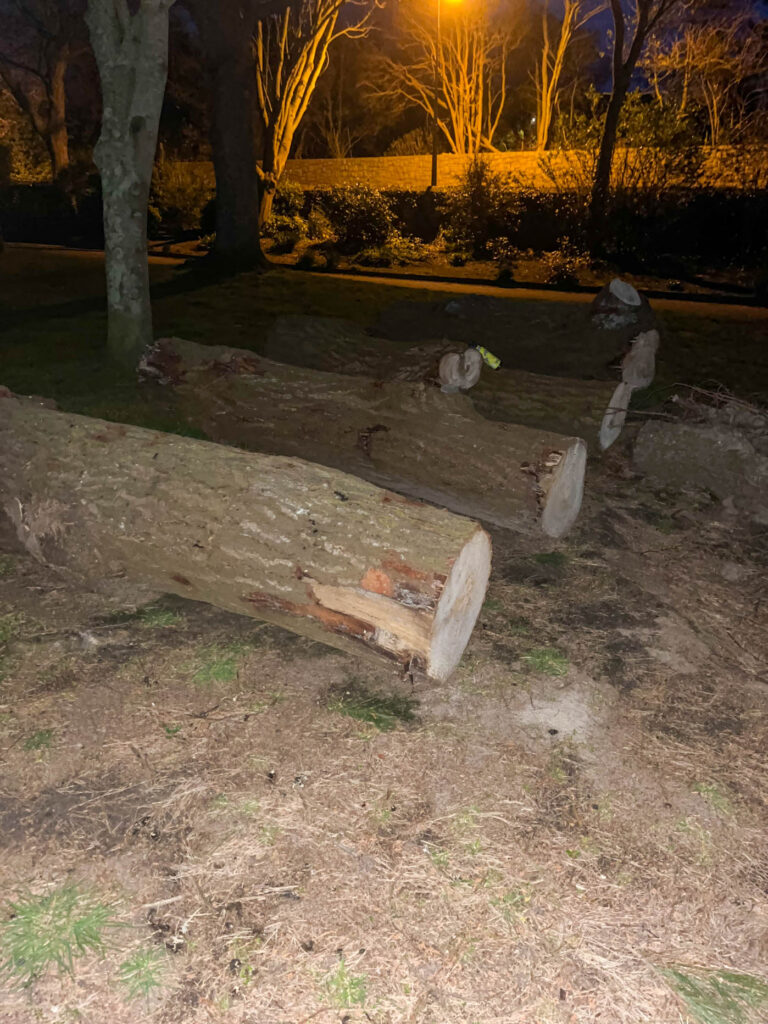

The final images came out like this. These images are not the best, as they were taken on my phone, because I only spotted this, while on a dog walk and did not have my camera, so they could have been better quality. However, I think the images show the damage from the storm very well and shows how powerful the storm was the be able to tear the tree out of the ground like that.
Other Buildings


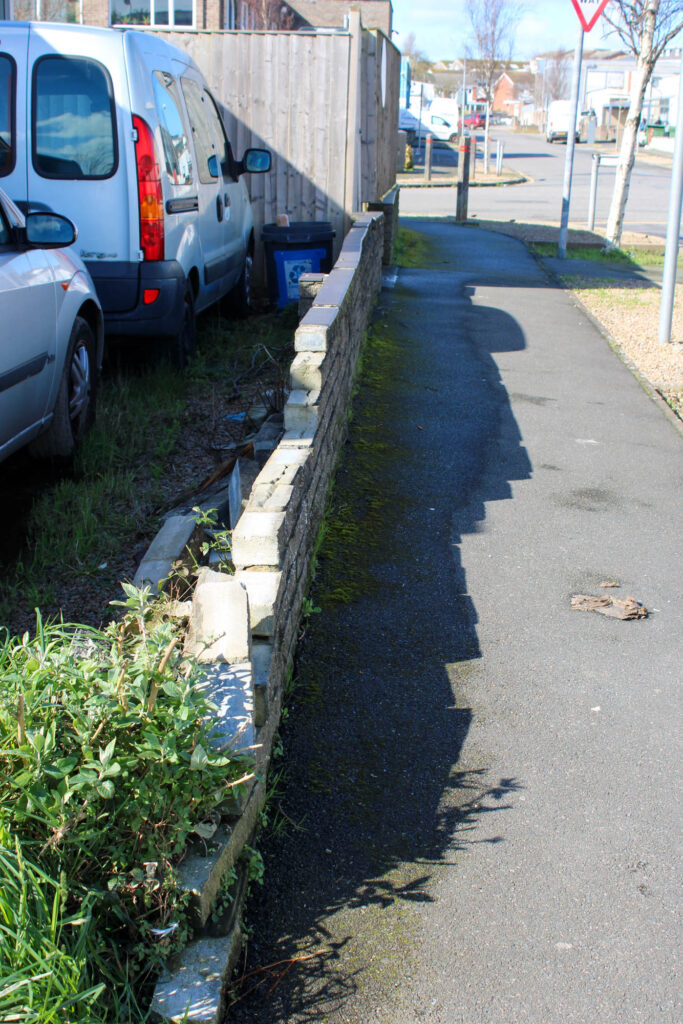
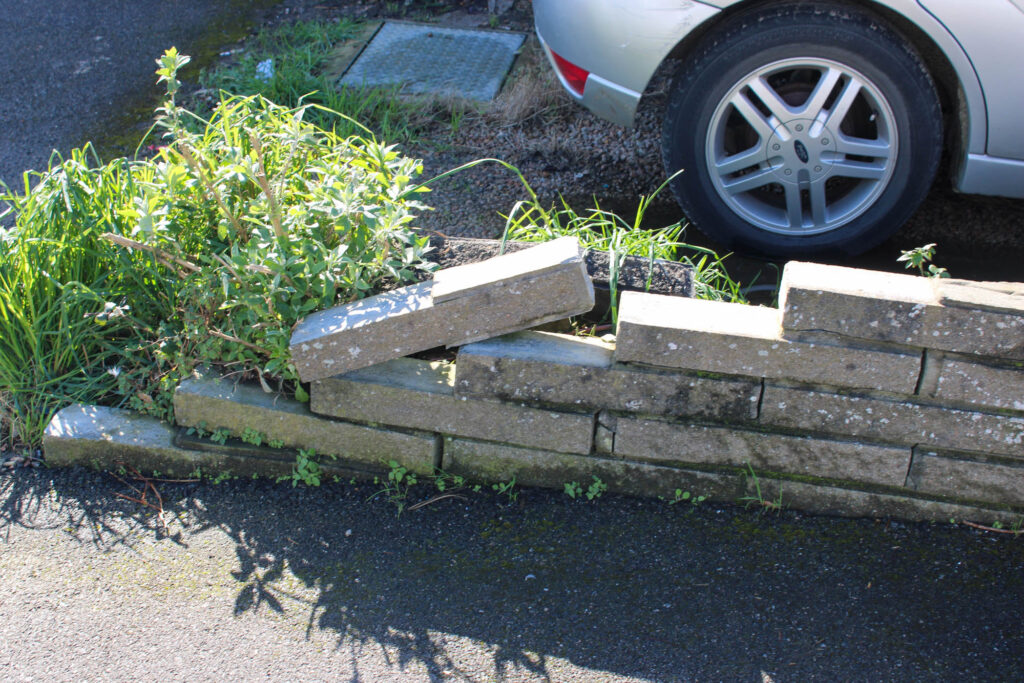
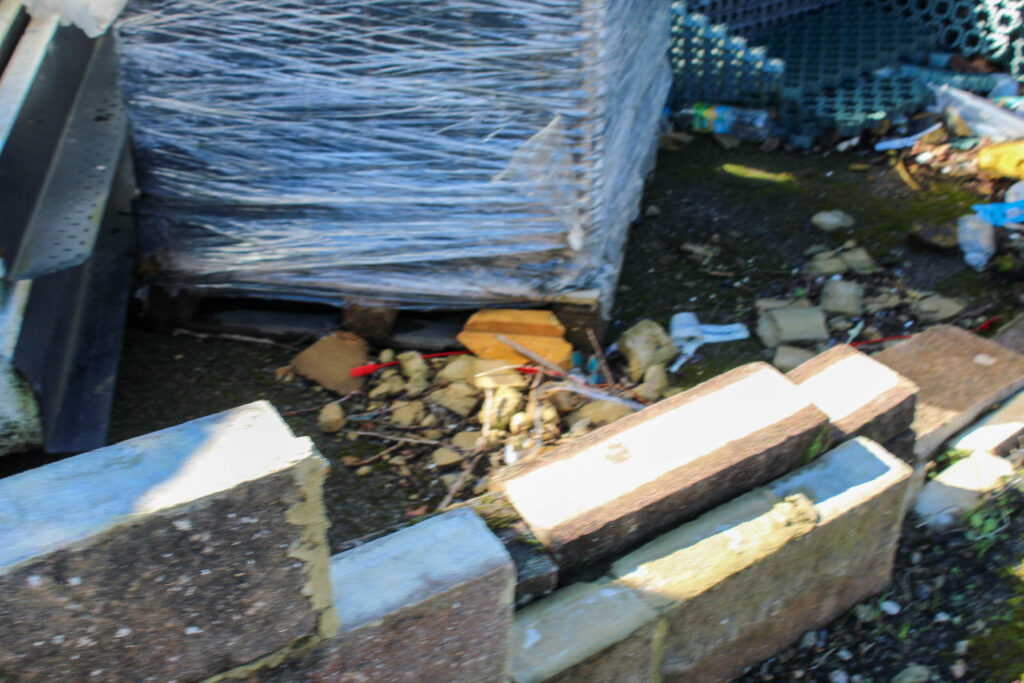
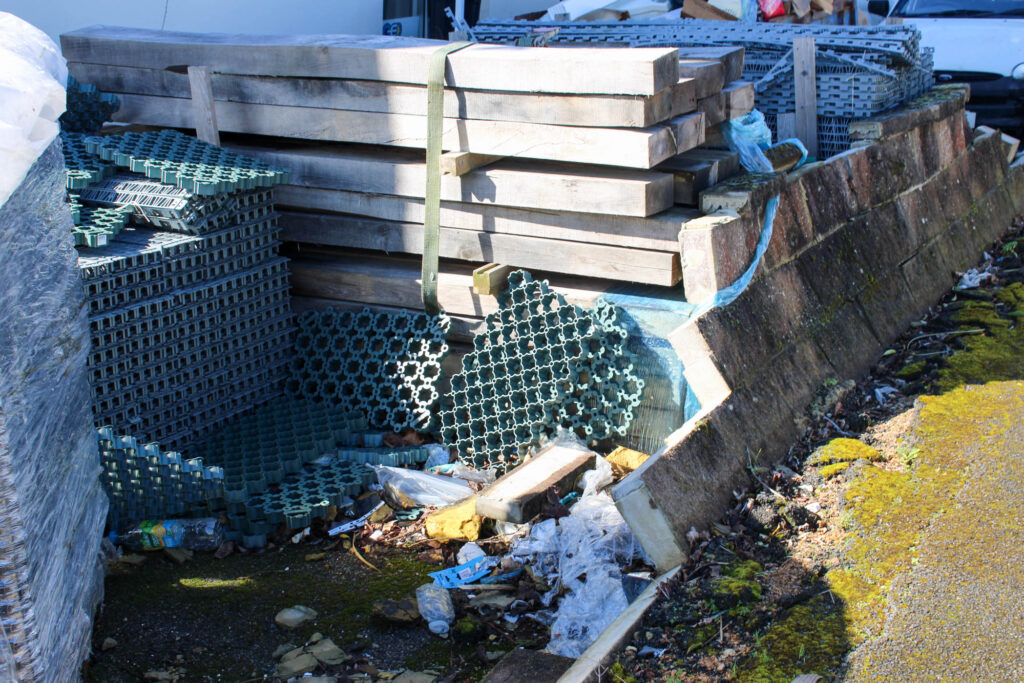

I took these images of the buildings near the Post Office in St Clement. I focussed on taking pictures in St Clement, because that is where the storm hit Jersey the hardest. In these images you can see the damage done by the storm on other buildings and walls. Most damage to many buildings has been fixed by now, but this damage was minor, so not a priority.
Edits

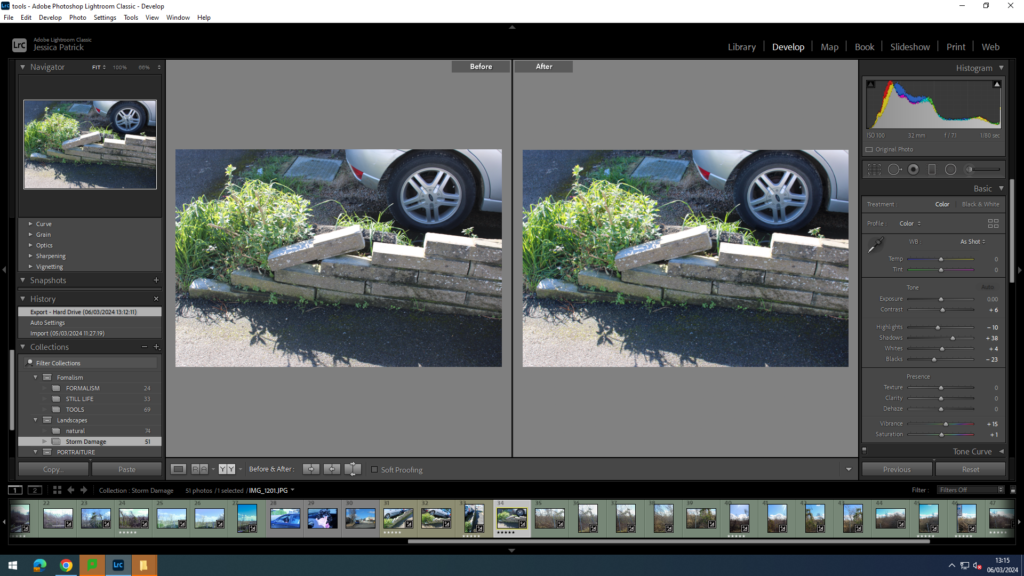

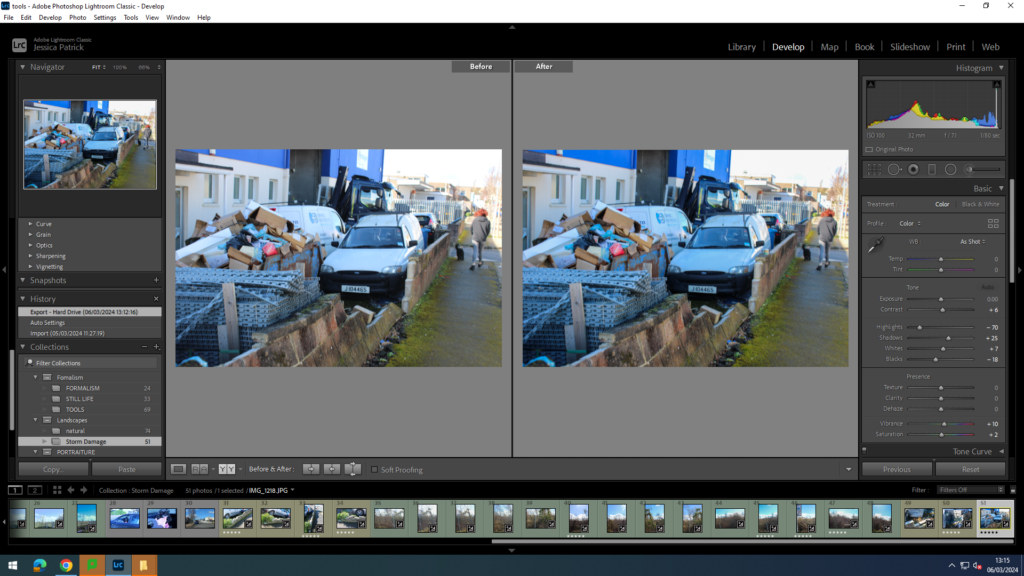
I edited all these images, by increasing the contrast, shadows, whites, vibrancy and saturation, while decreasing the highlights and blacks, so that the image would be more clear and vibrant.

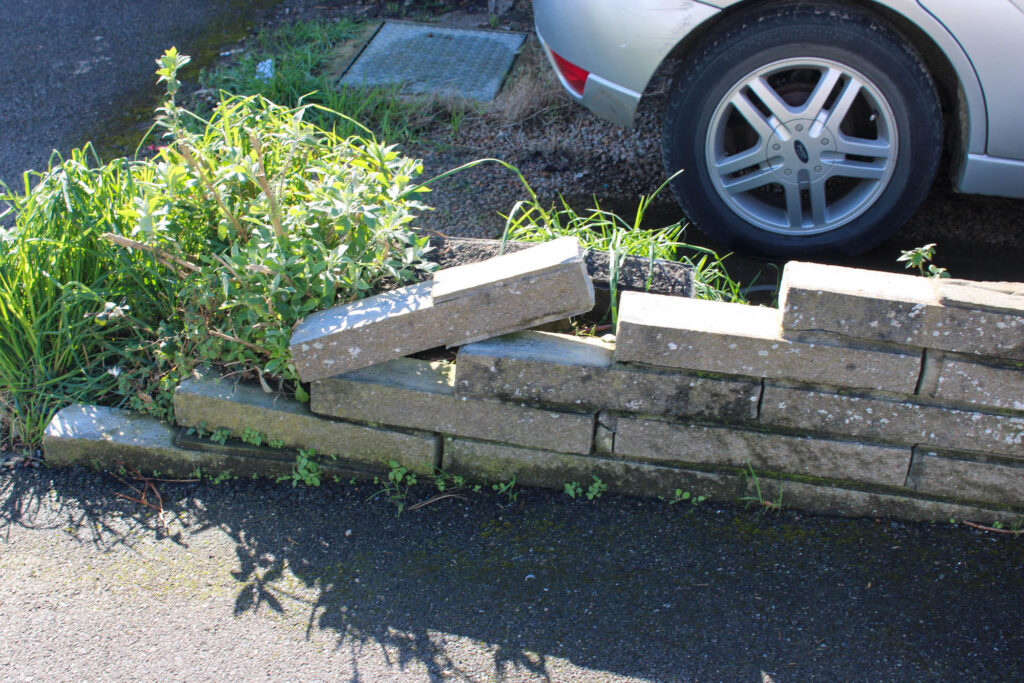
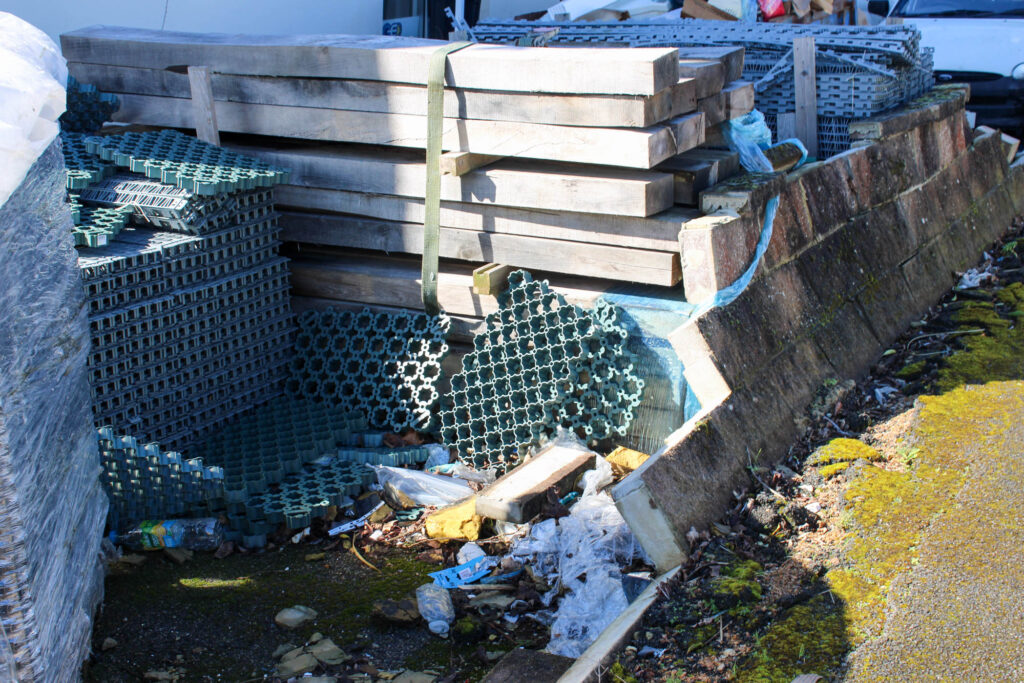
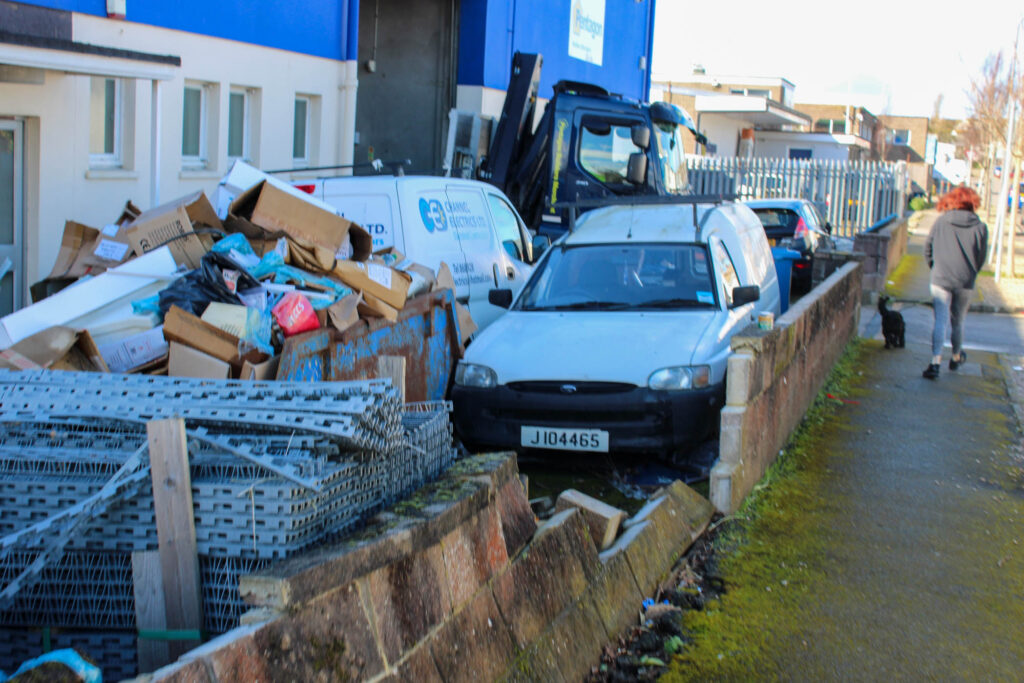
This is how the final edited photos came out, and you can see where the storm sad damaged the walls and equipment near it. This also shows how strong the storm must of been, to be able to knock down a brick wall.
Final Best Images
I have chose these images as my final best images, because I think they have the best editing skills done to them , while also having the best composure. They also all present the storm damage well and present how strong and powerful the storm was.



Virtual Gallery
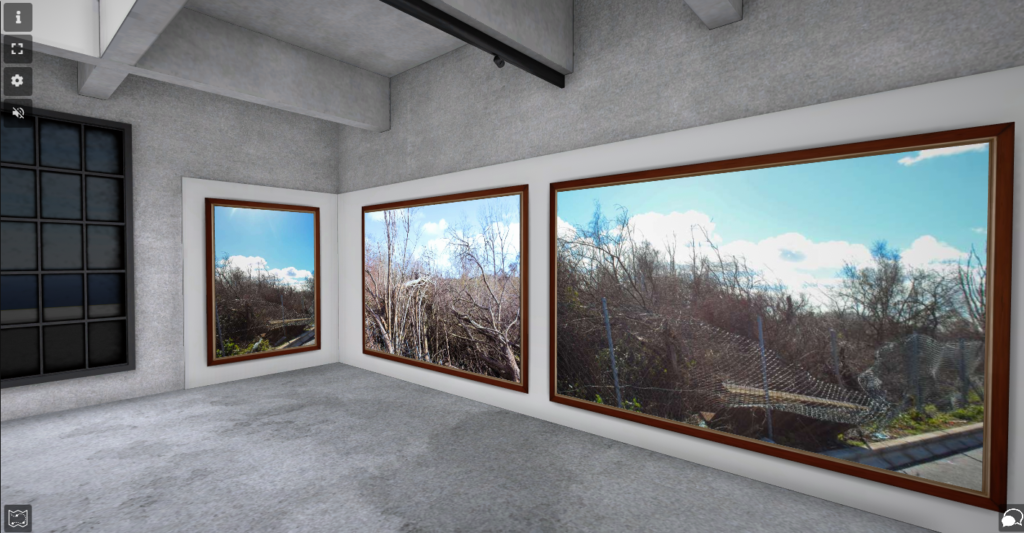

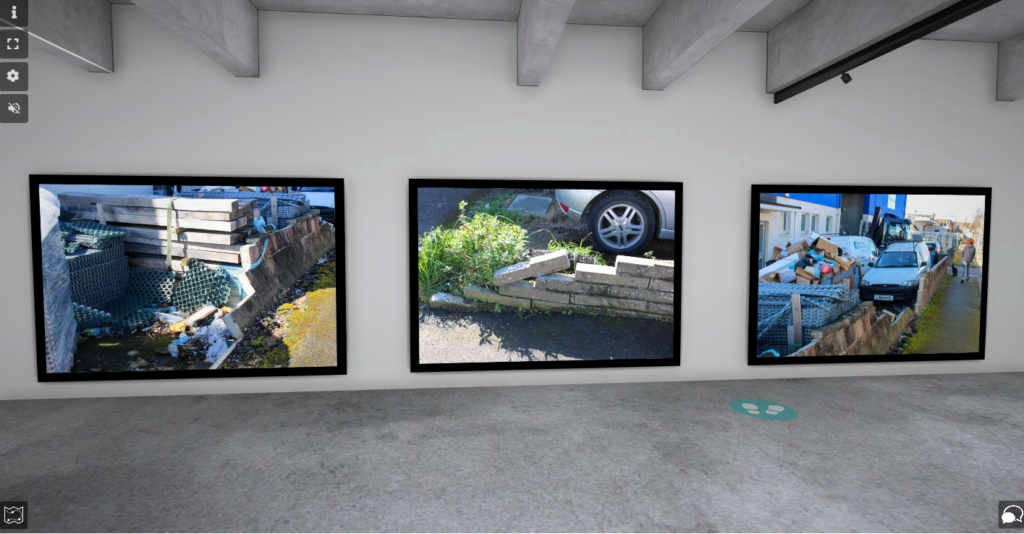
I made this virtual gallery of my storm damage images using ArtSteps. Firstly, I picked out a suitable gallery that I liked. Then, I imported my chosen images into ArtStepsand put them in the gallery. Next, I positioned them all where I thought they looked good and gave them all different frames. Finally, I previewed my gallery and took photos of all my images.
PhotoShop

I made this image using photoshop. Firstly, I imported my two chosen images onto and a4 print and resized them both so they filled up the print. Next, I adjusted the opacity of the image on top, so that all the trees from the image underneath would come through. I did this, so it looked light there was much more damage and trees fallen in this image. The only thing ruining this image is the sign post.
The two images before:

