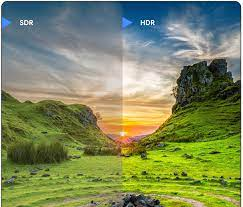
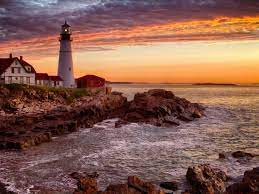
What is a HDR image?
HDR stands for high dynamic range, which place in between the lightest and darkest contrasting parts of a photo. A HDR image is a final product composed of multiple shots that have used exposure bracketing to create a final product that pulls out the best colours in all of the images combined. You create a HDR image by using exposure bracketing. (as explained below)
When are HDR techniques used?
HDR is used when photographers are struggling to capture all the details and colours of a scene correctly so they use exposure bracketing, taking multiple photos using different exposure settings and then using technology to merge all the photos together making a HDR image. This creates the best result of all the shots pulled together, leaving a well saturated, balanced contrasting image.
Exposure Bracketing

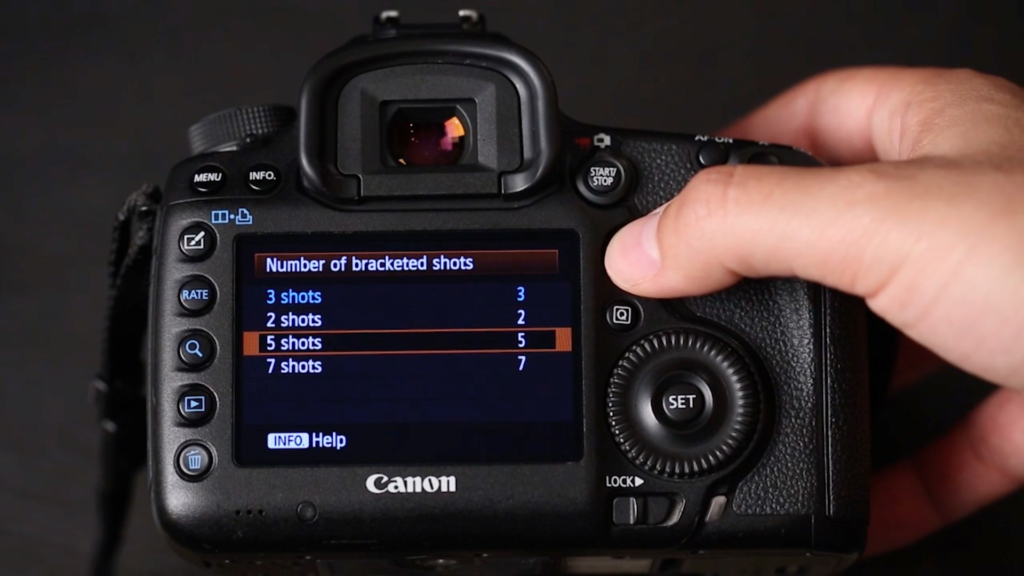
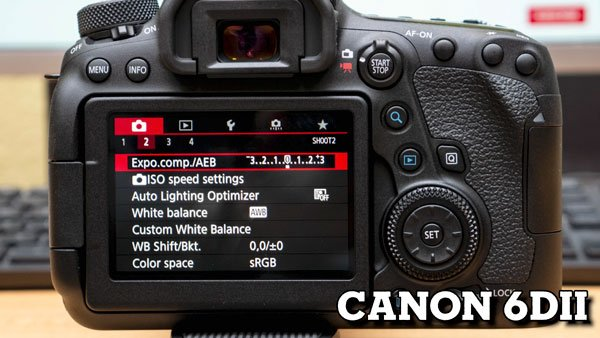
Exposure bracketing is where the photographer will take multiple shots of the exact same scene altering the settings each time to get different exposures of the same image. This can also be done on the camera using settings so the camera will do it automatically. This means the photographer ether has many photos to pick from in the editing process or they can create a HDR image merge which will combine all the shots and create a best fit image for all of them.
How to Create a HDR image on Lightroom

Gather all shots in one row and selected them all using the shortcut, clicking on the first image then pressing CTRL and clicking the last image.
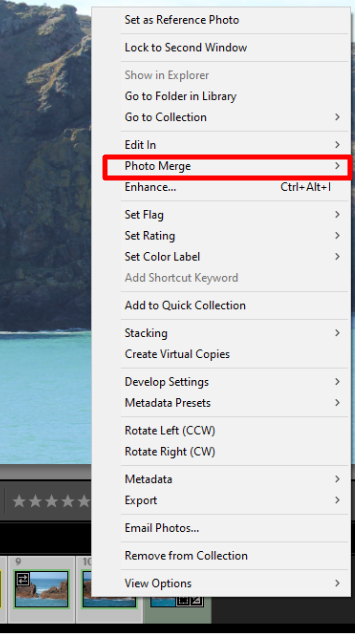
Once all the shots are selected you right click and select photo merge.
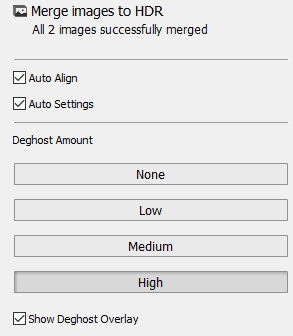
This option will come up before the images are fully merged allowing you to pick the amount of deghost for the final image.
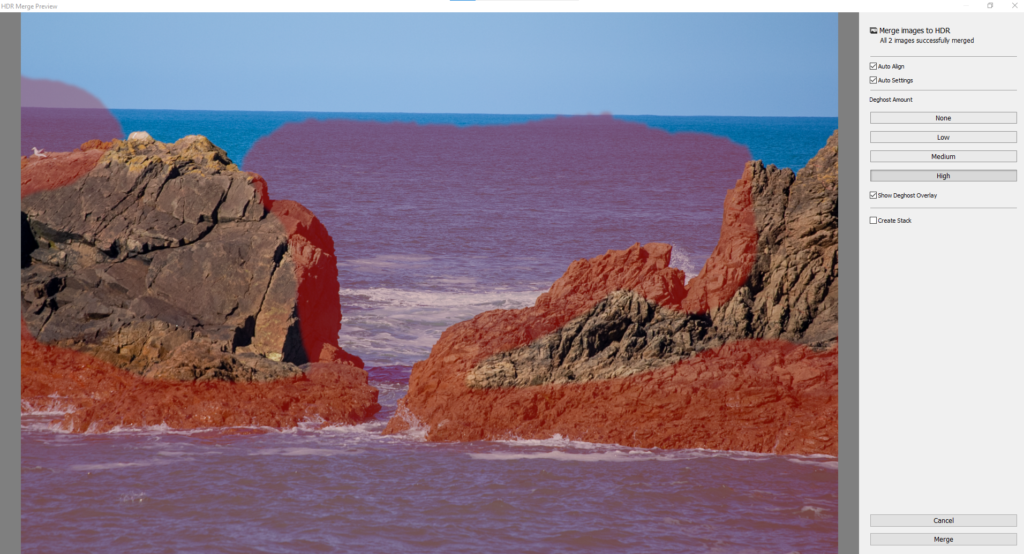
It will allow you to see what and where the deghost effects as in this photo especially in each shot the waves were slightly different so if I changed through each deghost amount setting it would show the different details that changed. Once the deghost amount is selected press conform and then the image will create a HDR version.
Edit One
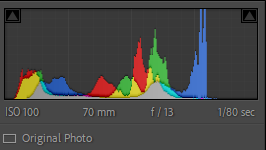
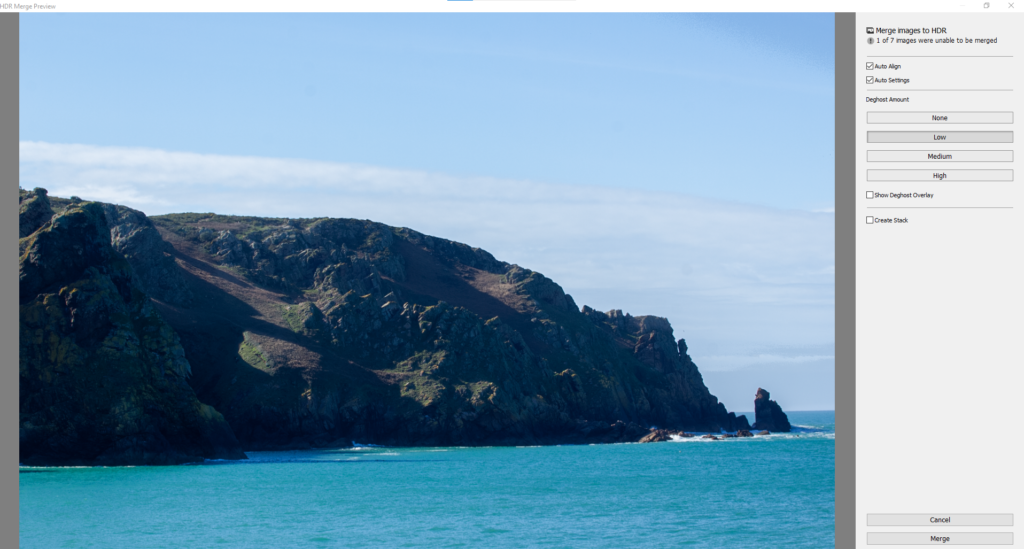
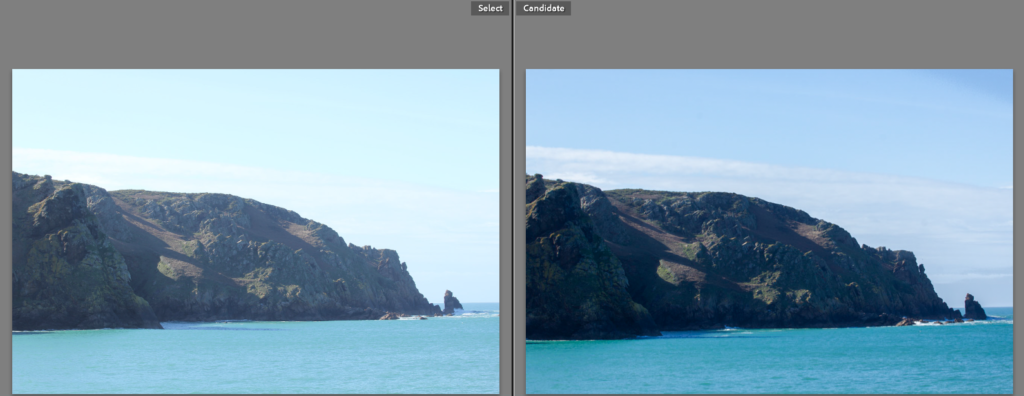
In this one you can see how it has increased the blue colour for the sea and brought back the clouds from being washed out but kept the rocks light enough to be seen and the details and tonal changes within them to be seen. Therefore creating an image much more similar to what I had seen when taking the photo.
Additional Editing
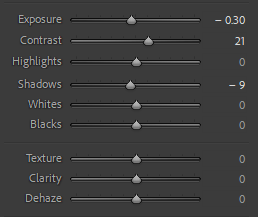
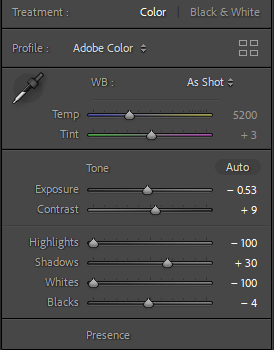
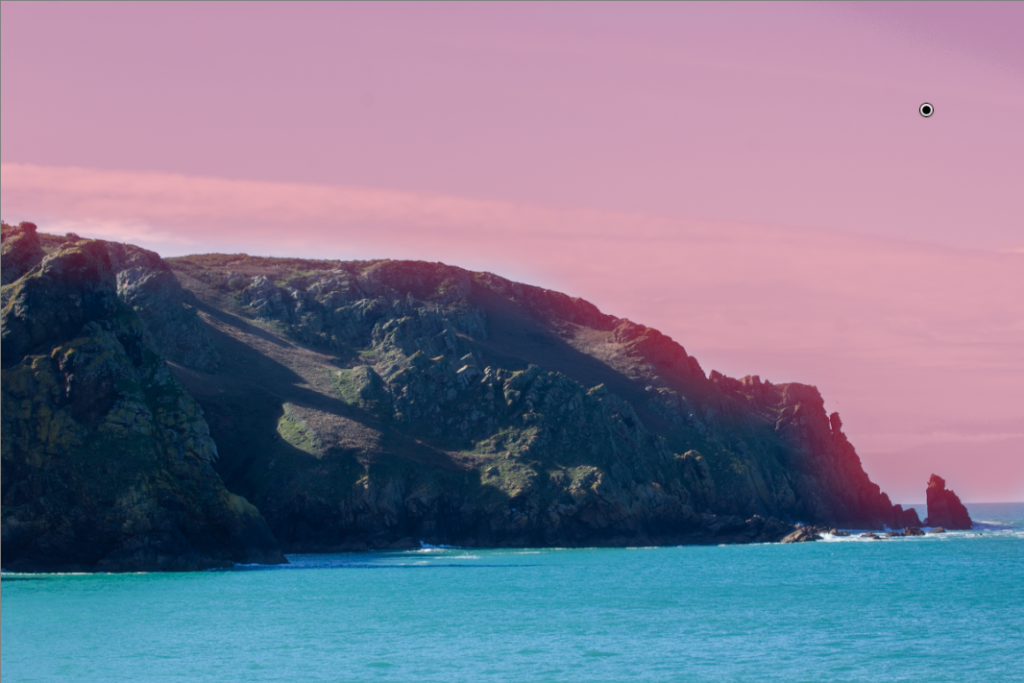
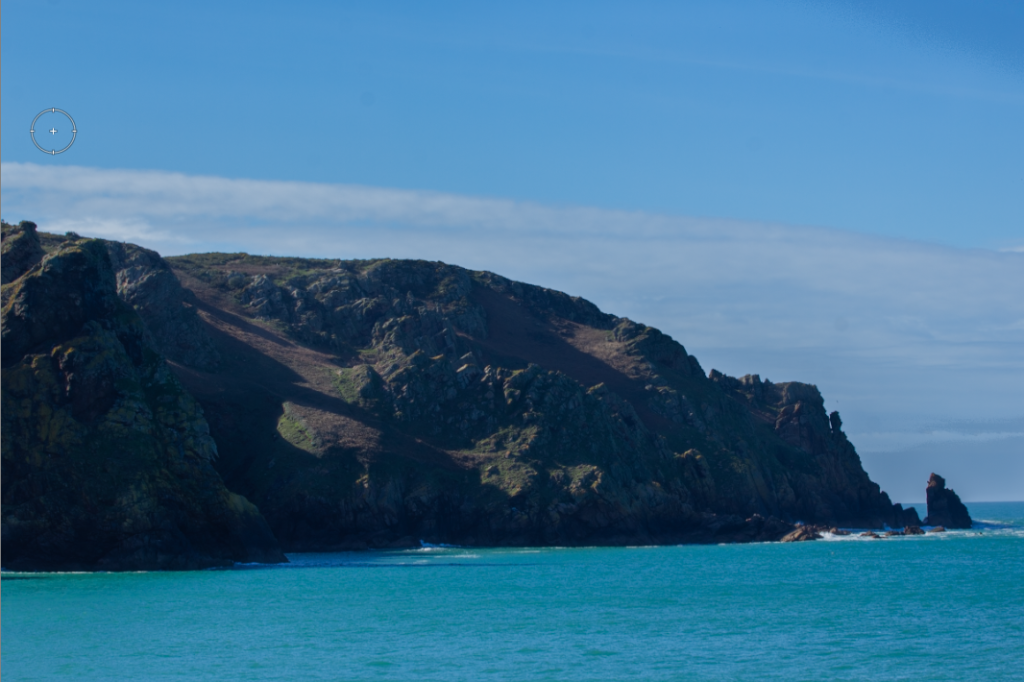
I felt this photo would benefit from further editing, using the adjustments tools and the brush tools, bringing out the sky and cliffs details in more depth.
Edit Two
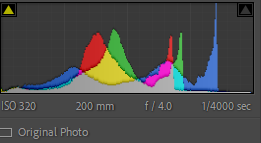
For this edit, I started by using selecting two base images and then using the HDR photo merge.

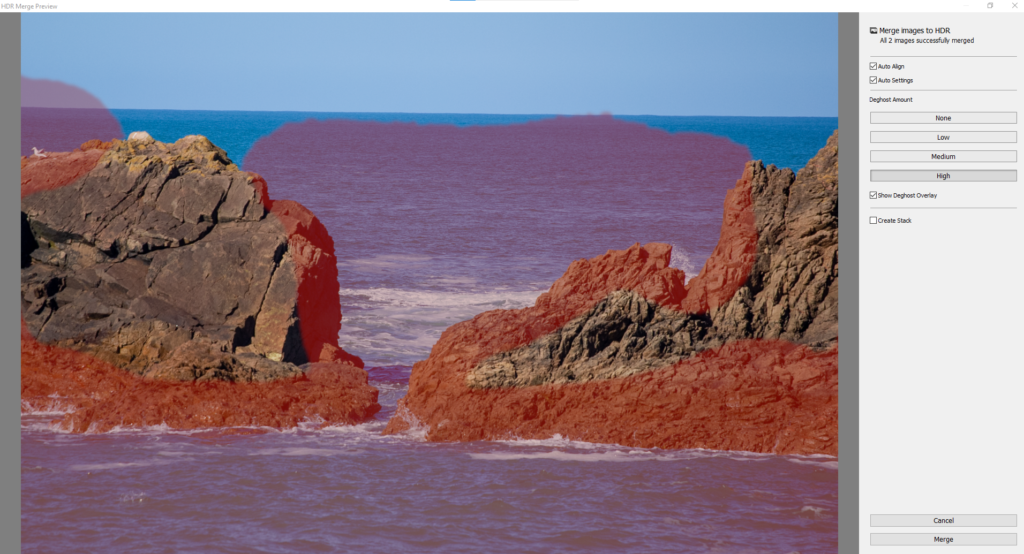
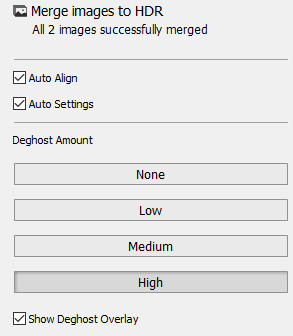

This is my second edit, for this one I used the same process but I chose to use the high setting on the deghost as it helped produce more detail in waves and added the splash back onto the rocks. I worked out which bits the different settings of deghost changed by using the deghost over lay filter.
Final Photos
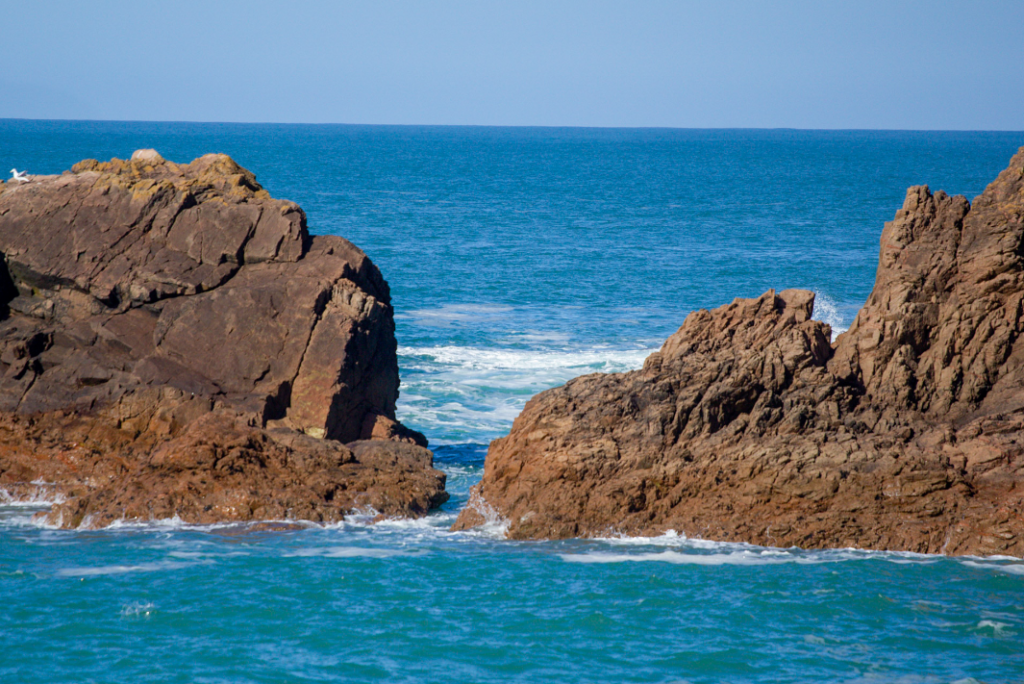
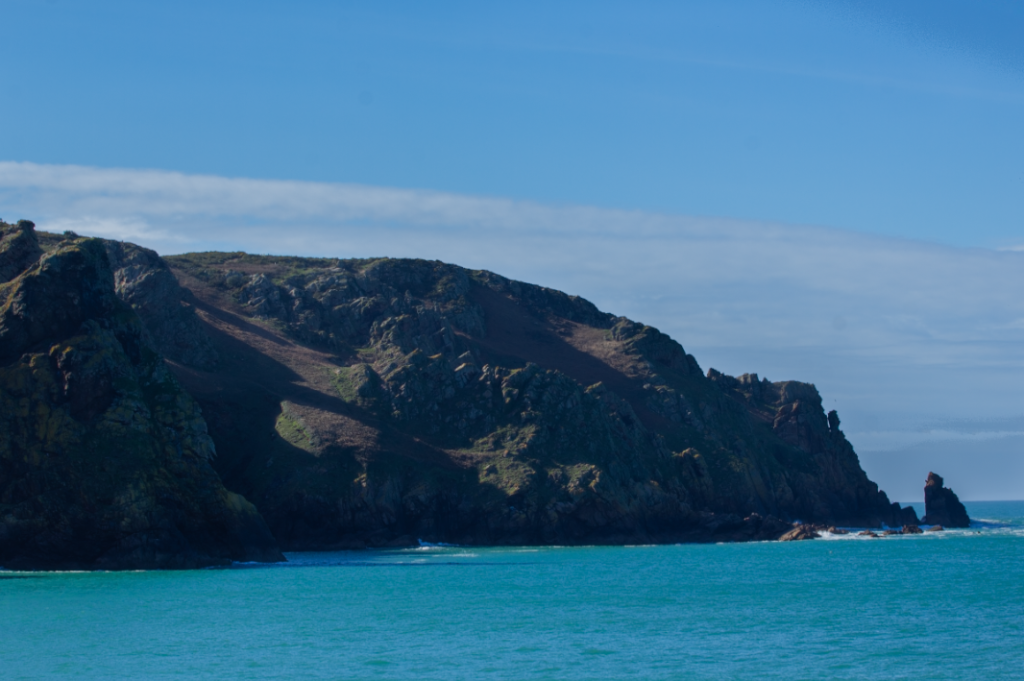
This technique was useful to learn and the exposure bracketing was a new technique I hadn’t tried before. I am very happy with the results, I was limited on the day as it was very bright and I didn’t have a lens hood, this meant a lot of my photos looked similar even when reducing/increasing the exposure. The results while being slightly unrealistic in terms of saturation it does follow the HDR style.
