Image 1:
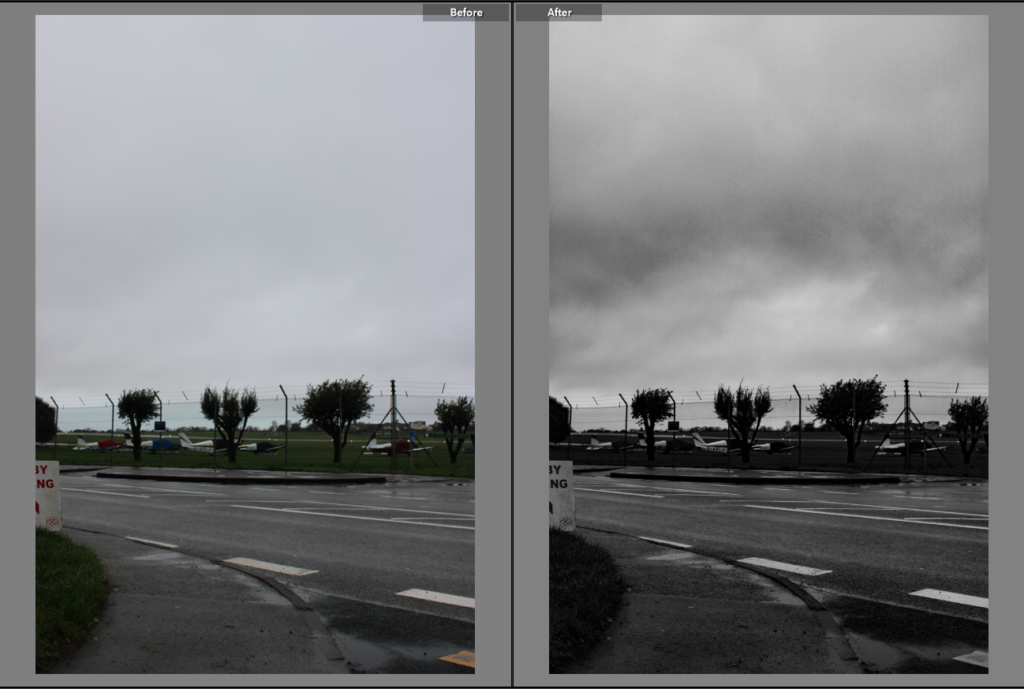
Editing process
For this picture, I pressed on develop and increased vibrancy by +100 and decreased saturation by -100. Then at the top bar I pressed on an icon that looks like a paint brush that looks like this,

In this icon, I increased clarity by 16, dehaze by 55 and sharpness by 43
Image 2:
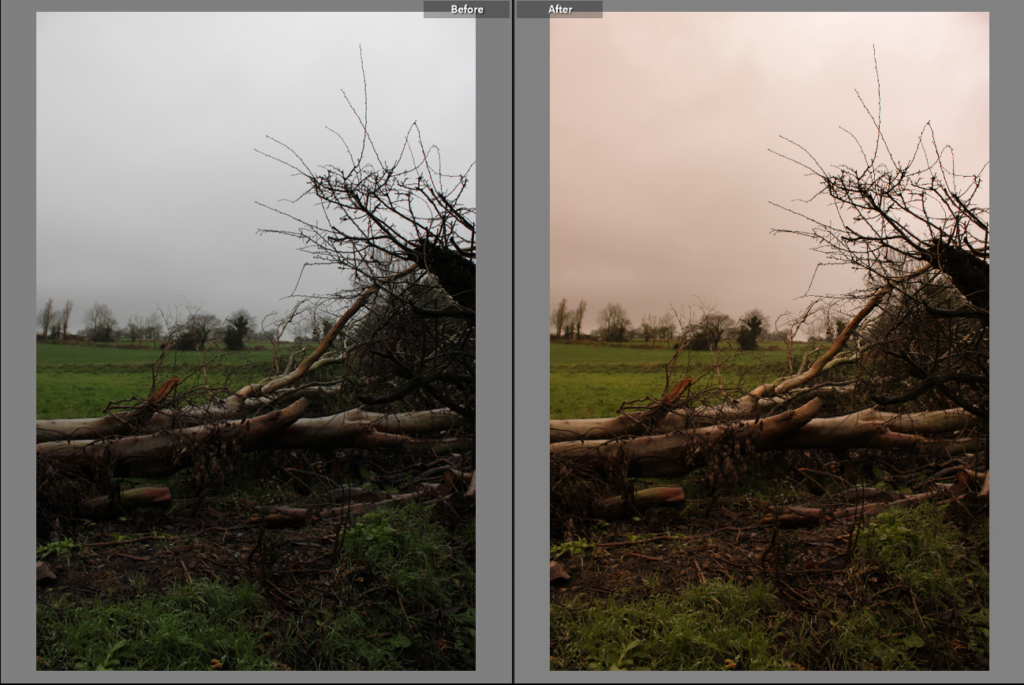
Editing process:
For this picture, I pressed on develop and increased temperature by +23 and tint by +25. Then at the top bar I pressed on a icon that looks like a paint brush and increased the dehaze by 33 and brushed the whole image making sure no spot is missed. This was all I did, in terms of editing, for this picture.
Image 3:
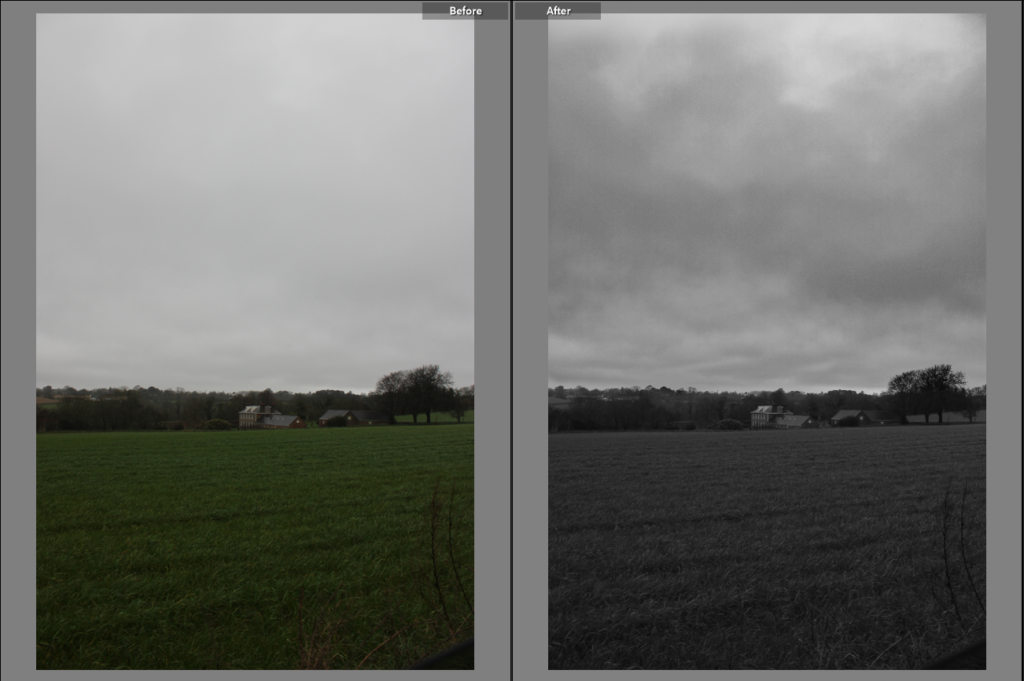
Editing process:
For this picture, I pressed on develop and increased vibrancy by +100 and decreased saturation by -100. Then at the top bar I pressed on an icon that looks like a paint brush and increased contrast by 23, shadows by 38, clarity by 16, dehaze by 45 and sharpness by 43. With these adjustments, I bushed the brush icon only on the clouds in the image, nothing else. This was all the editing I did in this image.
Image 4:
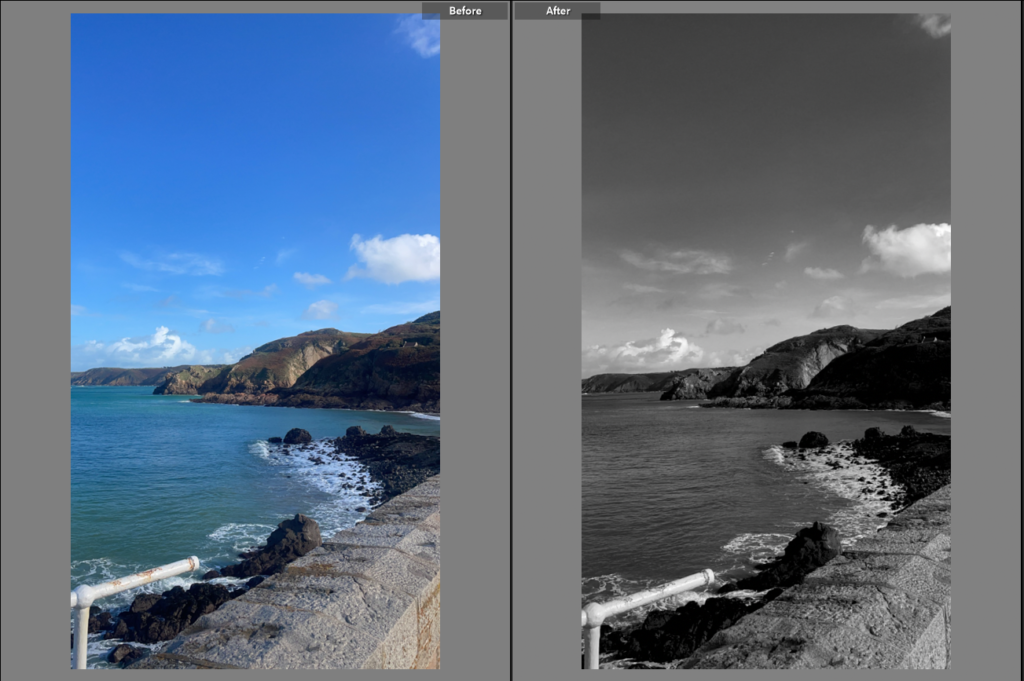
Editing process:
For this picture, I pressed on develop and increased vibrancy by +100 and decreased saturation by -100. Then at the top bar I pressed on a icon that looks like a paint brush and decreased the blacks by -21 and increased dehaze by 38 and then brushed the whole image, head to toe.
Image 5:
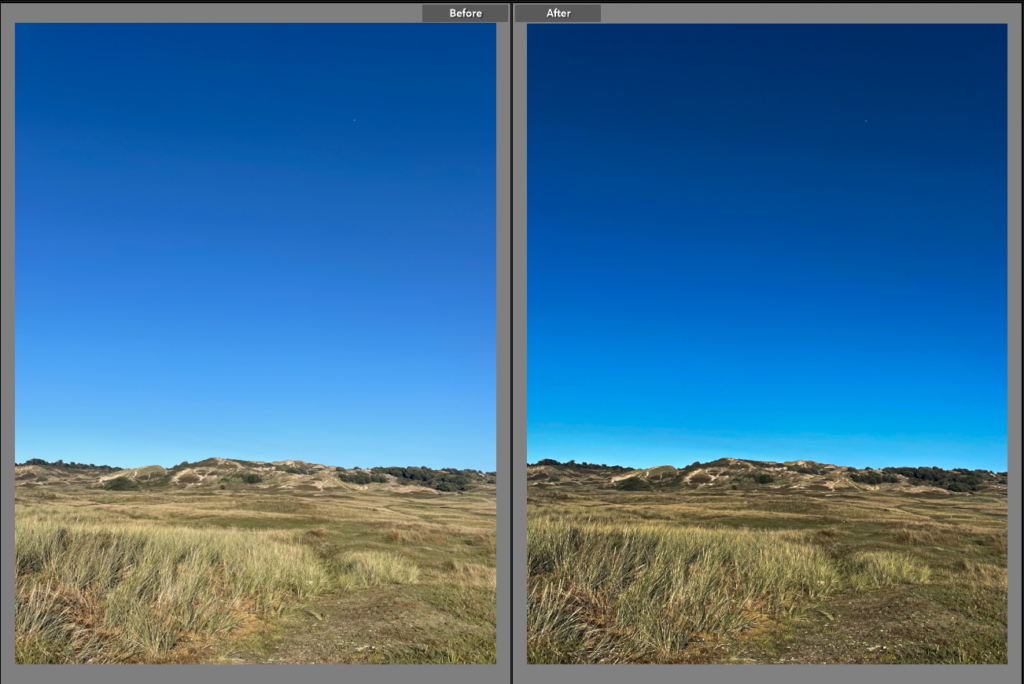
Editing process:
For this image, I pressed on develop and increased shadows by +53, texture by +42 and contrast by +5. Then I decreased exposure by -0.79. This was all I did in terms of editing.
Image 6:
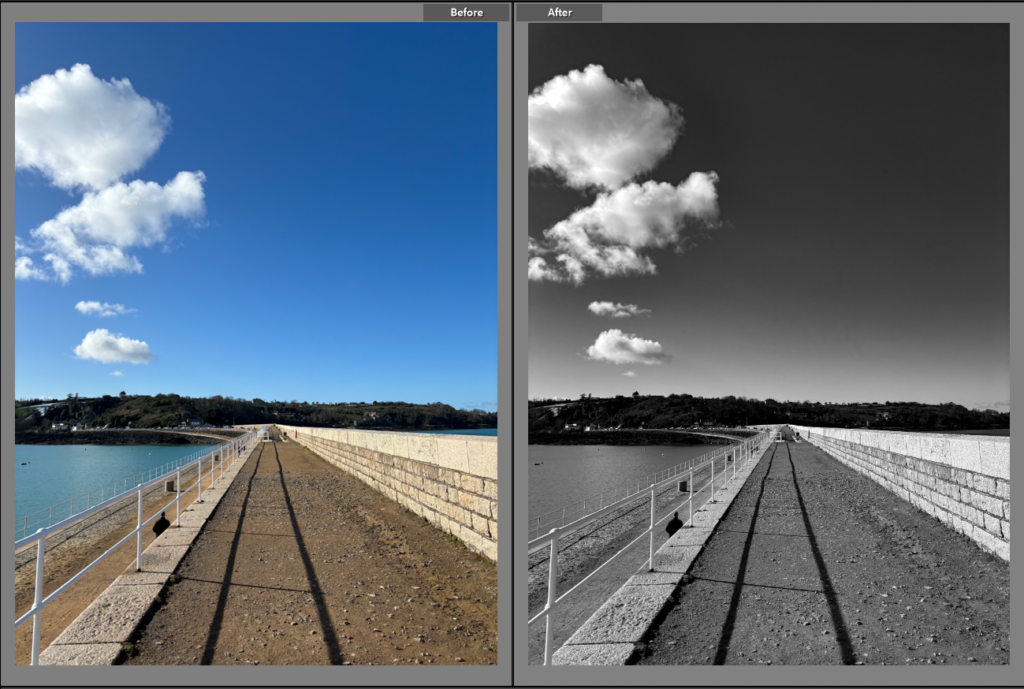
Editing process:
For this image, I pressed on develop and increased vibrancy by +100 and decreased saturation by -100. Then at the top bar I pressed on an icon that looks like a paint brush and increased dehaze by 60 and only brushed the top part of the image (the sky).
