Romanticism

A movement in the arts and literature that originated in the late 18th century, emphasising inspiration, subjectivity, and the primacy of the individual. It began and started to spread quickly throughout Europe and America.

Romanticism came about in the late 18th century. During this time political and economic atmosphere was influenced as many found inspiration from the French revolution. At this period in time there was a lot of social change in society, as it was also the beginning of the industrial revolution. The French revolution also had an impact on romanticism creating new ideas such as freedom and social change as it inspired themes of liberty, equality and individuality.

Many found that romanticism was a form of escapism, as people would use this to escape from their modern realities, into nature, where they could express there emotions and feelings through there expressive mark making and dramatic movements. Movements that came out of the French revolution was romanticism and enlightenment (age of reason).

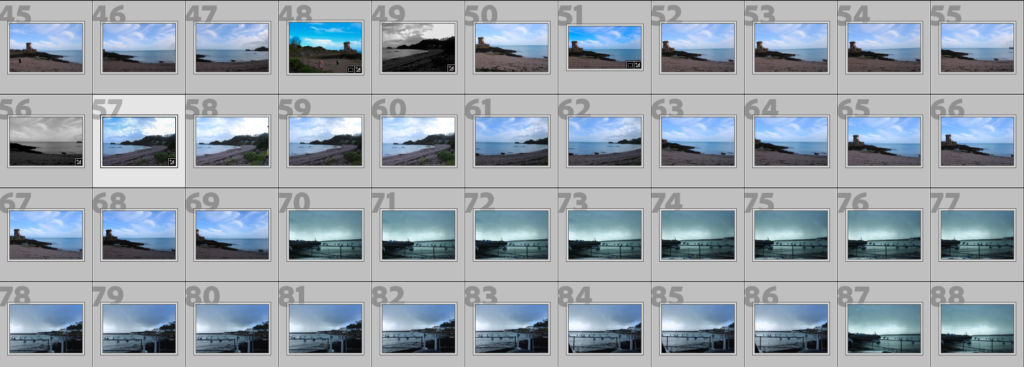
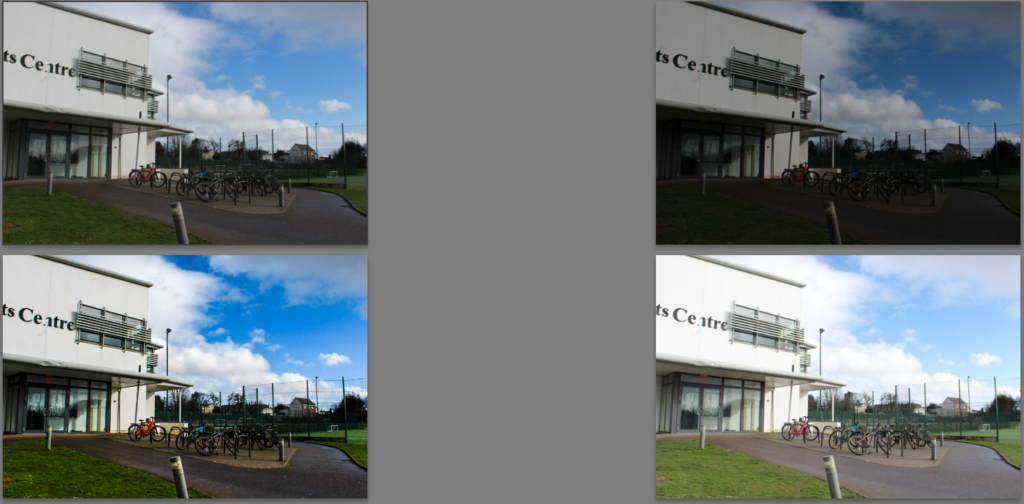
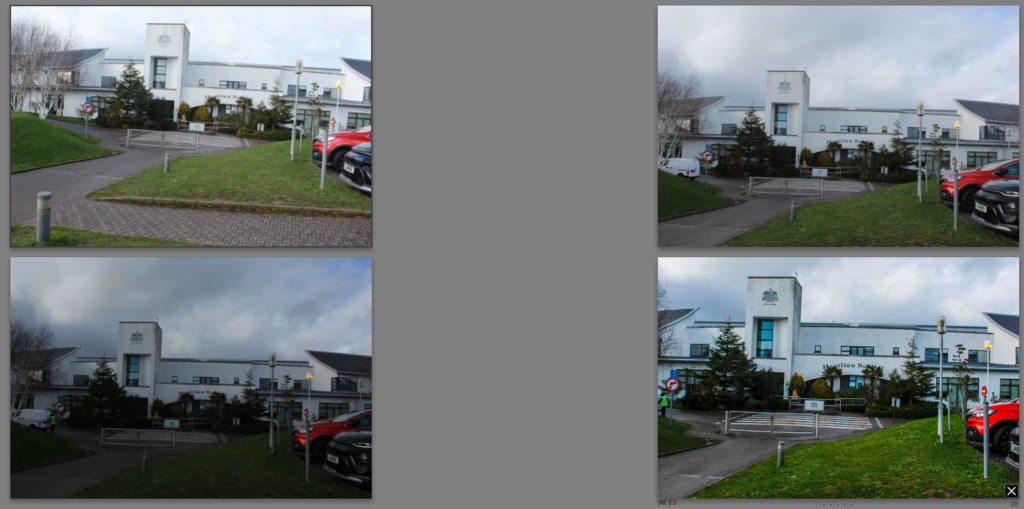
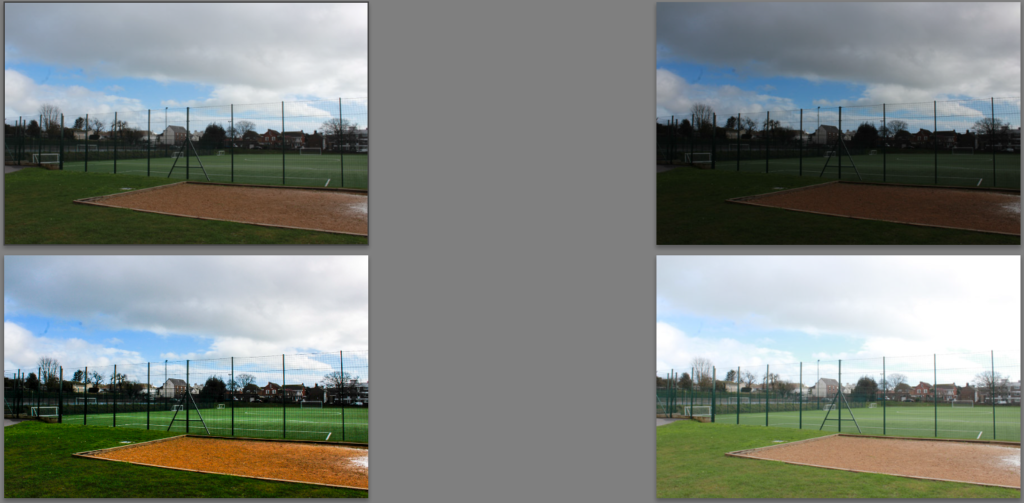
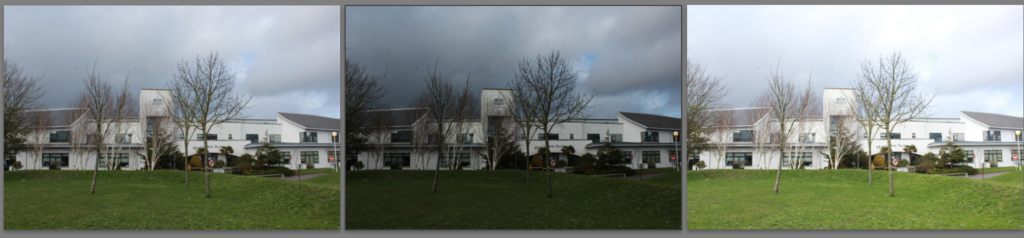
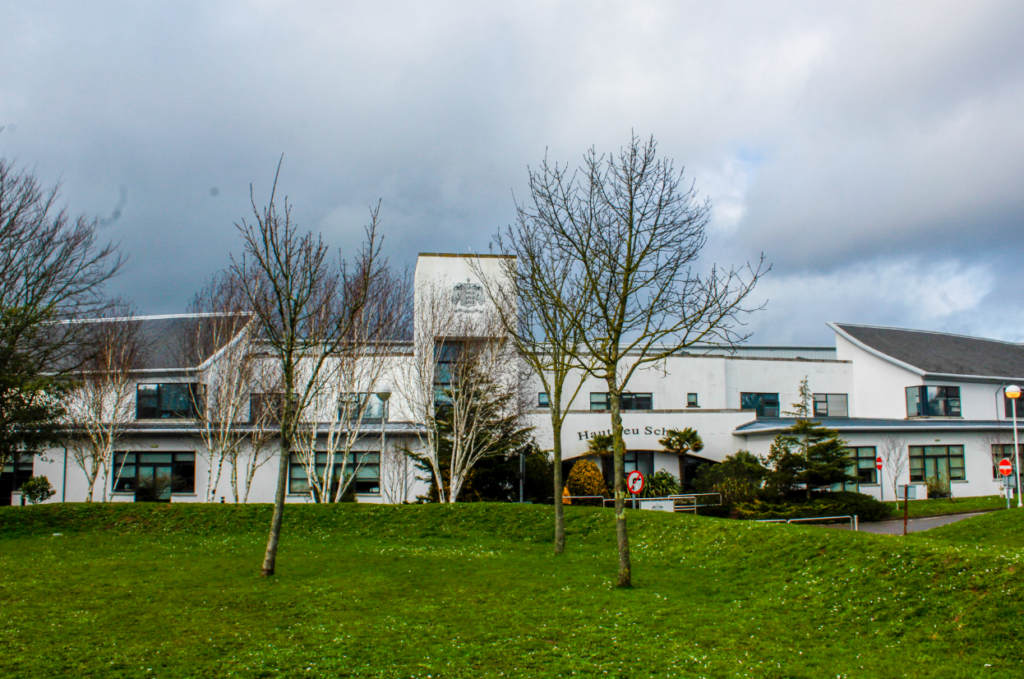
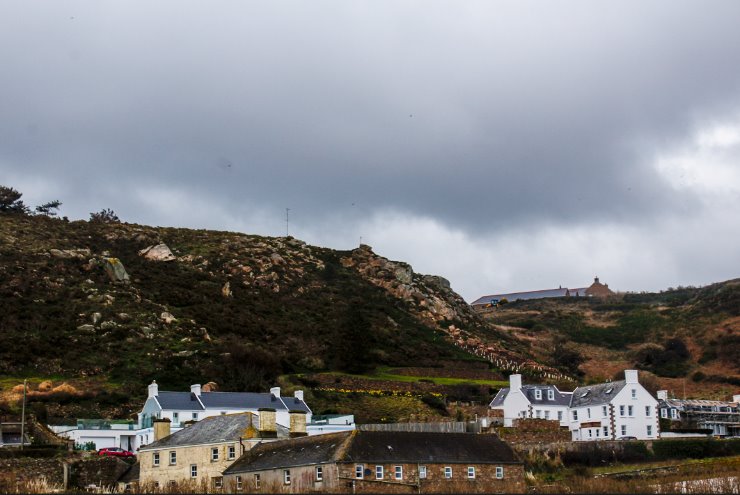
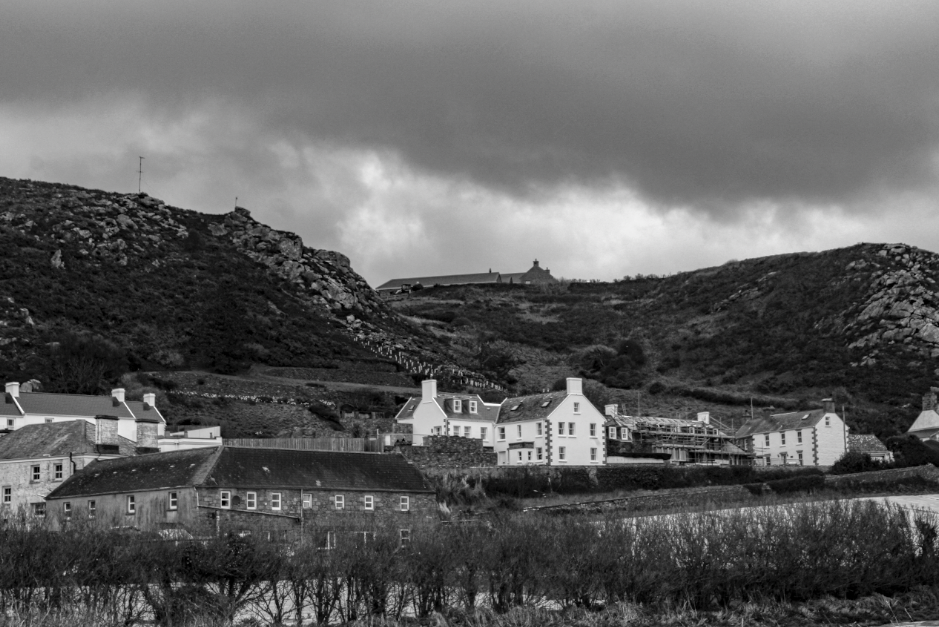
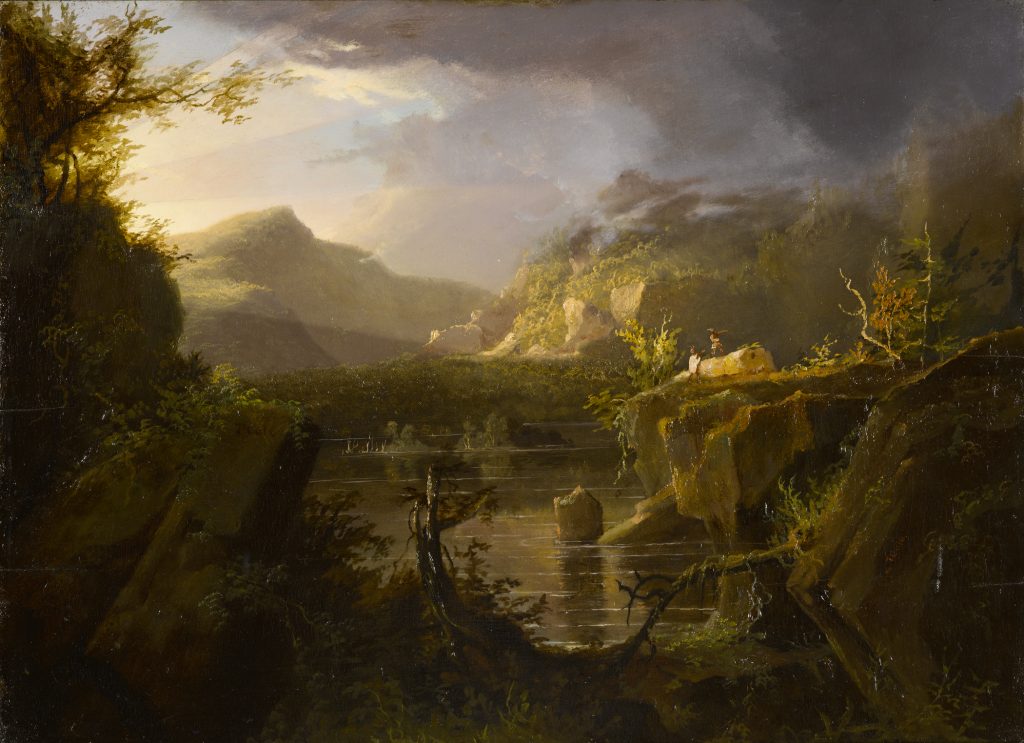
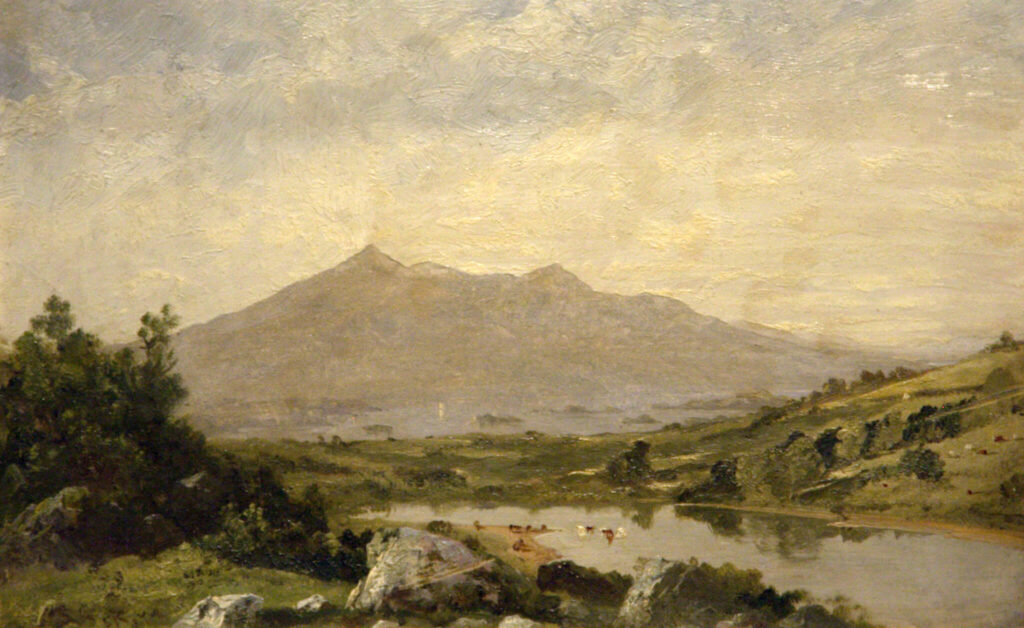
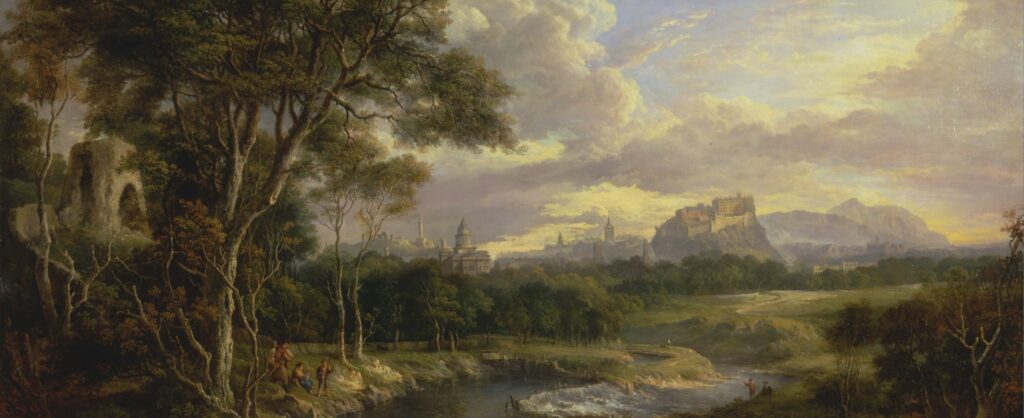
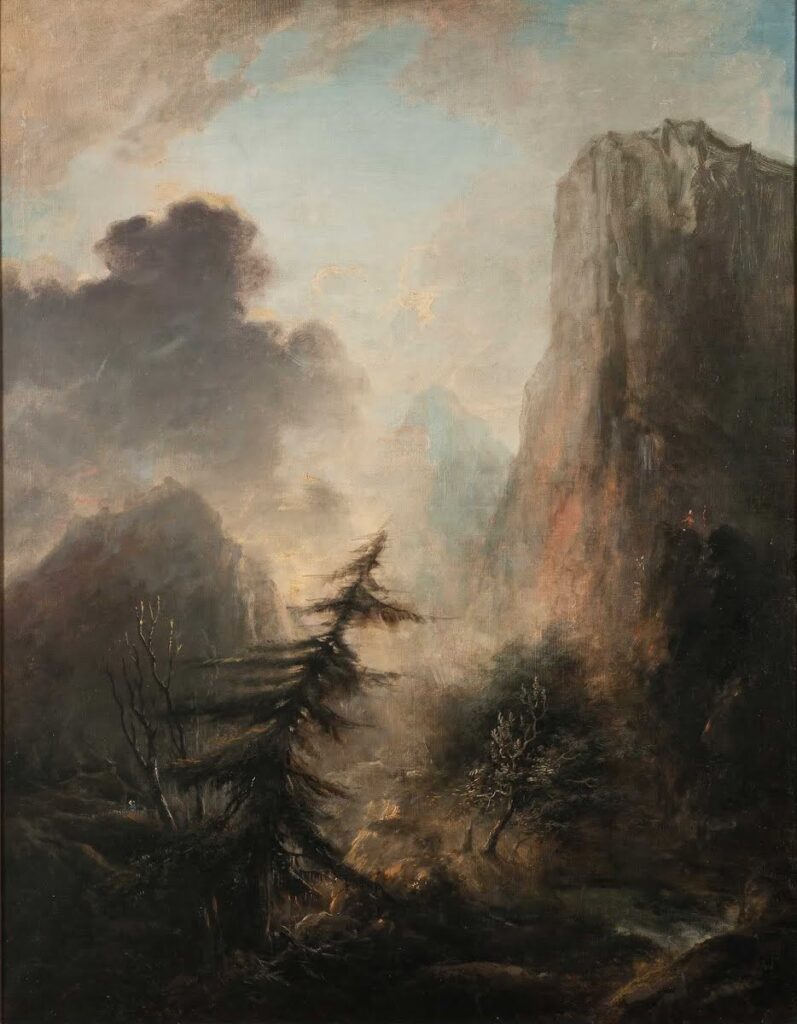
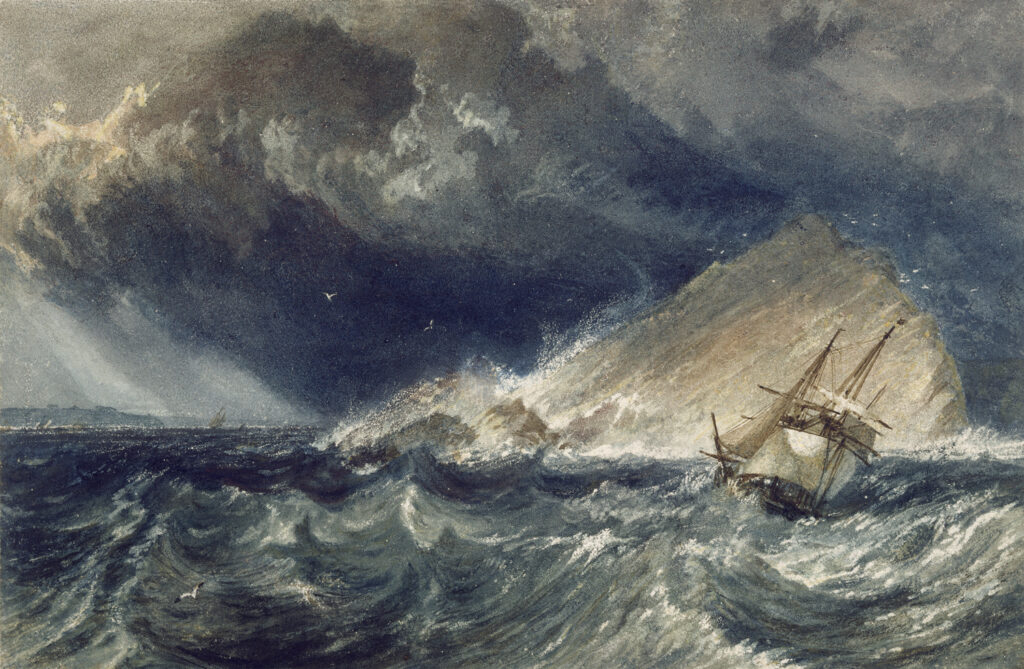
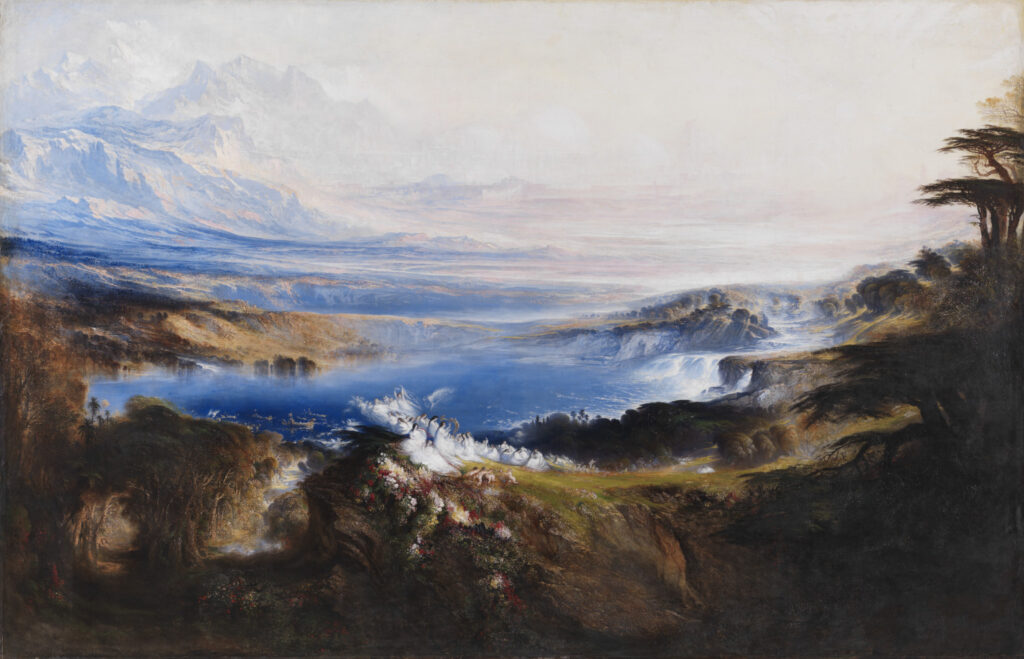
Romantic landscapes featured dramatic lighting

Characteristics:

  • Freedom of form
  • Individualism
  • Deepened appreciation of the beauties of nature
  • Identity
  • Celebration of individualism

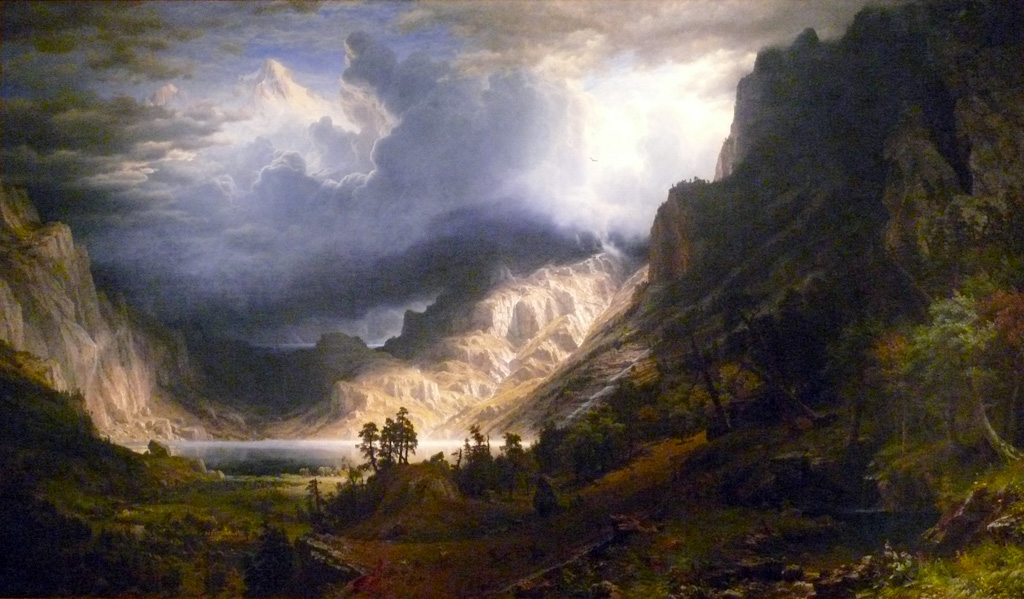
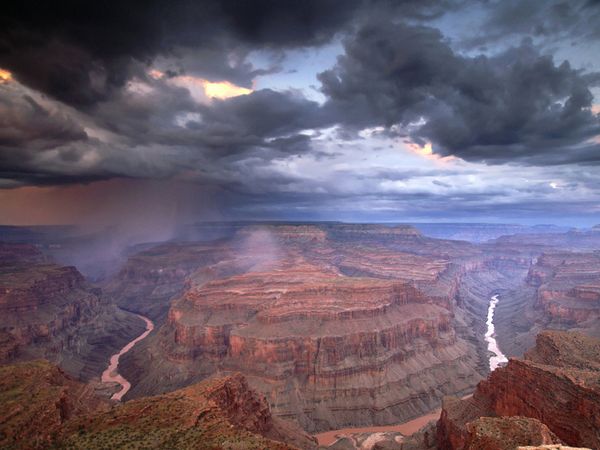
The sublime describes; of very great excellence or beauty. For example looking out into a stormy sea, with the dark heavy clouds above making you feel a sense of awe, creating this dramatic but inspiring scene, but also creating a unique relationship between human and nature. A good example of the sublime is storms, and seeing all the destruction and damage caused as this creates quite a statement, and dramatic scene. The aftermath of the storm is an interesting concept, as there is quite dramatic scenes created

What did Edmund Burk think was the ruling principal of the sublime?

Edmund Burk best describes the sublime as being the cause of the strongest emotions which the individual is capable of feeling. It is this dramatic illusion, creating different emotions that you feel.

Edmund found that the terror was the overall ruling principal as he found ideas of pain much more satisfied and interesting, than the ideas of pleasure. For example this idea of you standing, with clouds, mountains, or the sea overlooking you creates much more of an intimidating and emotional piece as it creates a very dramatic and daring look.

Landscapes Contact Sheet

For this landscapes photoshoot, I borrowed a camera from school and went to a few areas in the East of the island; Gorey, Rozel, St Catherine’s and Archirondel. I found that these areas had views that incorporated nature, as well as monuments such as the castle. I think that these things together make successful and similar approach to Ansel Adams.

Next, I will flag these images to divide them into my most and least successful outcomes. This will make it easier for me to identify which images to use for future final products, and I can also see my areas for improvement and how to enhance my photoshoots.

Practice response to Exposure Bracketing

Once you have your 3 images selected, right click on one of the images and click “photo merge” and then click “HDR“. Next select the deghost amount and change it to “high” to allow your photos to have the best quality and see the difference between each image successfully. This will give you a final result of all three exposure levels merged together to create the perfect exposure for your images.

My first example:

My second example:

My third example:

My fourth example:

Landscapes photoshoot plan:

During studying landscapes, we have looked at how to produce HDR images so my outcomes can obtain details from different images, merged into one. In photography, HDR stands for high dynamic range. Dynamic range is simply the range of the lightest tones to the darkest tones within a photo. In other words, it’s a measure of the light intensities from the highlights to the shadows. In photography and videography, multi-exposure HDR capture is a technique that creates high dynamic range images by taking and combining multiple exposures of the same subject matter at different exposures.

How does HDR affect my images?

The higher dynamic range your camera has, the closer the photo will compare to what an eye can see. This means that you’ll be able to capture more details in the shadows that might otherwise appear pure black, and you’ll be able to see details in the highlights that might otherwise be washed out with white. HDR captures multiple exposures of the same scene at different brightness levels. Typically, the camera takes one average exposure, an underexposed image to capture details in the highlights, and an overexposed image to capture details in the shadows.

The HDR camera setting is useful when you have trouble balancing a photo’s light. When shooting landscape photography, it can help show the details of where the sun is hitting as well as where the shadows fall.

My plan:

Before I take my photos, I will make sure to adjust the correct exposure levels for my specific images. Most photographers take three shots at exposure values of -3, 0, and +3. A negative value results in a darker exposure, and a positive exposure is brighter.

After I have adjusted my camera correctly and experimented by taking photos. I can merge all 3 images with 3 different exposure levels to create an HDR image in Adobe Lightroom. If I am not happy with my final result I can continue to edit them in Lightroom.

Exposure Bracketing Landscape

When taking a single-exposure photo, you might notice that the scene’s dynamic range is too wide for your camera. In other words, your camera doesn’t capture all the detail in one frame.

For example, suppose you are photographing an object in sunlight. In this case, the brightest elements will appear glaring white, and you will lose the details of these elements.

Similarly, when taking a photo of a person in front of a bright background, your camera might capture your subject as a flat shadow with no detail.

HDR stands for high dynamic range. This function increases your camera’s dynamic range to pick up detail in the shadow and the light elements of a frame.

HDR processing involves taking multiple images and capturing the same scene at different exposure values. Then, you need to merge these images using high-end photo editing software such as Adobe Lightroom 

The result is an image with visible detail in its lightest and darkest elements, making it appear more natural to the human eye.

I would successfully execute by adjusting my camera settings- I would control my camera’s aperture while my camera automatically adjusts the shutter speed. 

I would adjust my ISO setting as it determines your camera’s light sensitivity. Choose the lowest possible setting to ensure that your images are not grainy.

Select the correct aperture- In landscape photography, a narrow aperture of f/11 or higher is ideal. All your subjects will be in focus at these aperture settings, even at varying distances.

Adjust the correct exposure levels for my specific images- Most photographers take three shots at exposure values of -3, 0, and +3. A negative value results in a darker exposure, and a positive exposure is brighter.

A camera with an auto exposure bracketing (AEB) function can automatically take multiple photos at varying exposure levels. 

We made sure to use a tripod so there isn’t any noticeable movements or camera shakes.

We put the camera settings on continuous shooting so we can quickly take 3 images without the camera moving or shaking as well as using a tripod. Also preventing a subject moving in the image e.g. a car or person which unfortunately happened within these images. However when I merged the image the person came out clear and detailed therefore didn’t cause much of a problem.

Here is a preview of what merged together within the image. I selected high DE ghost amount which clearly shows what created the final outcome.

Personally, I think this image is slightly grainy and looks unrealistic within the tones and shades so I could select a lower De ghost amount to make it look more realistic.

There isn’t a significant amount of change however I personally prefer this photograph as it slightly looks more realistic as you ca see a slight difference within the shade of the grass and the sky.

Within this image I selected the high exposure level and selected show the De ghost which ultimately shows what has been merged with red highlights to show you the difference.

How To Merge Images Using HDR

To create photos similar to Ansel Adams I am merging three different exposures (over exposed, under exposed, normal exposure) using the HDR tool in Adobe light-room classic.

1: To start I selected the three of the same photos with different exposures to use.

 2: Next I selected the photo merge tool and the HDR option.

3: I then needed to select which amount of Deghost (none, low, medium, high) looked best for this photo.

4: I selected the high amount as it made it the most detailed in comparison to the low and medium


Adjusting the photo:

To turn the photo into a black and white image I turned the saturation level to 0. I also adjusted the other settings such as dehaze and texture as I found it made the photo darker in areas.

I turned this photo black and white in order to make it similar to Ansel Adam’s photographs. I like how it has turned out as it has a dramatic look to it which is created by the intense dark clouds that are in the upper portion of the image and the contrast of the light and dark details in the lower portion of the image.