When taking a single-exposure photo, you might notice that the scene’s dynamic range is too wide for your camera. In other words, your camera doesn’t capture all the detail in one frame.
For example, suppose you are photographing an object in sunlight. In this case, the brightest elements will appear glaring white, and you will lose the details of these elements.
Similarly, when taking a photo of a person in front of a bright background, your camera might capture your subject as a flat shadow with no detail.
HDR stands for high dynamic range. This function increases your camera’s dynamic range to pick up detail in the shadow and the light elements of a frame.
HDR processing involves taking multiple images and capturing the same scene at different exposure values. Then, you need to merge these images using high-end photo editing software such as Adobe Lightroom
The result is an image with visible detail in its lightest and darkest elements, making it appear more natural to the human eye.
I would successfully execute by adjusting my camera settings- I would control my camera’s aperture while my camera automatically adjusts the shutter speed.
I would adjust my ISO setting as it determines your camera’s light sensitivity. Choose the lowest possible setting to ensure that your images are not grainy.
Select the correct aperture- In landscape photography, a narrow aperture of f/11 or higher is ideal. All your subjects will be in focus at these aperture settings, even at varying distances.
Adjust the correct exposure levels for my specific images- Most photographers take three shots at exposure values of -3, 0, and +3. A negative value results in a darker exposure, and a positive exposure is brighter.
A camera with an auto exposure bracketing (AEB) function can automatically take multiple photos at varying exposure levels.
We made sure to use a tripod so there isn’t any noticeable movements or camera shakes.
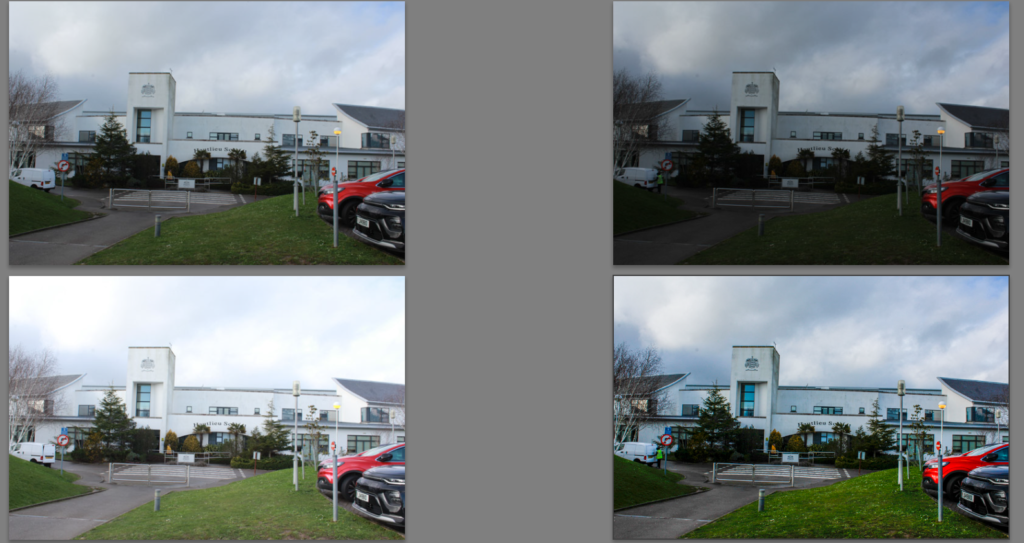
We put the camera settings on continuous shooting so we can quickly take 3 images without the camera moving or shaking as well as using a tripod. Also preventing a subject moving in the image e.g. a car or person which unfortunately happened within these images. However when I merged the image the person came out clear and detailed therefore didn’t cause much of a problem.
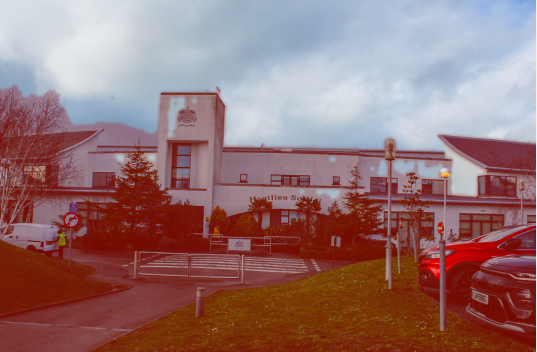
Here is a preview of what merged together within the image. I selected high DE ghost amount which clearly shows what created the final outcome.
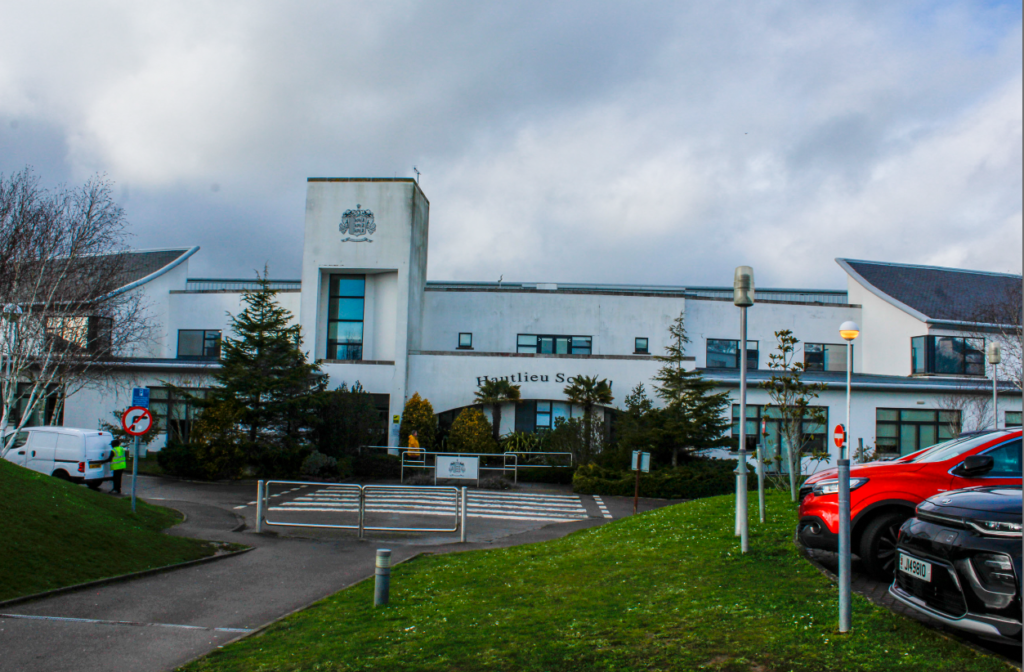

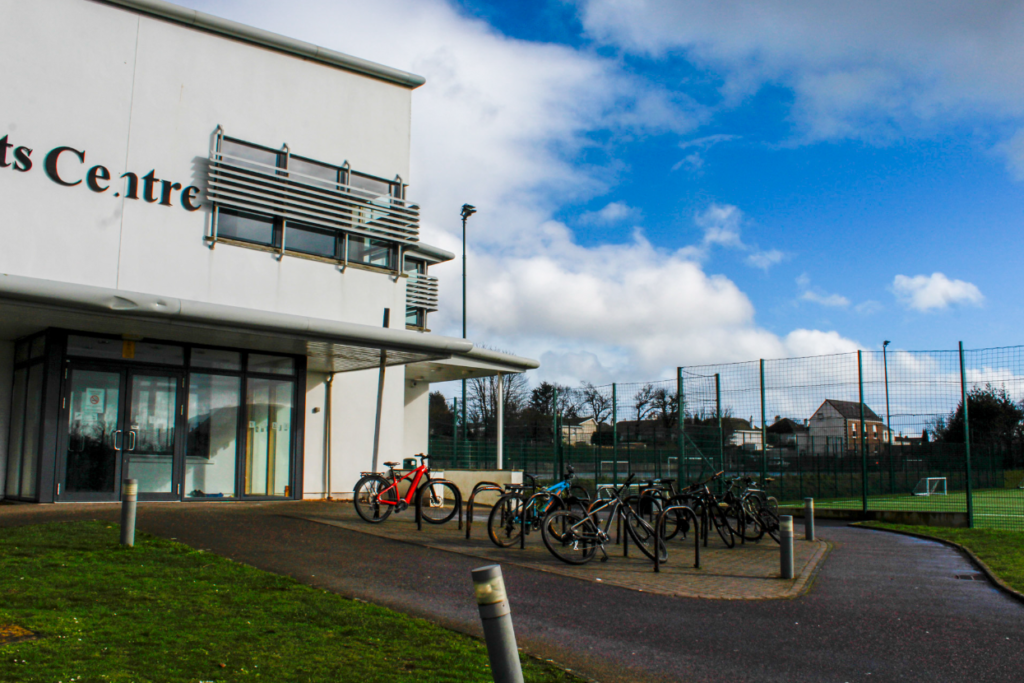

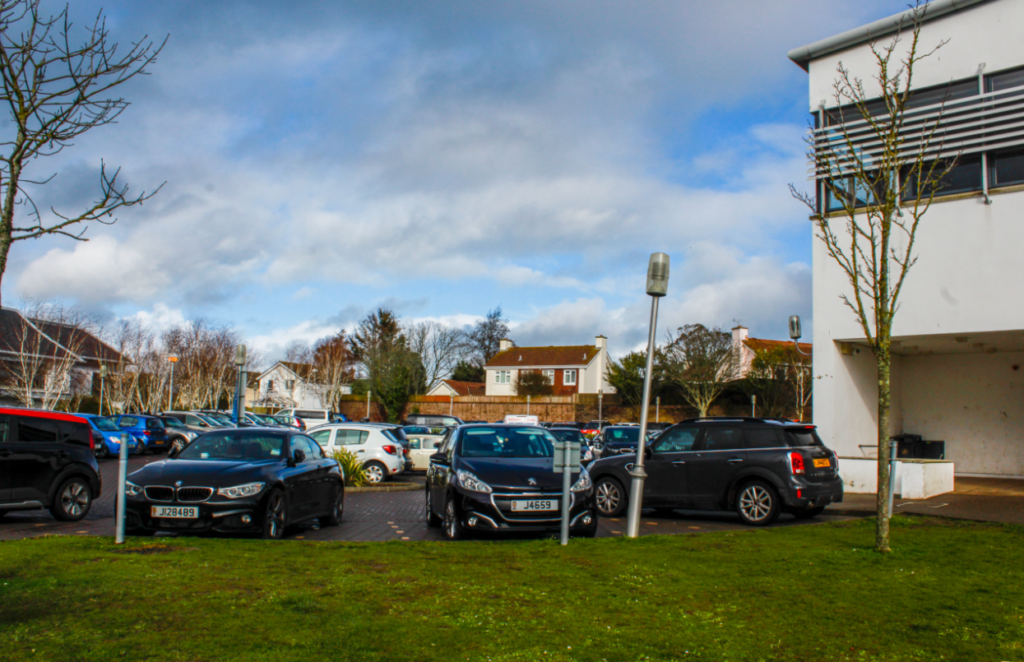
Personally, I think this image is slightly grainy and looks unrealistic within the tones and shades so I could select a lower De ghost amount to make it look more realistic.
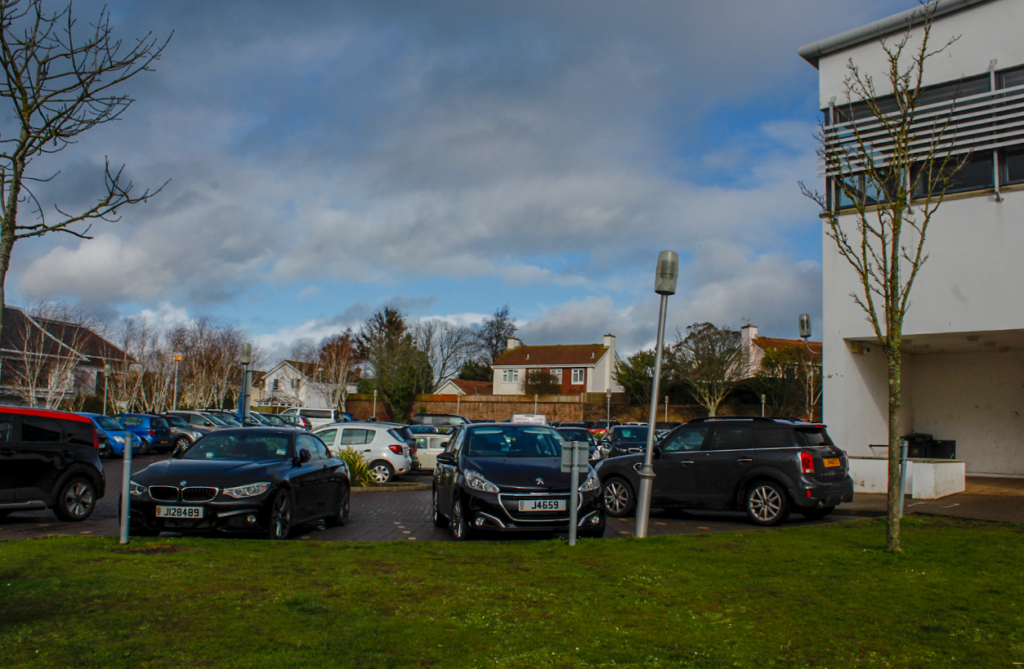
There isn’t a significant amount of change however I personally prefer this photograph as it slightly looks more realistic as you ca see a slight difference within the shade of the grass and the sky.

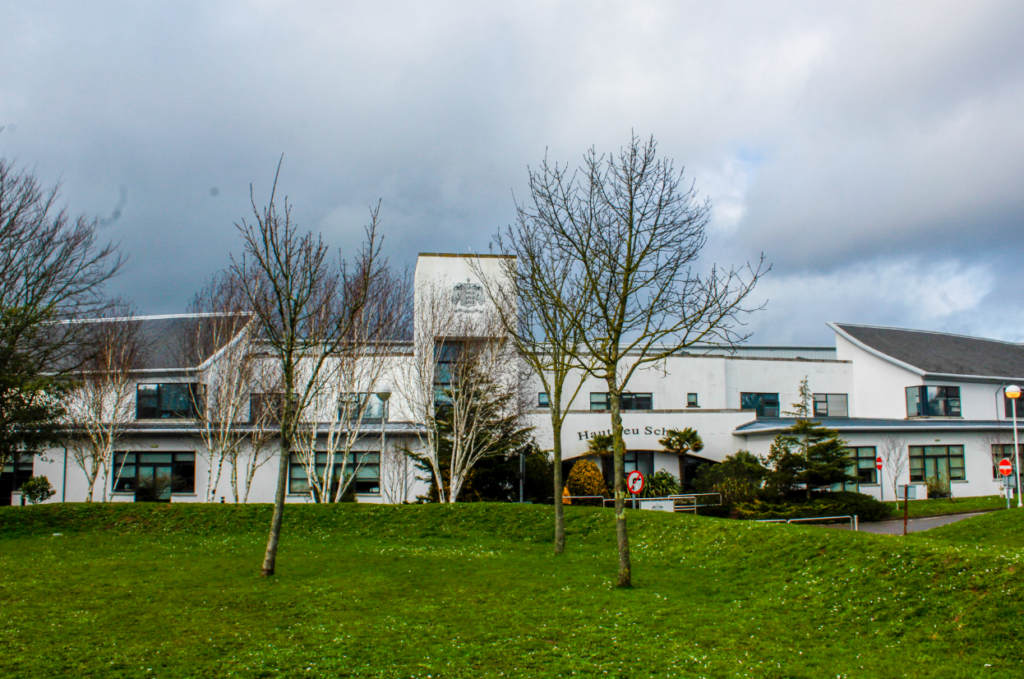
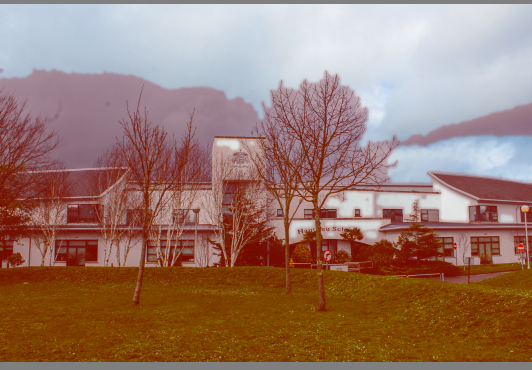
Within this image I selected the high exposure level and selected show the De ghost which ultimately shows what has been merged with red highlights to show you the difference.
