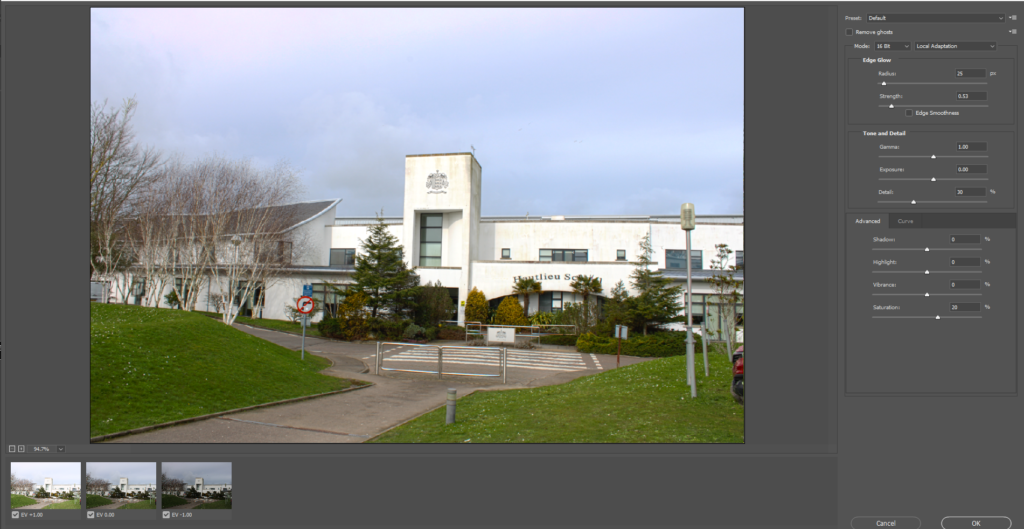
Exposure Bracketing is where a sequence of pictures with different exposures are taken, these are then blended together to create a photo with a much higher dynamic range. It makes all the details of the photograph stand out so that you can create the exact image you had in your head. Exposure Bracketing is beneficial for landscape photography because it accentuates the dark darks and the light lights. Exposure bracketing it useful for this because in one photograph it isn’t possible to get both light and dark exposures at one time.
For exposure bracketing you should always have at least two photographs that are the exact same image but with a different level of exposure. A tripod would be good to use to get stable images that are all the same to ensure that exposure bracketing is easy to do.


For this, I went onto photoshop and selected “Merge to HDR pro” to enable me to select the 3 photos I was using. I then merged these together to create a very detailed picture where all the colours were extremely vibrant and detailed. This can also be done in Adobe Light room to merge the photos together.
Exposure Bracketing links back to Ansel Adams, this is because he also had complete control of the exposure.
HDR
