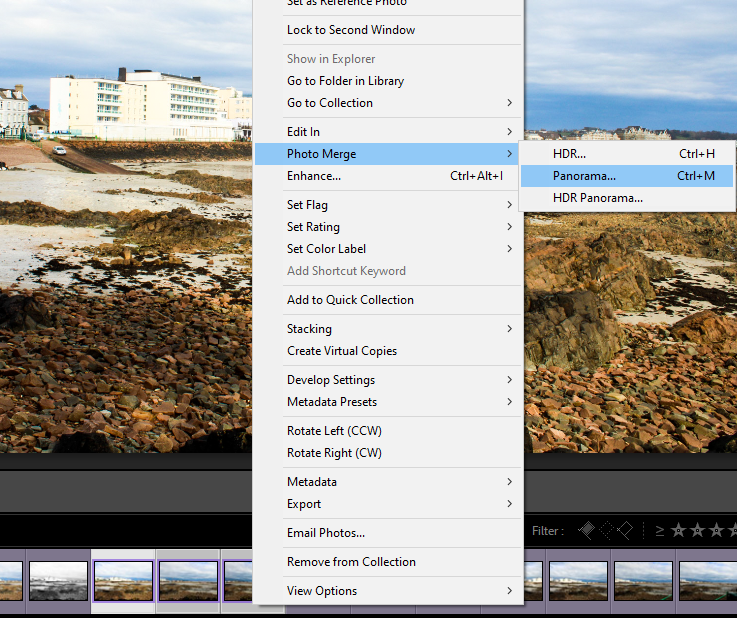
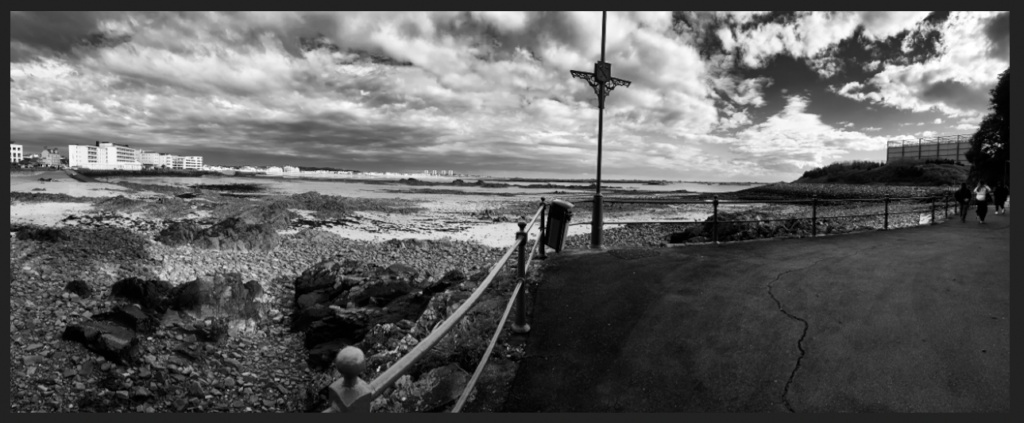
- The first step to making a panoramic image is to select the photos which you would like to merge together. You then select merge and select the ‘panorama’ option. Once you have done that it will create a panoramic image and you can then move onto editing it.
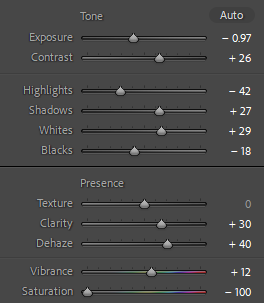
2. Next I adjusted the settings and turned the photo into a black and white image by removing all saturation. I also increased the contrast slightly to make the darker areas and lighter areas more dramatic.
Finished product:
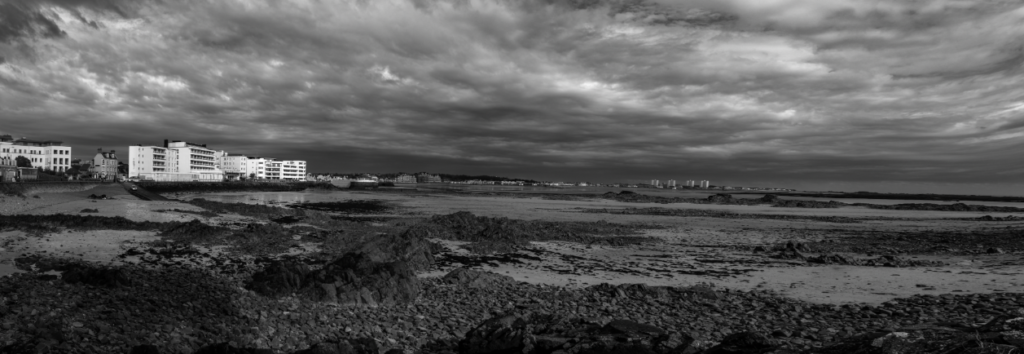
I like this photo however I feel it is slightly dull as there isn’t many bright areas especially in the foreground. However the panoramic itself has combined well and it looks as if it is one long photo rather than many combined.
Taking panoramas using a phone:
- As well as making a panorama through adobe light room I also took one using my phone camera. I done this by using the panorama option when taking a photo.
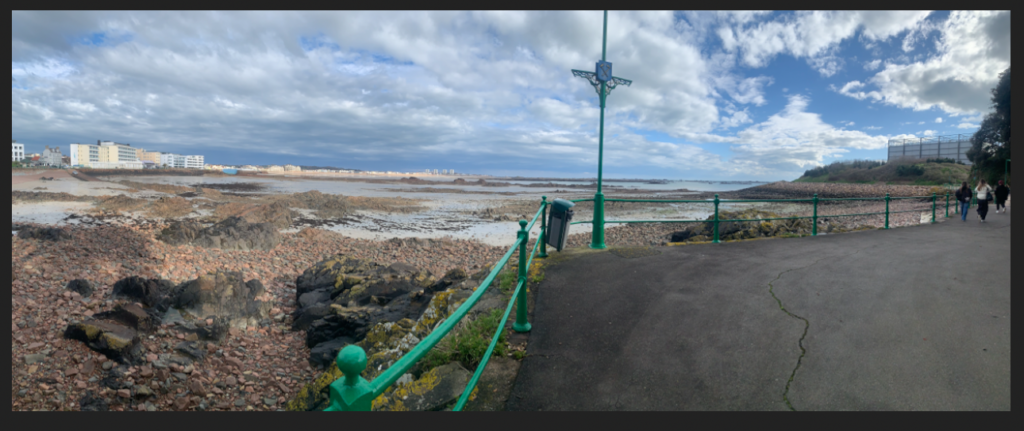
2. I then applied the same settings I used in my other panorama edit to make the photo a highly contrasted black and white image.
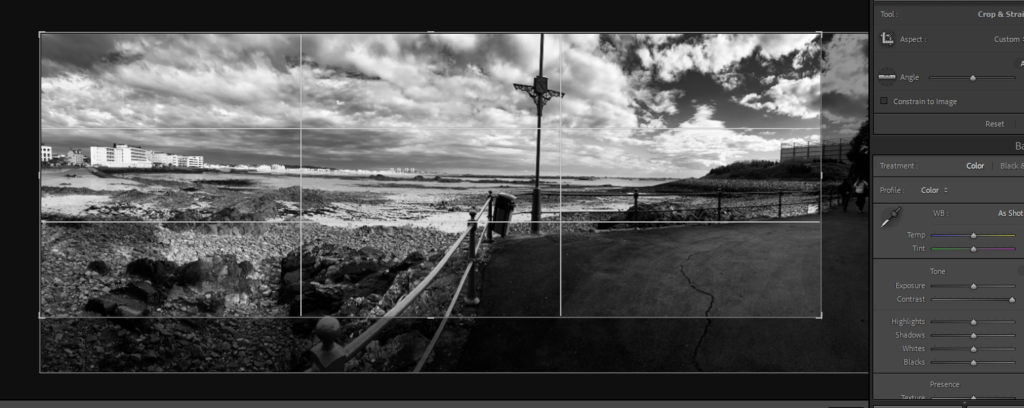
3. Finally I cropped the image as I found that some areas looked off such as the curve of the railing in the foreground. I also wanted to crop out the people as I only wanted to capture the landscape.
Finished product:
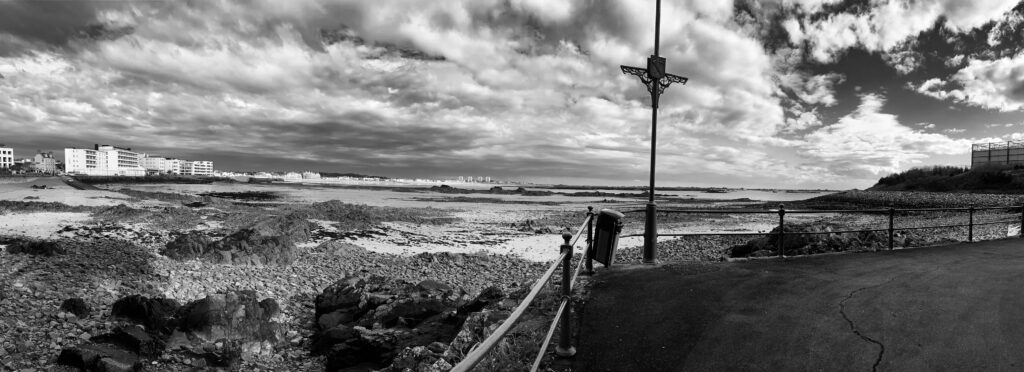
I prefer this image which I took using my phone as I prefer the way the clouds look as they are extremely bright in contrast with the sky. This gives a romanticised feel as it looks very dramatic and strong, this effect is created by the extreme dark areas and the extreme light ones.
Panorama by hand:

To create this I used tape to tape three different landscape images together. I don’t like how it has turned out as all the images have a different brightness level, the middle one is too bright compared to the other two.
Virtual Gallery:
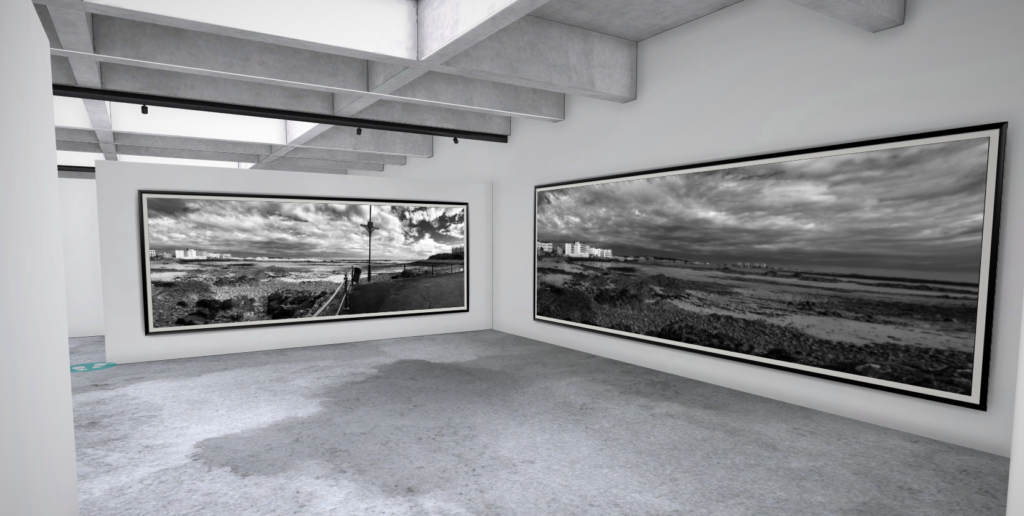
I added both the panoramic images into my virtual gallery collection (landscape gallery).
