Photo #1
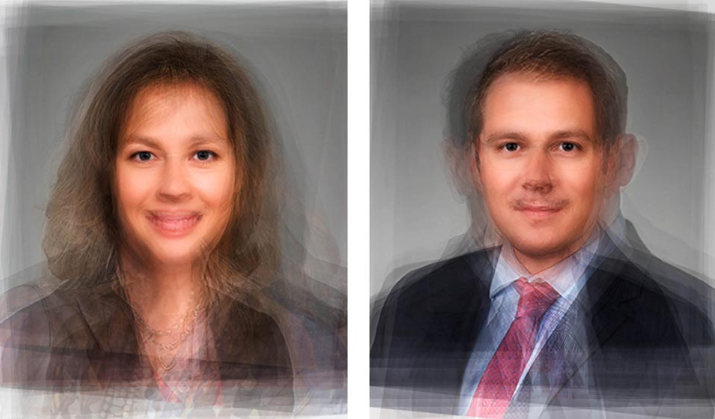
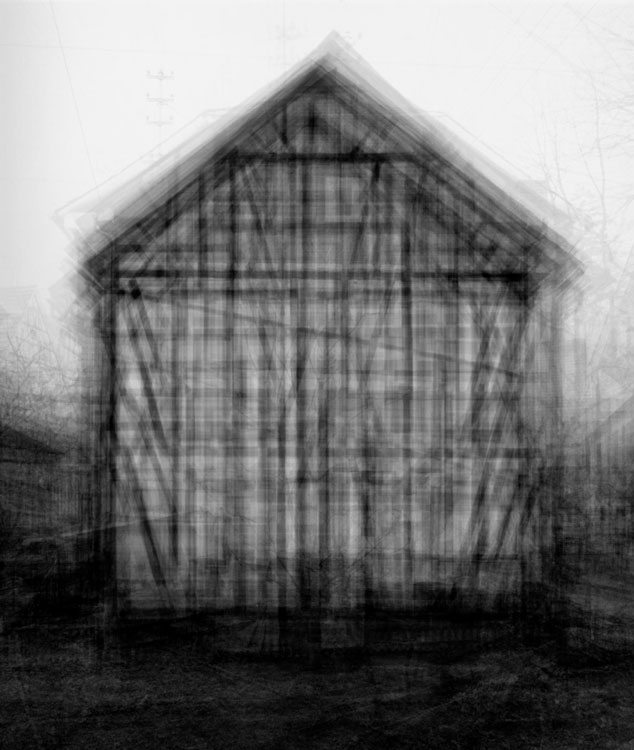
This idea came from the artist Lewis Bush and Idris Khan. Two artists that have very similar work which involves multiple exposures overlapping one another to create and end result photo.
I started by importing one photo of my model into photoshop.
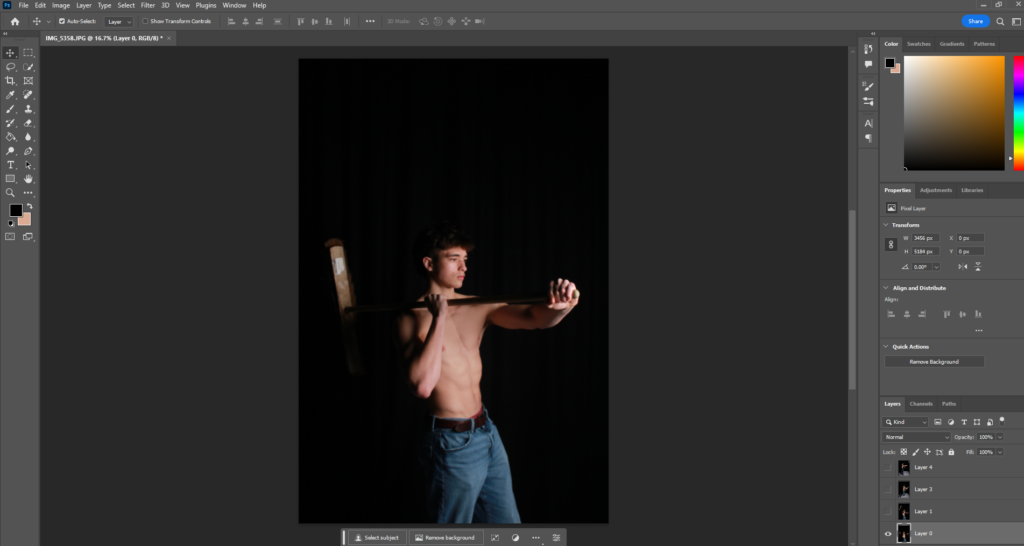
For this photo, I used artificial lighting by using a black background with no studio lights above, but I used a flash light with box filter over it. Positioned model in the centre, flash light directly on the right side of model, with my model slanted at the light at about a 75 degree angle.
F-stop = f/11
Exposure time = 1/160 seconds.
ISO speed = ISO-100
Focal length = 22mm
Then I added all of the other photos I wanted to use which was 11 photos in total. Put them on top of each other, all in the centre of the grid. Changed of all of them apart from the base picture to 50% opacity, and made sure that even though they were mostly all 50% opacity, I wanted to make sure you can still see a clear image of my model.
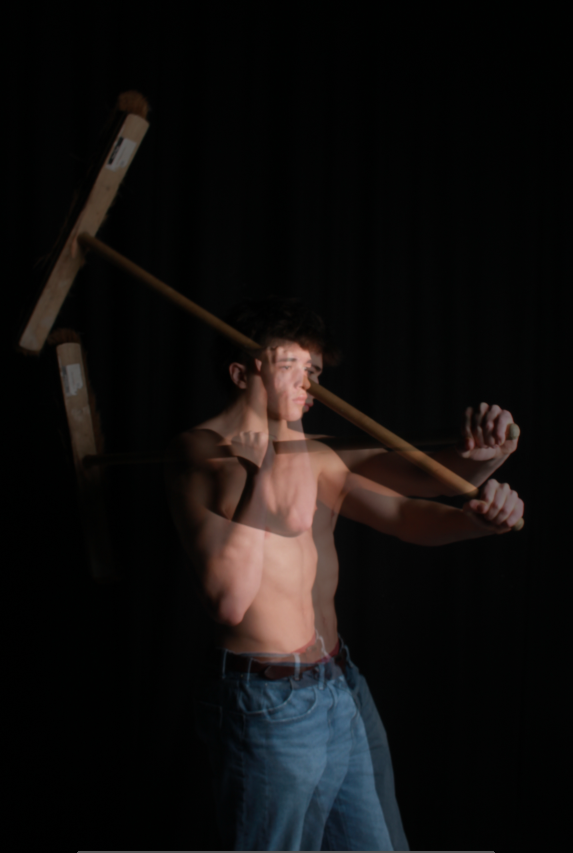
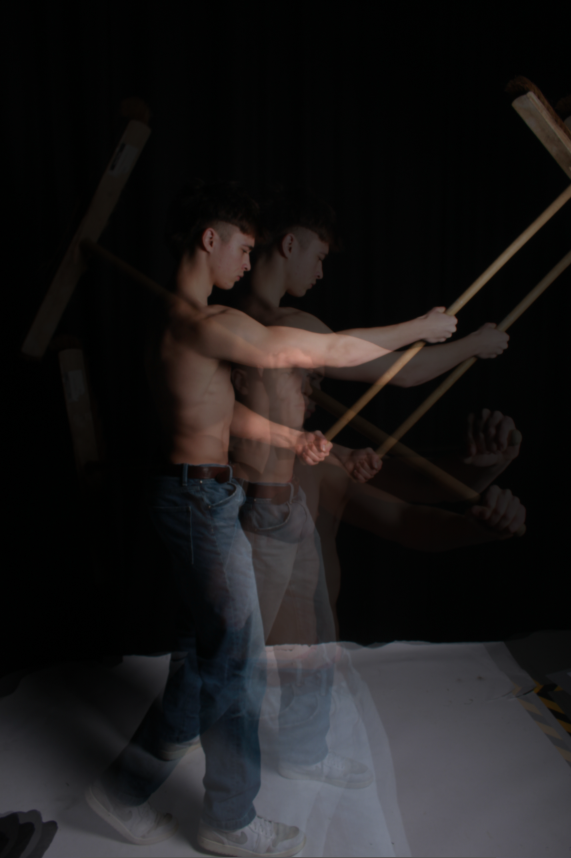
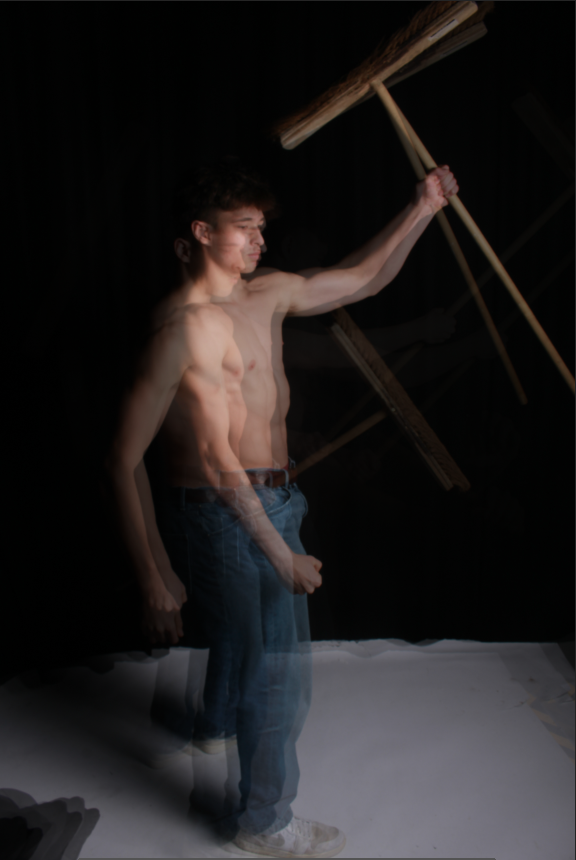
This is my editing process of adding a few in, then some more, and then some more and below.
Which then created this final photo of all of those masculine pictures overlapping each other, which is called Multiple Exposure.
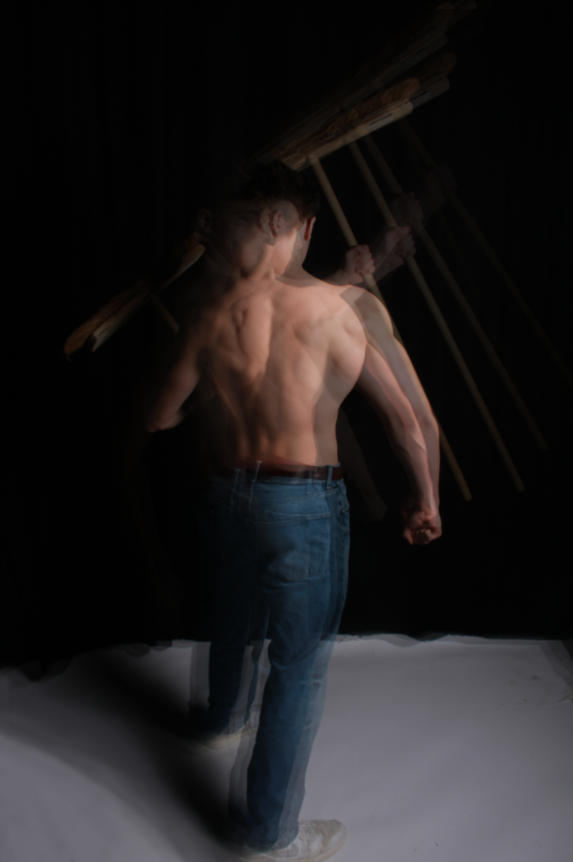
Photo #2
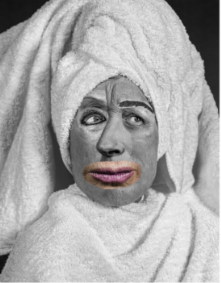
For this photo, I used the artist reference, Cindy Sherman. Sherman uses this way of editing to deceive the audience into thinking that her style is ‘immature, young, funny maybe even considered ugly’. But I used this way of editing on my photo because I like how different body sections are bright and coloured, and the rest is black and white.
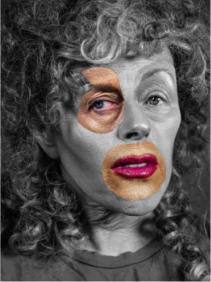
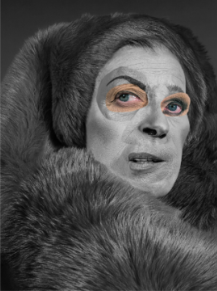
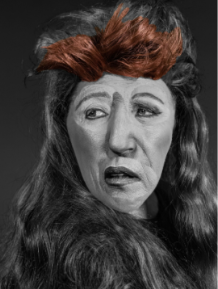
But for my photo, I wanted to use it on a body part instead of the models face as Cindy Sherman did. So, I started by using this photo of my models arm that involved his bicep, tricep, shoulder, forearm and upper back.
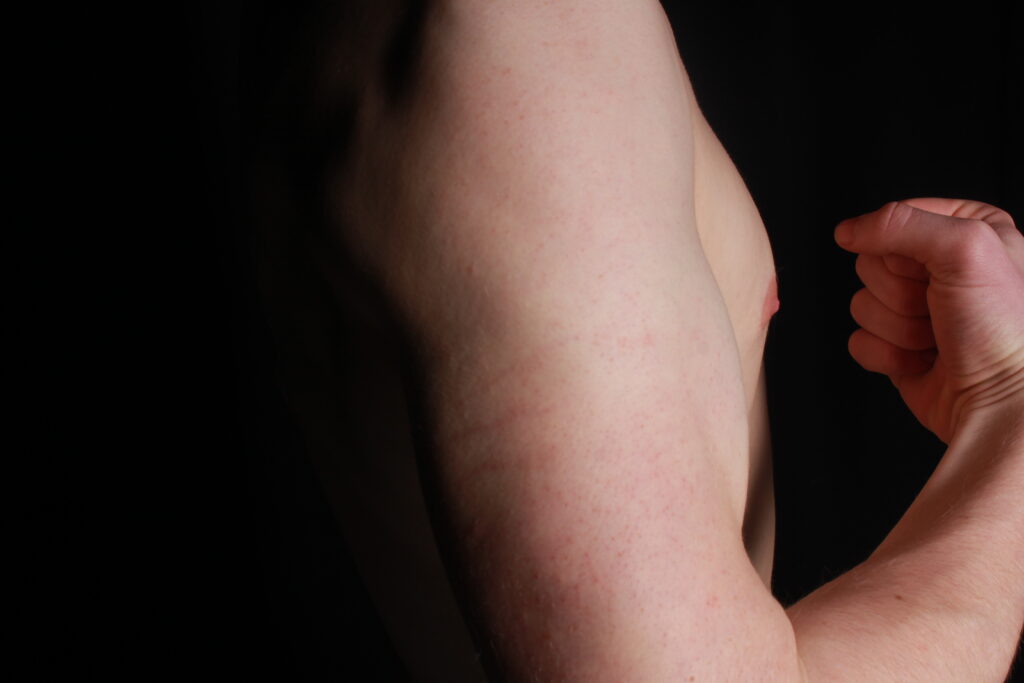
I then edited it to look more masculine, increasing the contrast, lowering the exposure, lowering highlights and shadows and increasing the whites and blacks. Then, increased the texture and clarity to show more detail and definition.
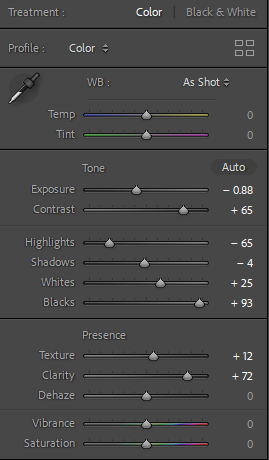
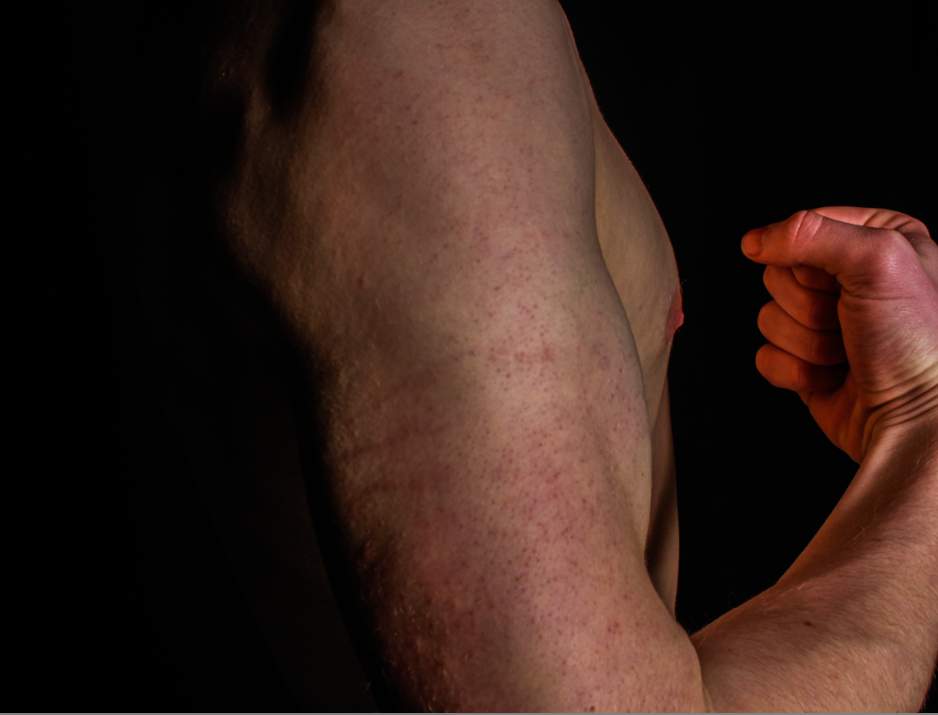
Then for the final photo, I wanted to put the same picture but in black and white over the top of that photo with cut out parts in it to reveal the coloured masculine photo underneath.

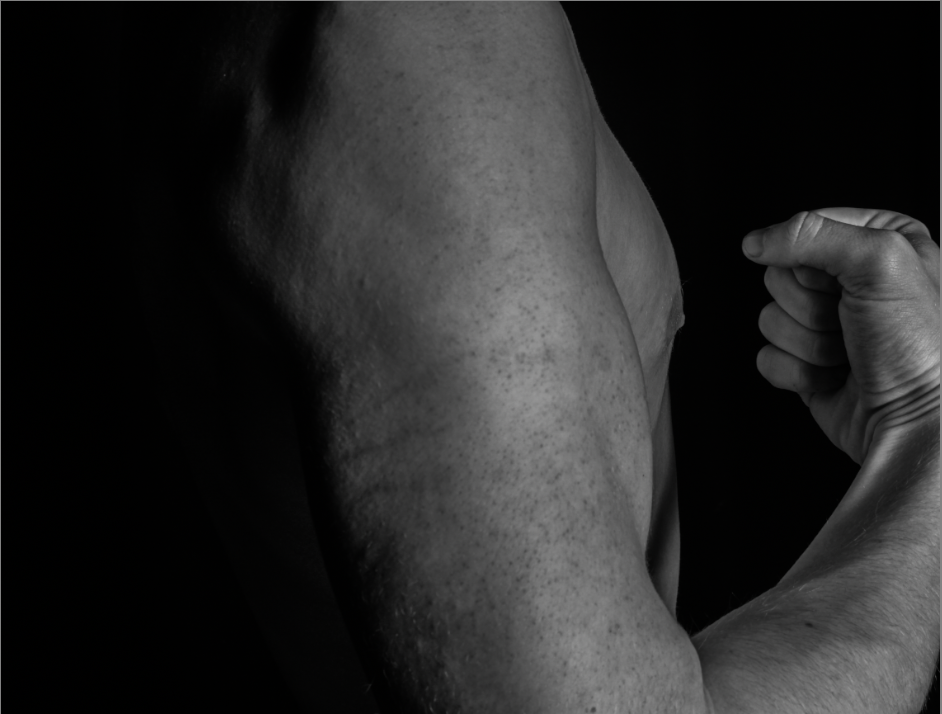
Which then lead to the final result to be a combination of the two with the black and white photo on the top covering most of it, but shapes cut out in it revealing the coloured photo underneath.
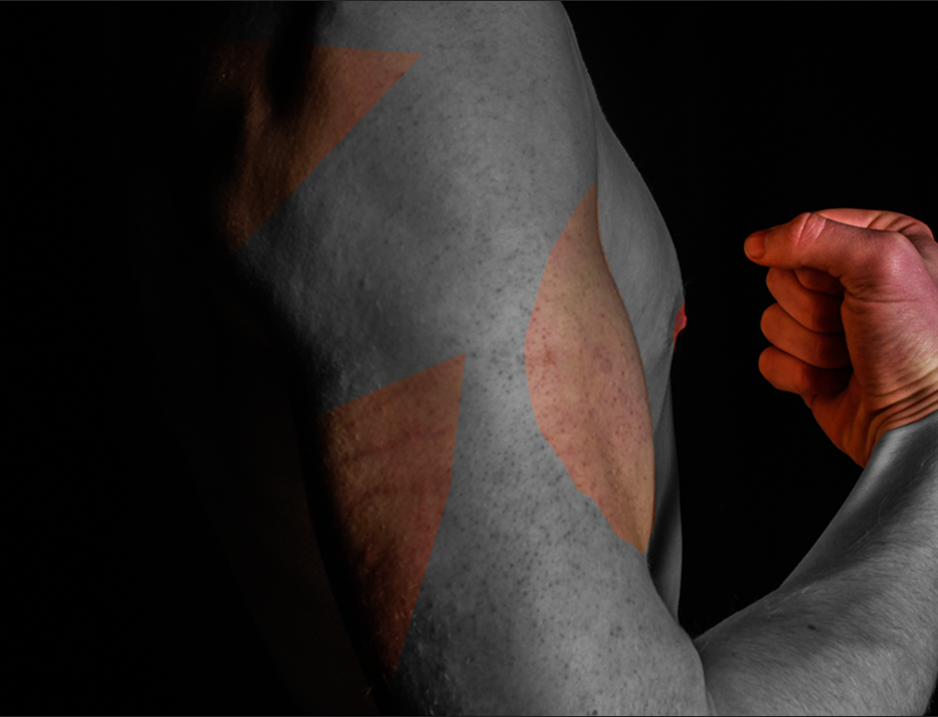
Photo #3
My third photo idea came from the artist, Kensuke Koike and this is because I love how he uses 1 picture to create such a bigger photo by either swapping parts of the face around with other parts. Or, having 3 of the same photo, one lighter, one normal, and one darker all in the same position, and then cutting out parts to reveal lighter parts and darker parts too.
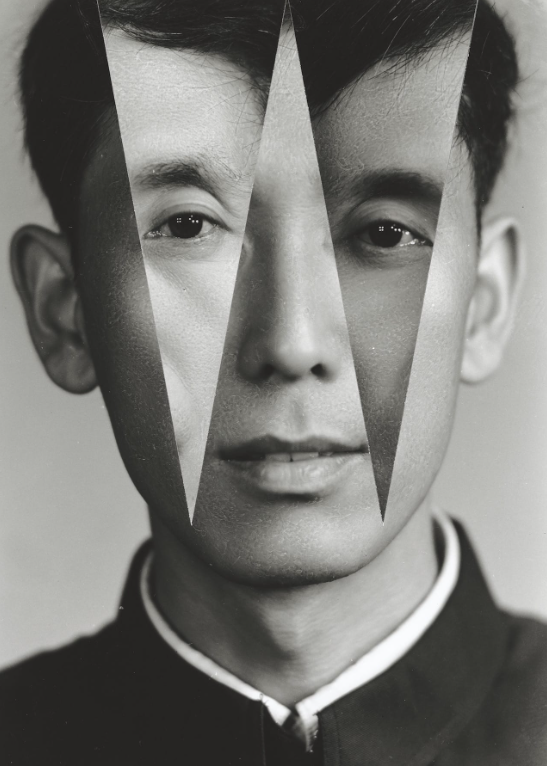
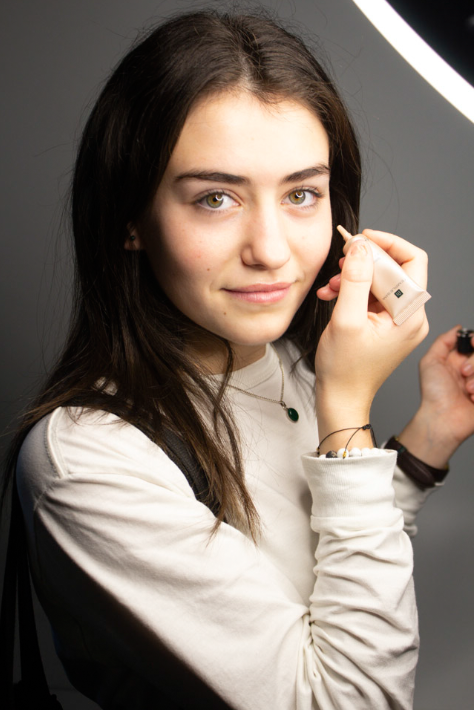
So just before I did this style and reference, I thought why not have two layers a blurred one and a clear one as-well, so I used his editing style but made the main photo blurred, and in the cut-out parts, where it reveals the non-blurred lighter photo underneath, another lighter blurred boarder round the cut-out.
I have chosen to use this photo because it resembles femininity a lot with the use of makeup, a female stereotype and involves a necklace and bracelet which are considered feminine. Also, her green with a ring of hazel round the middle eyes, being the main focus of this photo really brings in the audience and could also be considered a feminine idea.
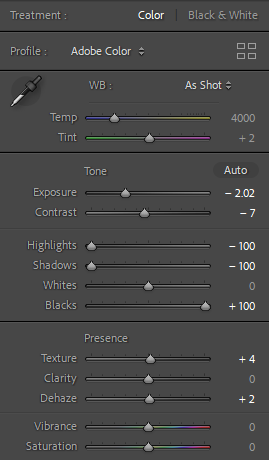
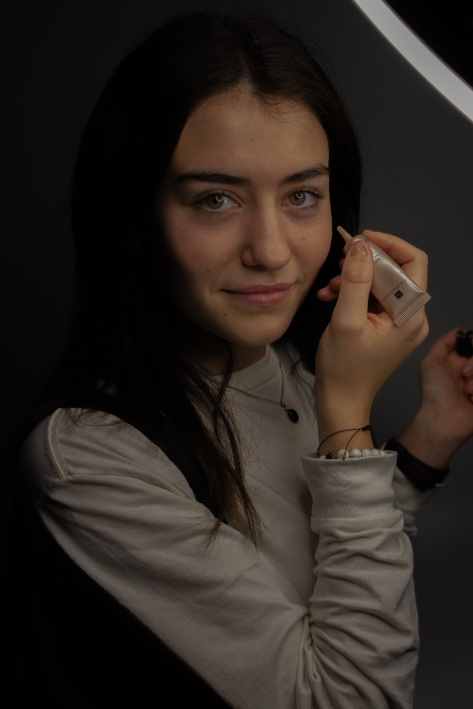
Then went into photoshop and had the idea of having a blurred photo of my model and then a brighter photo underneath with cut outs revealing parts of the photo. But I blurred both of the photos, the darker and the lighter one, and then cut out parts so that there was lighter revealed parts, still blurred though. So, after I did that I wanted something else to add to it, so I also, cut out the same shapes in a smaller form of the lighter blurred photo to reveal no blur and just the brighter photo, creating my final photo.

Photo #4
I have stuck with the same editing style for this photo which I really like from Lewis Bush and Idris Khan which involves multiple exposures overlapping one another to create end result photo.
I started by using this photo I took, similar to photo #3 but different style.
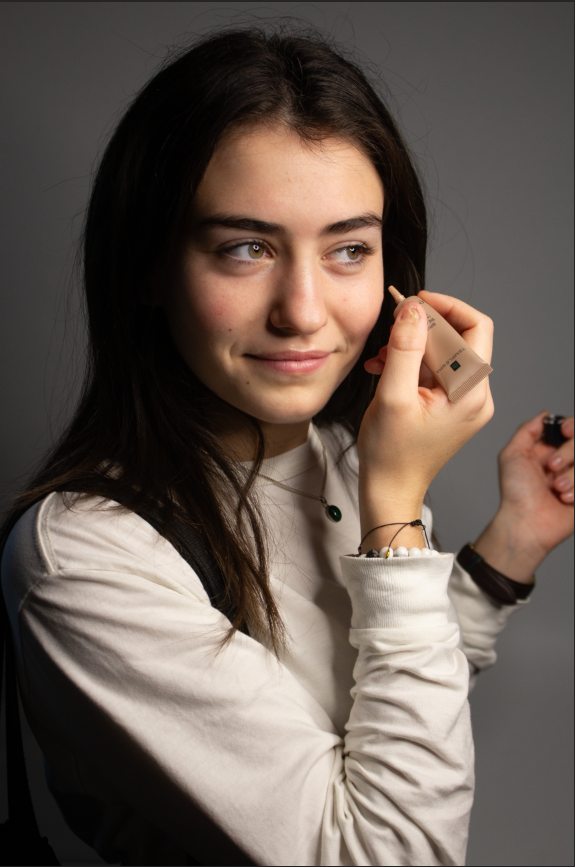
I then started importing other similar photos on top of each other in the same position to create a mixed, ‘confused’ photo.
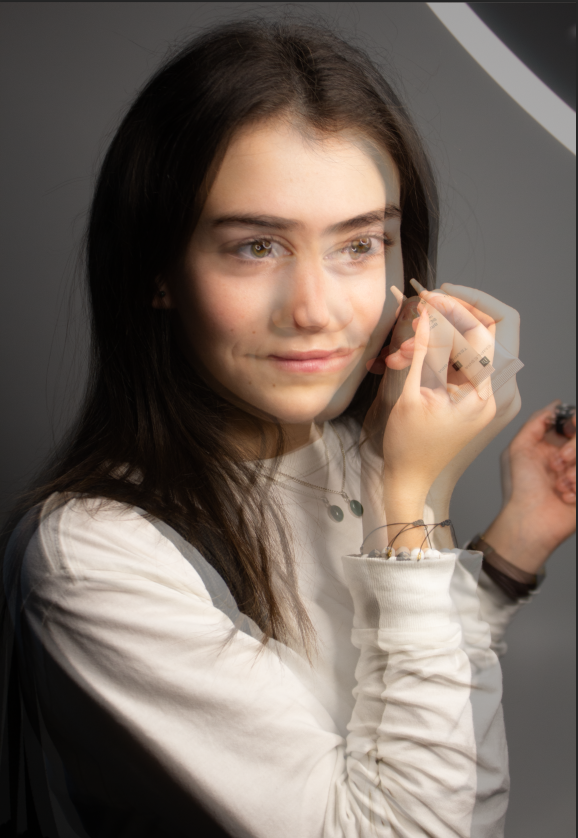
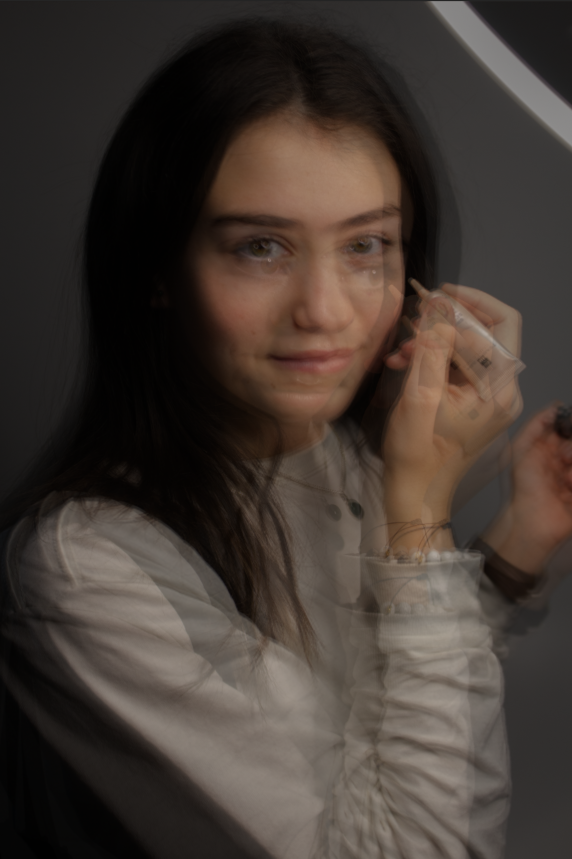
This is my editing process of importing each picture in slowly with 50% opacity overlapping each other, which eventually created this full final picture.
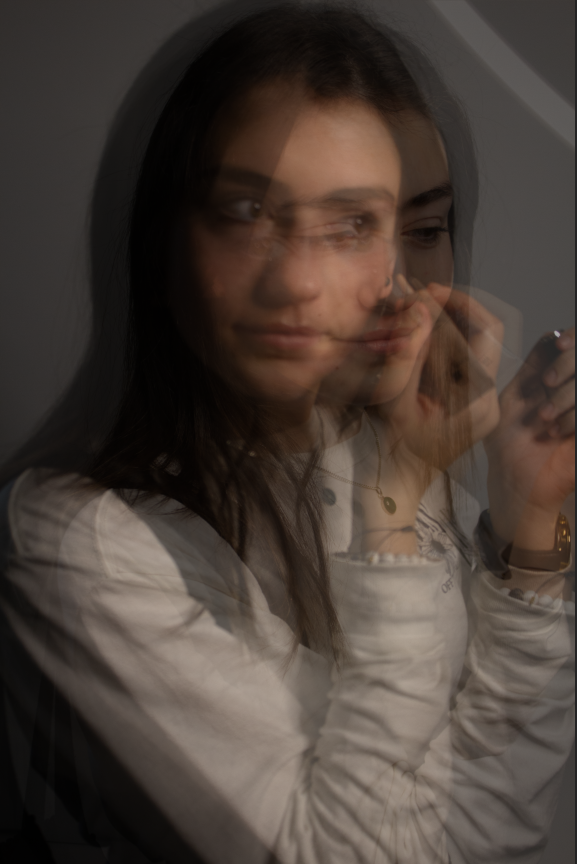
I am really glad with how this photo ended up being with all the different multiple exposures on top of each other and how each photo is different but you can still clearly see what’s happening and the full photo.
Photo #5
Very similar to photo #1 and #4, I am really glad with my multiple exposures that I have done and so in this one I tried a different idea.
I started with this photo of my Model and was thinking of adding the different angles and positions he was in on top of it.
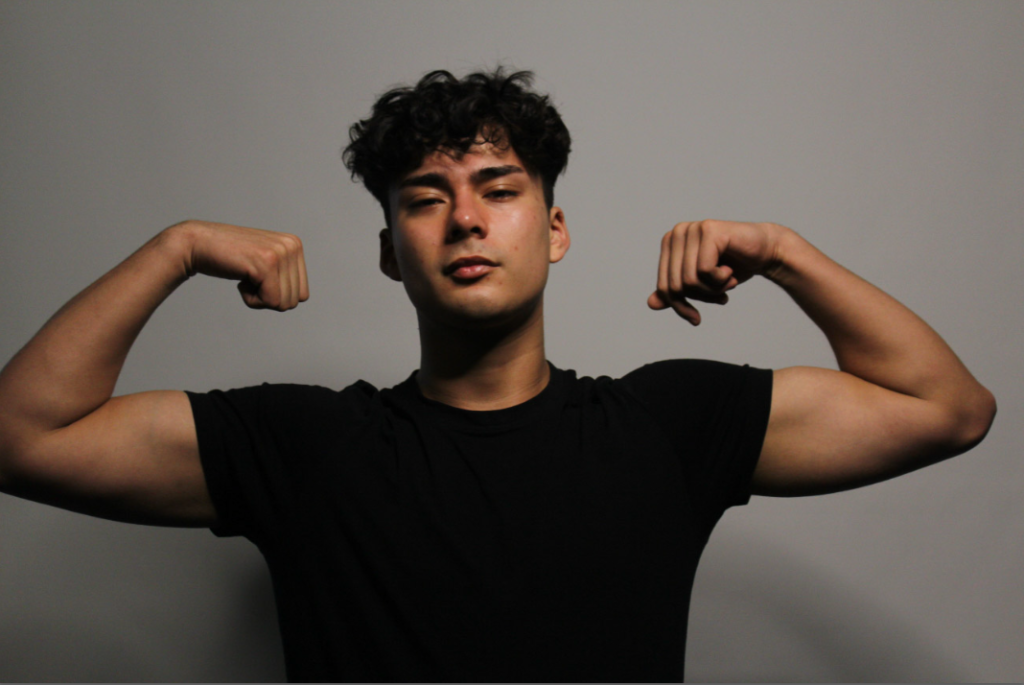
Started to add the different poses and angles of him over this photo.
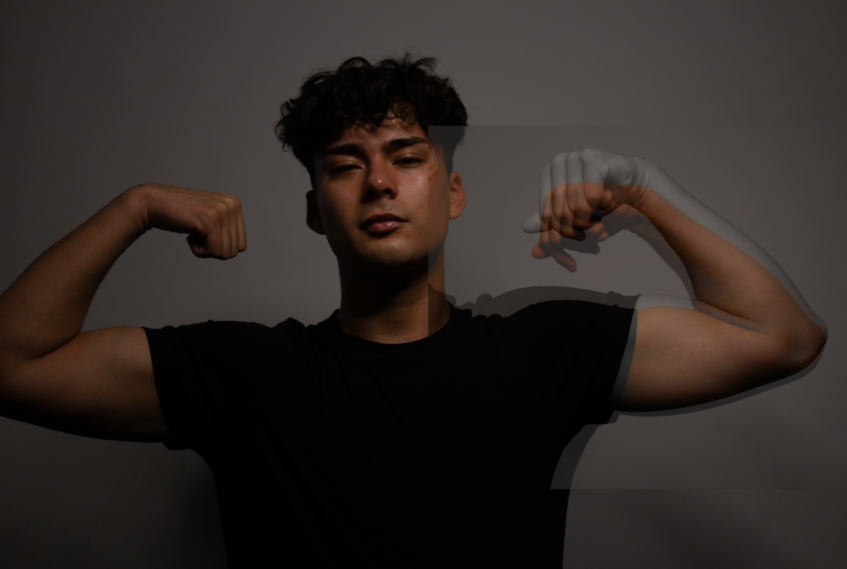
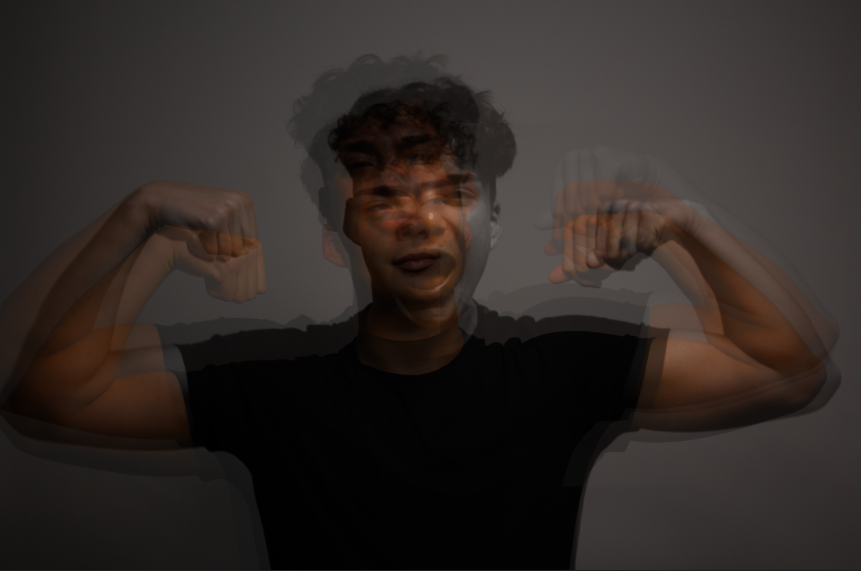
After doing that for a few of the photos it came out to looking like this, but I thought why not add some colour in some of them as-well so I added one blue one on the left, and one yellow one on the right, but off-centred to add to the confusion and exposure look.
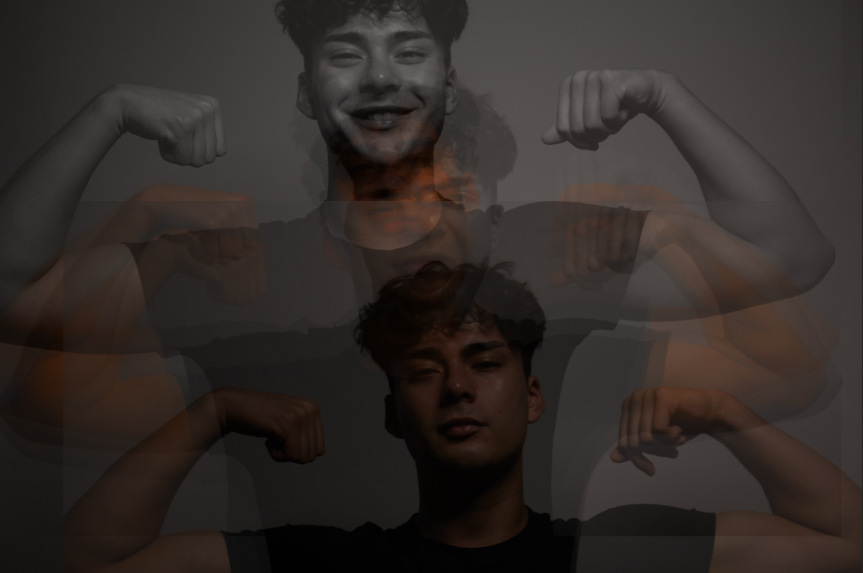
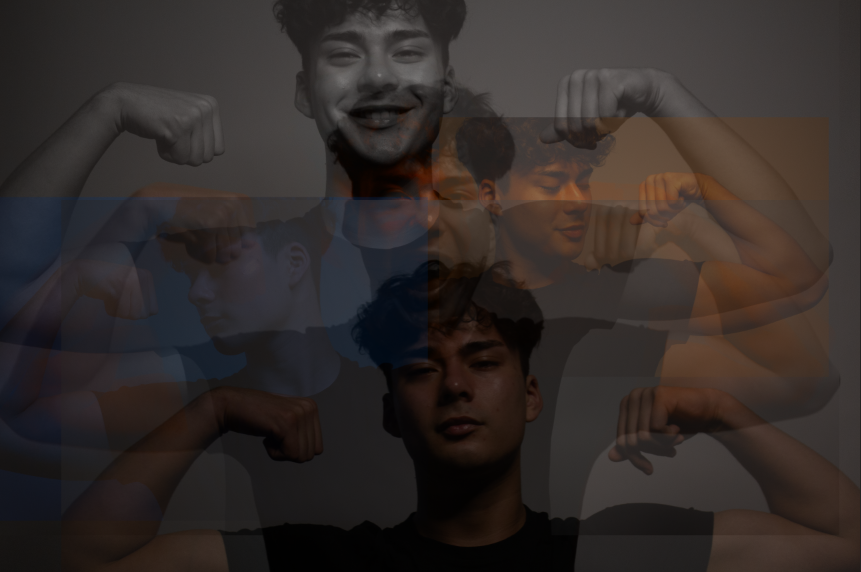
Having the exposures at different heights and sizes really creates depth for the photo because they are each individual separate photos all showcasing different things, but all also relate to the same thing.

Photo #6
This photo inspiration came from Cindy Sherman again where she uses the different eyes over different faces, but I didn’t want to do that exact idea so I freestyled and came up with the idea of a male model with makeup on, eye shadow on the inner of the eye, glitter on the upper cheek bone, and mascara on the eye lashes. But in the reflection of the pupil/iris was a female who ‘typically’ would be wearing this sort of makeup.
Started by using this photo.
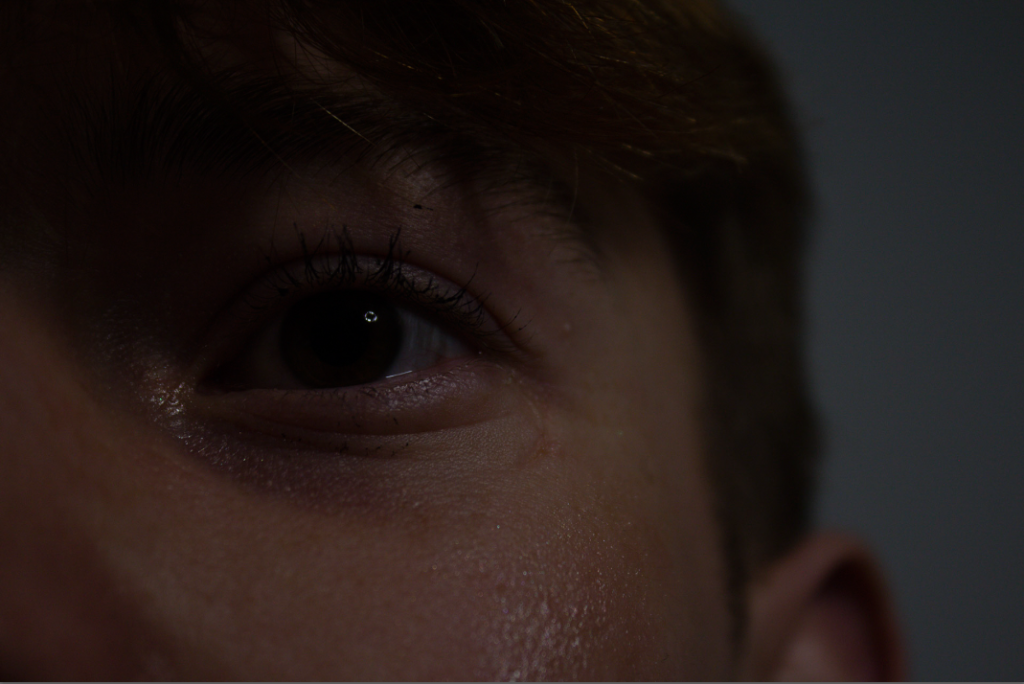
Thought it was a bit dark and so I increased the brightness, increased the exposure, decreased the contrast, increased highlights ever so slightly, decreased the shadows and so it made this photo.
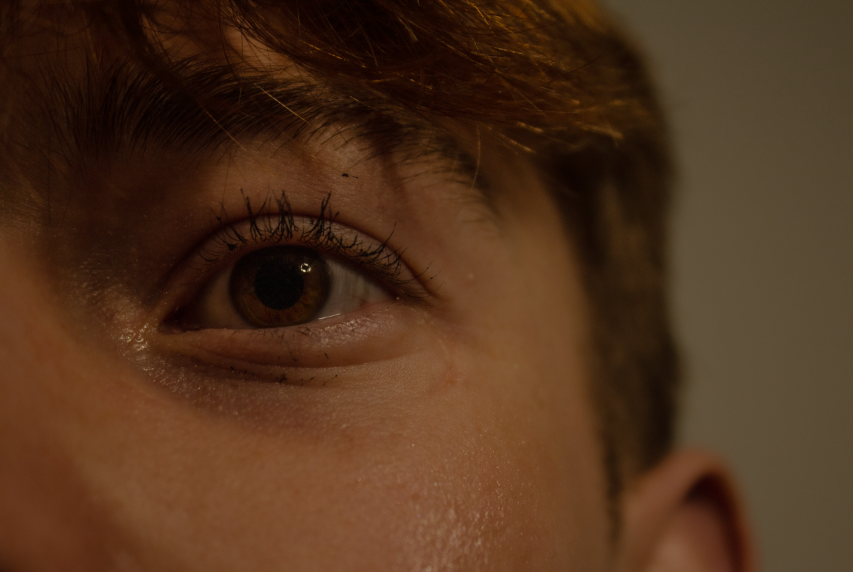
Which I much prefer as it is brighter, warmer, more friendly and helps the ‘feminine’ aesthetic look. But I wanted to use Cindy Sherman’s style by using someone else’s eye over mine, but I thought why don’t I put it in the reflection of the eye, so I got this photo of another Model.
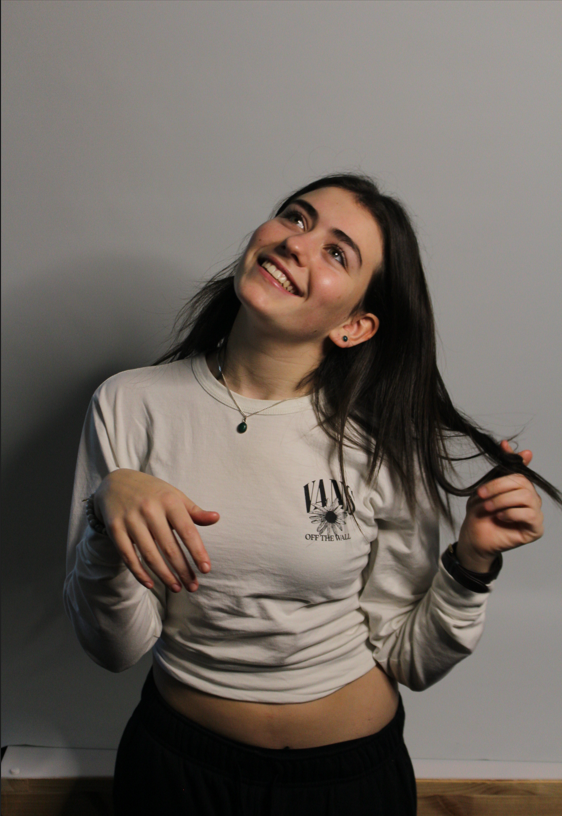
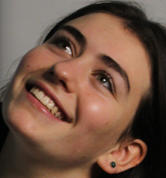
So, after I cut her head out and put it on top of the pupil/iris, I lowered the opacity to 25% and cut around the outside of the face so it fitted the eye, and so you can still see the eye ball behind it ever so slightly and her face doesn’t stand out too much.
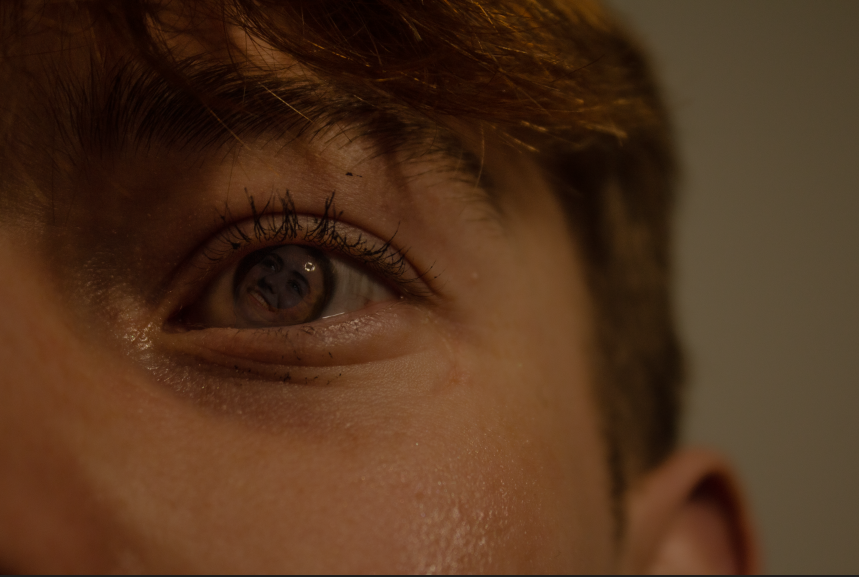
This is my photo gallery of all of my photos being showcased in!
