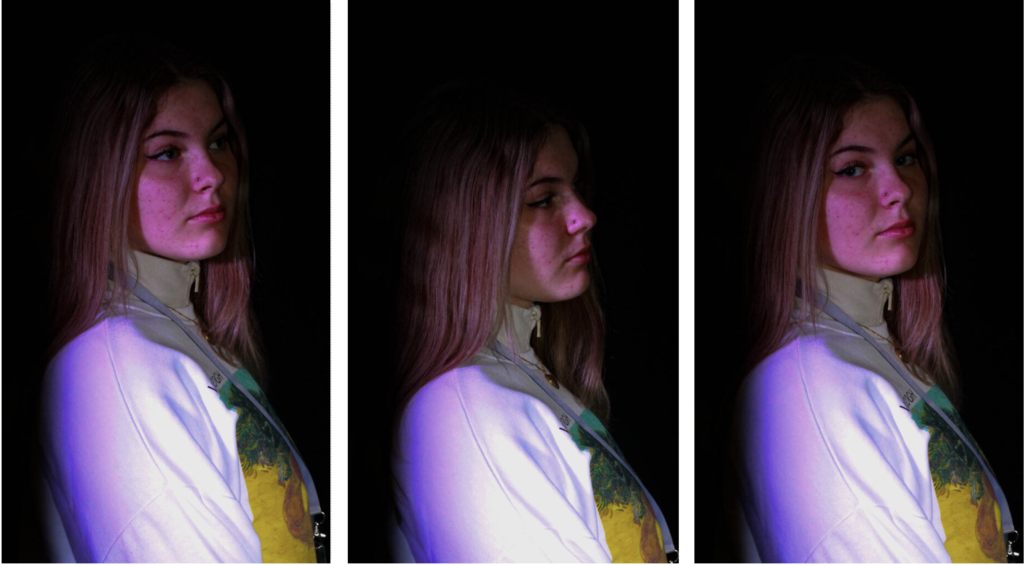
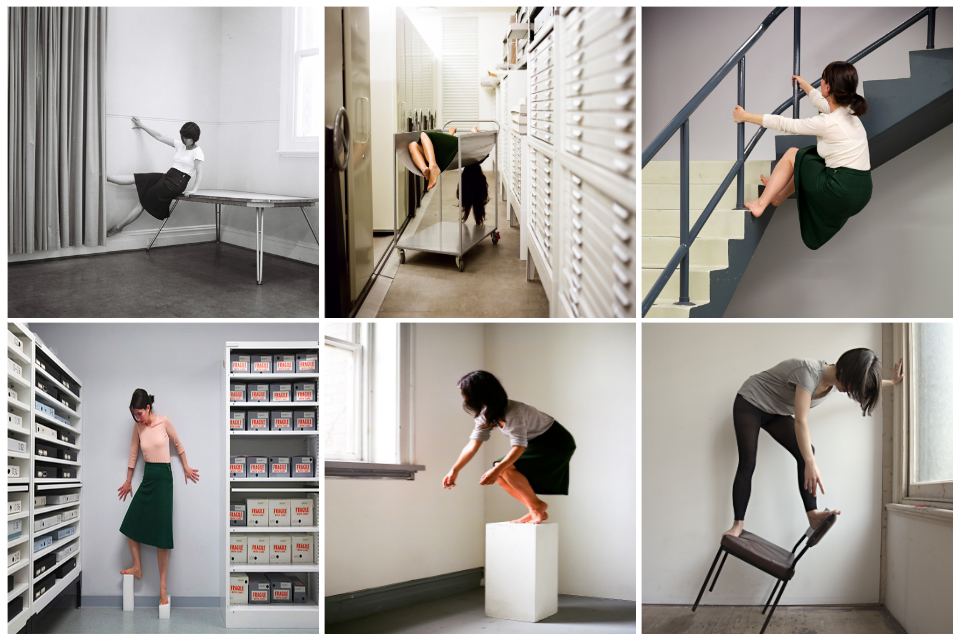
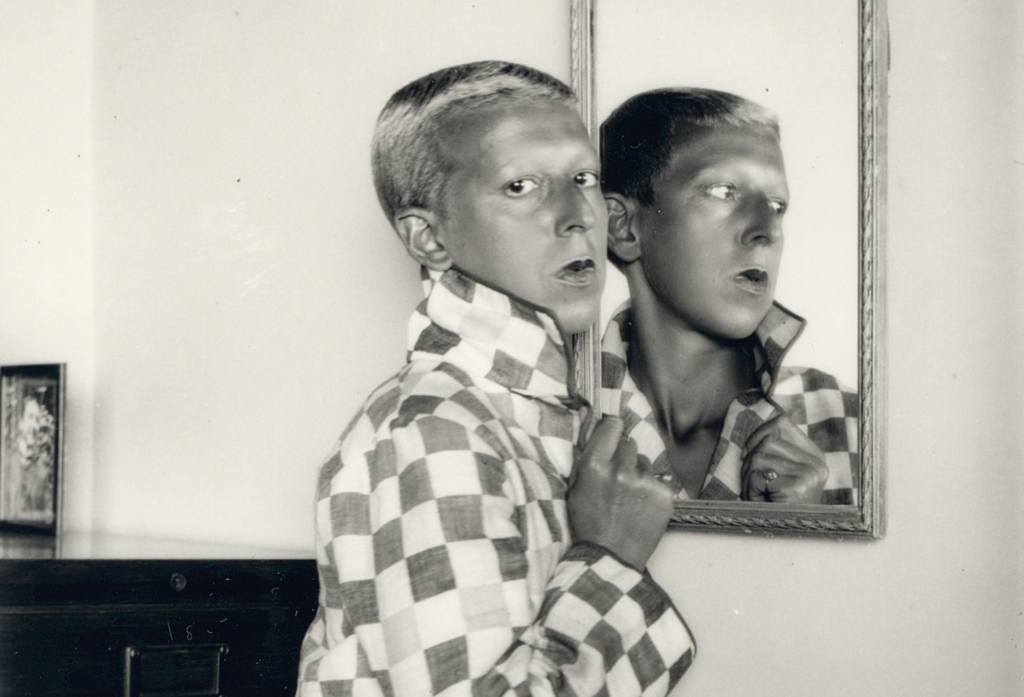
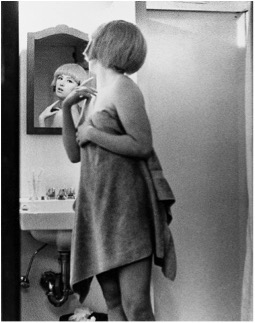
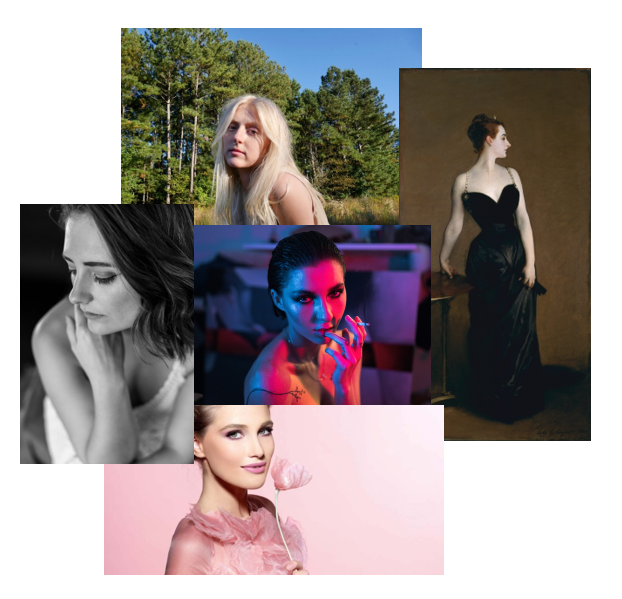
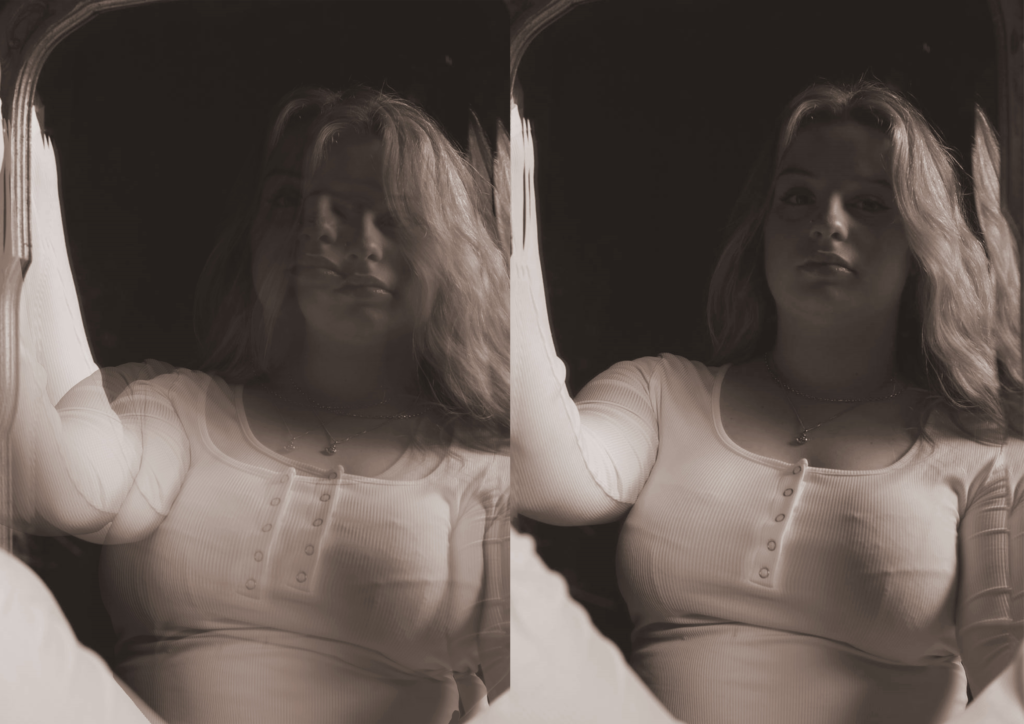
Experiment 1:

Editing process:
- I opened Adobe Photoshop.
- On the top left, I pressed file and open and then selected one of the pictures that I wanted to use. I left the picture as it was and then pressed file and open and chose my second picture.
- With the second picture, on the left side I selected the object selection tool and pressed on the photo, precisely the subjects face. It selected the subjects face and then I pressed on it again so that it showed a pink outline.
- After, I right clicked on my mouse and pressed layer via copy. it created a copy of the subjects face whilst still keeping the picture the same.
- I pressed the move tool on the left side of the screen on photoshop.
- I grabbed the copy of the subjects cut out face and dragged it to the top of the screen where it showed the first tab I opened which was the one where it had my first picture. The cut out was transferred to my first picture and I placed the cut out on the desired place.
- As I placed my cut out on the first picture, it created one layers, one layer for the cut out so overall I had two layers.
- In each layer minus the first later, I put the opacity to 48% and fill to 83% which is on the right bottom side of the screen to create a ghost like texture to the one cut outs.
- I then I pressed on the background which is on the right bottom of the screen and pressed flatten image so that I could add some adjustments to the image.
- On the right bottom side of the screen I pressed adjustments and pressed once on the Soft Sepia adjustment.
- Then I cropped the image using the cropping tool.
- Then I saved the image to a folder and that’s how I created this image.
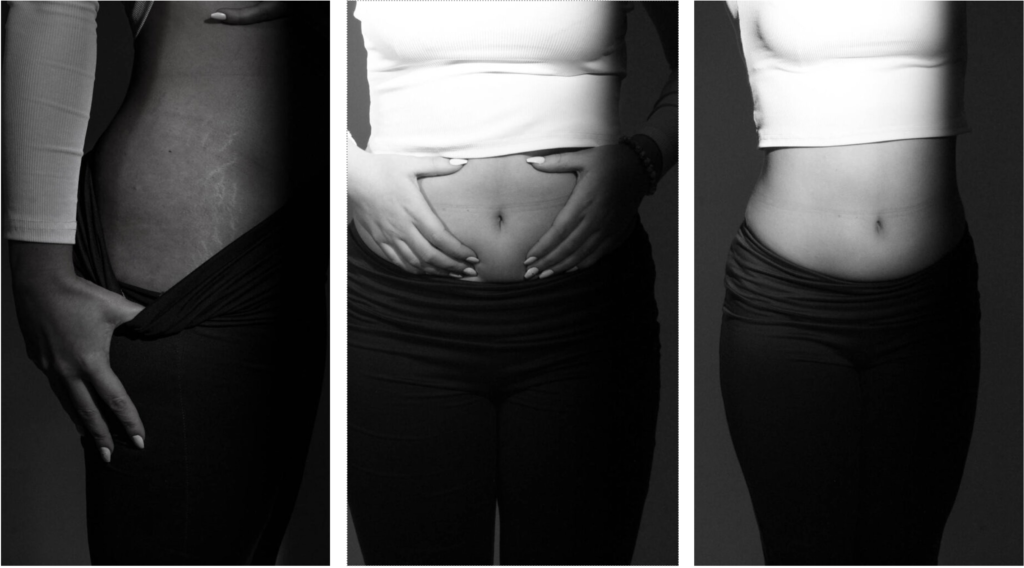
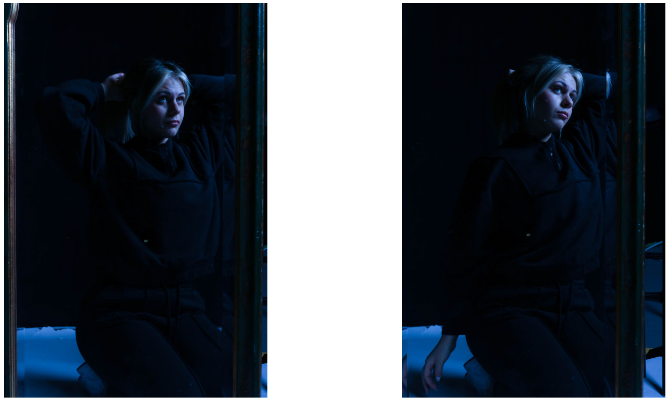
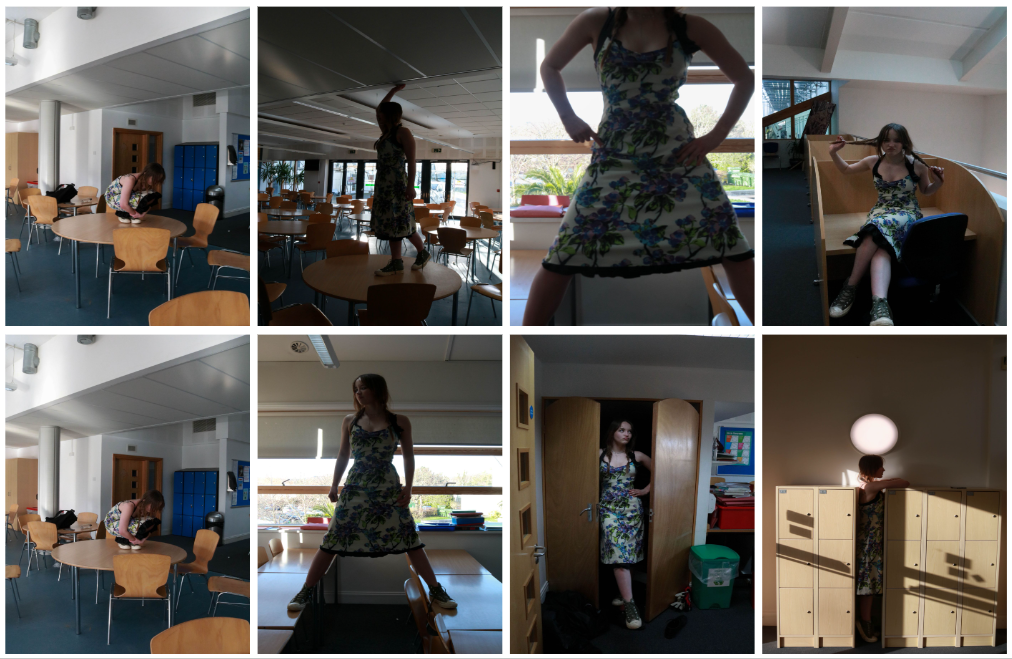
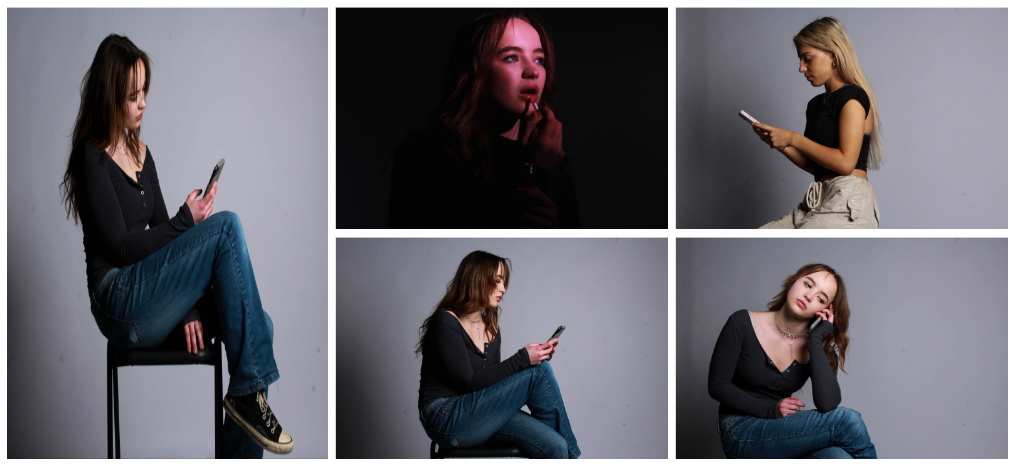
Experiment 2:
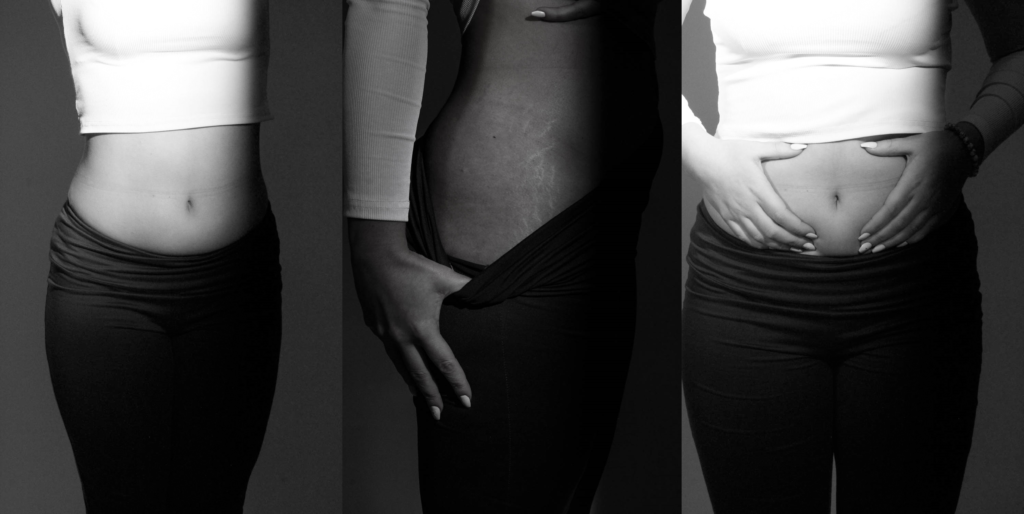
Editing process:
- I opened Adobe Lightroom.
- I selected three pictures that I wanted to edit and then selected in one of the picture, I decreased the exposure by -1.67, vibrancy by -100 and saturation -46, increased clarity by +37 and dehaze by +33
- Then I did the same thing to the other two pictures.
- After I pressed file and open in adobe photoshop and selected the three pictures I had just edited and positioned them the way I liked.
- Then I cropped the image using the cropping tool.
- Then I saved the image to a folder and that’s how I created this image.
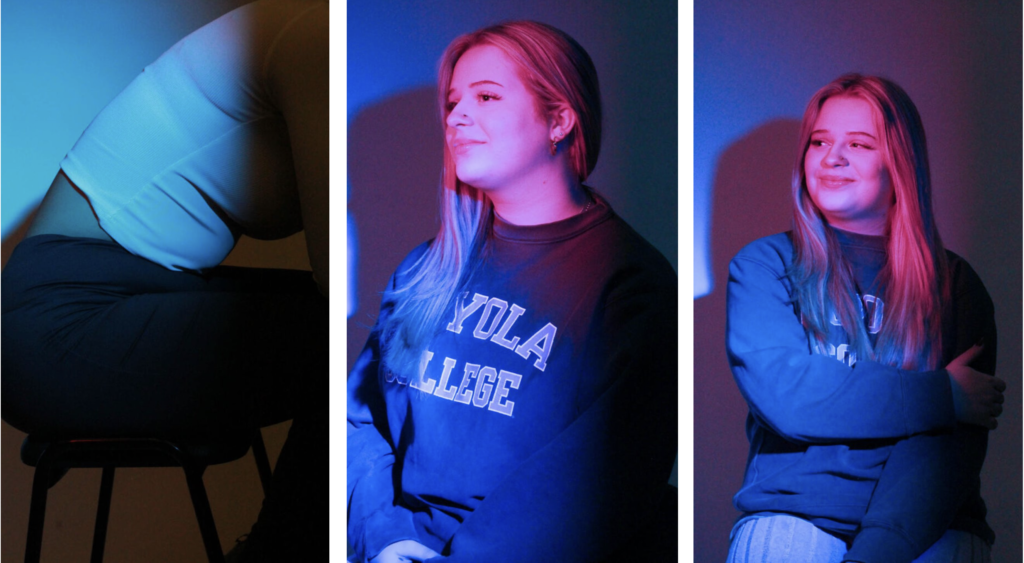
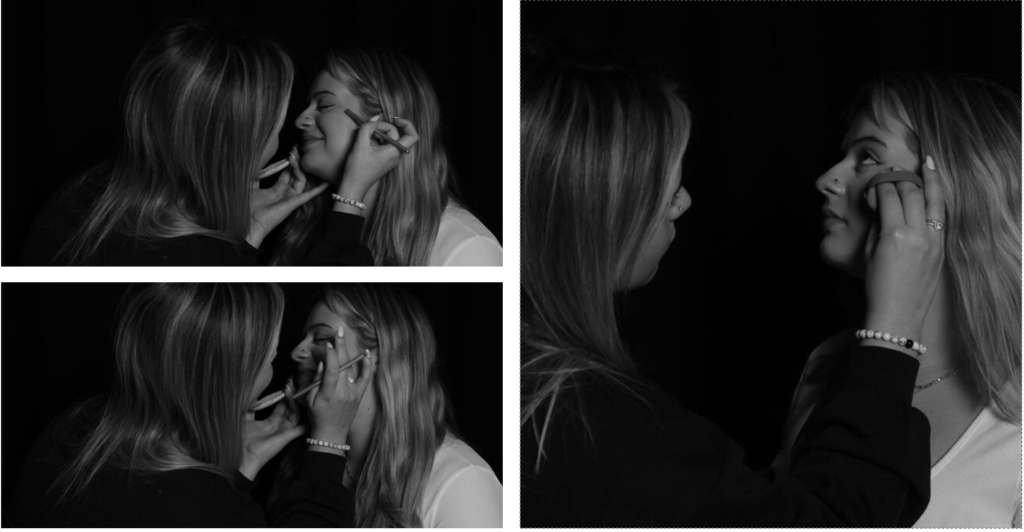
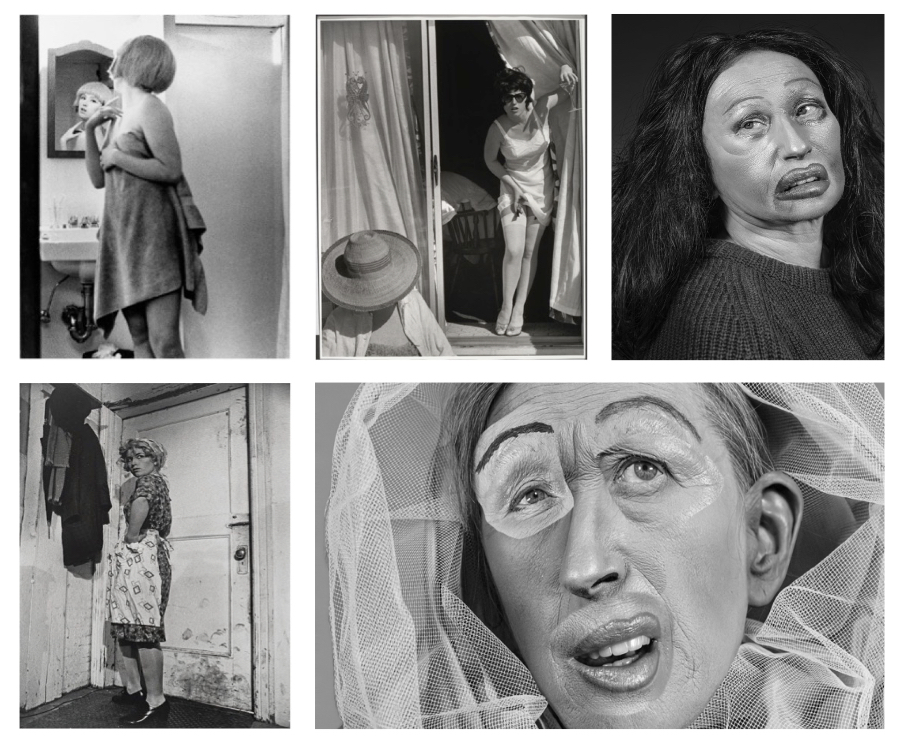
Experiment 3:
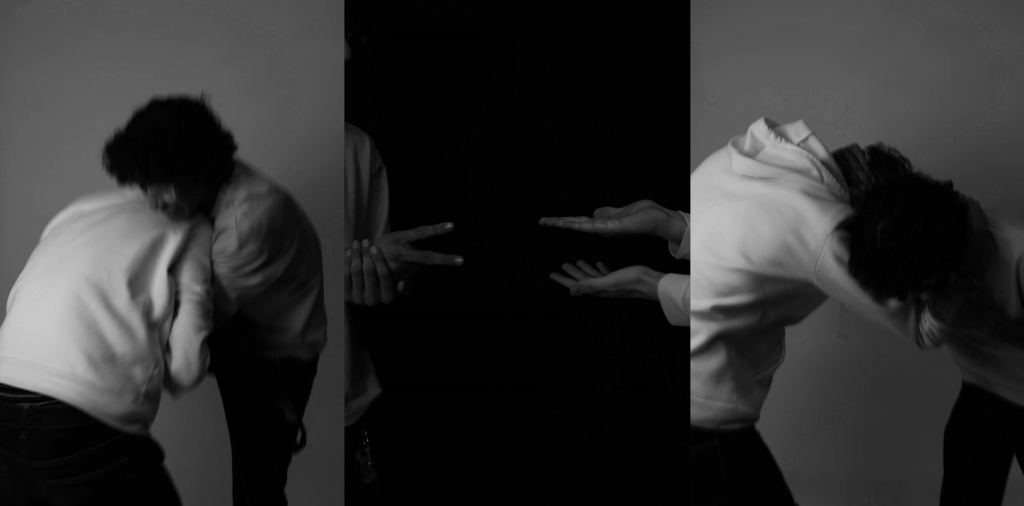
Editing process:
- I opened Adobe Lightroom.
- I selected three pictures that I wanted to edit and then selected in one of the picture, I decreased the Temperature by -26
- Then I did the same thing to the other two pictures.
- After I pressed file and open in adobe photoshop and selected the three pictures I had just edited and positioned them the way I liked.
- Then I cropped the image using the cropping tool.
- I then I pressed on the background which is on the right bottom of the screen and pressed flatten image so that I could add some adjustments to the image.
- On the right bottom side of the screen I pressed adjustments and pressed once on the black and white (warm) adjustment.
- Then I saved the image to a folder and that’s how I created this image.
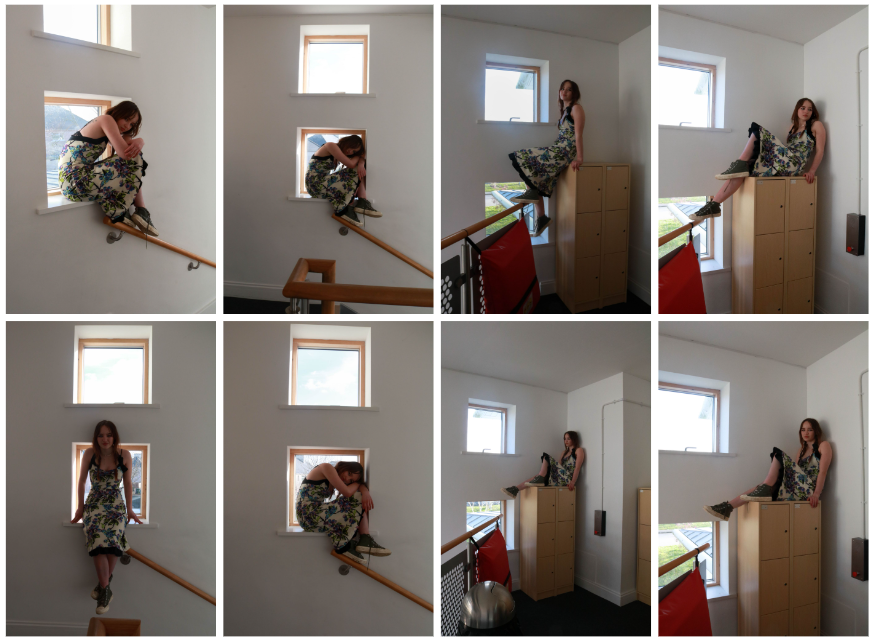
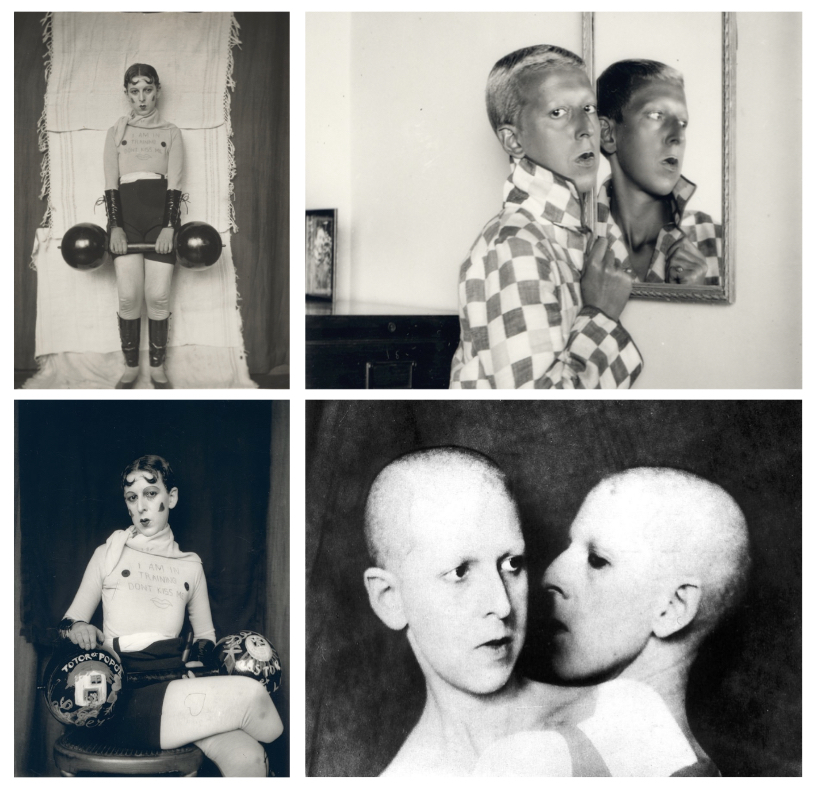
Experiment 4:
Editing process:
- I opened Adobe photoshop
- I pressed file and open and selected the three pictures I chose and positioned them the way I liked.
- Then I cropped the image using the cropping tool.
- Then I saved the image to a folder and that’s how I created this image.
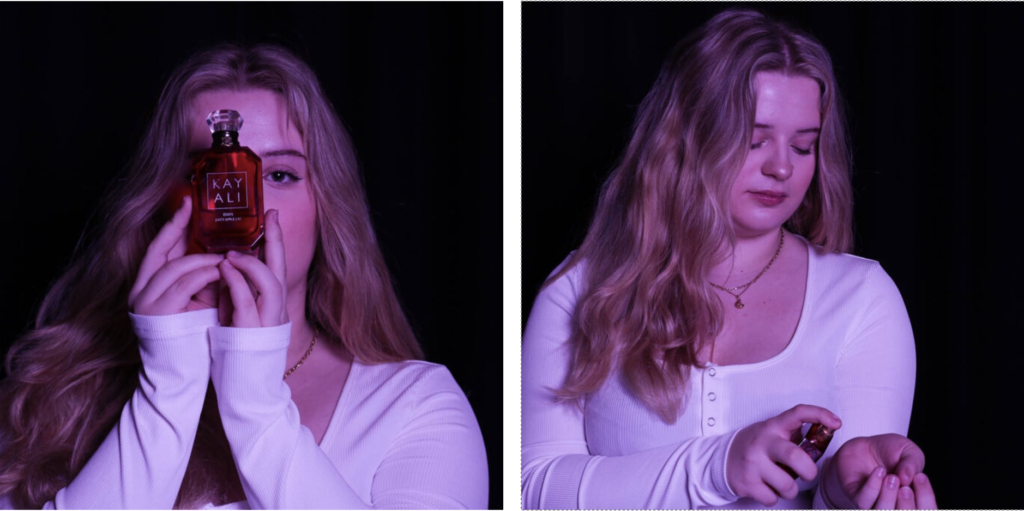
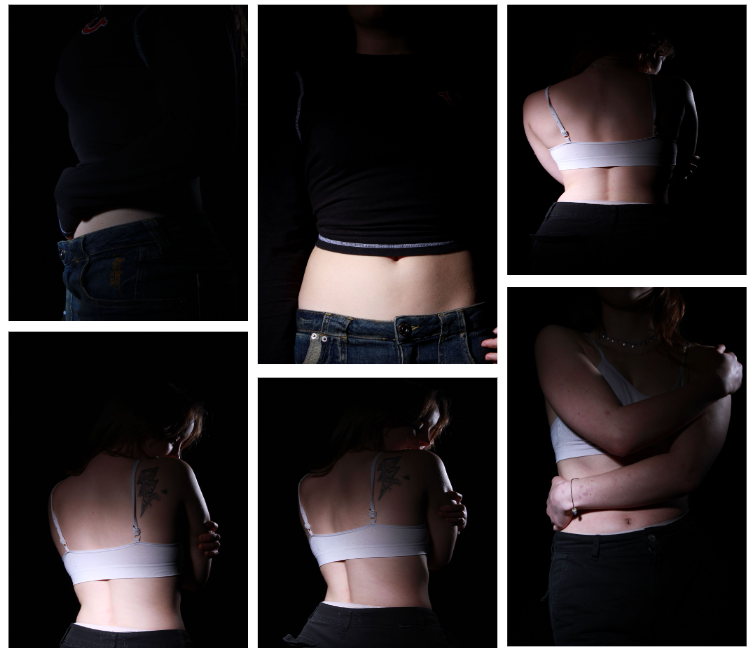
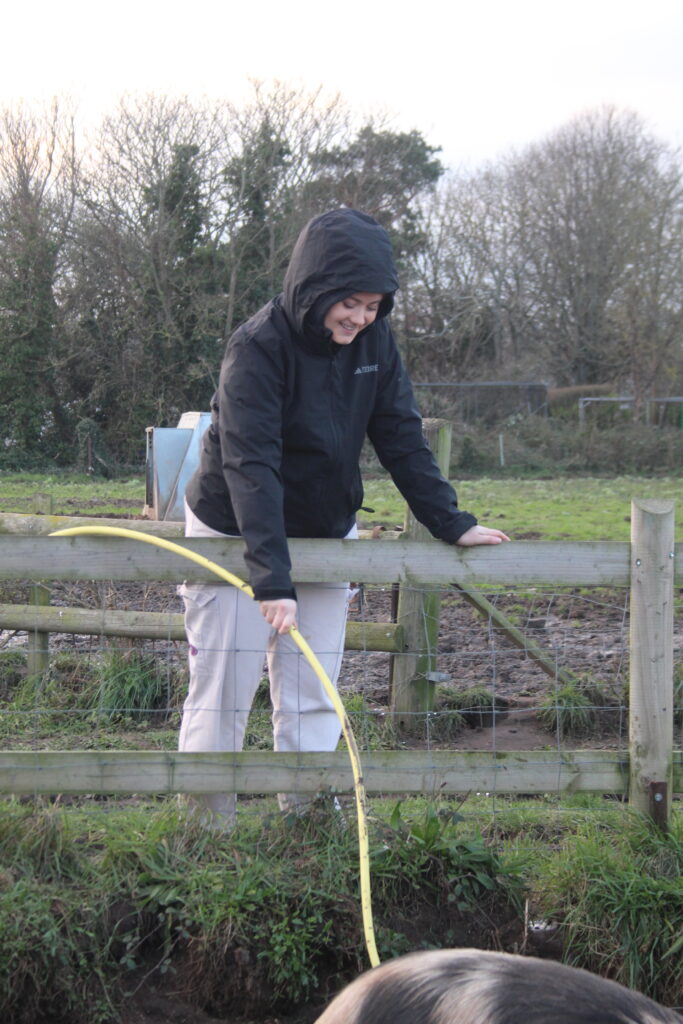
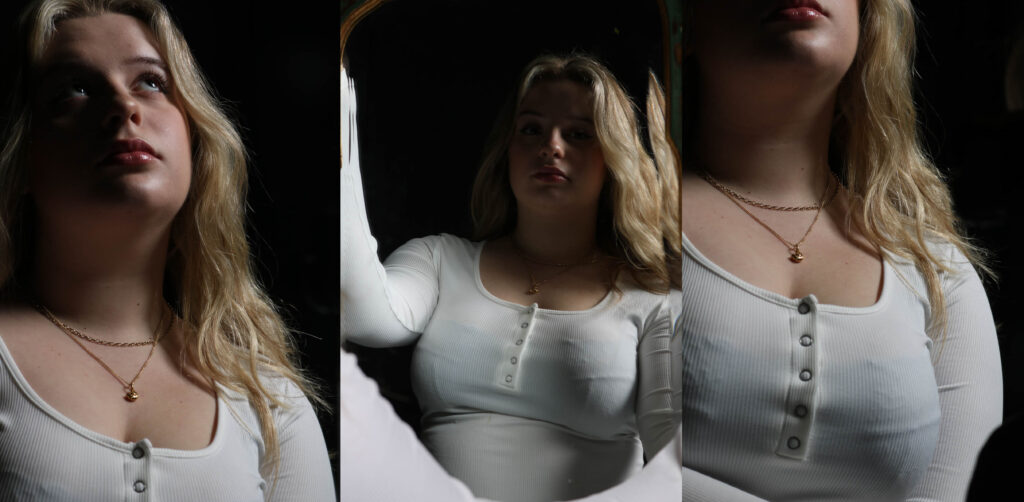
Experiment 5:
Editing process:
On the left side the picture was edited like,
- I opened Adobe Photoshop.
- On the top left, I pressed file and open and then selected one of the pictures that I wanted to use. I left the picture as it was and then pressed file and open and chose my second picture.
- With the second picture, on the left side I selected the object selection tool and pressed on the photo, precisely the subjects face. It selected the subjects face and then I pressed on it again so that it showed a pink outline.
- After, I right clicked on my mouse and pressed layer via copy. it created a copy of the subjects face whilst still keeping the picture the same.
- I pressed the move tool on the left side of the screen on photoshop.
- I grabbed the copy of the subjects cut out face and dragged it to the top of the screen where it showed the first tab I opened which was the one where it had my first picture. The cut out was transferred to my first picture and I placed the cut out on the desired place.
- As I placed my cut out on the first picture, it created one layer, one layer for the cut out so overall I had two layers.
- In each layer minus the first later, I put the opacity to 48% and fill to 83% which is on the right bottom side of the screen to create a ghost like texture to the one cut outs.
- I then I pressed on the background which is on the right bottom of the screen and pressed flatten image so that I could add some adjustments to the image.
- On the right bottom side of the screen I pressed adjustments and pressed once on the Soft Sepia adjustment.
- Then I cropped the image using the cropping tool.
- Then I saved the image to a folder and that’s how I created this image.
On the right side the picture was edited like,
- I opened Adobe photoshop
- I pressed file and open and selected another picture.
- Then I grabbed the right and left picture and put it on another opened file in Photoshop and positioned them how I liked them.
- I then I pressed on the background which is on the right bottom of the screen and pressed flatten image so that I could add some adjustments to the image.
- On the right bottom side of the screen I pressed adjustments and pressed once on the Soft Sepia adjustment.
- Then I cropped the image using the cropping tool.
- Then I saved the image to a folder and that’s how I created this image.
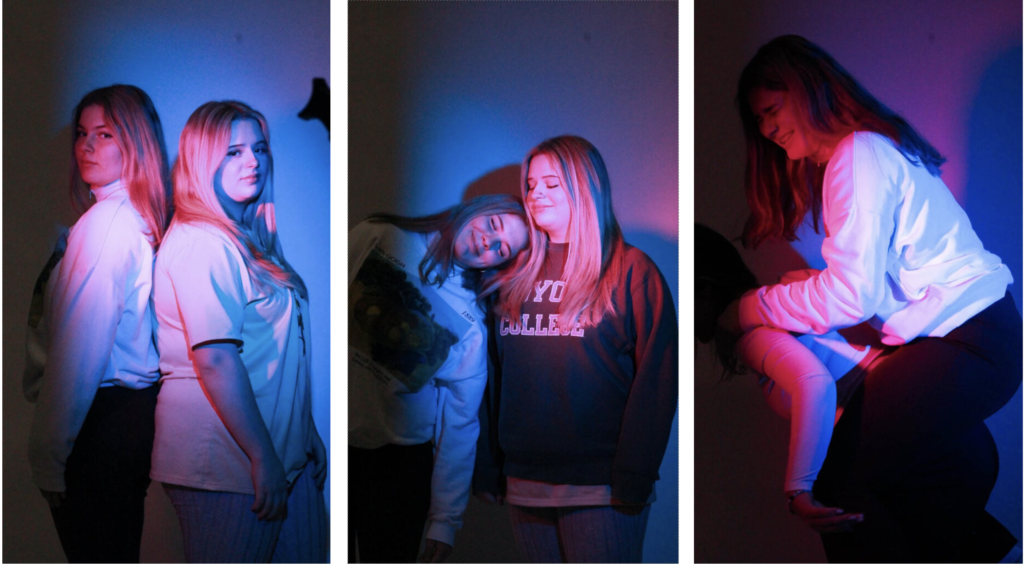
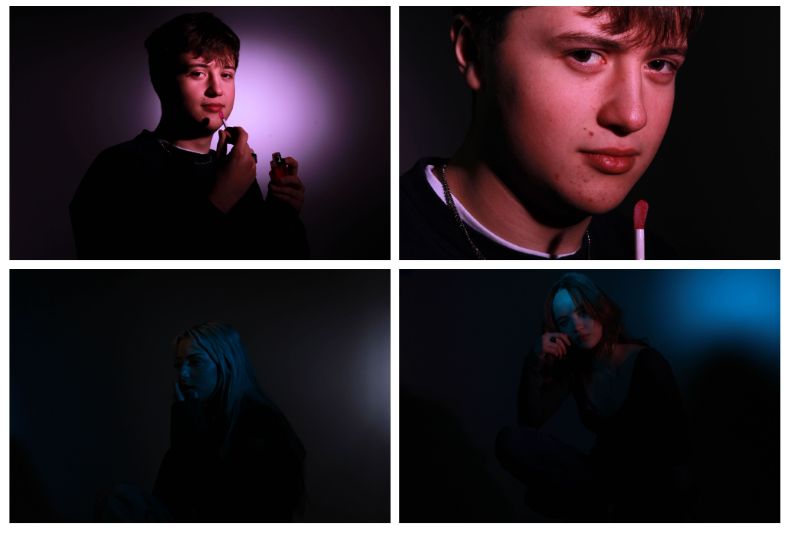
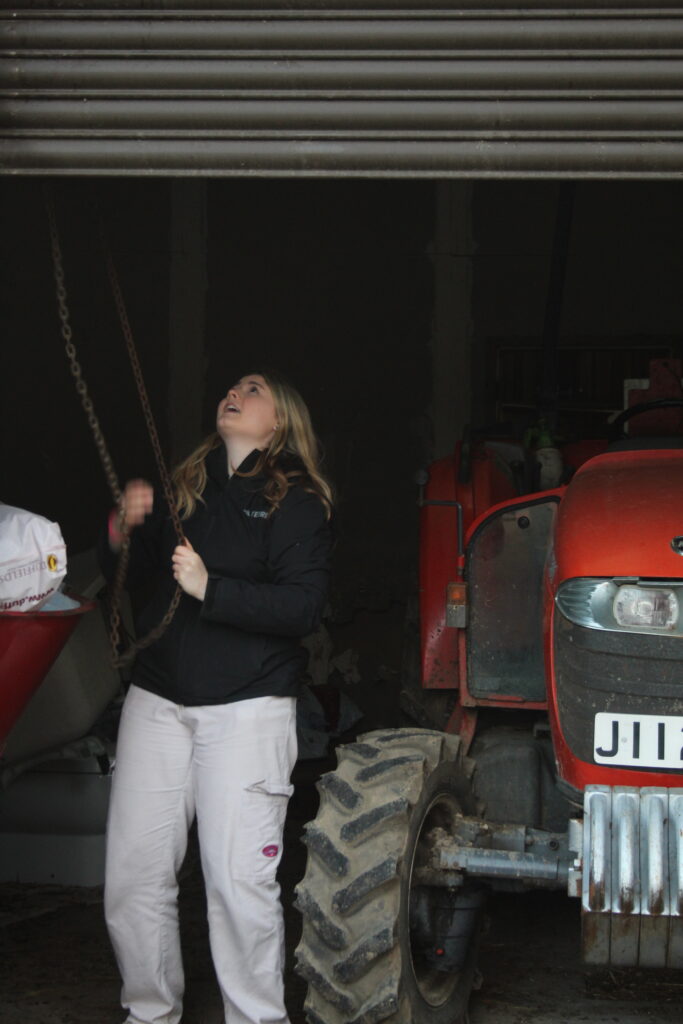
Experiment 6:
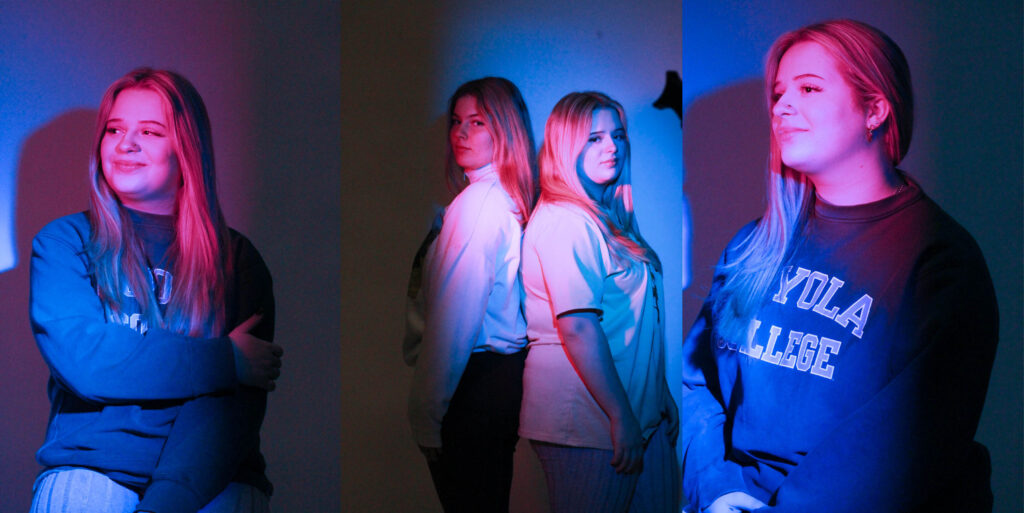
Editing process:
- I opened Adobe Lightroom.
- I selected three pictures that I wanted to edit and I selected two pictures (left and right) and I decreased the temperature by -67, and then the last picture (middle picture) decreased the temperature by -37
- After I pressed file and open in adobe photoshop and selected the three pictures I had just edited and positioned them the way I liked.
- Then I cropped the image using the cropping tool.
- Then I saved the image to a folder and that’s how I created this image.