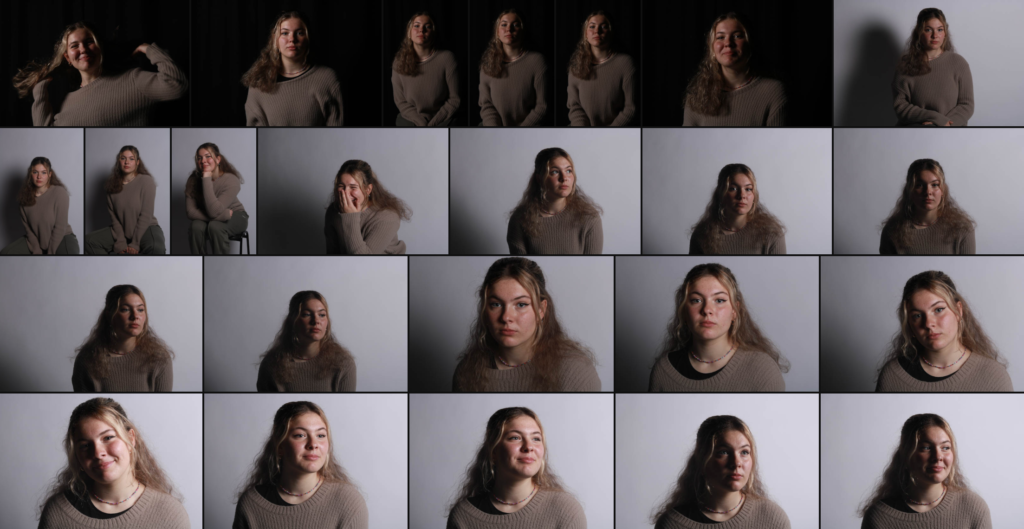
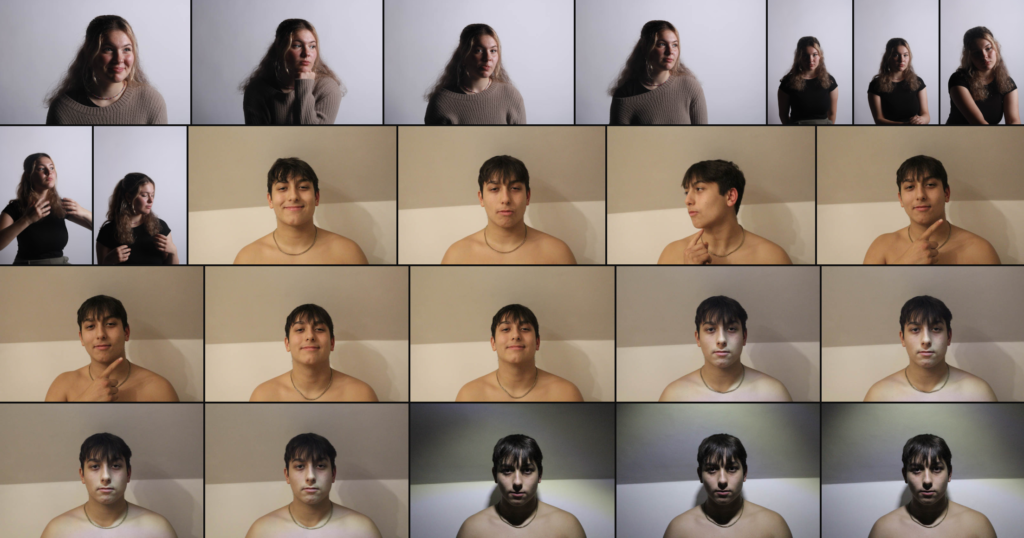
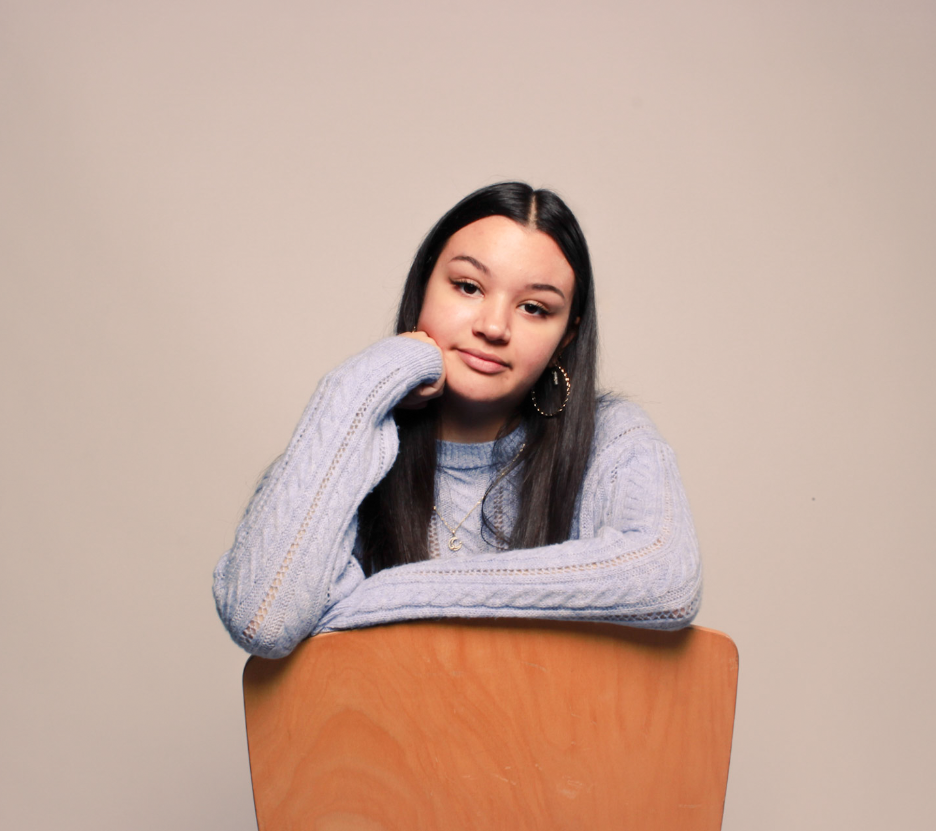
Photo Montage – Headshots

What are photo montages?

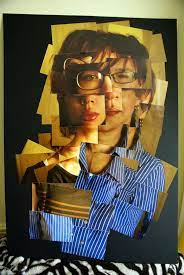
Photo montages are a style of photography that uses post production editing to achieve interesting and unique results. Transforming basic headshot photos into an entirely new composition. There are many different ways of doing this the most common is a collage style using a printed version of the photo and cutting it and moving the physical copy before photographing the results. This became popular through David Hockney; the style is also often done by using photoshop and ether set shapes or templates.
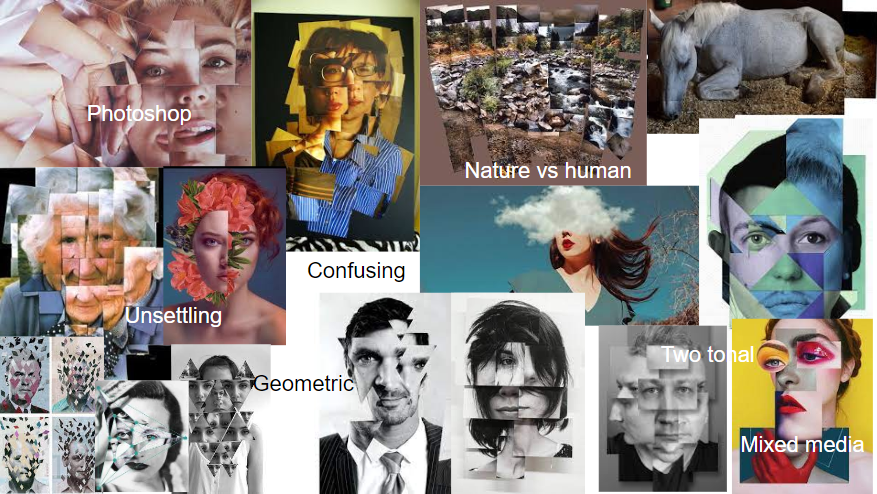
David Hockney

David Hockney was born in 1937 in Bradford. As he grew up he went to Grammar school and then went onto the Bradford Collage of Art and then onto the Royal Collage of art in London which is where Hockney said he felt at home and took pride in his work. While studying at the Royal Collage of Art in London his work was featured along side Peter Blake, this associated him with the expressionist movement. However the RCA didn’t allow him to graduate as Hockney refused to complete a live drawing of a live model in 1962 and complete an essay. To counter this Hockney painted ‘Life painting for a diploma’ exclaiming he should only be assessed on his artwork solely. Interestingly the RCA having recognised his talent actually changed the regulations regarding final exams and how students were graded. He went onto to teach at Maidstone Collage before moving onto teaching at the University of Iowa, after this he continued to teach at many other universities and collages. In 1964, when Hockney moved to LA he created a series of paintings of swimming pools in a fairly new style of the acrylic medium using punchy, vibrant colours. He then moved between Paris, LA and London before buying a house in Hollywood Hills and expanding his studio with his long term business partner Gregory Evans. Hockney continued to expand his business with his classic demeanour of trying many different styles and inspiring others around the world.

Photo Montages – ‘Joiners’
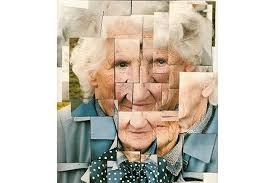
These photos are one of Hockney’s many projects in the early 80’s, he used a 35mm lens to print polaroid photos which were commercially coloured photo prints. He accidently created the joiners when wide angle lens became popular in the 1960’s and he noticed these lens distorted the shots which he did not particularly like. He started using this technique of cutting photos up by hand and sticking them back together when he was actually painting a living room and not a person but he found the new ‘joiner’ looked good as a composition within itself. After discovering this technique he began to create more purposeful versions of the photos and this led to him completely stopping painting for a while and focusing on his photography work. Sadly over time he became irritated with photography and as he felt ‘it’s one eyed approach’ and returned to painting but not before he left his mark on the photography world with his work and his ‘joiners’ work in particular.

Plan for Photoshoot
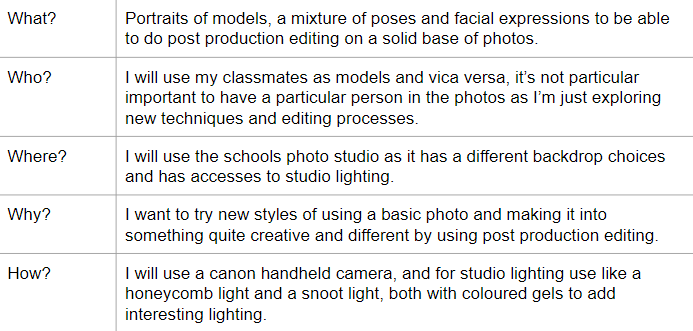
Chiaroscuro Lighting

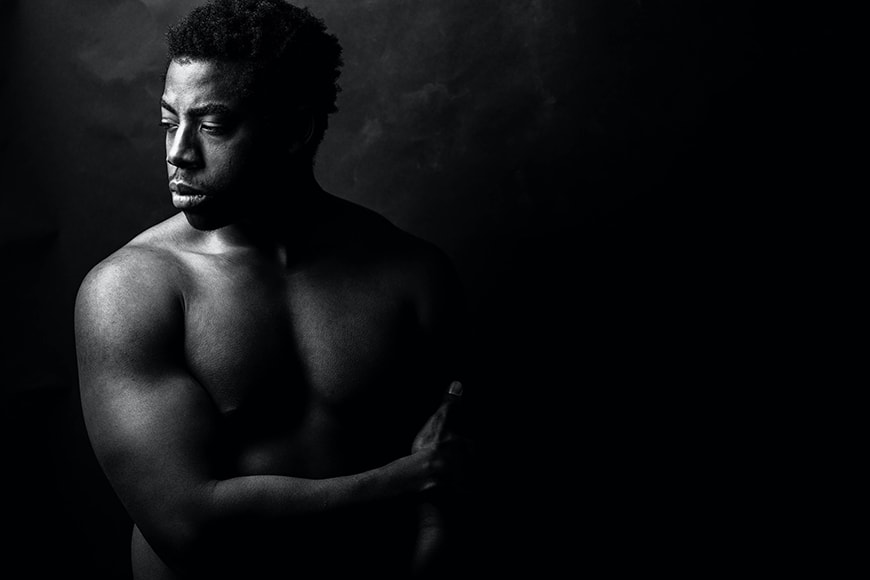
Chiaroscuro Lighting which means ‘light dark’ in Italian is a type of lighting technique used for strong contrasts between light and dark. It can also sometimes contain exaggerated shadows and highlights.

It was originally used by painters but has been adapted to be used by photographers when taking photos.

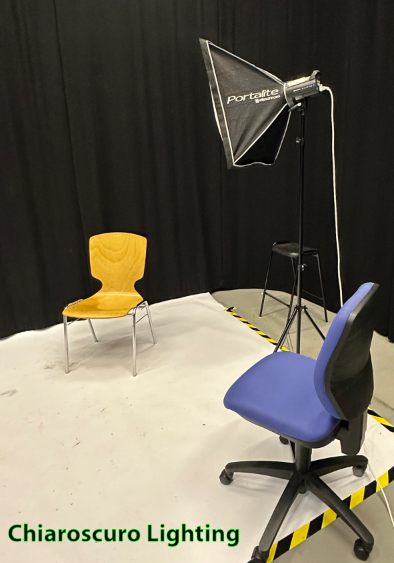
How to set up Chiaroscuro lighting in the studio

There are loads of different ways to set up Chiaroscuro lighting, as long as you get those contrasts between light and dark. Below is how we set it up, we also used a reflector in some photos to help highlight parts of the face

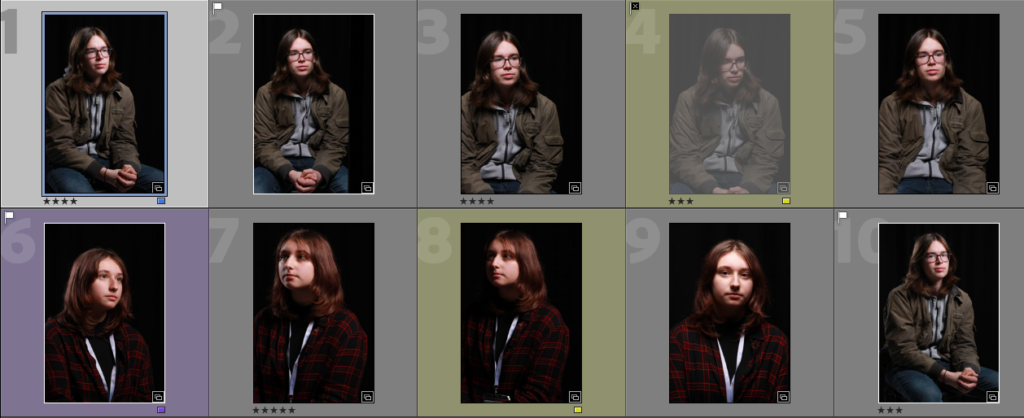
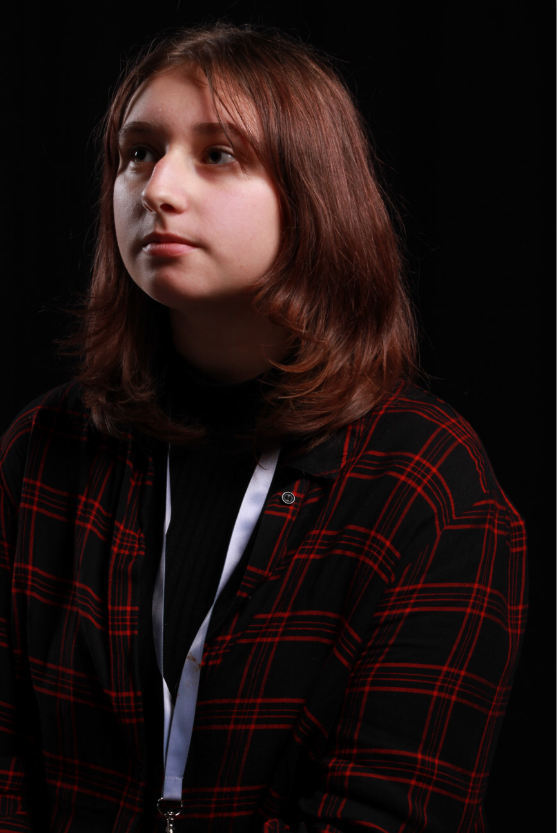
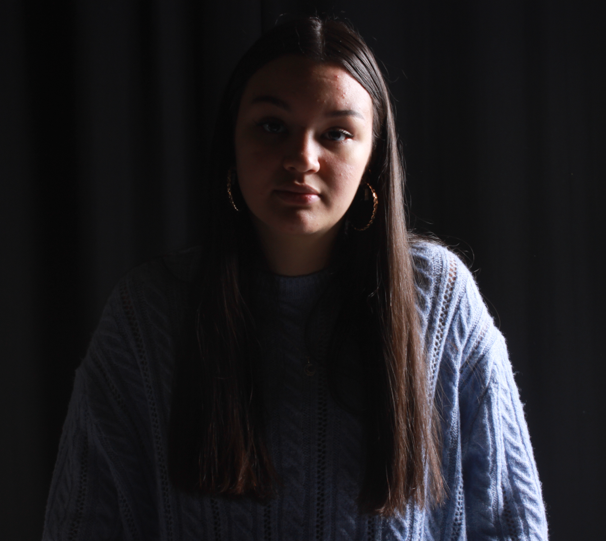
Below are some of the photos I took which best resemble chiaroscuro lighting

Final Photo & edits

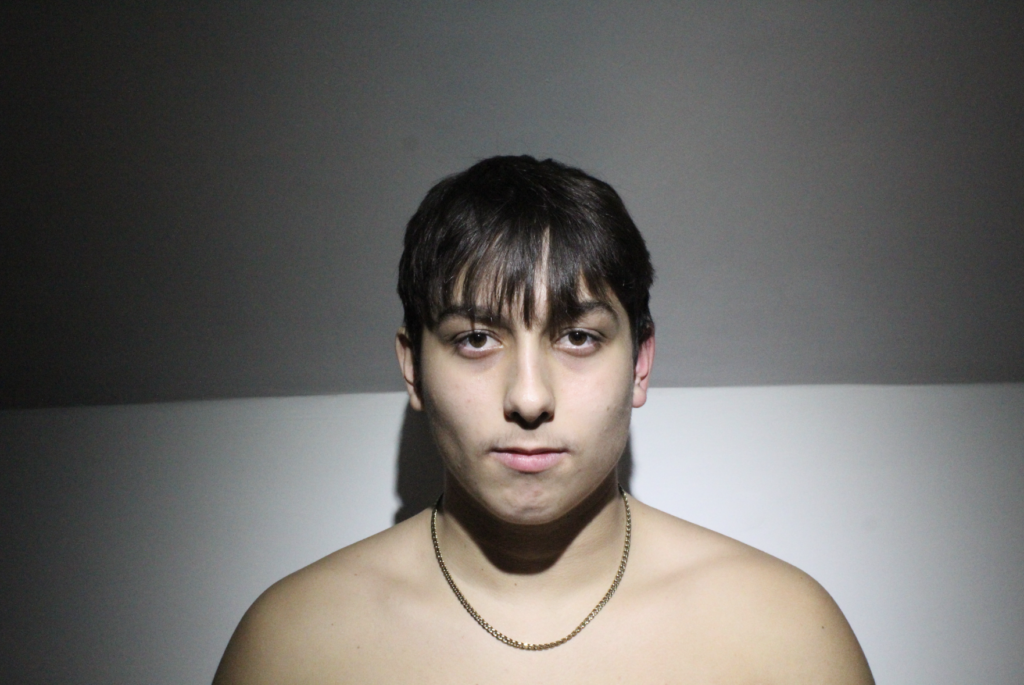
After Sorting through all my photos this photo came out as the best one.

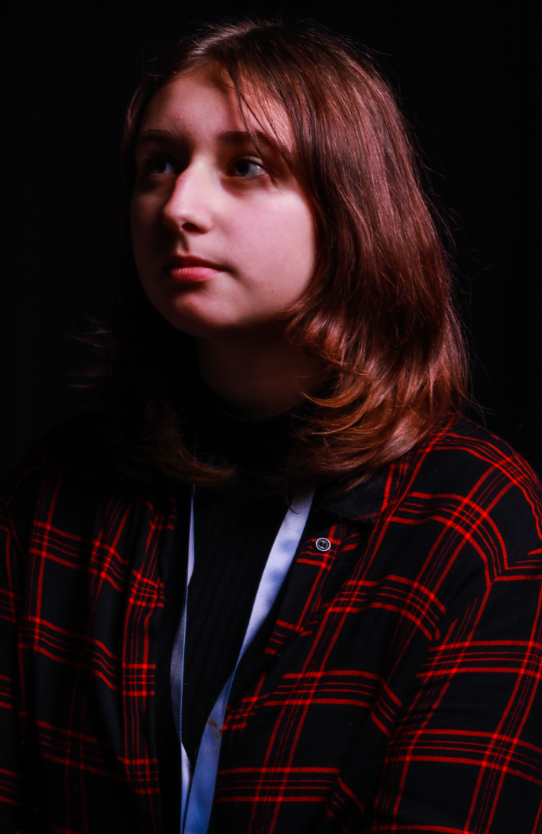
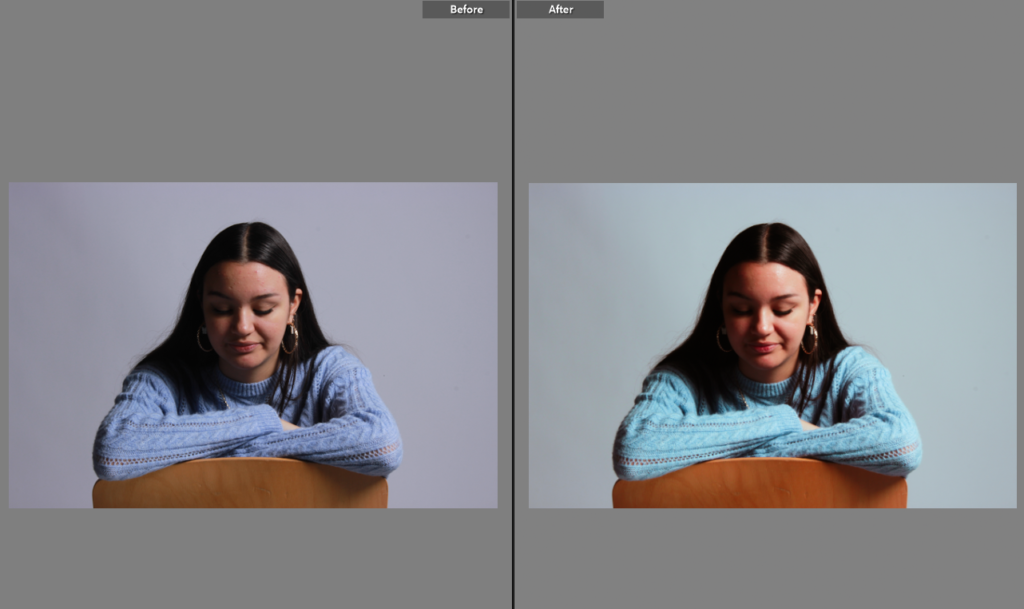
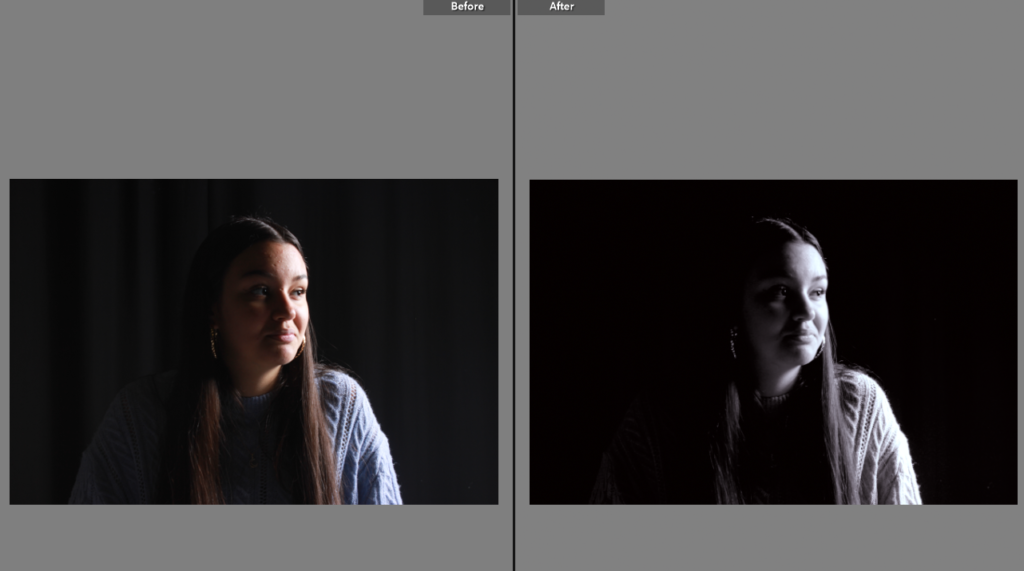
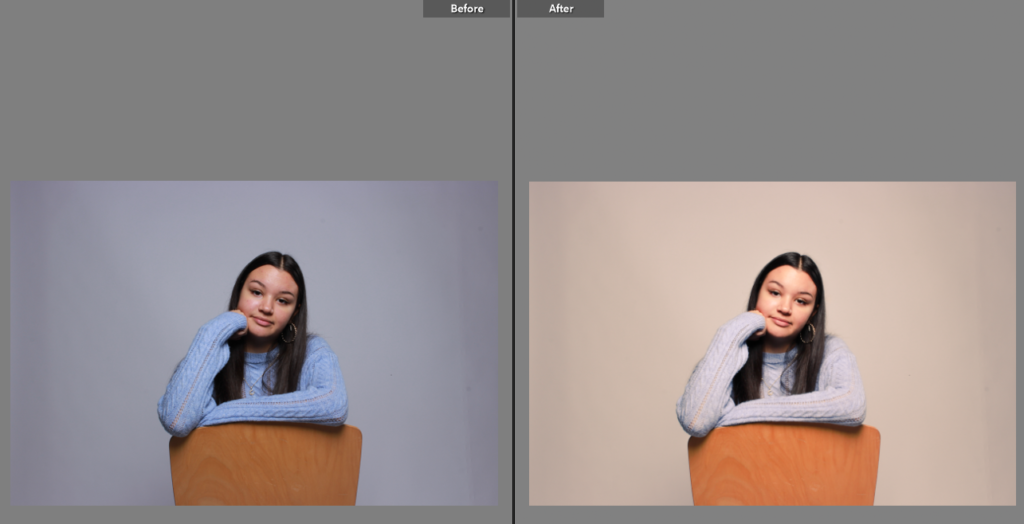
I decided to edit The photo in Lightroom to see if I could improve it. In the end I experimented with the saturation, Luminance, clarity and shadows, I also slightly adjusted the blues on the tonal curve

(Below is the edited photo)

Butterfly Lighting

Contact Sheets

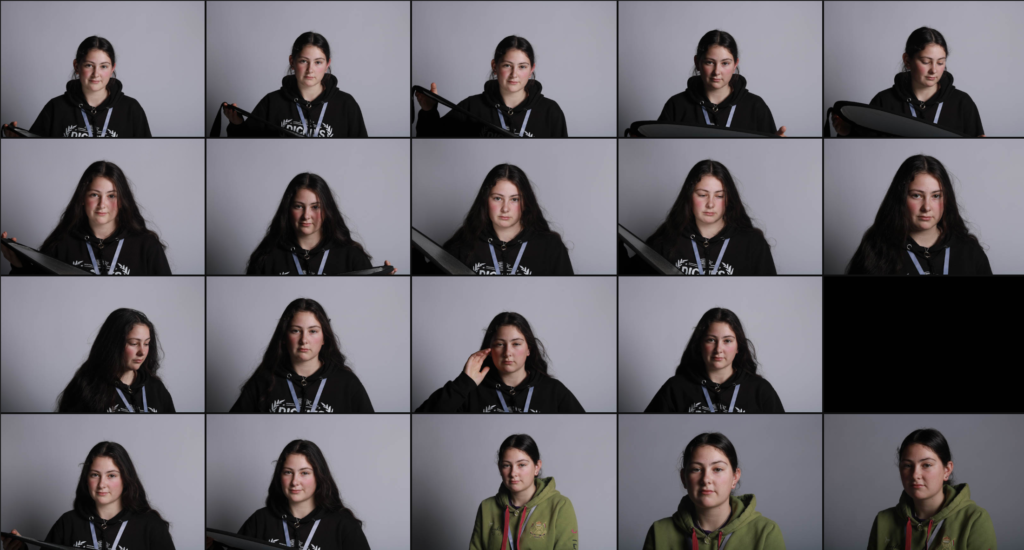
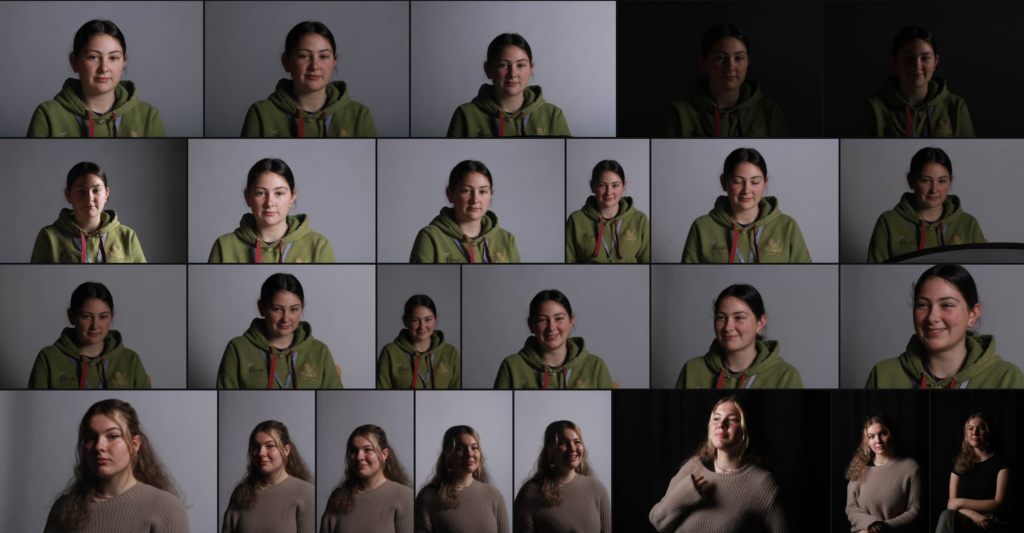
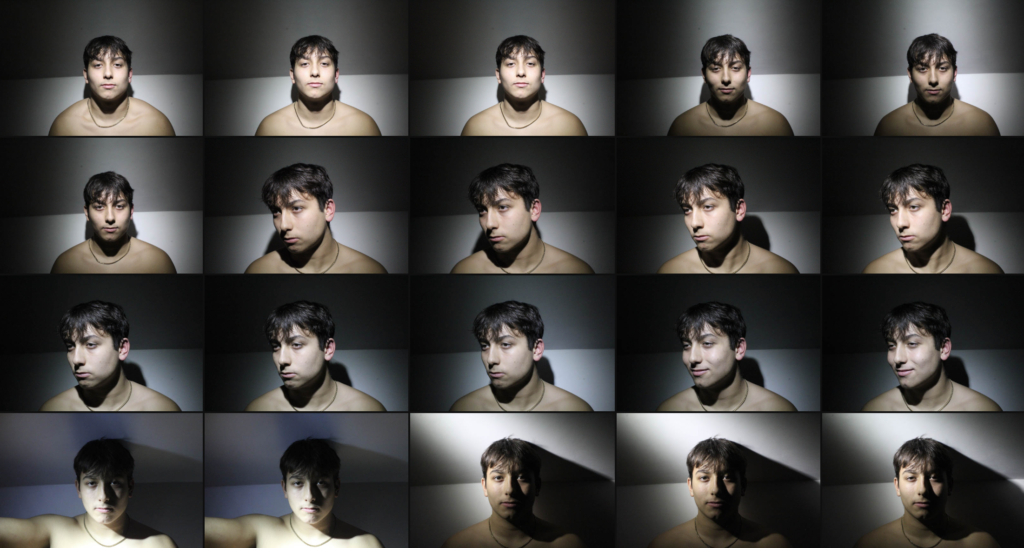
For these photoshoots, I did multiple photoshoots focusing on trying to get each of the various lighting effects rather than doing a photoshoot for each.

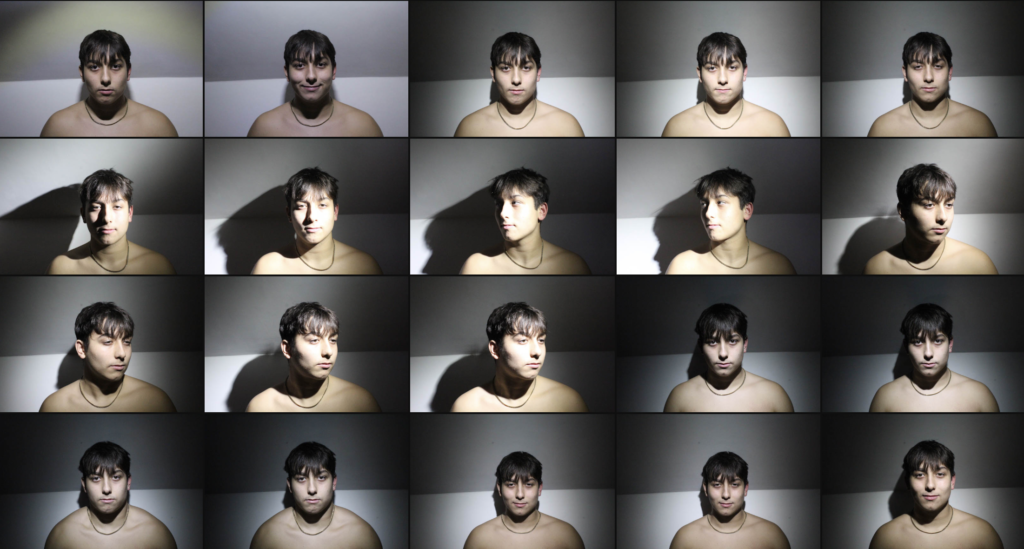
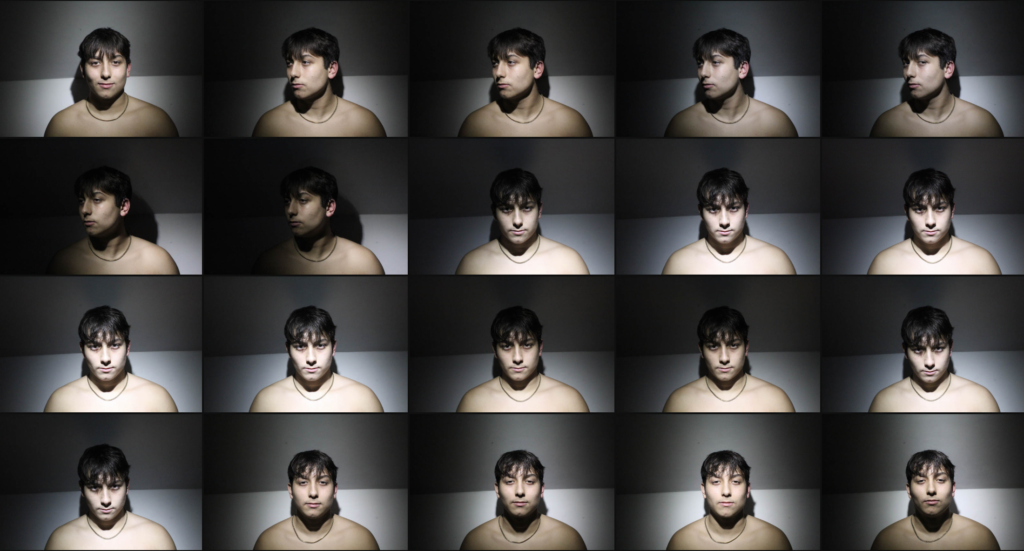
Contact Sheet for Butterfly

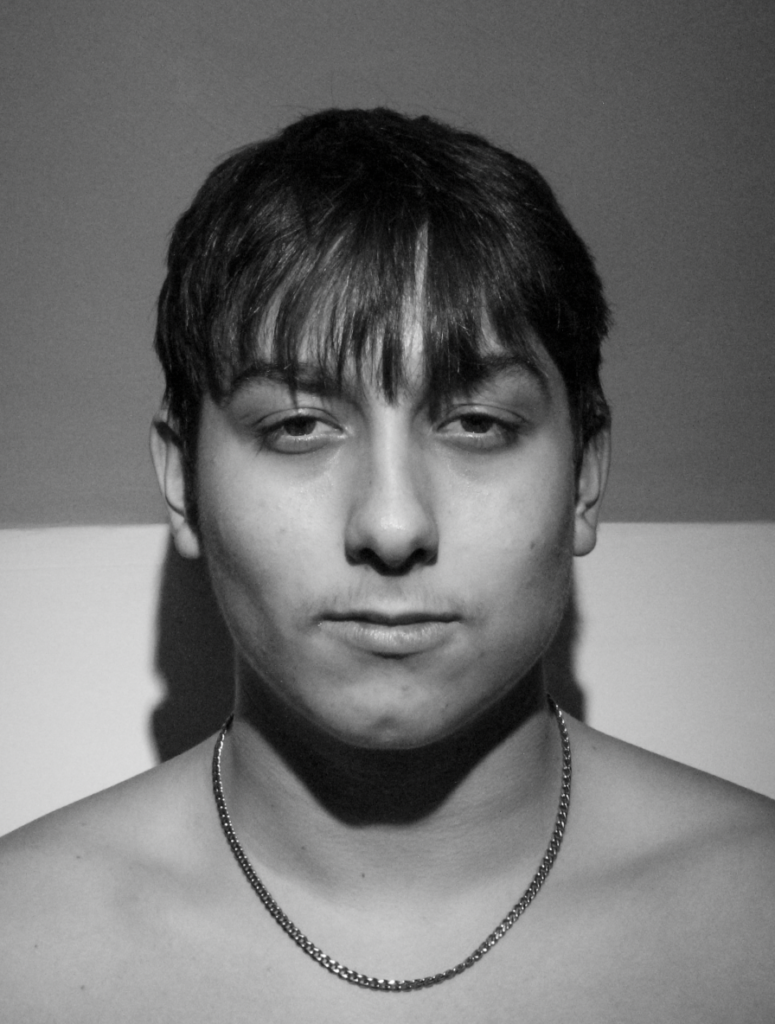
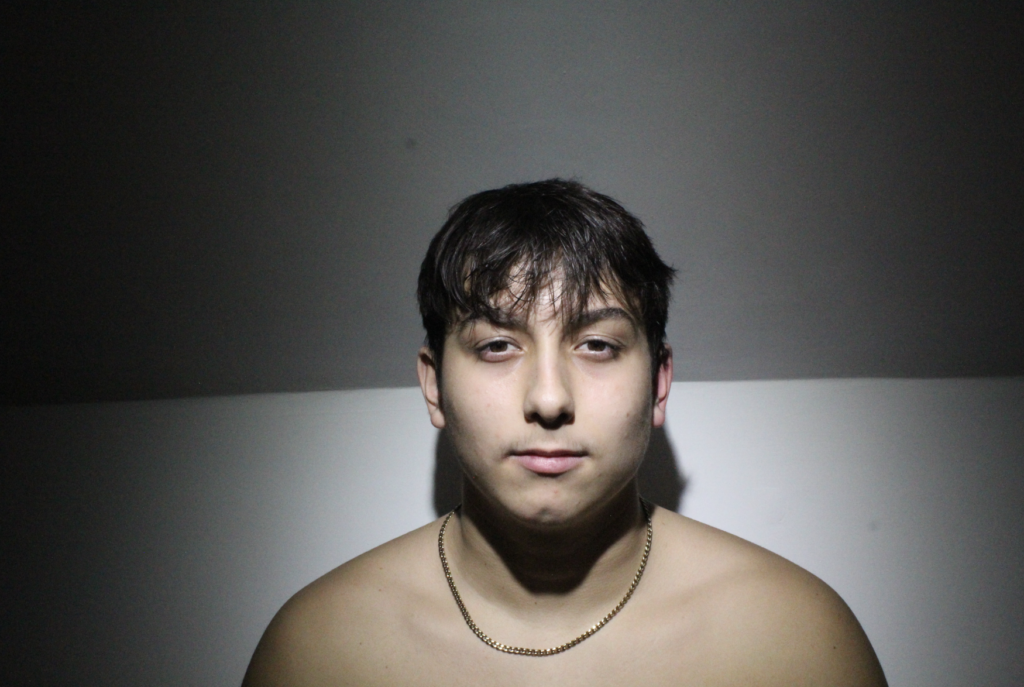
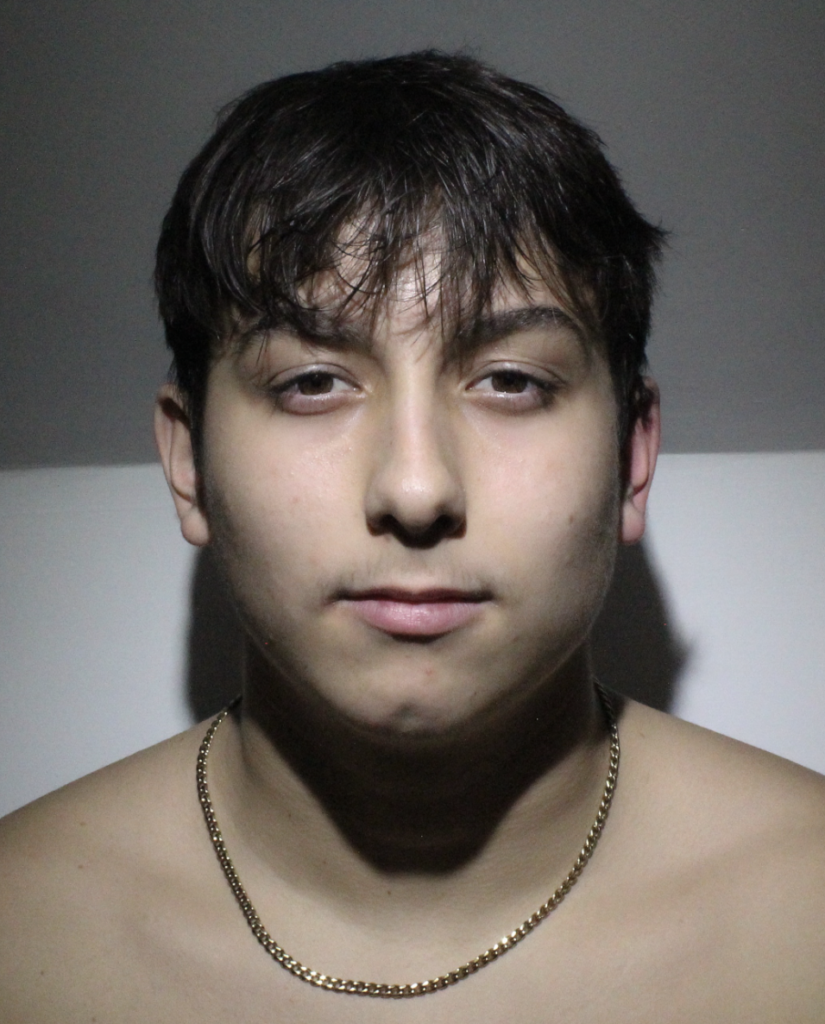
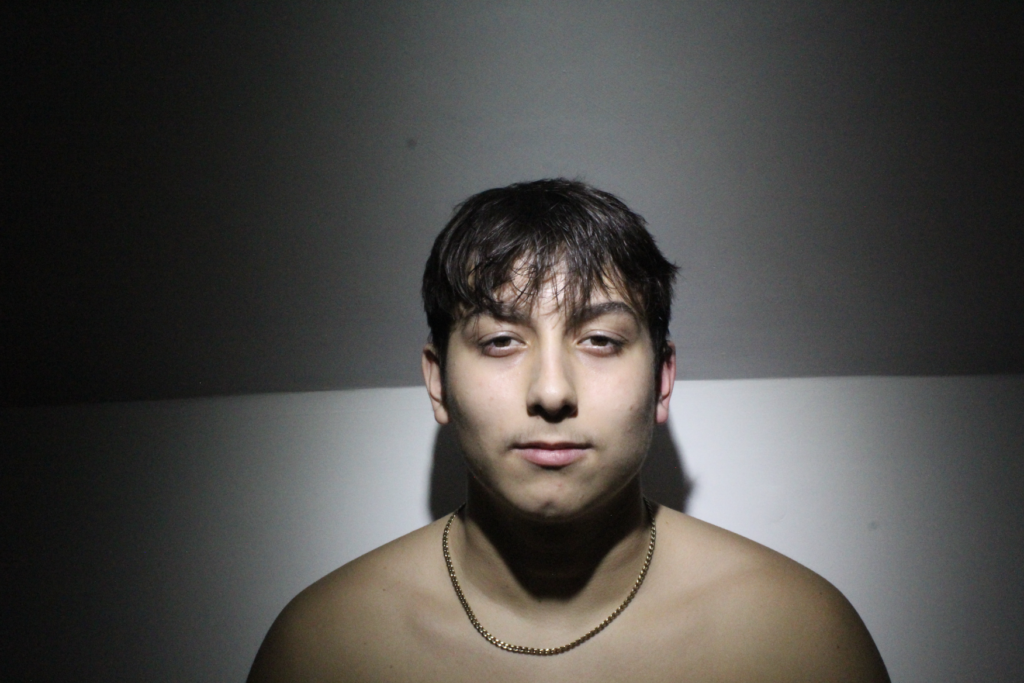
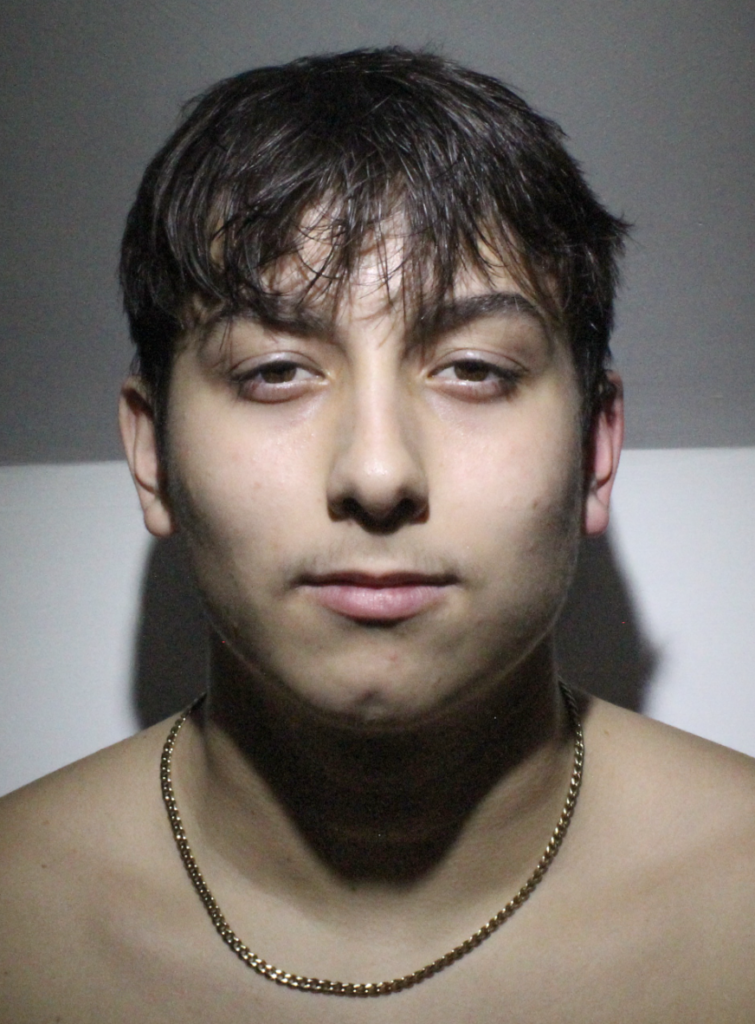
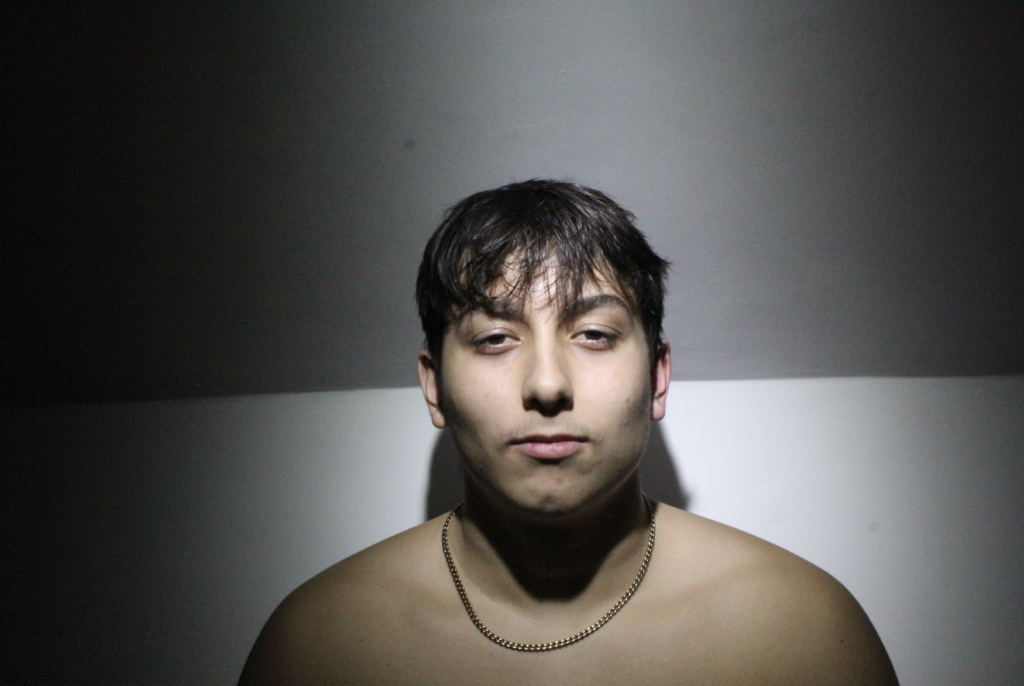
These photos were all taken in my bedroom using a tripod for the camera and then I held a torch above towards his face so it was facing down on him to create the shadow under the nose.

Butterfly Edits

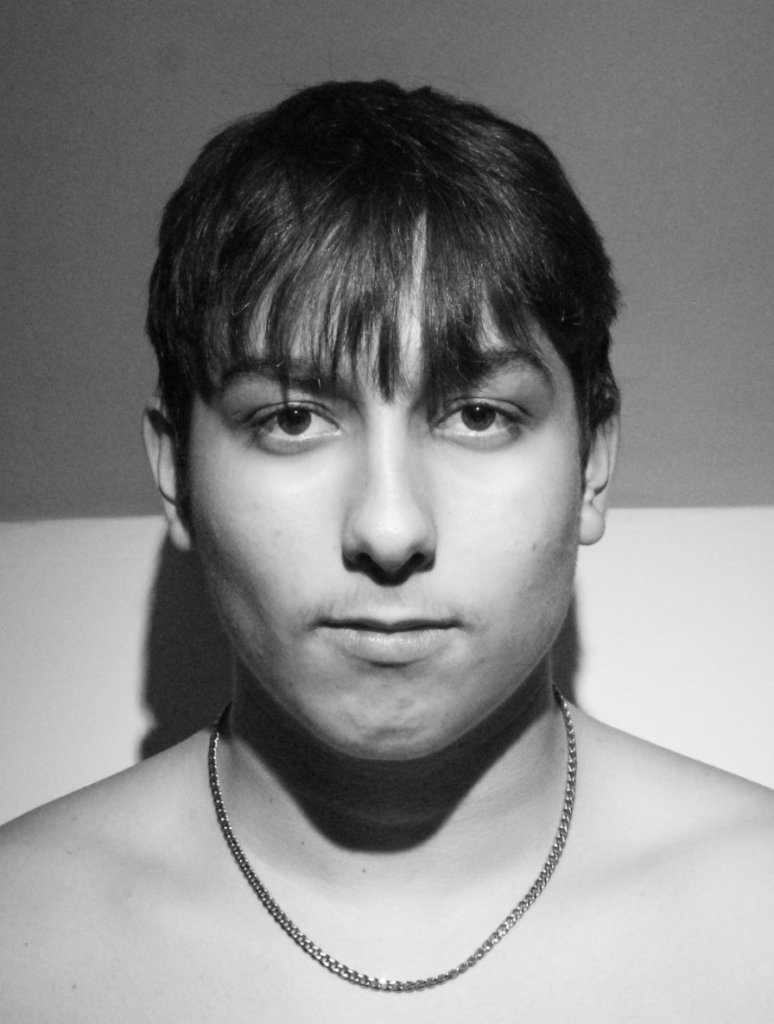
Edit 1

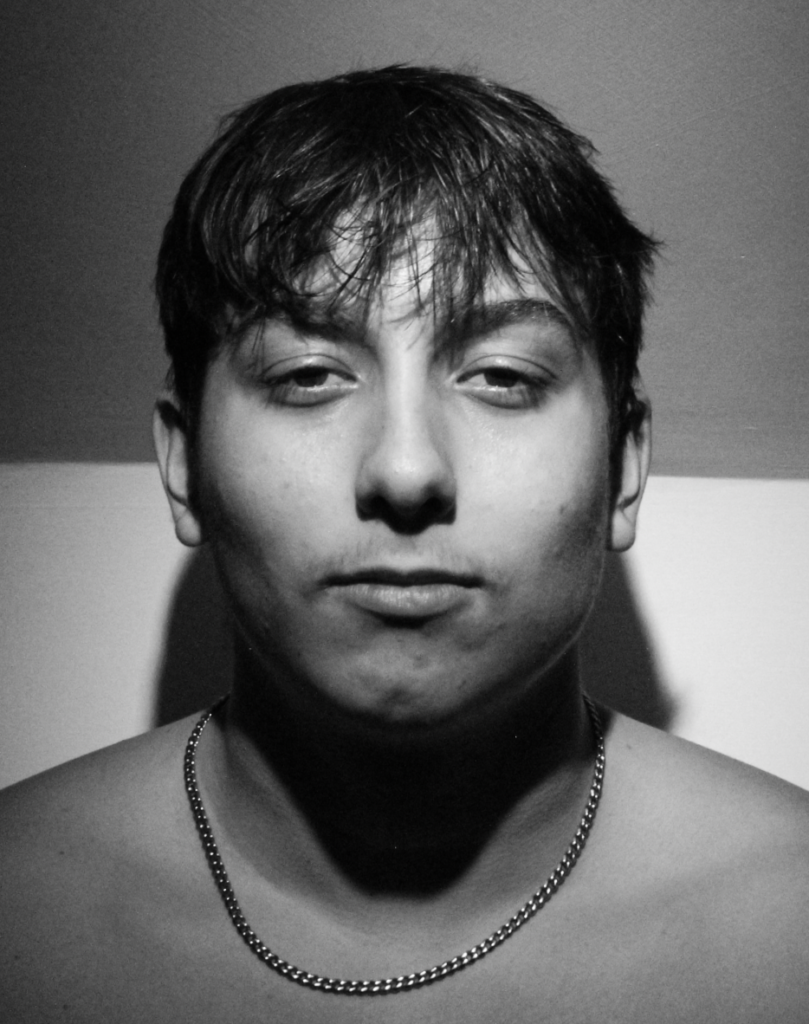
I edited this photo by, firstly, making it black and white and then slightly lowering the exposure. After this I increased the contrast, highlights and shadows. Finally, I used the brush tool to increase the exposure and whites and decrease the texture and clarity to make his under eyes appear less dark.

Edit 2

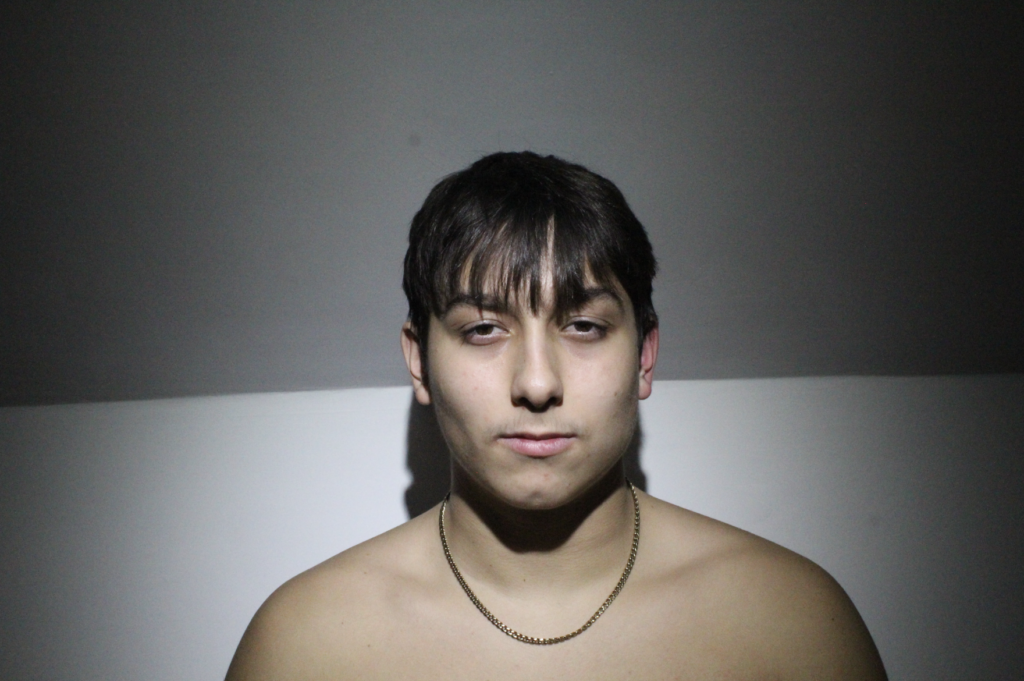
I edited this photo by cropping the sides then slightly rotating it so that it follows t he rule of thirds. I then lowered the exposure, highlights and blacks and increased the contrast, shadows and whites. Finally, I used the brush tool to increase the exposure of the dark speck near the top of the photograph.

Edit 3

I edited this photo by starting off by cropping and rotating it to fit rule of thirds. After this, I decreased exposure, contrast, vibrance, texture and clarity and increased highlights, shadows, whites, blacks and sharpening. Lastly, I used the brush tool to increase the exposure and lower the texture and clarity of his under eyes.

Edit 4

I cropped and rotated this photo then lowered the exposure and contrast. Additionally, I increased the highlights and shadows and texture and decreased the clarity.

Edit 5

For this photo, I started off by rotating and cropping it to fit the rule of thirds. I then lowered the exposure and increased the contrast and texture to finish off.

HENRY MULLINS

enry Mullins started working at 230 Regent Street in London in the 1840s and moved to Jersey in July 1848, setting up a studio known as the Royal Saloon, at 7 Royal Square. Initially he was in partnership with a Mr Millward, about whom very little is known. By the following year he was working alone and he continued to work out of the same studio for another 26 years.

For a brief period in the 1860s he also worked in London, but judging by the collection of his photographs which is now held by La Société Jersiaise, he found plenty of willing sitters in the island prepared to pay half a guinea (promoted as “one half of that in London”) to have their portrait taken by him.

Diamond Cameo:

This image has an empty alt attribute; its file name is image-498.png

The patent diamond cameo photo was taken by F.R. Registered. London windows of 1864. On a diamond-shaped business card he arranged four small oval portraits, each portrait of the same person taken in a different position. A special Dallmeyer camera is used, and each time he takes a portrait he takes one piece of glass. His negative is moved to a new position on the back of the camera, and after gluing the paper print onto the card, a special press is used. and made a hole. The four portraits together form a convex cameo shape.

Henry Mullin’s famous images:

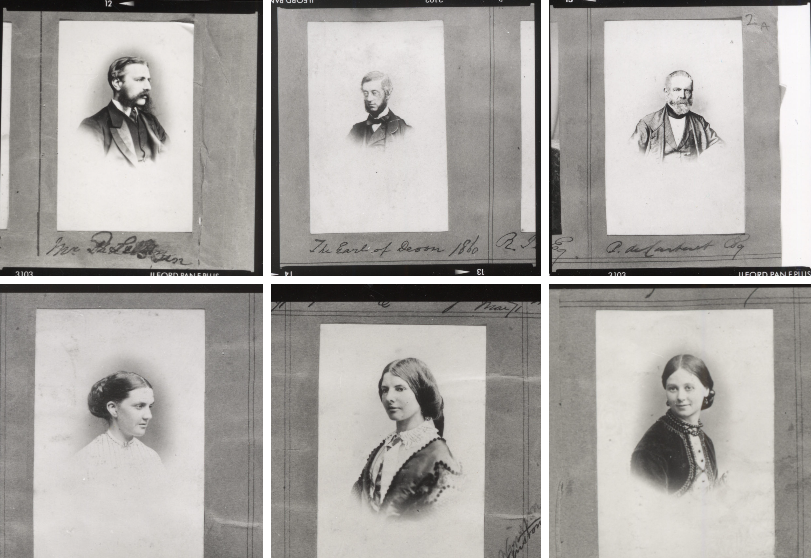
His speciality was cartes de visite and the photographic archive of La Société contains a massive collection of these. Their on line archive contains 9600 images, but the majority of these are sets of up to 16 photographs taken at a single sitting. In those times even 10s 6d was a substantial sum to pay to have one’s photograph taken, and included among his subjects are many of the island’s affluent and influential people, including Dean Le Breton, the father of Lillie Langtry.

He was also popular with officers of the Royal Militia Island of Jersey, for whom it was very popular to have portraits taken, as well as of their wives and children, for the more senior and more affluent officers. The pictures of these officers show clearly the fashion for long hair, whiskers and beards in the mid-1800s. Indeed, so similar is their appearance and so stylised the portraits, it is very hard to detect much difference between a large number of officers of the same rank and social standing.

STUDIO LIGHTING

Lighting is a key factor in creating a successful image. Lighting determines not only brightness and darkness, but also tone, mood, and atmosphere. Therefore, it is necessary to control and manipulate light correctly in order to get the best texture, vibrancy of colour and luminosity on your subjects.
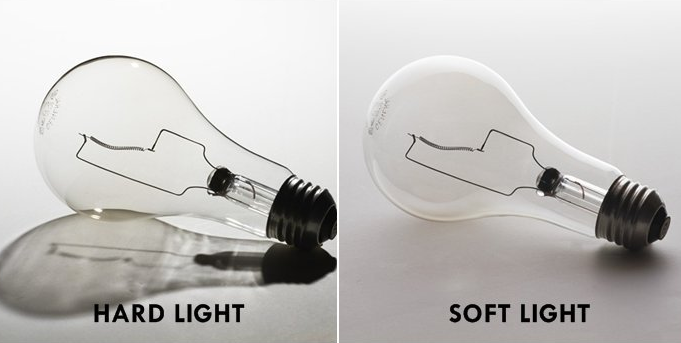
Hard light is a concentrated, bright light that casts strong shadows and draws attention to specific areas of a photo. With hard lighting, the transition between light and shadow becomes very difficult and distinct. When a subject is exposed to strong light, its silhouette casts a sharp, harsh shadow.

Soft lighting is a type of light with few hard shadows that’s bright yet balanced. In soft lighting, the transition between the light and the shadows is more of a gradient and much smoother.

Warm lighting/cool lighting

Warm light, characterized by reds, oranges, and yellows, is often used in photography to evoke feelings of warmth, comfort, and intimacy. Just as warm colors in art and design can create a feeling of comfort and energy, warm light in photography can enhance the emotional impact of an image.

Cold light is the most common colour temperature of natural light, as it exists from about 1 hour after sunrise to about 1 hour before sunset. This colour temperature is fairly neutral.

ALYS TOMLINSON

“When I’m making a portrait, even when I’m doing my research and I have in my head and idea of what I might create, I’m thinking very carefully about building trust. Respect is very important to me. And so I hope there’s like a level of dignity in the way that they’re represented in the photographs. It’s all very much tied together.”

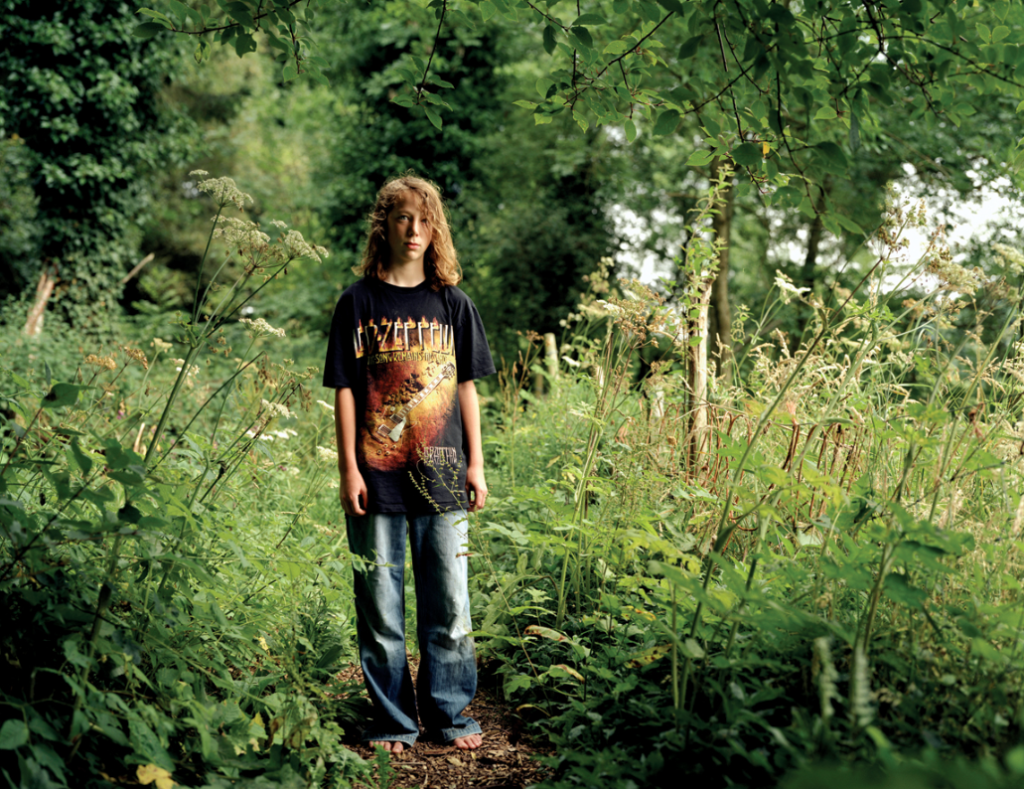
Alys Tomlinson is a British photographer born in 1975 (age 48 years), Brighton, and hove, United Kingdom. Alys studied English Literature and Communications at the University of Leeds. After graduating, she moved to New York for a year and was given her first commission for Time Out, before returning to London to study photography at Central Saint Martins College of Art and Design. She recently completed a part-time MA in Anthropology of Travel, Tourism and Pilgrimage (Distinction) at SOAS, University of London, which ties in with her long-term, personal project about pilgrimage.

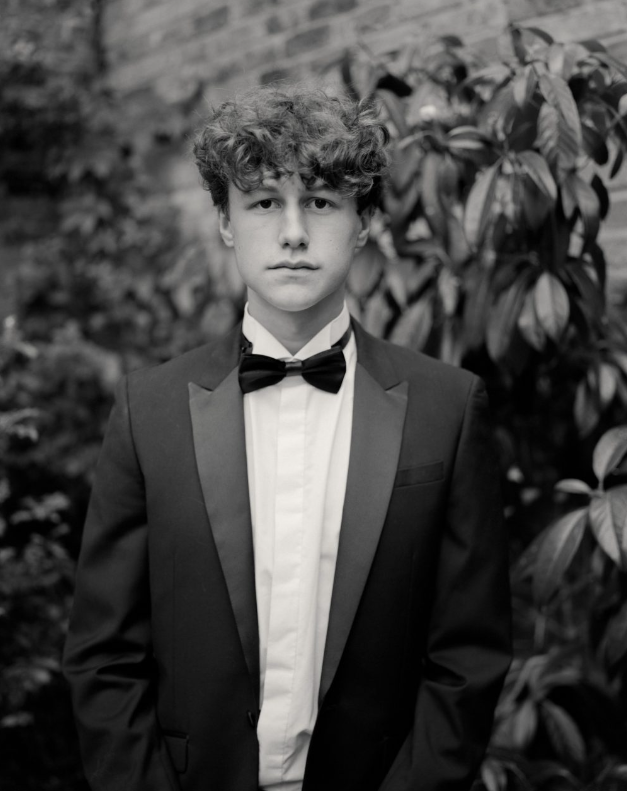
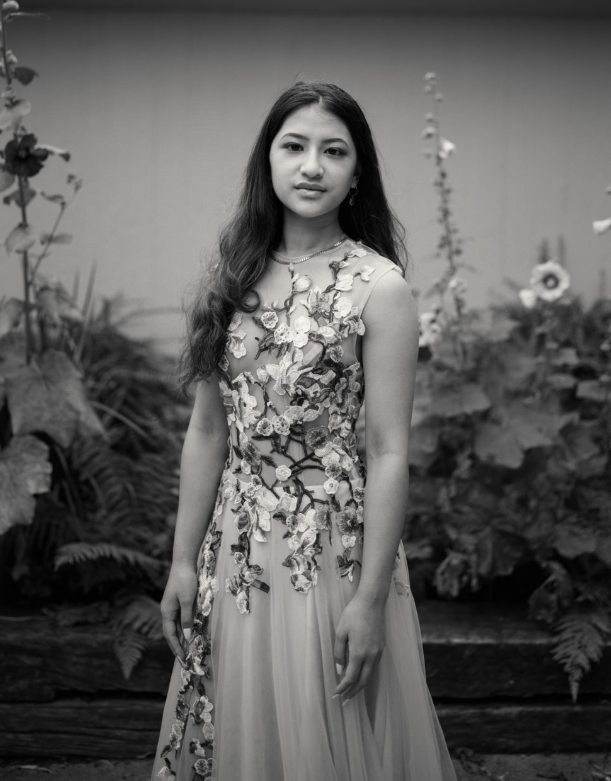
Below are some of Alys Tomlison environmental portraits:

I chose Alys Tomlinson out of all the other artist as an inspiration because I love the way she takes photoshoots and how eye-catching each image is.

Headshots 1: Double/Multi exposure

DOUBLE/ MULTI-EXPOSURE:

What is it?

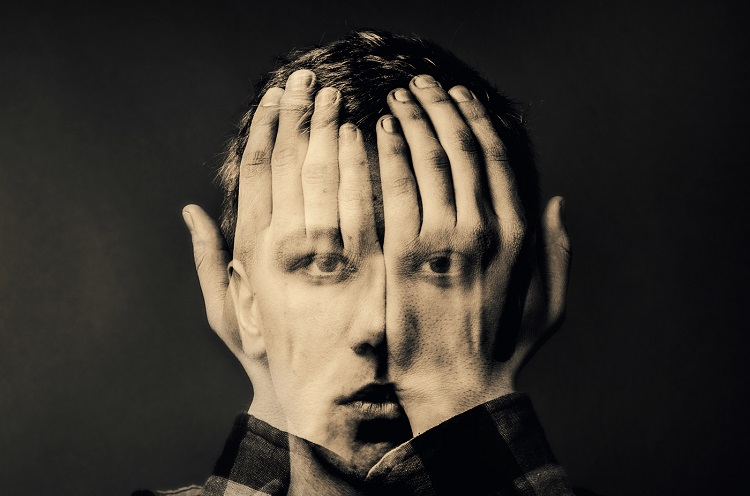
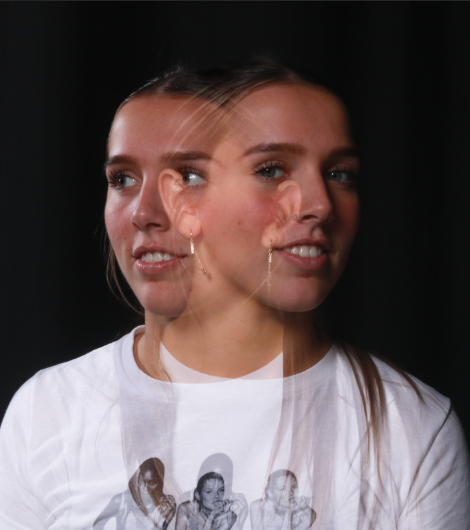
Double/multi exposure photography is a technique that layers two or more different exposures on a single image, combining more photographs into one. Double/multi exposure creates a surreal feeling for your photos and the two photographs can work together to convey deep meaning or symbolism.

Examples:

Artist Inspiration- Man Ray

Man Ray (1890-1976) was a famous American photographer, who used the technique of Double/multi-exposure images to improve his photographs. His exploration of multiple exposures allowed him to create images that were layered with meaning and symbolism. Man Ray “used chance and dislocation of ordinary things from their everyday settings to surprise his viewers into a new awareness.”

Man Ray’s photographic efforts with combining the seemingly unrelated in the same composition began in earnest with his Rayographs, which he started producing in 1922. To create them, he arranged objects onto photographic paper and then exposed the composition to light, creating a series of photographs that transform the banal into meaningful and complex imagery. 

Examples of his work:

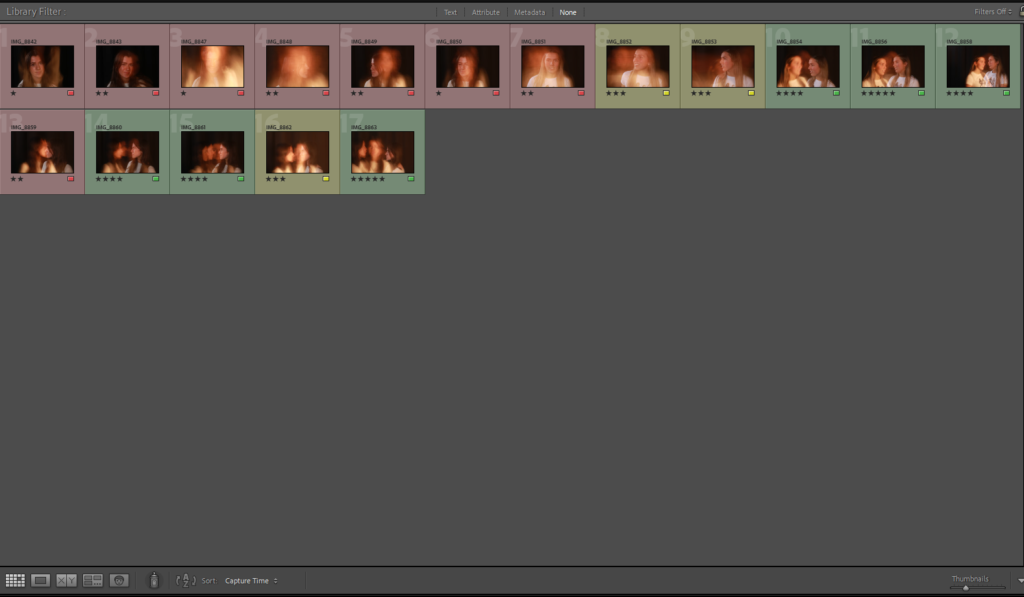
My Contact Sheet:

My first photoshoot:

For my first photoshoot, we used a really low shutter speed to create the blur effect. This gave me an idea of how I would like my photos to turn out like, although I will continue to edit and finalise these photographs.

My edited photos:

This was my first go at trying to use this technique, so I didn’t achieve the final product I would’ve liked to.

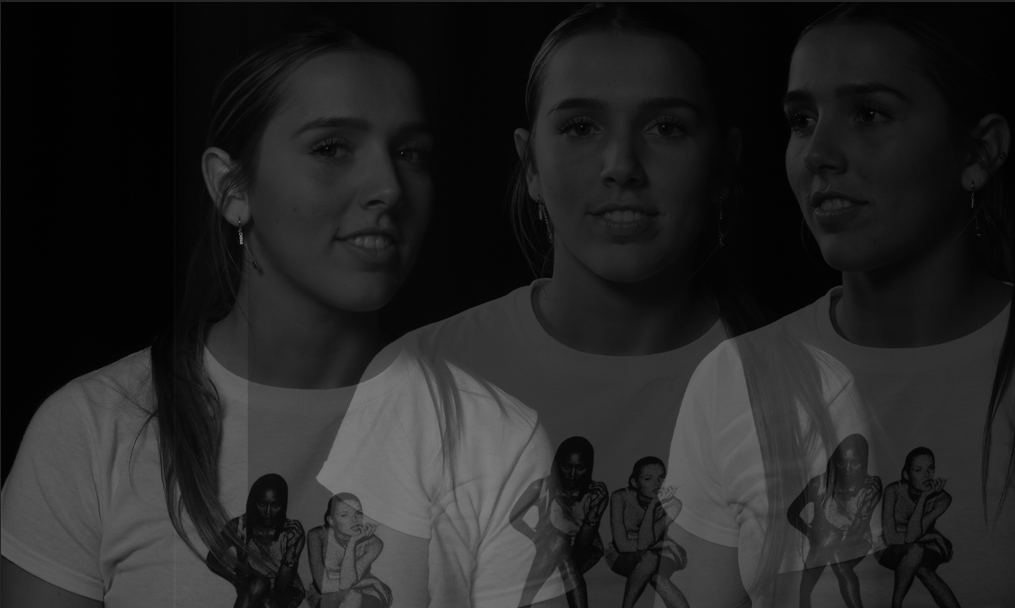
My second attempt went well and I really like the outcome. I used photoshop to create the multi-exposure effect.

The three different images represent different facial expressions and emotions, which I was hoping to achieve.

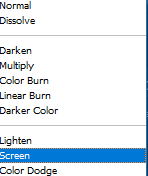
I also tried using less images to create a double-exposure headshot. To get to this final product, I used two images where the subject was looking in opposite directions. I then overlapped the two and used the option ‘screen’ to help with the blending of the two images. Finally, I cropped the unwanted parts out of the photo so the subject could be the main focus.

Evaluation:

Overall, I really enjoyed this project and I’m very happy with the final outcomes. These photos were really fun to make as it was really creative.

Rembrandt lighting

What is Rembrandt lighting?

Rembrandt lighting is a technique that uses a light and a reflector, or two separate lights. It’s a popular technique because it can create dramatic and natural-looking images. This is mainly characterized by glowing triangles under the subject’s eyes in the less illuminated area of ​​the face (the filled side).

What is Rebrandt lighting used for?

Rembrandt lighting is a technique utilizing one light and one reflector or two separate lights. It’s a popular technique because it creates images that look both dramatic yet natural. It’s predominantly characterized by a lit-up triangle underneath the subject’s eye on the less illuminated area of the face (fill side).

This is what type of set up you need to do Rembrandt lighting photoshoots.

These are the top three best Rembrandt lighting photoshoots.

BEST IMAGE:

Chiaroscuro lighting

What is Chiarascuro lighting?

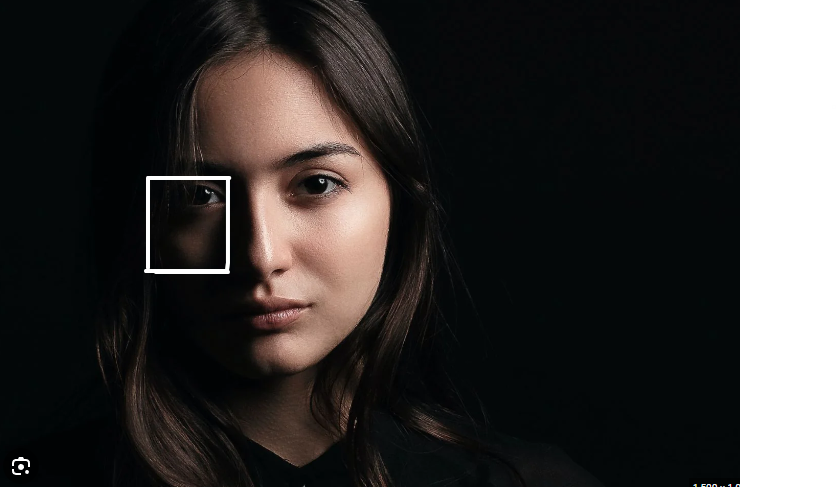
Chiaroscuro is a high-contrast lighting technique that utilises a low-key lighting setup to achieve contrast between the subject and a dark background.

What is chiaroscuro lighting used for?

Chiaroscuro balances high-contrast light and shade to give the appearance of depth, creating an enhanced or more dramatic effect. Chiaroscuro creates three-dimensionality on a two-dimensional plane, darkening the background and highlighting the subject in the foreground, drawing the viewer’s focus and attention.

This is the set up you need for chiaroscuro lighting photoshoot.

These are the top 4 best chiaroscuro lighting photoshoot.

BEST IMAGE:

Butterfly lighting

What is butterfly lighting?

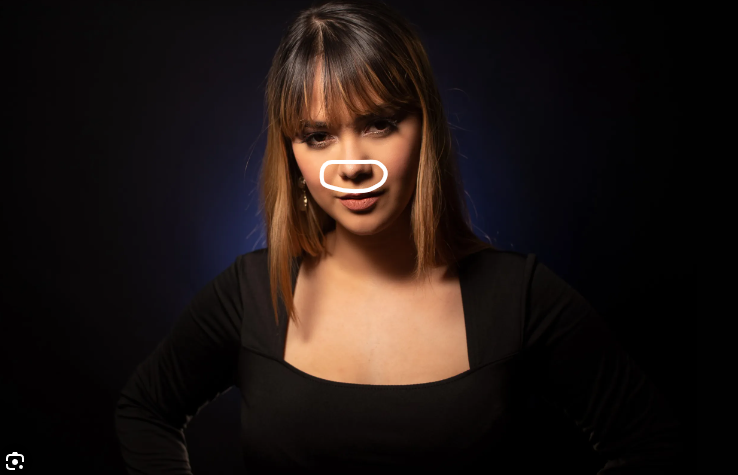
Butterfly lighting is a portrait lighting pattern where the key light is placed above the subject’s face and aimed directly at the subject’s face. This creates a butterfly-like shadow under the nose. Also known as “Paramount Lighting” after the classic Hollywood glamor photo.

What is butterfly lighting used for?

Butterfly lighting is a type of lighting pattern for studio portraiture. It is used for taking flattering, glamorous portrait photos. The lighting is soft on the face. It forms a butterfly-shaped shadow under the subject’s nose, which is the source of the name.

This is what type of set up you will need to take a butterfly lighting photoshoot.

These are the top four best butterfly lighting photoshoots.

BEST IMAGE: