MY SETUP:
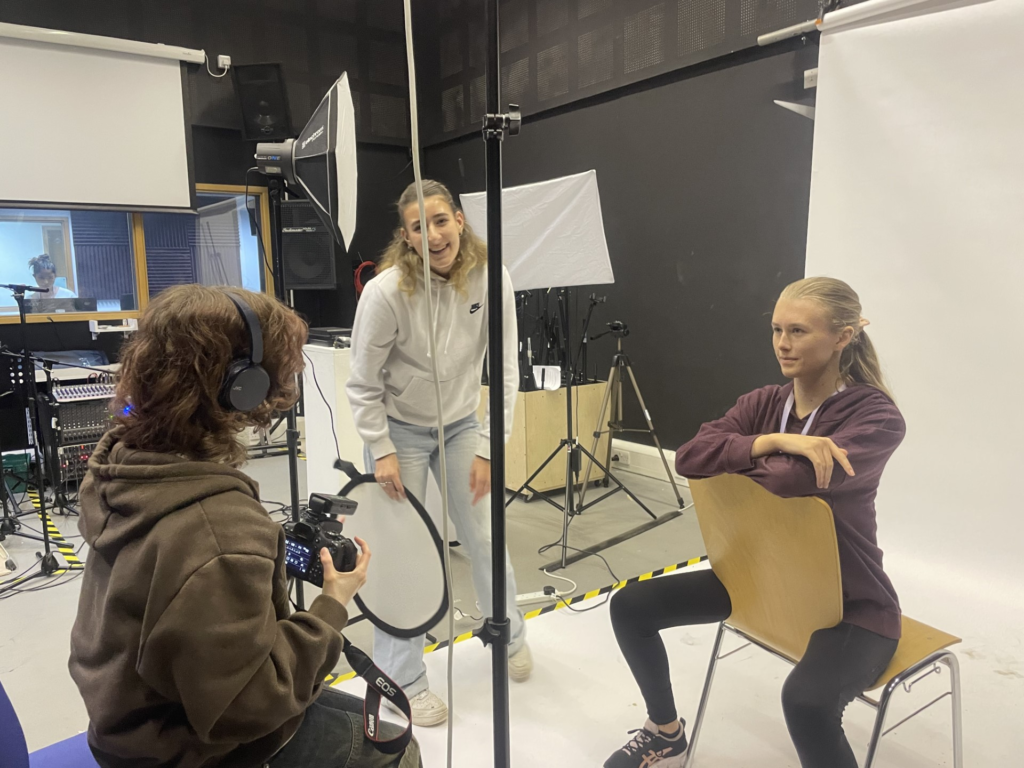
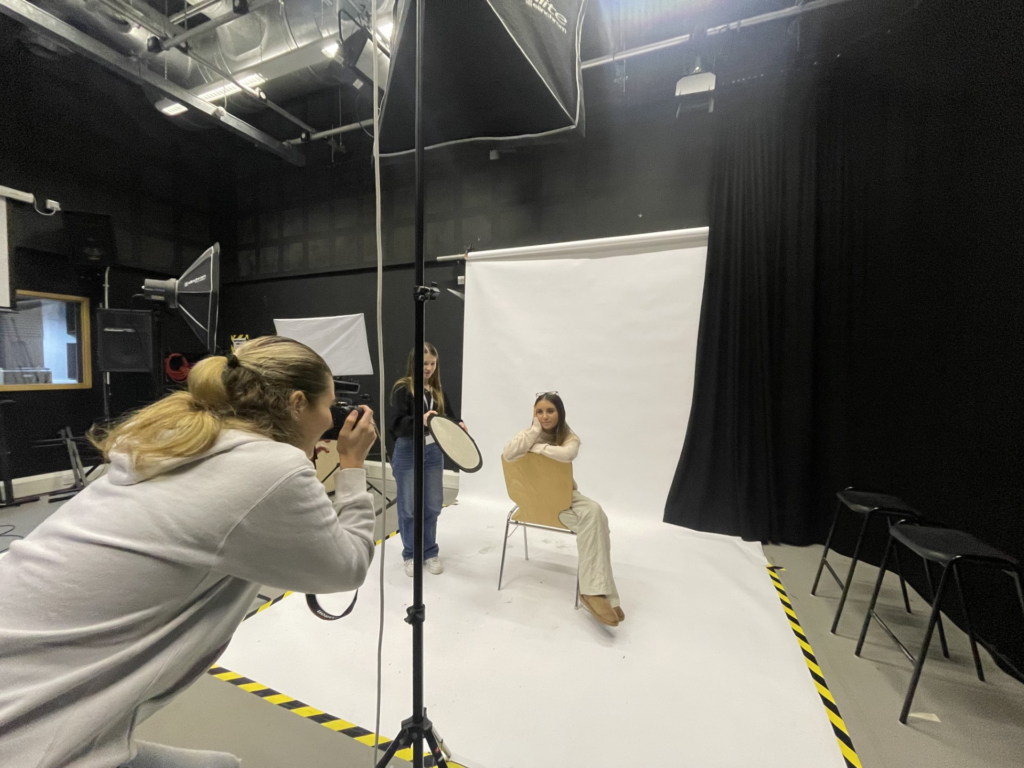
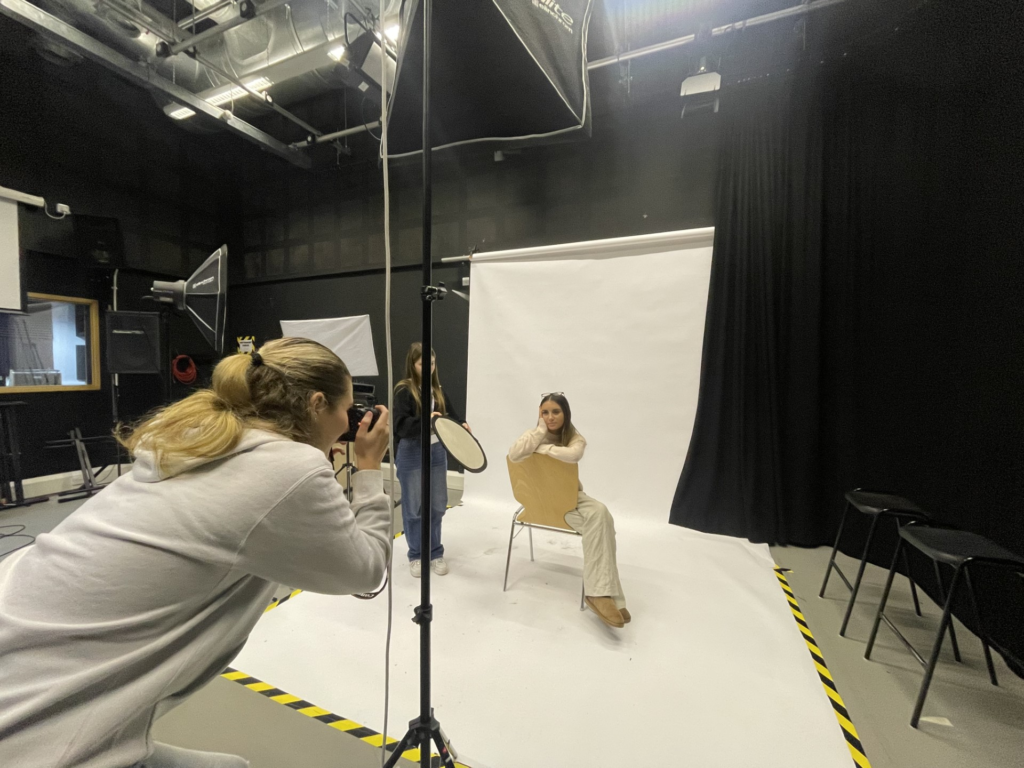
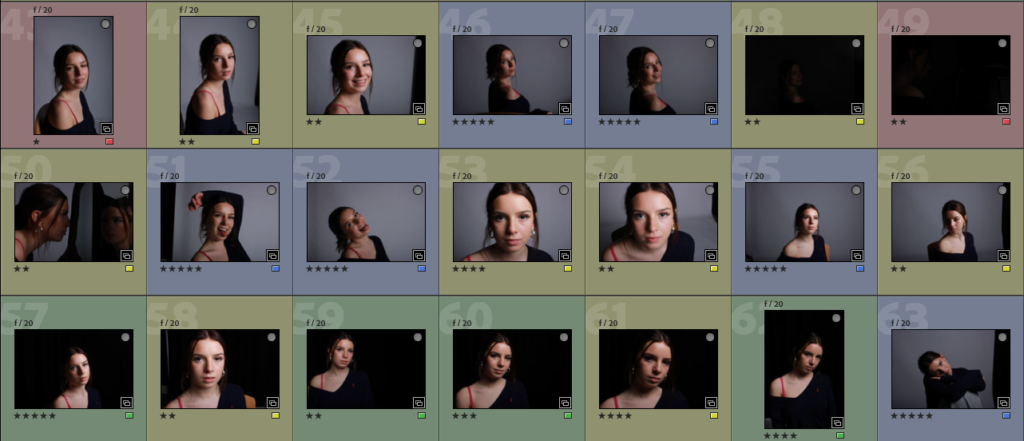
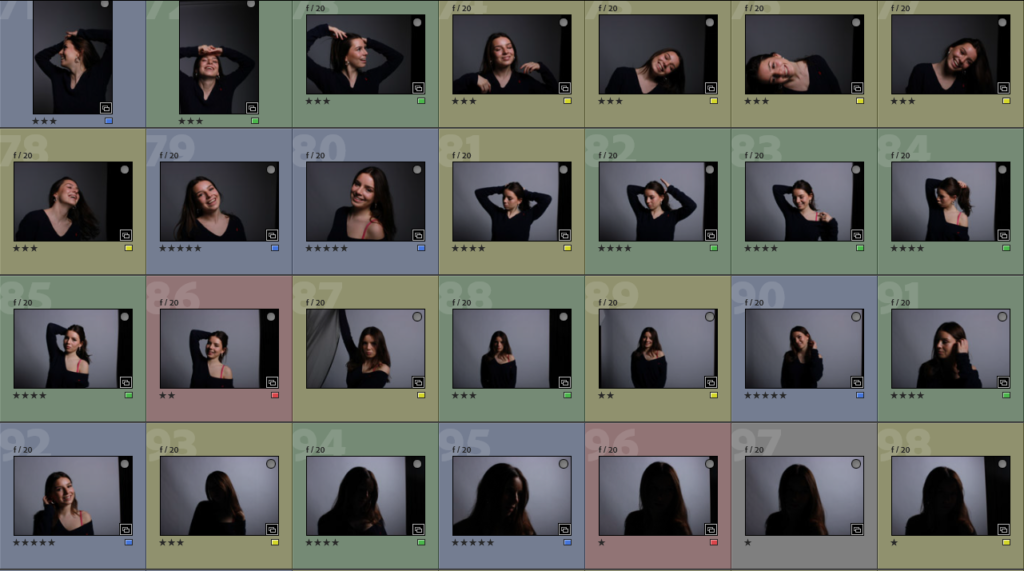
I took these headshots in the lighting studio with two different models. I wanted them to be comfortable and embrace themselves, this helps to make the photos I took to be natural and portray whatever mood they are feeling at the current time. I also then categorized these photos I took into different groups with colours separating them. I chose to take around 250 photos which is definitely larger than the photoshoots I have done in the past. I chose to do this amount of photos to have a larger region of choice when it comes to taking photos and choosing photos to edit in my different cameos in my headshots topic. I had 3 people help whilst taking my photos, I first had one person moving around my flash head in order to get different angles of lighting through the flash. I then had a person moving and manoeuvring a reflector in order to reposition lighting on my models face. I also then had myself taking the photos of my model with the best angles possible. I then finally had my model posing with multiple poses in order to create an array of photos.
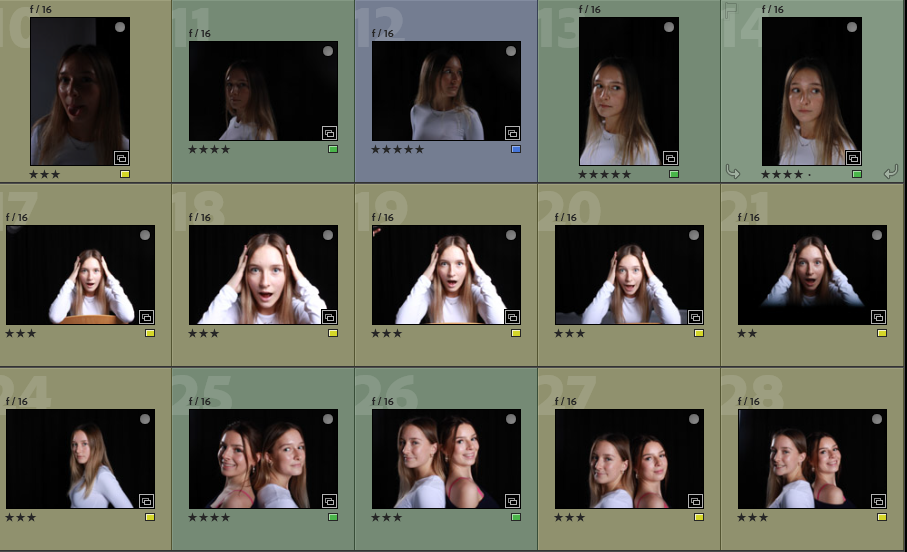

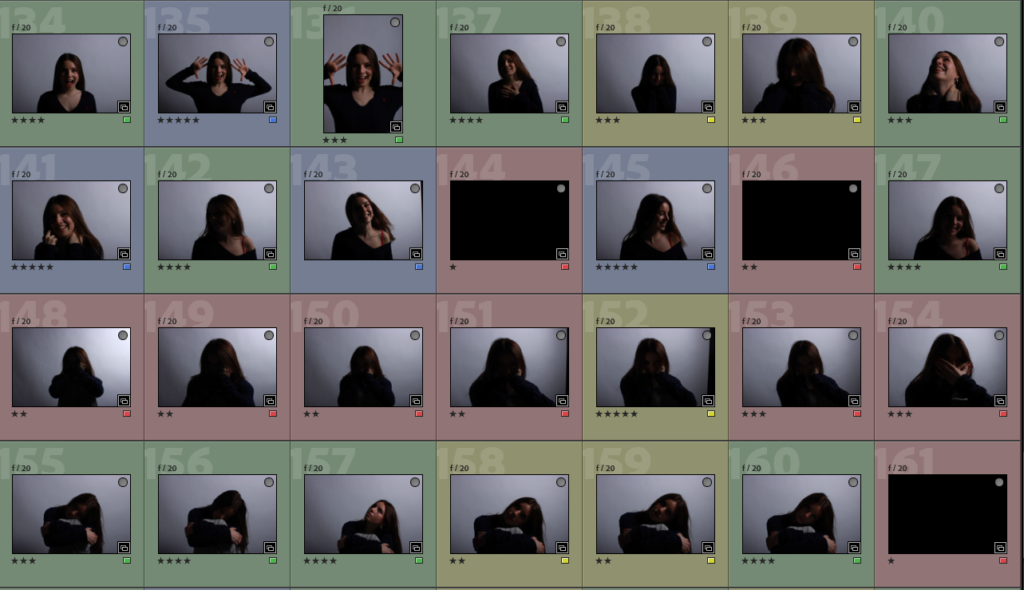
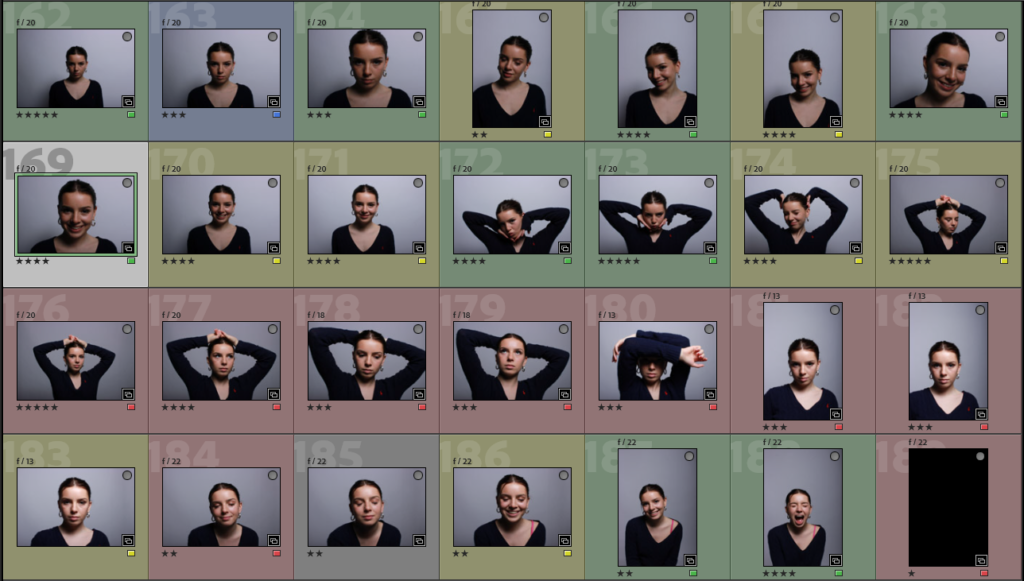

I chose my low quality images with a low shutter speed or blurriness to be RED – Here is a few examples of some red images…
I then chose my ‘good’ photos to be YELLOW ,these photos are okay but not my best work – Here is a few examples of some yellow images…
I then picked my photos that are high quality and good enough to use for display in GREEN – Here is a few examples of some green images…
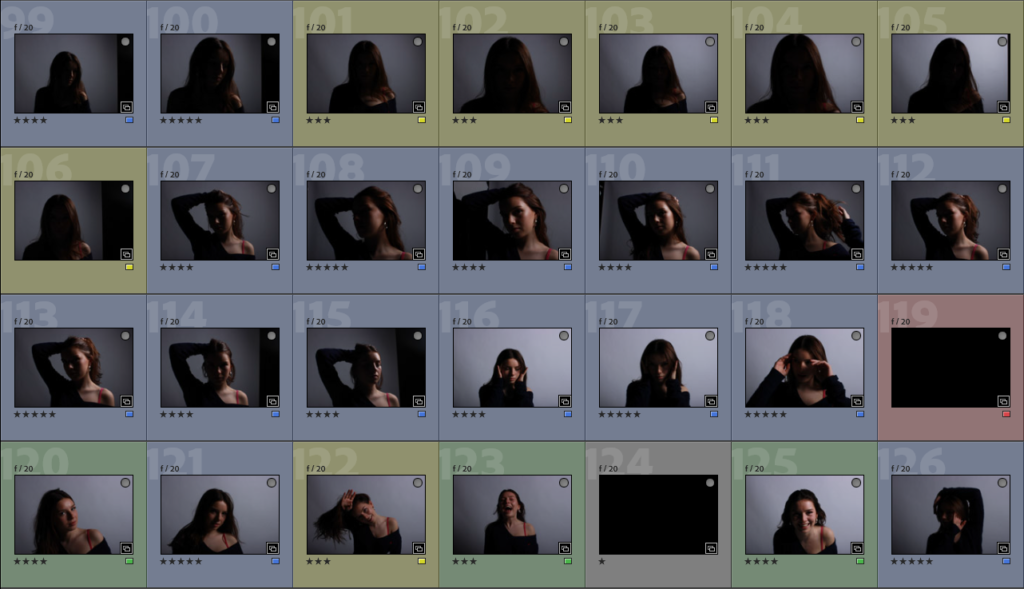
I then used BLUE to show my absolute best images I took in this photoshoot.
My BEST Images
These are my best images and also my ‘blue’ images which are classed as my most highest quality images in this photoshoot and the photos I could get the highest marks from whilst using lighting techniques.
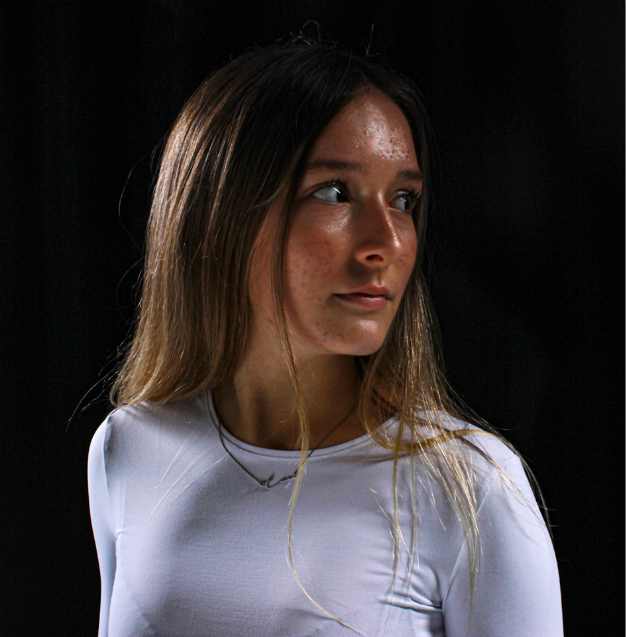
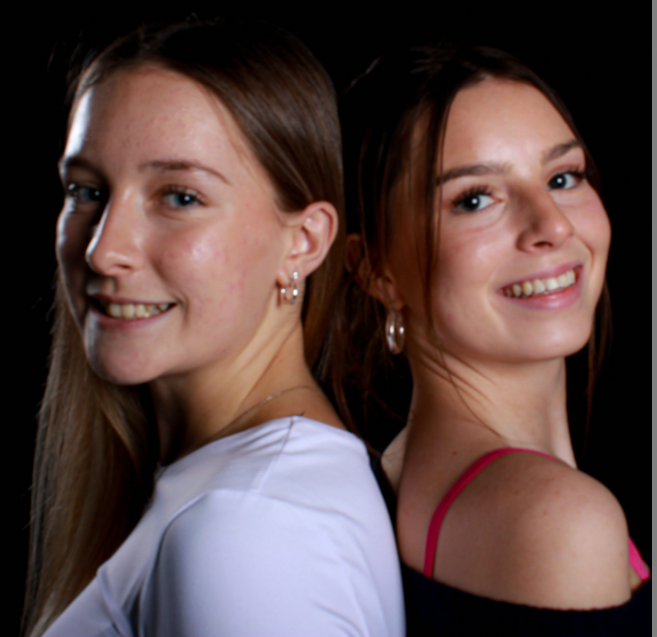
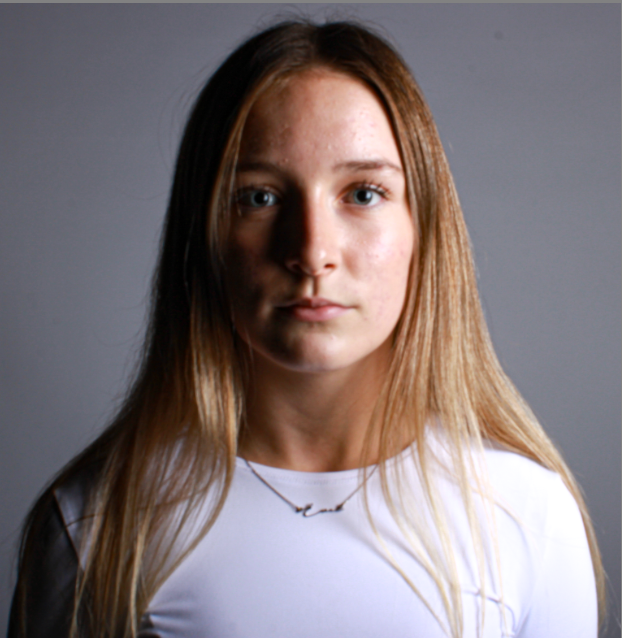
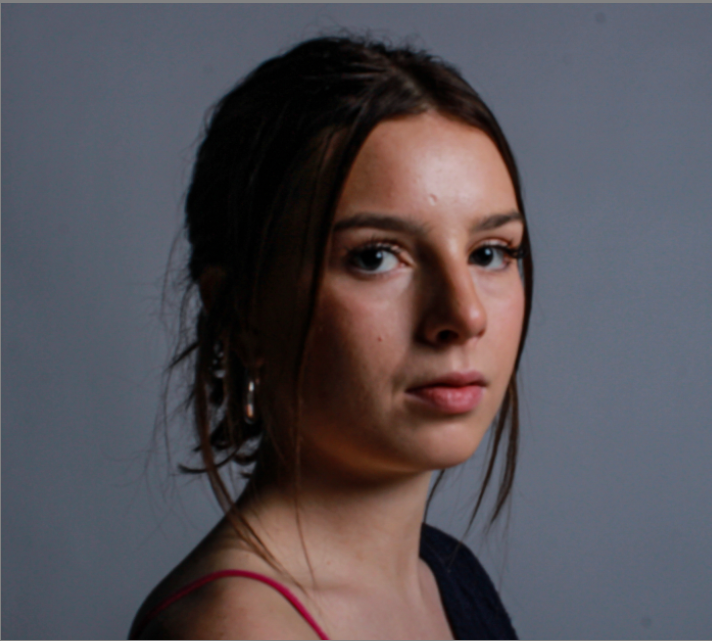
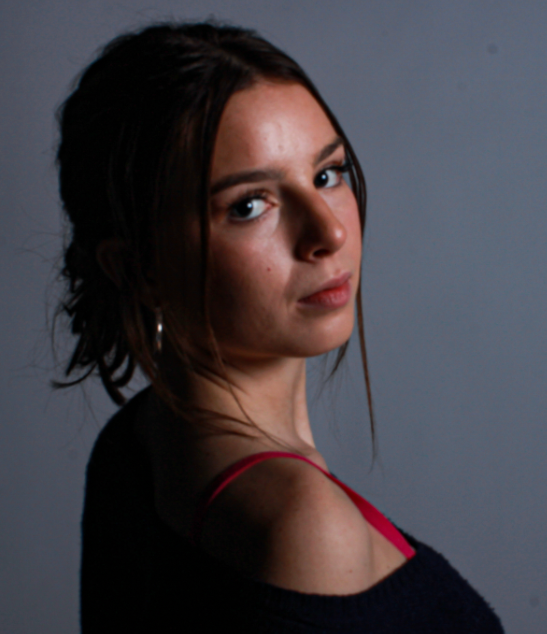
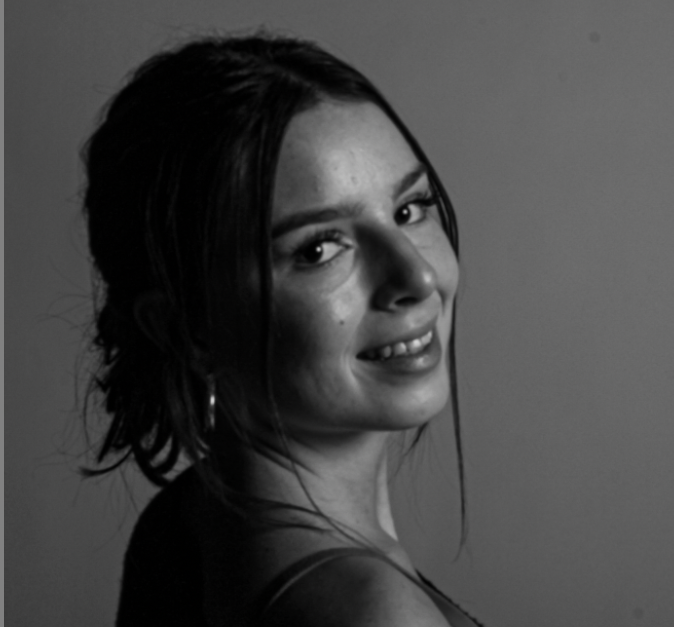
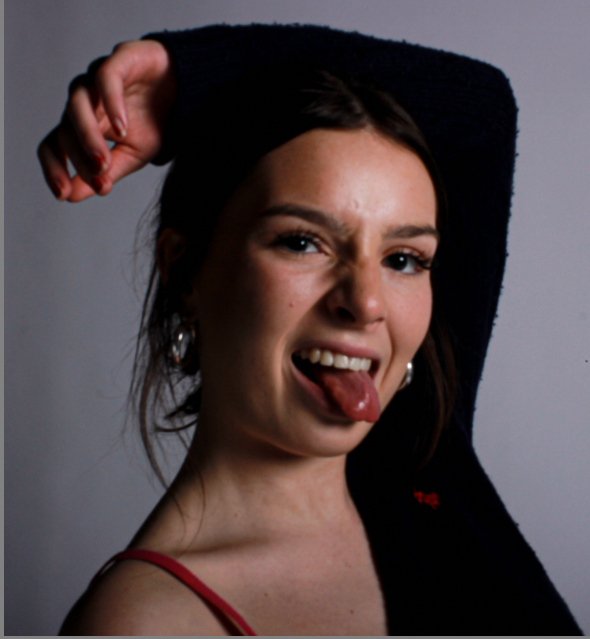
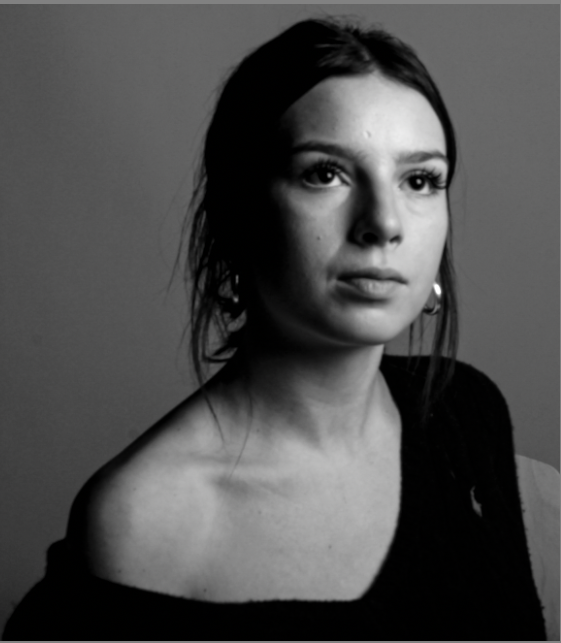
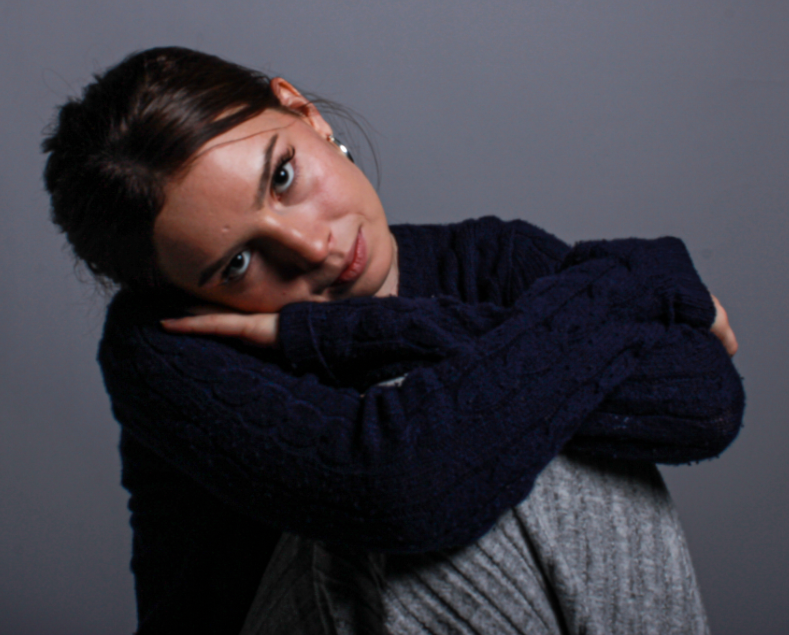
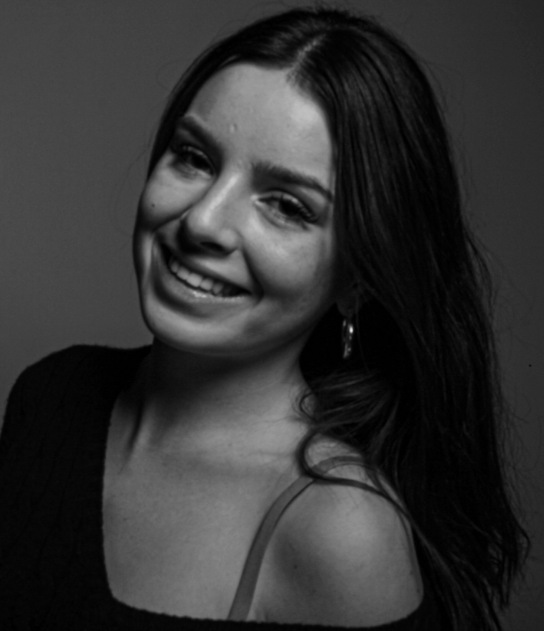
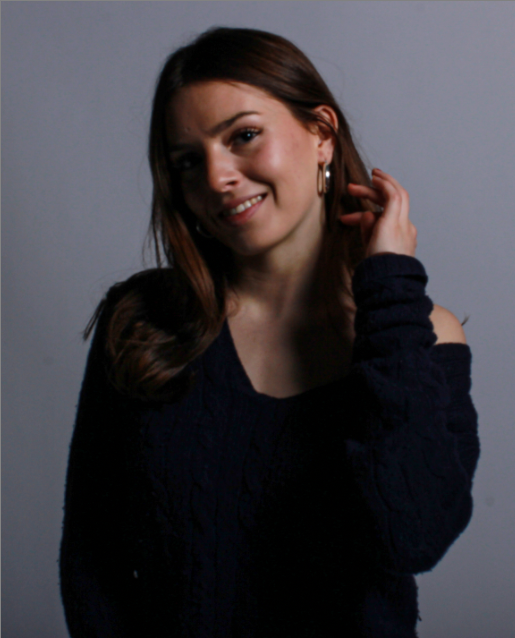
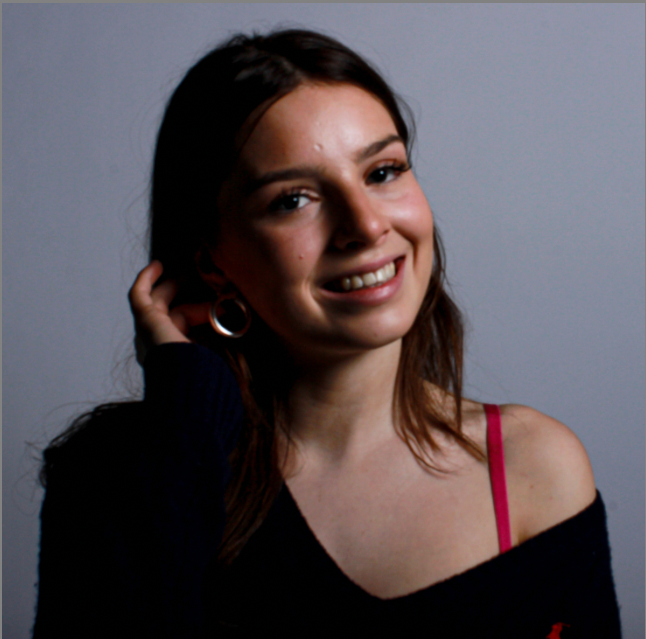
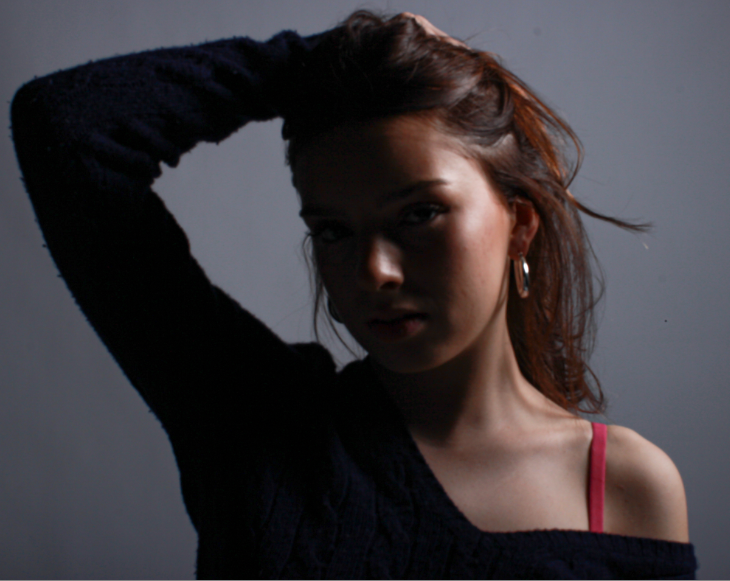
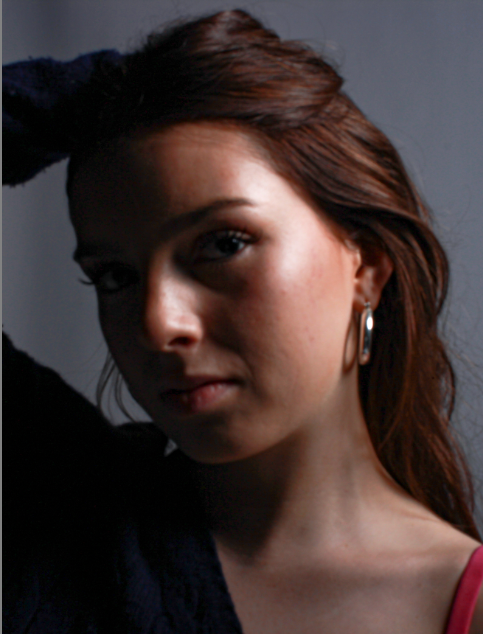
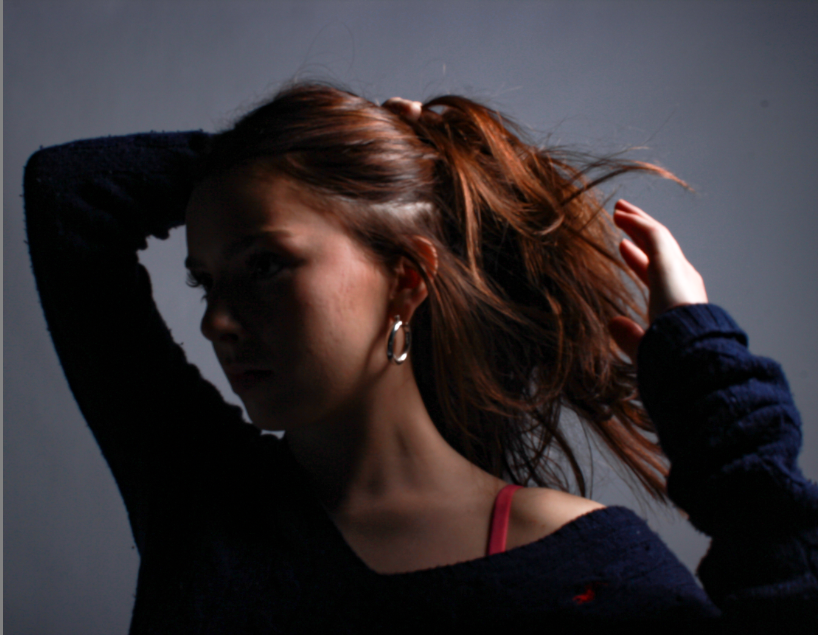
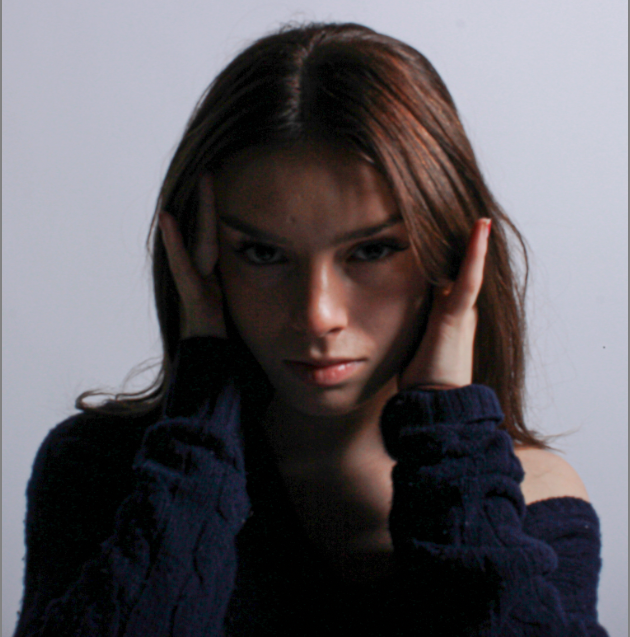
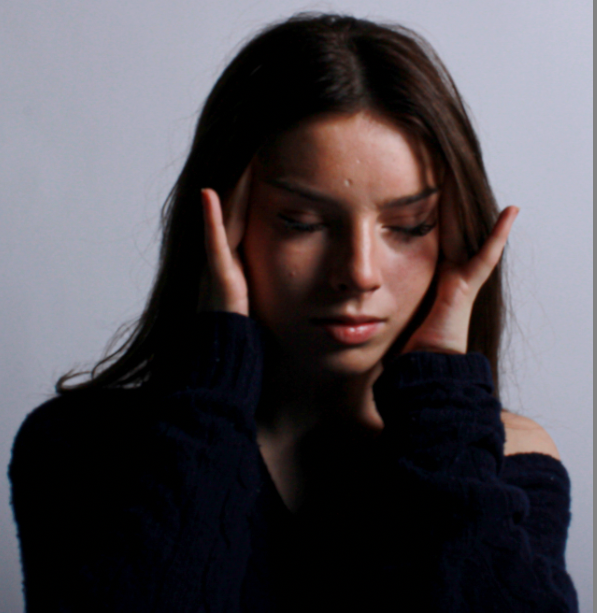
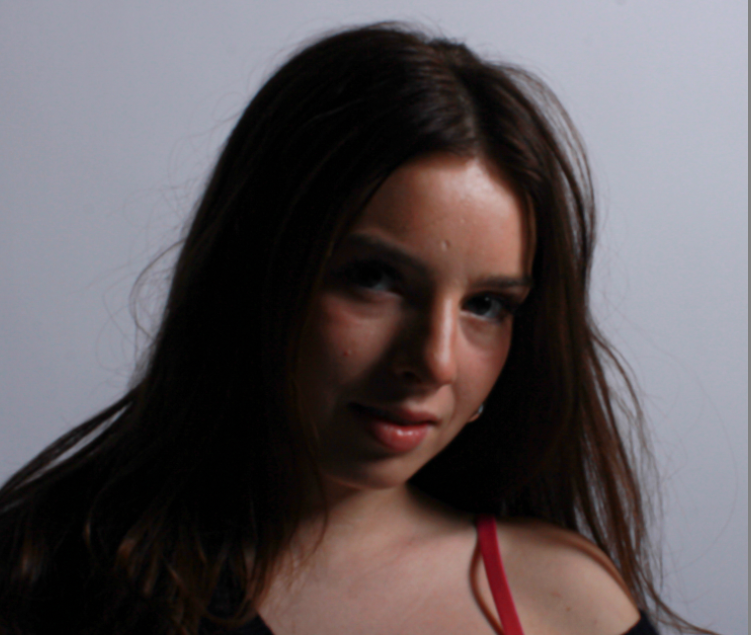
These photos that I marked with the colour blue, truly capture the effect I was going for, for my first headshots photoshoot. I really like how I attempted to have my models use their hands slightly but not too much. Whilst editing the photos I only slightly changed the contrast, increased the clarity and the sharpness to help my photos look more professional and efficient. I also think the most effective method whilst editing these photos was to cut and resize them, I really think this helped with the more professional and ‘headshot’ look I was aiming for. By cutting out the parts of the images that are plain or had a white or black background.
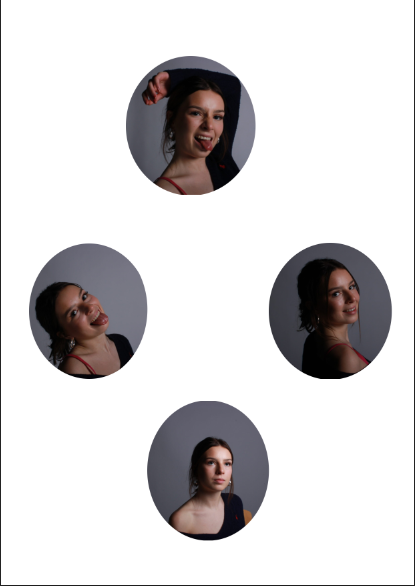
Diamond Cameo
Here is how I made my diamond cameos…
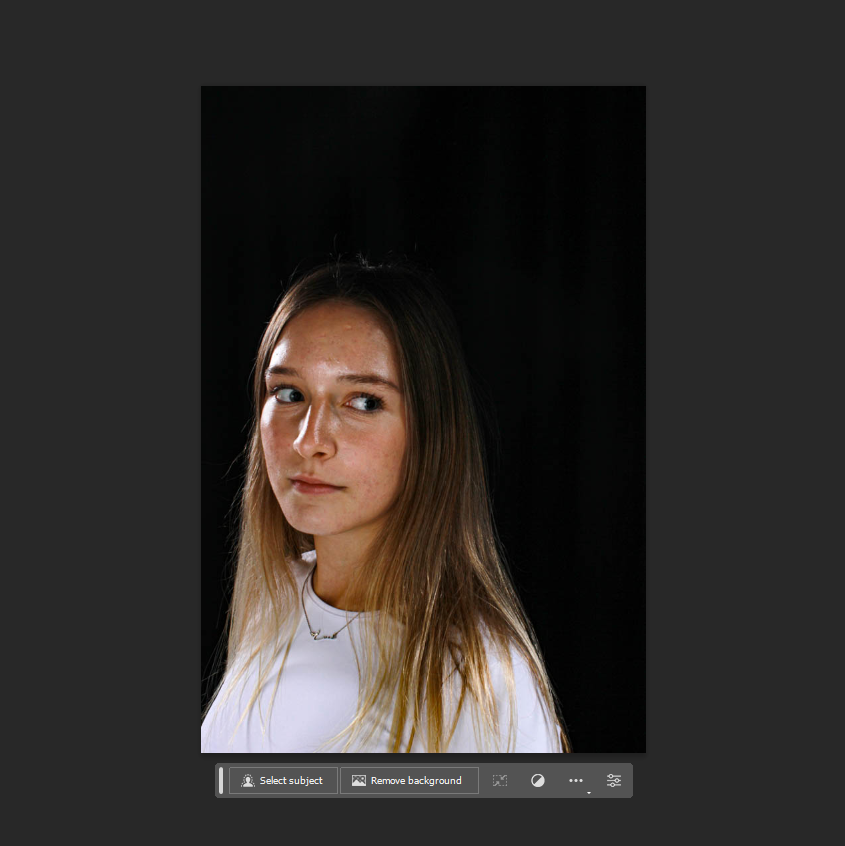
I first opened Adobe Photoshop and imported 4 images of my first model from Adobe Lightroom.
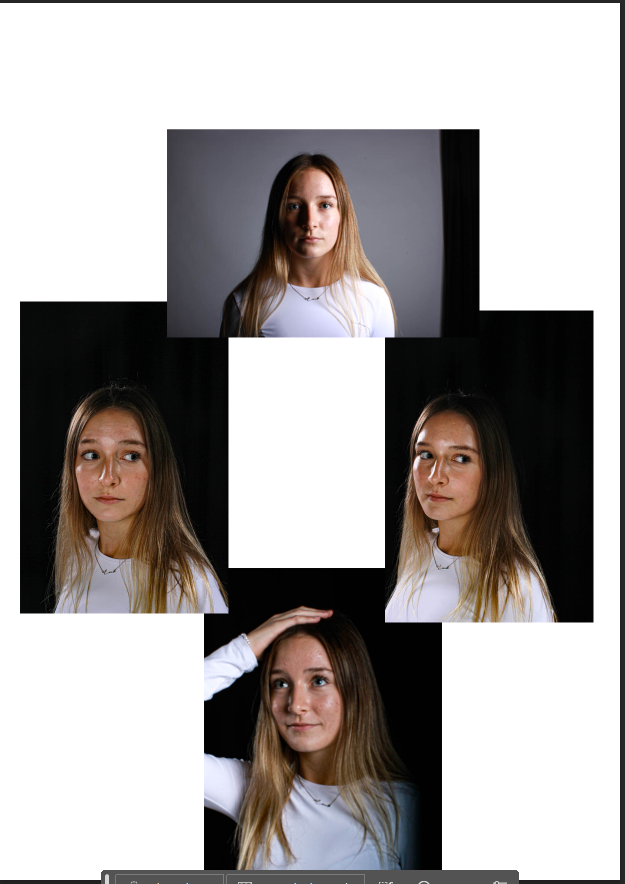
I then clicked and dragged these photos into a diamond formation with my model looking at angles where it looks like she is looking up, looking left and looking forwards.
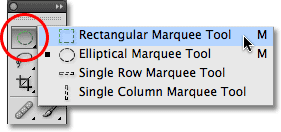
I then selected the rectangular marquee tool and pressed the elliptical marquee tool in order to create an oval shape around my photo.
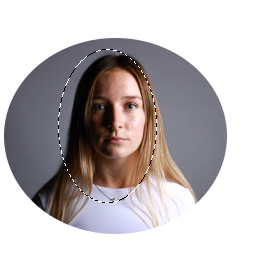
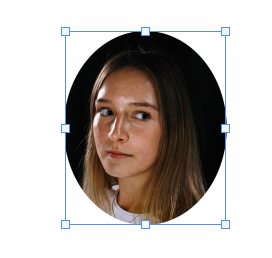
This diamond shape then cut my image into a diamond shape with no background, I did this by deleting the layer by dragging it into the bin.
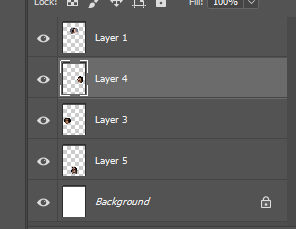
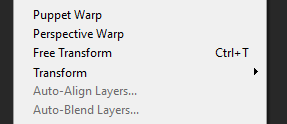
I then clicked the free transform button to arrange these oval shaped images into a diamond shape, this helped to create a ‘diamond cameo’. This is in inspiration of Henry Mullins’ work of diamond cameos.
I also created another diamond cameo with my other model Lexi, for this I compiled an array of images where Lexi was looking at some other angles and doing other poses whilst I photographed her. These are the four photos I included in my cameo.
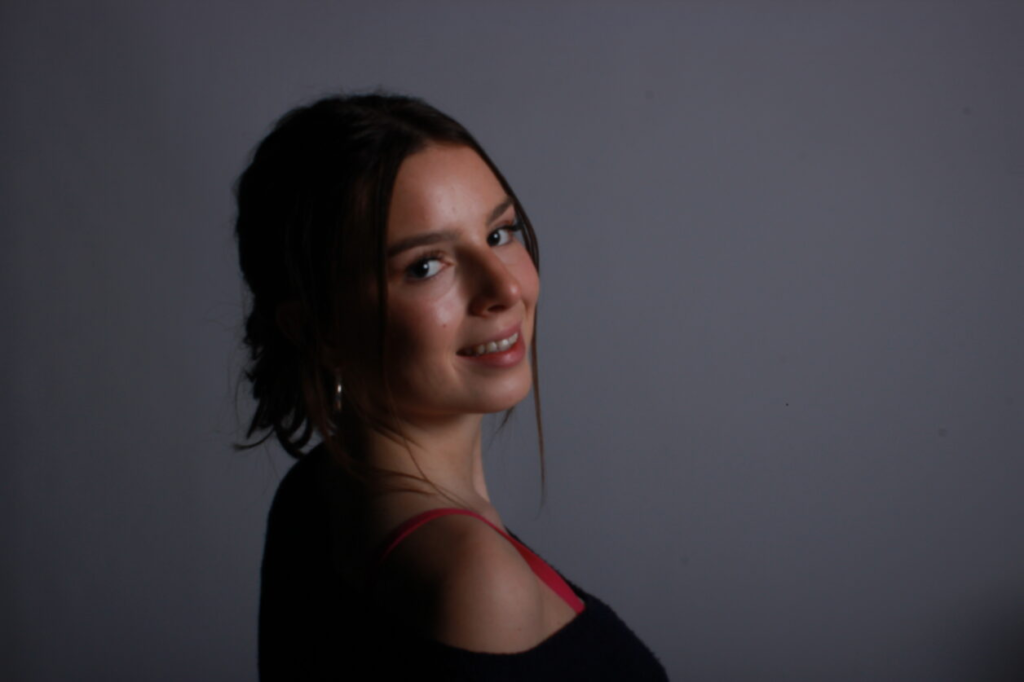
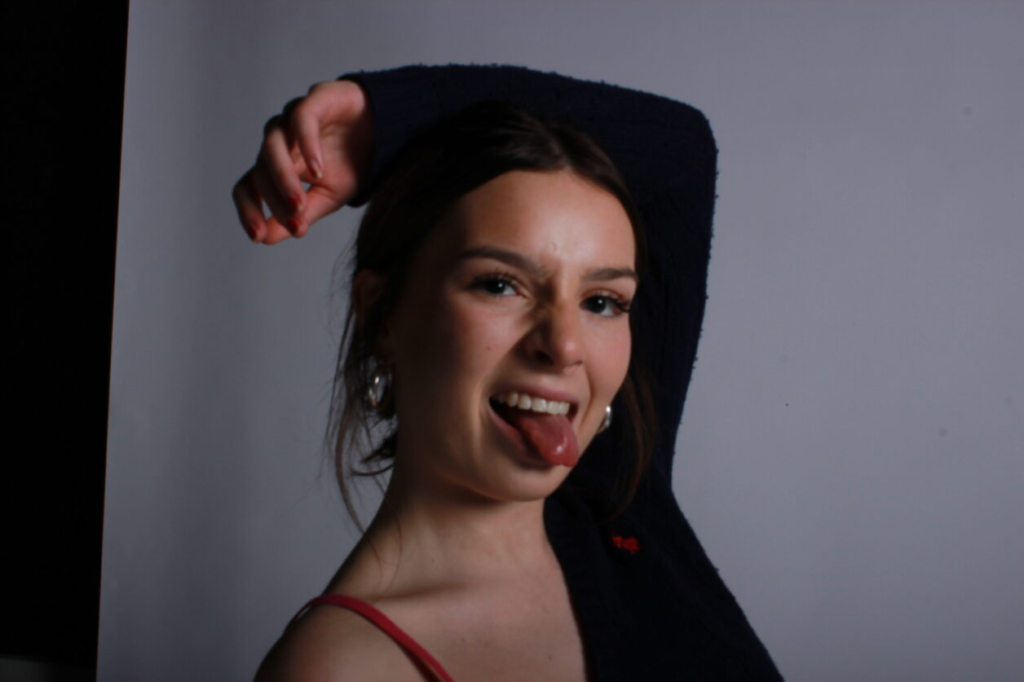
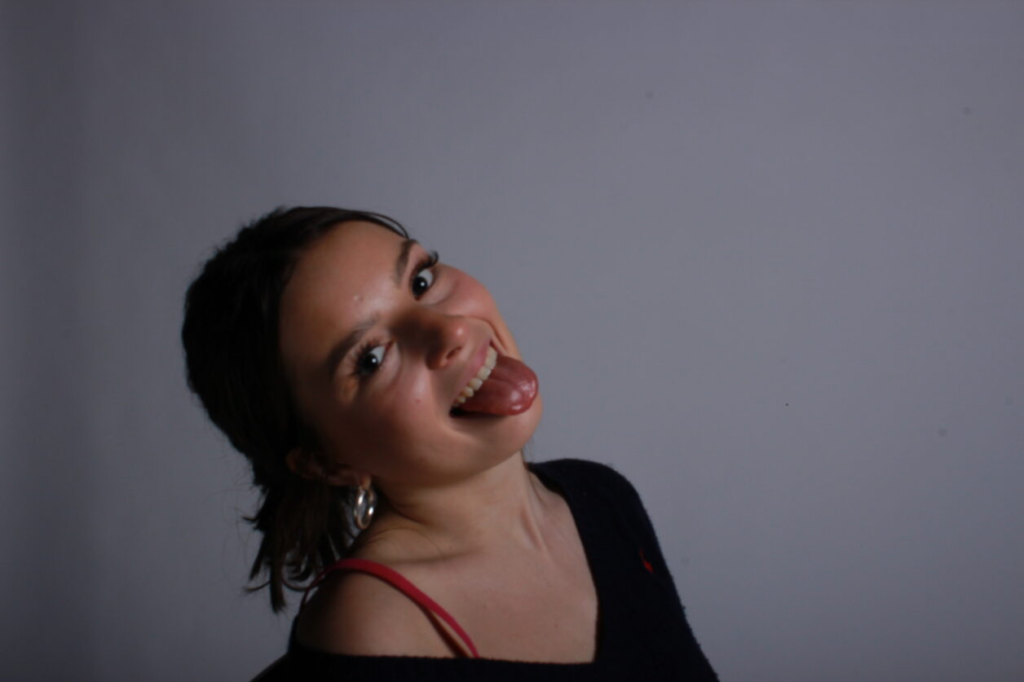
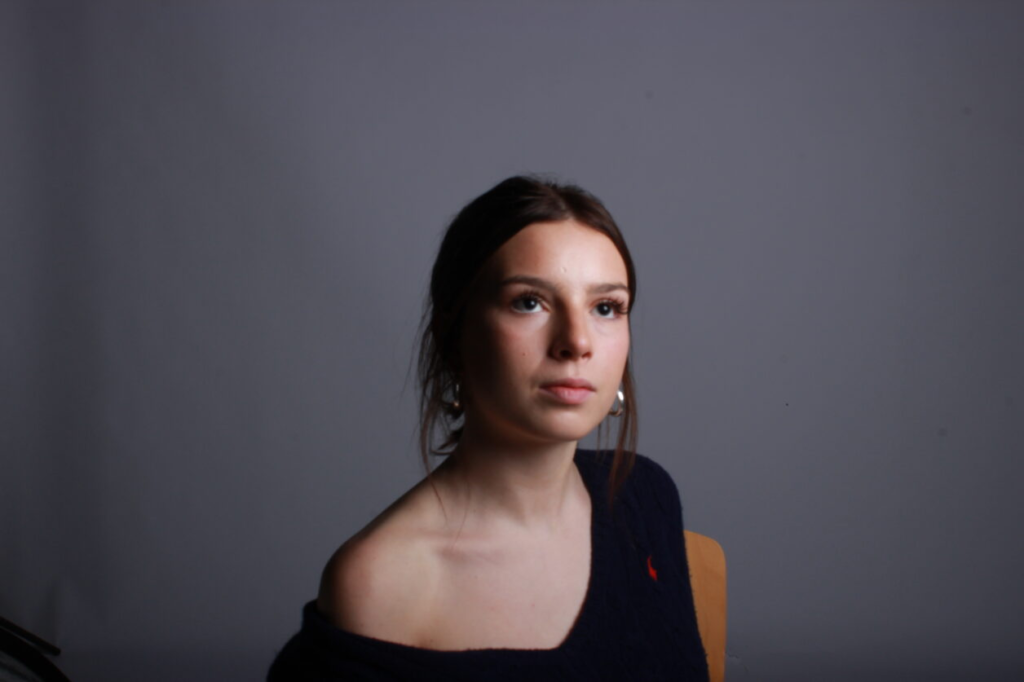
I chose these 4 images for my diamond cameo, after choosing these, I then edited them in Adobe Lightroom…
However, after careful consideration, I decided to use the unedited images to use in my diamond cameo, I did this because I wanted my photos to be more raw and less digitalised in care I wanted to take my diamond cameos further with editing in Photoshop.
