Step to step guide on how I made a Diamond Cameo.
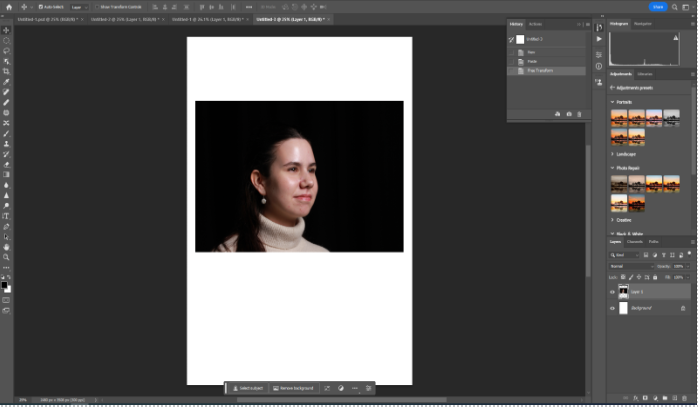
Step 1: First I uploaded my preferred picture from my headshots photography folder into an A4 paper in photoshop.
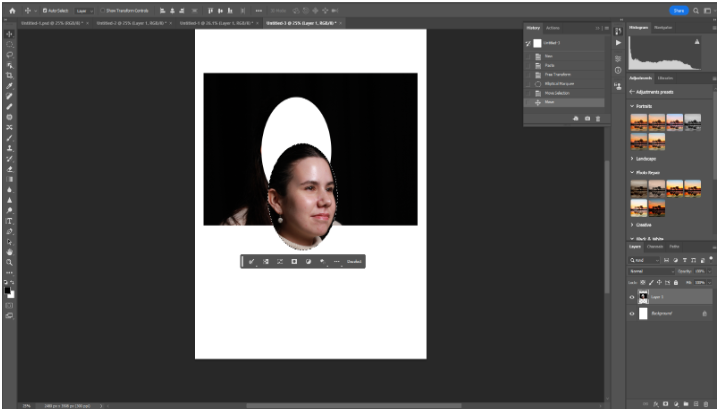
Step 2: Next I selected the elliptical marque tool and created an oval shape on the subject face, making sure I include most of the face. Then I selected the move tool and moved the oval shape which created a cut out of the face of the subject.
Step 3: Shortly after cropping the oval shape of the subjects face, I moved the tab at the top where the picture is and then created a new plain A4 tab. I grabbed the cut out and placed it on the plain A4 paper.
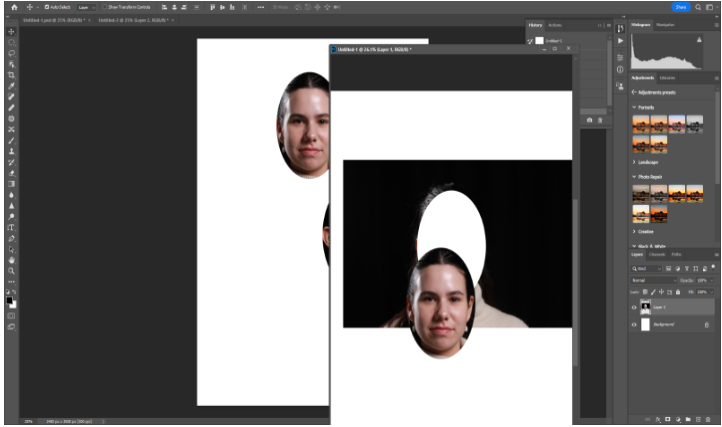
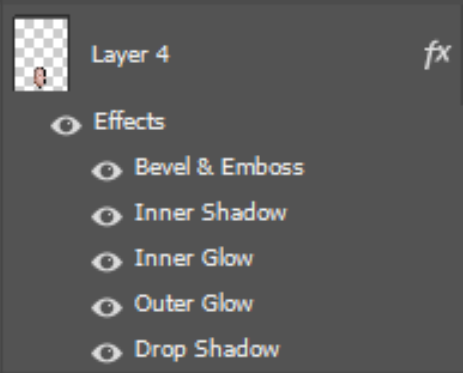
Step 4: I repeated this three more times to create a that Diamond cameo. Then pressing on each cut out I wanted to blend in the pictures, so I right clicked on my mouse and selected blending options and selected all the blending options below. However adding blending is completely an option.