After creating a Diamond Cameo with different sides of my subject face, I decided that I wanted to edit them so they looked more rustic.
This is my Diamond Cameo without any type of editing (only blending was done as seen in my previous blog. I applied all these blending effect to all my experiment of Diamond Cameo) :
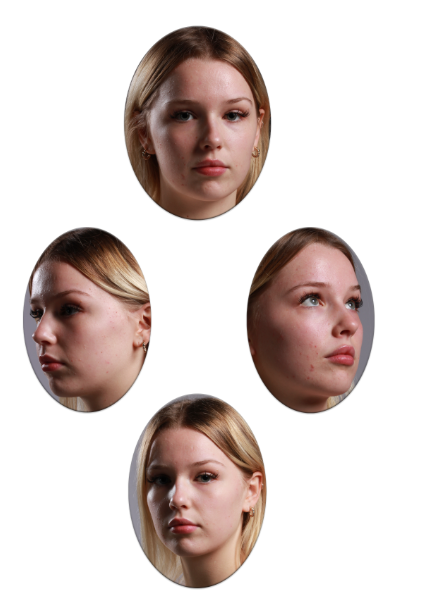
Evaluation and critique:
Although I quite liked the way the diamond cameo looked without editing except for blending, I didn’t like that fact that it looked really bland therefore I decided I wanted to experiment and see which one I liked most and showed that rustic tone to it.
Experiment 1:
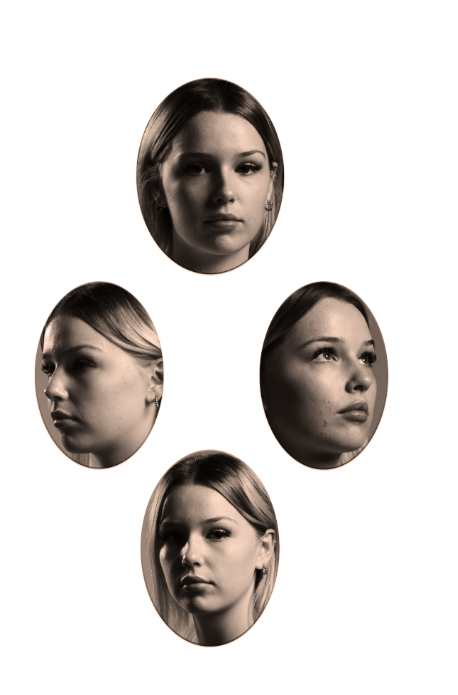
Editing process: After using all those blending tools stated above, I flattened image so that I could edit the image I pressed on adjustments and selected the filter called warm. That was all I did to this experiment of Diamond Cameo.
Evaluation and critique: I quite like this picture. I like the way the adjustment adds this rustic tone to the picture and how it gives the picture shadow however I don’t like how dark the picture is. In some parts of the picture, it is so dark that it strips away the subjects face and removes those beautiful details the subject has. I also don’t like how orange the picture is, it makes the subjects face look a little saturated.
Experiment 2:
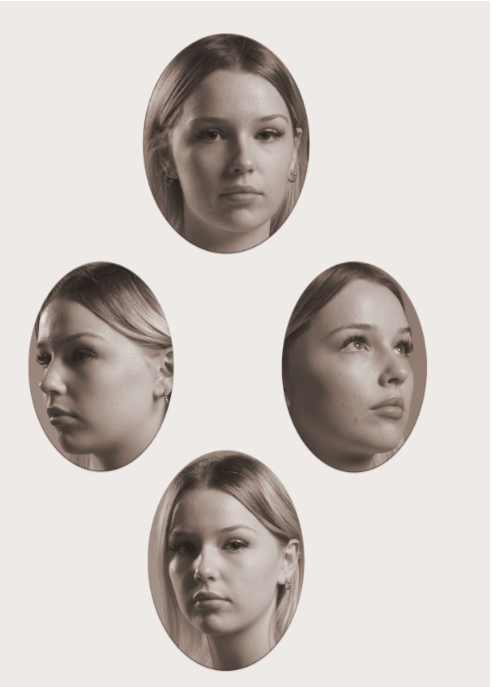
Editing process: For this Diamond cameo, I added an adjustment called soft sepia after blending my cut outs and flattening my image. That is all I did for this diamond cameo
Evaluation and critique: I really like this picture. I think that this picture is the picture that shows the most rustic tone. I really like the colour of it and how it doesn’t strip the details from the subjects face because it adds heavy shadows to parts of the picture like the experiment above. I really like how the adjustment brought the picture to life and really shows ‘oldies’ look to it. However this picture could have a more orange background like the original diamond cameos so that the diamond cameo would look more realistic.
Experiment 3:
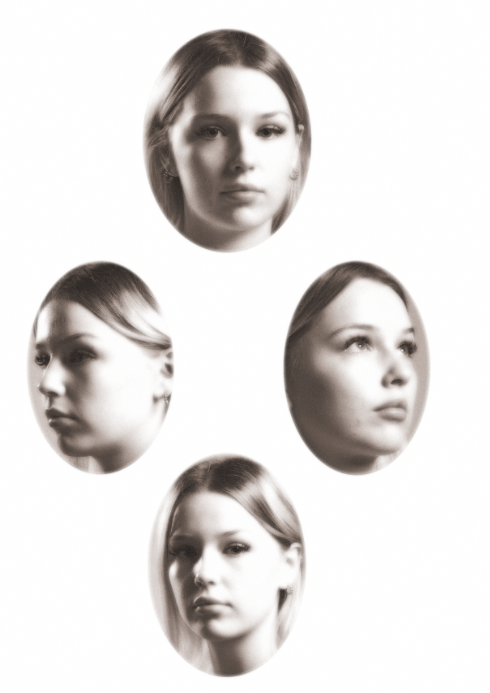
Editing process: For this diamond cameo I decided to add a different type of filter called diffuse glow after blending the cut outs and flattening the image. I added the diffuse glow by pressing filter on the top bar and then I pressed filter gallery and pressed the distort folder and selected diffuse glow and then I added a adjustment called warm. This was all I did for this diamond cameo.
Evaluation and critique: I think this diamond cameo looks alright. The filter adds a really nice, rustic look to the diamond cameo, however, I think that the diamond cameo is overly exposed and gives the subjects too much highlight in parts where the subjects face was more exposed to light. Because of this, it strips that rustic look the picture should have.
Experiment 4:
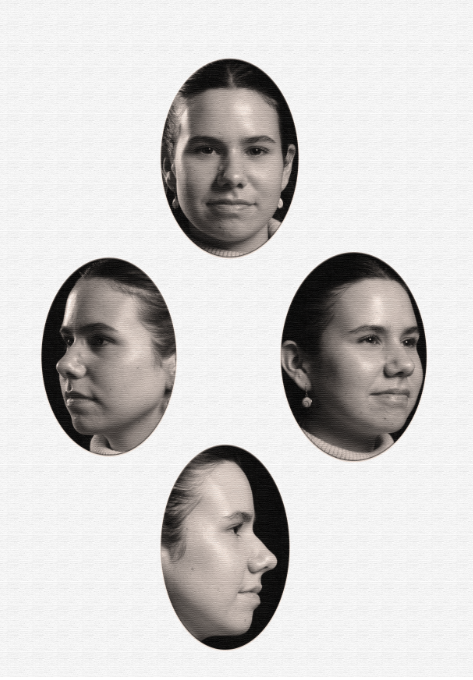
Editing process: For this picture I decided that I wanted to add texture and an adjustment so I pressed filter on the top bar and then I pressed filter gallery and pressed the texturiser, after flattening and blending my image. After applying texture I felt like the diamond cameo needed something more so I added an adjustment called sepia. This was all I did for this diamond Cameo.
Evaluation and critique: I really like the end product of this diamond cameo. I like the colour of the diamond cameo even though its not entirely that original diamond cameo colour. I also like how the texture added a more rustic tone to the picture. However it doesn’t really look as rustic as I wanted it to look because it doesn’t have that orange undertone that old pictures used to have. The picture is quite bland.
Overall Evaluation:
Overall, I really liked how my diamond cameos turned out. My favourite cameo was experiment 2 as I think that it is the most accurate out of all the experiments. I think that the format of my diamond cameos are pretty precise and I strongly believe that you can see that they are diamond cameos.
A strength that I had with my diamond cameos is how I was able to show creativity. I experimented with lots of textures and colours so that I could be sure to which cameo looked the most ‘correct’. I think that experiment 2 was the one that looked the most accurate and had that old look that Henry Mullins photos had. However that cameo could have some improvements like having a scrunched up effect to it or maybe some burned parts to it so that it looked more old. I could also show more of a yellow tone to it just like Henry’s photos looked like. I could’ve experimented with the colours and layered different colours to create a more aged look to it.
Finally I think that I’m quite satisfied with my diamond cameos. I think that they look exactly what they are meant to look like but I do think that I could’ve focused more in the editing and making sure that my experiments looked more like Henry Mullins photos. Instead of focusing on making them black and white I could’ve focused on trying to correct that yellow tone that Henry Mullins photos had.
