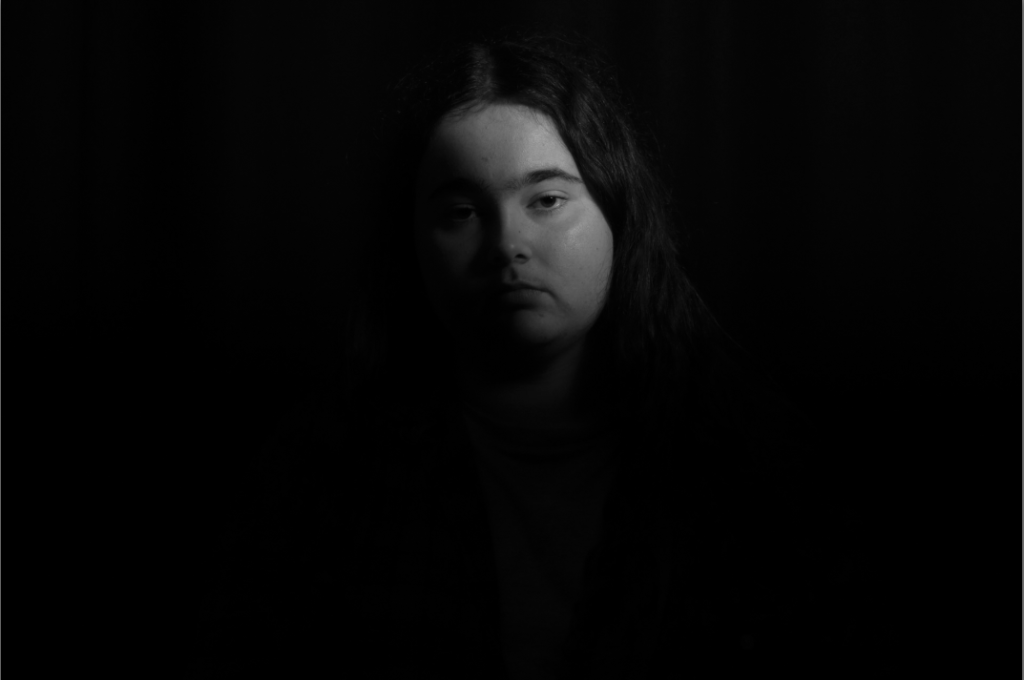
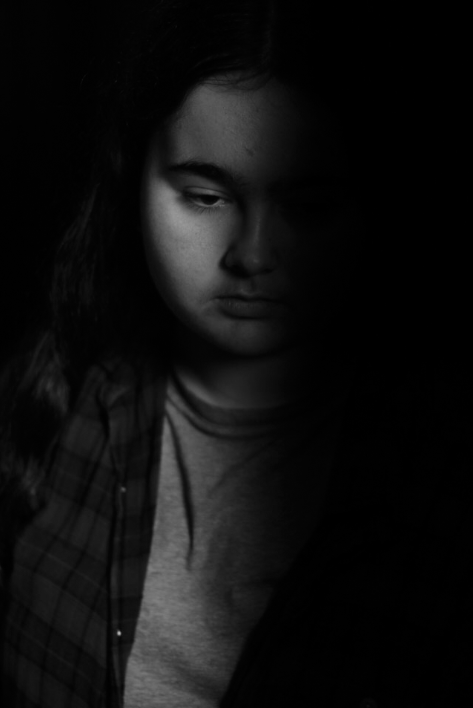
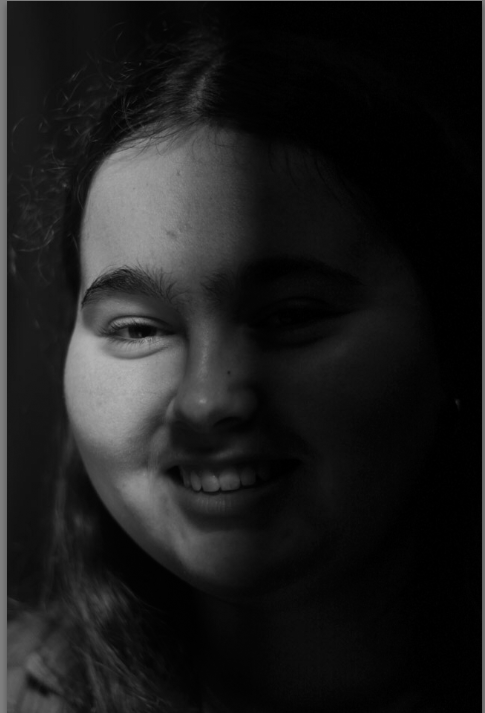
This lighting technique is definitely my favourite, I think the high contrast is really interesting to highlight certain features of the models.
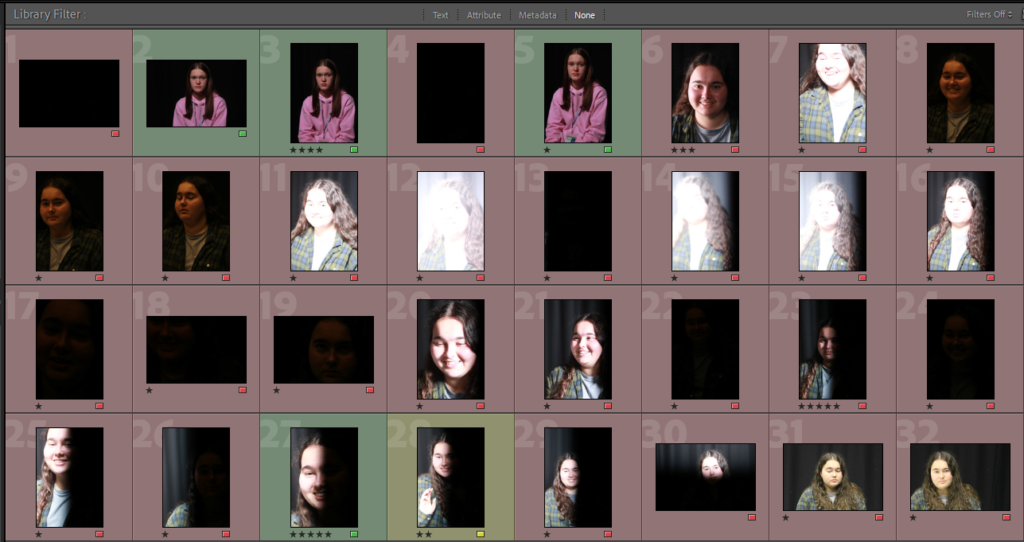
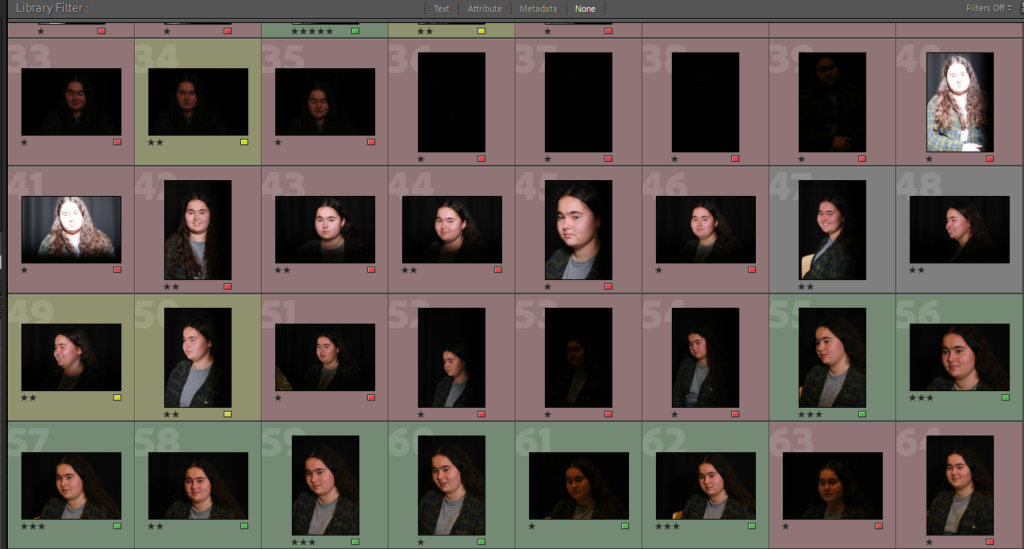
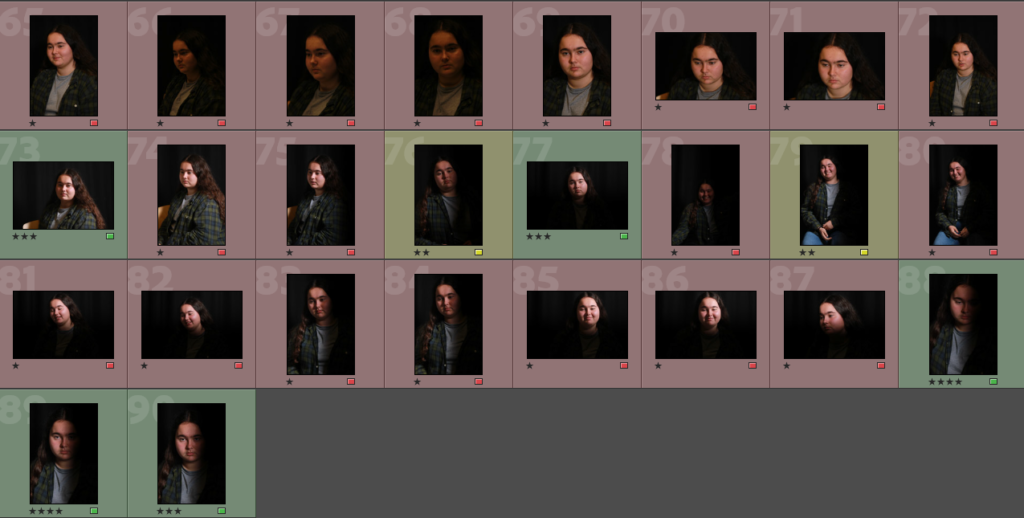
Below is how I set up my lighting, a lot of the time this style peaked through in other shoots making it quite easy to have a wide range of shots to choose from. I think while I’m editing I will change a lot of them to black and white as it’s a great way to show off contrasting and tonal lighting. I also used a reflector in some shots to try different ideas and executions of photos.
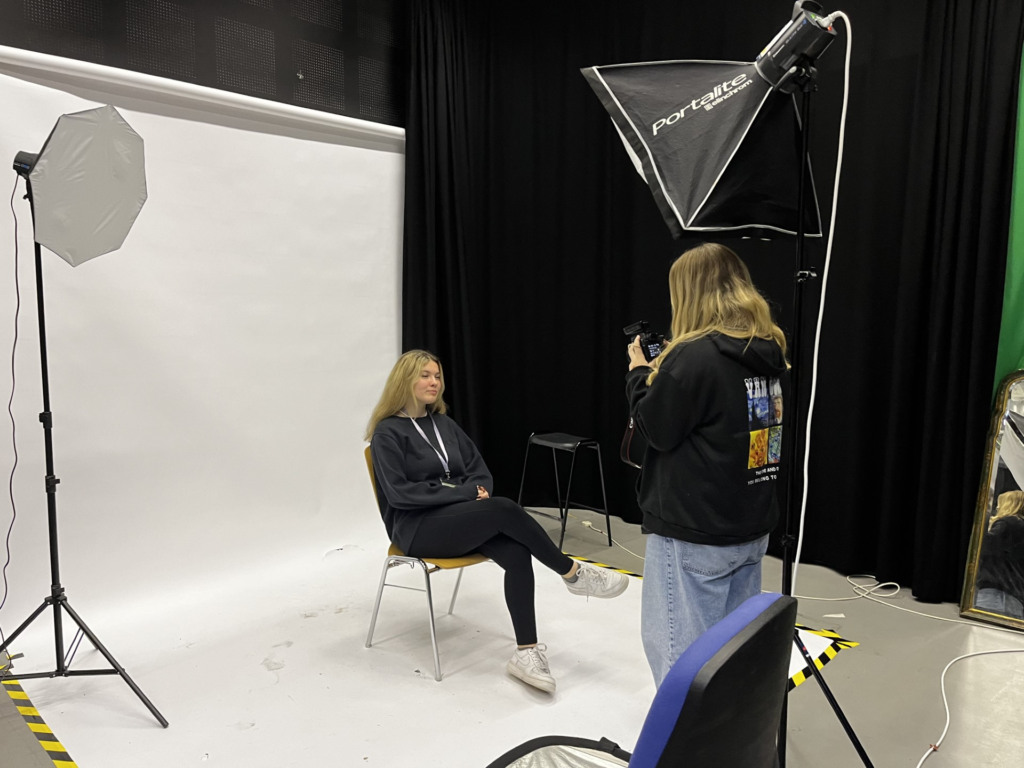
For this technique, Chiaroscuro, in particular I moved the lighting sources quite a bit trying to get different shadows, I also used a black backdrop which isn’t featured in the above photo.
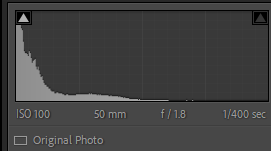
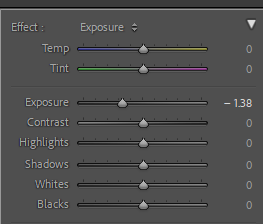
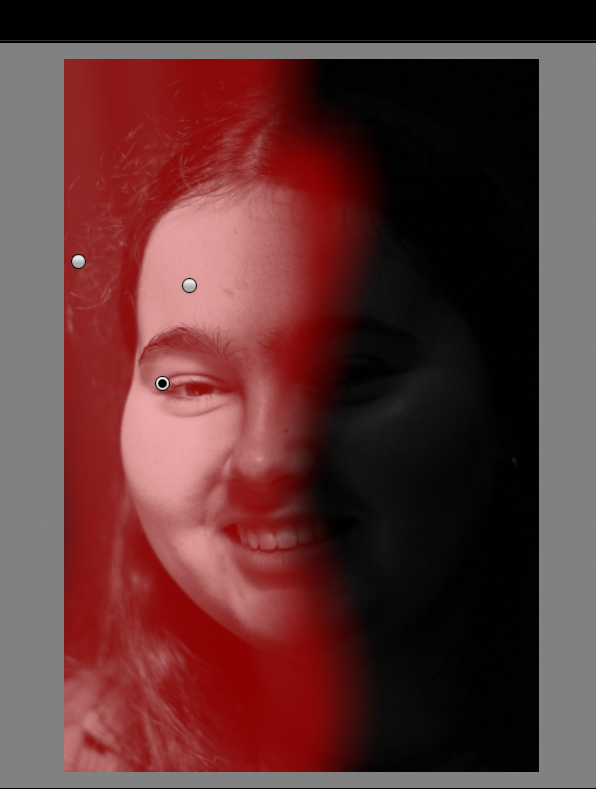
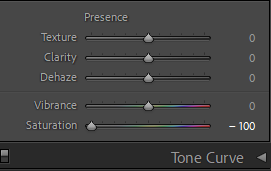
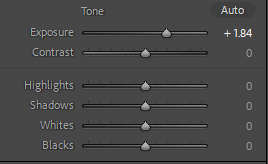
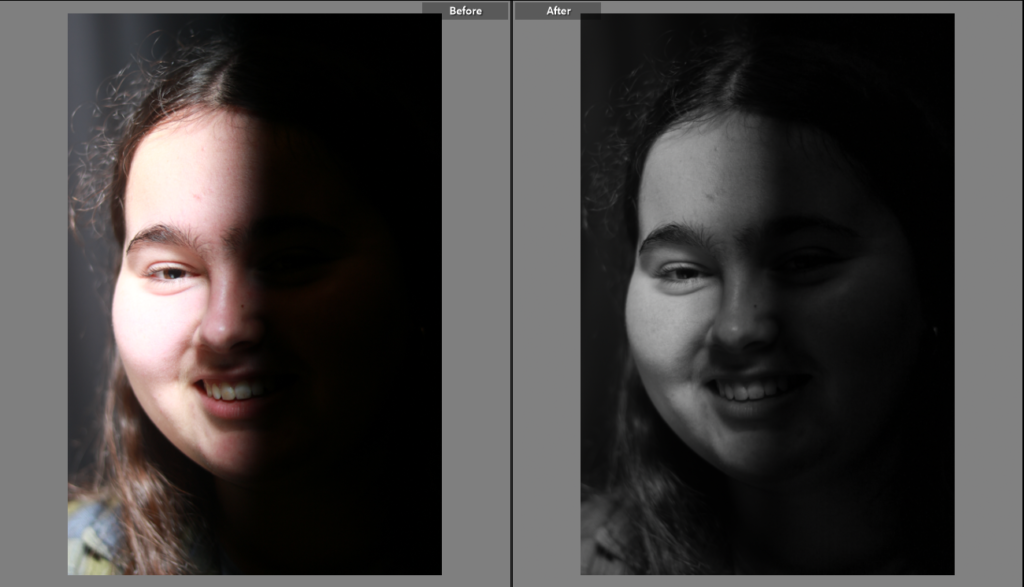
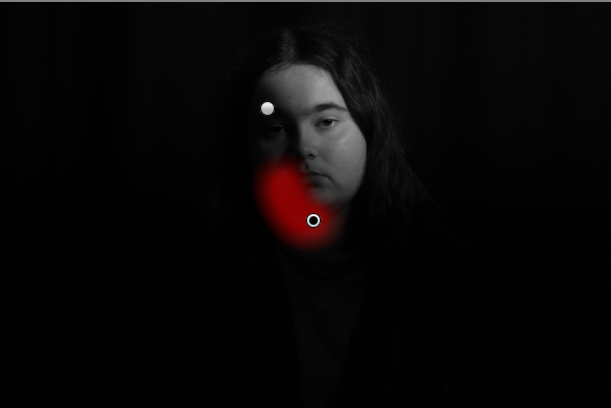
For this shot I wanted to change it into black and white to use the shadow well. I started by using the adjustments brush to fix the over exposed part, by fixing this it corrects the rest of the shot. I had the settings on the brush as a small brush size with heavy feathering to blend the two parts of the shot together. I then moved the saturation adjuster all the way down to change the shot to black and white. This editing works well for Chiaroscuro lighting as it empathises the dramatic two tone shot.
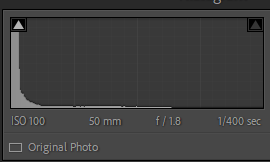
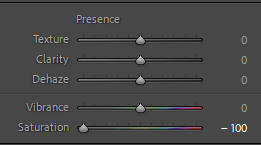
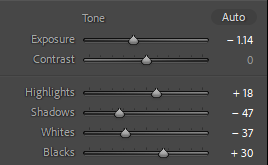
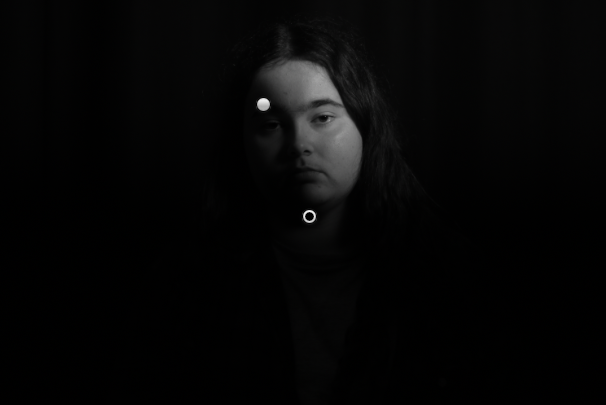
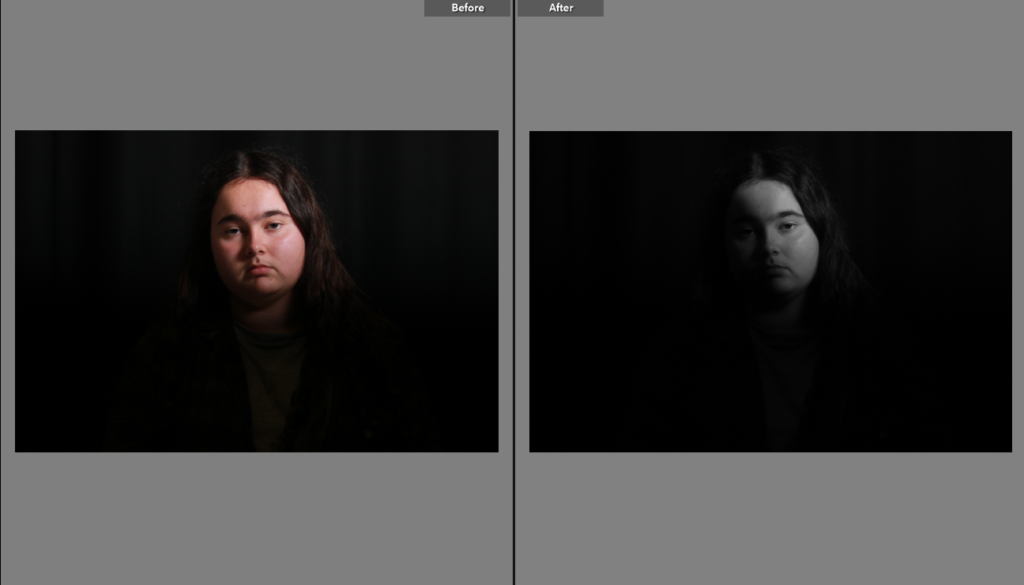
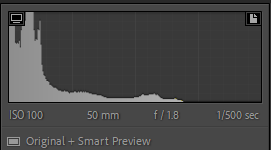
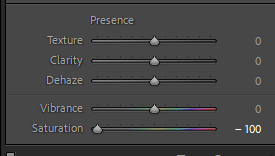
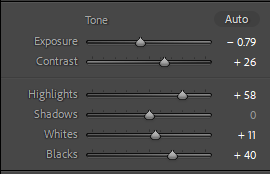
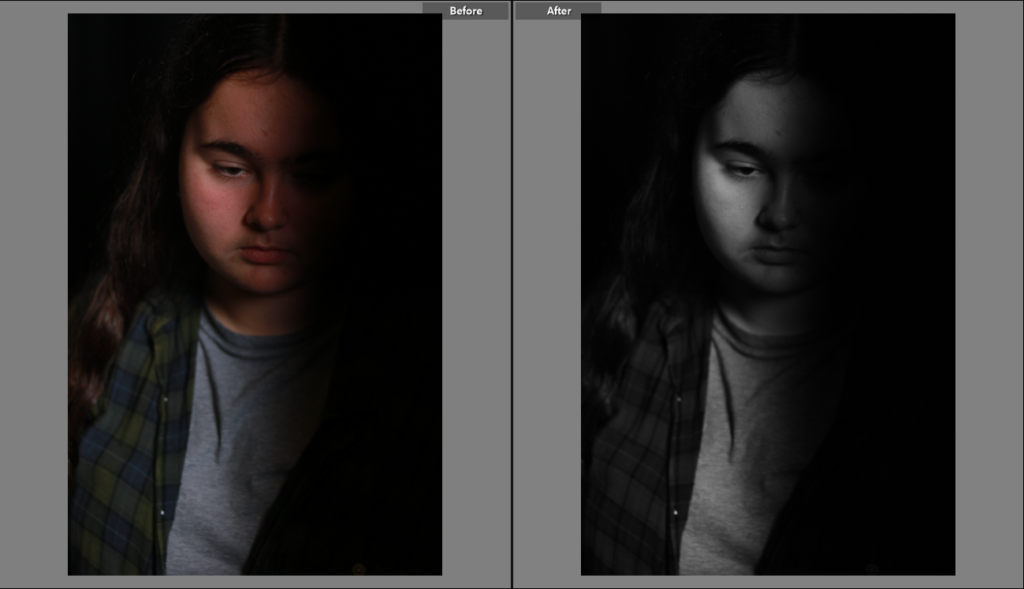
For this one again I changed the shot to black and white as it enhances the lighting set up which looks at tone within a shot. Black and white is a great way to create a tonal photo as it is only two main colours and the rest is different versions of the colour highlighting the darker patches, less exposed and the highlights which contrast well in Chiaroscuro lighting.
Final Favourite Shots
