
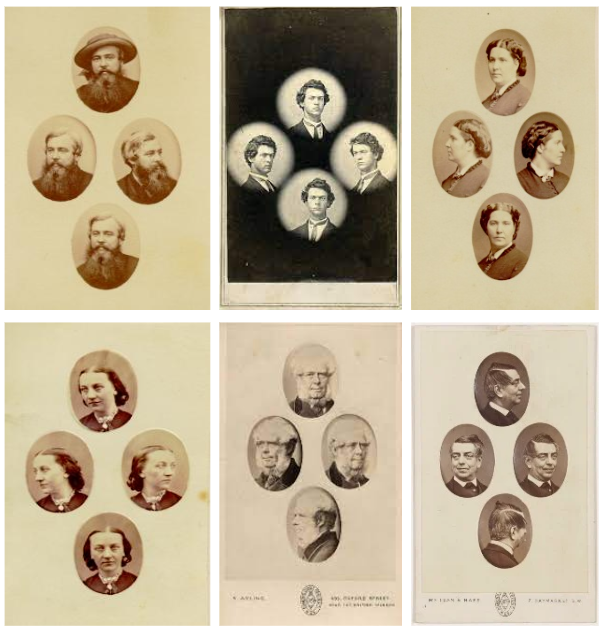
Diamond Cameo is where four small oval portraits (1″ x 3/4“) were placed on a carte de visite in the shape of a diamond, each portrait being of the same person photographed in a different position.
The carte de visite was a format of small photograph which was patented in Paris by photographer André Adolphe Eugène Disdéri in 1854, although first used by Louis Dodero. It was usually an albumen print from a collodion negative on thin paper glued onto a thicker paper card. The size of a carte de visite is 54.0 mm × 89 mm mounted on a card sized 64 mm × 100 mm.
Henry Mullins:
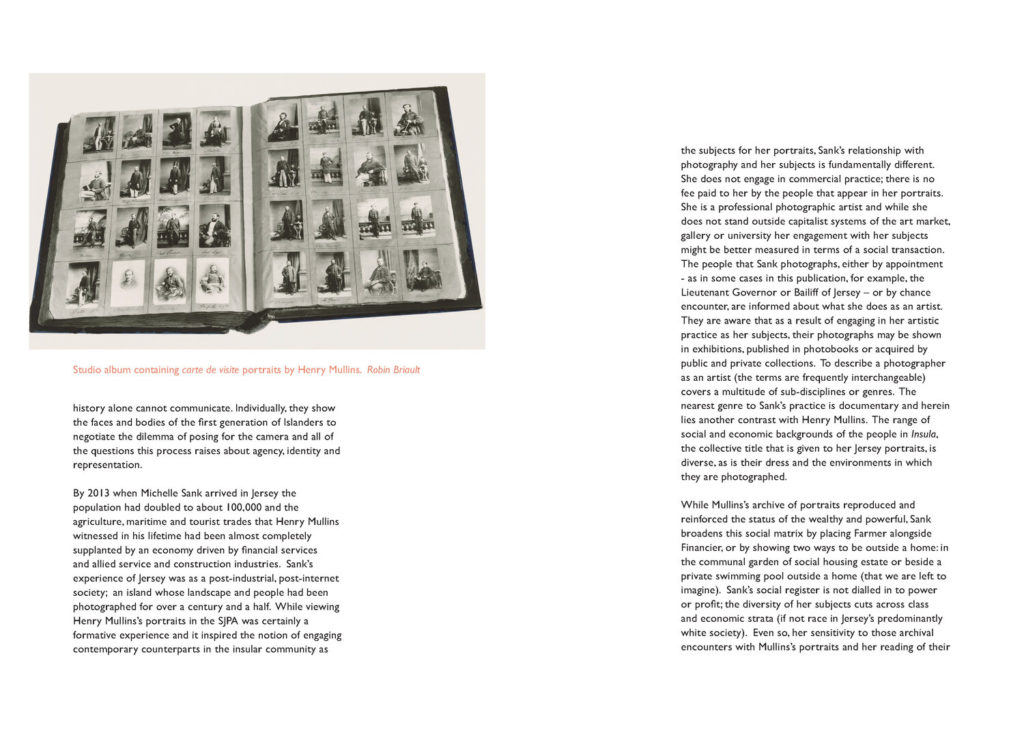
Henry Mullins was the first professional photographer to come to Jersey and establish a portraiture business in the very early days of photography
Henry Mullins is one of the most prolific photographers represented in the Societe Jersiase Photo-Archive, producing over 9,000 portraits of islanders from 1852 to 1873 at a time when the population was around 55,000. The record we have of his work comes through his albums, in which he placed his clients in a social hierarchy. The arrangement of Mullins’ portraits of ‘who’s who’ in 19th century Jersey are highly politicised.
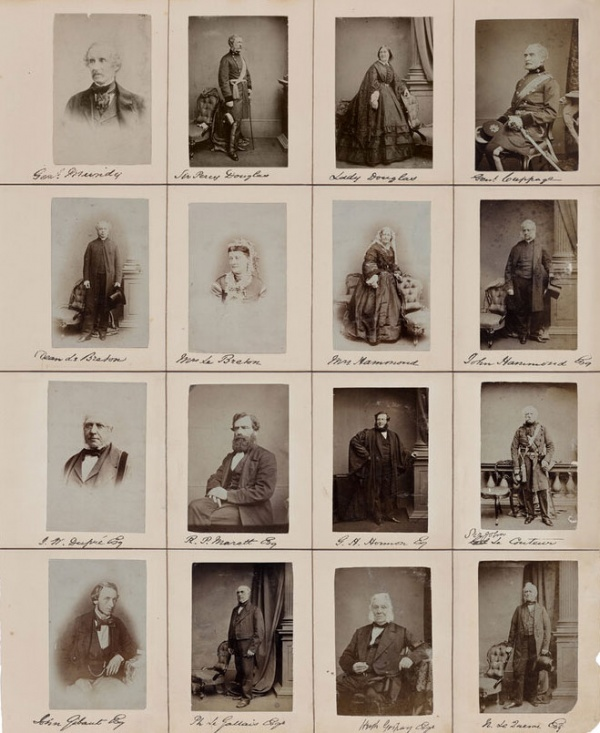
Henry Mullins started working at 230 Regent Street in London in the 1840s and moved to Jersey in July 1848, setting up a studio known as the Royal Saloon, at 7 Royal Square. Here he would photograph Jersey political elite (The Bailiff, Lt Governor, Jurats, Deputies etc), mercantile families (Robin, Janvrin, Hemery, Nicolle ect.) military officers and professional classes (advocates, bankers, clergy, doctors etc). Initially he was in partnership with a Mr Millward, about whom very little is known. By the following year he was working alone and he continued to work out of the same studio for another 26 years.
Diamond Cameo Photoshoot:
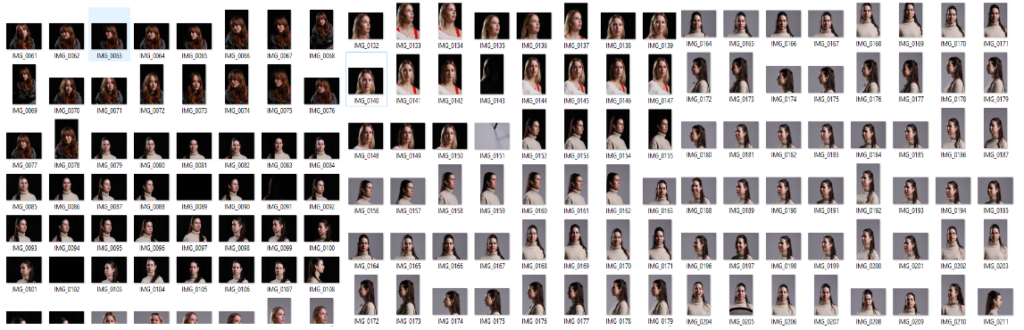
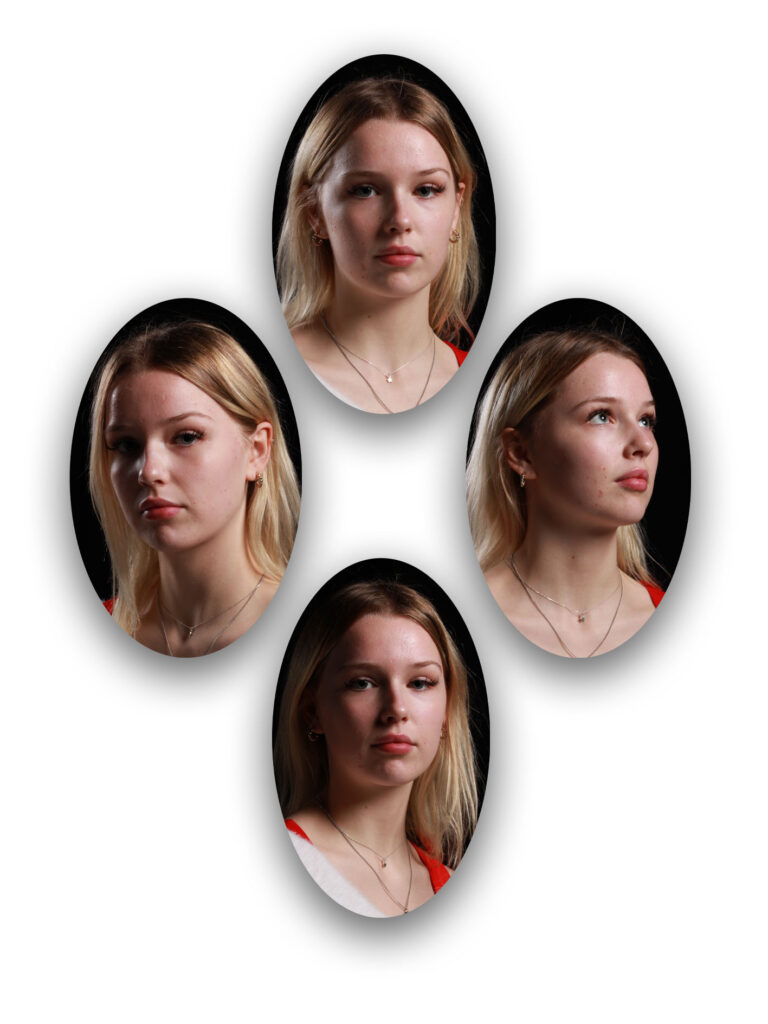
For this photoshoot, I went into the studio and took headshots of students. I ensured that I captured them from direct angles eg front on and side on so I can then use these to create a diamond cameo. I experimented with using a dark background and light background I took a variety of portrait and landscape photos.

Once I had my images, I then picked 4 that I wanted to use on my diamond cameo. I edited these on Lightroom, adjusting the exposure, composure, whites etc. I then opened a new blank page on photoshop then pressed file the open in order to pick on of the 4 images from my file. Once I had opened the image I wanted to use, I clicked on the elliptical Marquee Tool and created an oval shape around the face of the subject. I then dragged down the tab and using the select tool, dragged the cut out onto the blank page. I then used ctrl t in order to move and adjust the size of the images. I repeated these steps until I had 4 images in a diamond shape.

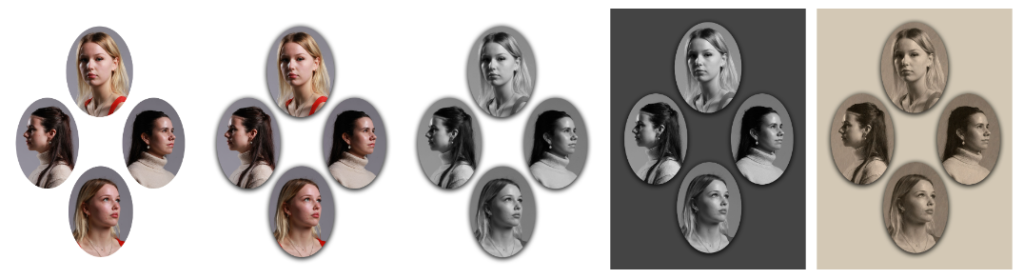
Finally, to finish off this first attempt, I added a drop shadow to each of the images to make them stand out compared to the white background. Here is my first attempt at creating a diamond cameo.
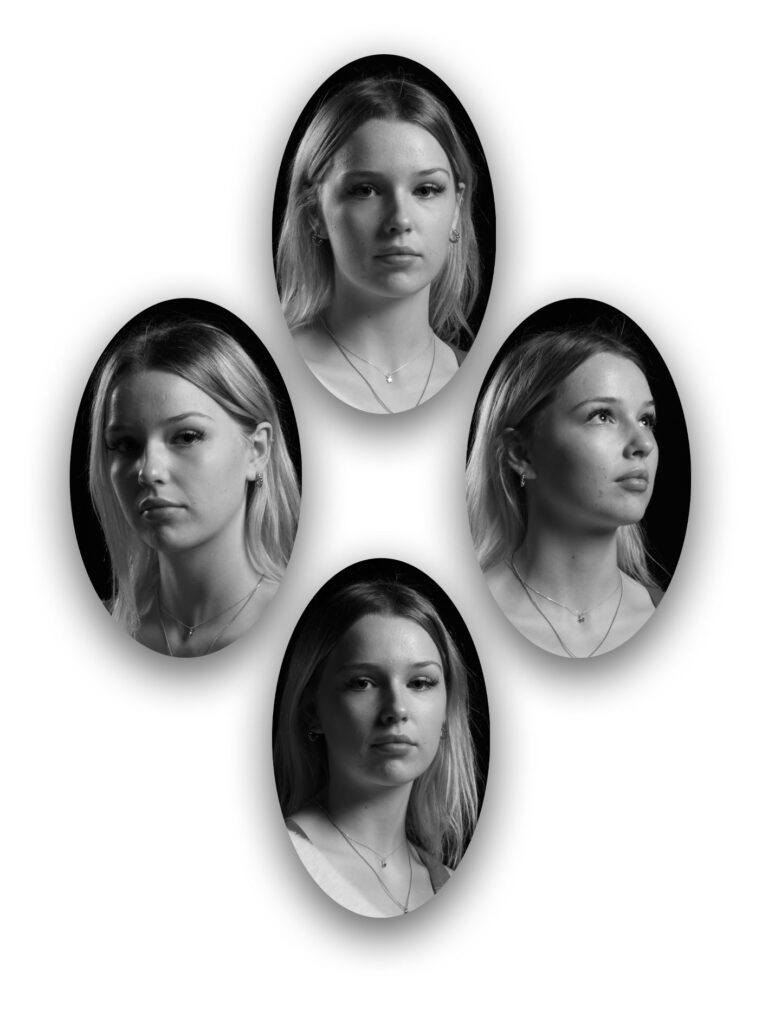
I then decided I wanted to experiment more with this first attempt and chose to make the images black and white. In order to do this, I went onto image, adjustments then pressed black and white.
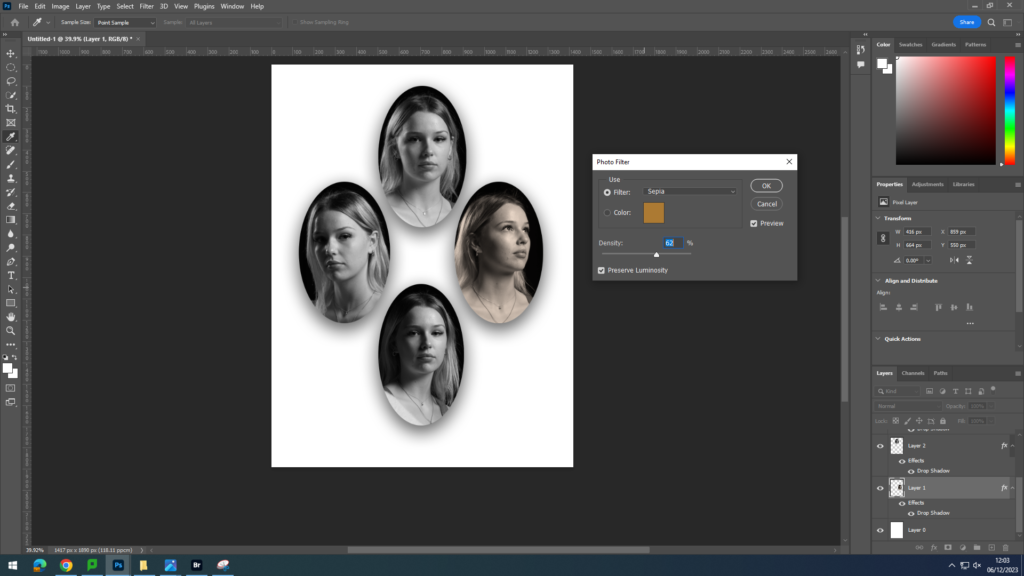
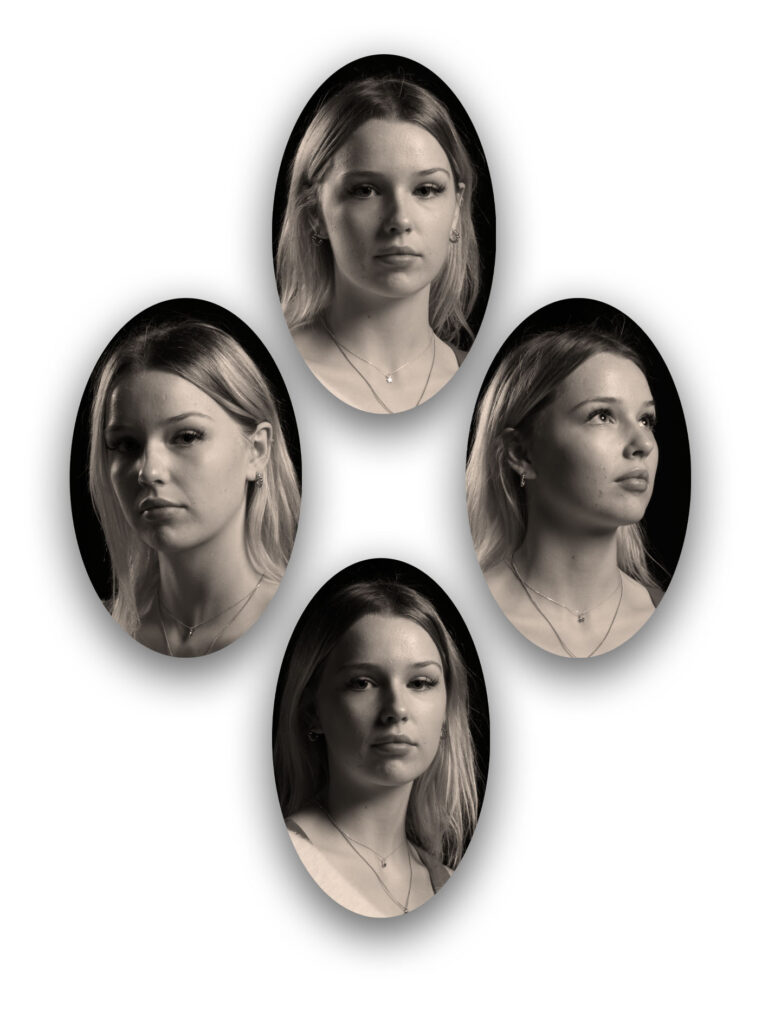
Next, I made the images have a sepia colour in order to give the impression of it being old as seen in Henry Mullins’ images. I did this by going onto image, adjustments, photo filter then chose the sepia colour and raised this to 62%.
I then decided to colour the blank background in order to make it more interesting to look at. I decided to use a beige like colour in order to match with the old theme I was going with. In order to colour the background, I used the paint bucket tool and then experimented with different colours until I was left with an image I was satisfied with.
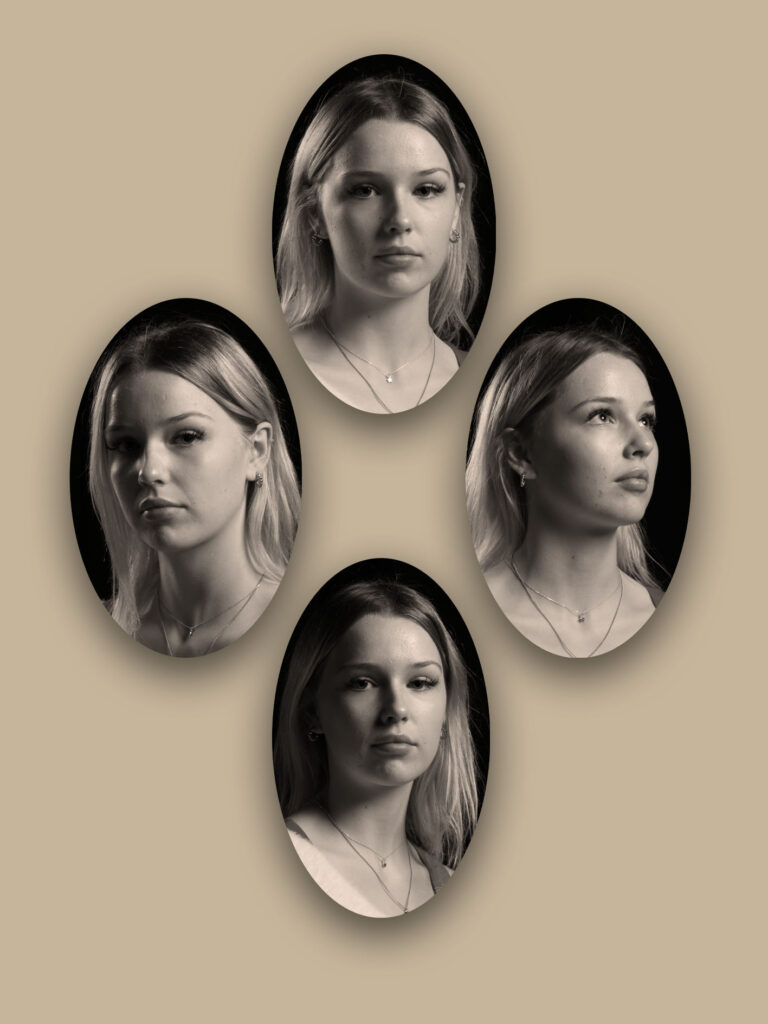
Lastly, I experimented with adding a pattern over my images. I did this by going onto each of my layers then right clicking and pressing blending options. I then went down to pattern overlay and chose a brown grassy pattern as I felt this matched the sepia tone I had previously. I then changed the opacity of it to be 24% so you can still see the person behind it. I also decided to make the background a bit less colourful as otherwise it felt too similar to the images and looked cluttered.
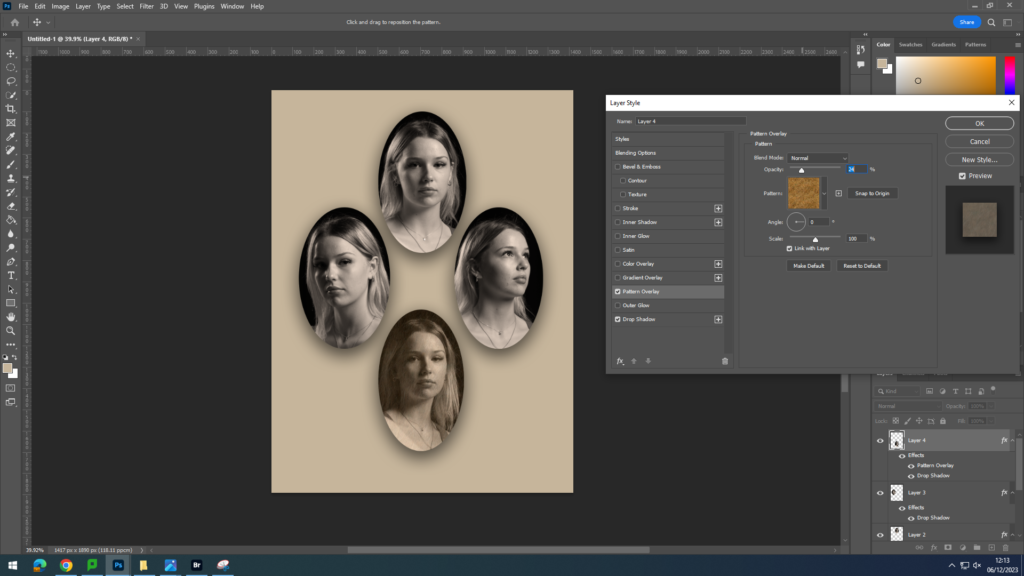

Overall, I like how this first attempt and my different experimentations of it came out. I feel I successfully managed to create a diamond cameo and a vintage tone as seen in Henry Mullin’s work, which is what I was trying to achieve. Next, I want to experiment with different images and a different model.
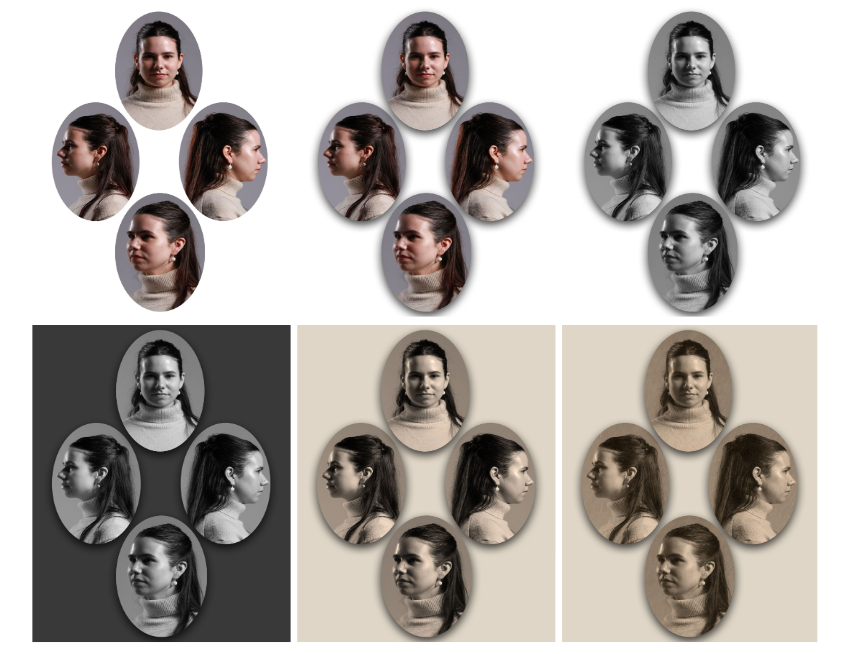
I think these diamond cameos turned out well too. However, to further my work next time I would try to add a frame to my images as I noticed that I whilst researching about diamond cameos, they sometimes had a frame around the headshots, making them look richer and helped to make the overall image look more vintage.
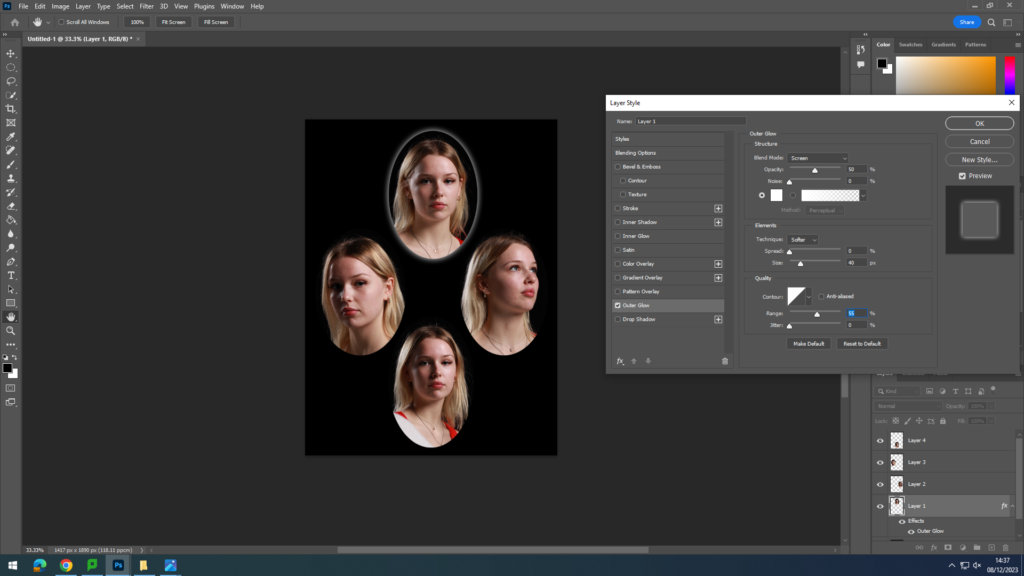
For my final diamond cameo, I decided to try something different and create a bright boarder around my images which are placed on a black piece of paper. I did this by repeating the usual steps when creating my other diamond cameos. However, once I had done these steps, I went onto each of my layers and right clicked on them. I then went onto blending options and selected outer glow. I experimented with different opacities, sizes and ranges until I found the perfect glow boarder. I made one in colour and then one in black and white.
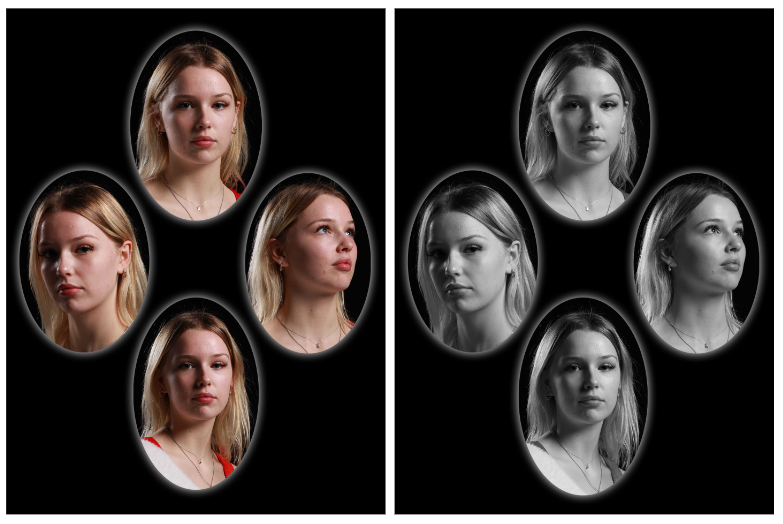
Here I experimented with adding two different people to one diamond cameo:
During this project, I managed to experiment with a variety of different diamond cameos. For example, I tried a range of different colours, textures, people and backgrounds. These different attempts at creating different, unique diamond cameos helped me to be able to use photoshop more comfortably and make my work more interesting to look at as it isn’t just the same concept each time.