WHAT IS REMBRANDT LIGHTING?
Rembrandt Lighting is a technique that was taken from a famous painter in the 1600s, Rembrandt Harmenszoon Van Reign, named after the way he used light in his portrait paintings. Rembrandt lighting is a technique utilising one light and one reflector, or two separate lights. It is a type of side lighting where the side of the subject is in shadow creating a lit-up triangle underneath the subject’s eye on the less illuminated area of the face. The background of the image is also usually shadowed and dark, putting the subject front and centre. The black background emphasises the contrast between light and dark. This can be highly effective in making a two-dimensional image appear three dimensional. The Rembrandt lighting technique results in a moody and dramatic effect.
WHY DO PHOTOGRAPHERS USE THIS LIGHTING?
It’s a popular technique for photographers to use because it creates images that look both dramatic yet natural. The Rembrandt method is considered low-effort while producing high-impact photographs. Secondly, one of the reasons professional photographers go with Rembrandt lighting is to achieve a dramatic visual effect called the chiaroscuro effect.
EXAMPLES OF REMBRANDT LIGHTING:
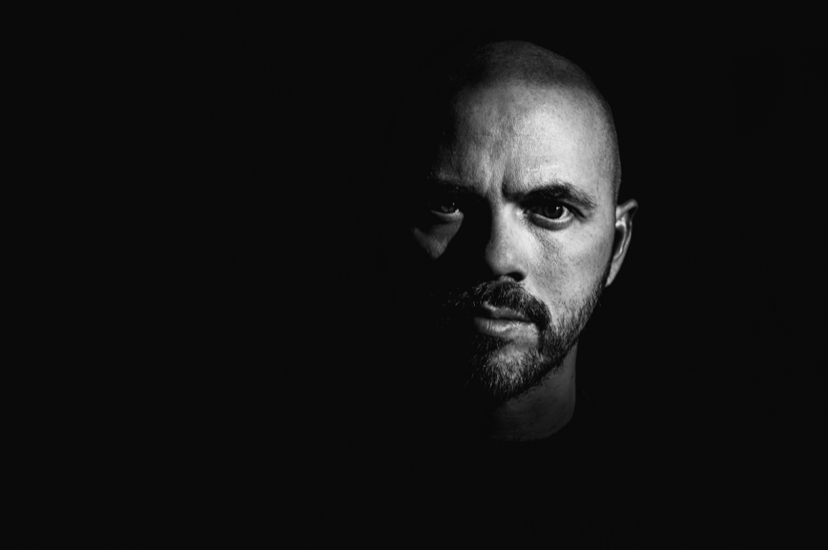
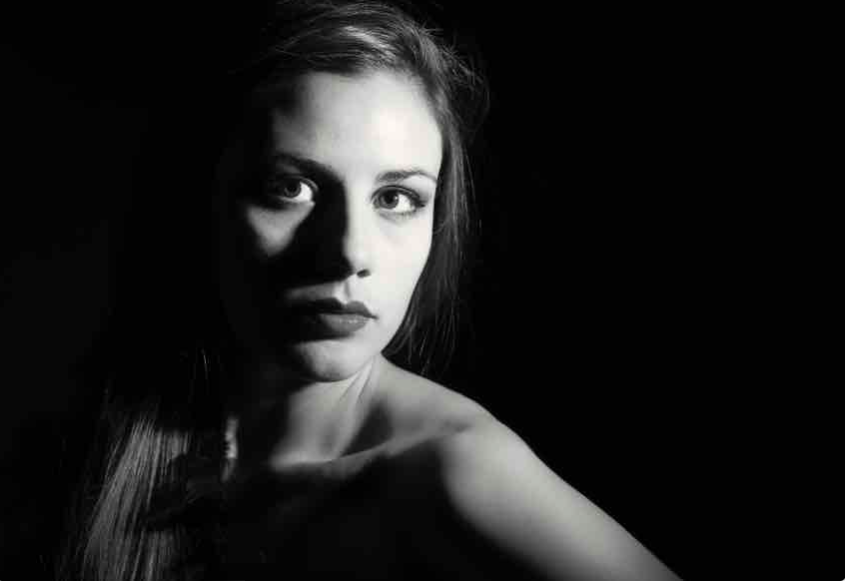
LIGHTING SET UP:
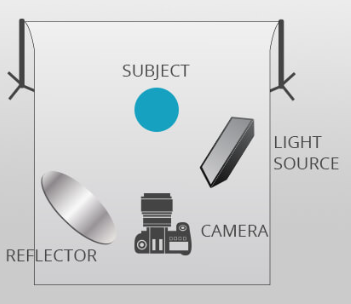
This diagram describes the set up of Rembrandt lighting. to achieve our photos, we used one reflector placed at eye level and one main light source placed on a 45 degree offset from the subject. The reflector projected the lighting back onto the subjects face to create the small triangle of light under the eye, illuminating the model’s face.
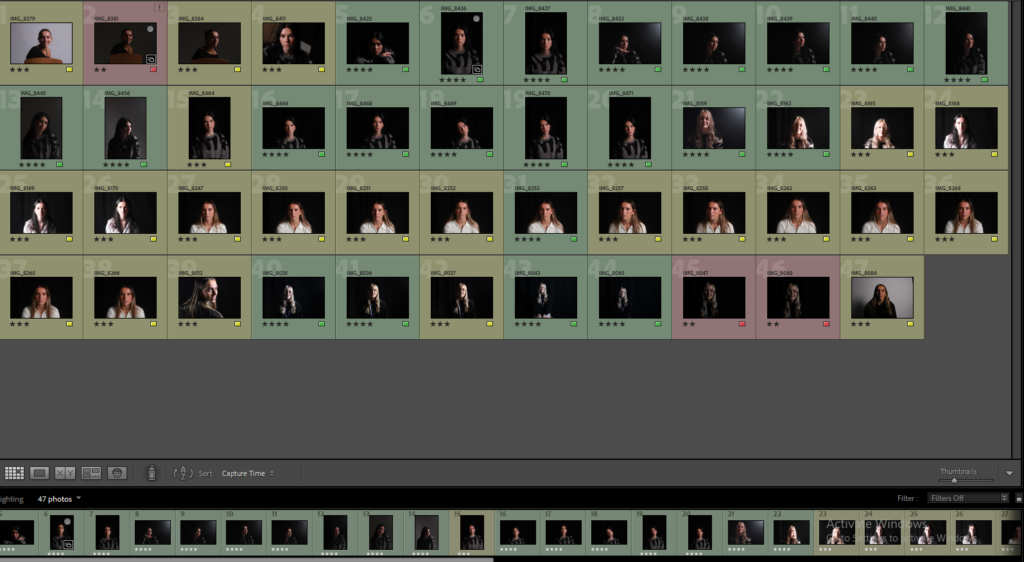
CONTACT SHEET:
MY FINAL EDITED IMAGES:
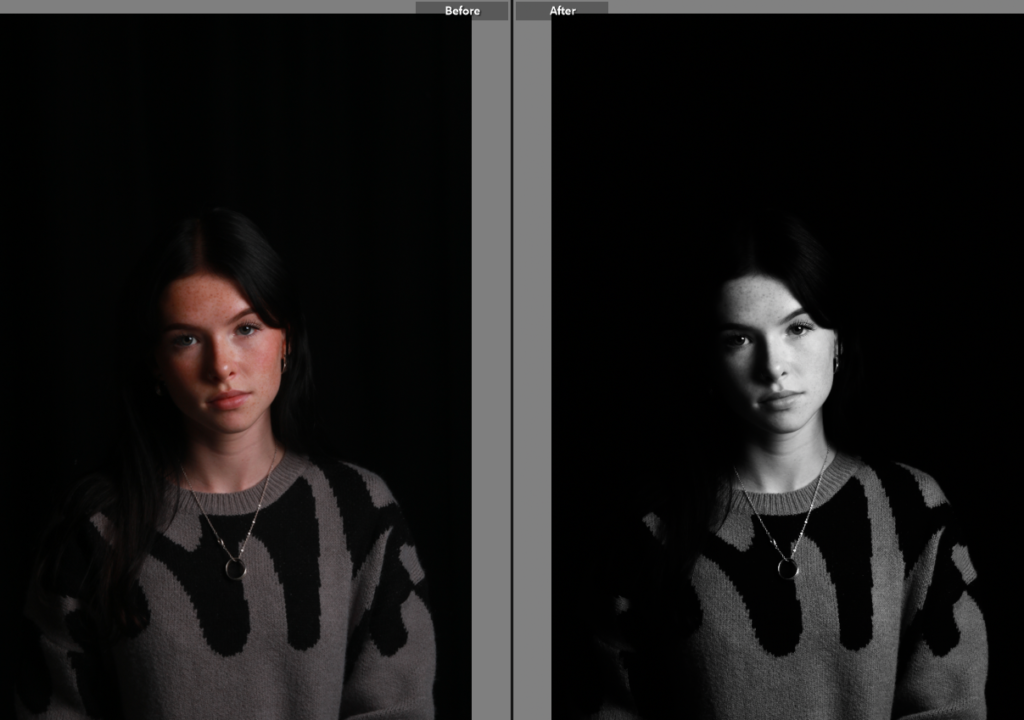
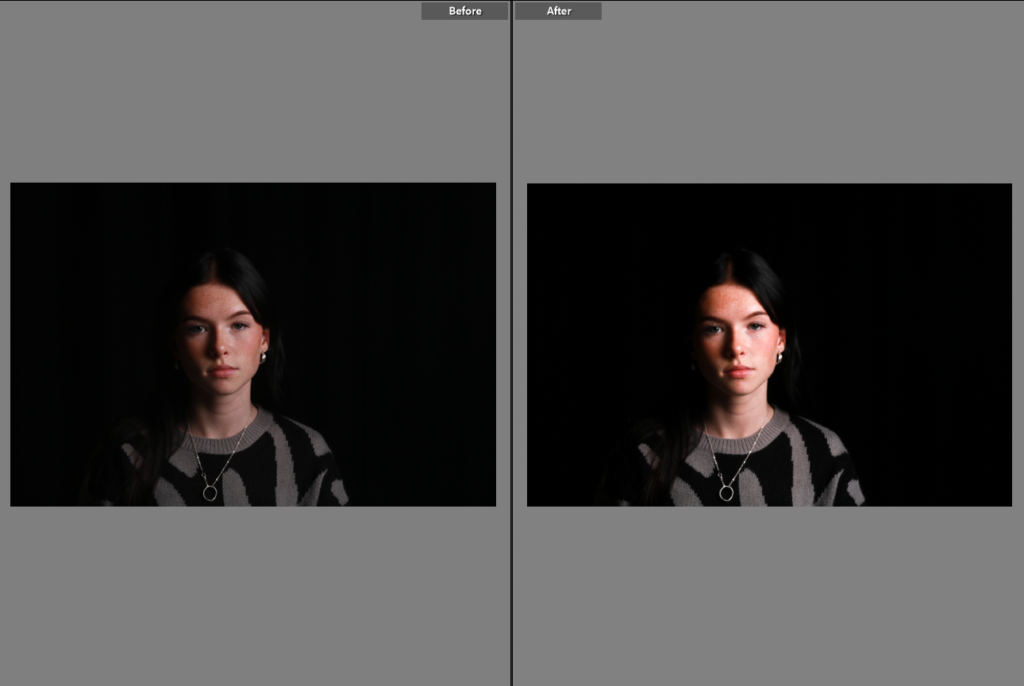
Here are some before and after comparisons of some of my favourite photos to show Rembrandt lighting. I edited all of these images using Adobe Lightroom Classic. To show the lighting technique more accurately, I increased the shadows and intensified the highlighted areas on the face to emphasise the contrast between the light and dark, creating a lit-up triangle underneath the subject’s eye on the less illuminated area of the face. I like the outcome of these edited images because it helps show the enhancement of the triangle of light that is created by using the reflector to bring highlight to half of the subject’s face, whilst the other half of the face is shadowed. The black and white edited photo helps to creates a more effective image as the shadows are made to appear darker and softer, whilst the highlights on the face are sharp and harsh.
