Intro Into Head-shots

What are Head-shots?

Head-shots are a specific type of portrait photography that focuses on capturing an individual’s face, typically from the shoulders up. They are often used in professional settings, such as for actors, models, business professionals, or individuals seeking employment. Head-shots aim to capture the subject’s personality, professionalism, and approach-ability. They are used for various purposes, including resumes, portfolios, websites, social media profiles, and corporate profiles. Head shots are generally characterized by a clean and simple composition, with the subject looking directly at the camera to establish a connection with the viewer.

Why are they important?

Headshots are important for professional presentation, personal branding, career advancement, networking, and brand consistency. They create a positive first impression, convey personality and professionalism, increase visibility and opportunities, improve online presence, and contribute to a cohesive image for businesses.

Who is famous for Head-shots?

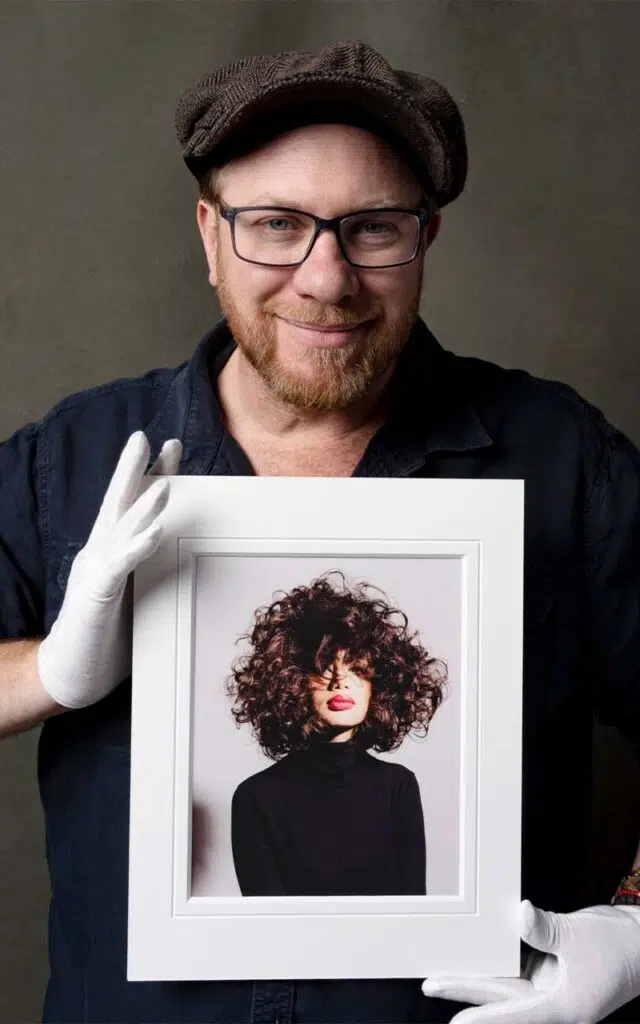
There are several famous photographers known for their expertise in head shot photography, including Peter Hurley, Annie Leibovitz, Mark Seliger, Lindsay Adler, and Greg Gorman. These photographers have established themselves as experts in capturing authentic and compelling headshots, working with celebrities and models. They are recognized for their unique styles and ability to capture personality and emotion in their images. However, there are also numerous other talented headshot photographers who may vary in popularity based on personal preferences and location.

Peter Hurley head-shots
Annie Leibovitz head-shots
Mark Seliger Headshots
Lindsay Adler headshots
Greg Gorman head shots

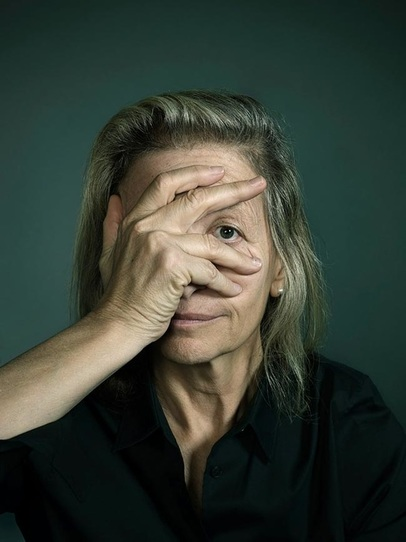
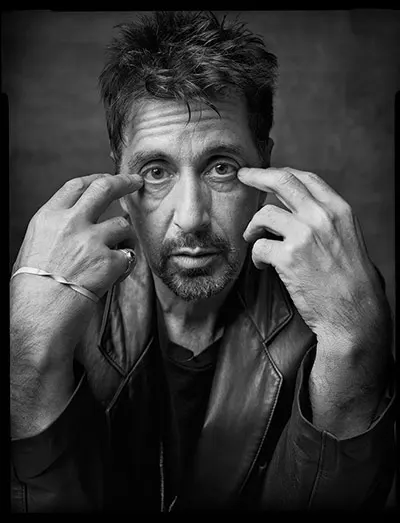
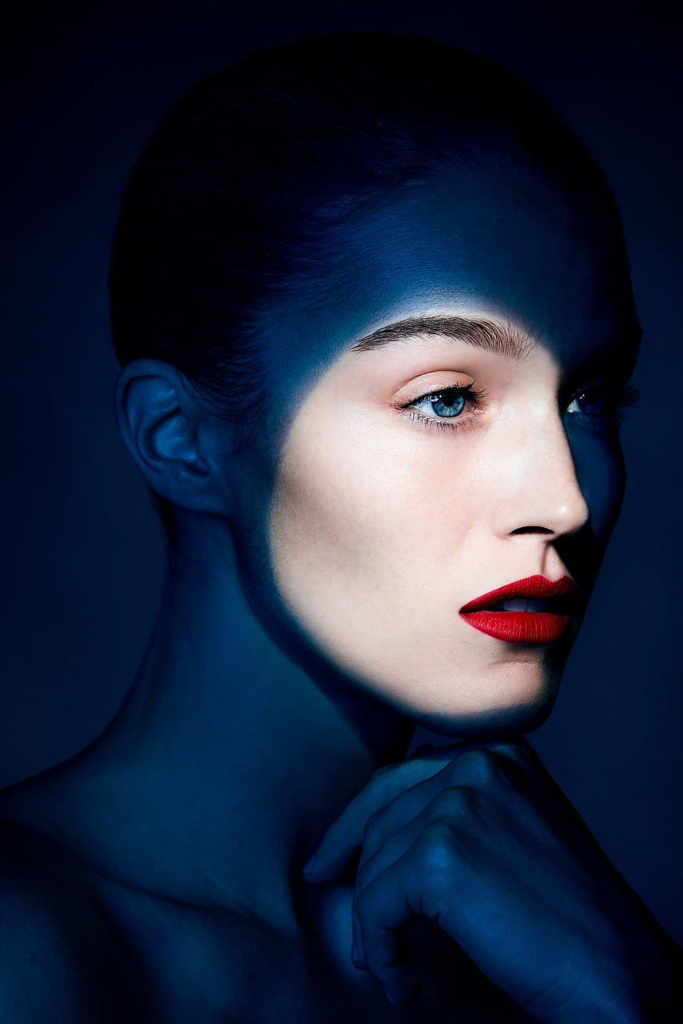
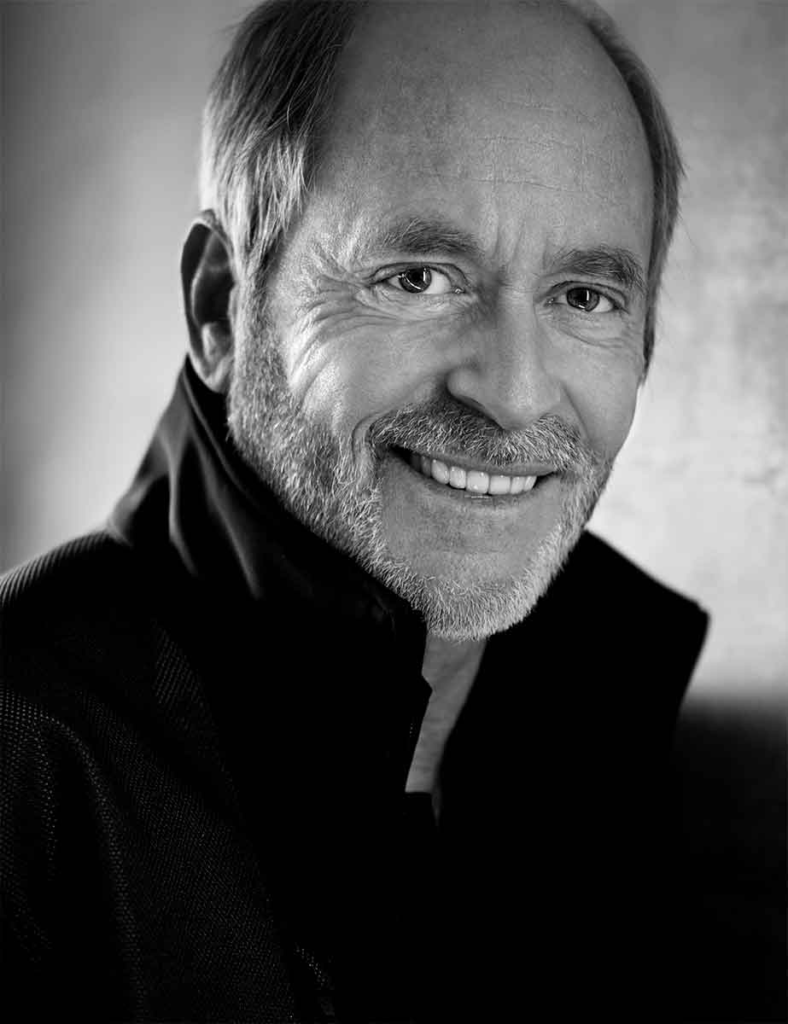
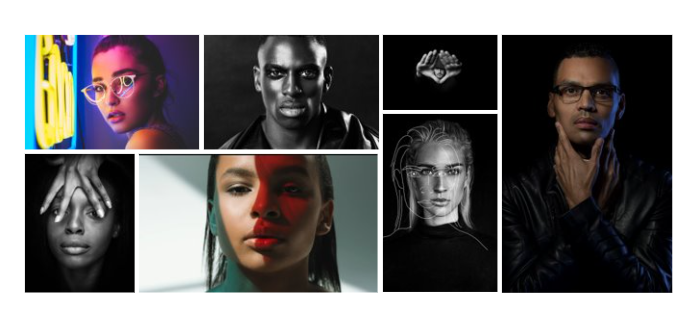
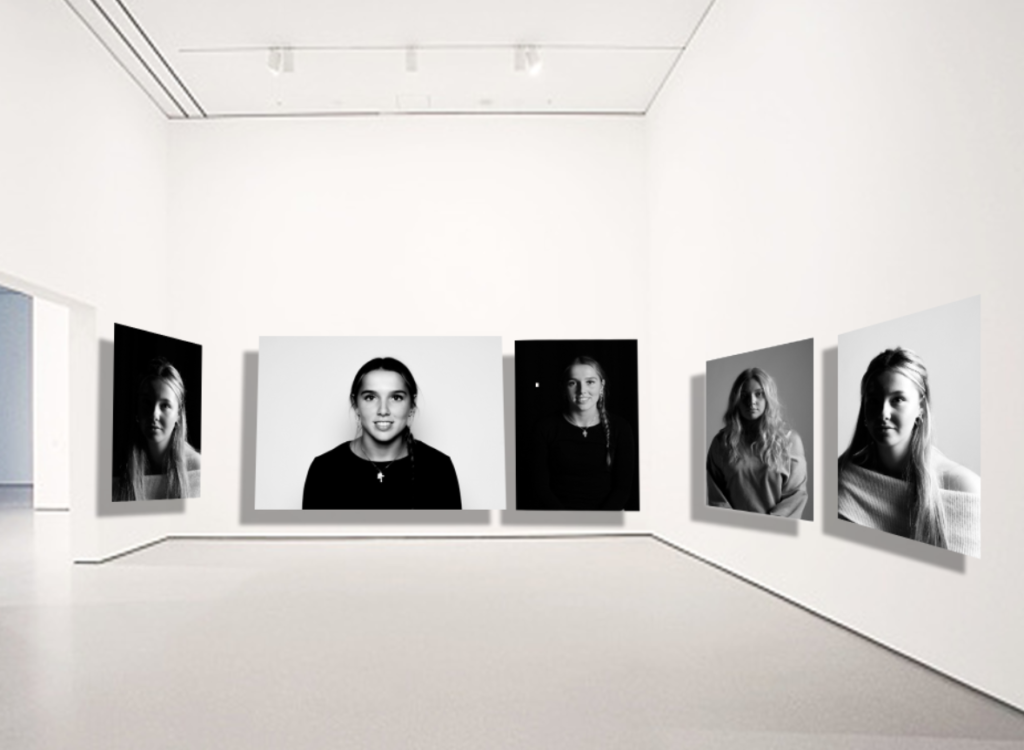
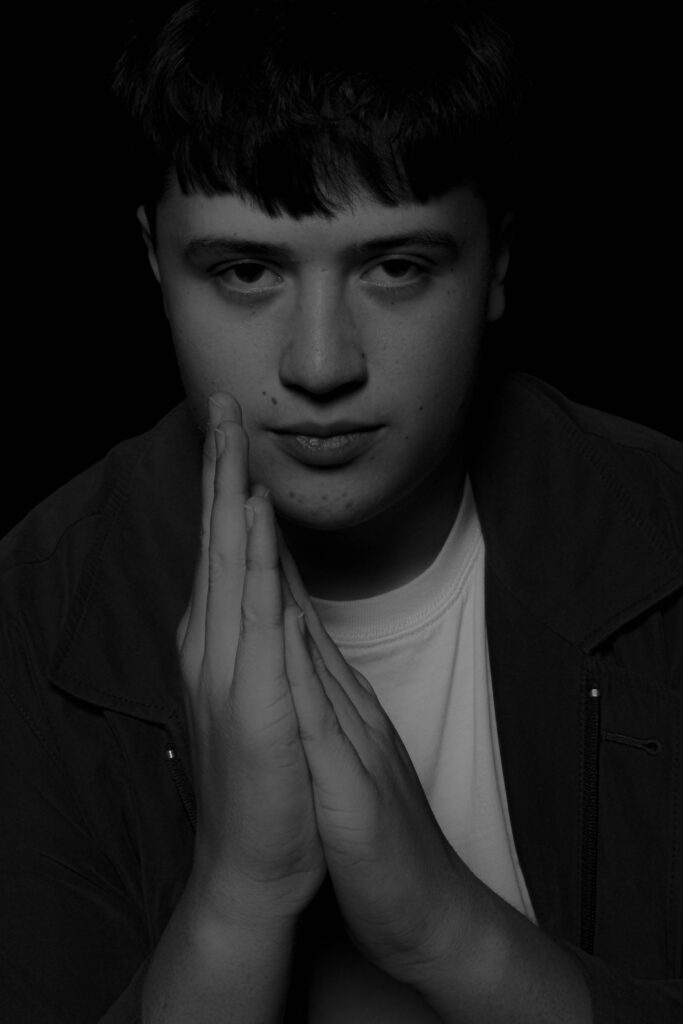
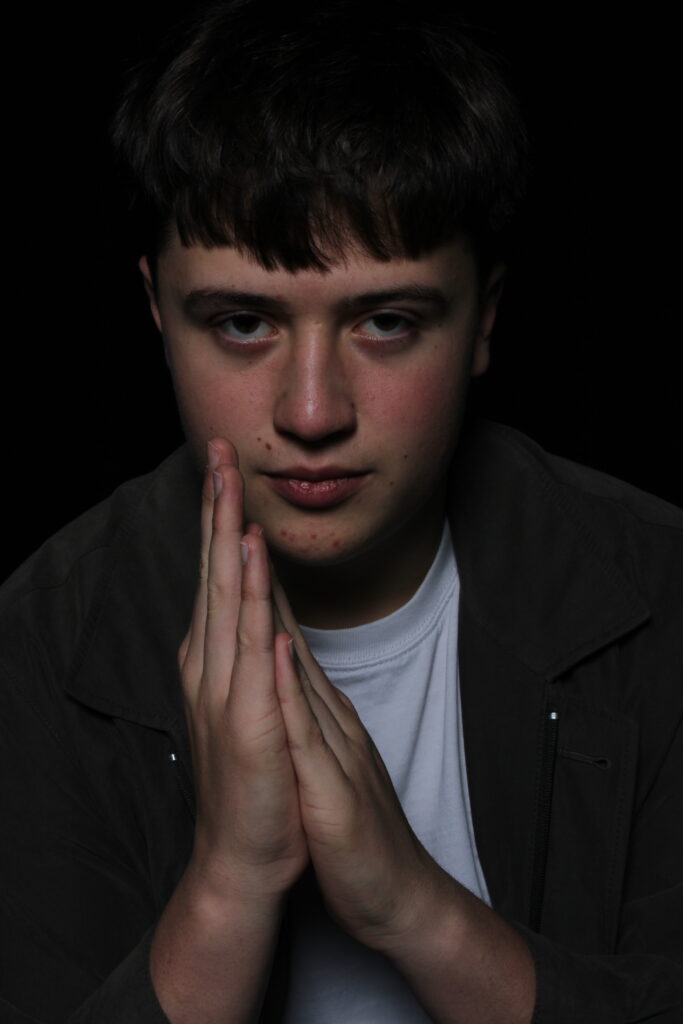
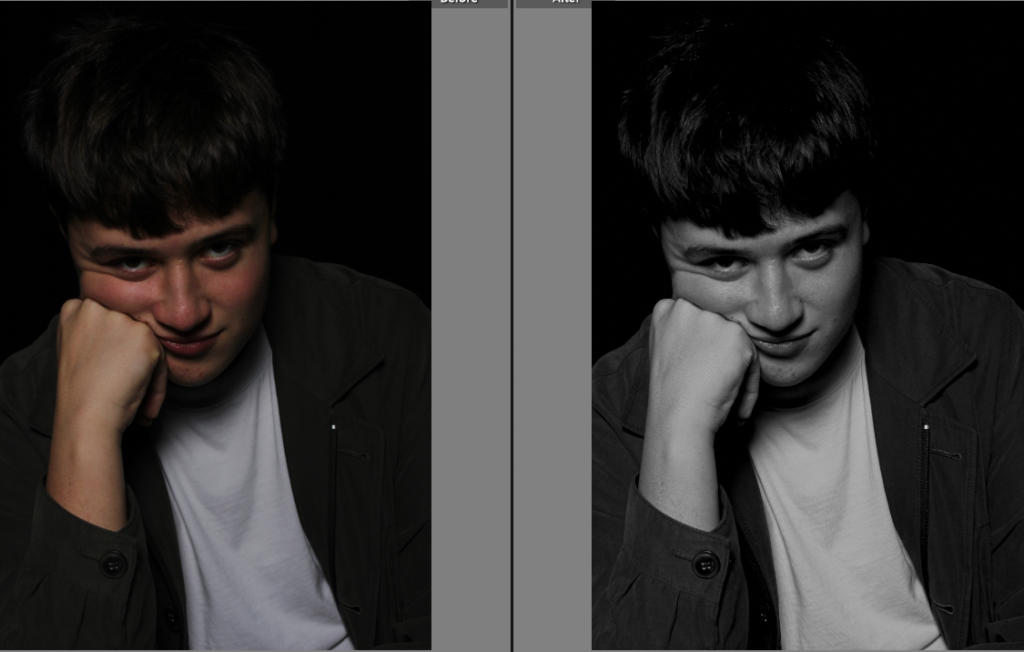
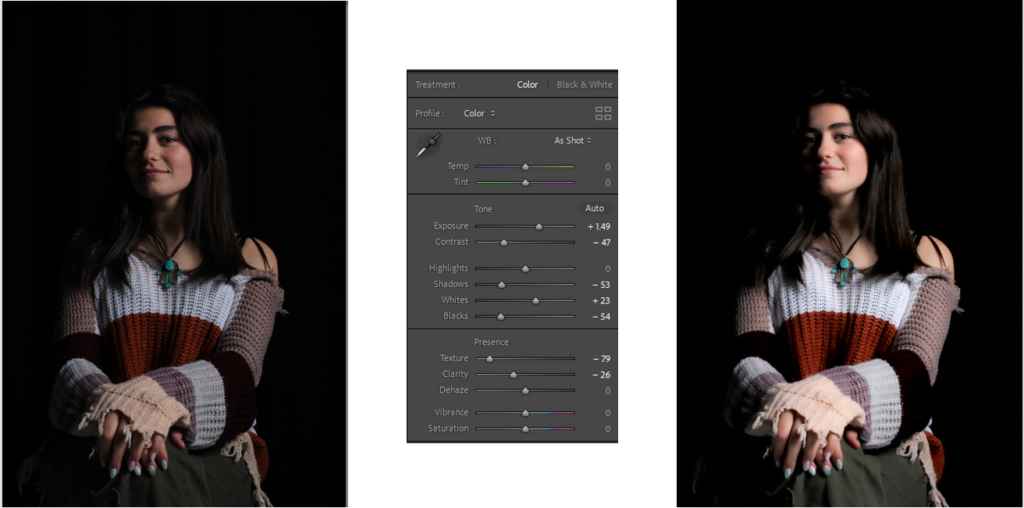
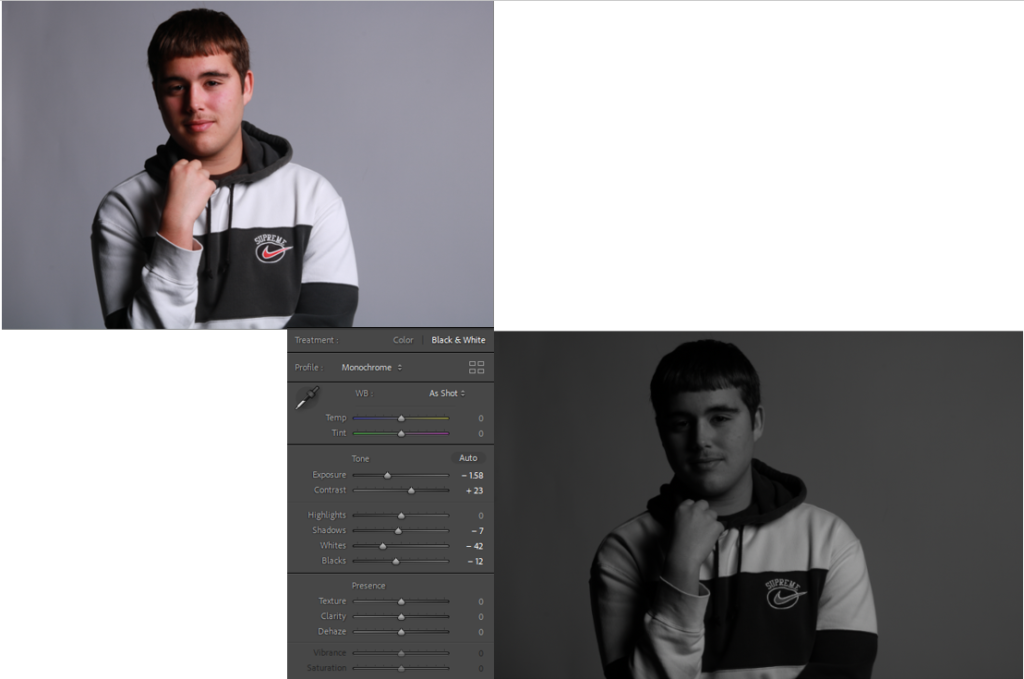
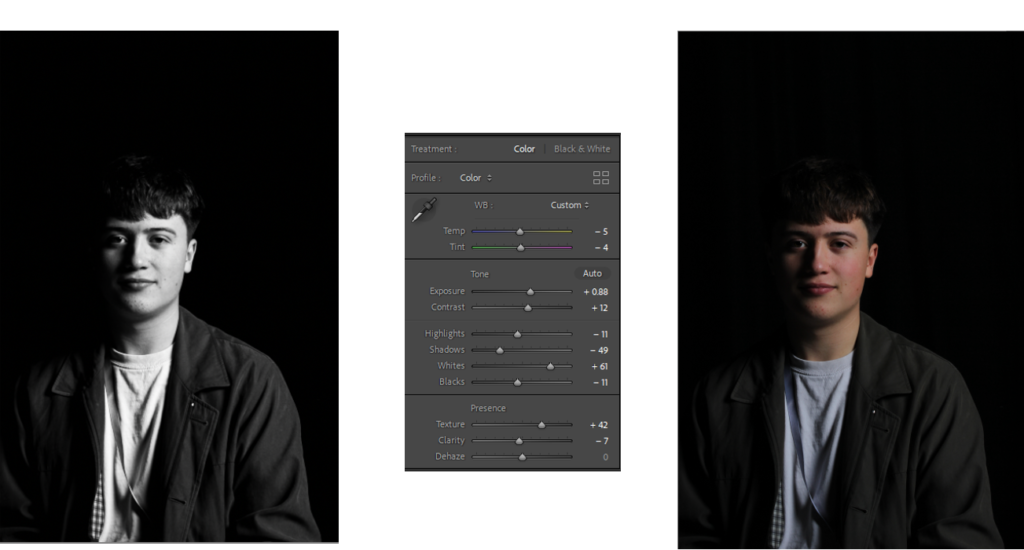
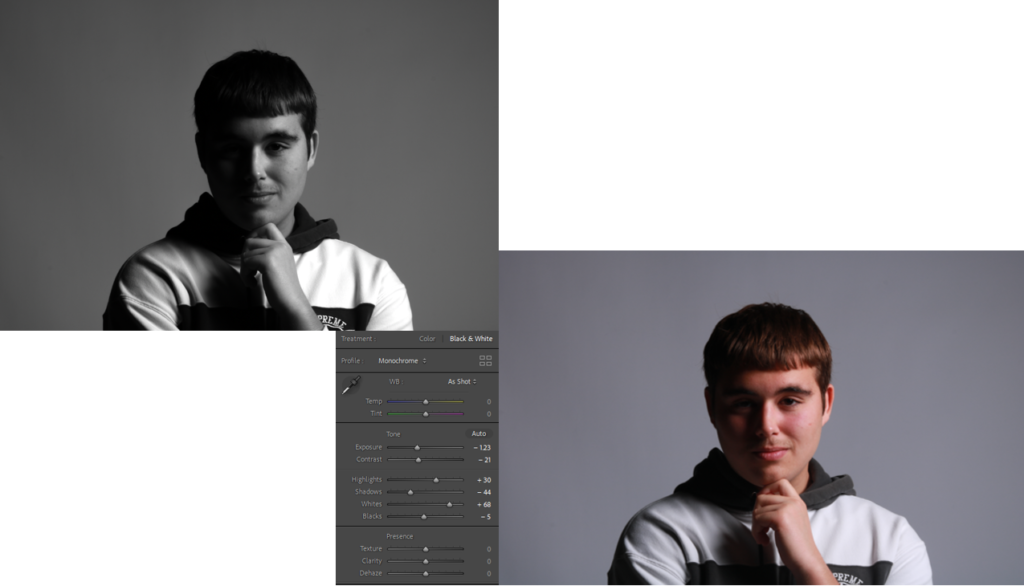
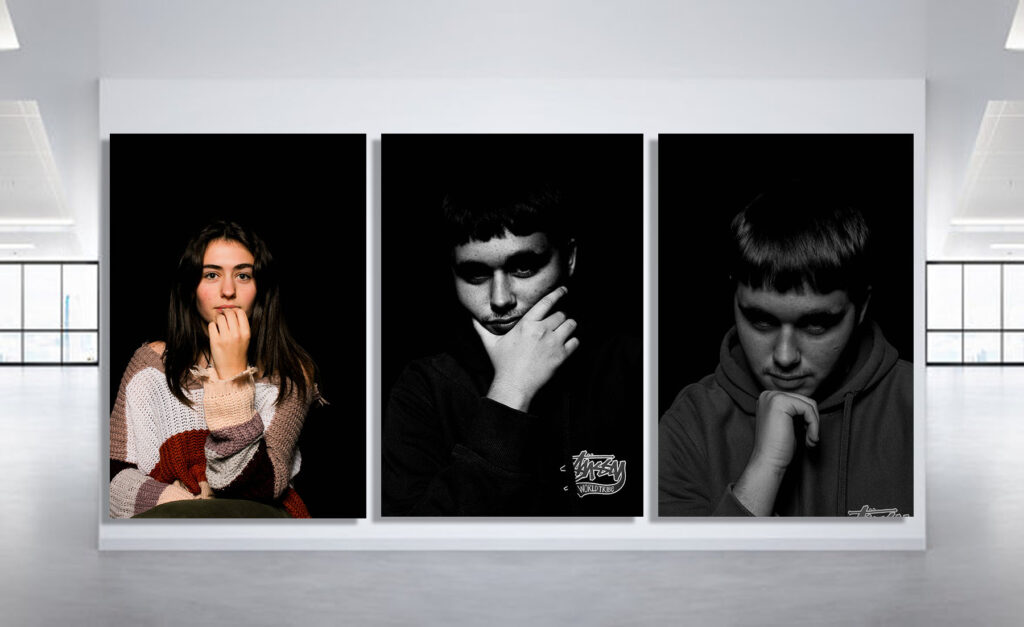
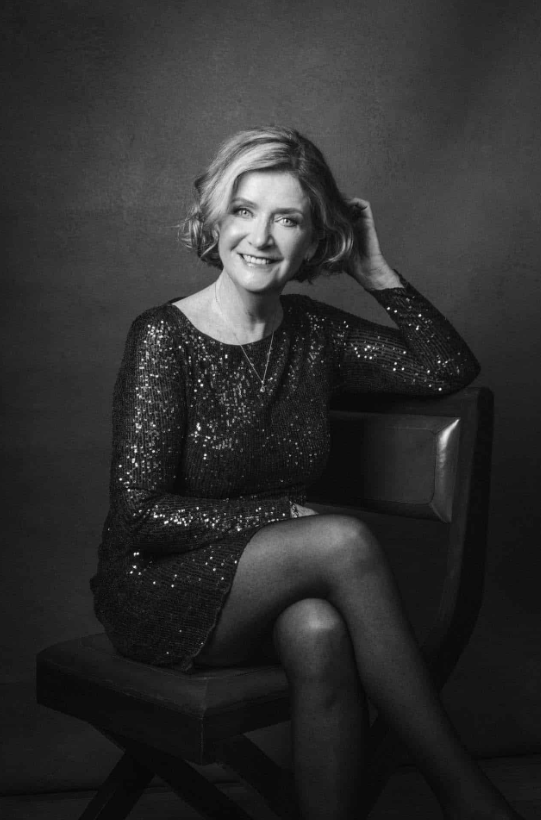
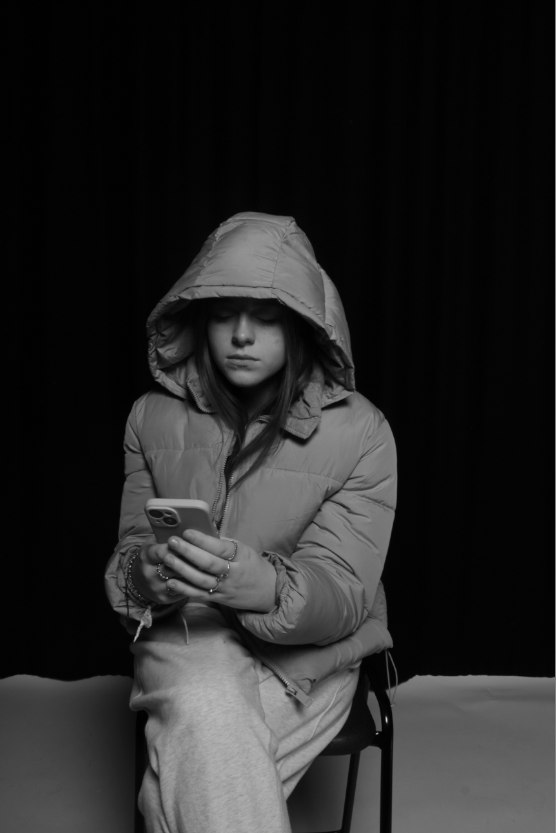
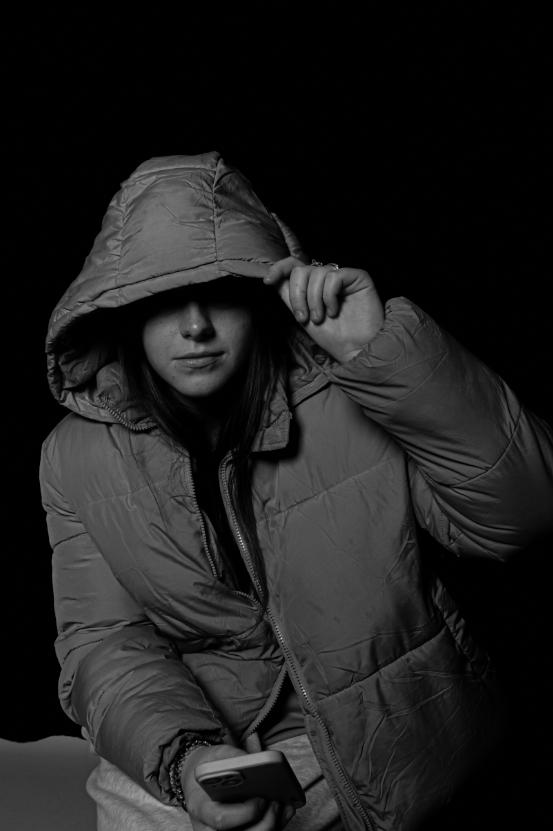
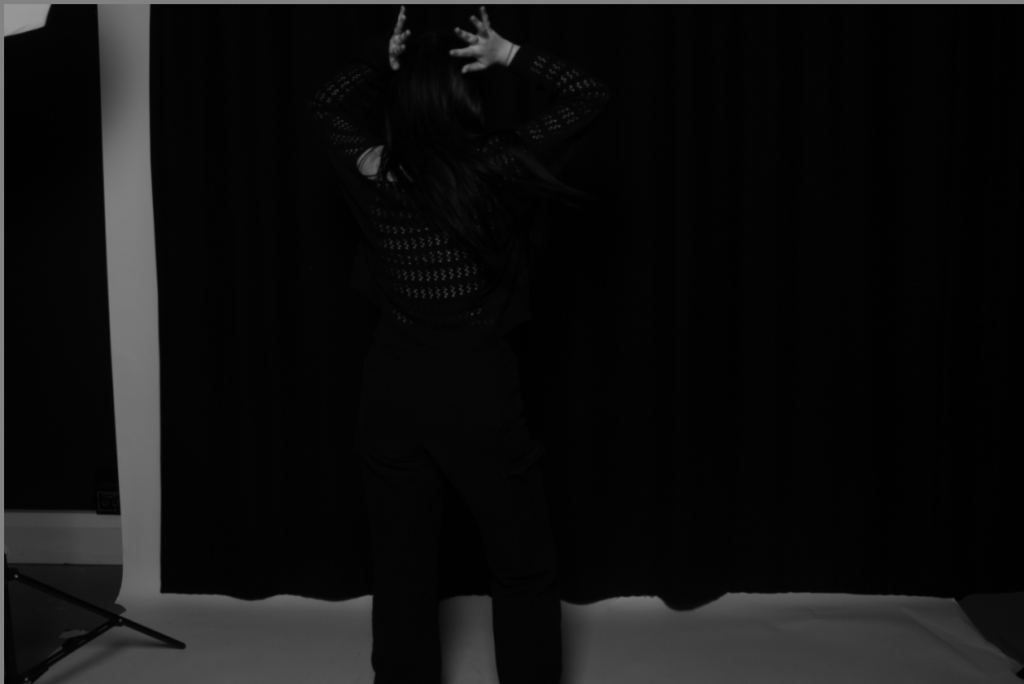
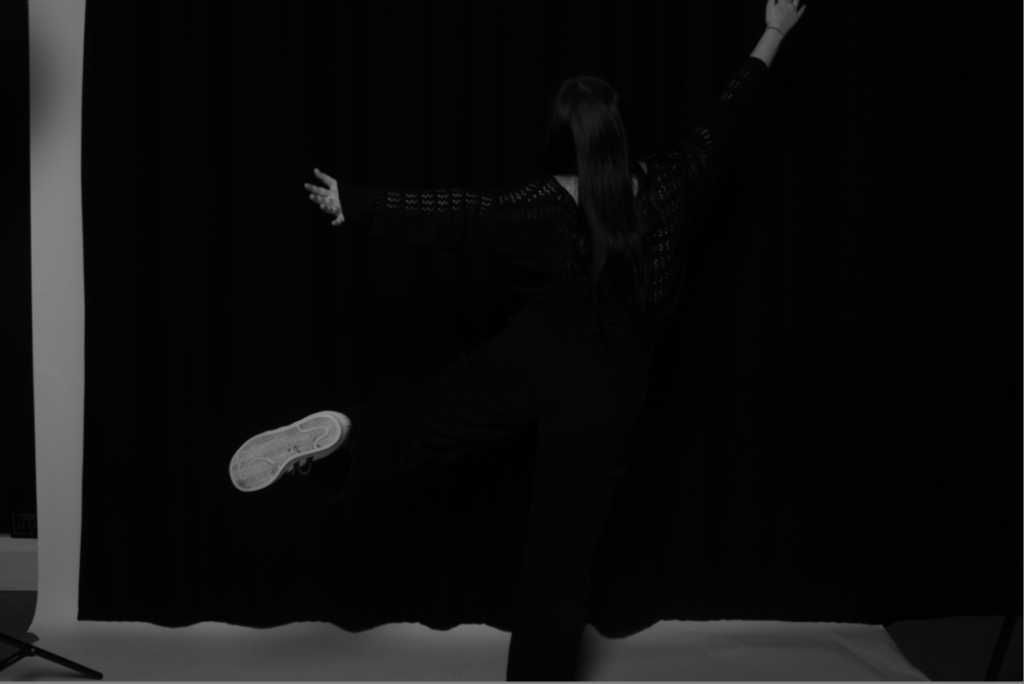
Examples of Headshots;

Fixing The Shadows

What is fixing the shadows?

Fixing the shadows in photography refers to the process of ensuring that the dark areas of an image have adequate detail and are not overly underexposed or lost in darkness. It involves adjusting the exposure or using post-processing techniques to retain or enhance the shadow details, making them visible and well-defined without being too bright or washed out.

In photography, shadows play an essential role in creating depth, contrast, and mood, so it is important to strike a balance between the well-exposed areas and the shadows in an image. This can be achieved through proper lighting techniques during the initial capture or through adjustments made during post-processing using software tools like Photoshop, Lightroom, or other editing software.

Fixing shadows typically involves adjusting the brightness, exposure, contrast, or levels of the shadow areas selectively to ensure that they are neither too dark nor too bright. With careful editing, photographers can bring out details in the shadows without losing the overall integrity of the image.

Why is it Important?

Fixing shadows in photography is crucial for multiple reasons: it enhances detail and clarity, sets the desired mood and atmosphere, creates balance and contrast, adds visual interest through patterns and textures, and effectively conveys storytelling elements. Overall, shadow fixing elevates the quality and impact of an image, making it visually captivating and successful.

Additional facts about fixing the shadow;

Fixing shadows in photography involves manipulating light sources and exposure settings to achieve a desired outcome. It can be done during the shooting process or in post-processing using software like Adobe Photoshop or Lightroom. HDR photography and dodging/burning techniques are commonly used to capture a wider range of shadow details and selectively adjust exposure. Shadows can be natural or artificially created, and experimentation is important to discover unique styles and enhance image composition. Ultimately, fixing shadows is an artistic choice driven by the photographer’s vision.

Origin Of Photography

What is the origin of photography?

Photography originated in the early 19th century and is credited to multiple inventors and technological advancements. Joseph Nicéphore Niépce created the first permanent photograph in 1826 using a camera obscura and a bitumen-coated metal plate. Louis Daguerre developed the daguerreotype process in 1839, producing detailed images on silver-plated copper plates with reduced exposure time. William Henry Fox Talbot introduced the calotype process, enabling multiple prints from a single negative in 1839. Further innovations such as dry plates, roll film, and portable cameras were introduced throughout the 19th century. The Kodak camera by George Eastman in 1888 made photography accessible to the general public. The development of photography is a result of the collaborative efforts of inventors and technological advancements.

Joseph Nicéphore Niépce
Louis Daguerre
William Henry Fox Talbot

Why is the origin of photography important?

The origin of photography is significant because it revolutionized various aspects of human life. It showcases technological advancements, enables documentation and historical preservation, fosters artistic expression, facilitates communication and journalism, and has personal and social impact. Photography has transformed how we create, remember, communicate, and understand the world.

Additional facts about the origin of photography;

The origin of photography is marked by several important milestones. The camera obscura, used by artists for centuries, laid the foundation for capturing light to create images. Joseph Nicéphore Niépce’s successful capture of the first permanent photograph in 1826 and Louis Daguerre’s introduction of the daguerreotype in 1839 were significant breakthroughs. The development of the wet plate collodion process in the 1850s improved image quality and production. Advancements in technology and manufacturing made photography more accessible to the public, and the shift to digital photography in the 20th century transformed the industry. These milestones demonstrate the continuous evolution and impact of photography on the medium itself.

butterfly lighting

Butterfly lighting is a technique of lighting the forms a small butterfly shape under the nose, where it got its name, and it can also highlight the cheekbones.

It is a technique that will flatter anyone. Then taken with soft light it can cast a delicate light to create an ethereal look. here is a example that I took.

to create the technique have a light directly faceing down on to the models face, as seen below.

Further lighting research

1-2-3 point lighting:

Key light (1point):

If you only have one light available then this will become your key light. This is the most important light in the setup, as it illuminates the subject within your shot.

It’s usually the strongest and has the most influence on the look of the scene. It’s always placed to one side of the camera/subject so that one side is well lit and the other side has some shadow

Fill Light (2point):

If you have two lights then the second one will be your fill light. This controls the mood or feel of a picture.

This is placed on the opposite side of the key light. It is used to fill the shadows created by the key light. The fill will usually be softer and less bright than the key light. To achieve this, you could move the light further away or use the intensity settings on your lights if you have some. You can also set the fill light to more of a flood than the key. You could also bounce the light onto a reflector which will then casta softer light back onto the subject.

Back Light (3point):

If you have a third light it will become the back light (also known as the rimhair, or shoulder light). It’s placed behind the subject and lights them from the rear.

It is the light that makes your shot ‘pop’. Rather than providing direct lighting (like the key and fill), its purpose is to provide definition and subtle highlights around the subject’s outlines. When setup correctly, there should be a subtle rim of light around your subject. This helps separate the subject from the background and provide a three-dimensional look. You could also point the back light to the background which will make it very bright and therefore will make the subject stand out more.

An example of 3-point lighting:

Studio Lighting Gallery

Throughout this project, I learnt about a variety of different lighting types eg Rembrandt, Butterfly and Chiaroscuro lighting and where they originated from. I also learnt how to set up each lighting type in the studio. During this process, I also became familiar with setting up the camera according to the type of picture I wanted to take eg changing the mode of the camera, the ISO, aperture etc. I think most of my photoshoots were successful and I managed to grasp the concept of each lighting technique and portray them in my work. I also like the clarity of my images and the quality which gives my images a professional look.

However, I felt that butterfly lighting was my weakest area of the 3 lighting types. This is because in my images the butterfly shadow that should be seen below the nose wasn’t as clear and defined as it could’ve been. So, if I were to do this photoshoot again, I would try placing my light source slightly higher in order to cast a bigger shadow.

edited photoshoot portrait

butterfly lighting edits

most photos that I’ve seen with the butterfly effect have been in black and white with your odd exceptions in colour, therefore this persuaded me to make the image black and white. and I liked the way the image came out.

this is also another image that I like because it does what a portrait is supposed to do show off the details of the subject and it also shows off the butterfly effect really well.

Rembrandt lighting:

to make the Rembrandt effect look even better I decided to make the subject in the photo more brighter however still have the textures and shades on the face as I personally think it made the triangle and the shadow on the subject pop even more.

this other photo I decided to make with Rembrandt effect was in black and white as I wanted to experiment doing different things instead of having the photos in just colour for my Rembrandt images.

Chiaroscuro lighting:

to achieve the Chiaroscuro effect I had to show the contrast between black and white by making it seem like there is an unknown source of light beaming on the subject

I made another photo which I think fits the description of the Chiaroscuro lighting effect personally I think it came out really well