One point lighting–
there is only one light source in the scene with no complementary sources to fill in shadows.
This is the simplest type of light placement and in fact mimics something we see every day — the sun! It has the most natural look and can have a dramatic lighting effect. It also draws attention, but can give a person onstage a very flat, two-dimensional look.

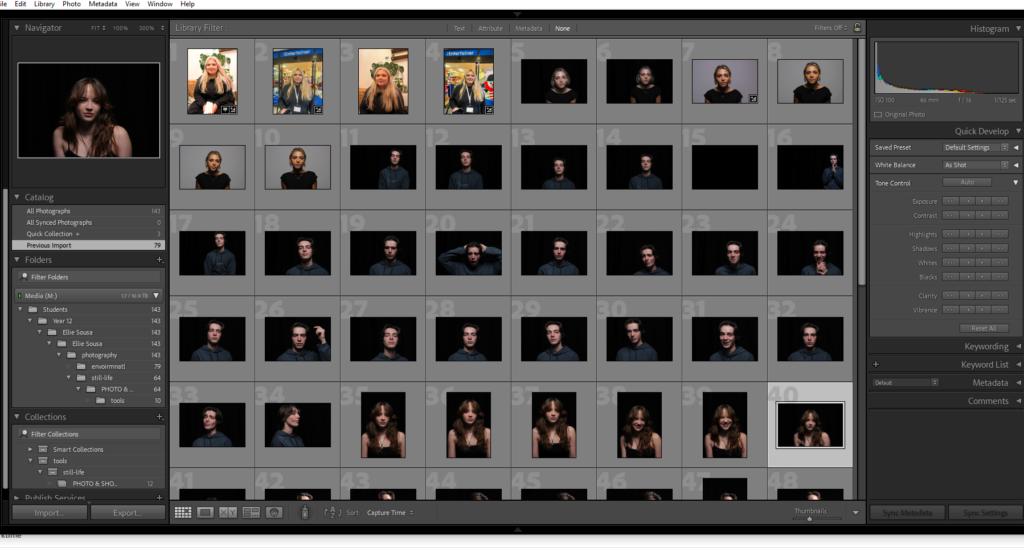
My photo of one ,two and three point lighting:

Two point lighting–
In a two-point lighting setup, two light sources are usually placed at 45 degree angle from the subject. One of them is your key light, which is the main light used to illuminate the subject, and the second is your fill light which helps to remove harsh shadows on the subject that are created by the key light.


Three point lighting-
Three-point lighting is a traditional method for illuminating a subject in a scene with light sources from three distinct positions. The three types of lights are key light, fill light, and backlight


Butterfly example..
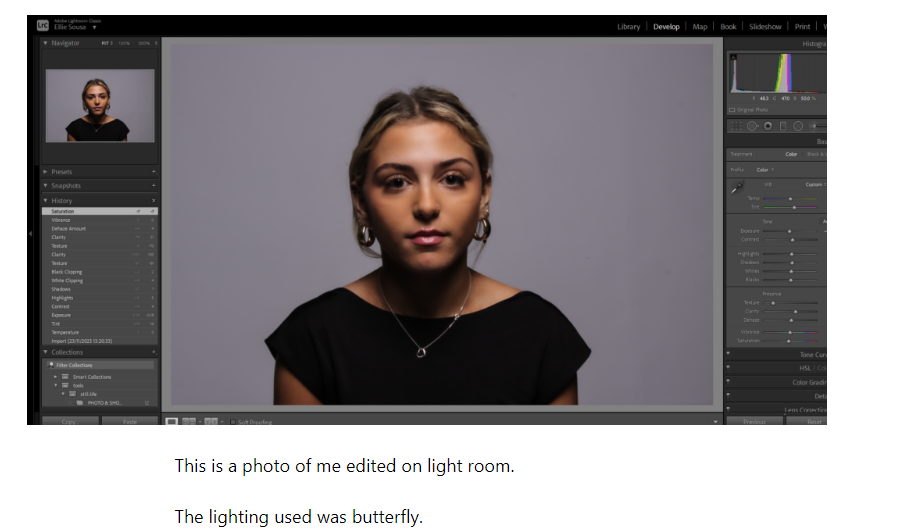
This is butter fly because thee a butterfly shadow under the eye. It’s a single source directly in line with the subject’s face and the camera. If the shadows are a little too deep, a reflector can be placed below the subject to bounce light back up into the face.

Chiaroscuro example..
Chiaroscuro is a high-contrast lighting technique that utilises a low-key lighting setup to achieve contrast between the subject and a dark background. You light across your subject in one direction, and here we lit the background in the reverse direction. Ideally, the subject should go to black on the unlit side and the same for the background, it shows off the looks and eliminates the face.

Rembert example…
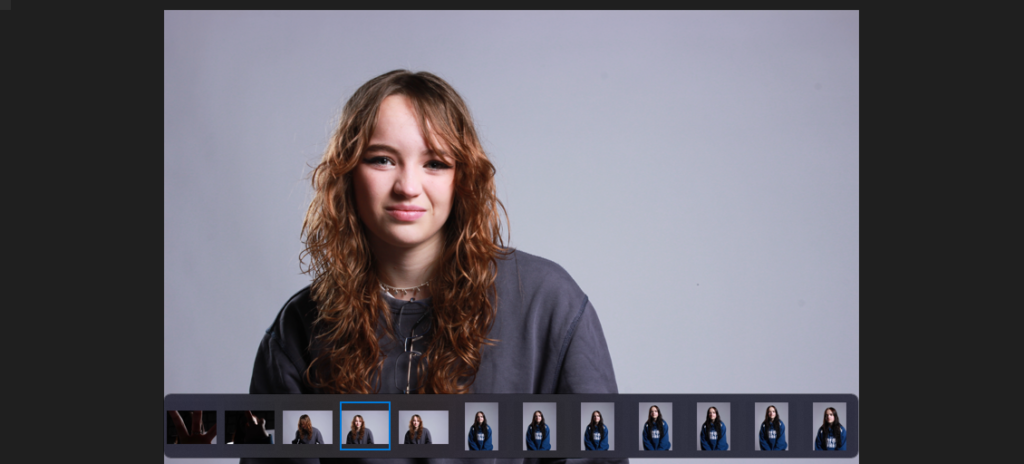
You can tell this photograph is Rembert because there’s a triangle underneath her eye. This is a technique utilizing one light and one reflector or two separate lights. It’s a popular technique because it creates images that look both dramatic yet natural. Rembrandt lighting consists of a single light source placed on a 45 degree offset from the subject, about 5 feet away. Positioned roughly two feet higher than eye level, the light source is angled slightly downward and hits the side of the face that is farthest away from the camera

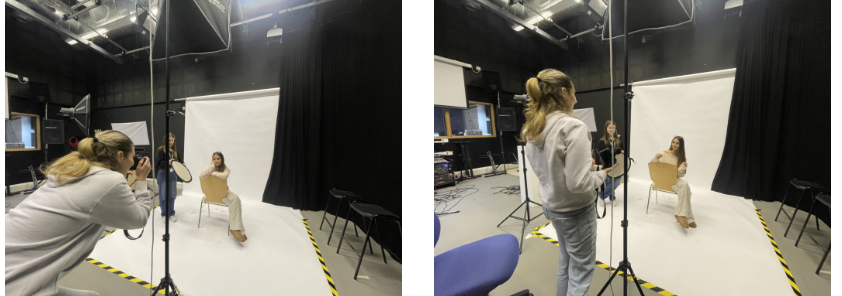
Here is some photos of the studio in action of 1,2,3, Rembert, butterfly and Chiaroscuro lighting..
One point lighting–
there is only one light source in the scene with no complementary sources to fill in shadows.
This is the simplest type of light placement and in fact mimics something we see every day — the sun! It has the most natural look and can have a dramatic lighting effect. It also draws attention, but can give a person onstage a very flat, two-dimensional look.

My photo of one ,two and three point lighting:

Two point lighting–
In a two-point lighting setup, two light sources are usually placed at 45 degree angle from the subject. One of them is your key light, which is the main light used to illuminate the subject, and the second is your fill light which helps to remove harsh shadows on the subject that are created by the key light.


Three point lighting-
Three-point lighting is a traditional method for illuminating a subject in a scene with light sources from three distinct positions. The three types of lights are key light, fill light, and backlight


Butterfly example..
This is butter fly because thee a butterfly shadow under the eye. It’s a single source directly in line with the subject’s face and the camera. If the shadows are a little too deep, a reflector can be placed below the subject to bounce light back up into the face.

Chiaroscuro example..
Chiaroscuro is a high-contrast lighting technique that utilises a low-key lighting setup to achieve contrast between the subject and a dark background. You light across your subject in one direction, and here we lit the background in the reverse direction. Ideally, the subject should go to black on the unlit side and the same for the background, it shows off the looks and eliminates the face.

Rembert example…
You can tell this photograph is Rembert because there’s a triangle underneath her eye. This is a technique utilizing one light and one reflector or two separate lights. It’s a popular technique because it creates images that look both dramatic yet natural. Rembrandt lighting consists of a single light source placed on a 45 degree offset from the subject, about 5 feet away. Positioned roughly two feet higher than eye level, the light source is angled slightly downward and hits the side of the face that is farthest away from the camera


The last two pictures are edited to brighten up the contrast and flaws and imperfection’s.


Here is some photos of the studio in action.


To conclude
I think that this has been my best so far. It brings out so much about you as a person and having trail and error with different sets of lighting and 1,2 and 3 point lighting wasn’t easy, however we got there in the head. I really enjoyed taking these portraits but to do better I think I could’ve angled some of the light’s a bit better, which I will do for my next photoshoot. To wrap up I think I did quiet well in this project and these photographs’.
