Why do we use Studio Lighting?
We use studio lighting because it allows us to create a variety of effects naturally, without the need for editing. Studio lighting also presents a professional look in photos, differing from the quality without studio lighting. Studio lighting does many things to a photograph like setting the mood, creating shadows and texture, providing direction and more. Using studio lighting is much easier than any other, for example, natural lighting, you can’t move the sun around and adjust the brightness like you can with most studio lighting.
1 Point Lighting
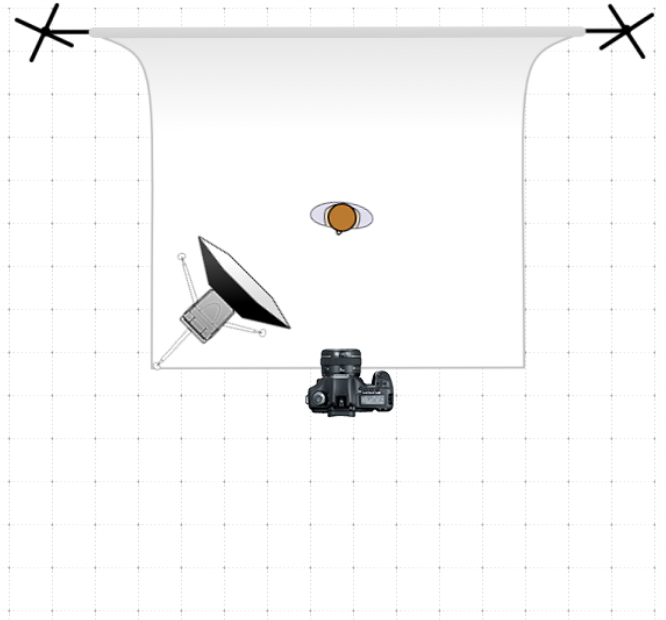
1 point lighting is a lighting set up which uses a single light source to illuminate the subject. The light is often positioned directly in front or behind the camera and can create the illusion that the subject is 2D, however, it is also often positioned at a 45 degree angle to the subject. The light used for this set up is known as the key light.
2 Point Lighting
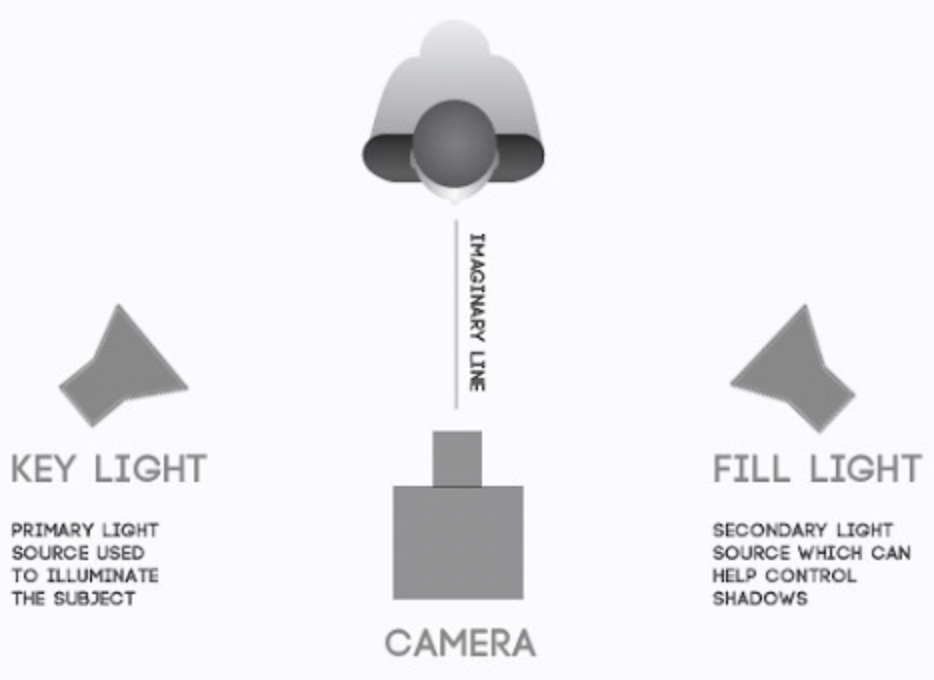
2 point lighting consists of 2 different types of light, the key light and the fill light. The key light is placed to one side of the camera and illuminates the subject, creating shadows and the fill light is positioned directly opposite the key light to ‘fill in’ the shadows. This produces a more harmonised and authentic appearance.
3 Point Lighting
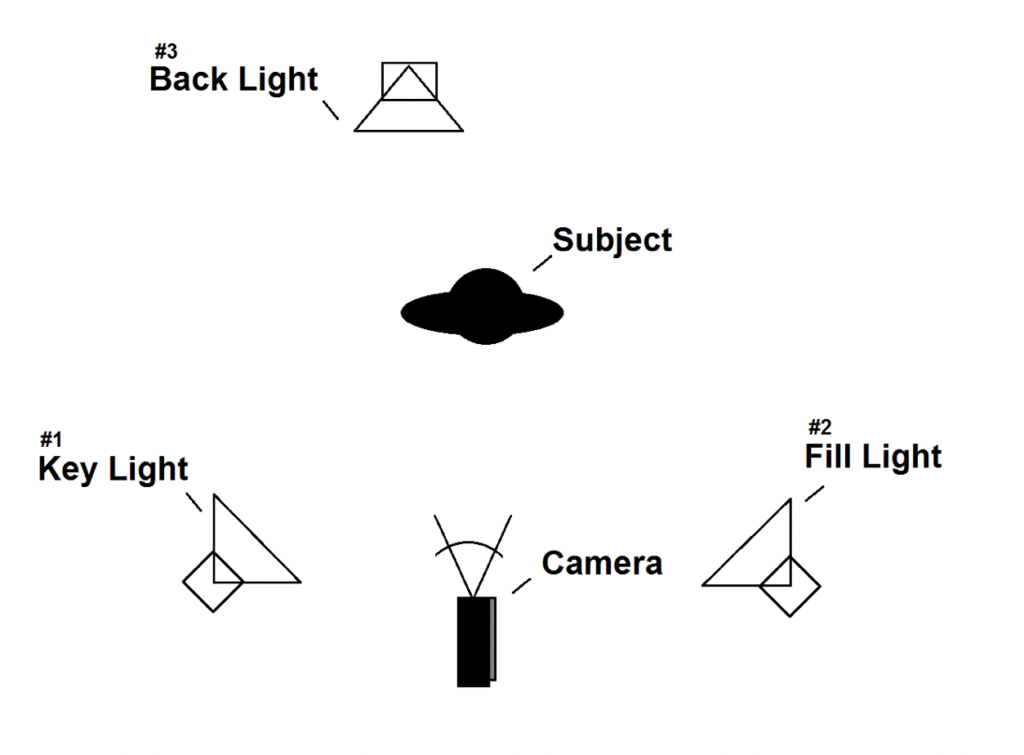
3 point lighting involves the use of 3 lights which are strategically placed in order to create a well balanced photograph, whilst illuminating the subject. Alike 2 point lighting, 3 point lighting includes a key light and fill light, however, it also has a backlight. The backlight is placed behind the subject to illuminate the sides of the subject and make it stand out from the background, rather than blending in.
Fill Lighting
Fill lighting is used to reduce contrast between highlights and shadows in an image as well as illuminate areas which may be unlit to reveal details in the areas of the subject which may not have been seen beforehand. It’s most commonly used in portrait photography to create a more aesthetically pleasing image.
Chiaroscuro
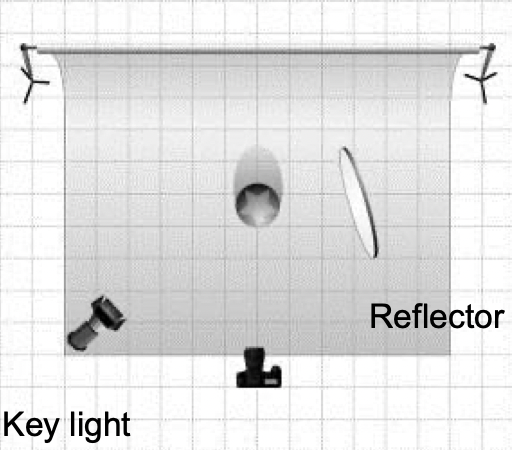
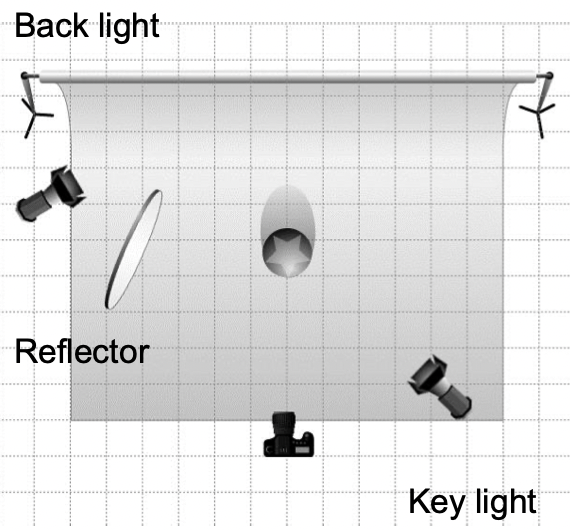
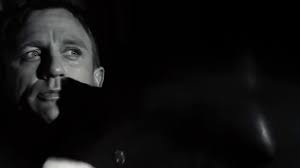
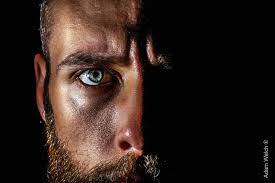
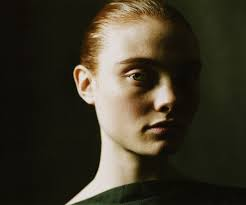
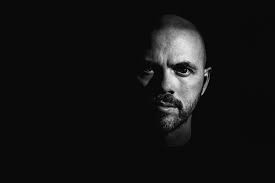
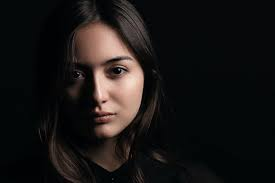
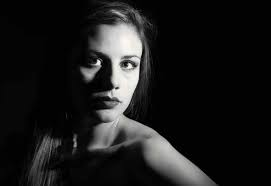
Chiaroscuro is a word which originated in Italy, translated to lightdark and defined as a bold contrast between light and dark. Using this technique creates a 3D effect in photos and paintings through highlights and shadows, as well as create a sense of depth. The light and shadow becomes more pronounced and impactful in this technique when in black and white. Chiaroscuro is also used in photography to emphasise shapes, create a sense of volume and drama, evoke mood and suggest motion. The most used technique for taking these images are 1 point lighting with the use of a reflector and sometimes even a back light.
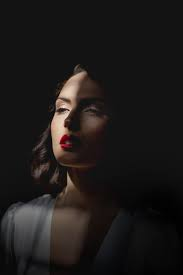
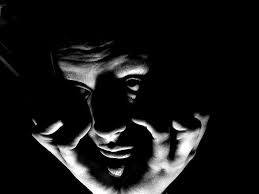
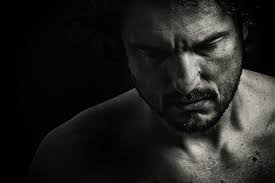
Rembrandt lighting
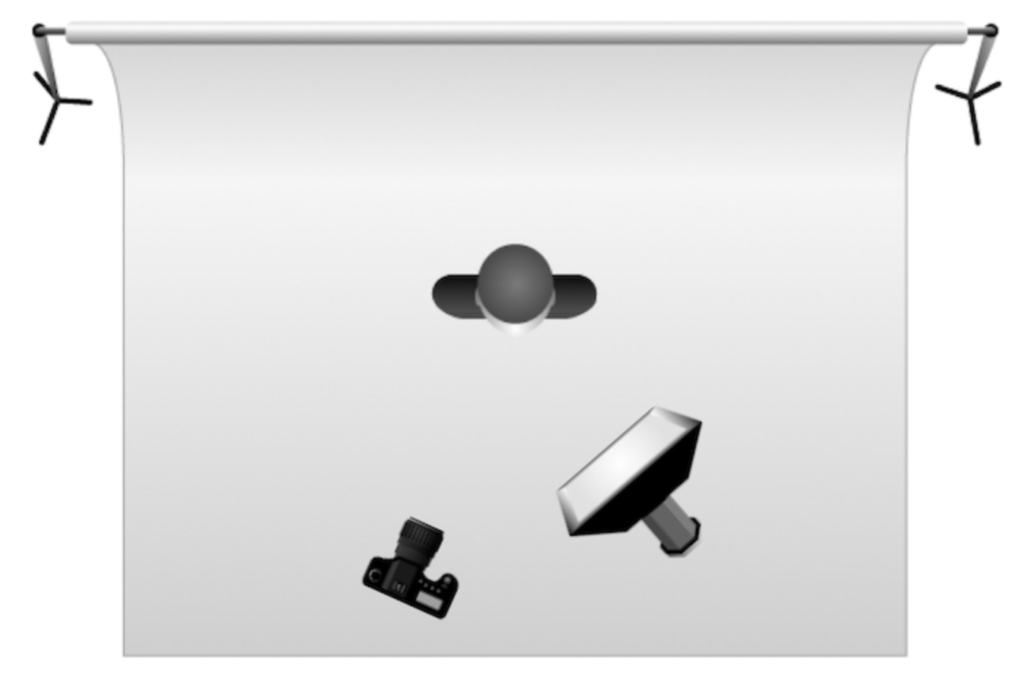
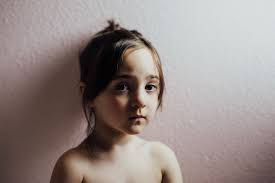
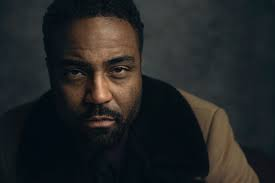
Rembrandt lighting is a technique named after Rembrandt Harmenszoon van Rijn, who was a great Dutch painter. This technique refers to lighting which produces an upside down triangle below the eyes of the subject. This triangle is formed by the shadow of the nose and is often opposite the key light. This technique is used to create an appealing result without the need for the use of editing.
Butterfly lighting
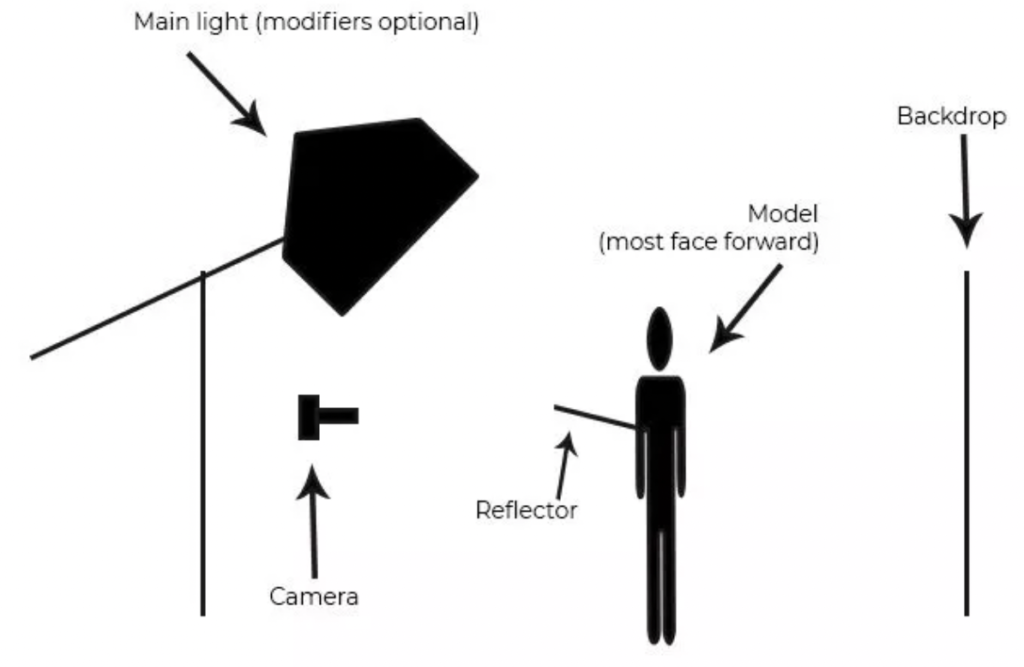
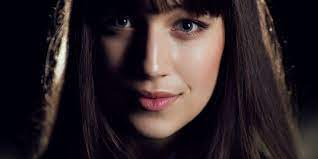
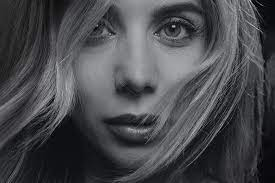
Butterfly lighting is a portrait technique where the light source is positioned directly in front of and above the subject to create a shadow under their nose. This technique is named ‘butterfly’ as the shadow beneath the nose resembles the wings of a butterfly. This technique reduces shadows on the subject’s face to highlight their features and it is often used for glamour shots.
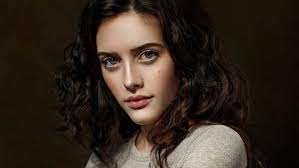
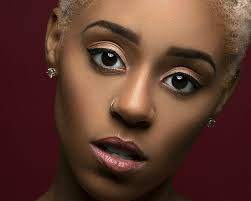
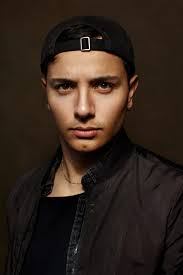
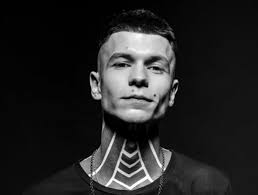
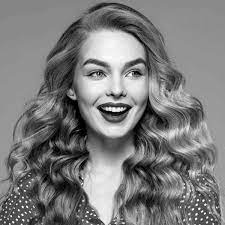

Good start to showing your understanding of studio lighting.
You may find it easier to have individual blog posts for each lighting effect (Rembrandt / Chiaroscuro / Butterfly)
Make sure you include the below points for each type of lighting.
What is XXX Lighting,
What is XXX Lighting Used for?
Examples of XXXLighting.
How to set up XXX lighting (with diagram).
Your photo of the lighting set up.
Your Response (contact sheet and 3-6 top photos).