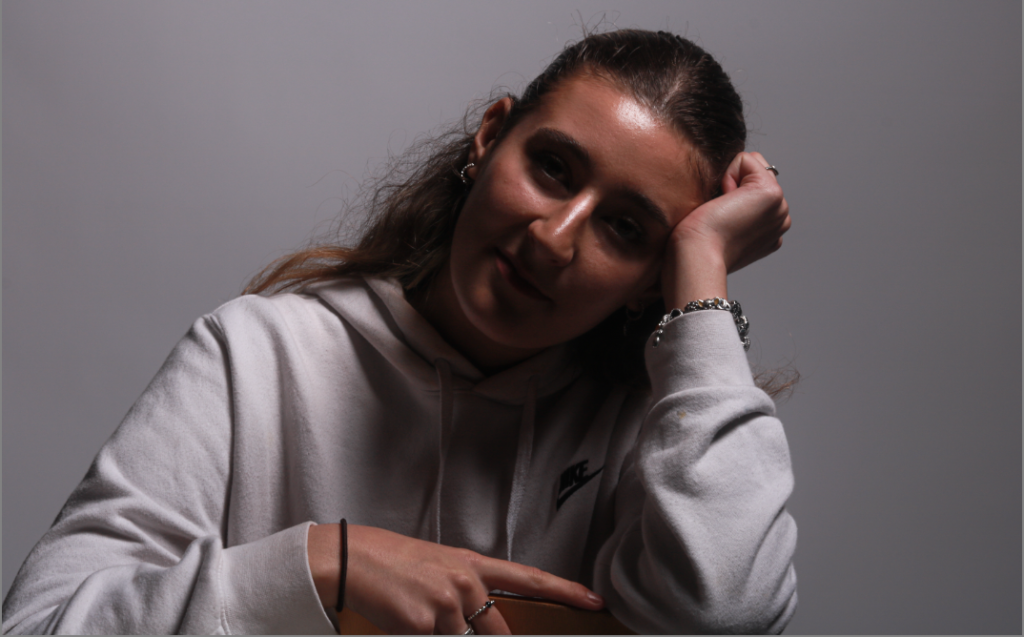
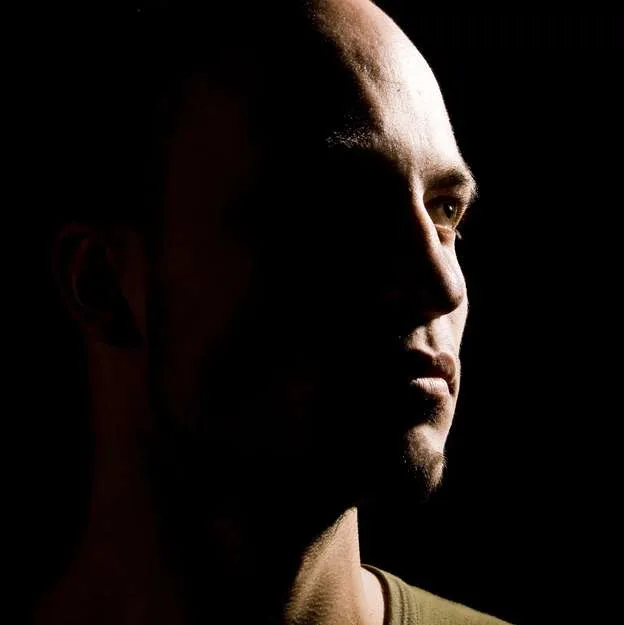
Rembrandt lighting is a technique utilizing one light and one reflector or two separate lights.
It can be described as a low-key lighting technique. It is lighting particularly for light/dark contrast to emphasize volume and specific areas.
Rembrandt lighting is characterized by an illuminated triangle under the eye of the person, particularly on the less illuminated side of the face. It’s a popular technique because it creates images that look both dramatic yet natural.
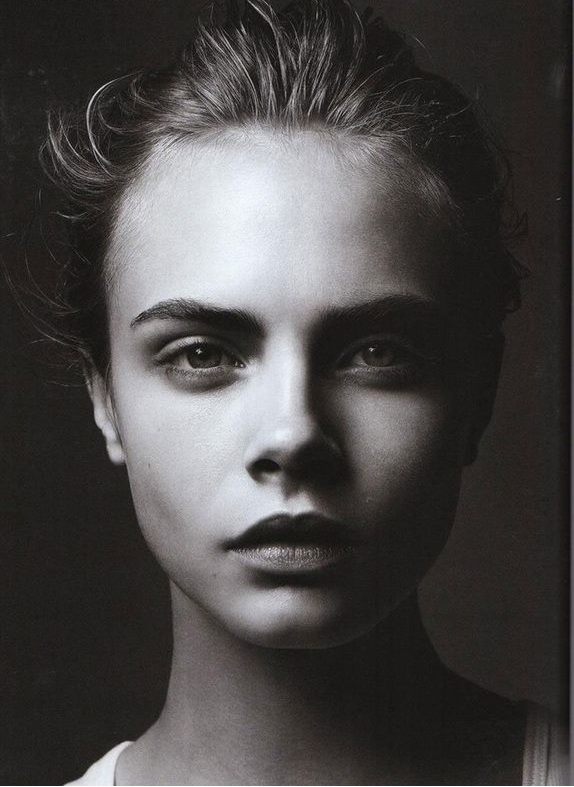
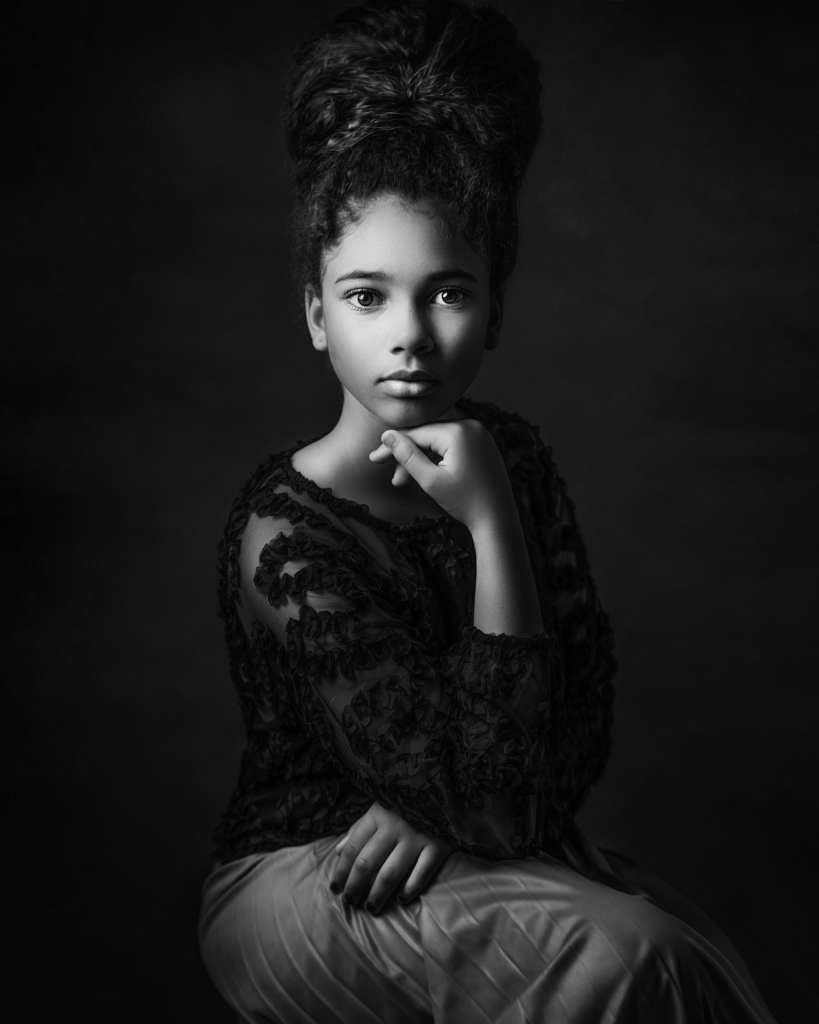
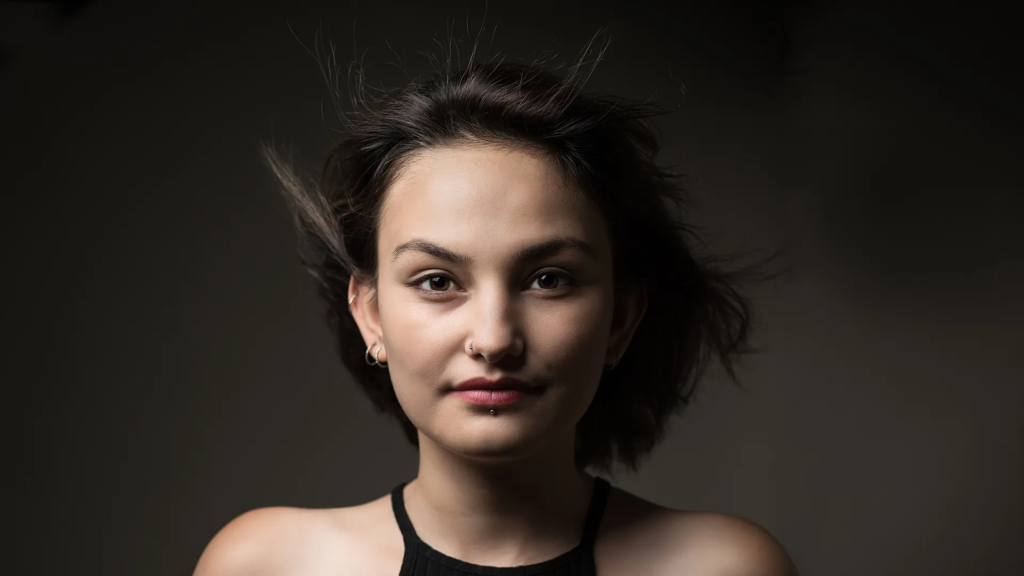
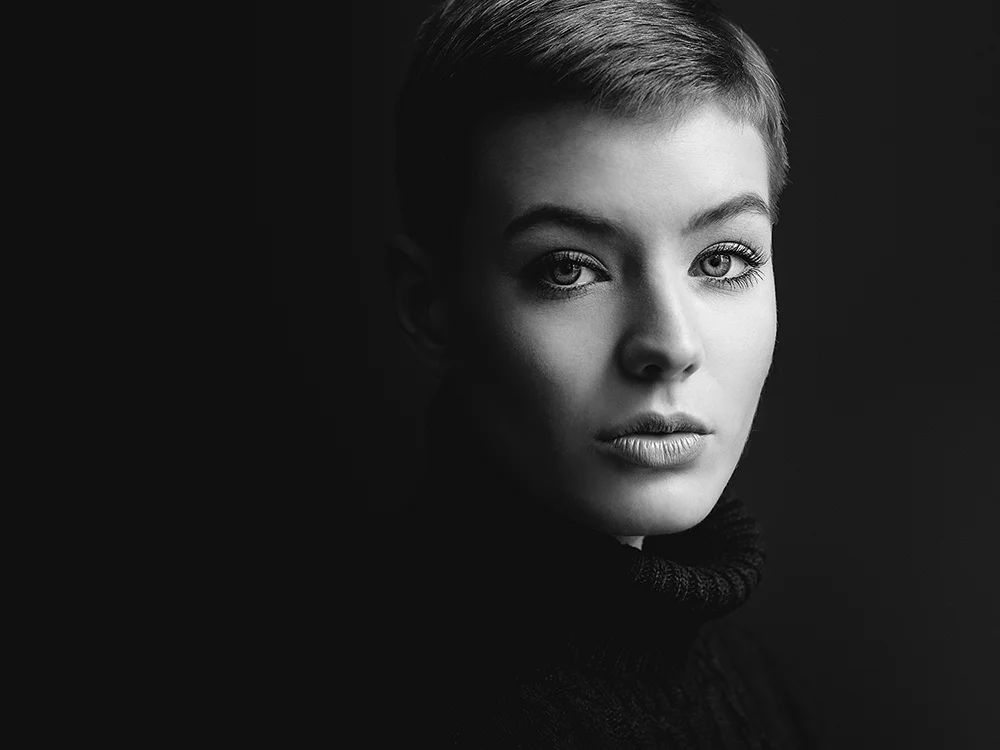
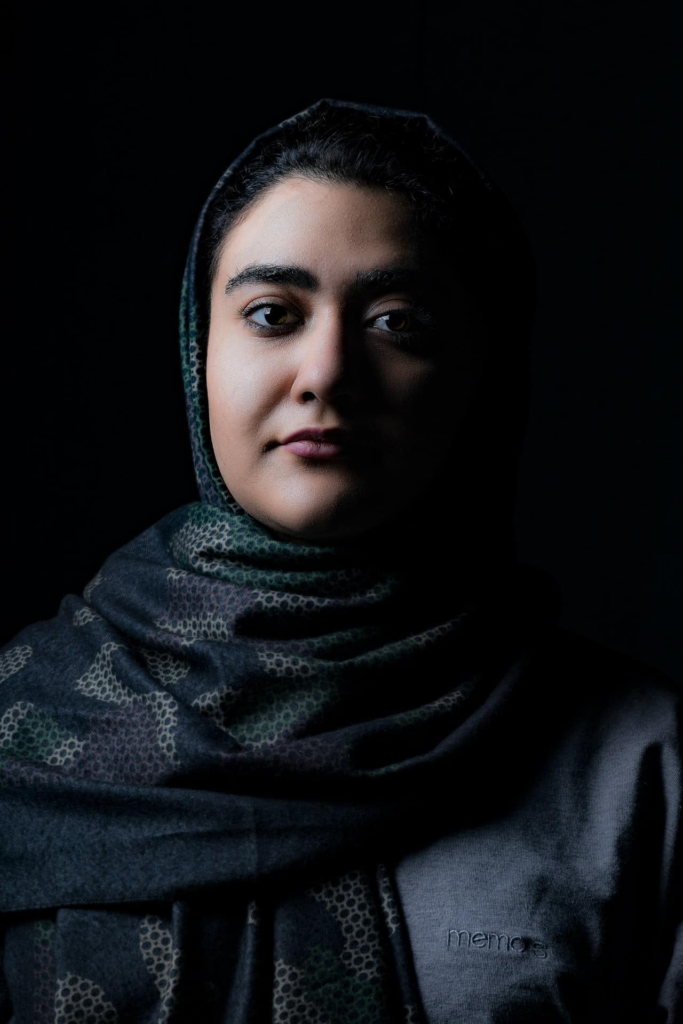
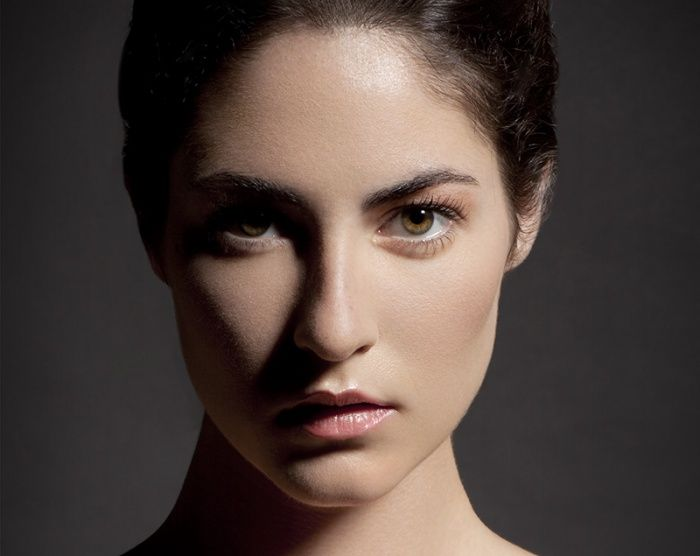
THE ARTIST HIMSELF
Why was Rembrandt important?
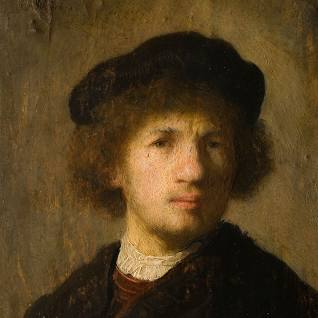
Rembrandt Harmenszoon van Rijnprolific was seen as a painter, draftsman, and etcher, Rembrandt van Rijn is usually regarded as the greatest artist of Holland’s “Golden Age.” This technique was made during the Renaissance period, but Rembrandt then pushed t even further and used dramatic lighting to lure out the ‘psychological depth’ of his models.
How to Do It
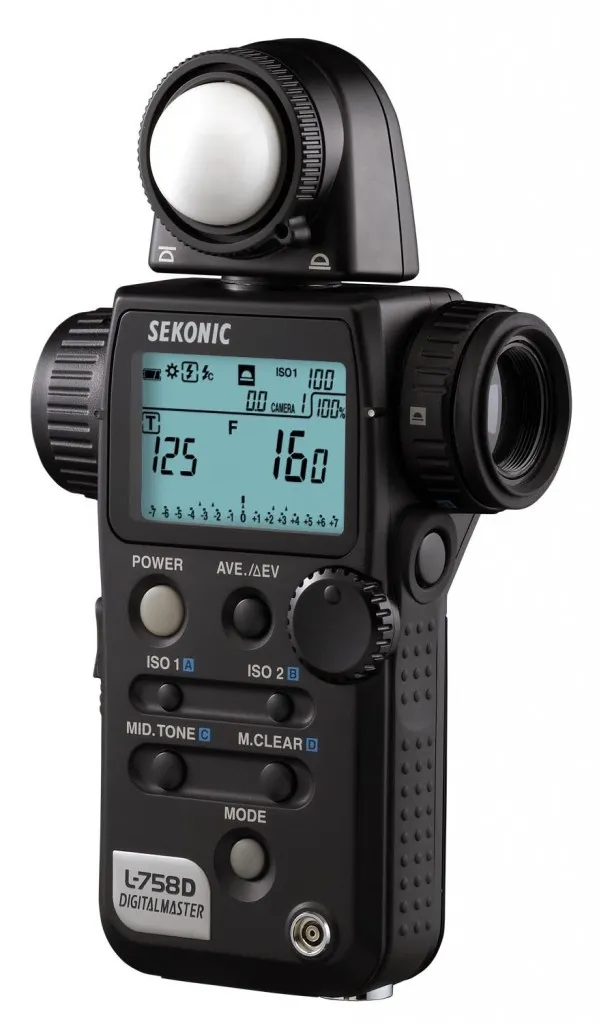
1. Use a Spot Meter for Precise Control of Focus Point
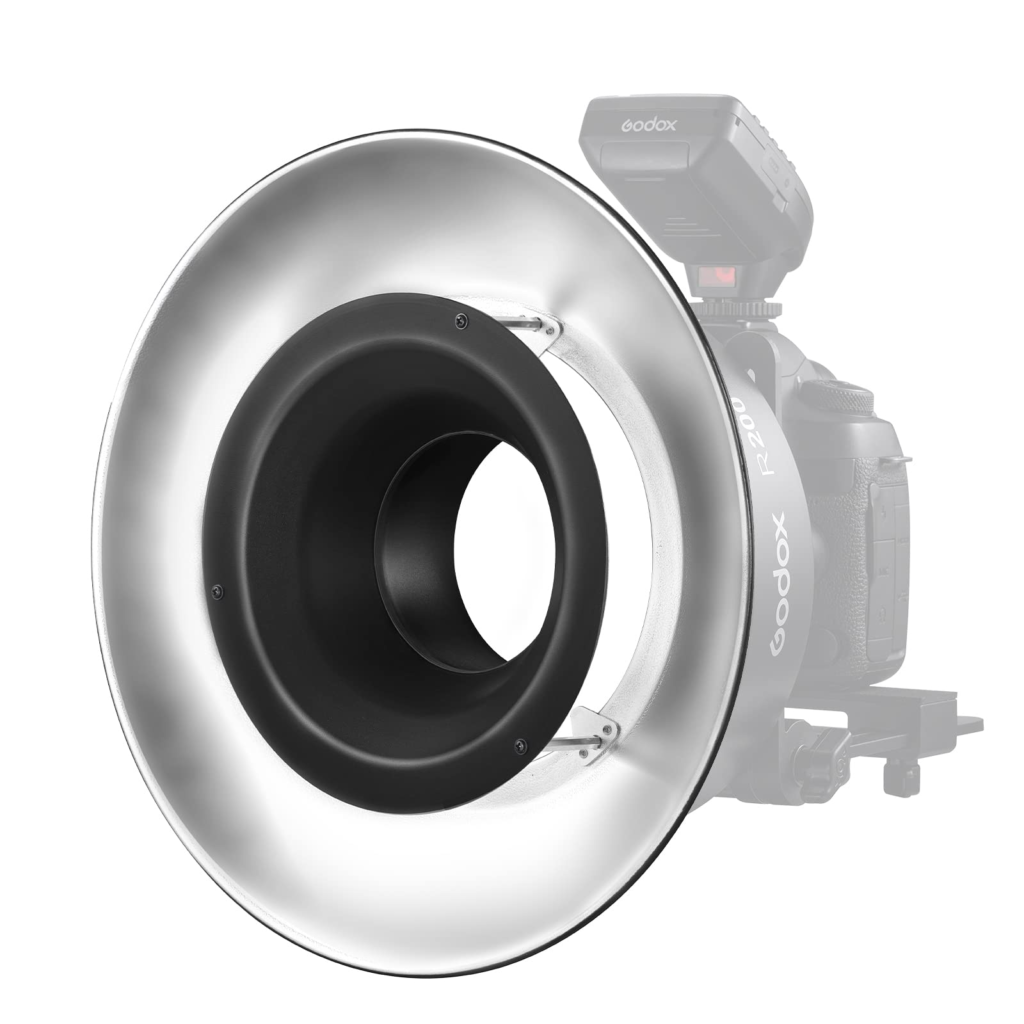
2. Experiment With Multiple Light Sources
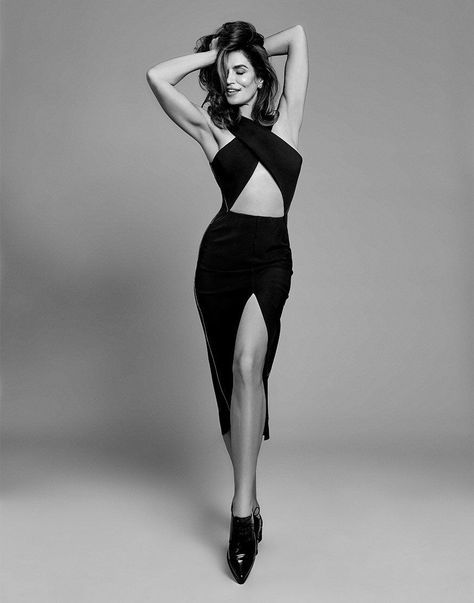
3. Practice With Models or Yourself
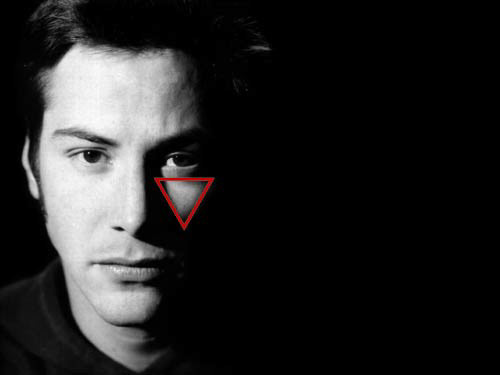
4. Practice Placing the Inverted Triangle of Light
5. Shoot It Raw To Make the Most Of Lighting Contrast
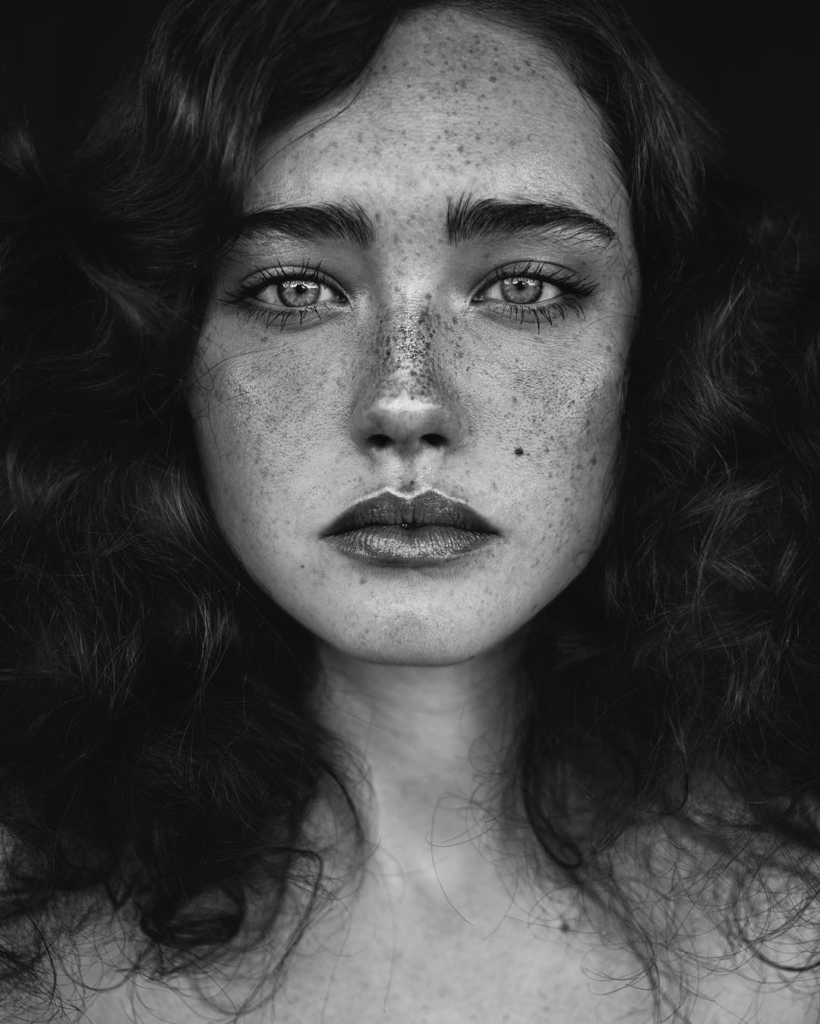
6. Occasions and Models Suited to This Lighting Type
Studio Photography Using Rembrandt Lighting
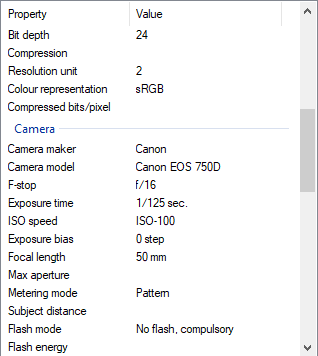
Camera settings I used:
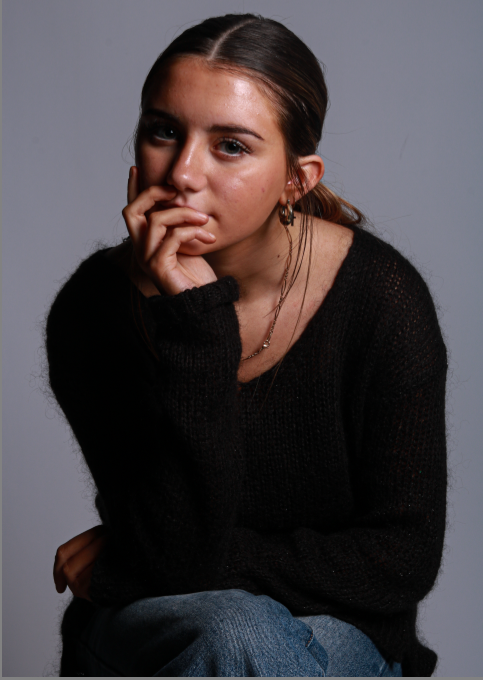
This photo was my favourite photo from my collection of Rembrandt photos I took of this model.
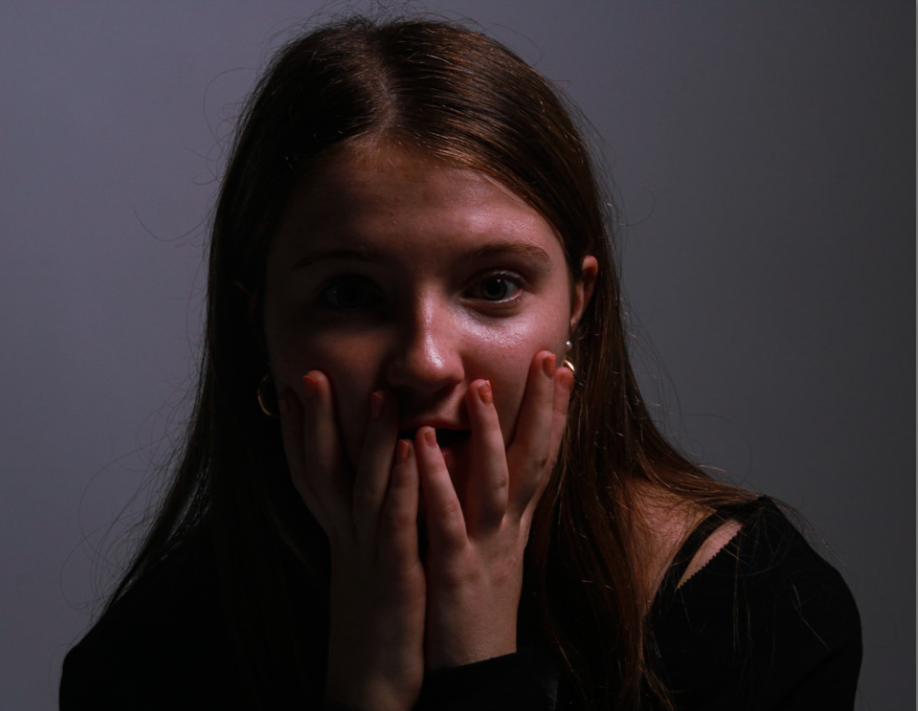
- I first of all cropped this image to dispose of any extra space in the background. Cropping this image helps the photo to increase in detail as the person looking at it is able to focus more on the important parts and the focal points such as the eyes or the mouth etc.
- The pose I asked my model to do is to look shocked into the camera, she did this by widening her eyes, opening her mouth and covering her face and mouth with her hands. This emotion in the photo portrays shock, surprise or fear.
- I then edited this photo further than I usually do with my images. I first edited the highlights, texture, clarity etc.
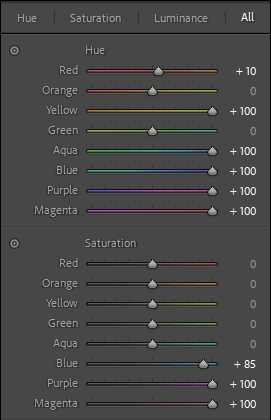
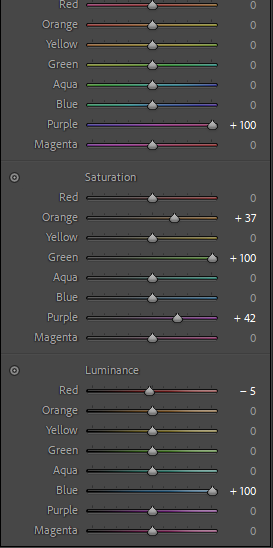
- I then went into further editing on Photoshop and edited the colour, saturation and luminance. I increased the colour purple fully up and then the saturation colours orange, green and purple. I then increased the luminance of red slightly and then blue completely.
- This further editing with colour added extra dimension to this photo, the background colour has slightly changed and the photo is slightly more vibrant but still maintains its shadows and darker parts of the face and hands.
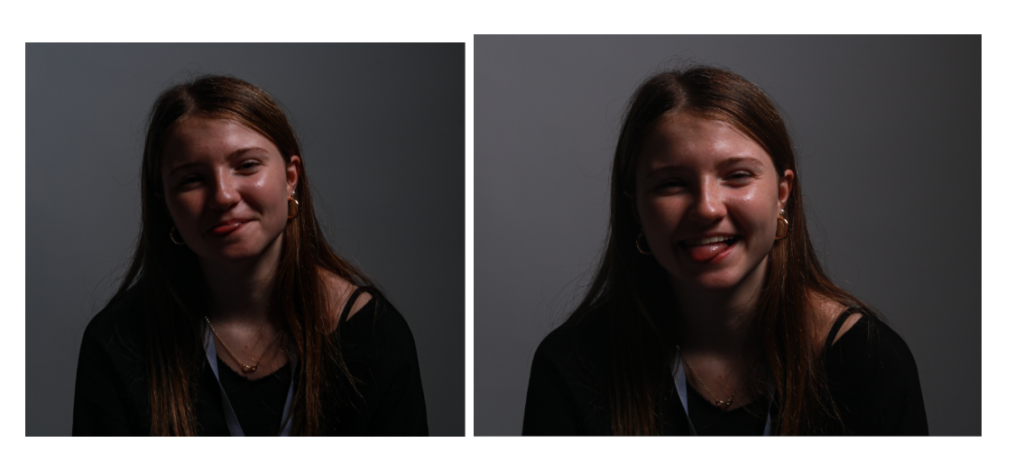
For these headshots I took photos of a new model. I focused mostly on different facial expressions than different positions. I asked my model to be herself and act natural to be able to take more personal photographs. I edited these in adobe photoshop. I can really see the Rembrandt triangle shown here on my models left cheek.
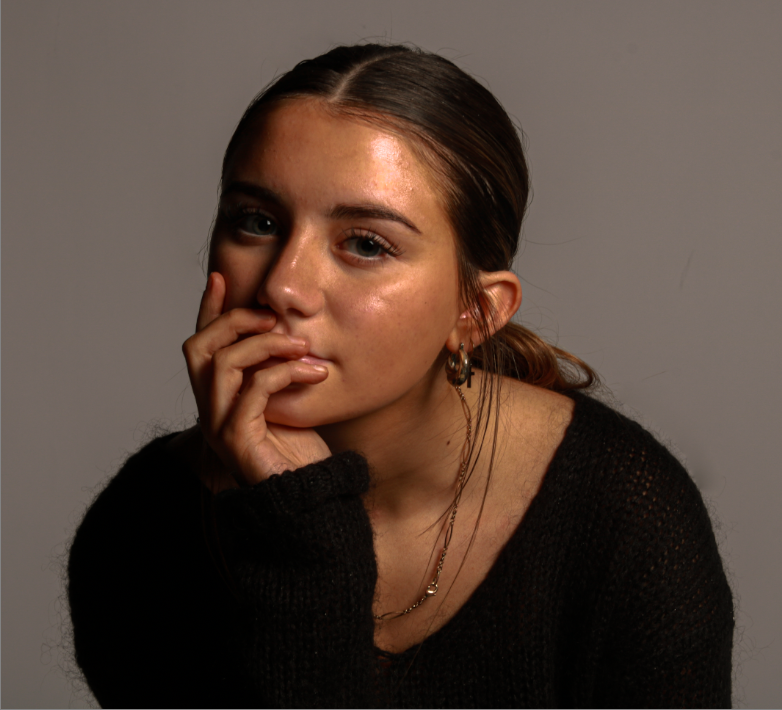
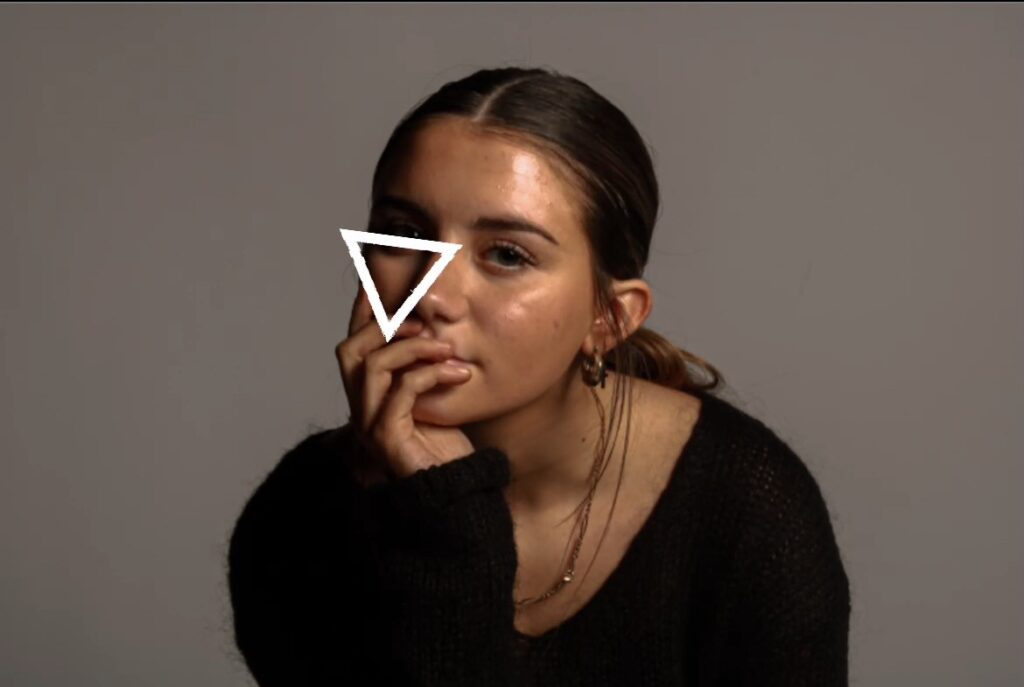
This photo is my favourite photo I’ve taken in my first photoshoot. This 1/4 body shot perfectly represents Rembrandt lighting, this is because there is a triangular shape on my models left cheek. I made this triangle on a 45 degree offset from the subject, about 5 feet away. The triangular shape truly demonstrates the Rembrandt effect and how it shows an image to look professional and high detail. I have highlighted the triangle created to clearly show the technique I have used.
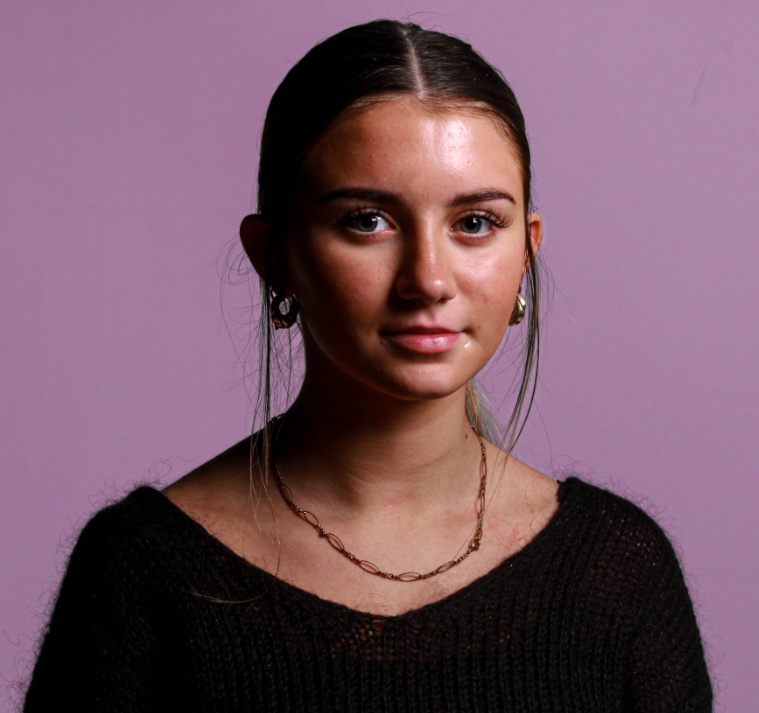
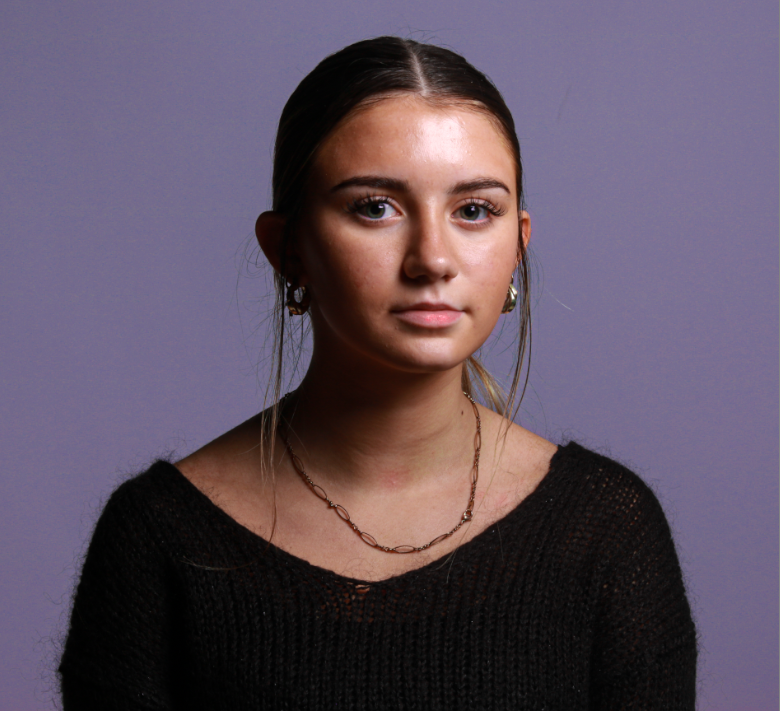
these are my two images after cropping them to capture only the model and less of the background. This is to help improve my image’s quality as there is less of a backdrop.
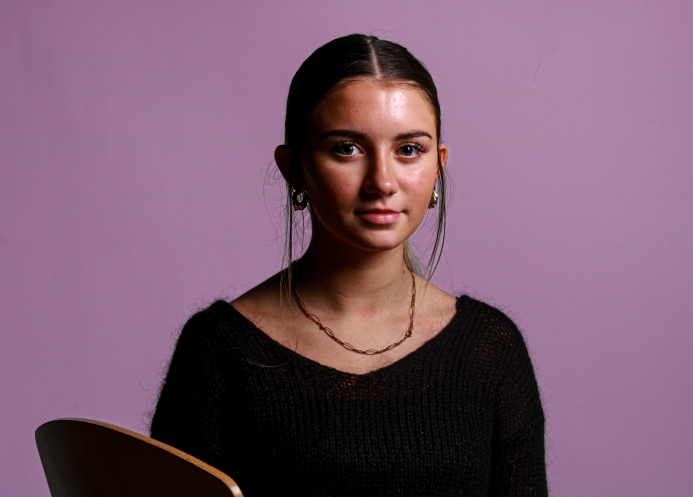
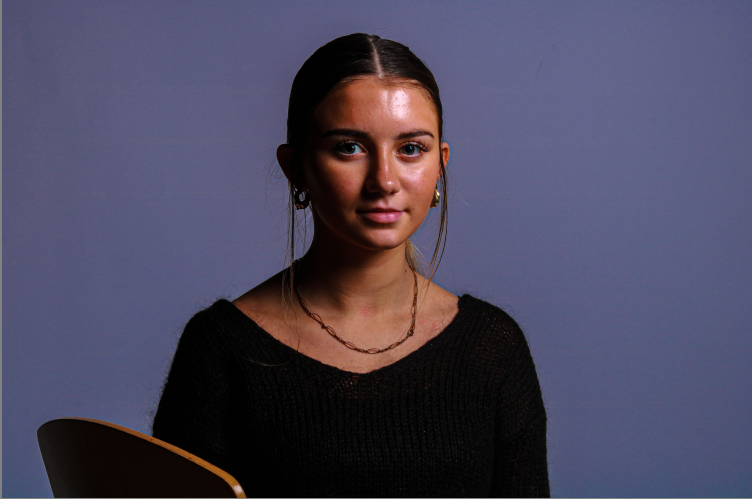
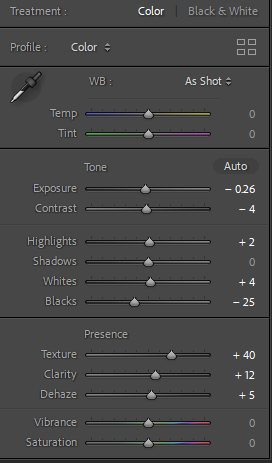
I edited these two photos to create a coloured background. The first I created a more pink background and maintained the colour of her face and body. I did this by increasing the luminance This helped to experiment with different backgrounds and how these can improve my photos. These are the editing tools I used to edit the photos above.
Further Editing Settings
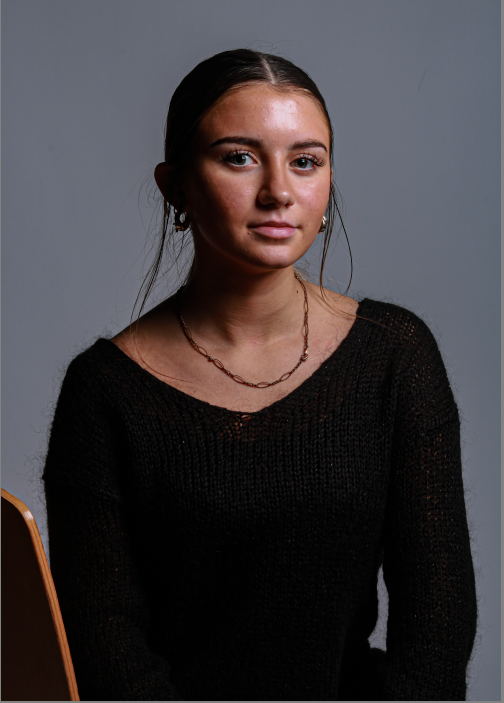
I then took these half body shots. In the first photo I told my model to look straight at the camera and pose naturally. This creates a perfect position to capture a portrait of my model and experiment with different lighting techniques. I like how she is looking directly at the camera, due to my lighting techniques and correct camera settings, these photos did not need a large amount of editing.
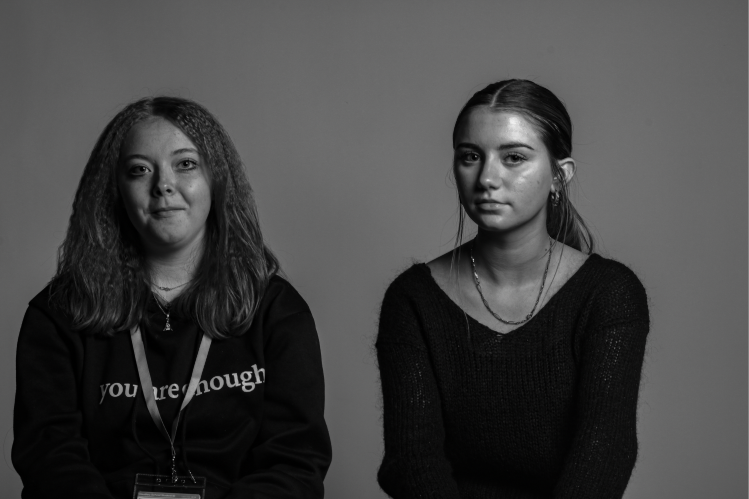

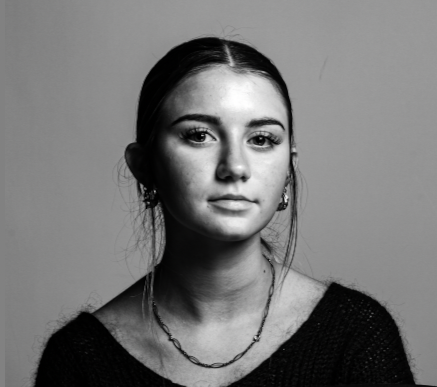
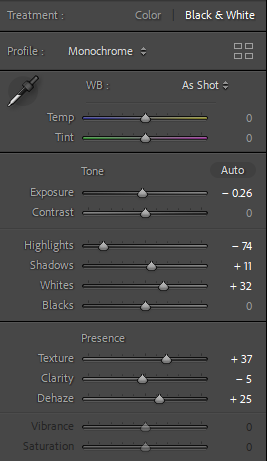
I then used another model to help with my portrait experimentation. I was able to capture Rembrandt lighting on my model on the right. However, my model on the left is missing the clear triangle on her cheek. To improve these half body shots, I would attempt to capture clear Rembrandt lighting techniques on both of my models to elevate these images even further. These photos are black and white, this helps with creating more mystery and dimension into my images, I think this black and white effect In Lightroom has really made these photos more effective and look much better. These are the editing tools I used to create this black and white effect:
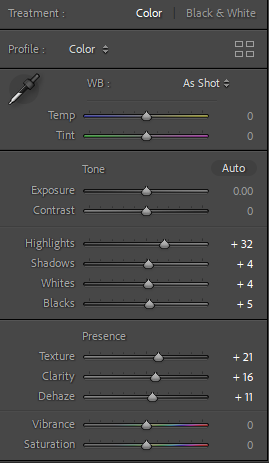
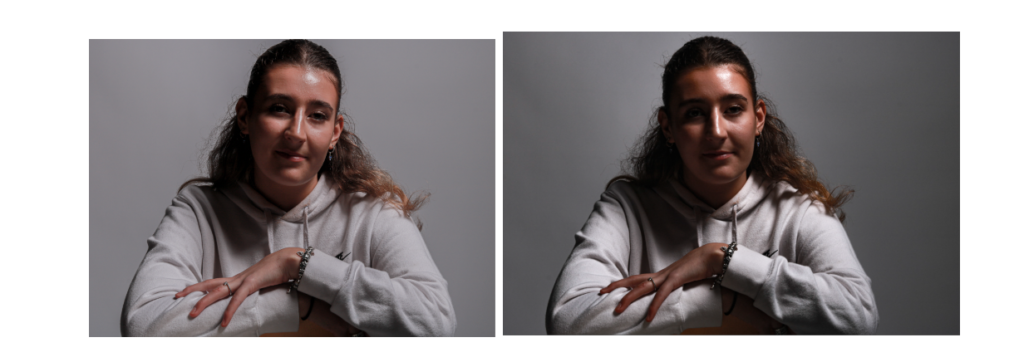
I then took photos of a new model, these photos were taken originally very dark, this was due to a incorrect exposure. Exposure is the amount of light that gets into your camera and produces the picture on the image sensor. To improve these photos, next time I need to widen the aperture, extend the shutter speed, and boost the ISO. However, I needed to edit these on photoshop instead, I increased the exposure, highlights and whites to help the quality of the photo increase and make it brighter. This was a challenge for me as I found it difficult to maintain the high quality of her features and textures etc, whilst brightening up the photo.
