Butterfly lighting is a portrait lighting pattern where the key light is placed above and directly centred with a subject’s face. This creates a shadow under the nose that resembles a butterfly. Butterfly lighting is often used in portrait photography, especially in headshots. Butterfly lighting is commonly used to photograph famous stars from classic Hollywood.
Its main features are cheapness, versatility for almost all types of faces, and the fact that it is easy to set. The butterfly lighting creates a soft and flattering effect on the subject’s face. Another feature of butterfly lighting is it creates a slimmer look on the subject’s face due to the shadows that are created on both sides of it.
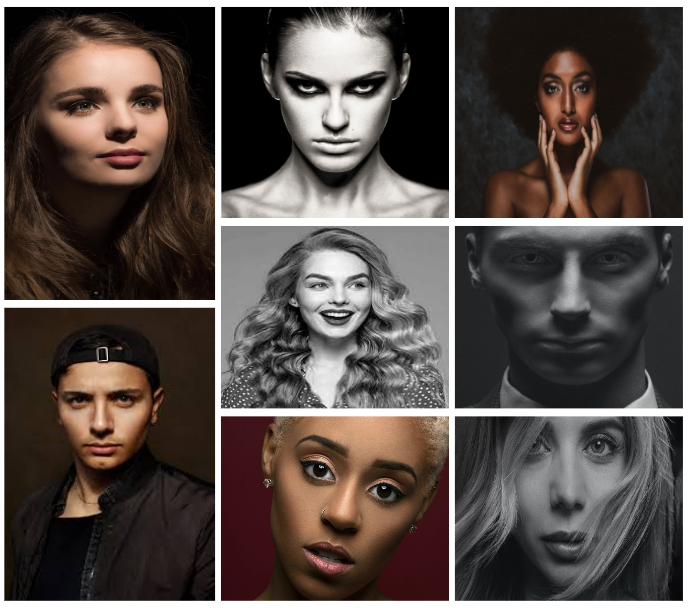
When making a Butterfly lighting setup, the light source should be placed directly above and slightly in front of the subject’s face, creating a small butterfly-shaped shadow under the nose. The technique is achieved by placing a light source at a 45-degree angle to the subject, slightly above eye level. The result is a soft and flattering effect that adds depth and dimension to the subject’s face. Butterfly lighting can also be achieved using natural lighting. In order to achieve butterfly lighting using natural light, you can position the subject facing a window or door where the light source is coming from directly above.
How to create a butterfly lighting portrait:
- Position the subject in between the background and the light.
- Lift the light source above the subject’s eye level.
- Put a reflector underneath the subject’s chin.
- Stand under the light and start shooting – Keep the subject looking straight ahead.
Butterfly Lighting Photoshoot:
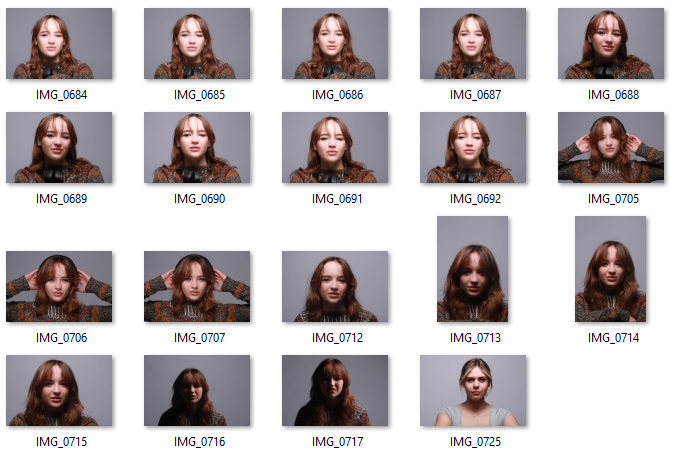
For this photoshoot, I took studio portraits using a butterfly lighting technique. In order to achieve this type of lighting, I first placed my light source directly in front of my subject. Next, I raised up the Lightsource so that it was above the person I was photographing’s head. Finally, I got another person to hold a reflector slightly below the subject’s chin in order to reflect the light from the Lightsource back onto the face at the chin. I had to adjust the angle at which I took my photographs in order to get the most defined butterfly shape below the nose. I also got my subject to experiment with her poses as I found the straight on, hands down pictures to become quite repetitive and boring. She then put her hands up to her head in order to create a more interesting photograph.
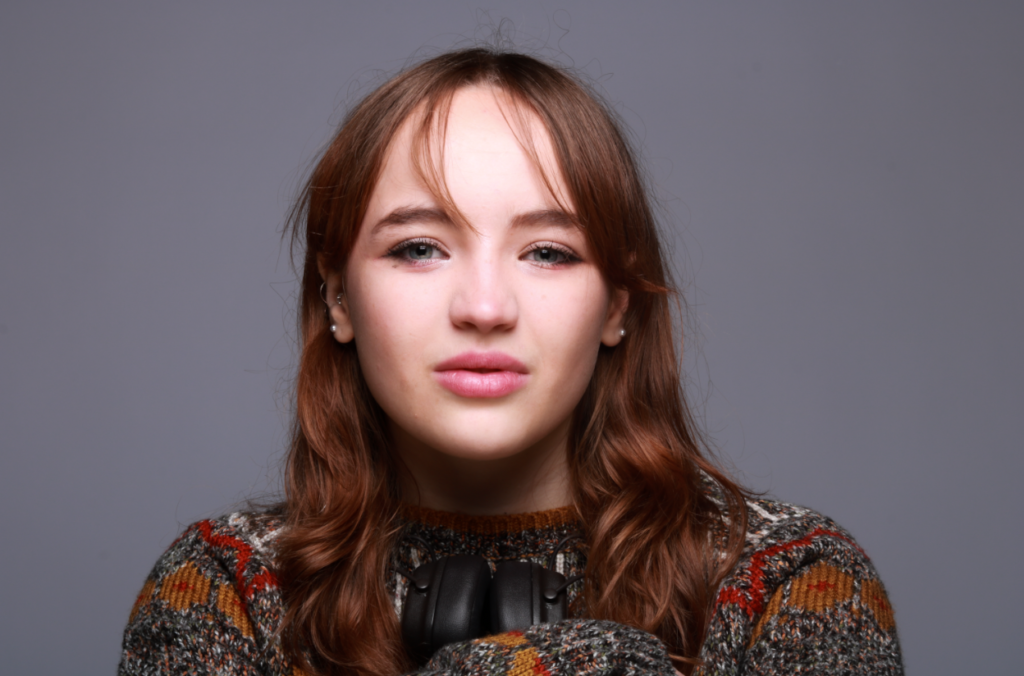
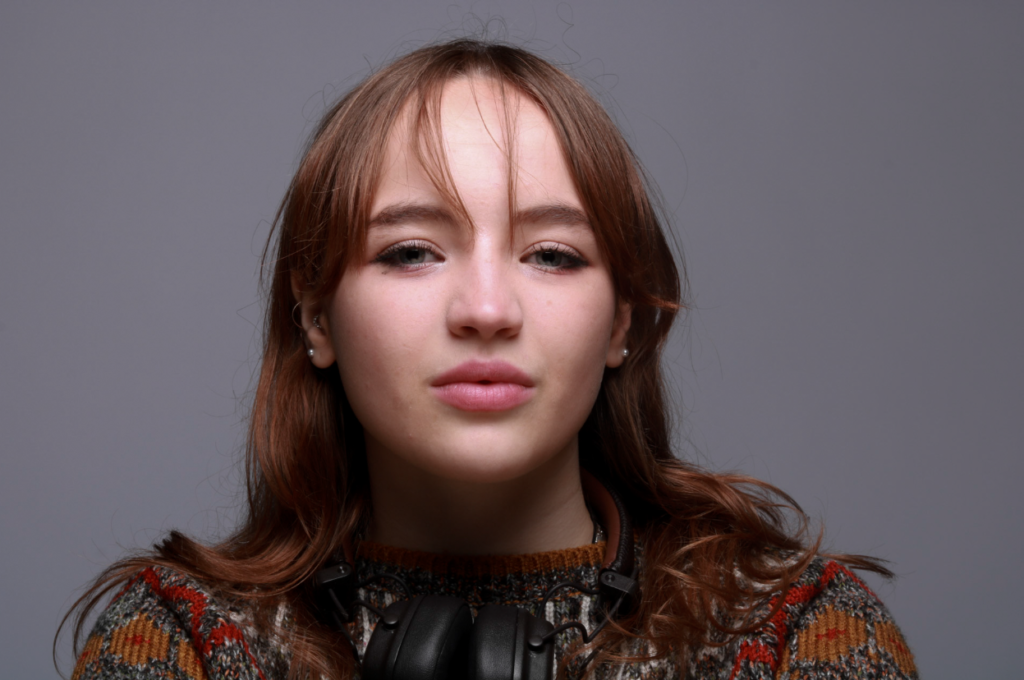
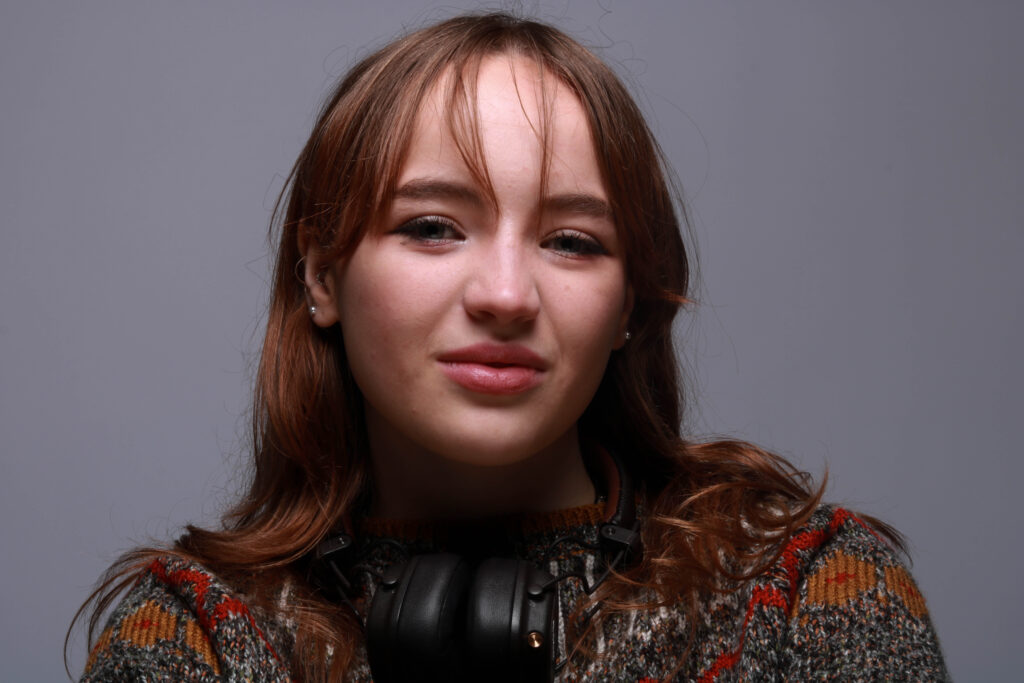
I used Lightroom in order to edit my images. I altered and experimented with the contrast, exposure, highlights, shadows, whites and blacks of the photographs until I was left with an image I was satisfied with. Finally, to complete my photoshoot on butterfly lighting, I decided to turn my images black and white as this is what the majority of the images I saw online had.
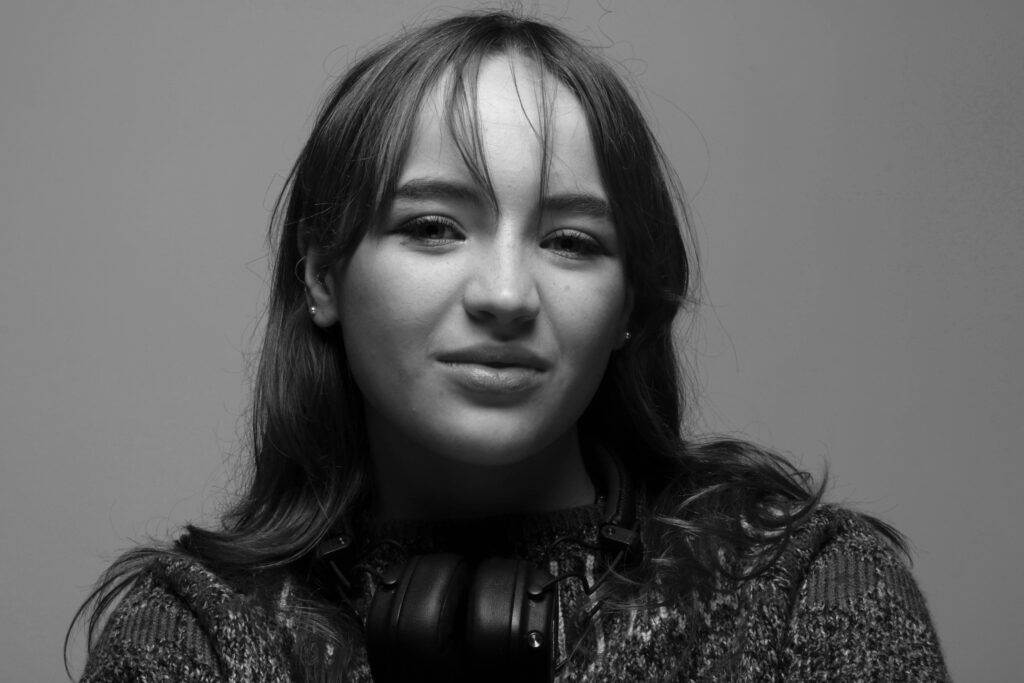
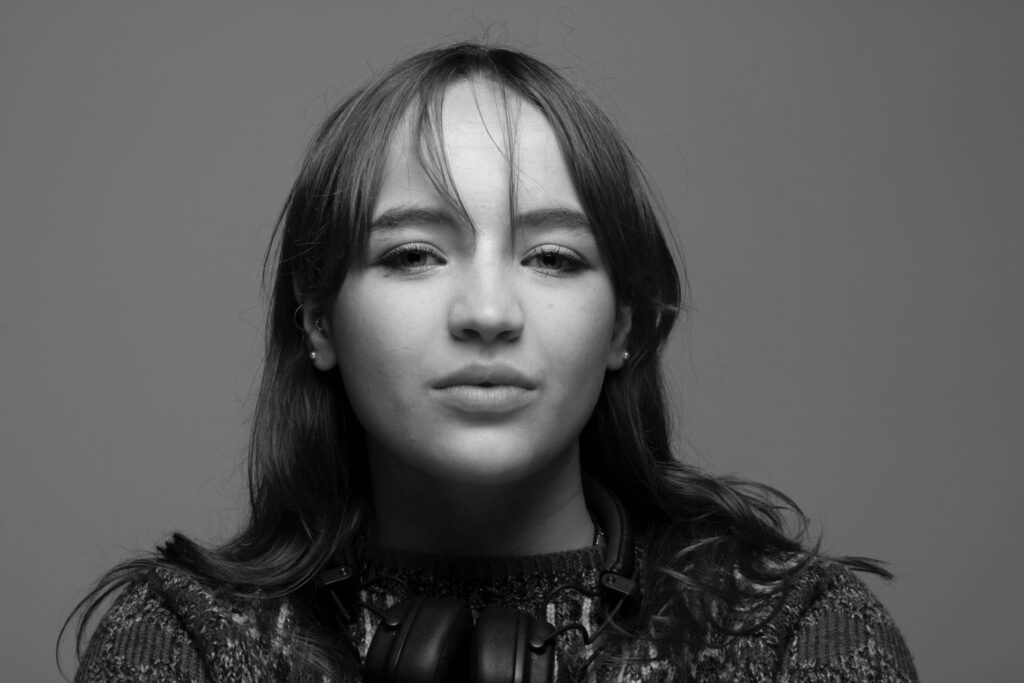
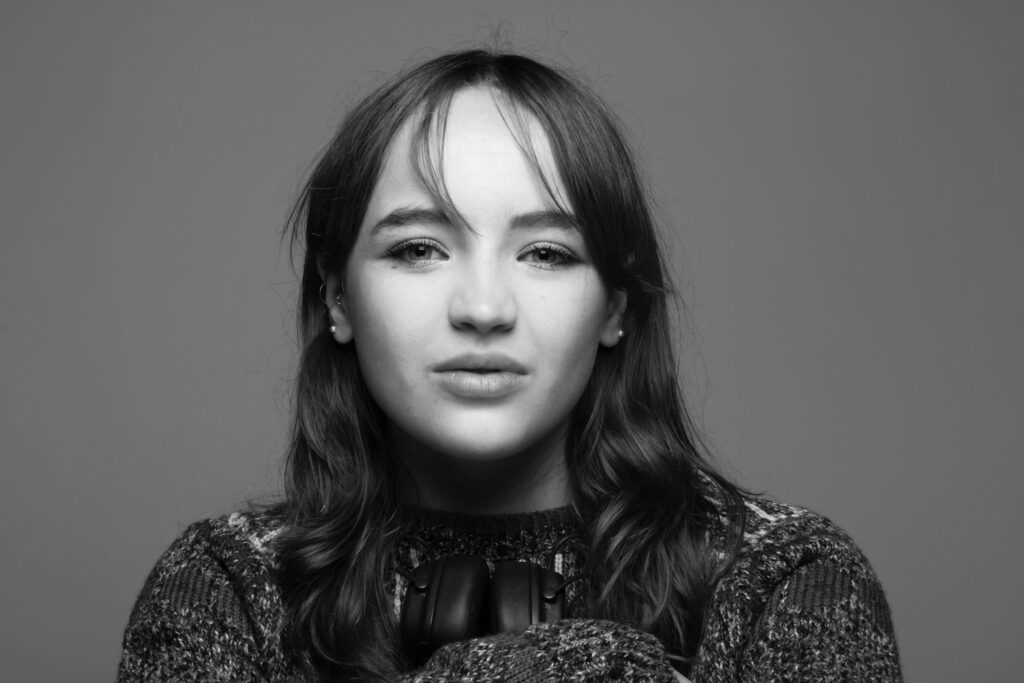
Overall, I like how this photoshoot came out as a first attempt at trying to create butterfly lighting. I feel it helped me to become more confident using a camera and its different settings. However, if I were to do this photoshoot again, I would try and make the butterfly shadow under the subject’s nose more pronounced as I feel in some of the images it wasn’t as clear as I wanted it to be. Next time, I may try and put the Lightsource up higher in order to cast a bigger, more defined shadow under the nose.
