Why do we use studio lighting?
It improves the quality of your photos and can offer some creative assistance that can set your final product apart from others. They are a common sight in studios, and the variety of lights tell every one of them has a specific use for different kinds of photography. Using professional lighting equipment can give your photos a professional look that sets them apart from the rest. Also, It sets the mood, provides direction, shows dimension and texture, and creates the darkest shadows.
What is the fill lighting?
A fill light is responsible for exposing the details of a subject that fall in the shadows of the key light. It is the secondary light in the traditional 3 point lighting setup. The fill light is typically positioned opposite of the key light to literally fill in the shadows that the key light creates.
Butterfly Lighting
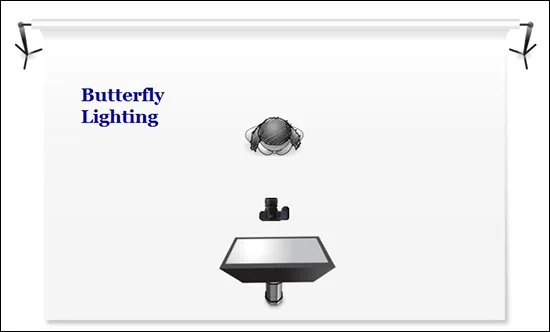
Butterfly lighting is a technique where the light source is placed directly above and slightly in front of the subject’s face, creating a small butterfly-shaped shadow under the nose. It can make the subject look thinner and their eyes appear larger. A butterfly lighting effect refers to the setup and not to the quality of light; it can be soft or hard light depending on the effect you want. This is one point lighting as only one light is used.
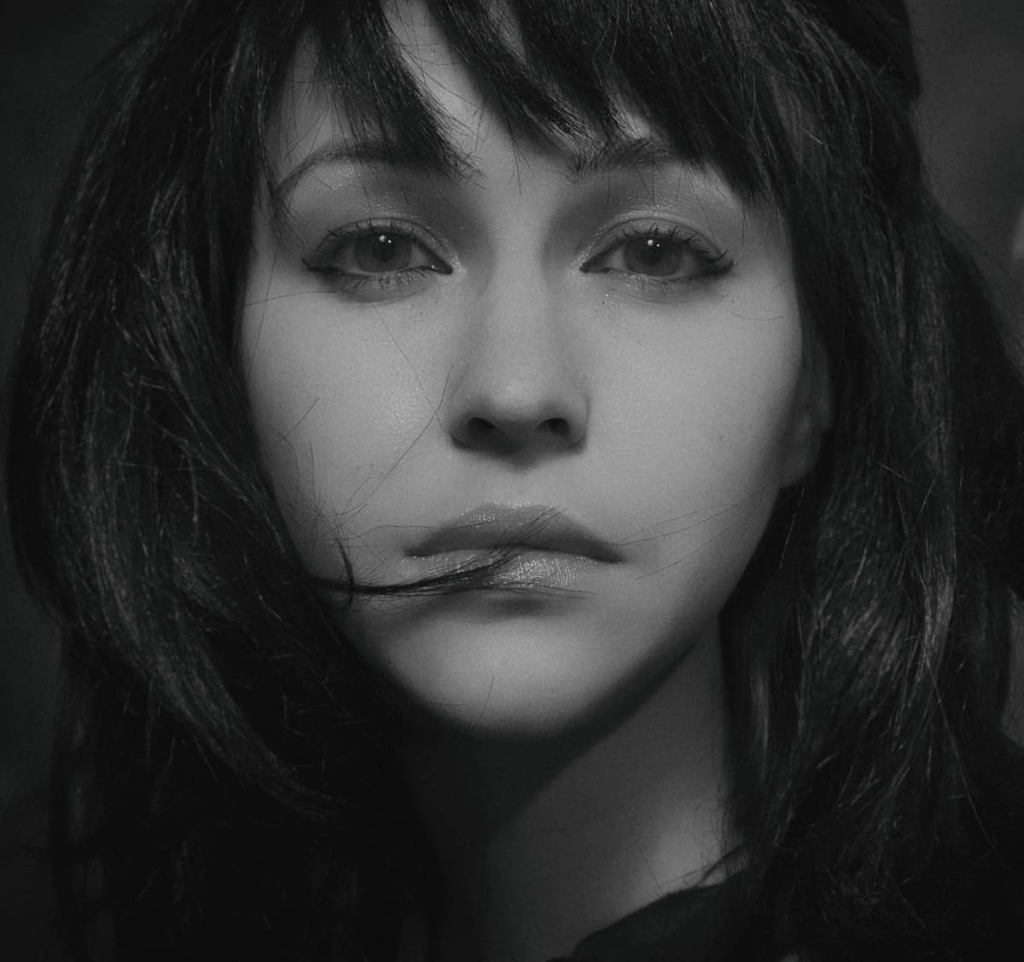
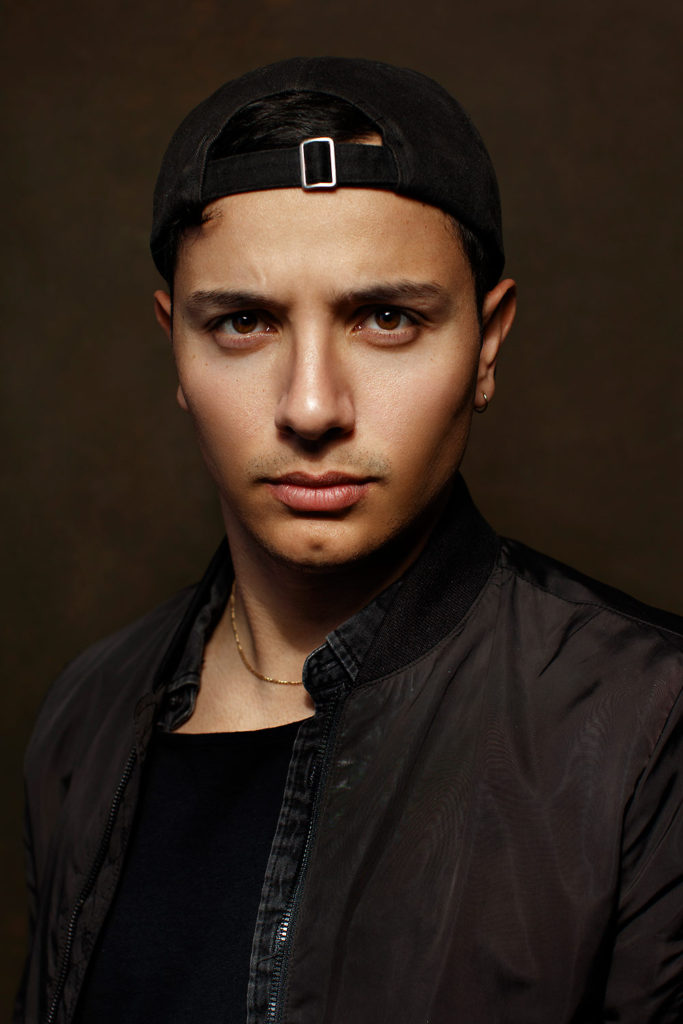
These are prime examples of butterfly lighting images.
This is the set up:
My take at butterfly lighting:
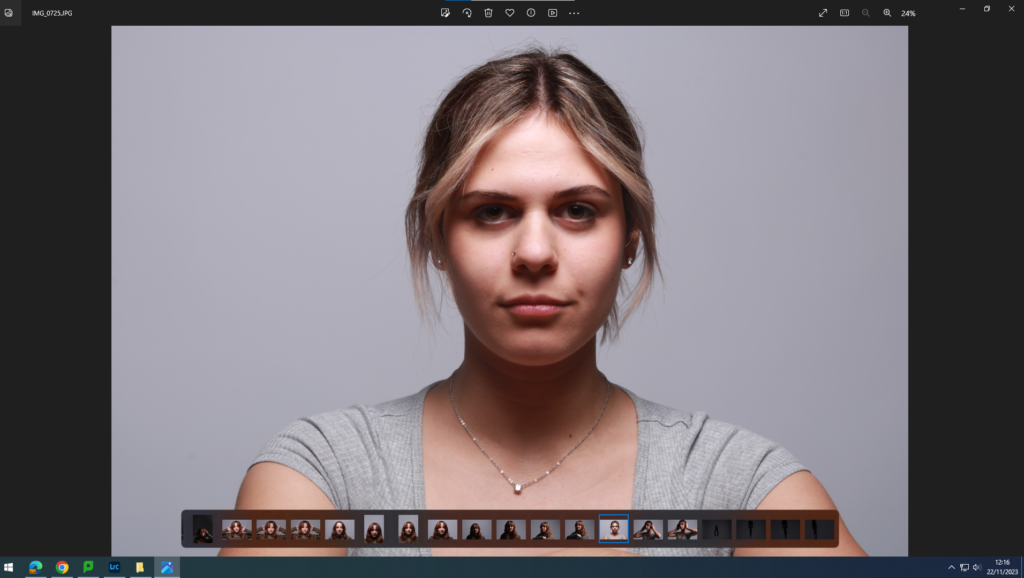
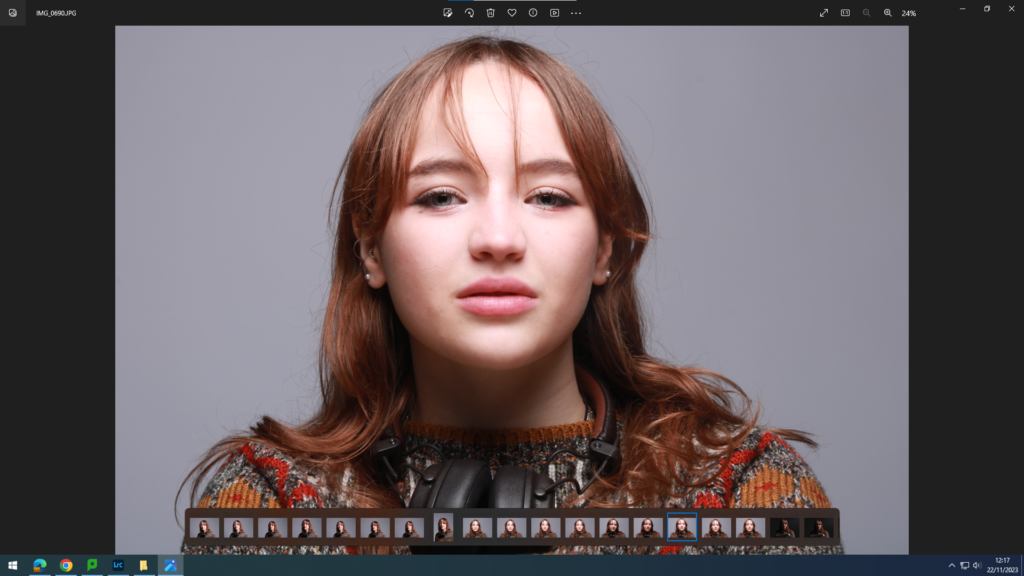
For these images, I think I did well getting the lighting in the right places making a butterfly effect under the nose and defining the cheek bones.
Rembrandt lighting
Rembrandt was known for his history paintings and portraits commissioned by patrons, but he also pushed forward the genre of self-portraiture. The Dutch Master didn’t let thoughts of anatomy override him, nor did he micromanage his strokes. Rembrandt made a stroke abstractly — as if he were not painting forms at all. As a result, the viewer sees the paint articulating as much information as possible. Because of this, Rembrandt’s work is very subtle.
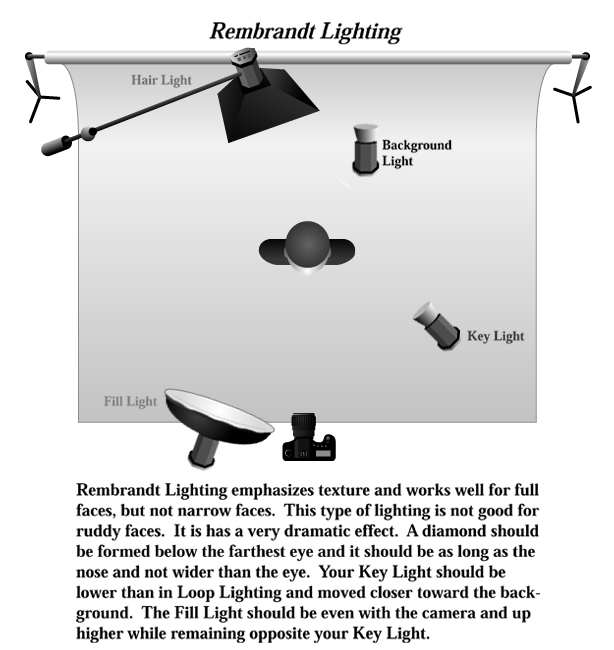
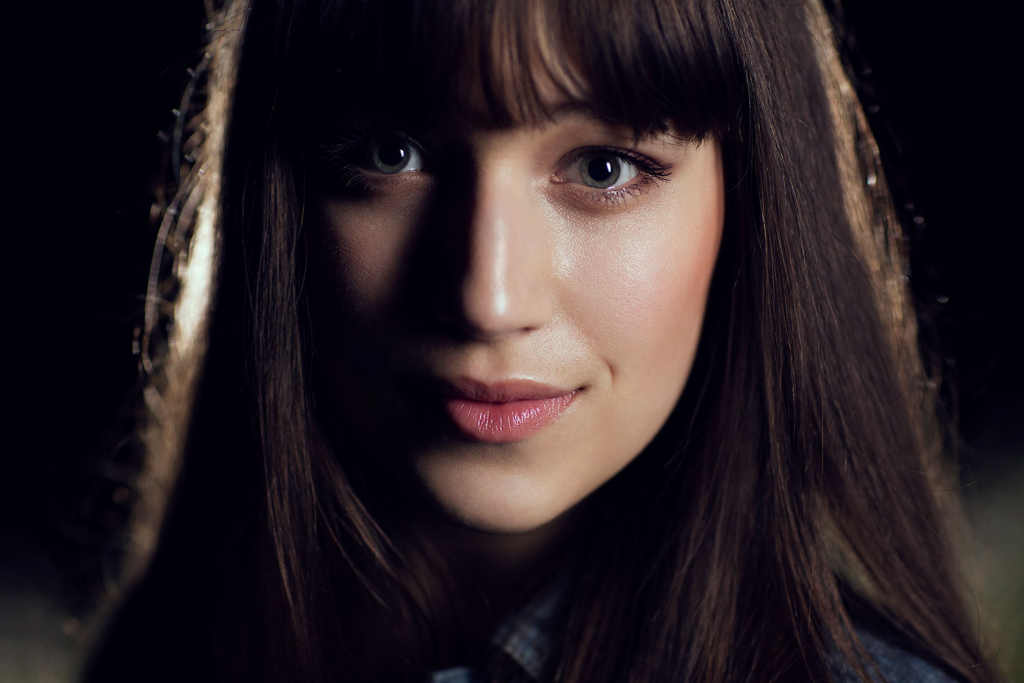
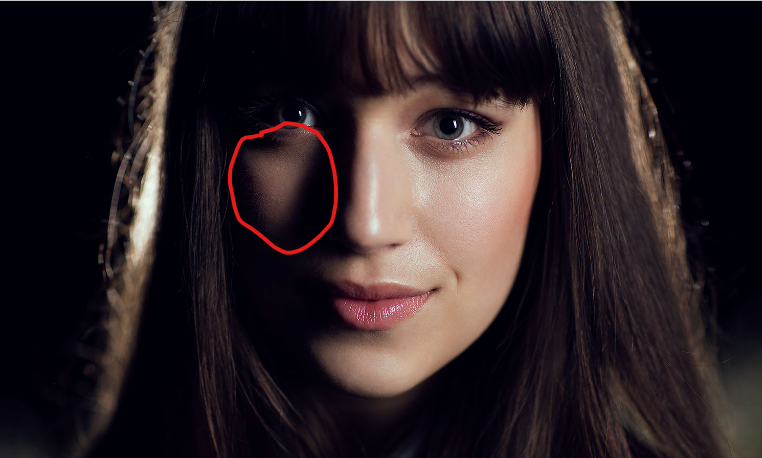
Rembrandt lighting is a technique utilizing one light and one reflector or two separate lights. It’s a popular technique because it creates images that look both dramatic yet natural. Rembrandt made the pictures more tense and dramatic with sharp contrasts between light and dark. In portraiture, the eyes of your subject are mostly always the main point of focus in the image. The triangle of light, placed just below the eye on the shadow side of the face, will increase the emphasis and the viewer really will be ‘drawn in’ to your image.
This is the set up:
This is a professional picture using Rembrandt lighting.
As you can see, just below the eye, is a triangle shape. That is key in this style of lighting.
My take at Rembrandt lighting:
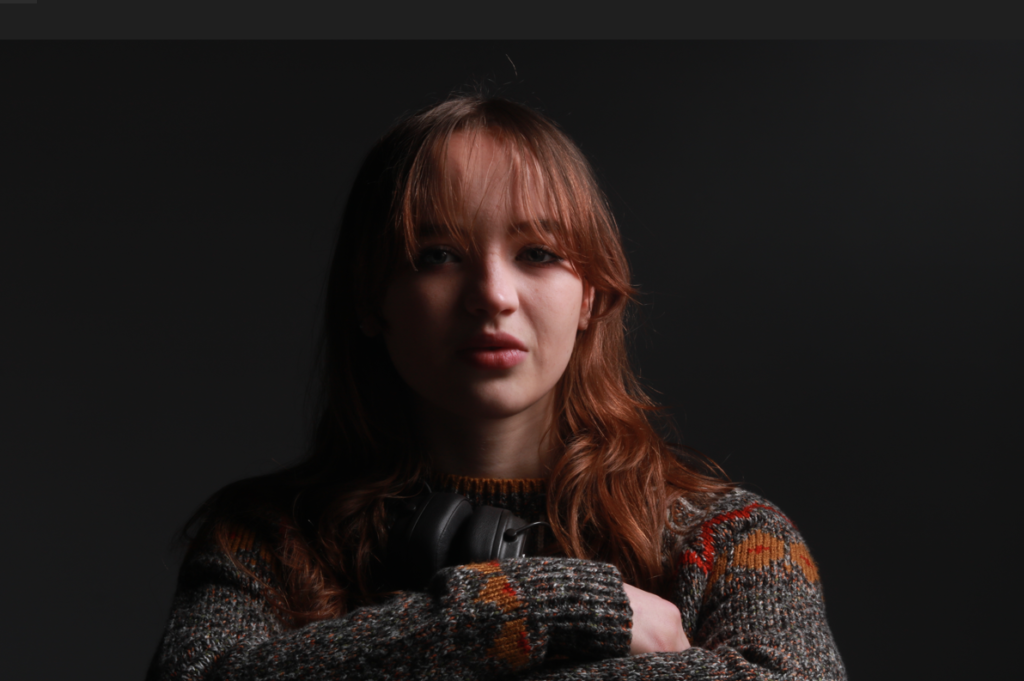
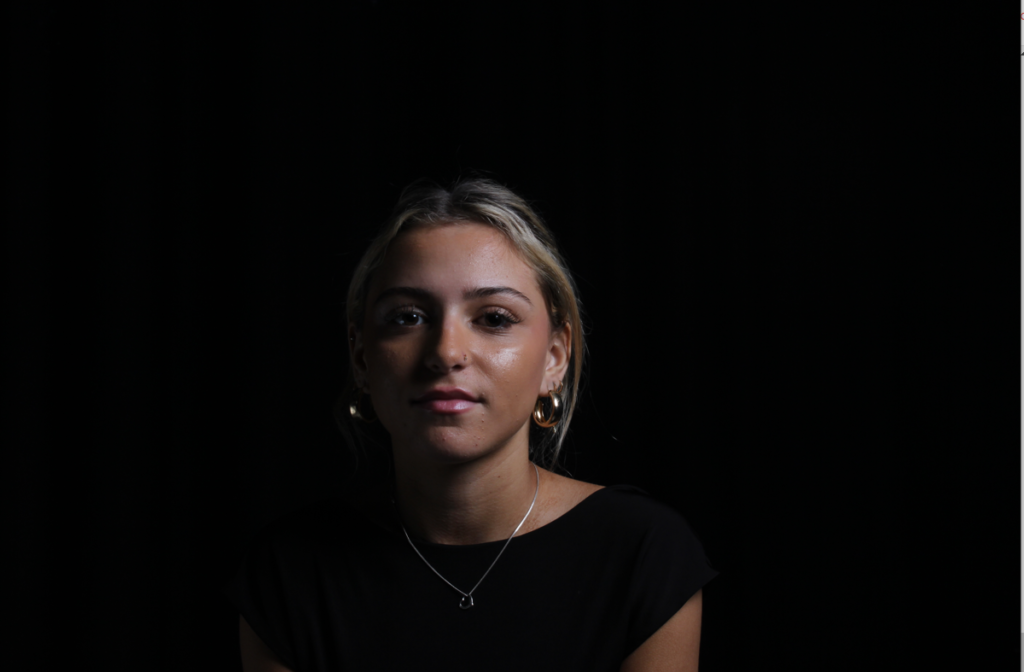
For this lighting technique, I found it a bit more difficult to get the lighting in the right place. It took several attempts, however i got there in the end.
Chiaroscuro lighting
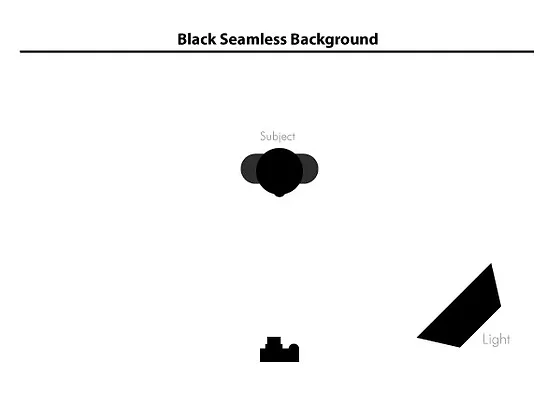
Chiaroscuro is a lighting technique that utilises a low lighting setup to achieve contrast between the subject and a dark background. It emphasises and illuminate important figures in a painting or drawing. Chiaroscuro using one key light and a variation using a reflector that reflects light from the key light back onto the sitter. The term chiaroscuro stems from the Italian words chiaro “clear” or “bright” and oscuro “obscure” or “dark”, and refers to the arrangement of light and shade in a work of art.
This is the set up:
These are professional pictures using the Chiaroscuro lighting technique:
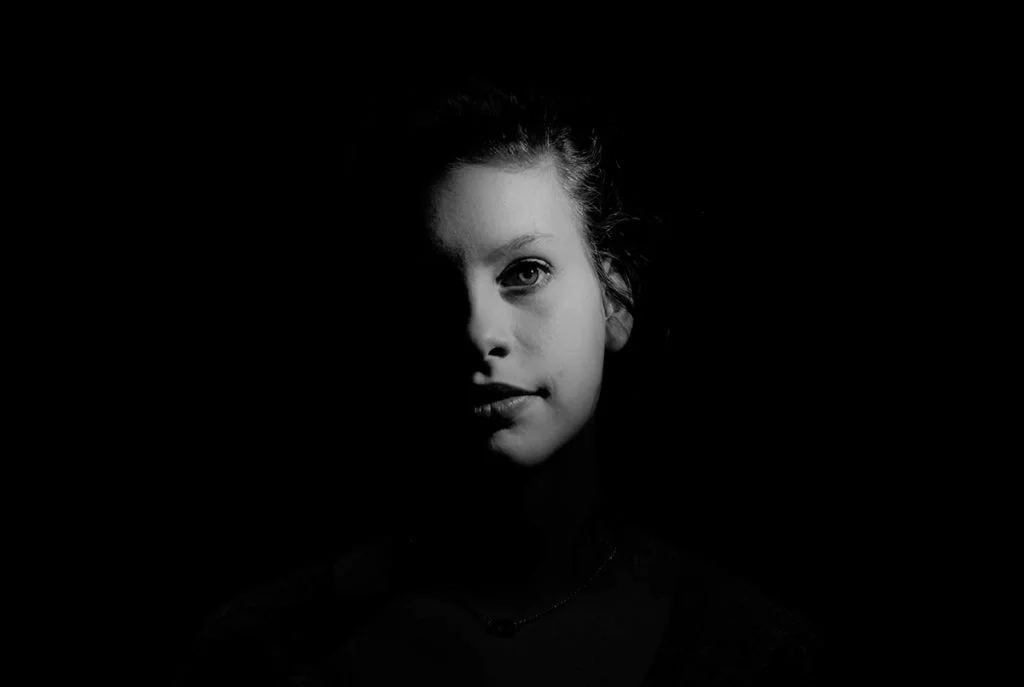
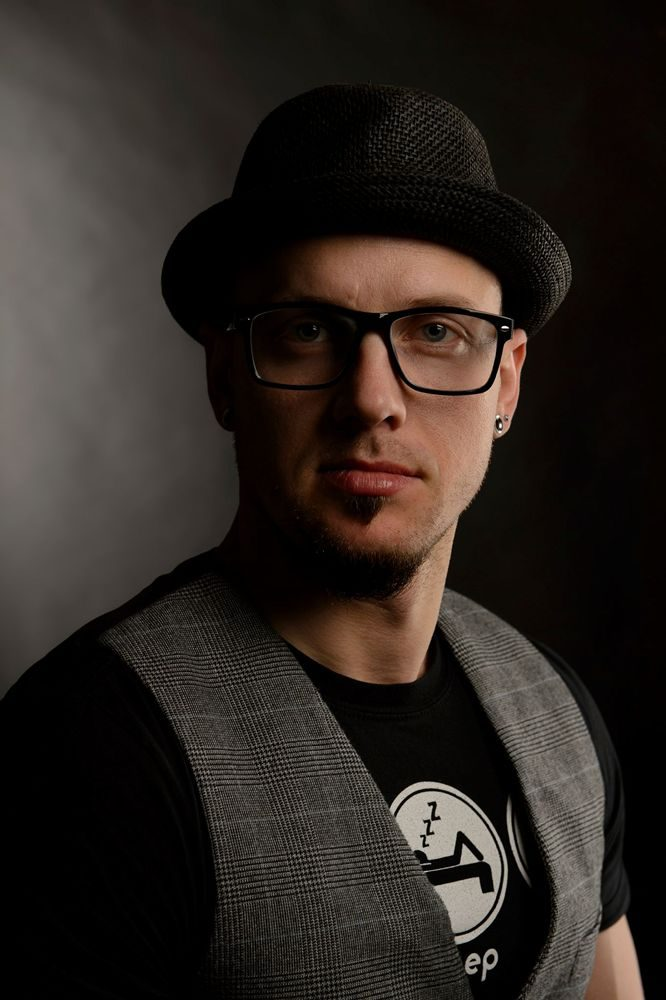
One side of the models face, will always remain darker with more shadows.
My take at Chiaroscuro lighting:
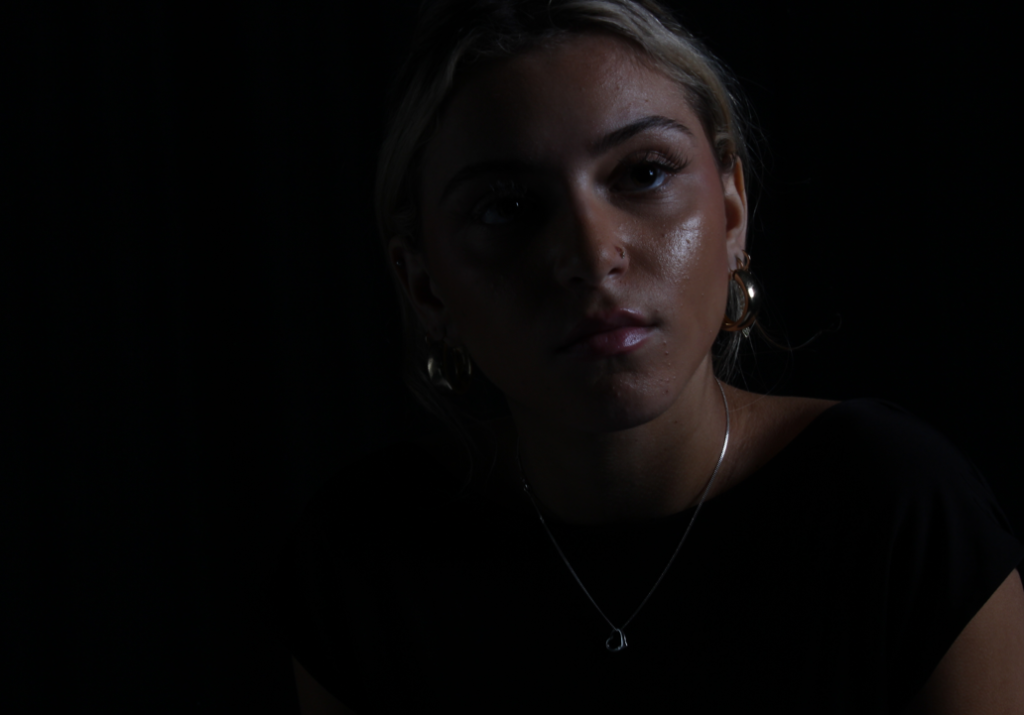
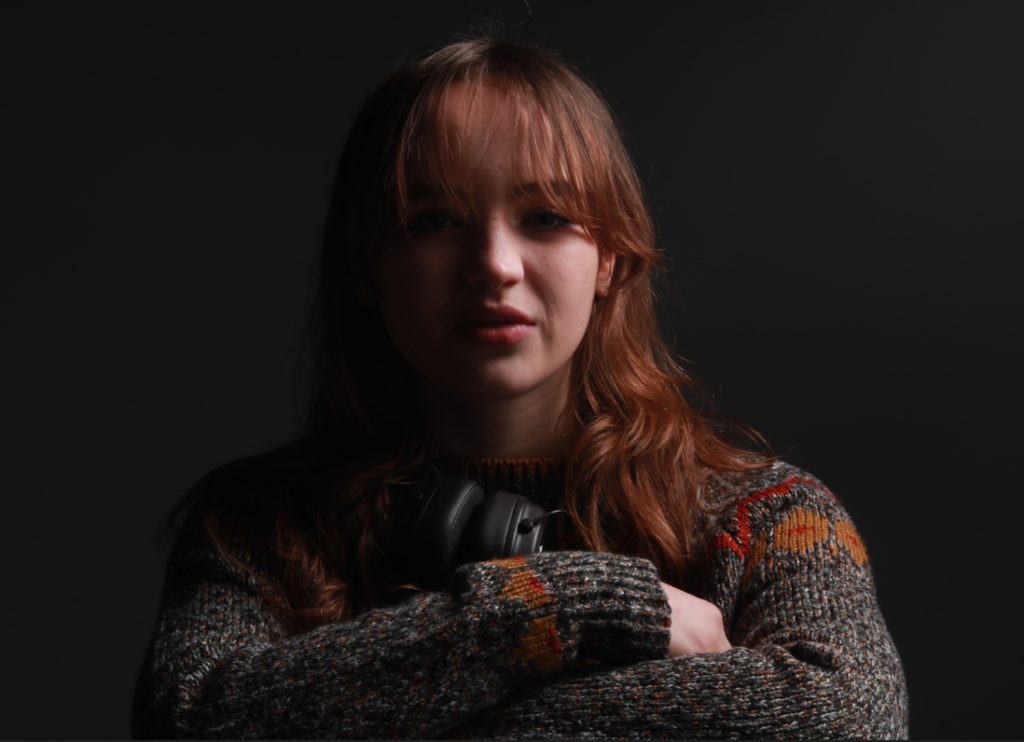
I liked this lighting technique the most as in my opinion it was the easiest. I like how one side of the face is light, and the other half is dark.
Three Point lighting
Three-point lighting is the standard form of professional lighting in video production and still photography. It involves using three light sources placed in three different positions. I used a light positioned in front of the subject, a light slightly behind the subject, and a reflector positioned just in front but placed to the side of the subject.

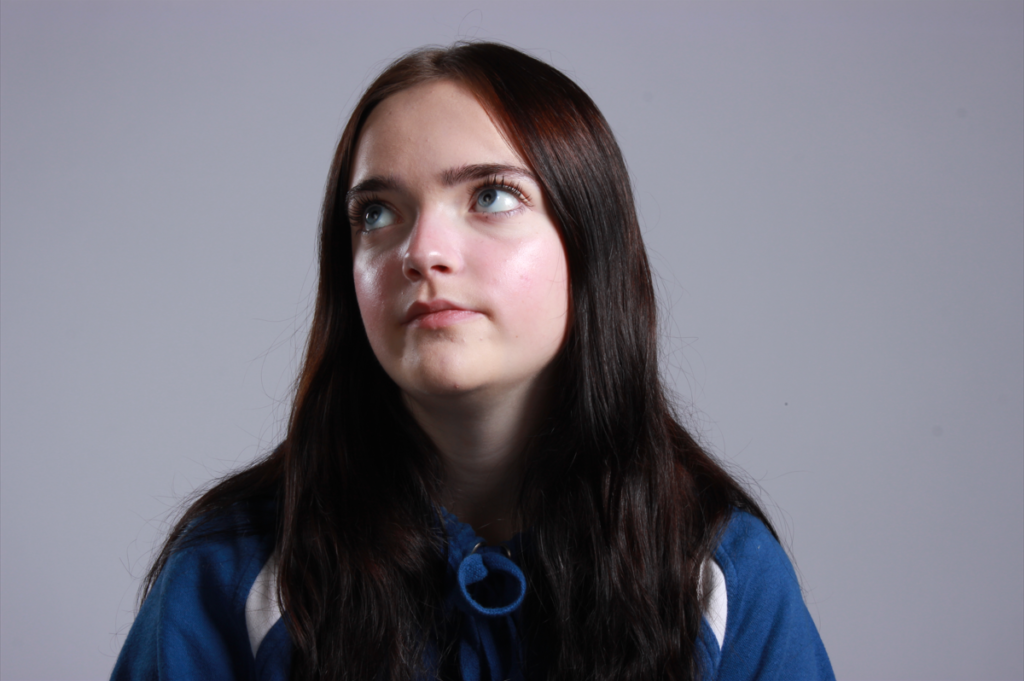
1 point lighting only uses 1 light source (usually a key light), this could be a light facing someone in a studio, or if someone is outside, the light source would be the sun. It is important as without any lighting you won’t be able to see anything and the photo would just be darkness.
2 point lighting commonly uses 2 light sources or a light and a reflector. It is usually placed at a 45 degree angle from the subject and usually uses a main light and a fill light.
