Rembrandt lighting:
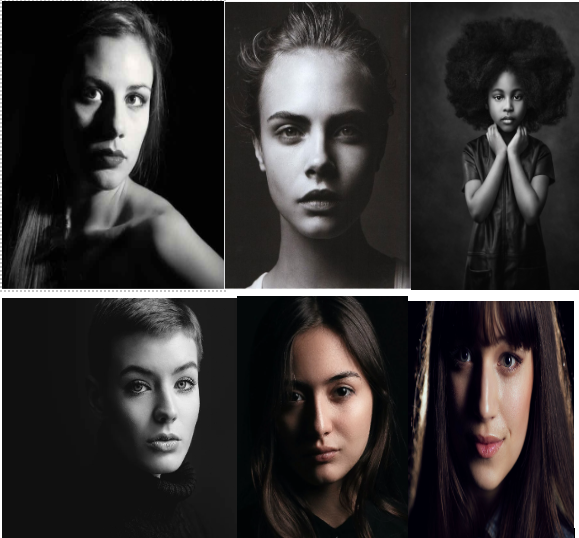
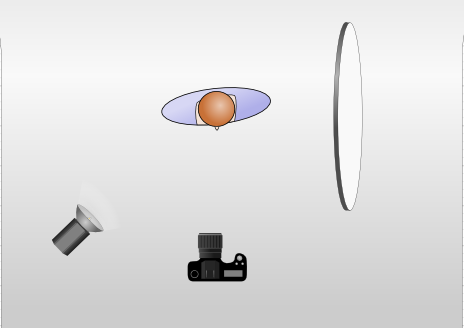
Rembrandt lighting is a form of art that takes advantage of one light and one reflector or sometimes two separate lights. It’s a known technique because it forms images that look both noticeable yet logical. It’s mainly famed by a triangle that is lit-up underneath the subject’s eye on the side of the face that is less illuminated.
The set up for Rembrandt lighting
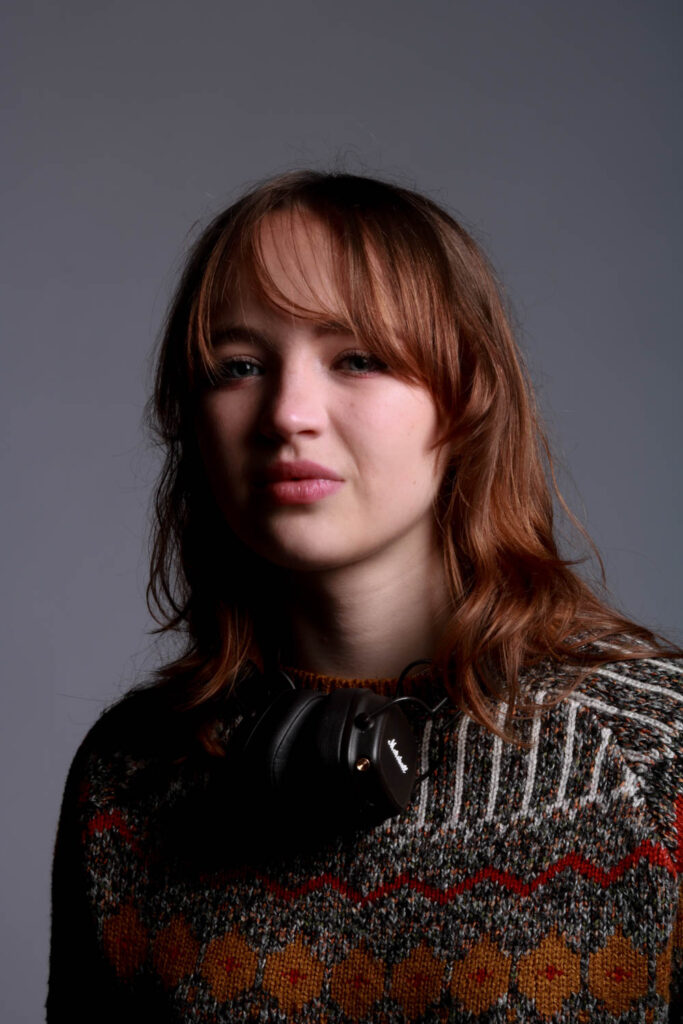
Own experiments of Rembrandt lighting
Experiment 1:
Editing process:
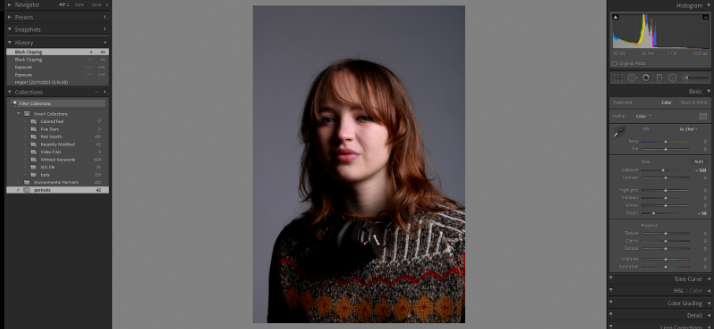
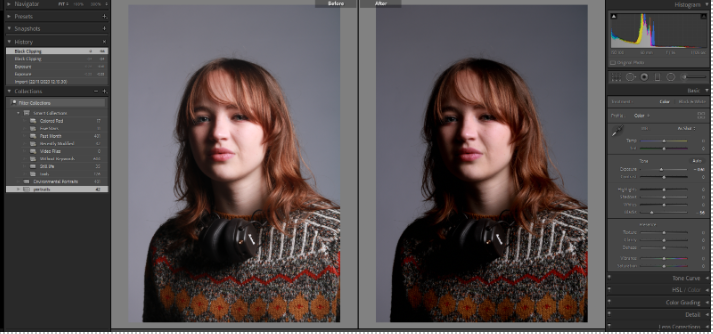
For this picture I decreased exposure to make the picture a little darker to highlight the Rembrandt lighting on the left side of her face (-0.61) and blacks (-56) to make the darks in the picture lighter.
This was the only editing I did to this picture because I believe that this photo needed little editing to it as it already represented that Rembrandt lighting without it needing to be edited however I wanted to make the right side of the subjects face less bright and a little more warm.
Before (left) After (right):
Experiment 2:

Editing process:
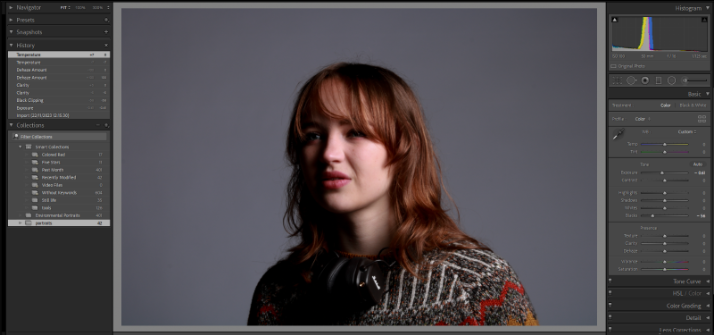
For this picture I decreased exposure to make the picture a little darker to highlight the Rembrandt lighting on the left side of her face (-0.61) and blacks (-56) to make the darks in the picture lighter.
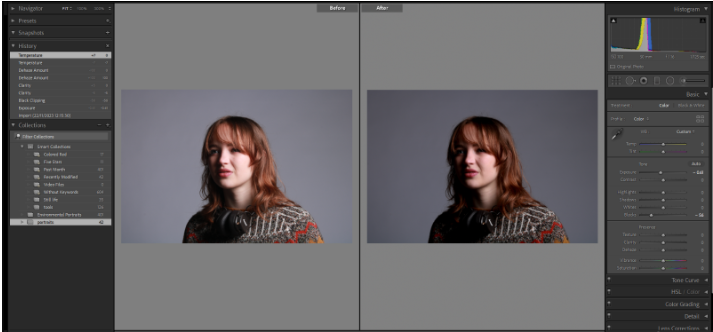
The editing for this picture is the exact same as the first experiment as I liked how the experiment turned out. I strongly believe that adding this small amount of editing hugely improved and enhanced the picture but still showed the sole purposed of the picture which was showing the art of Rembrandt lighting.
Before (left) and After (right)
Experiment 3
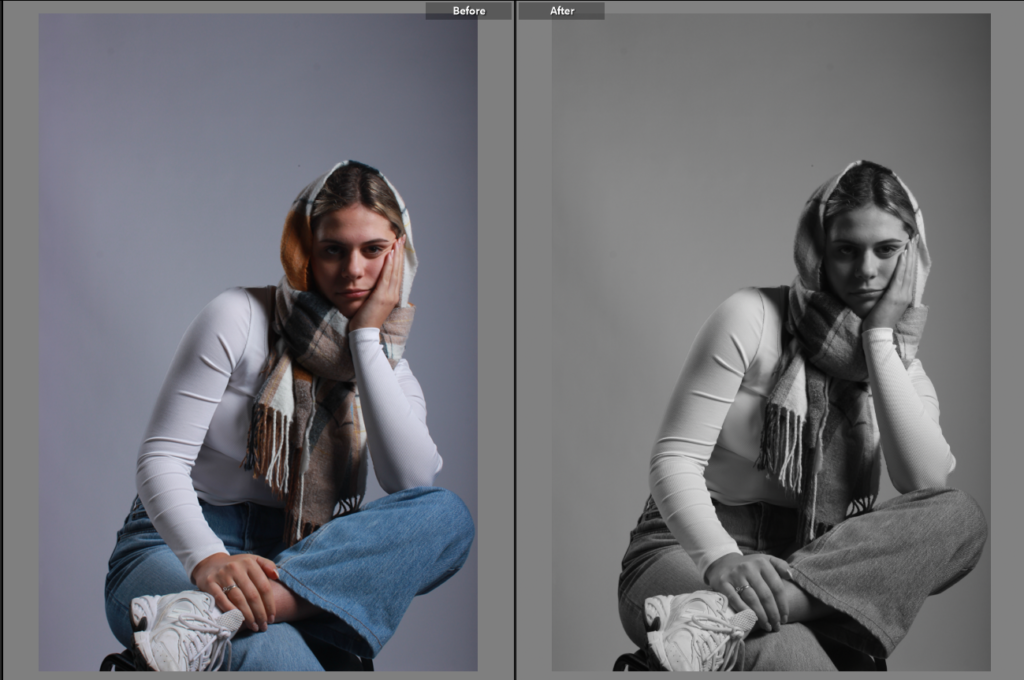
Editing process:
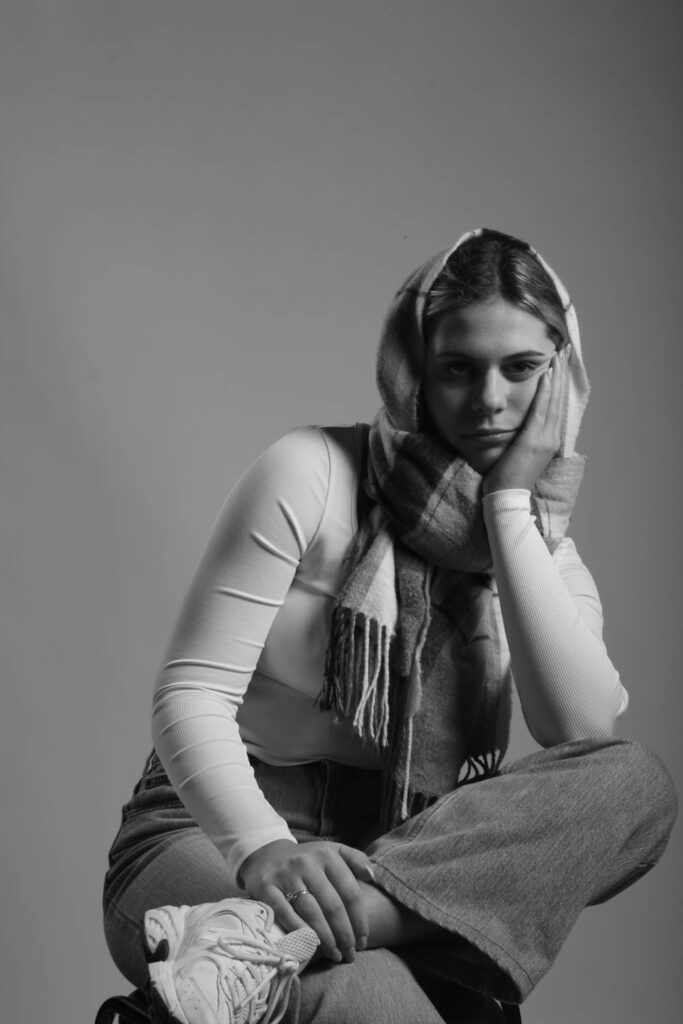
For this picture, I desaturated it (-100) to create diversity within my pictures and because I liked how the picture looked in black and white especially because it made the left side of the darker part of subject face even darker which was what I wanted to improve in this picture using editing.
Before (left) After (right)
Experiment 4:
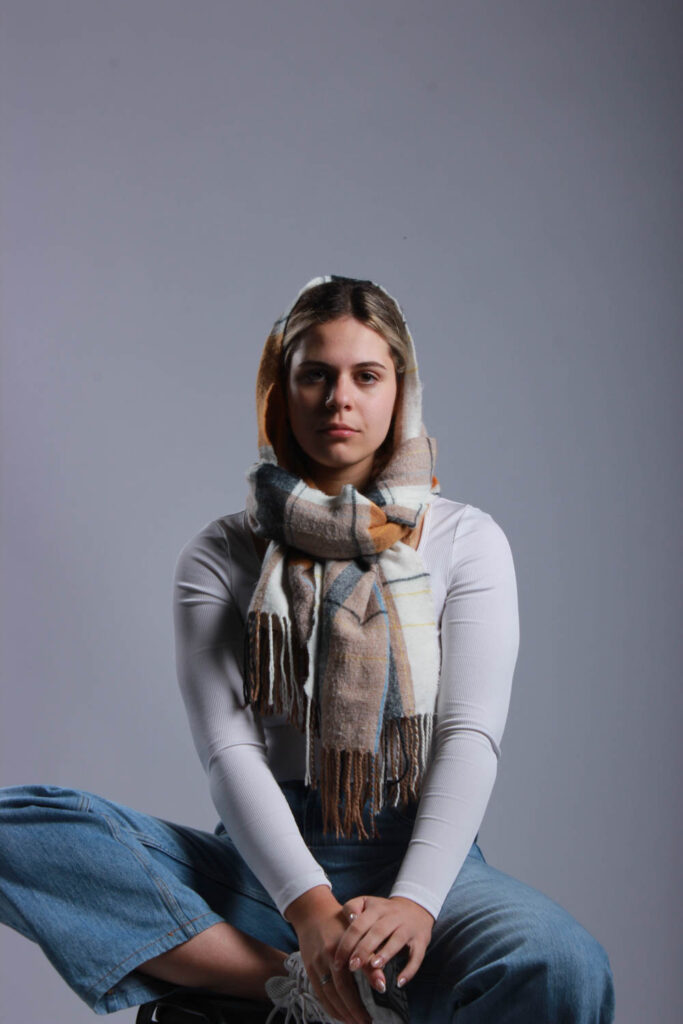
Editing process: For this picture I didn’t edit a single thing in this picture. I thought that the picture really showed that Rembrandt lighting where a triangle like shape formed on the left side of the subject face or wherever the key light wasn’t directly facing at, hence why I didn’t feel the need to edit it.
Presentation of outcomes:
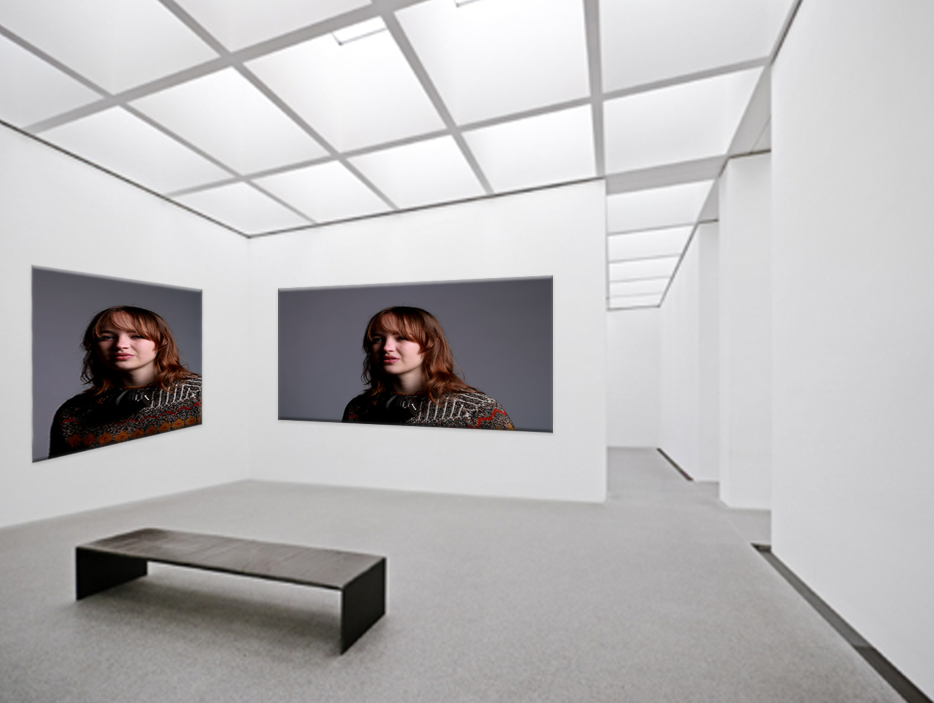
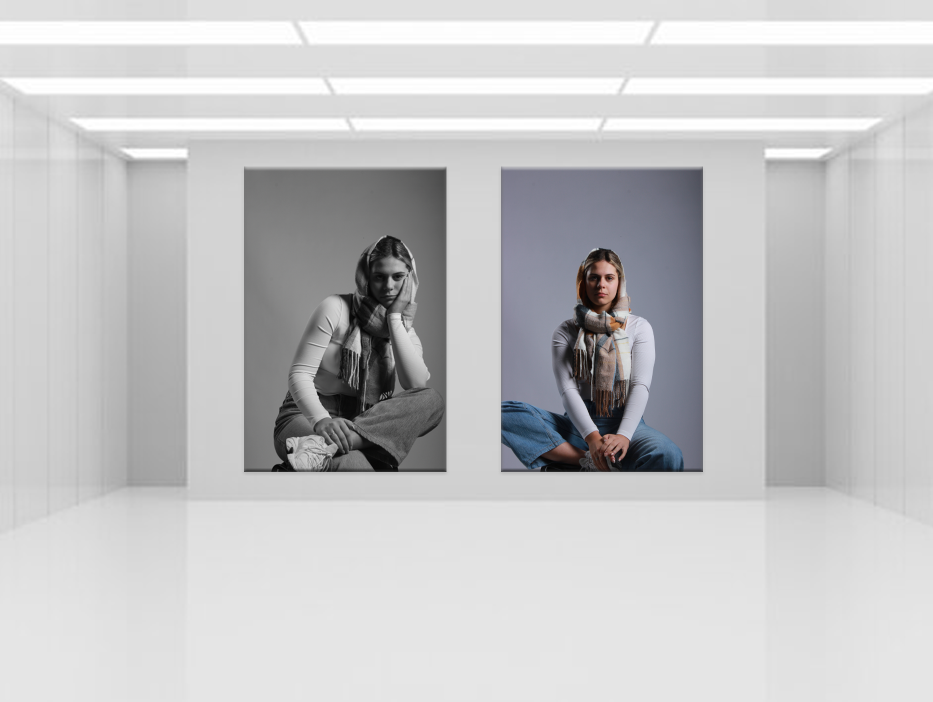
Evaluation and Critique:
Overall I strongly believe that all my pictures showed Rembrandt lighting. I came out with a diverse set of pictures. My pictures diversity include, black and white picture, pictures where lots of the subjects body is showing and pictures where it is a shoulder shot. This shows that I can be creative and produce a variety of different type of pictures that show Rembrandt lighting.
A strength I had was the fact that I was able to show that triangle figure below the less illuminated parts of the subject’s face. In all of my pictures I am able to show this perfectly which is something I am greatly proud of because it shows that I am able to replicate the famous triangle shape on the subjects face.
However a way I could have improved my pictures is by successfully creating an all black background which would greatly impact my pictures and make that triangle more evident and deep. In some of my pictures, I felt that the triangle and the other parts of the picture that are meant to be really dark are not as dark as I wanted them to be. I could improve this by using a black curtain in the background or by decreasing my ISO to around 100-125 so that it would make the background completely black and therefore make that triangle darker and even more evident.
