studio lighting consists of 2 main types, continuous and flash, with other types like natural lighting . We can uses these 2 different lights to create different lighting techniques like the a butterfly for example.
The technical side of lighting
Continuous lighting (or tungsten light) produces a constant amount of light which is often a warmer temperature, meaning you need to adjust your white balance accordingly.
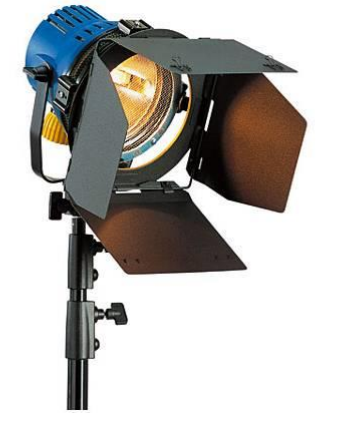
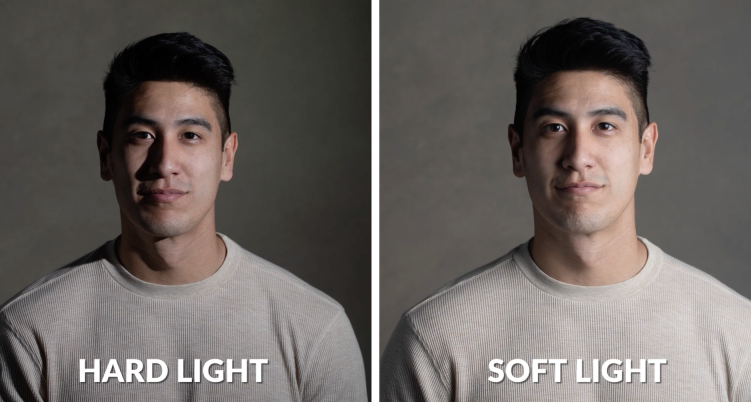
Flashlight lights have umbrellas, or a soft box can be attached to diffuse the light (not to say continuous lights cant have this). They create a flash of light which is very bright and used to make hard lighting.
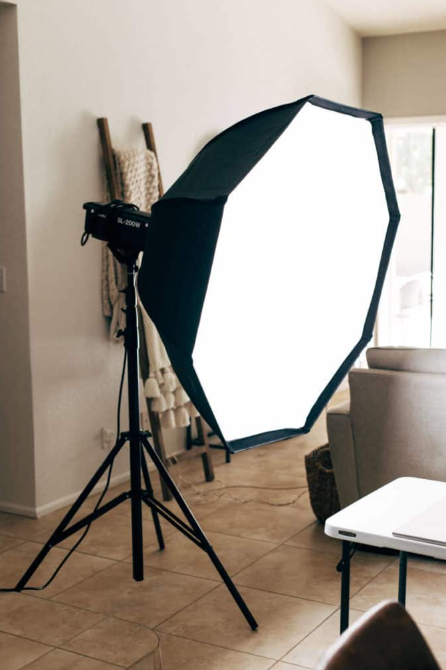
Other objects can be used like a reflector to direct light in multiple directions often leading to more soft lighting. To create an interesting studio portrait you need to different directions of light, temperature, key lighting (e.g. 3 point lighting), use of reflectors and diffusers, camera settings (ISO, camera lenses, shutter speed and aperture), backdrop and infinity curves, and of course an interesting subject. So what different techniques are there?
Rembrandt lighting
This technique (named after a Dutch painter, Rembrandt Harmenszoon van Rijn) is where the lighting creates a upside down triangle under the eye. Rembrandt lighting is a technique utilizing one light and one reflector or two separate lights. It’s a popular technique because it creates images that look both dramatic, full of drama, yet staying natural. Its also used as a way to draw the views eyes towards the eyes of the subject in the photo (usually the main focal point of a portrait image). This is because it will create emphasis of that part of the face, drawing the view in. Other ways of moving where the viewer is looking is by using negative space, leading lines and depth of field.
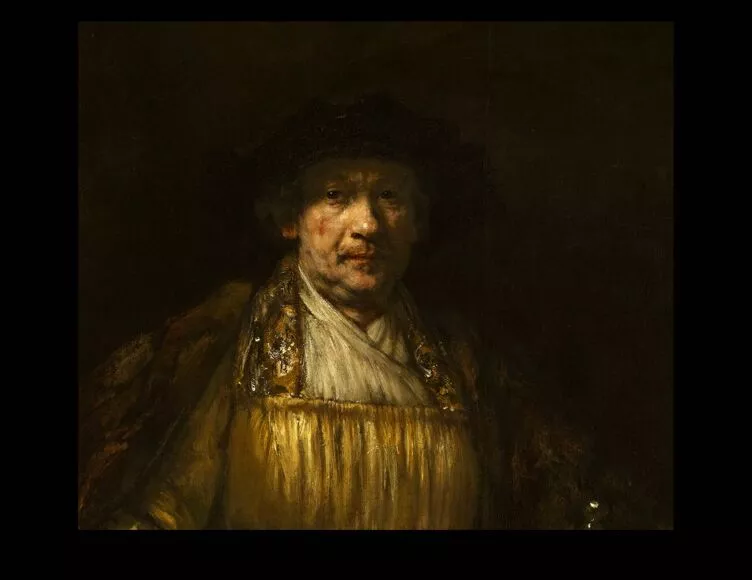
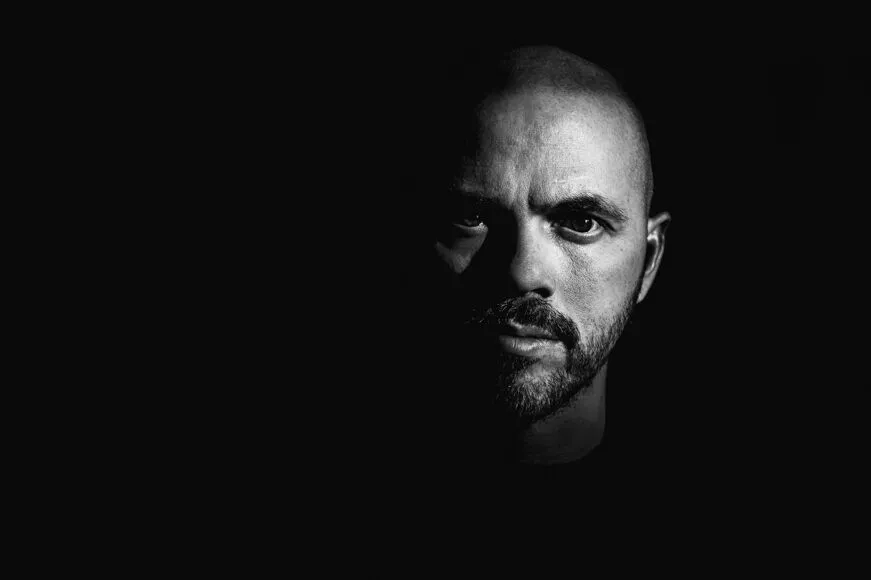
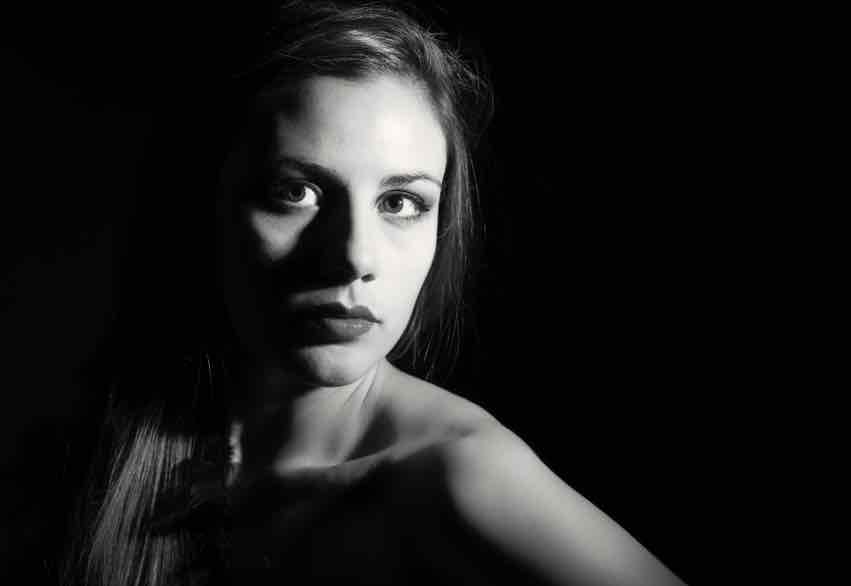
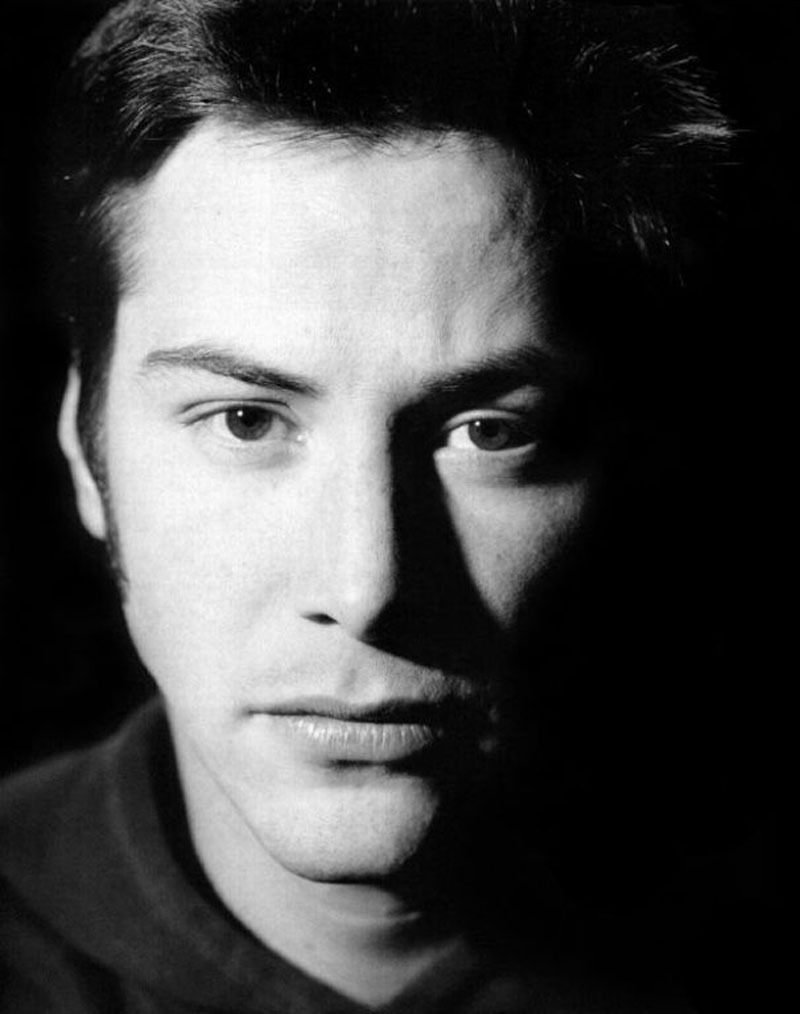
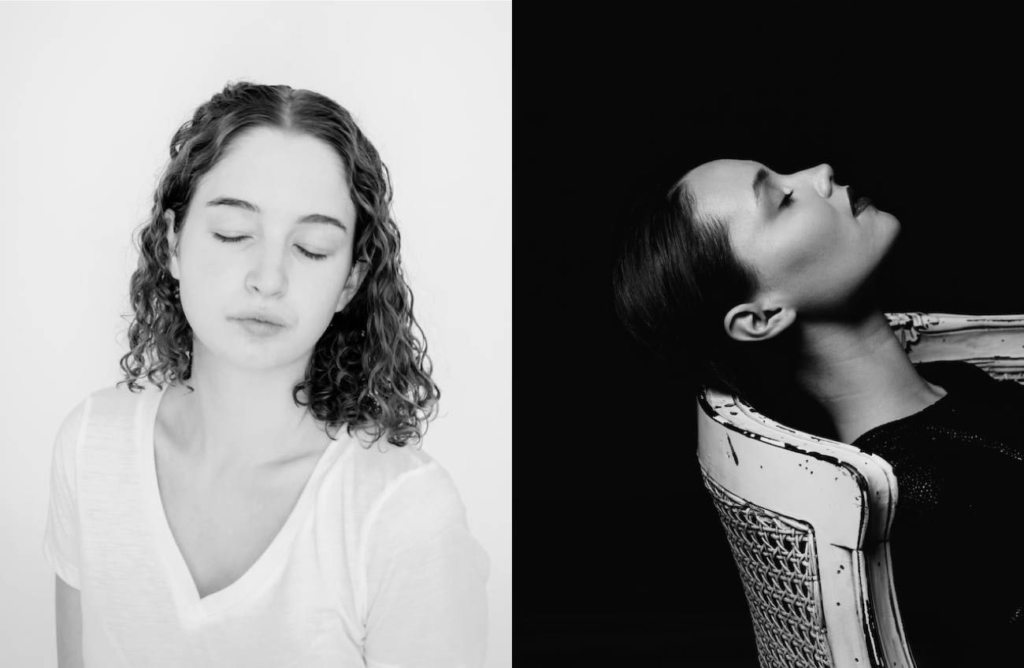
As you can see, kewano weafs and all the other photos have very hard lighting, creating a large amount of contrast within the face. This allows the triangle to appear, drawing the attention towards the eyes. Eyes can be used to show many different emotions so its important to have it as a main focal point.
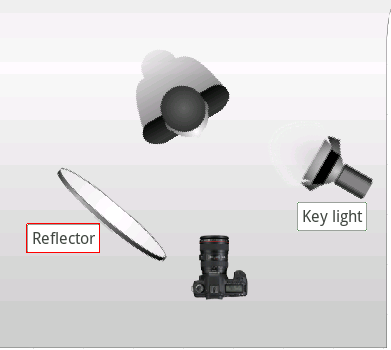
Butterfly lighting
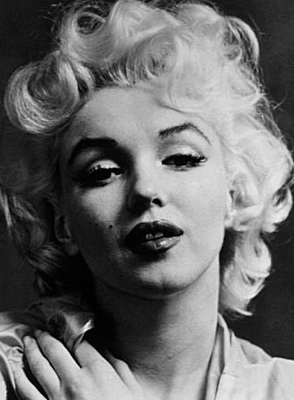
butterfly lighting is achieved by moving the main light above the camera, and directly centred with the models face. This creates a shadow under the nose and cheek bone that resembles a butterfly It’s also known as ‘Paramount lighting,’ named for classic Hollywood glamour photography. It creates a thinner looking face by making shadows under the cheek bones and neck.
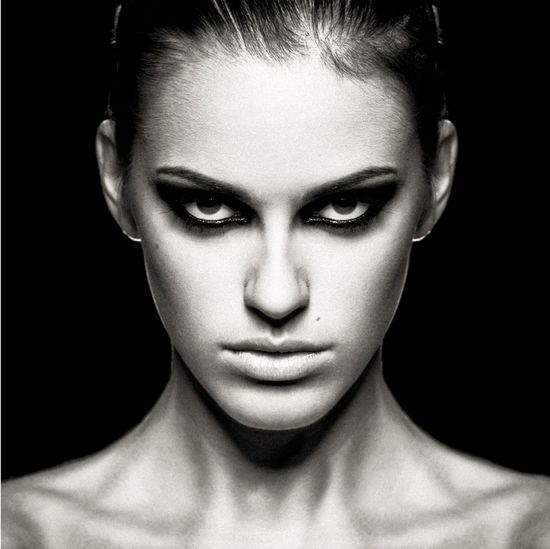
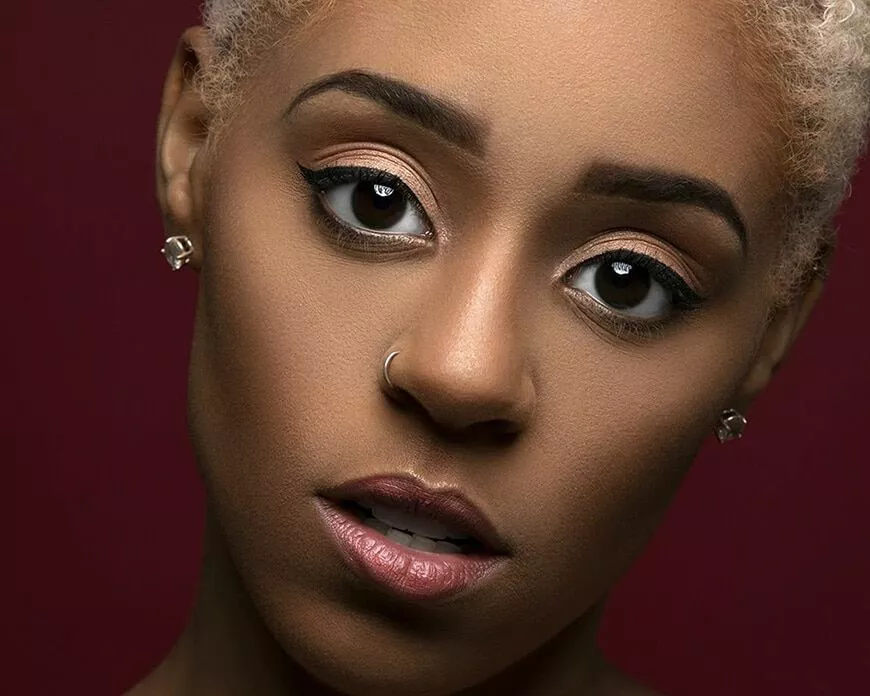
As you can see, the butterfly effect can create a warm and happy image or a scarier, darker one. This is because the butterfly lighting effects the setup of lighting and not the quality of lights, so you can still have soft or hard lighting and still have butterfly lighting.
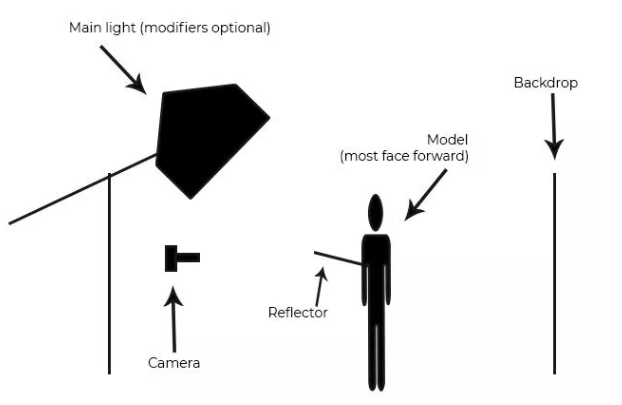
The reflector can soften the shadows under the check bone and neck if you don’t want the butterfly lighting to be so noticeable. To create hard lighting you can just remove the modifier (e.g. a soft box).
Chiaruscuro
Chiaruscuro (Italian for light dark) is a dramatic contrast between light and dark in the image. It appeared in the 15th century paintings:
It’s has a dark, contrast look, with dense shadows – though, for the most part, not completely black. The use of shadows in the background gives the painting an impression of depth and three-dimensionality. The subjects, meanwhile, are lit carefully, almost sculpted, by the light and shadow that falls on them.
Chiaroscuro in photography is made using one key light and a variation using a reflector that reflects light from the key light back onto the sitter.
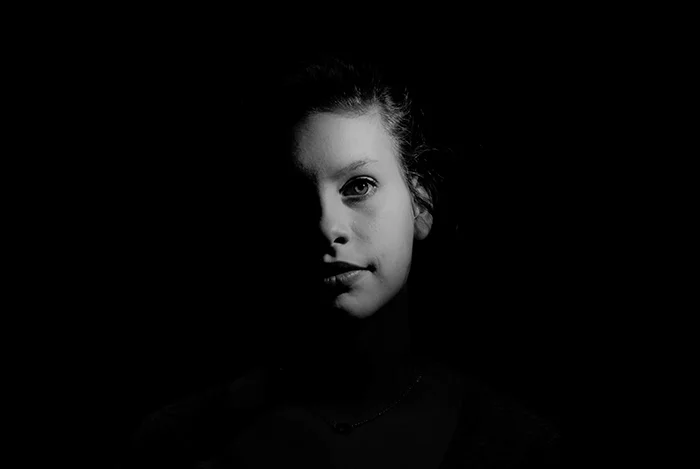
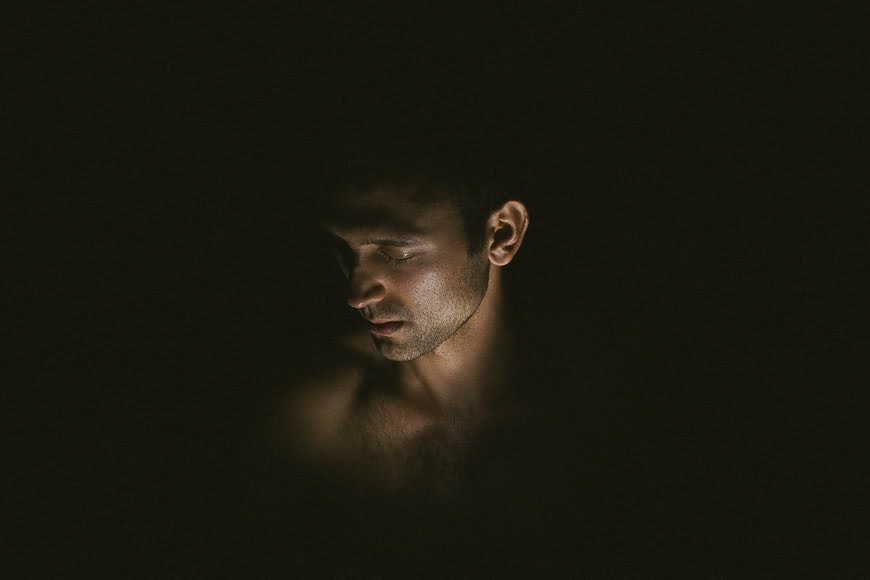
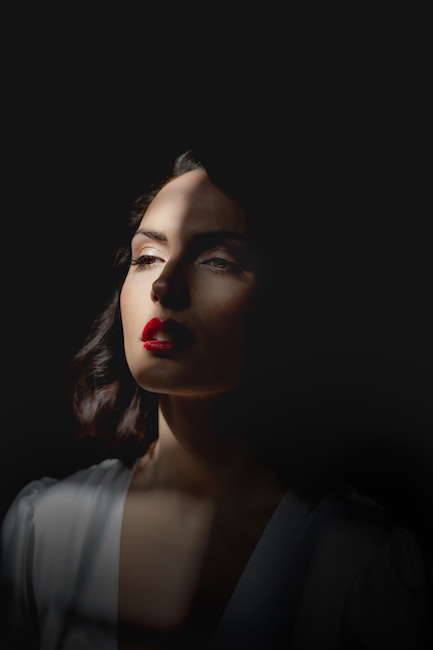
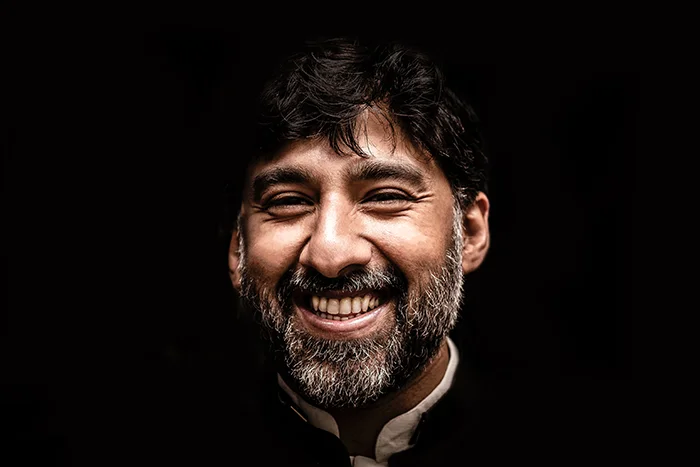
To create a Chiaruscuro effect, use a flash – with triggers and a light stand and set the shutter very high, to remove any ambient light.
This way the only light recorded is created by the flash. If you zoom flash too, it will intensify the light on the subject and leave the background dark. Its best to just use a dark wall as a backdrop.
You don’t even need any artificial lighting to create this effect, as long as the lighting is strong.

Good start to showing your understanding of studio lighting.
You may find it easier to have individual blog posts for each lighting effect (Rembrandt / Chiaroscuro / Butterfly)
Make sure you include your own photo of the lighting setup, your contact sheets and 3-6 top photos for each lighting technique.